Thanks for the replies. I overthink alot on stuff like this but it's going to be holding almost 3000 pounds of water alone in my house... So your tank sets down inside that frame on top of your stand? How many gallons is your tank. I noticed your stand has no gussets or cross bracing so I guess they are not necessary. I still might add some because I don't trust some of my welds. The welder kept kicking off the breaker so I had to turn down the heat. So I turned down the wire speed to compensate to try and get some penitration wasn't till I was almost done that we got the idea and pulled the wire out of the breaker and piggybacked it off a 30 amp breaker and cranked up the heat. Not exactly safe lol but it worked. Just wish we had done that from the start
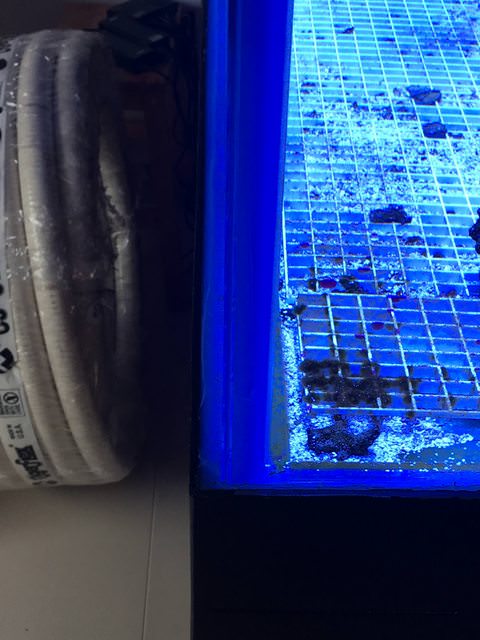
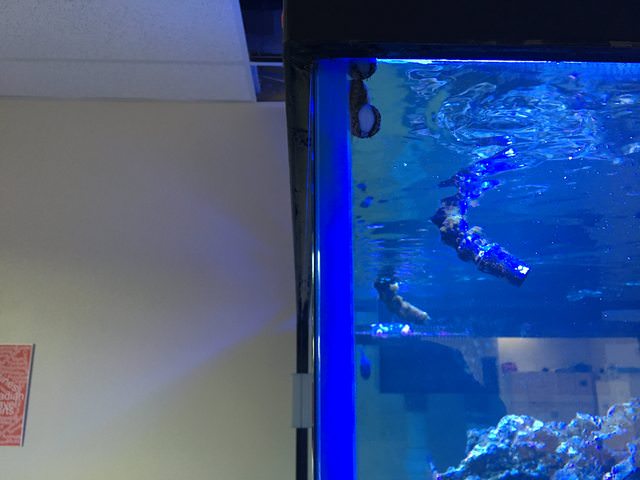
I wanted to minimize any chances of my seams failing. I built the stand and canopy with the intention to make the distance around the tank with a void that I could fill with silicon. It would both allow the tank the ability to flex as it was filled but also provide support.
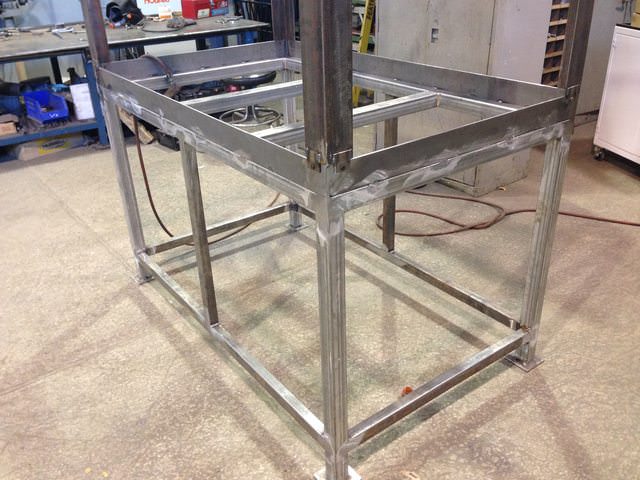
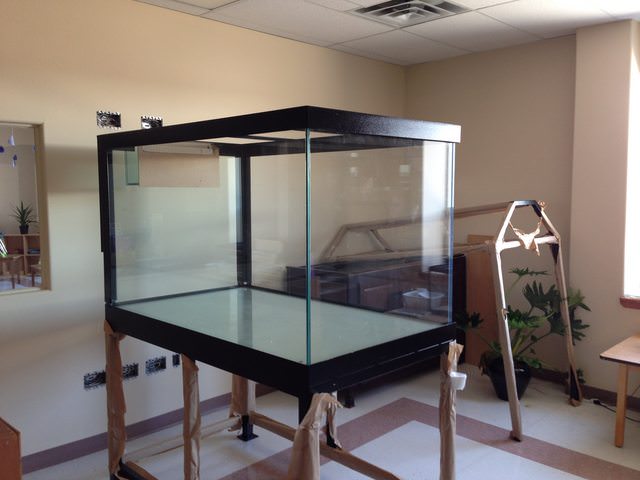
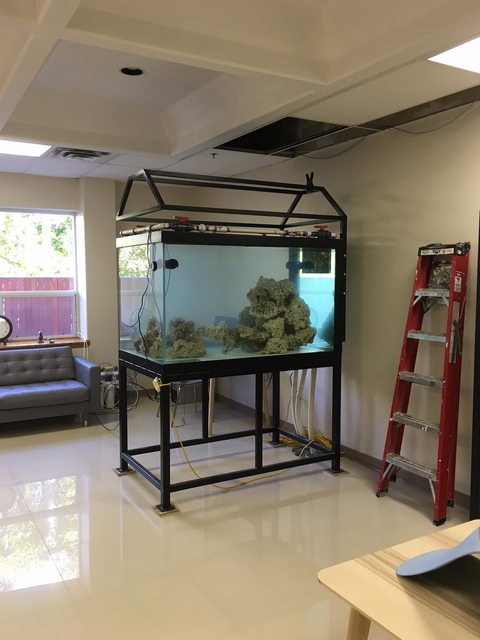
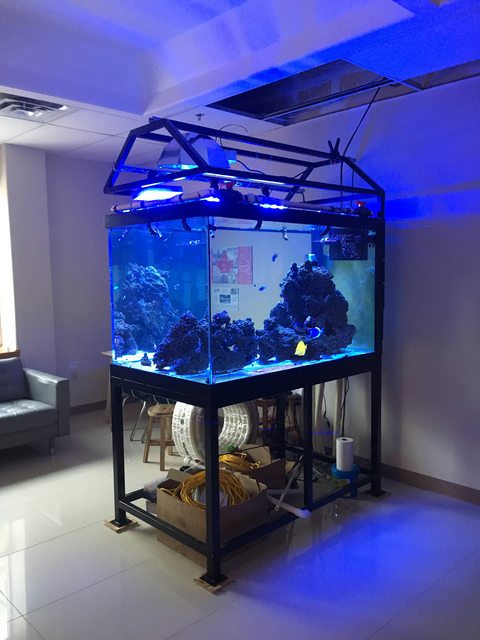
You have to trust your welds. Maybe you could get a local CNC or welder to come and look it over? My tank was fabricated with 2" x 2" tubing because I wanted overkill, and no my stand has no gussets, I didn't feel it was necessary and my welder agreed. The below pictures gives you an idea as to how I made the stand, upper bracing and canopy. The pictures below are unfinished at this point. I have to complete several more things on the tank before I have my carpenter finish the millwork that will complete and enclose the stand and canopy.



I overthink absolutely everything and that's not a bad thing, it just takes longer. There were times when I would sit in front of my tank for hours and plan out and map how I wanted it to look, how I wanted the plumbing to run, how was I going to service the tank, how was I going to replace parts, how was I going to run the return lines from the basement, ect. I try to anticipate what will make the tank look its absolute best while allowing me the easiest time in cleaning, adding frags, feeding fish, and having all the filtration in the basement.
This is what it looked like 'encased'. The stand is one section and the upper frame is another. Both come together and bolt up in the back where my overflow is:
This is the tank with the canopy on. It is adjustable (I can raise and lower it in the rear) and it again bolts up in the rear.
This is when the lighting was starting to go in. 1 halide has been installed at this point and 3 LED fixtures at this point. For my preference, the canopy was set too low in this picture it has since been raised up about 12".
Below if you look, you can see the 1/2" gap that was filling with silicon. The bottom was filled with clear silicon to match the seams of the tank. The upper bracing was filled with black silicon to match the stand as its powdercoated black. This gap filled with silicon runs along the entire bottom as well as upper bracing. It also gives my carpenter some room to complete the stand and canopy when I am ready to have it finished.