- Joined
- Aug 11, 2016
- Messages
- 244
- Reaction score
- 401
Intro
Today I was cleaning my external overflow and I was thinking how much there is to learn about this simple contraption. I believe my overflow is the thing I spend most time on getting to know - and I'm still learning. So I decided to share some tips and some diy ideas from my experience.
AND best of all - I will share my secret on how to keep water out of your mouth when starting the siphon!!!
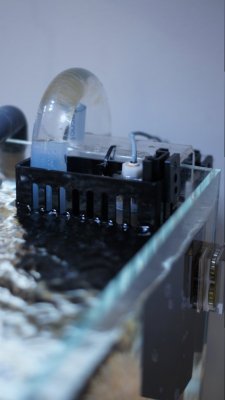
Before we begin I would just recommend getting a drilled tank (a so called reef ready tank) in the first place.
But for some of us that was not an option so here we go.
SAFETY
The biggest problem, In my opinion, with external overflows is the chance of them breaking siphon or the drain pipe getting clogged. This will, in best case, result in you mopping the floors and in worst case you leaving this planet from electrocuting your self.
In both situations someone will be unhappy with you - I promise you that much!
So here is what I did to make sure my tank want overflow in case the siphon breaks or a snail decide to climb down the drain.
1. Drilling an extra drain/ emergency drain
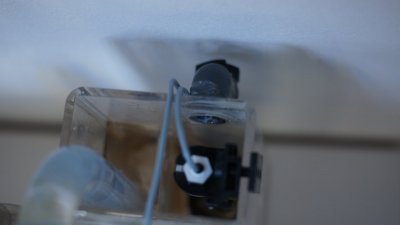
Here your seeing the back of my overflow from above.
I drilled the overflow box up high so if the drain got clogged the water will rise and then the extra drain will take over.
2. Add two float switches
In the picture above you might also have noticed the float switch.
If your not familiar with float switches I would recommend you check them out. Basically they are a magnetic switch that will react if they are floating or not floating.
I Got the tunze 7607/2 to turn off my return if the water lever in the tank or in the overflow gets too high. If one of them is triggered the pump will turn off and set start an alarm.
Cool gadget if you ask me.
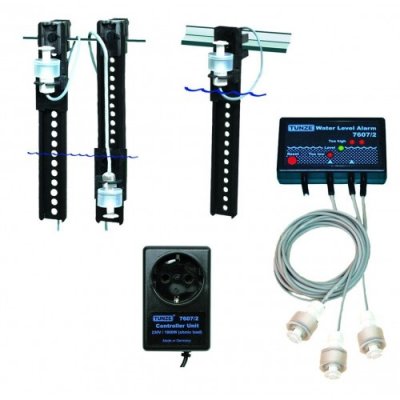
I have two of the switches connected to the overflow. If any of them starts floating (result of the overflow not working) the pump will turn off.
I have the last one in my sump making sure the water dosen't get too low. ( result of a leak ect.)
Here is what that looks like
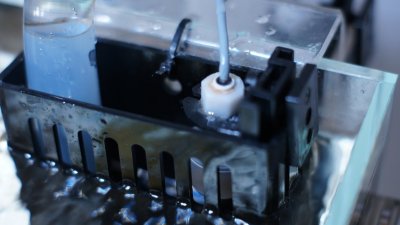
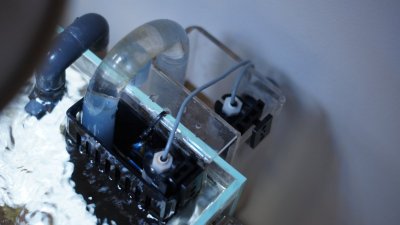
It's a super easy install and now I'm 100% sure my return pump want keep dumping water in, if the overflow stops working.
3. Elenimate bubbles in the u-tube
The number one reason for your overflow to break siphon is bubbles in the u-tube.
This often happens because the flow through the u-tube is too slow. Some will have the option to add a bigger return pump but if your not interested in that do as I did - make the diameter of the u-tube smaller. More water will have to pass through a smaller space and bubbles can't get trapped.
You can buy a new samler u-tube, but I just put a pvc hose in there. You will probably have to experiment with this till you get it right, but I can honestly say that I have not have mine break siphon once, since I did this!
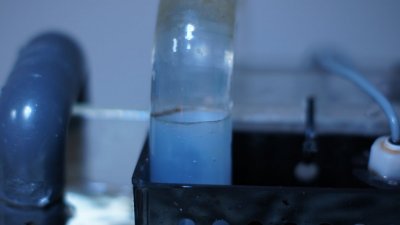
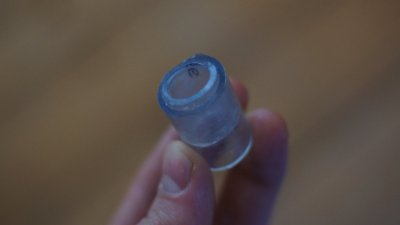
I put one linke this in each end of the u-tube to get the perfect result.
4. Clean your overflow if you get unexpected problems!
This kinda speaks for it self, but if your overflow have ben running awesome for some time and you start getting problems it will probably just have to take it apart and clean it <3
NOISE
We all hate noise and I have spend so many hours trying to make the perfect solution for my overflow to become completely silent. The noise mostly comes when air is sucked into the drain pipe.
The way I fixed this is not rocket science. I added a ball valve to the outlet of the drain making me able to tune in the flow leaving the tank to the flow entering. It honestly sucks when I have to do something in the sump and turn off the return. I have to start over with the fine tuning, but when I get it right the return is completely silent.
DO NOT DO THIS IF you don't have an emergency drain.
When you use this method there is a risk that the water level in your overflow will rise and fall for few hours. I have had it overflow before I added the emergency drain.
The kind of mistake you learn from, so trust me on this one
Utility
In general I will just recommend that you keep an eye one the water level in the actual overflow. (the black part of mine) The water really have to be lower in there than it is in the tank otherwise it want suck in dirt. A clear sign of this is a film on the surface of the water.
Ok, lastly I promised my secret on how I start the siphon without getting water in my mouth.
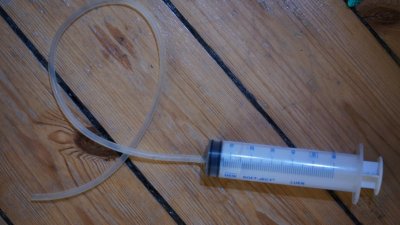
SO here it is. I use a syringe to suck out the air instead of my mouth. If you don't get all the air out the first time, just pinch the tube and remove the syringe, empty the syringe for air/water and try again.
I can make a video if this was not clear?
Good luck out there
