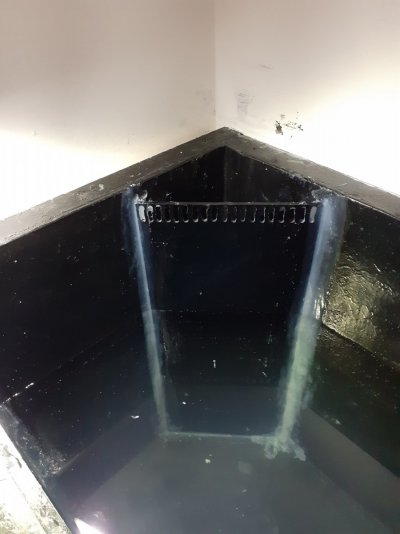
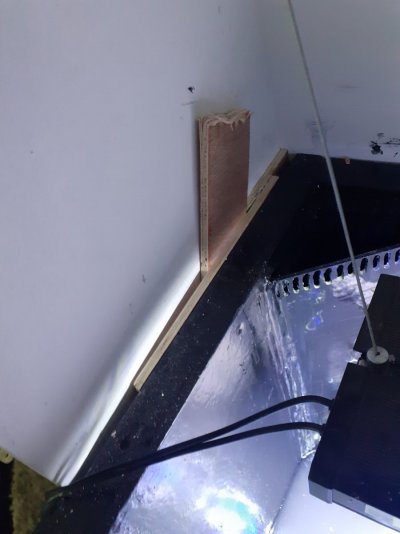
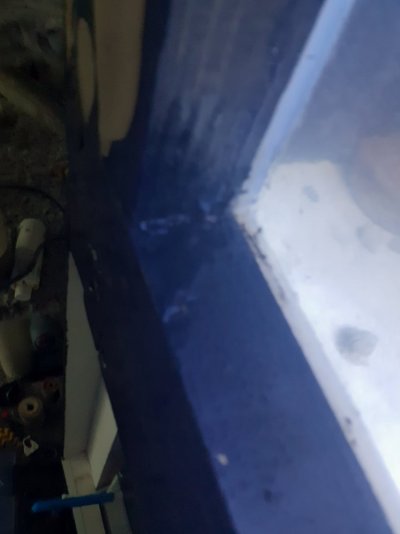
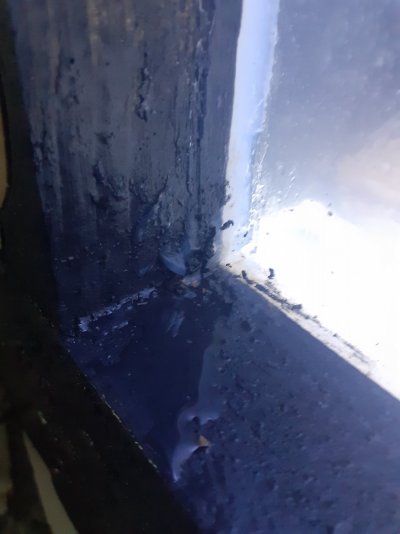
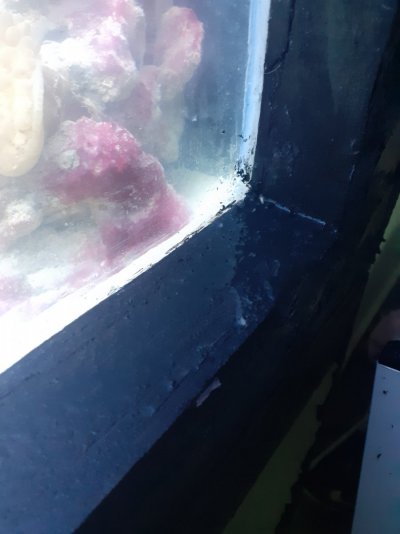
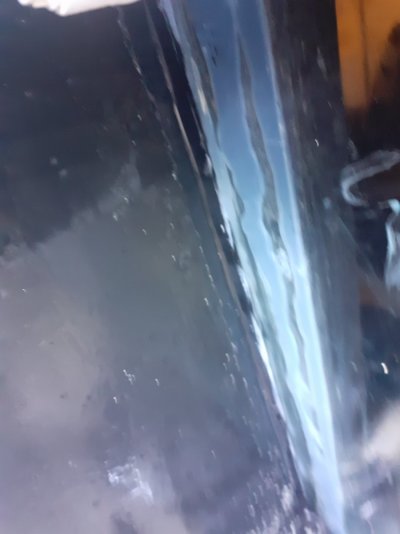
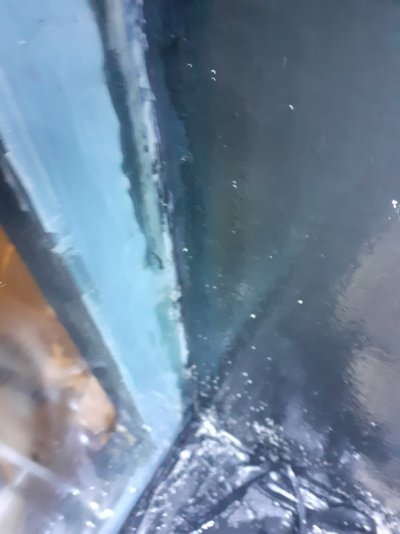
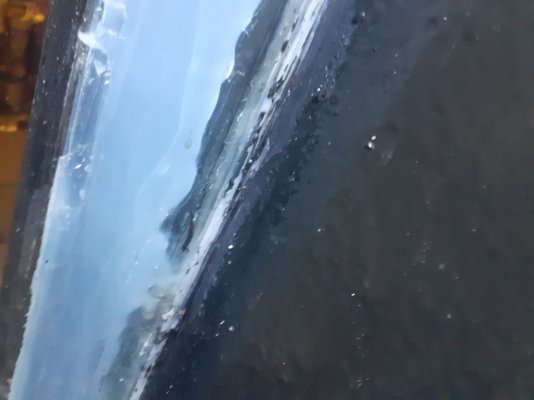
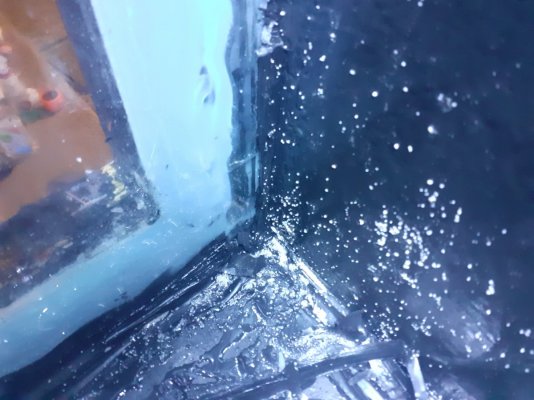
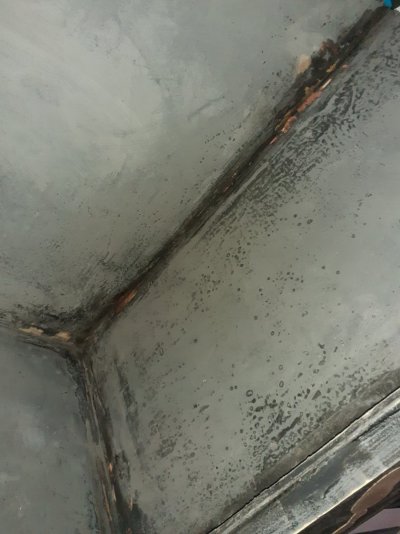
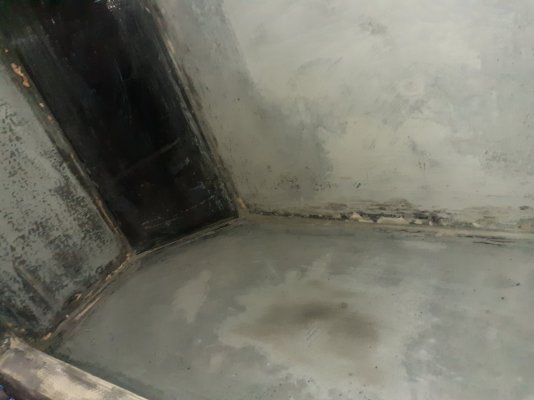
Advice needed I recently built this tank 90gallon plywood tank my seems appear to be leaking and capillary action is making it soak onto the wood
I've fibreglassed the seals and covered with pond paint, I've then used pond seal to try and stop the leak but this has failed
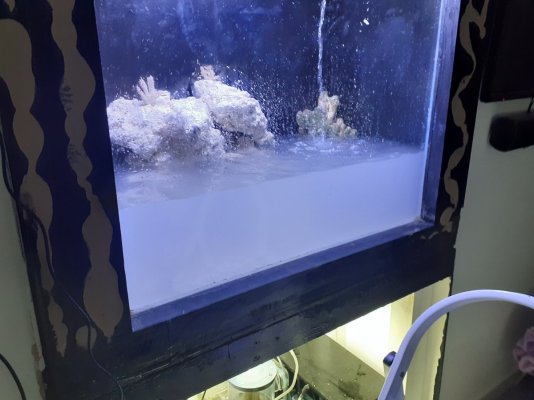
Please help I've had to put the fish in QT and corals in a box


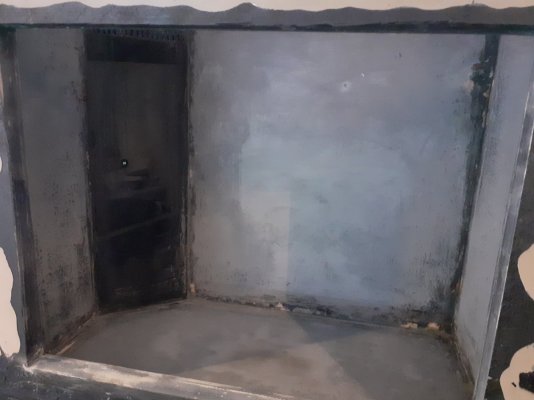
I've fibreglassed the seals and covered with pond paint, I've then used pond seal to try and stop the leak but this has failed
Please help I've had to put the fish in QT and corals in a box