- Joined
- Dec 14, 2006
- Messages
- 37
- Reaction score
- 0
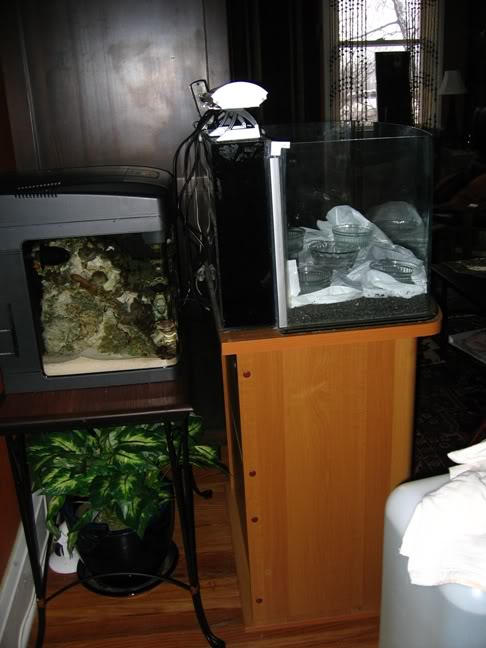
Well, I had the tank sitting on my dining table for testing leaks and all equipment, etc. for about 2 weeks. My stand finally arrived yesterday (wrong color, frak, but that's another story) and I decided to go ahead and set it up for the big tank upgrade.
First off, it went pretty well, I must say but I got scraped, beaten, super glued to within an inch of my life. I broke the 14g Biocube down by removing coral and placing them in small, plastic containers - then into a heated bucket w/a powerhead. I pulled all of the excess rock and put it into another bucket w/heater/powerhead. Then, I had a large container full of the rock that was in the testing Cadlights (full of saltwater). I positioned the new stand with the new tank right in front of the existing one and added about 20 lbs. of new sand (Seachem Grey Substrate w/Carib Sea Indo Pacific mix - 80/20), then the rock. I used 4 pieces of new, very porous rock and then added a few nice ones from the original tank. I had intended to drill the rocks but my drill bit wouldn't cut it. So, I opted for the normal way of working and positioned them so they locked together with placement. All of the leftovers went into my prop/frag tank. Here's what the working part of my day looked like:

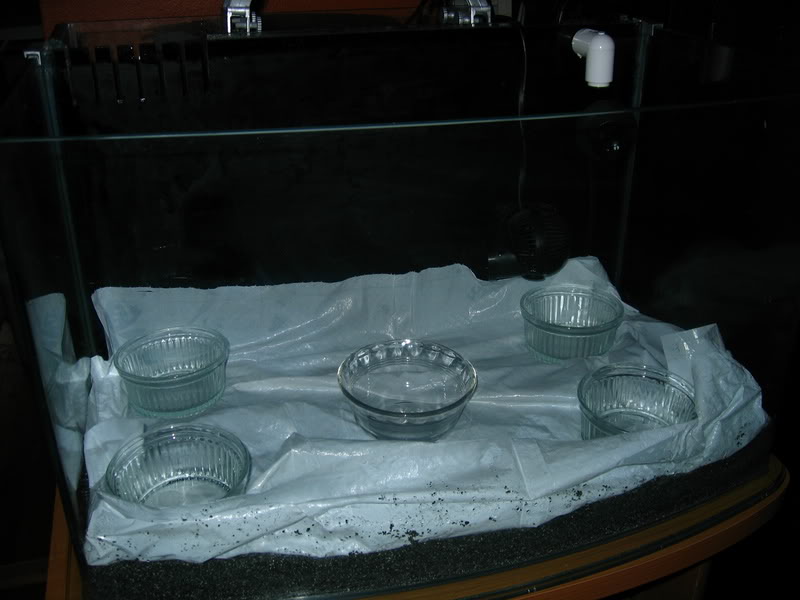
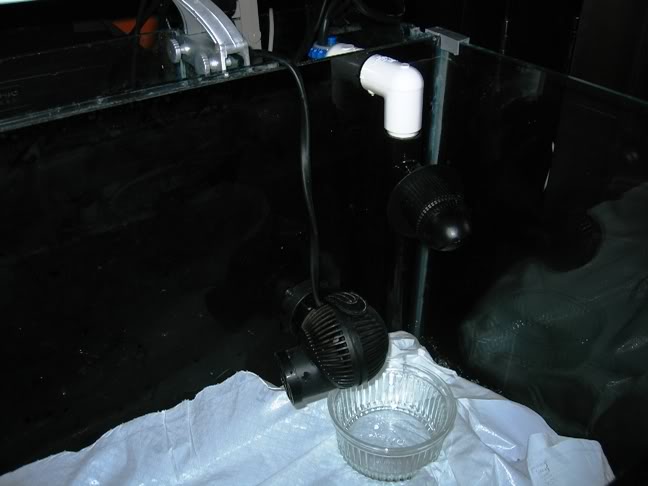
Dishes to keep the cloudiness down when adding water:
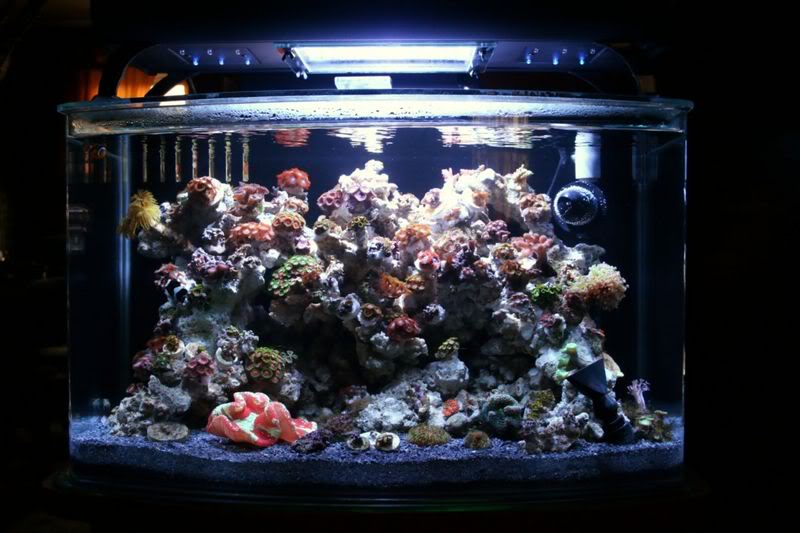
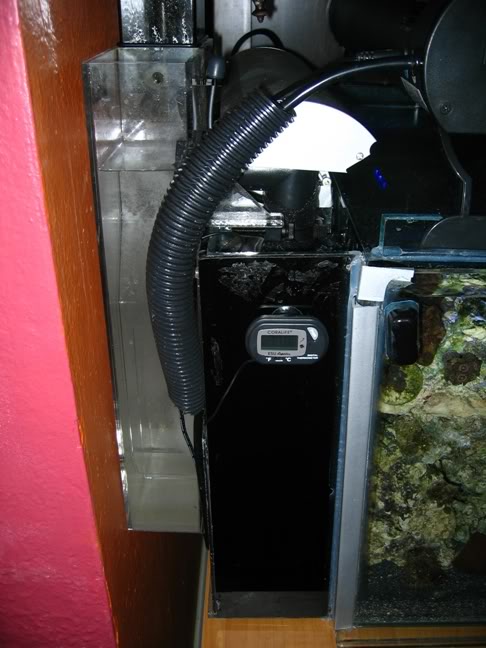
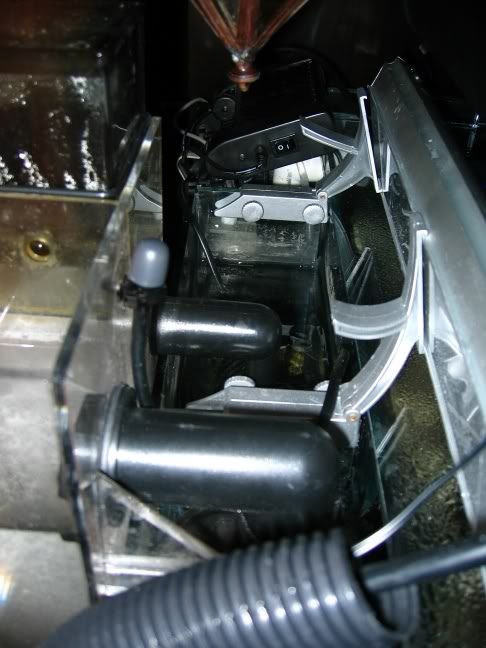
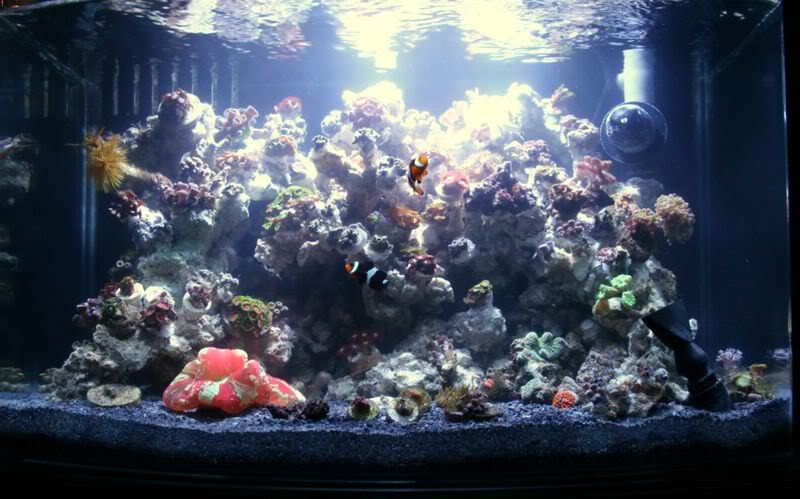
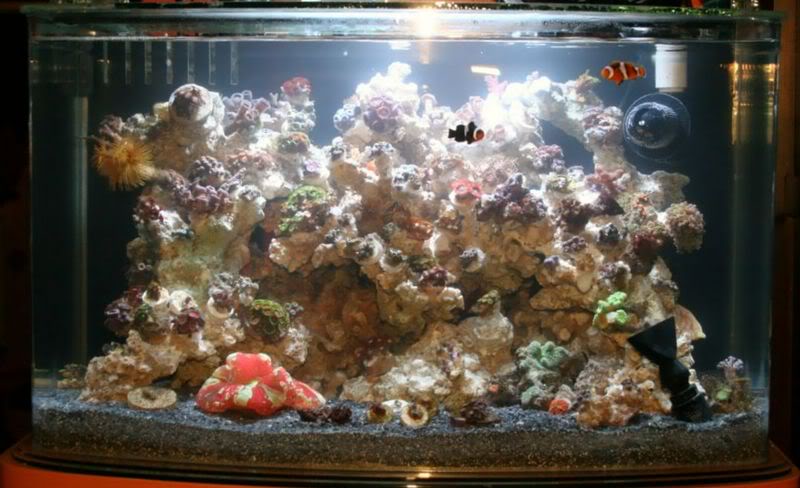
The clowns are ecstatic with the move - way more swimming room and they LOVE the current to play in. Regarding the plumbing, I originally ordered the oscillator with the tank but it made a weird clicking sound so I reworked it to include a T and off the first one, a Hydor Flo is attached and the remaining output is routed as the original tank with a 2.5" fan attachment pointed up. I also have a Tunze 6025 behind the rock and it is facing back and toward the overflow. I'm really happy with how this turned out because it creates a nice, varied flow (especially w/the HF). Here's a pic of the plumbing (I am switching out the white elbow later w/a painted one):
First off, it went pretty well, I must say but I got scraped, beaten, super glued to within an inch of my life. I broke the 14g Biocube down by removing coral and placing them in small, plastic containers - then into a heated bucket w/a powerhead. I pulled all of the excess rock and put it into another bucket w/heater/powerhead. Then, I had a large container full of the rock that was in the testing Cadlights (full of saltwater). I positioned the new stand with the new tank right in front of the existing one and added about 20 lbs. of new sand (Seachem Grey Substrate w/Carib Sea Indo Pacific mix - 80/20), then the rock. I used 4 pieces of new, very porous rock and then added a few nice ones from the original tank. I had intended to drill the rocks but my drill bit wouldn't cut it. So, I opted for the normal way of working and positioned them so they locked together with placement. All of the leftovers went into my prop/frag tank. Here's what the working part of my day looked like:
Dishes to keep the cloudiness down when adding water:
The clowns are ecstatic with the move - way more swimming room and they LOVE the current to play in. Regarding the plumbing, I originally ordered the oscillator with the tank but it made a weird clicking sound so I reworked it to include a T and off the first one, a Hydor Flo is attached and the remaining output is routed as the original tank with a 2.5" fan attachment pointed up. I also have a Tunze 6025 behind the rock and it is facing back and toward the overflow. I'm really happy with how this turned out because it creates a nice, varied flow (especially w/the HF). Here's a pic of the plumbing (I am switching out the white elbow later w/a painted one):


")