Hello all,
After 3 years, our 90 gallon reef finally got too stuffed to contain our coral collection. As getting rid of some colonies or refraining from buying new coral is clearly not an option, we decided to upgrade. @Bob the Bass and myself decided on a 125. Obviously a 180 would have added better depth, but space was limited, and the length of the 125 suited our need to expand. We built a stand, drilled the tank, built a sump and a 15 gallon frag tank, and plumbed it all together with hard PVC. We conducted the transfer this weekend. I will compile all the pictures and post them here.
System:
Tank - 125 gallons
Sump - 55 gallon DIY sump with a 15 gallon frag tank
Pump - Danner Mag Drive 18 (1800gph)
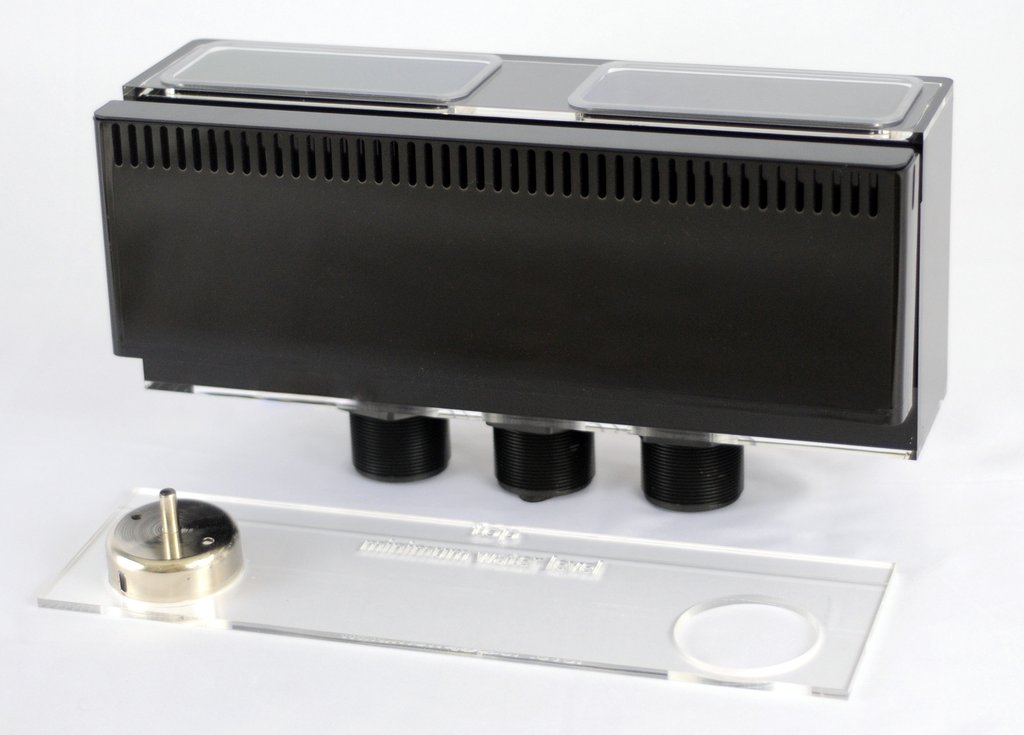
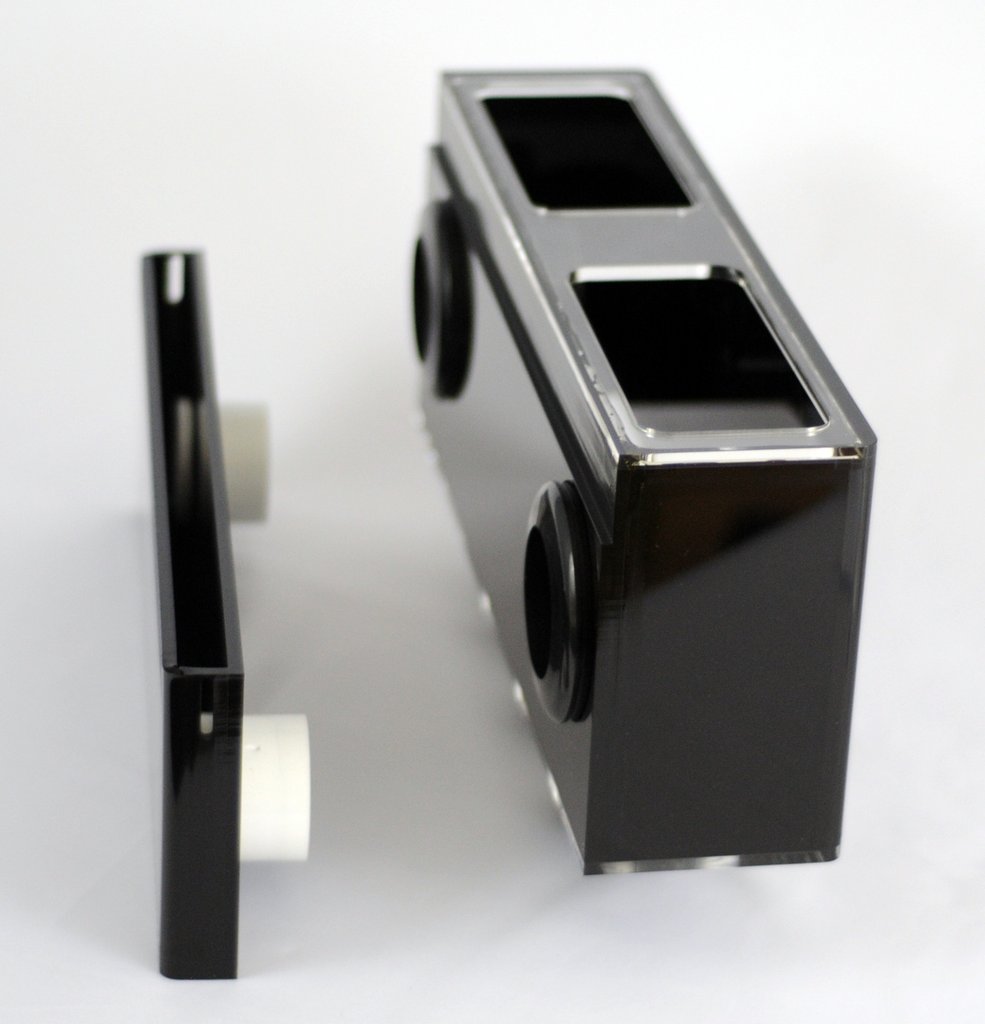
Overflow - Modular Marine 18 (1800gph)
Skimmer - Aqua C Remora S HOB x3 (We already had 3 of these skimmers, and as they each are capable of processing 75gallons, we didnt see a need to upgrade the skimmer right away, perhaps a new skimmer is in our future, but honestly, these skimmers work fantastic.)
Lights - AI Hydra 26s
Here is a shot of the original 90...

This is the 125 before the tank transfer.

After 3 years, our 90 gallon reef finally got too stuffed to contain our coral collection. As getting rid of some colonies or refraining from buying new coral is clearly not an option, we decided to upgrade. @Bob the Bass and myself decided on a 125. Obviously a 180 would have added better depth, but space was limited, and the length of the 125 suited our need to expand. We built a stand, drilled the tank, built a sump and a 15 gallon frag tank, and plumbed it all together with hard PVC. We conducted the transfer this weekend. I will compile all the pictures and post them here.
System:
Tank - 125 gallons
Sump - 55 gallon DIY sump with a 15 gallon frag tank
Pump - Danner Mag Drive 18 (1800gph)
Overflow - Modular Marine 18 (1800gph)
Skimmer - Aqua C Remora S HOB x3 (We already had 3 of these skimmers, and as they each are capable of processing 75gallons, we didnt see a need to upgrade the skimmer right away, perhaps a new skimmer is in our future, but honestly, these skimmers work fantastic.)
Lights - AI Hydra 26s
Here is a shot of the original 90...
This is the 125 before the tank transfer.


") If this is going to be a build thread for you, would you like me to move this over to "Member Tanks" ?
If this is going to be a build thread for you, would you like me to move this over to "Member Tanks" ?