Project Goals
Overview
This will be my first saltwater tank, which of course means it will be my first reef tank! From the perspective of someone coming from the freshwater side, the number of different equipment options and approaches available to reefers can be overwhelming. As such, I'm going to try to keep things as simple as possible and stick with what has worked for me and my freshwater tanks.
Approach
Based on my experience with freshwater tanks, keeping maintenance simple and to a minimum is critical to my long-term success. Water changes should easy to perform and maintaining water level between water changes should be automated. Other routine maintenance should be automated whenever possible.
Since this is my first reef tank, creating a space where I can grow different types of coral and experiment is preferable to creating the "perfect" aqua scape. At least for the first iteration of the tank! Keeping the number of fishes in the tank low has been another key to success on the freshwater side, and I assume it's no different in a reef tank. Fewer mouths to feed means less nutrients added to the water during feeding time!
Tank
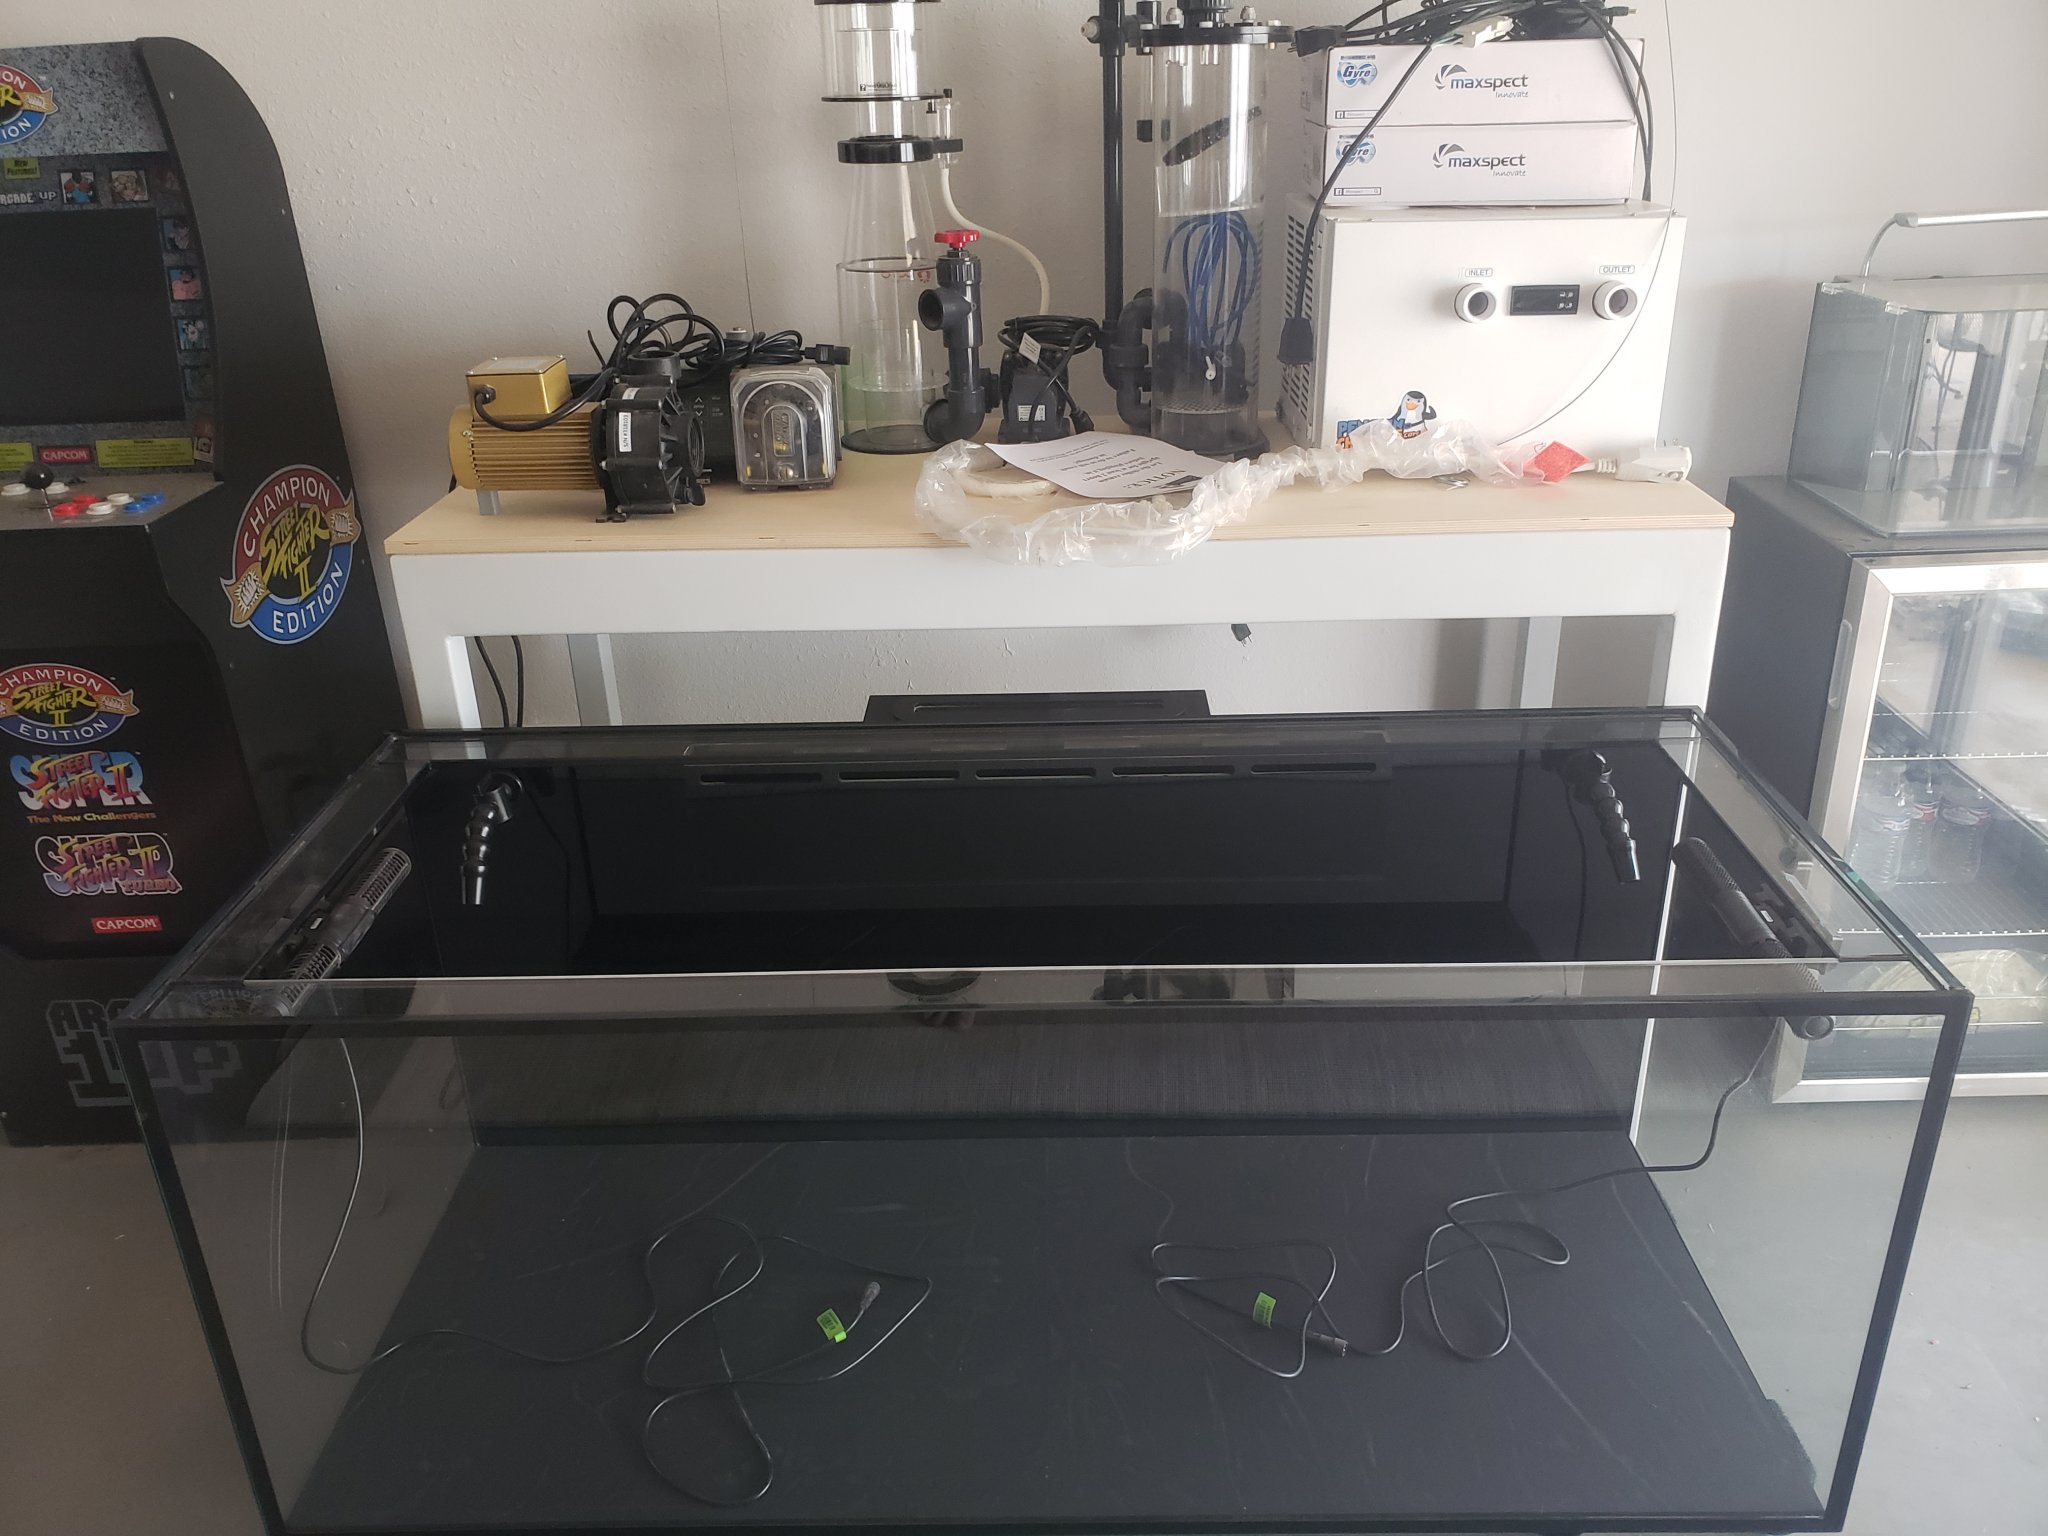
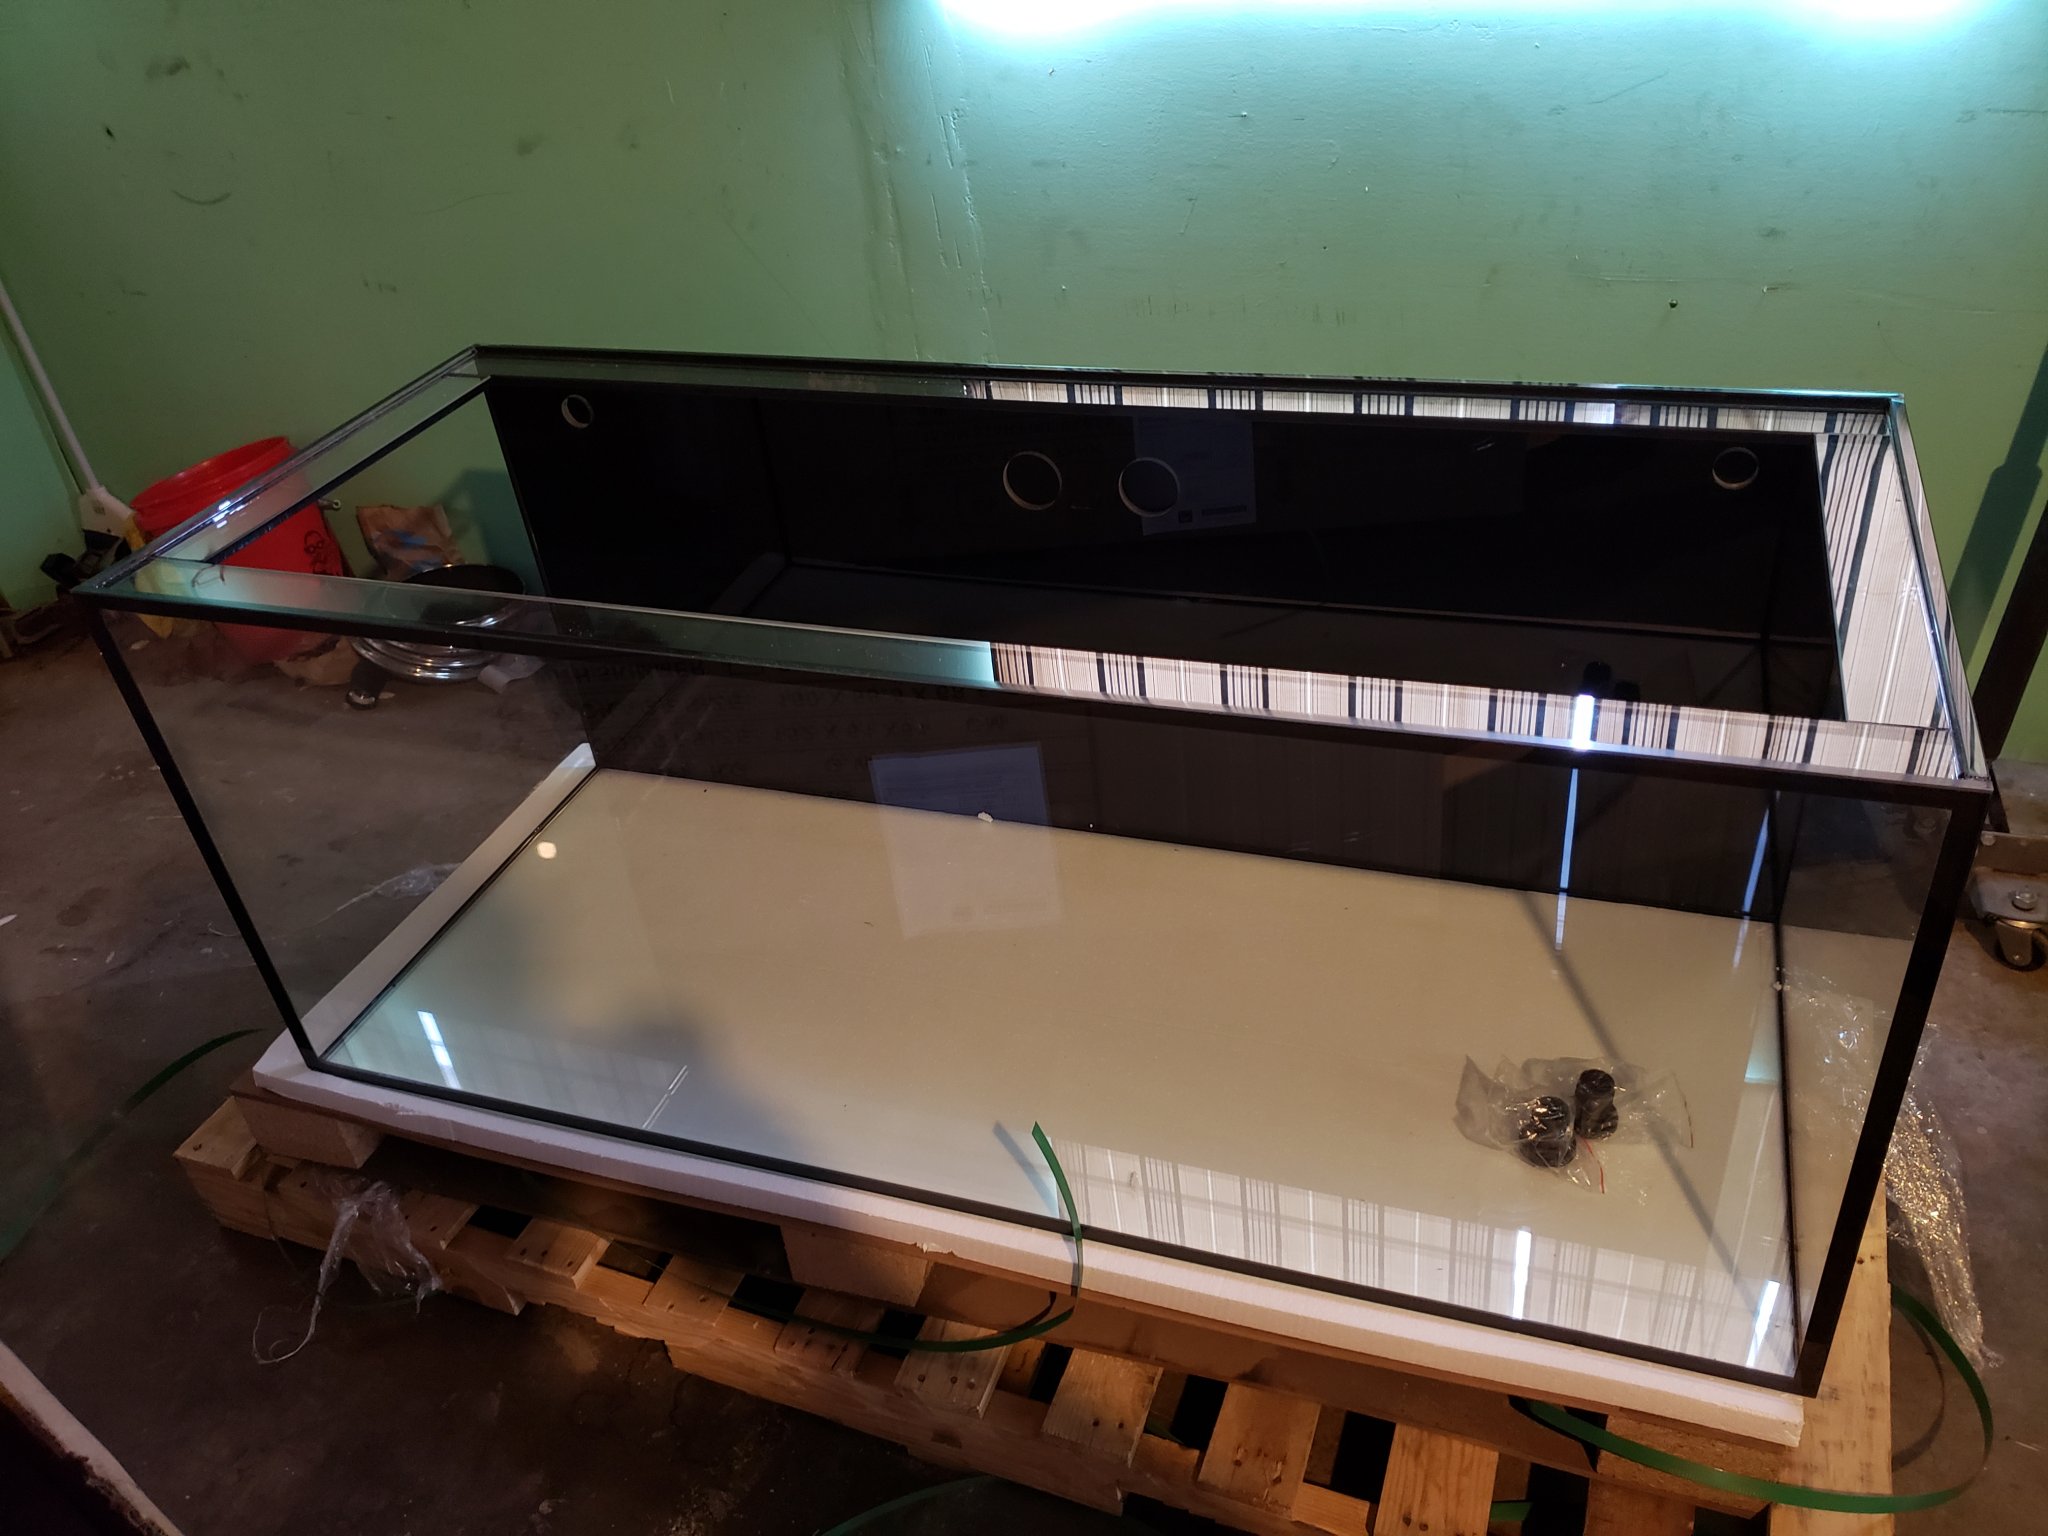
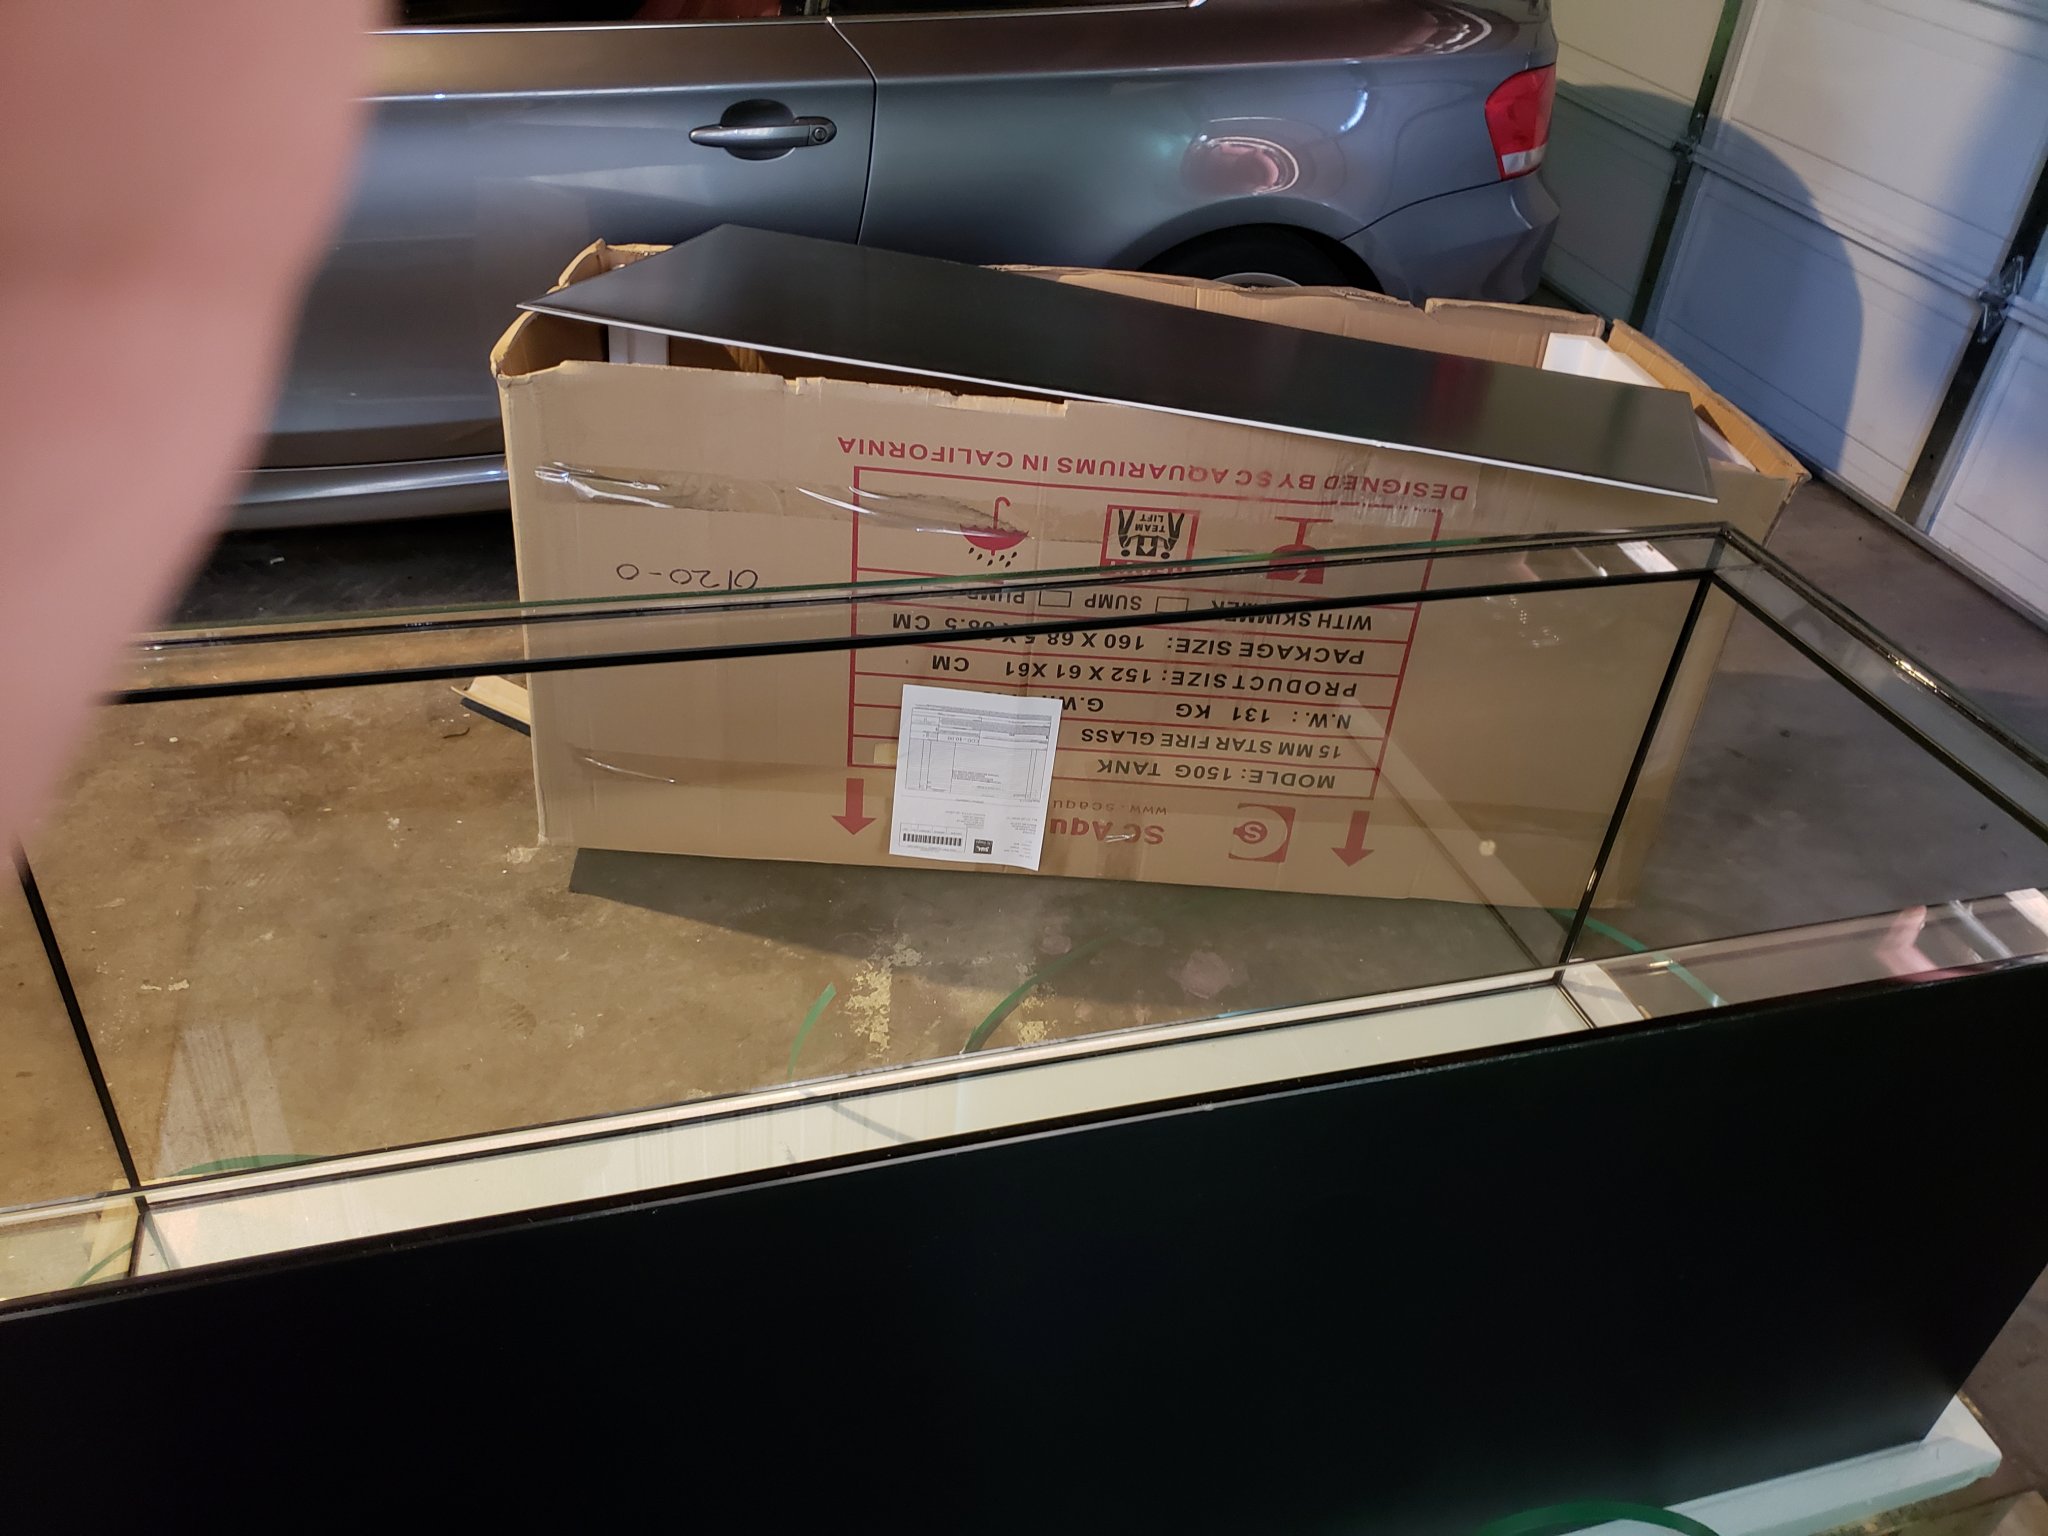
Originally, I had planned to pickup a Nuvo 100-Ext. However, a few weeks ago, I stumbled onto SC Aquariums website to find a 150 gallon euro-braced aquarium for a great price. It almost seemed too good to be true-- a chance to save some money and get a bigger tank! After a few hours of research, I went ahead and made the purchase since it was on sale ($150.00 off their normal price).
The purchase of the tank was very smooth. I requested shipping to be delayed since I was going to be out of town, and this was no problem for SC Aquariums. The shipper contacted me with a delivery window a couple days before hand, and the driver contacted me the day of delivery with an even smaller delivery window. He also had no problems getting the tank into my garage which saved me a lot of hassle (I did pay extra for liftgate service at delivery).
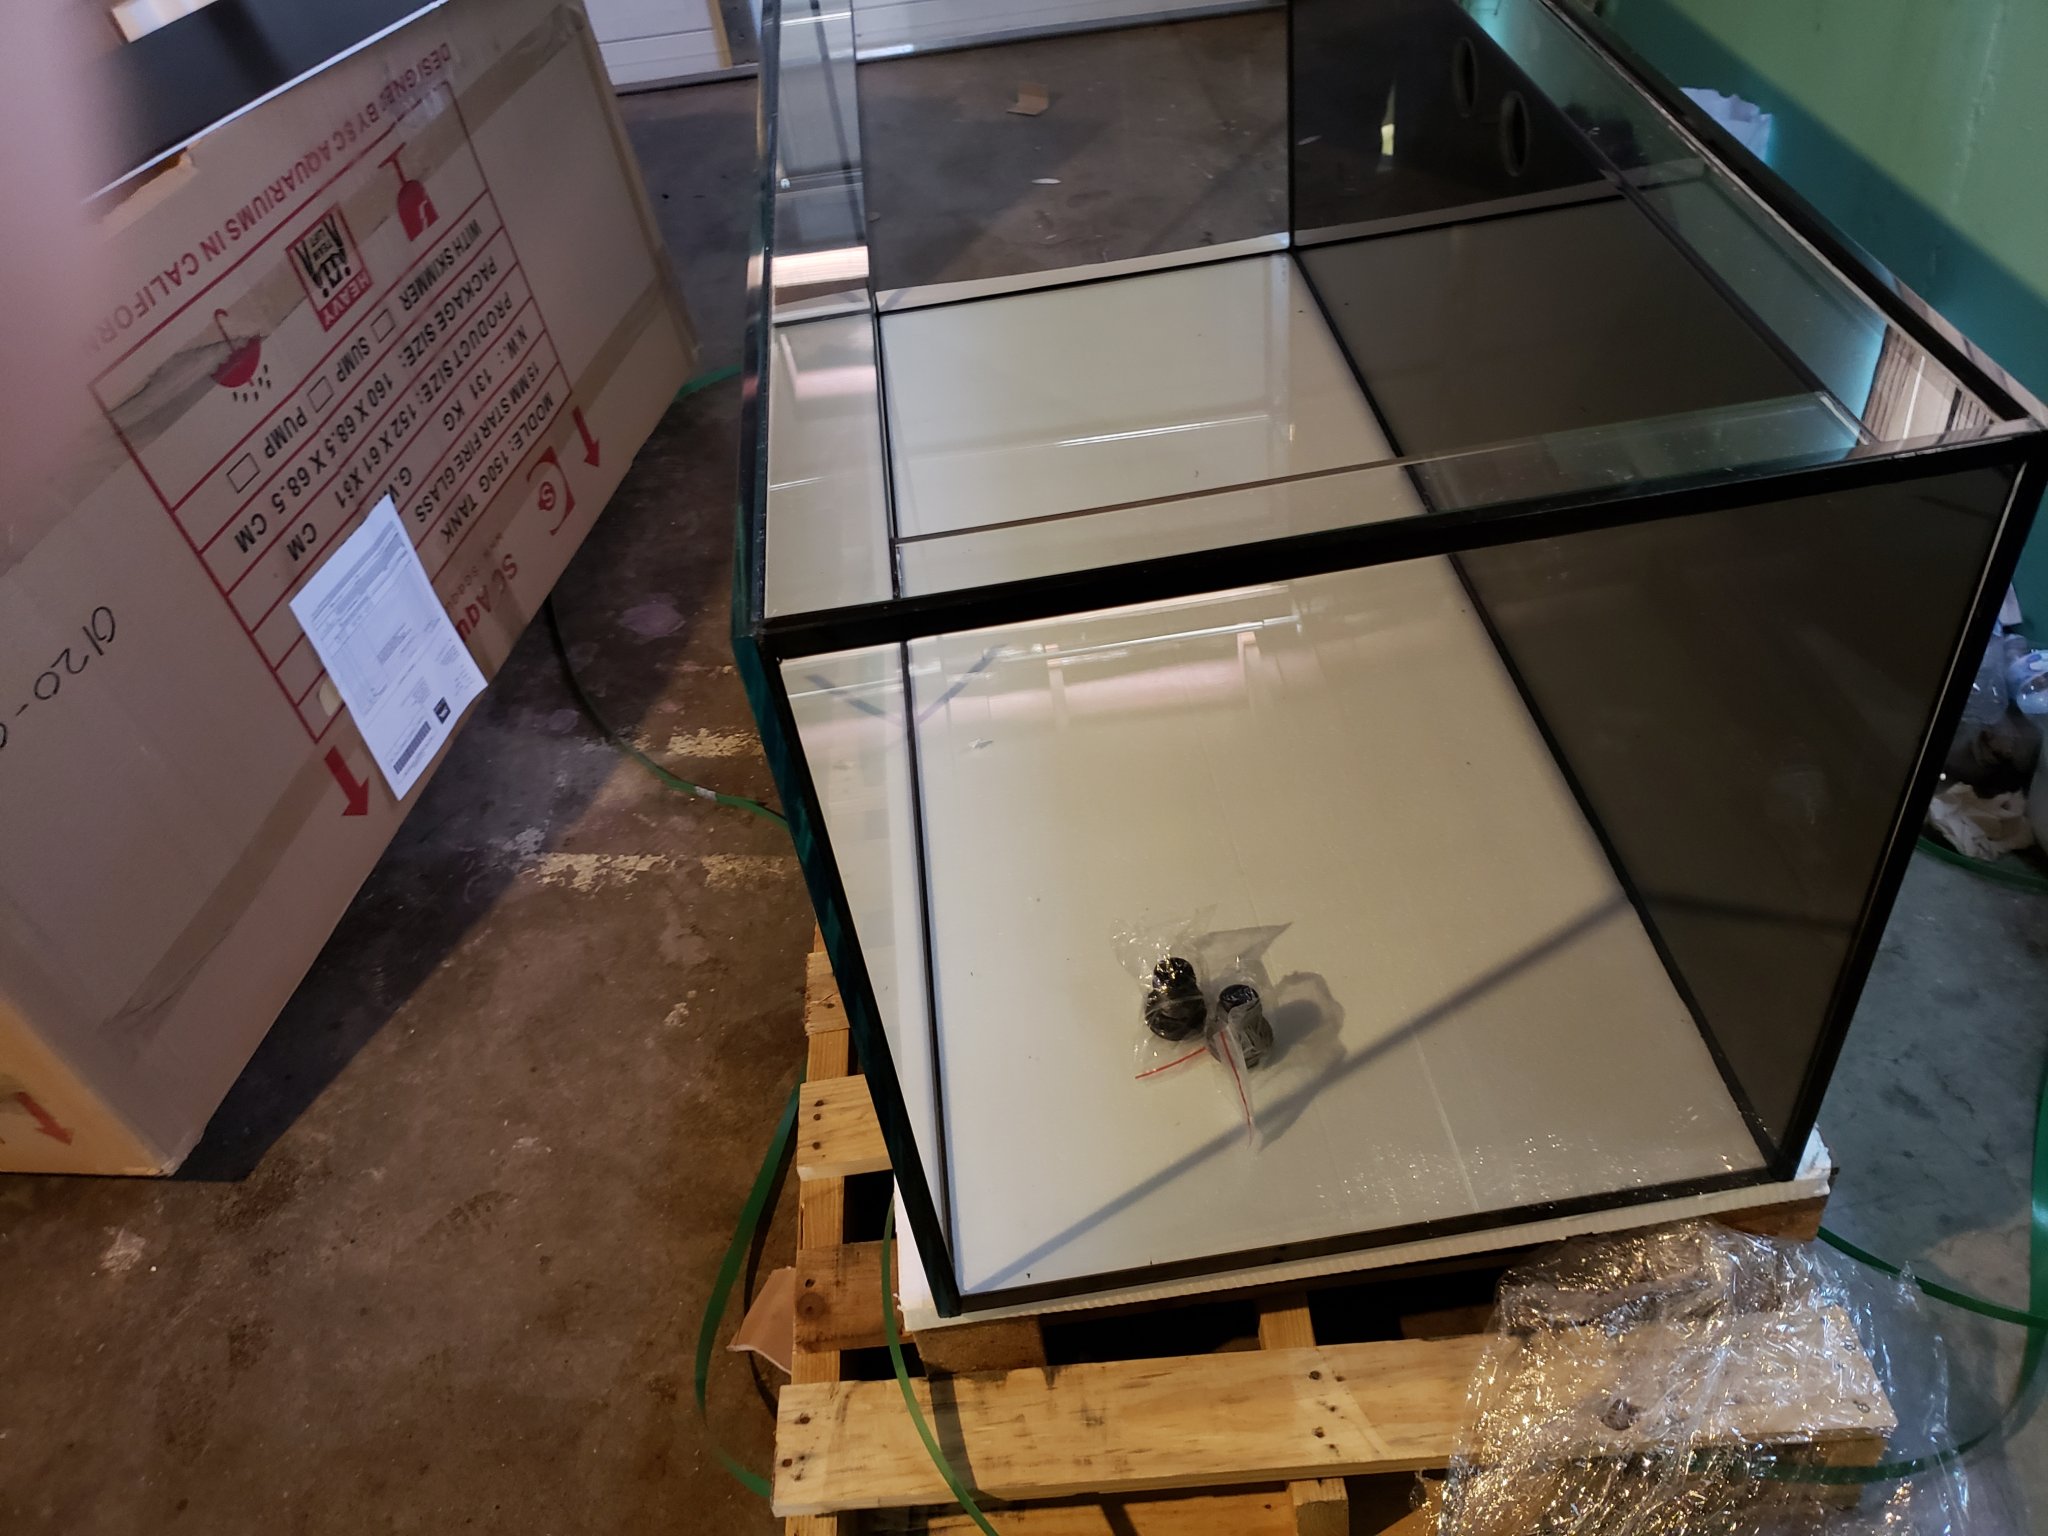
My initial impression is the tank looks great. No chipping or damage to any of the glass. Panel alignment is spot on and silicone is well done and clean. It's also drilled for a ghost overflow and has a black background already applied. Overall, these tanks seem like an excellent value-- the cost was only about $150.00 more than what I was quoted for a standard Aqueon RR 120 from a LFS. And it was delivered directly to my garage! Amazing!
Tank Location
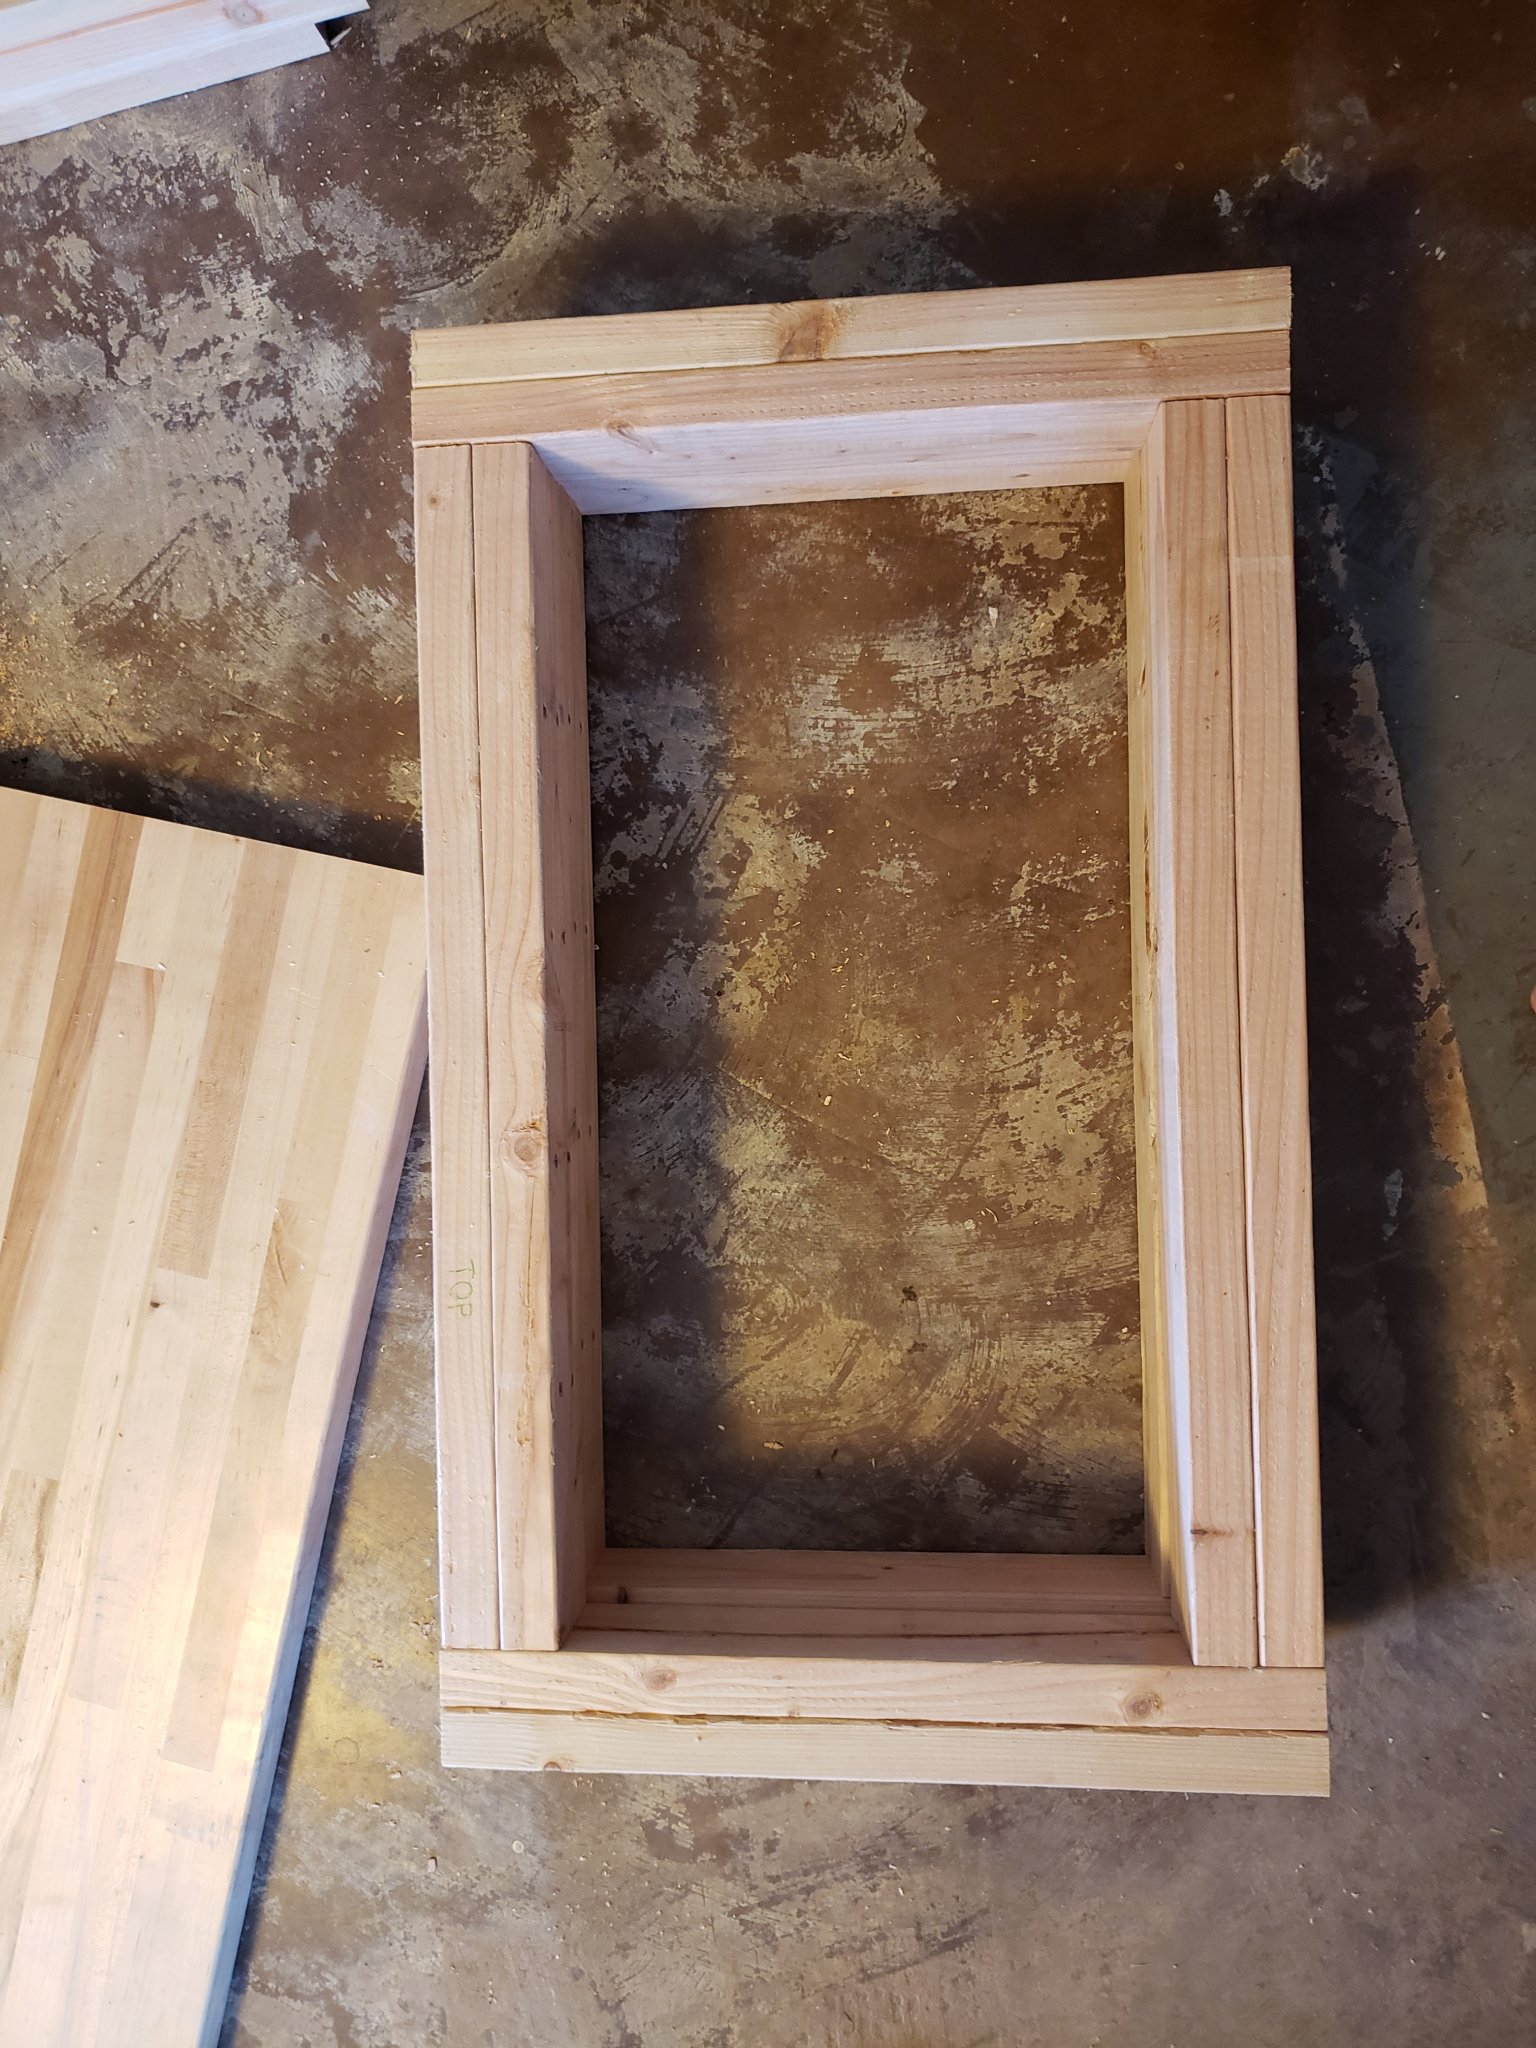
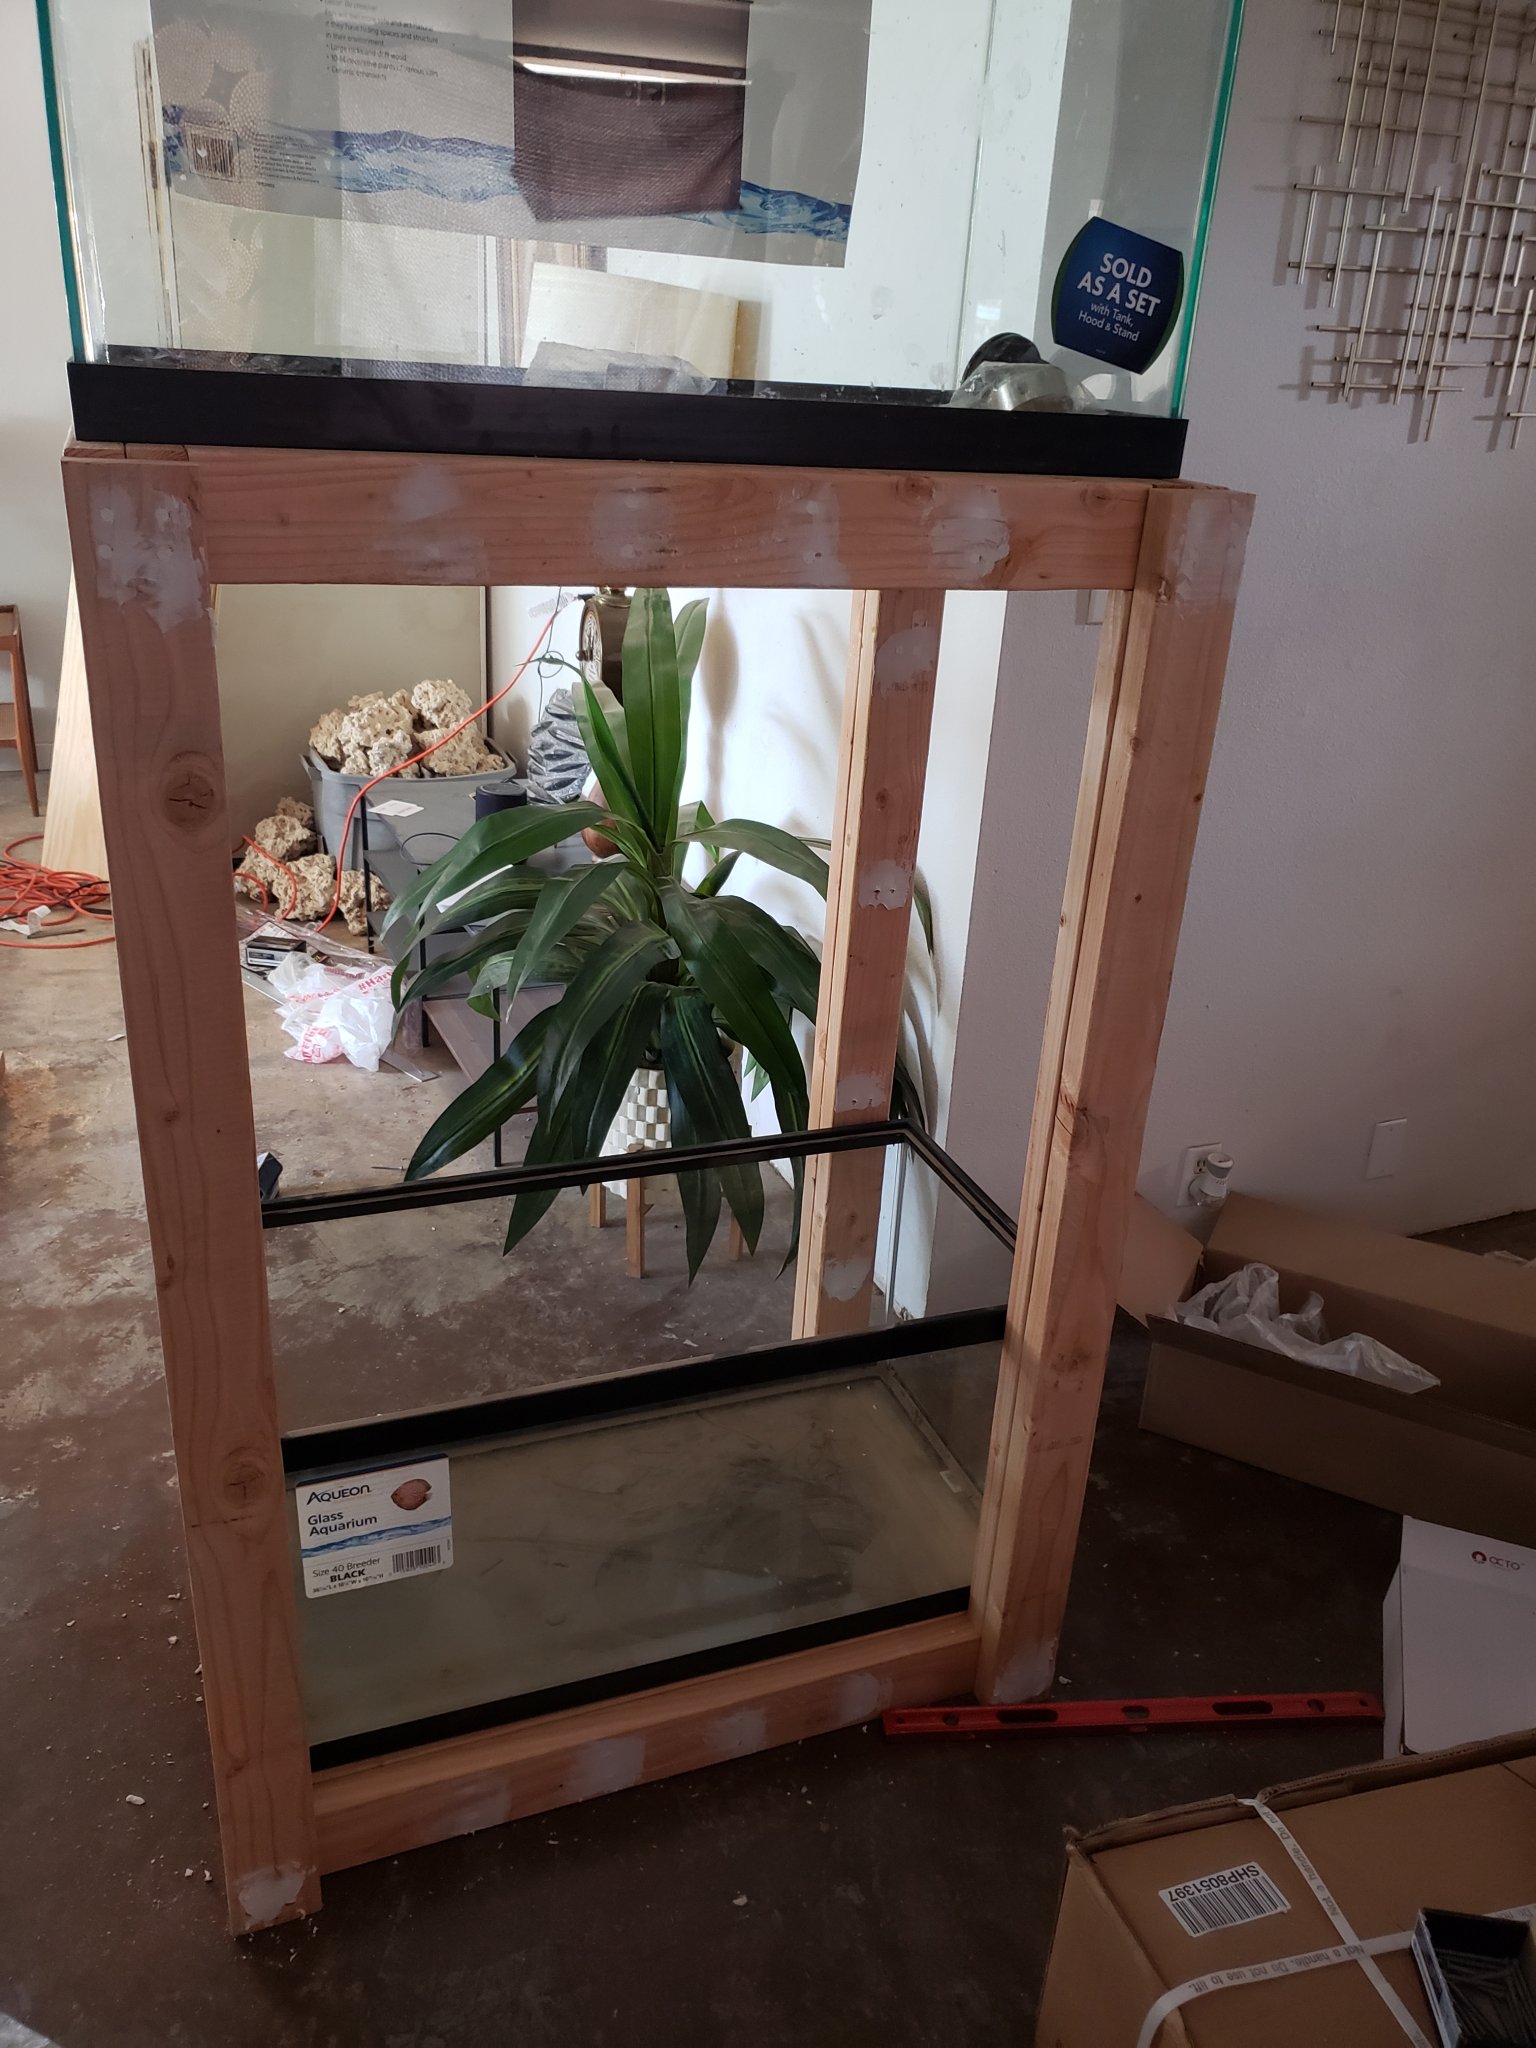
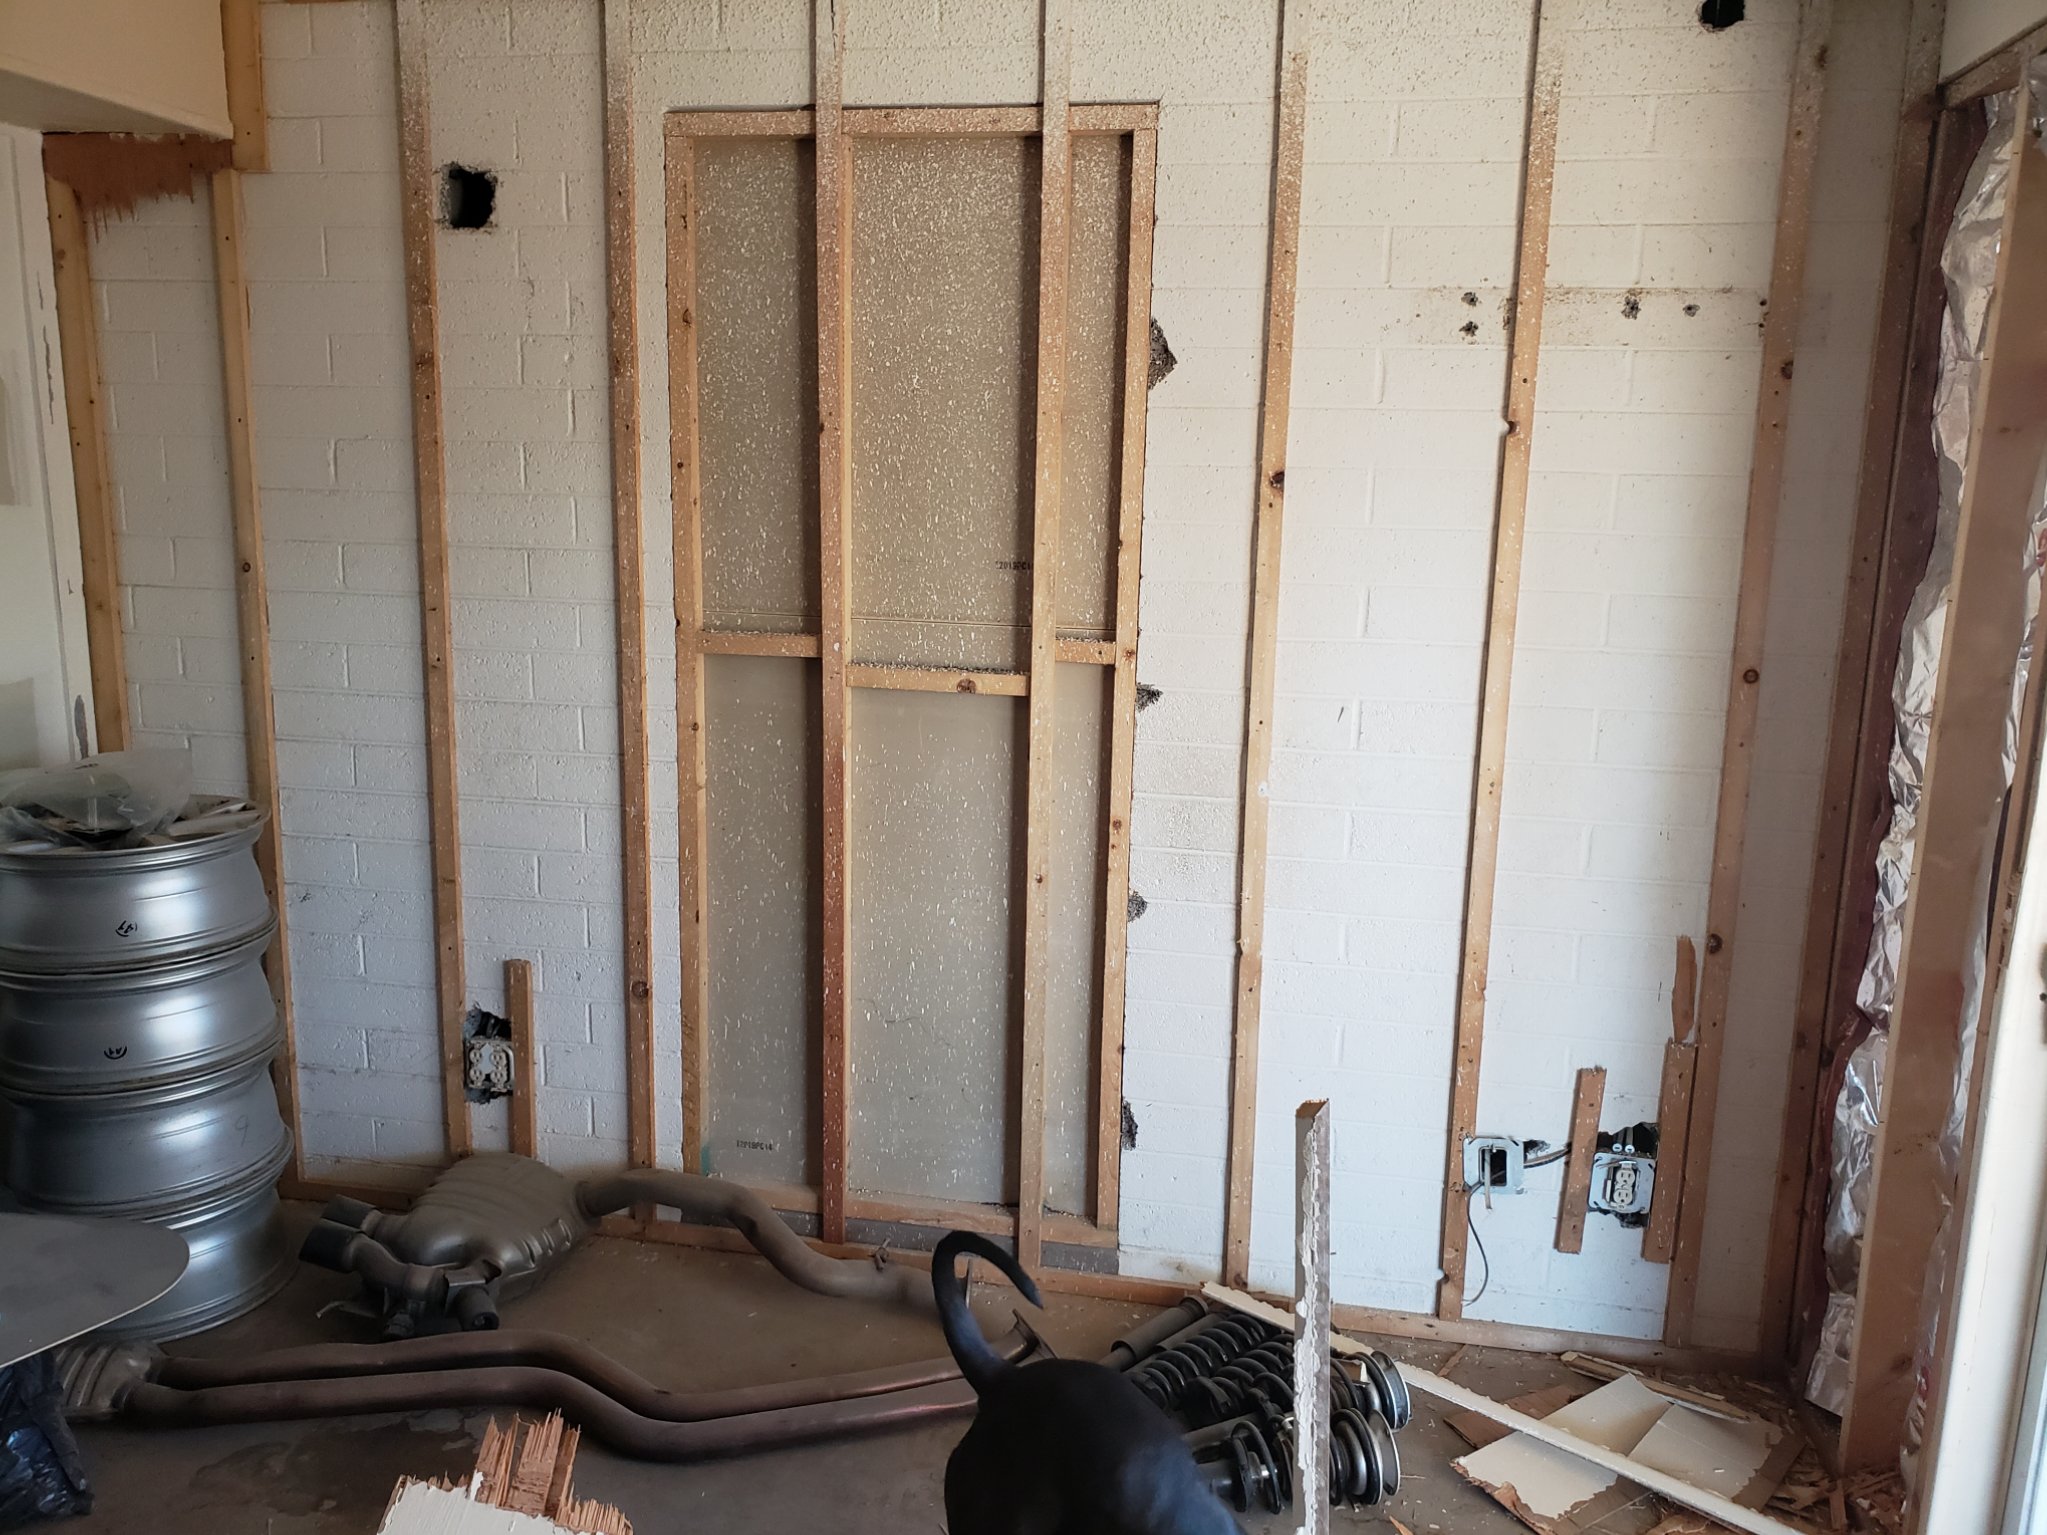
The tank will be going into my soon to be drywalled den. The wall space is about 11 feet long and I have 28 inches depth to my back door (see picture). The room is not that big, and I previously had a 75 gallon here that seemed a bit big for my taste. So, what was the solution? Replace with a bigger tank of course! Seriously though, I plan to use an open stand to hopefully help the room feel a little less crowded.
The look I am going for in terms of the stand:

*Borrowed from ReefSavvy website.
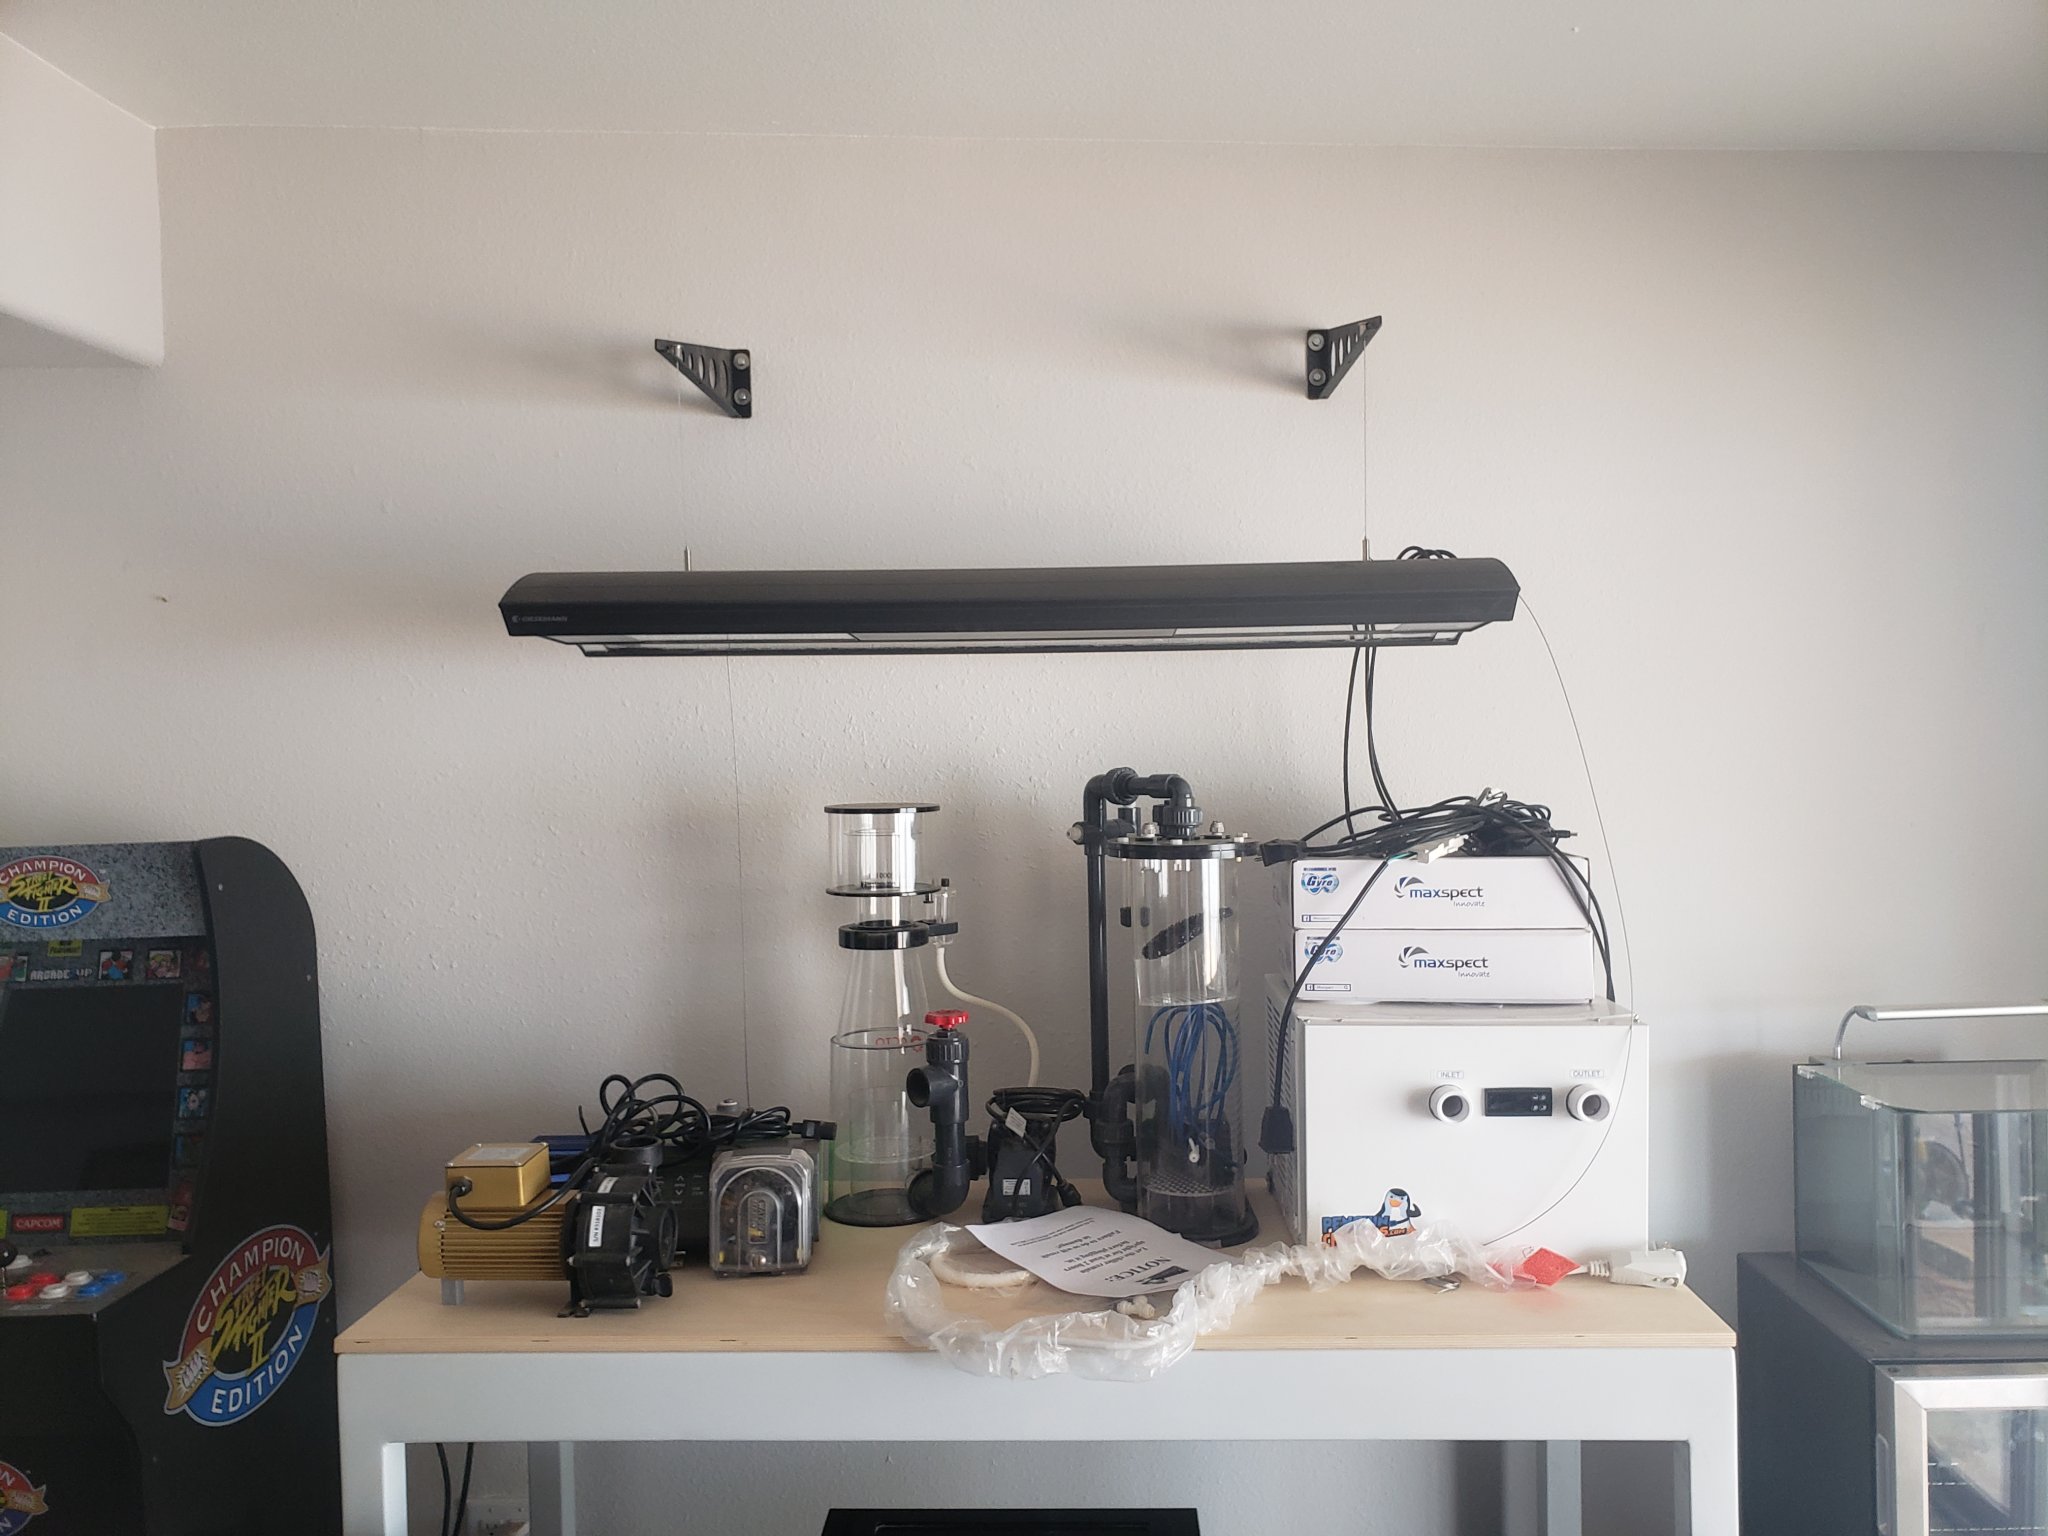
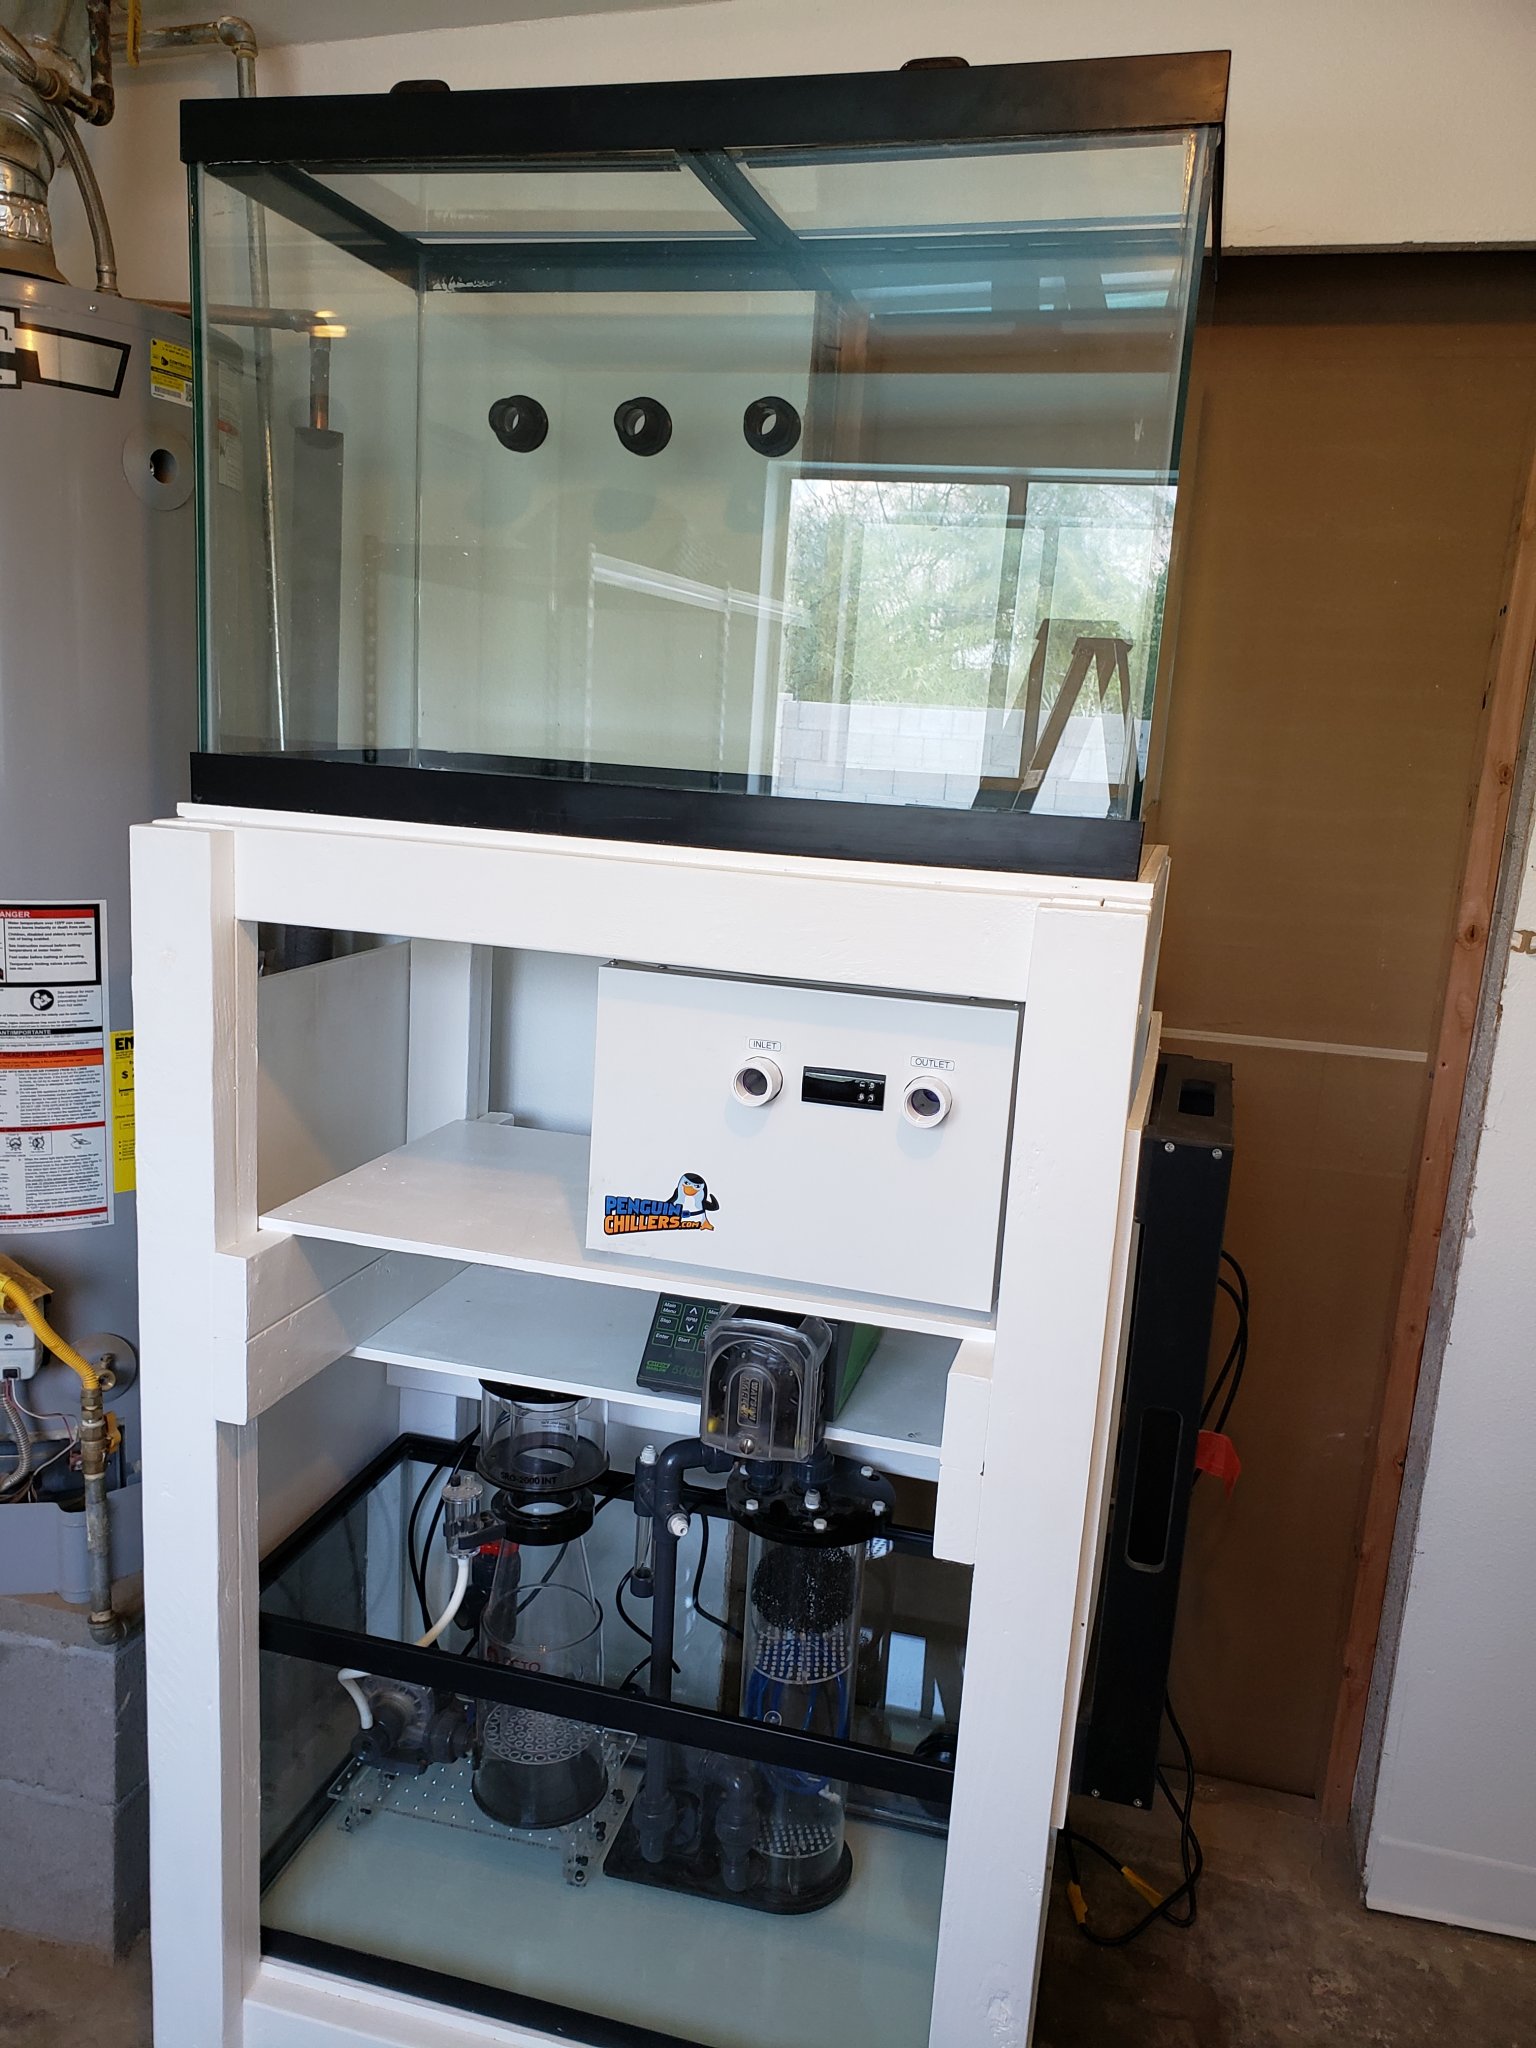
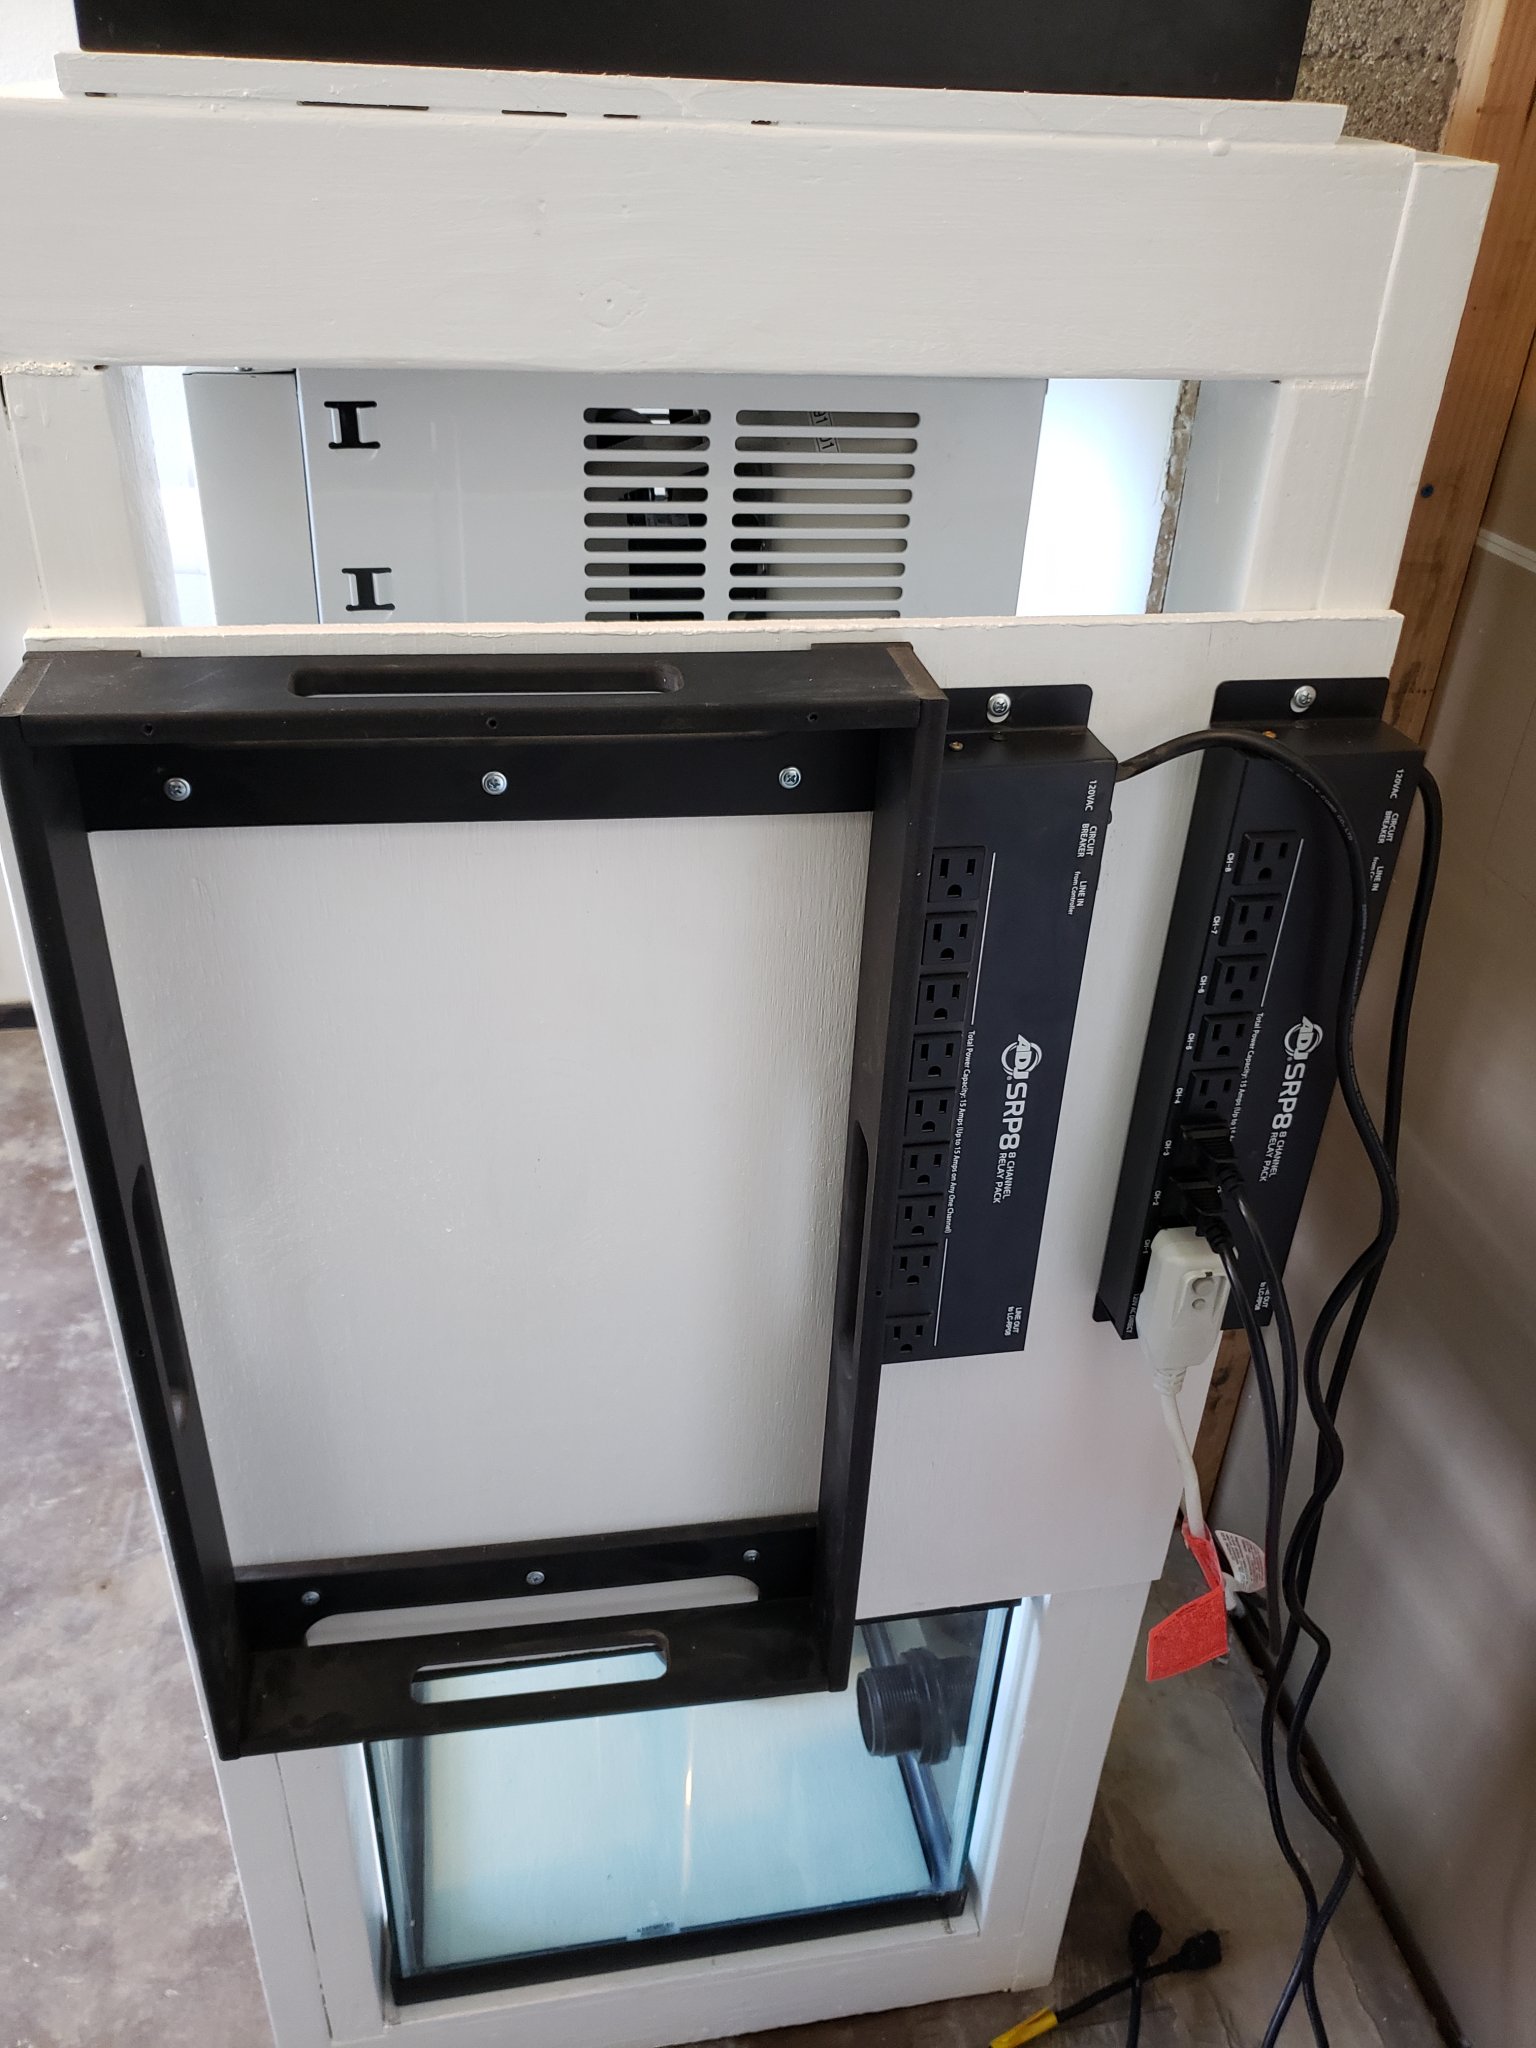
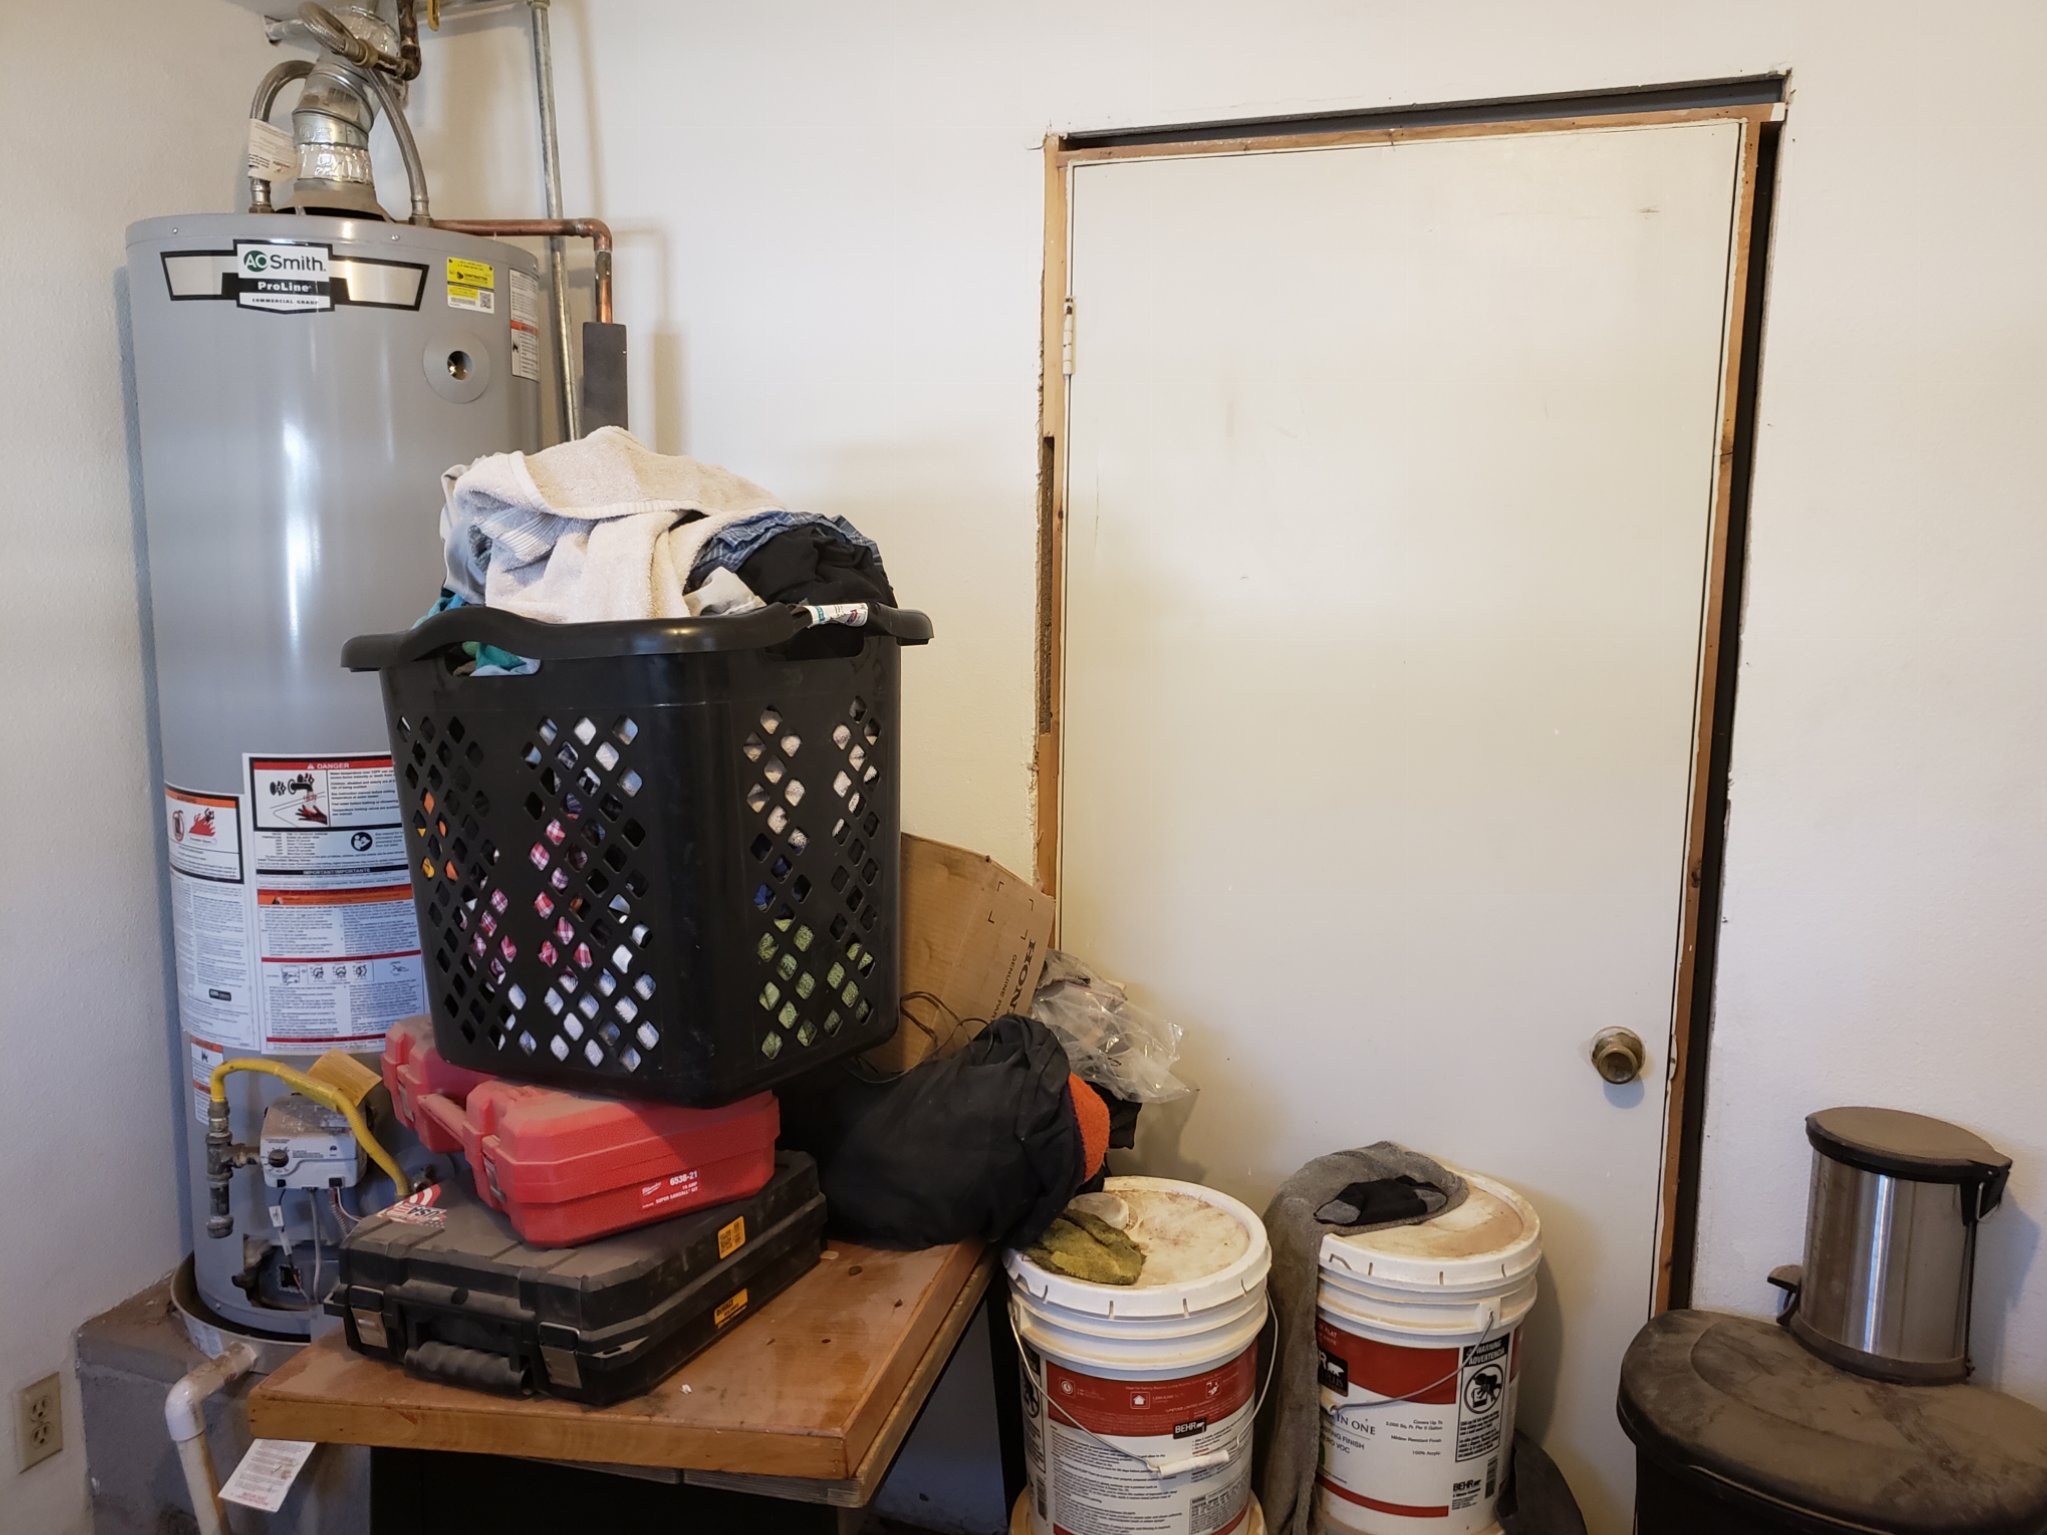
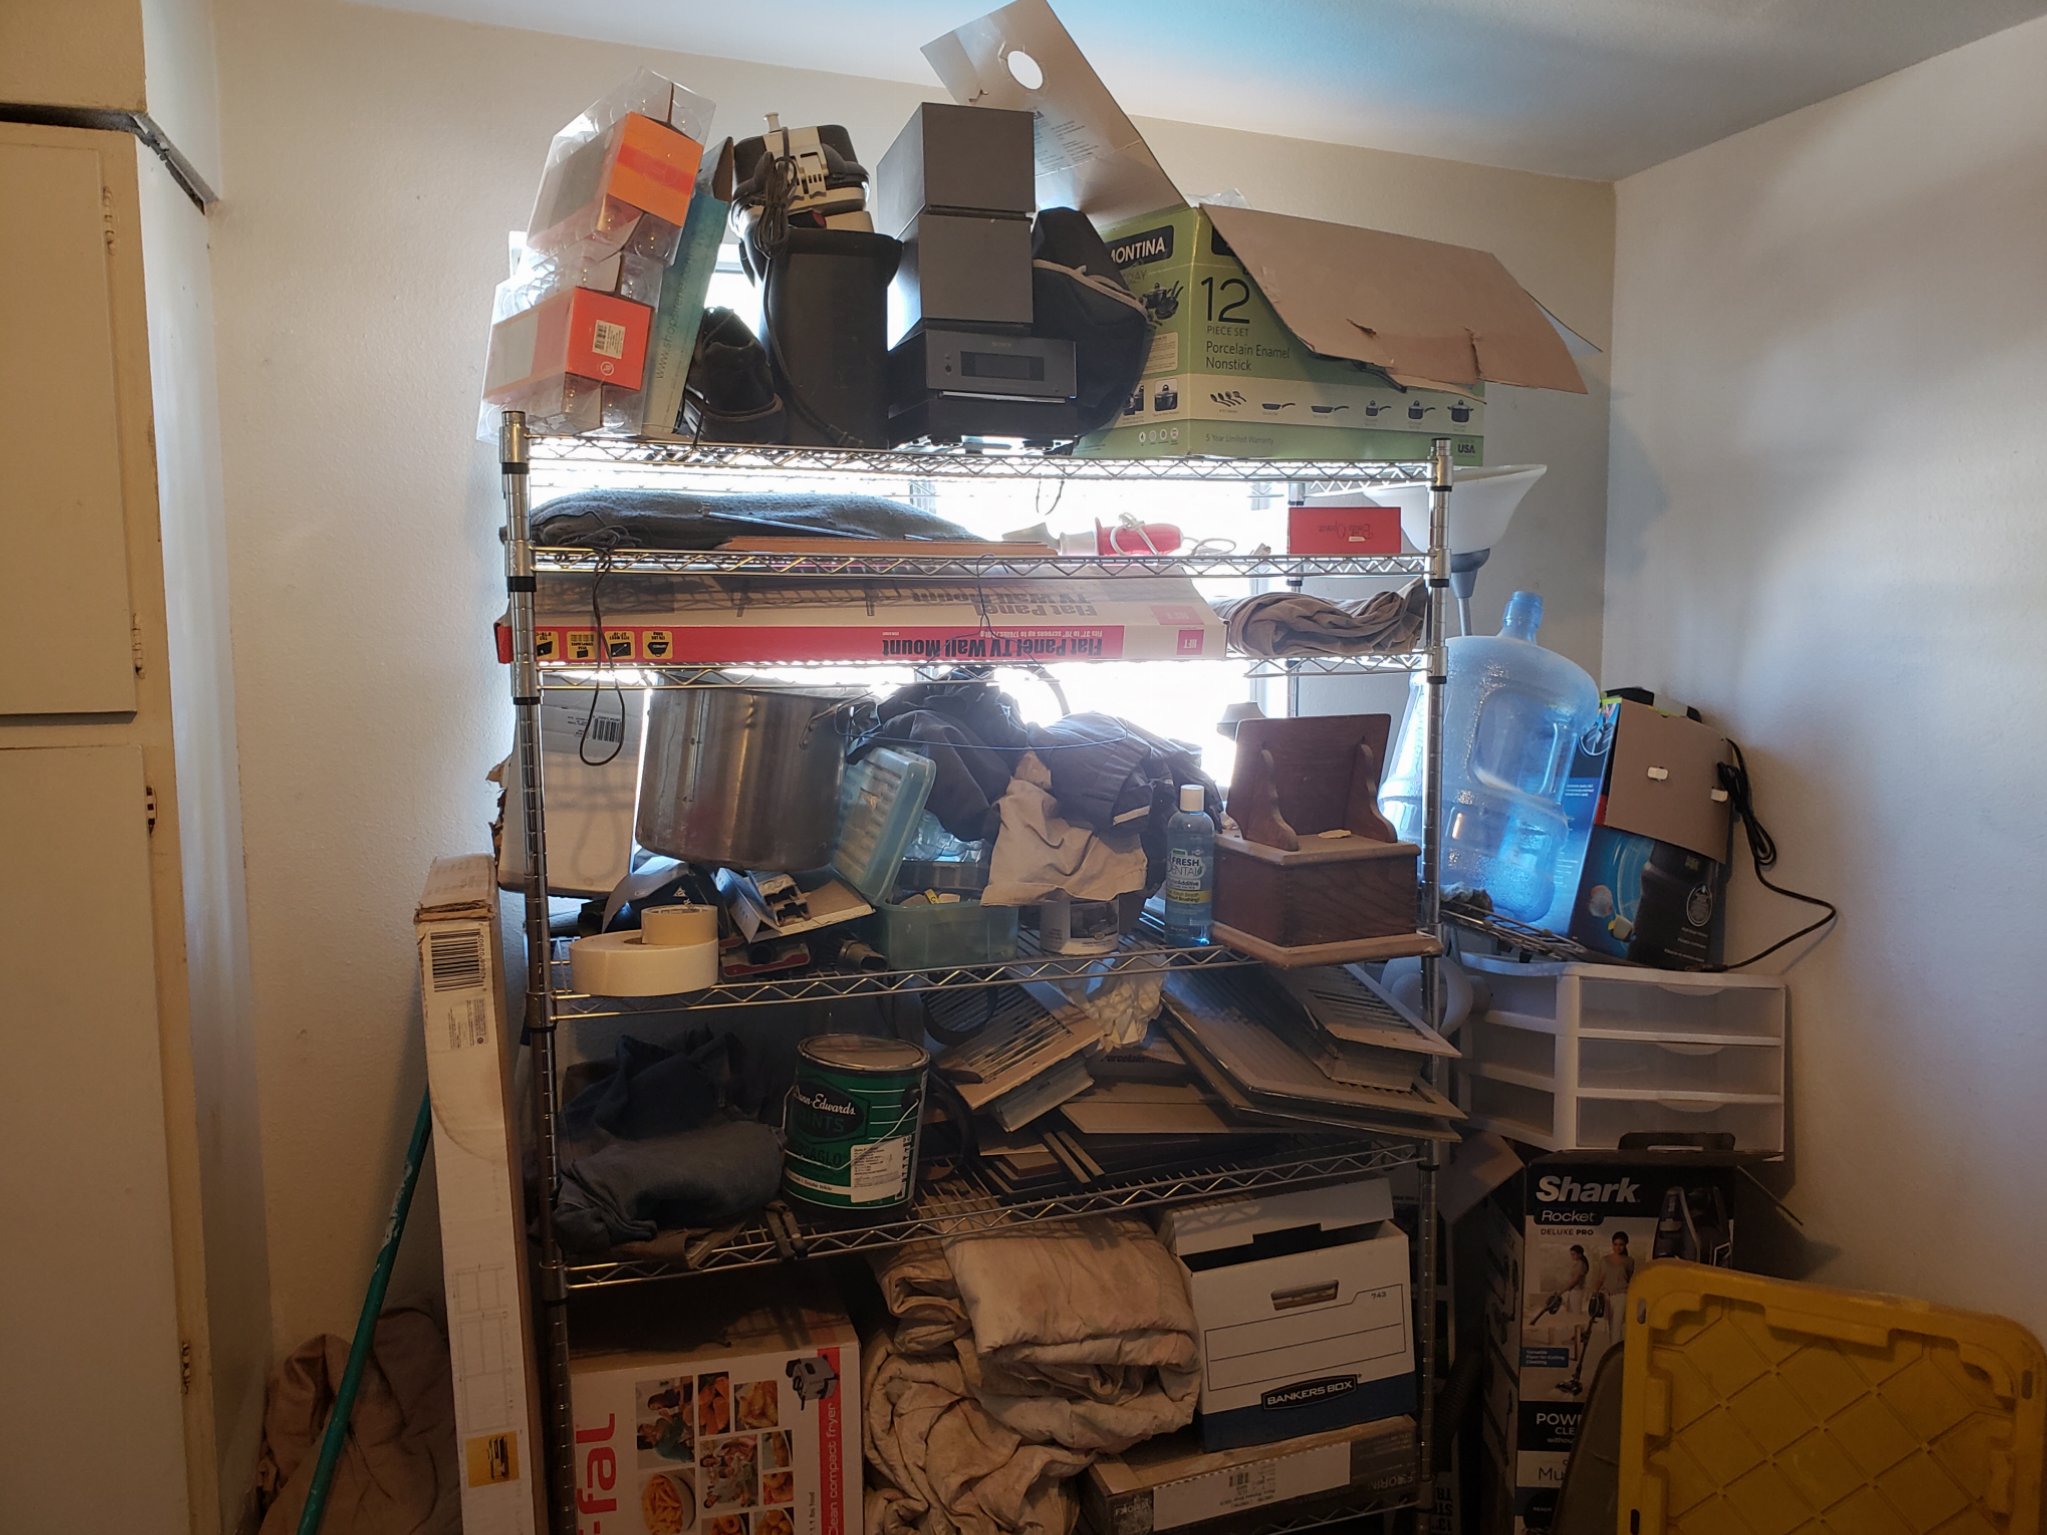
Another advantage of this location is the wall backs up to my laundry room. I will place the sump and equipment here. This has some great advantages, but a few limitations as well.
Advantages:
-A lot more space an aquarium cabinet!
-Exterior wall that already has overflow drain for hot water heater pan.
-Close to junction box if electrical work is needed.
-Freshwater supply and drain available.
-Exhaust vent already available through roof.
Disadvantages:
-Water heater and saltwater is a bit scary. Will likely need an enclosure for the heater.
-Somewhat limited space directly behind tank. 4.5 feet max width.
-Room must still must function as laundry room. Noise is not a big concern but electricity usage and humidity could be a problem?
Well, I think that's enough for now. Let me know if tl;dr! I am going to add more posts with details on my plans for the sump and equipment needs. I also have a product review coming that anyone looking to save money might find useful!
- Mixed reef tank
- Focus on coral, not fish
- Low maintenance with easy water changes
- Extendability-- Easy to add equipment as necessary
Overview
This will be my first saltwater tank, which of course means it will be my first reef tank! From the perspective of someone coming from the freshwater side, the number of different equipment options and approaches available to reefers can be overwhelming. As such, I'm going to try to keep things as simple as possible and stick with what has worked for me and my freshwater tanks.
Approach
Based on my experience with freshwater tanks, keeping maintenance simple and to a minimum is critical to my long-term success. Water changes should easy to perform and maintaining water level between water changes should be automated. Other routine maintenance should be automated whenever possible.
Since this is my first reef tank, creating a space where I can grow different types of coral and experiment is preferable to creating the "perfect" aqua scape. At least for the first iteration of the tank! Keeping the number of fishes in the tank low has been another key to success on the freshwater side, and I assume it's no different in a reef tank. Fewer mouths to feed means less nutrients added to the water during feeding time!
Tank
Originally, I had planned to pickup a Nuvo 100-Ext. However, a few weeks ago, I stumbled onto SC Aquariums website to find a 150 gallon euro-braced aquarium for a great price. It almost seemed too good to be true-- a chance to save some money and get a bigger tank! After a few hours of research, I went ahead and made the purchase since it was on sale ($150.00 off their normal price).
The purchase of the tank was very smooth. I requested shipping to be delayed since I was going to be out of town, and this was no problem for SC Aquariums. The shipper contacted me with a delivery window a couple days before hand, and the driver contacted me the day of delivery with an even smaller delivery window. He also had no problems getting the tank into my garage which saved me a lot of hassle (I did pay extra for liftgate service at delivery).
My initial impression is the tank looks great. No chipping or damage to any of the glass. Panel alignment is spot on and silicone is well done and clean. It's also drilled for a ghost overflow and has a black background already applied. Overall, these tanks seem like an excellent value-- the cost was only about $150.00 more than what I was quoted for a standard Aqueon RR 120 from a LFS. And it was delivered directly to my garage! Amazing!
Tank Location
The tank will be going into my soon to be drywalled den. The wall space is about 11 feet long and I have 28 inches depth to my back door (see picture). The room is not that big, and I previously had a 75 gallon here that seemed a bit big for my taste. So, what was the solution? Replace with a bigger tank of course! Seriously though, I plan to use an open stand to hopefully help the room feel a little less crowded.

The look I am going for in terms of the stand:
*Borrowed from ReefSavvy website.
Another advantage of this location is the wall backs up to my laundry room. I will place the sump and equipment here. This has some great advantages, but a few limitations as well.
Advantages:
-A lot more space an aquarium cabinet!
-Exterior wall that already has overflow drain for hot water heater pan.
-Close to junction box if electrical work is needed.
-Freshwater supply and drain available.
-Exhaust vent already available through roof.
Disadvantages:
-Water heater and saltwater is a bit scary. Will likely need an enclosure for the heater.
-Somewhat limited space directly behind tank. 4.5 feet max width.
-Room must still must function as laundry room. Noise is not a big concern but electricity usage and humidity could be a problem?
Well, I think that's enough for now. Let me know if tl;dr! I am going to add more posts with details on my plans for the sump and equipment needs. I also have a product review coming that anyone looking to save money might find useful!
Last edited: