I've had 110g reef tank for about two years now. It's been your basic overflow/sump under the tank setup and I've had mixed results. Coral and livestock have been healthy for the most part, but I've always been fighting a nutrient export/algae issue. I've decided to "reboot" and upgrade my system from the ground up now that I've gained a lot of valuable first hand experience and a ton of knowledge from this community.
I'm going to go at this project in four phases.
Phase I - Frag Tank & Sump
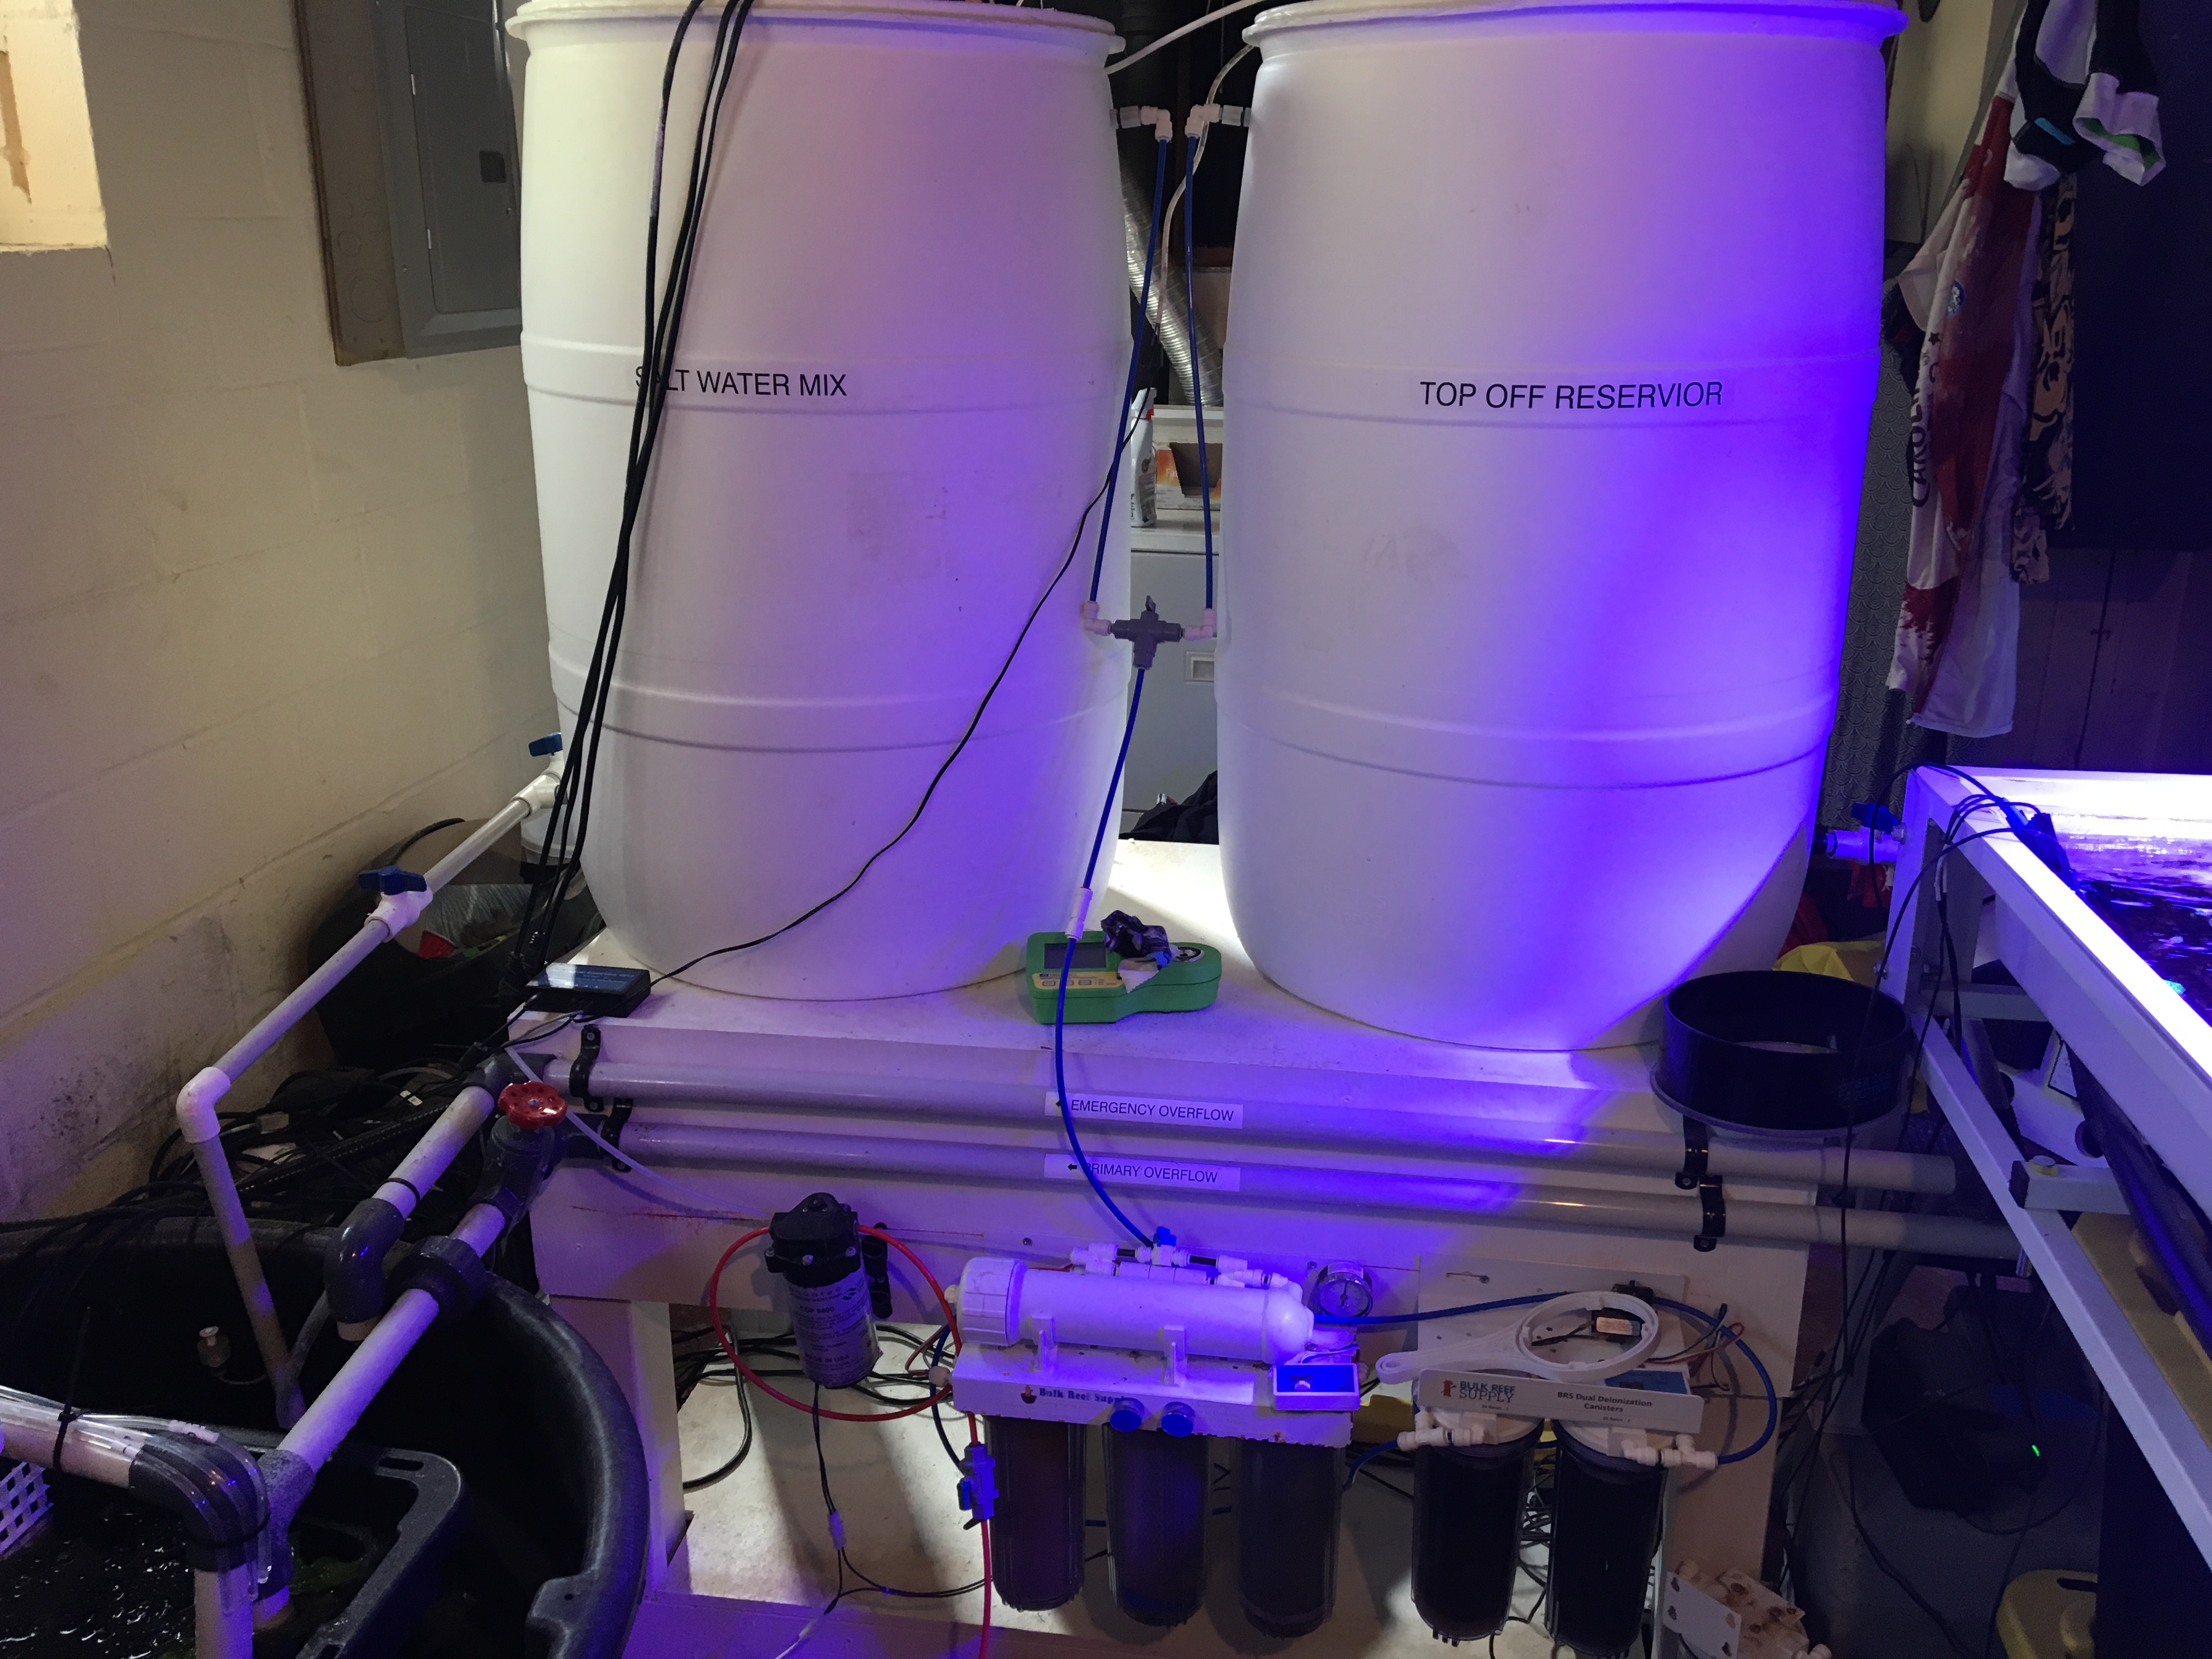
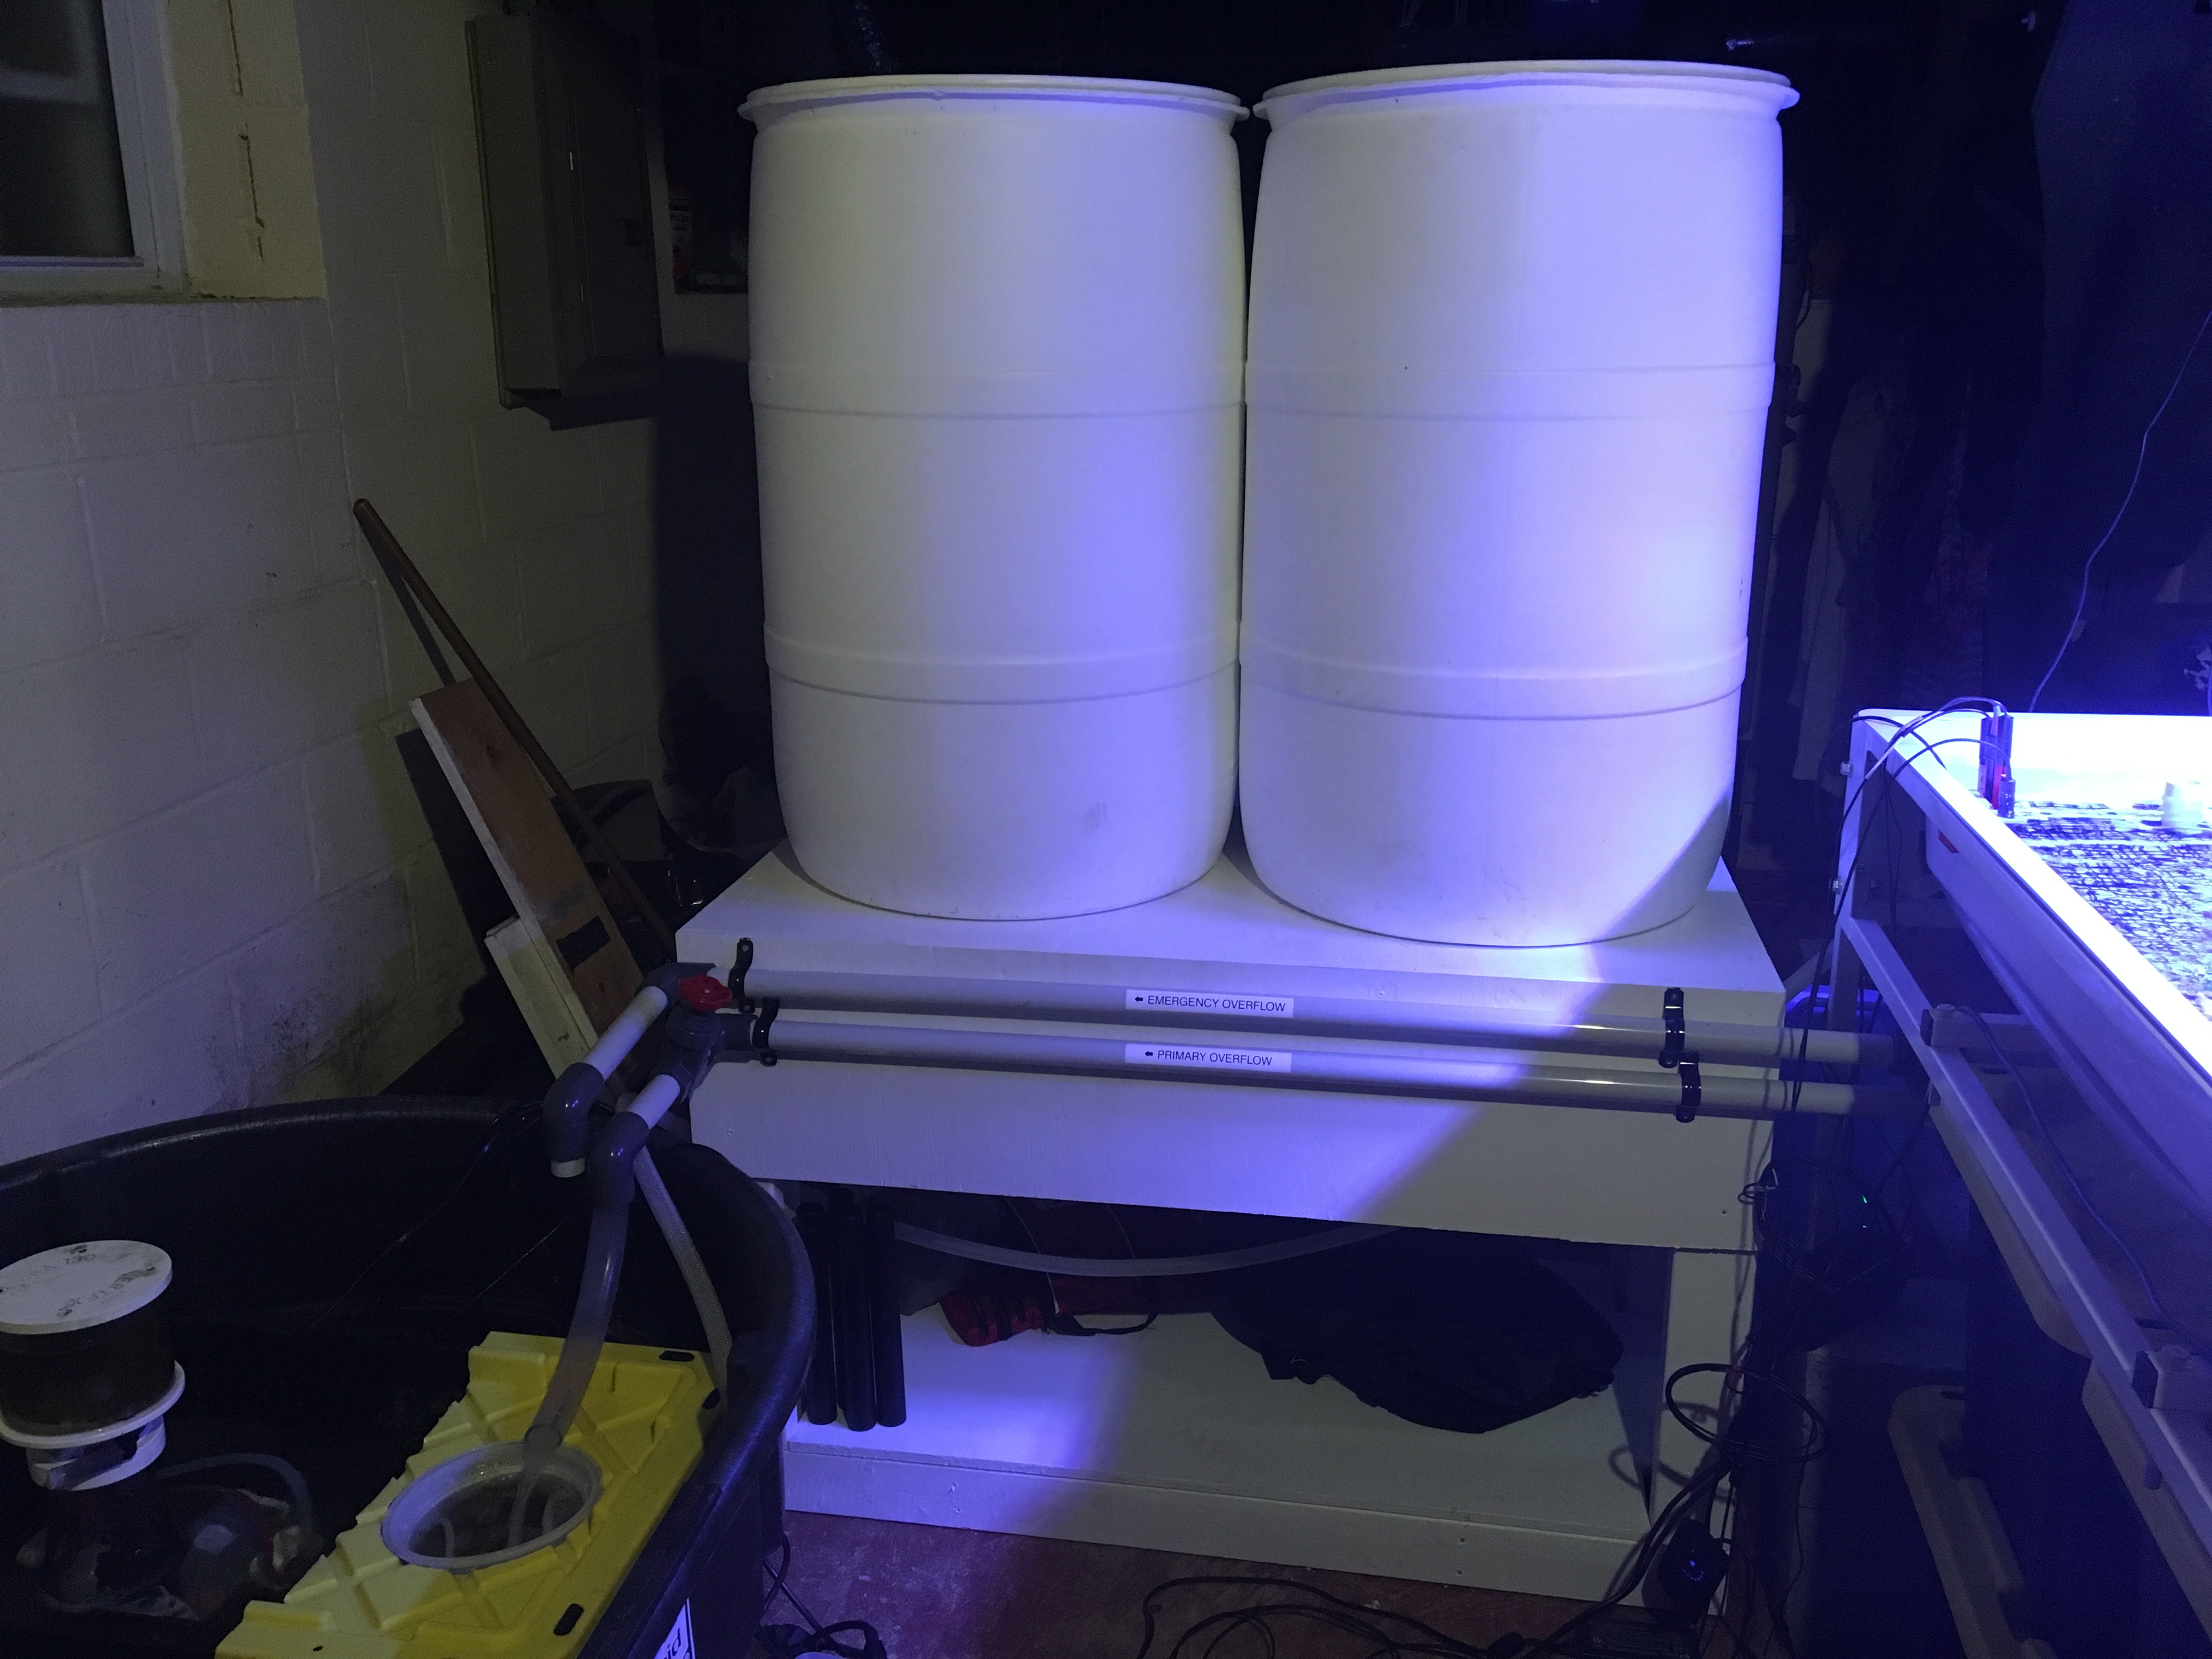
Phase II - RO/DI & SW Mixing Station
Phase III - Refugium
Phase IV - Display Tank
I've just finished the basic setup of the first phase so I decide to start a build thread for anyone that wanted to follow along/provide some suggestions. Thanks for checking it out!
Phase I
The first step was to break down my old tank and transition it into a frag tank and sump. I'm sure most projects have a display tank as part of the initial build, but I'm going to work the other direction as this will give me an opportunity to work through issues before going to the trouble of plumbing my entire house.
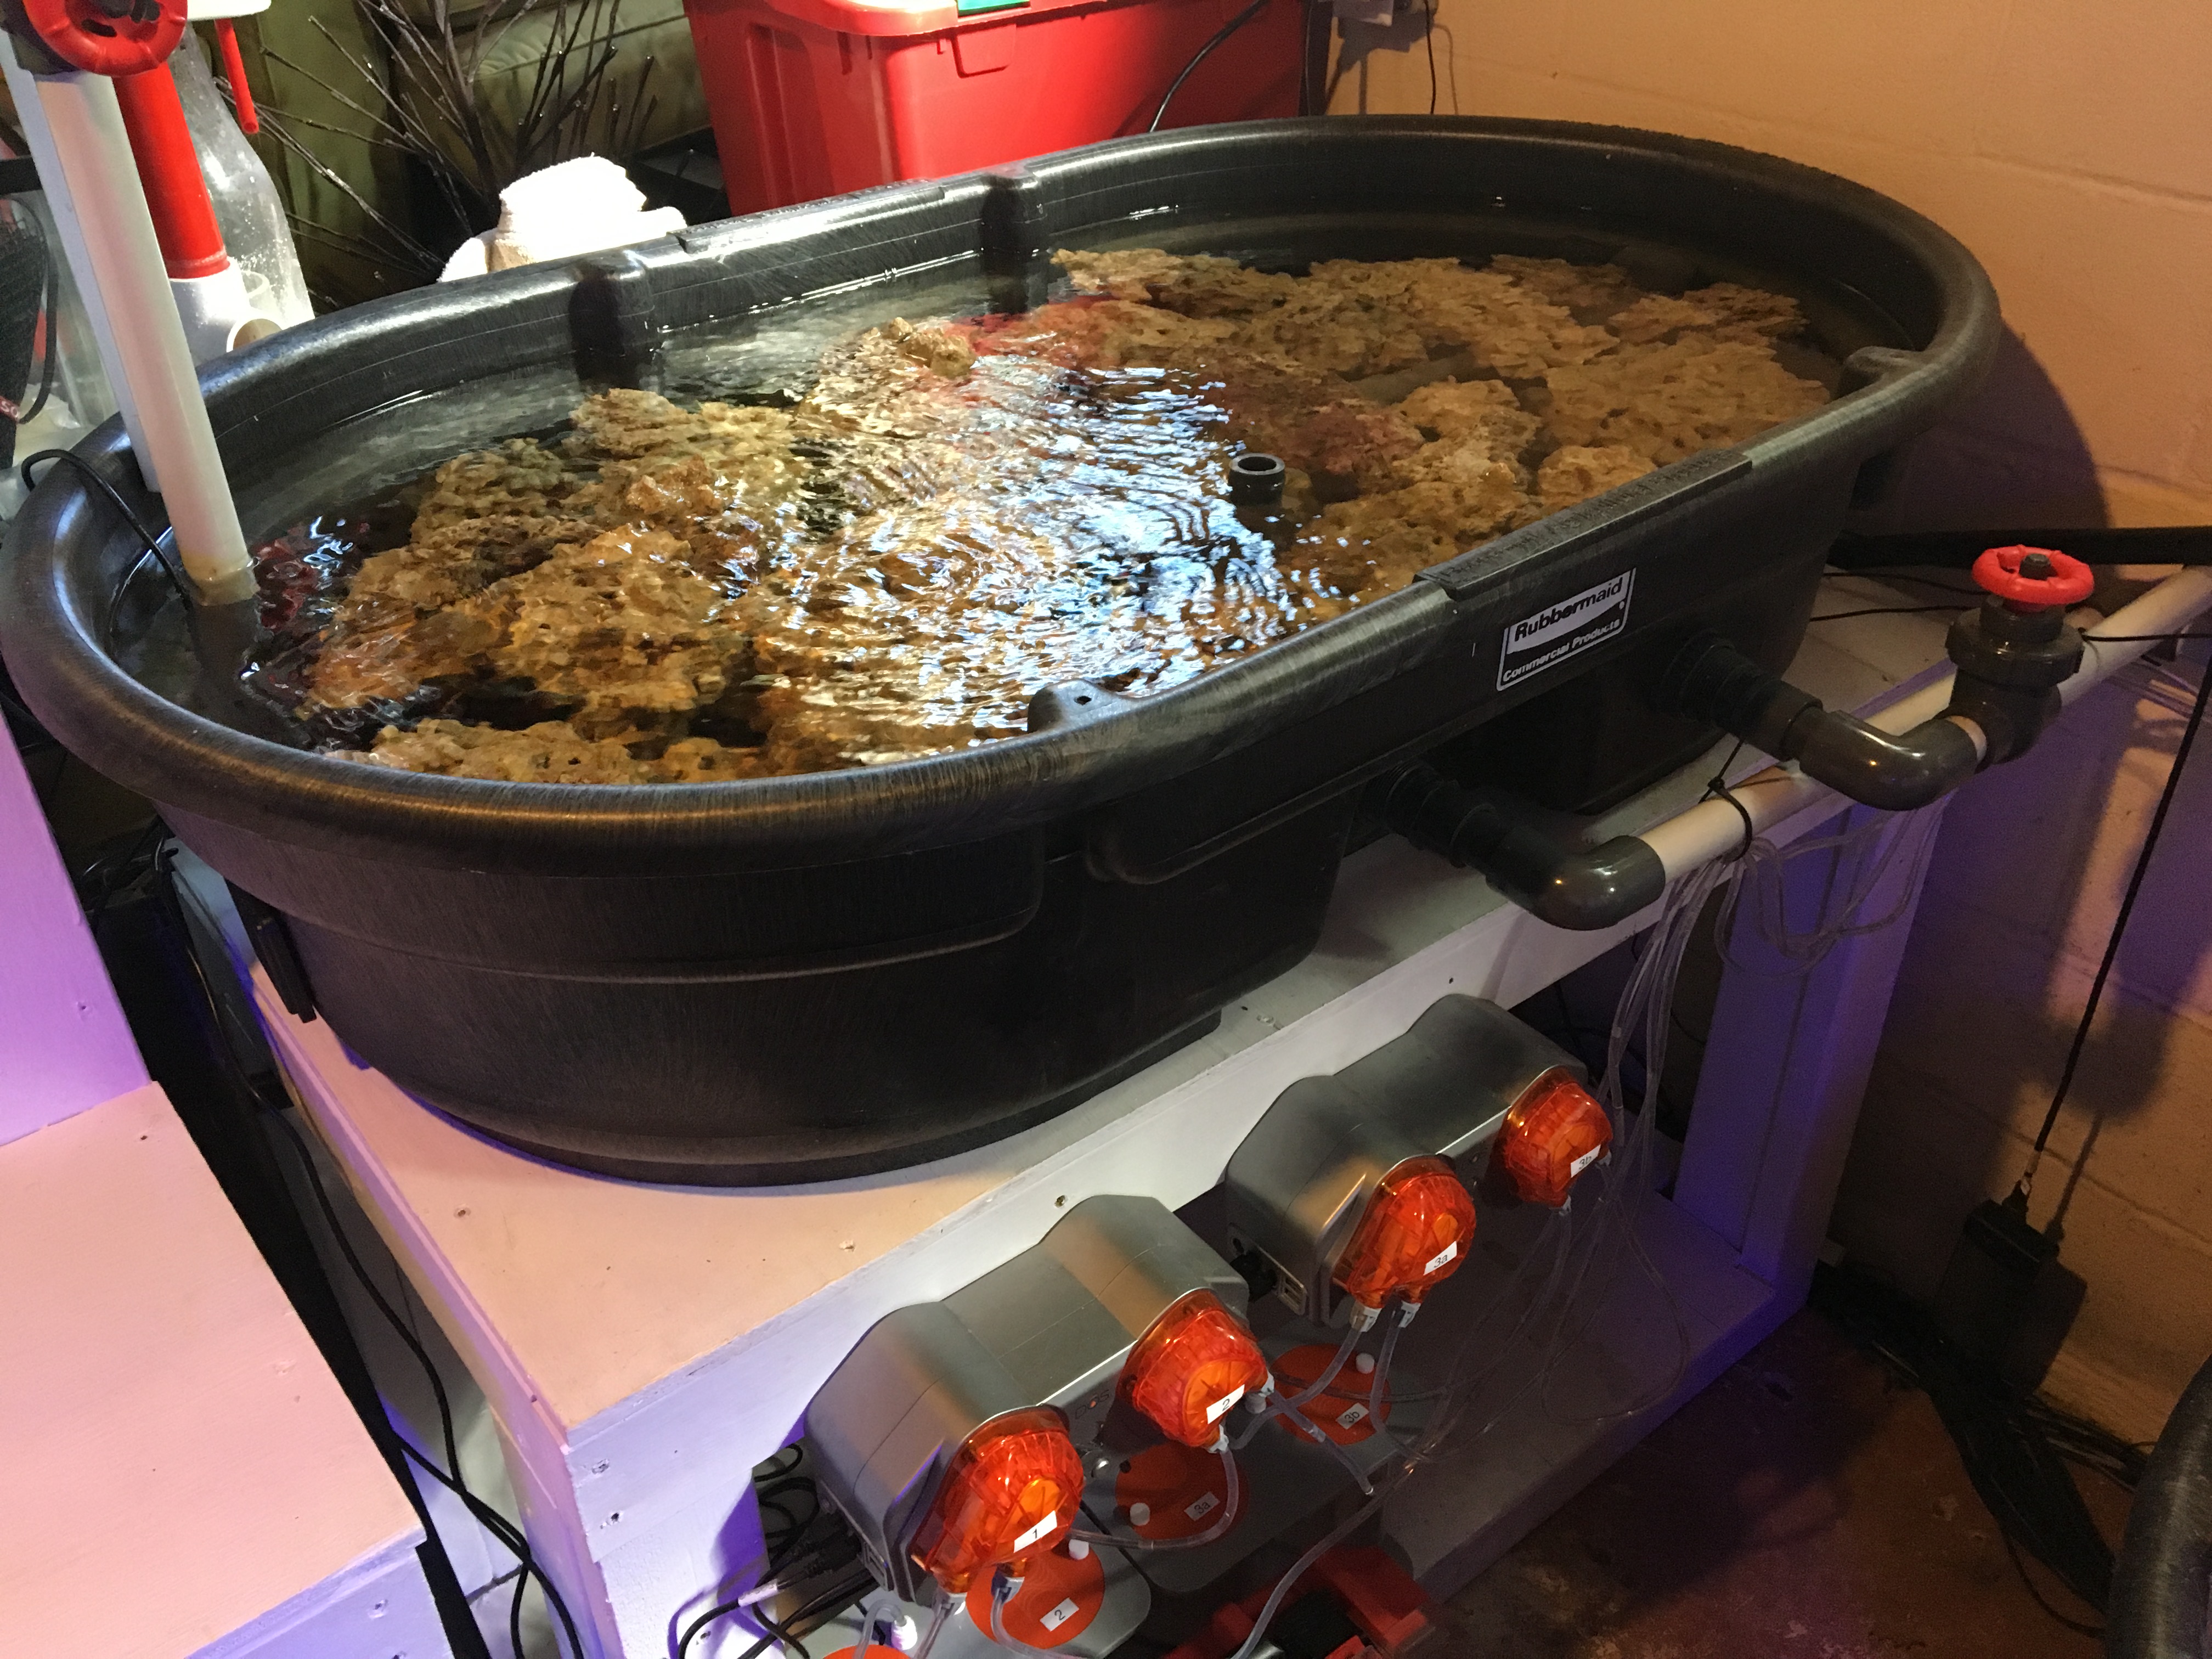
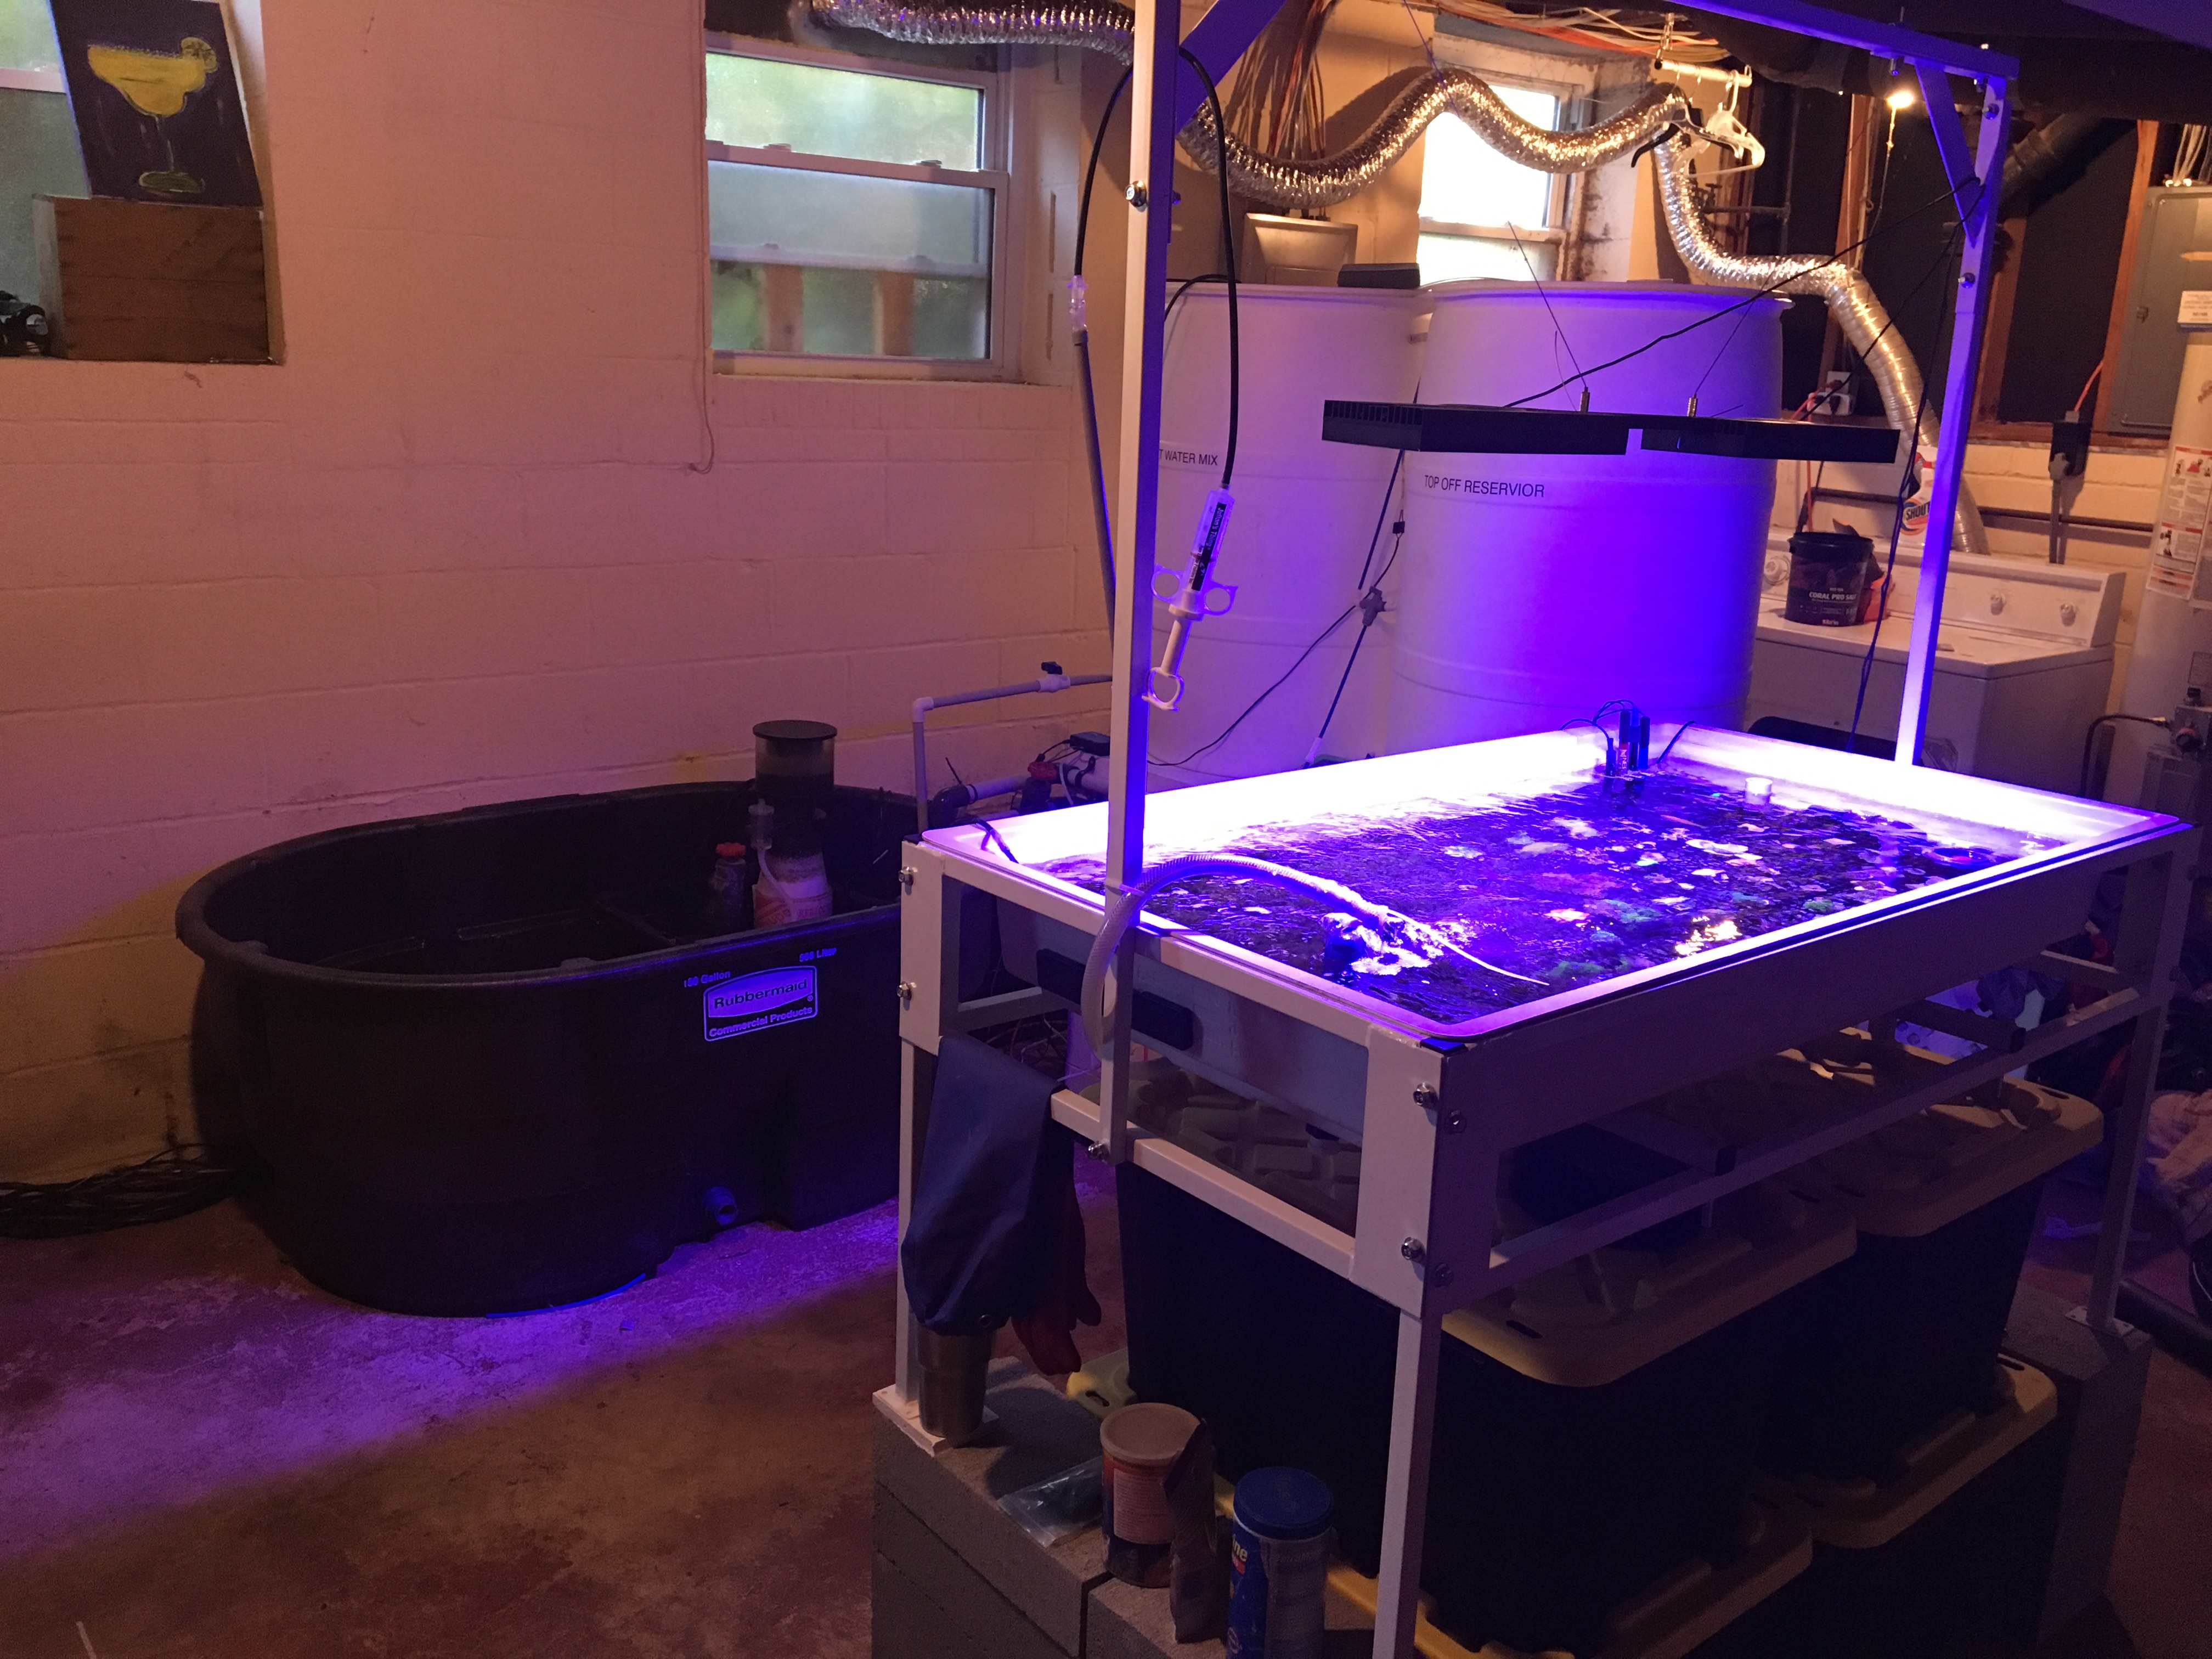
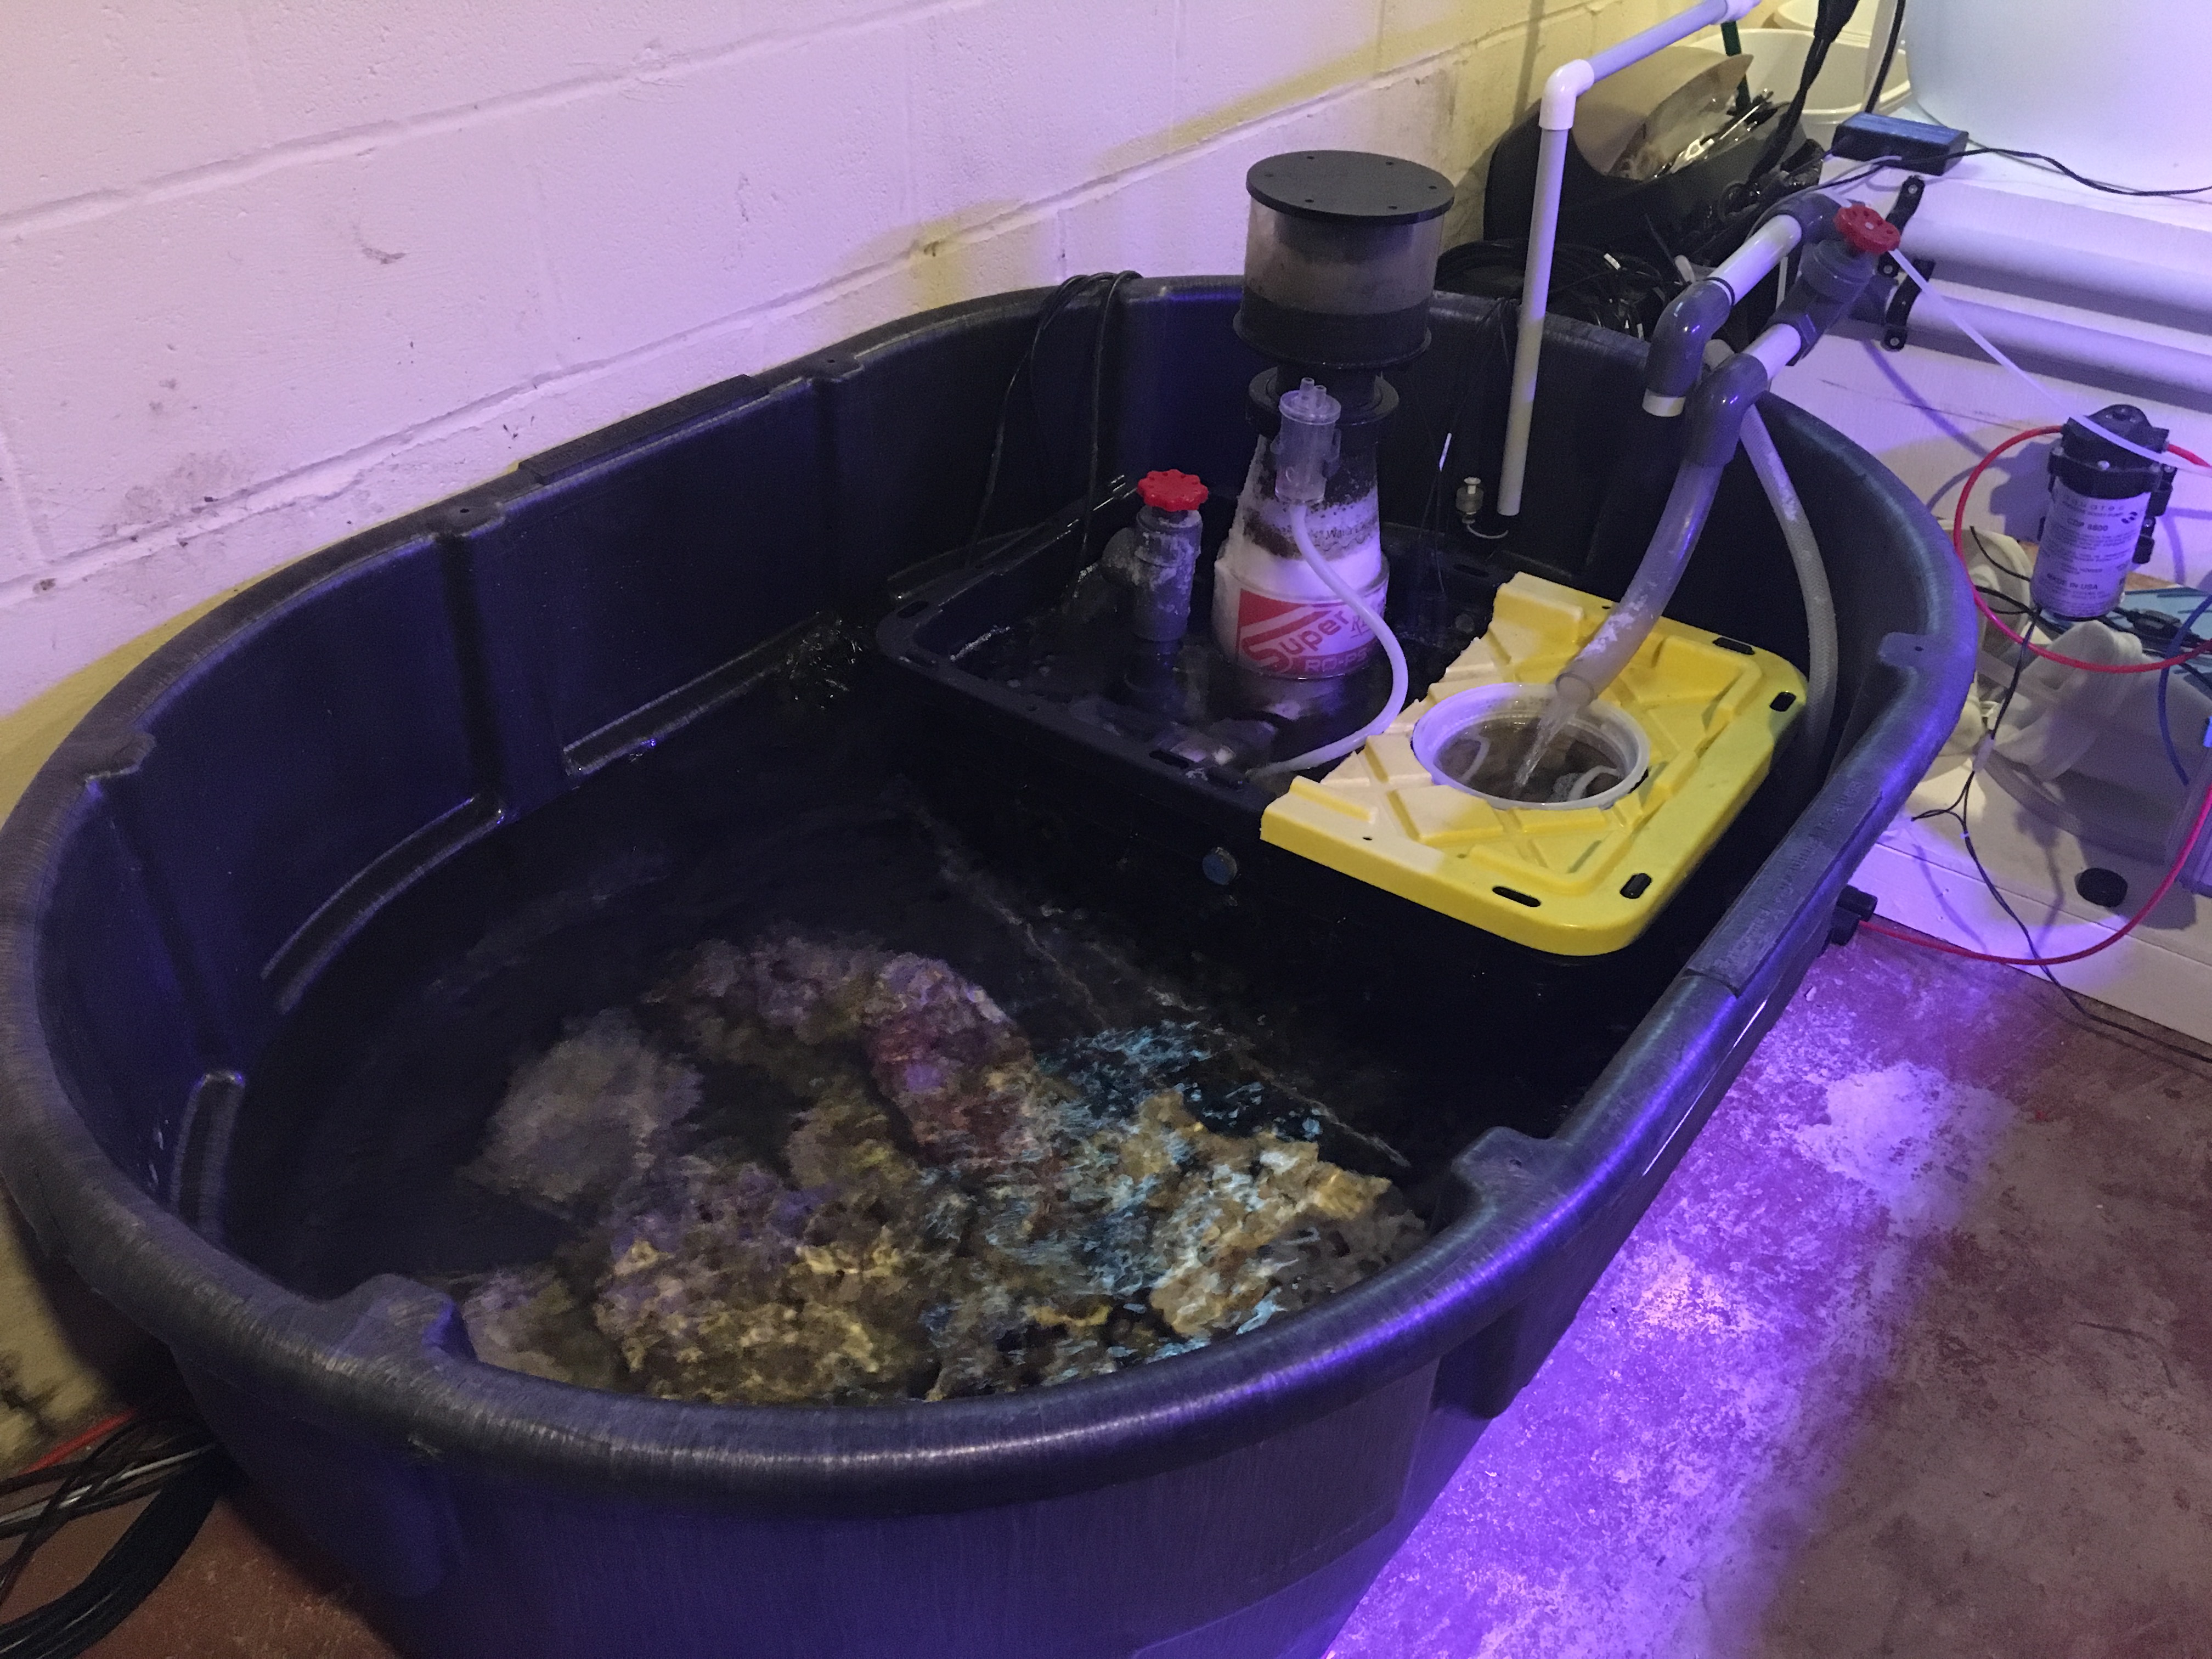
I'm using a rubbermaid 150g stock tank and my sump. I replaced the bulkhead with a 1.5" SCH 80 bulkhead as the stock one is know to leak. I've temporarily capped it from the inside, as the first phase of my project I will be using a small pump to act as my return. In phase 3 I'll install a larger external pump and plumb everything together.
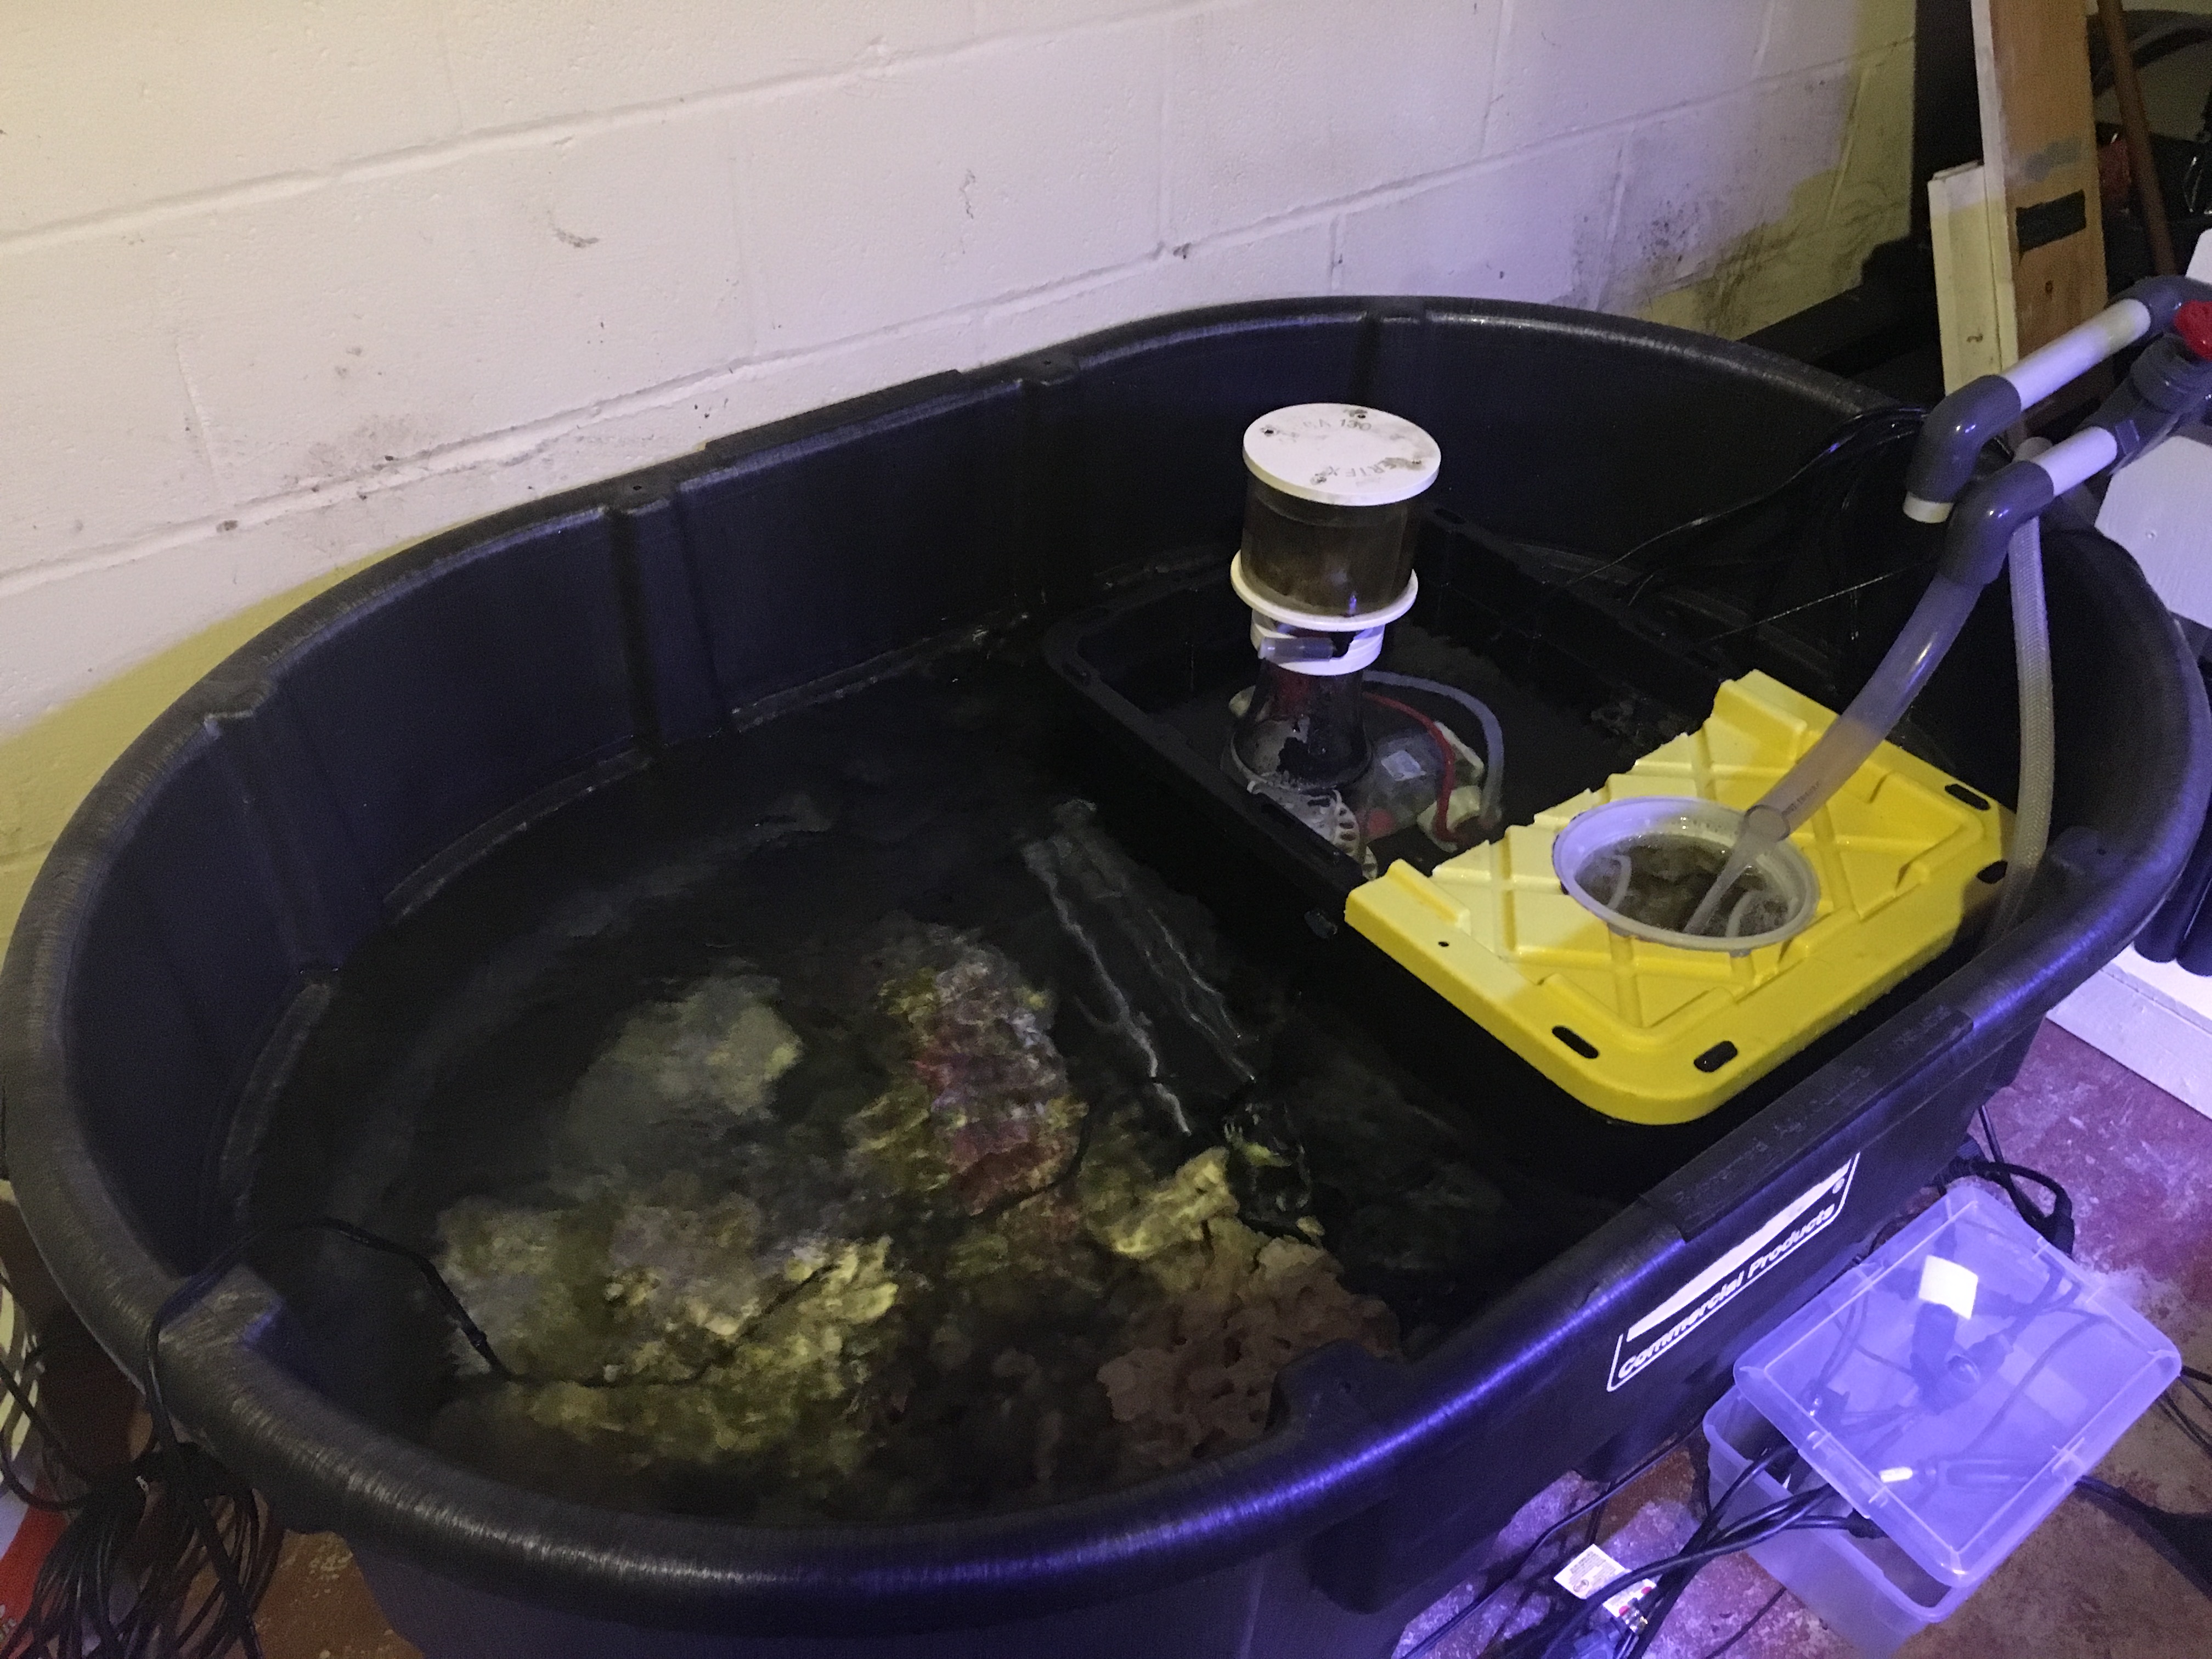
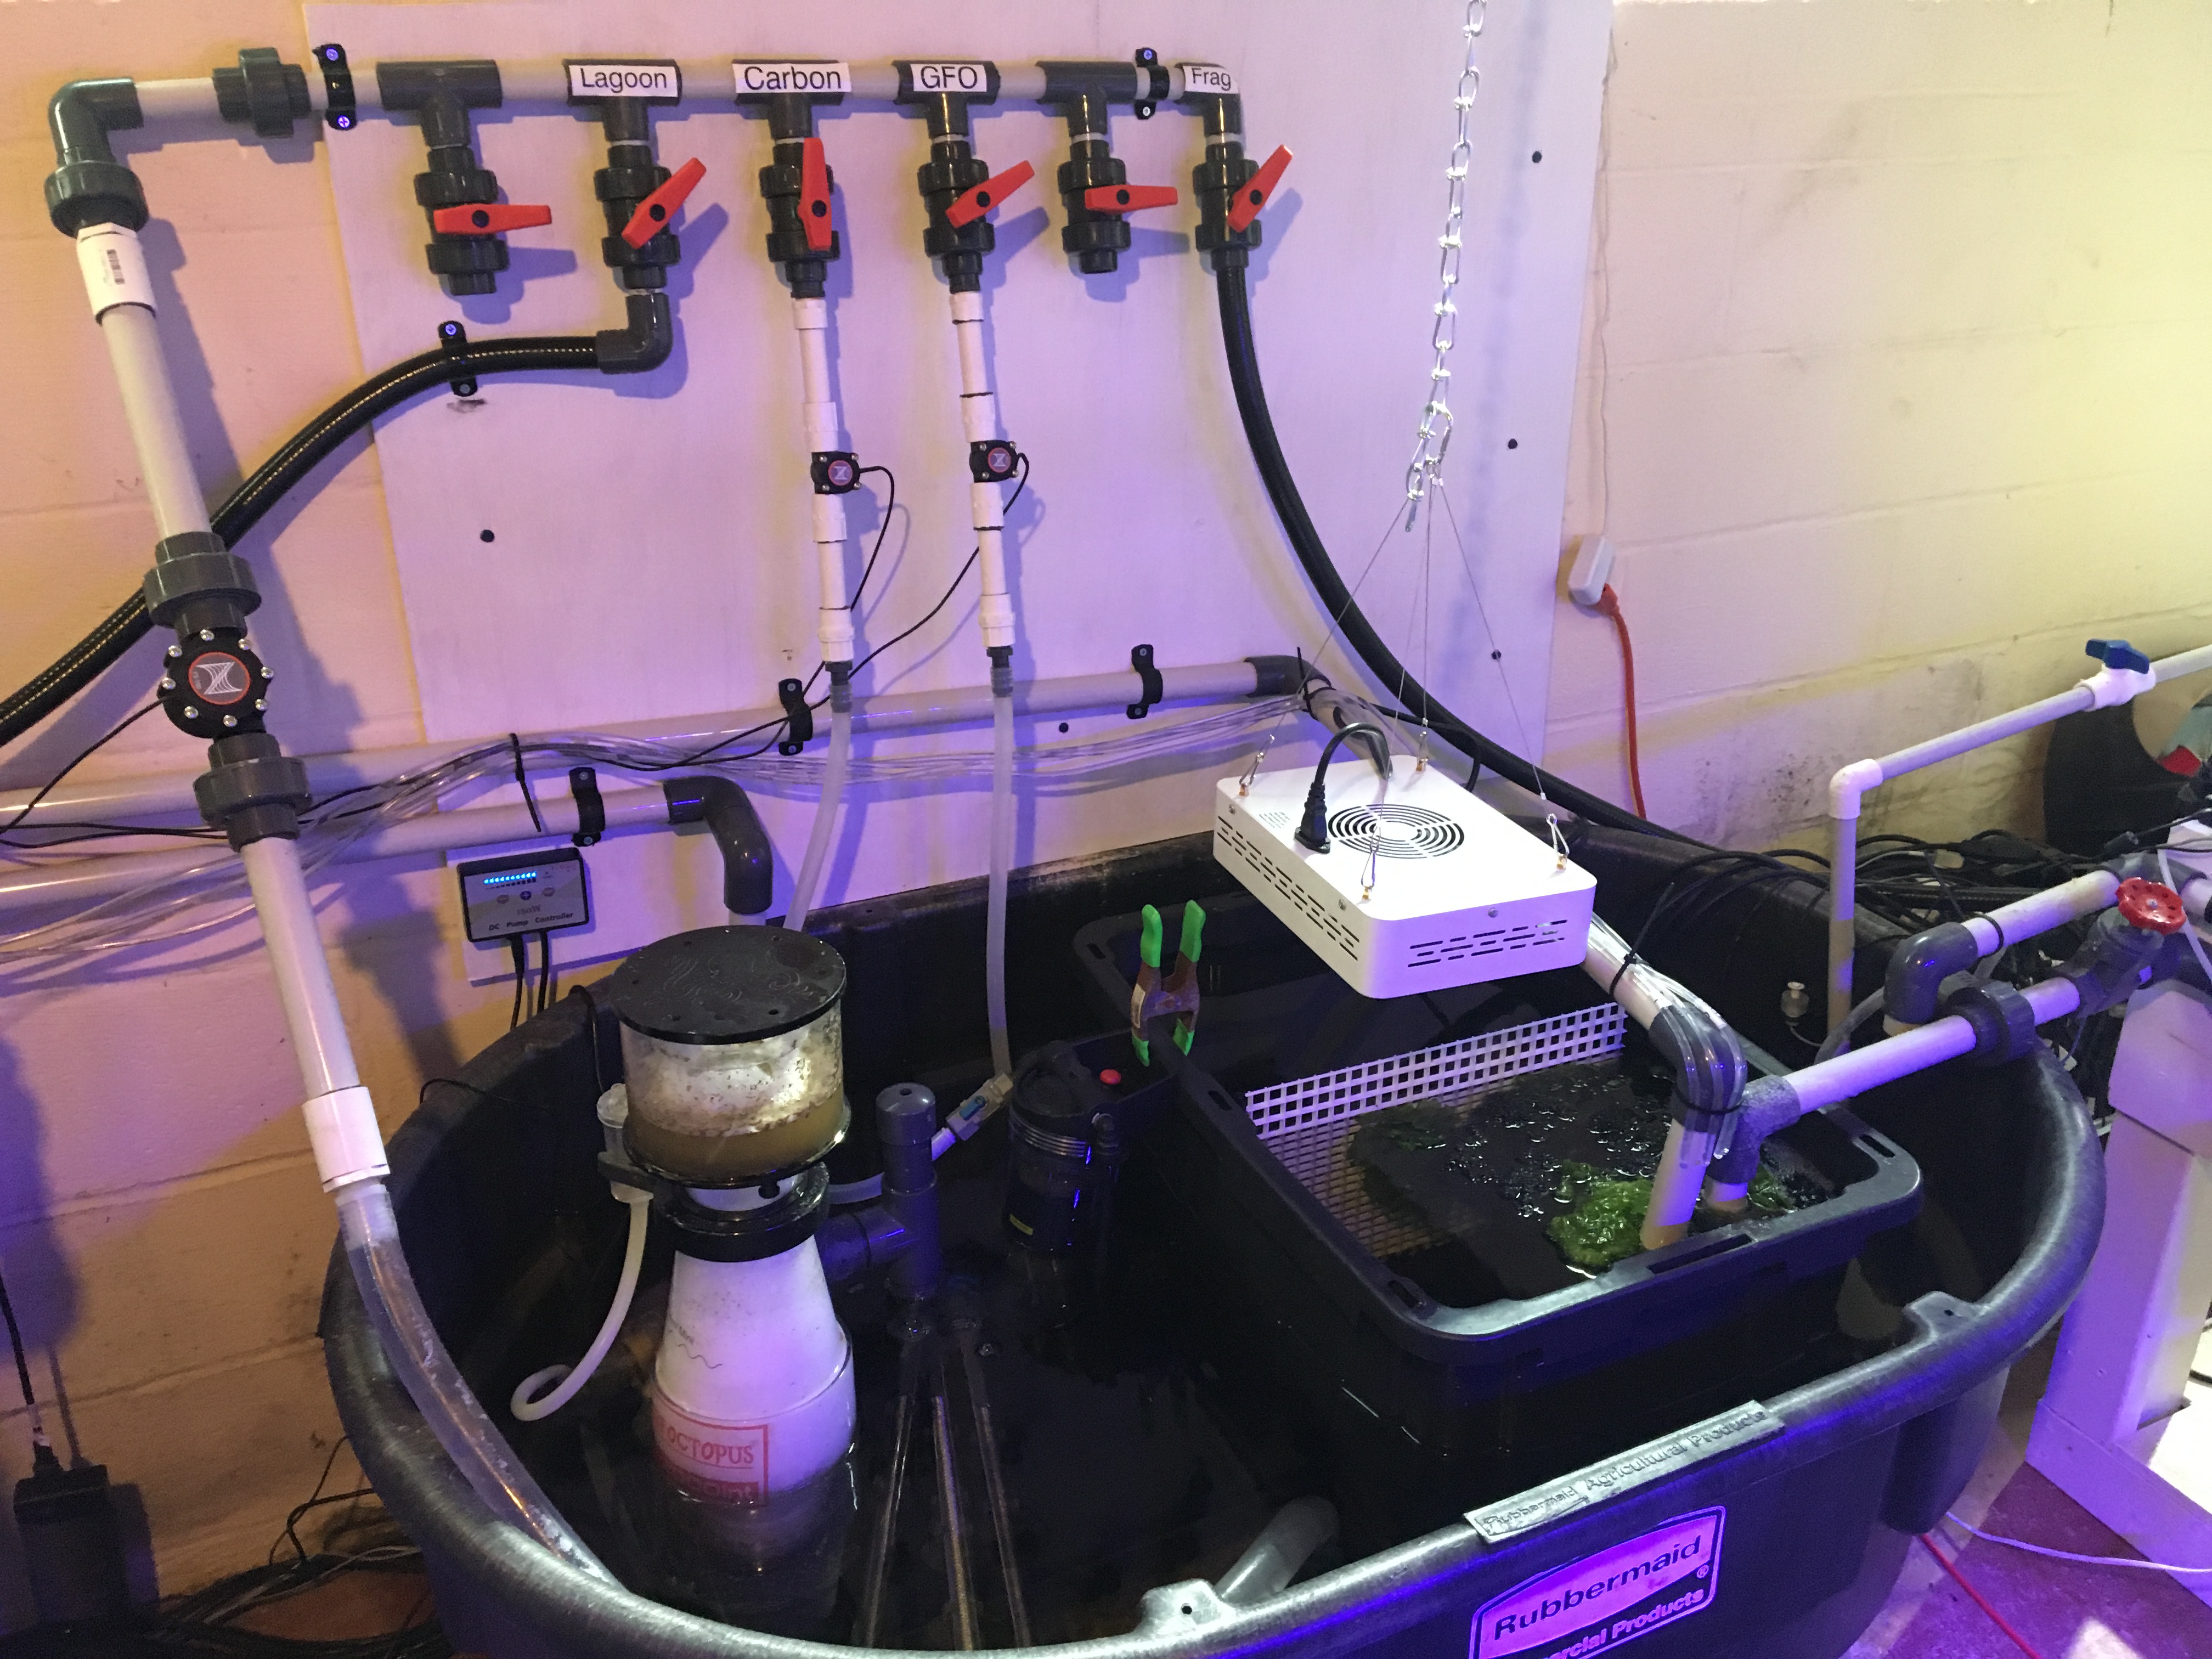
The sump has a cheap plastic shelf from home depot for a stand for 27g tote that acts as the first chamber of the sump. I used a dremel to cut the lid of the sump into a filter sock holder. Cutting a slit in the side of the sump for drainage gives me a perfect 9" depth recommended for my skimmer. When I get the display plumbed in the tub will be rotated 90 degrees and the water level raised a bit. At that point the frag tank will just dump straight into the sump as I'll be more concerned with filtering/skimming the water from the display. The live rock from my previous display tank is the starter for this sump. I'll likely add more rock during the Phase IV as I prefer a minimalist display tank.
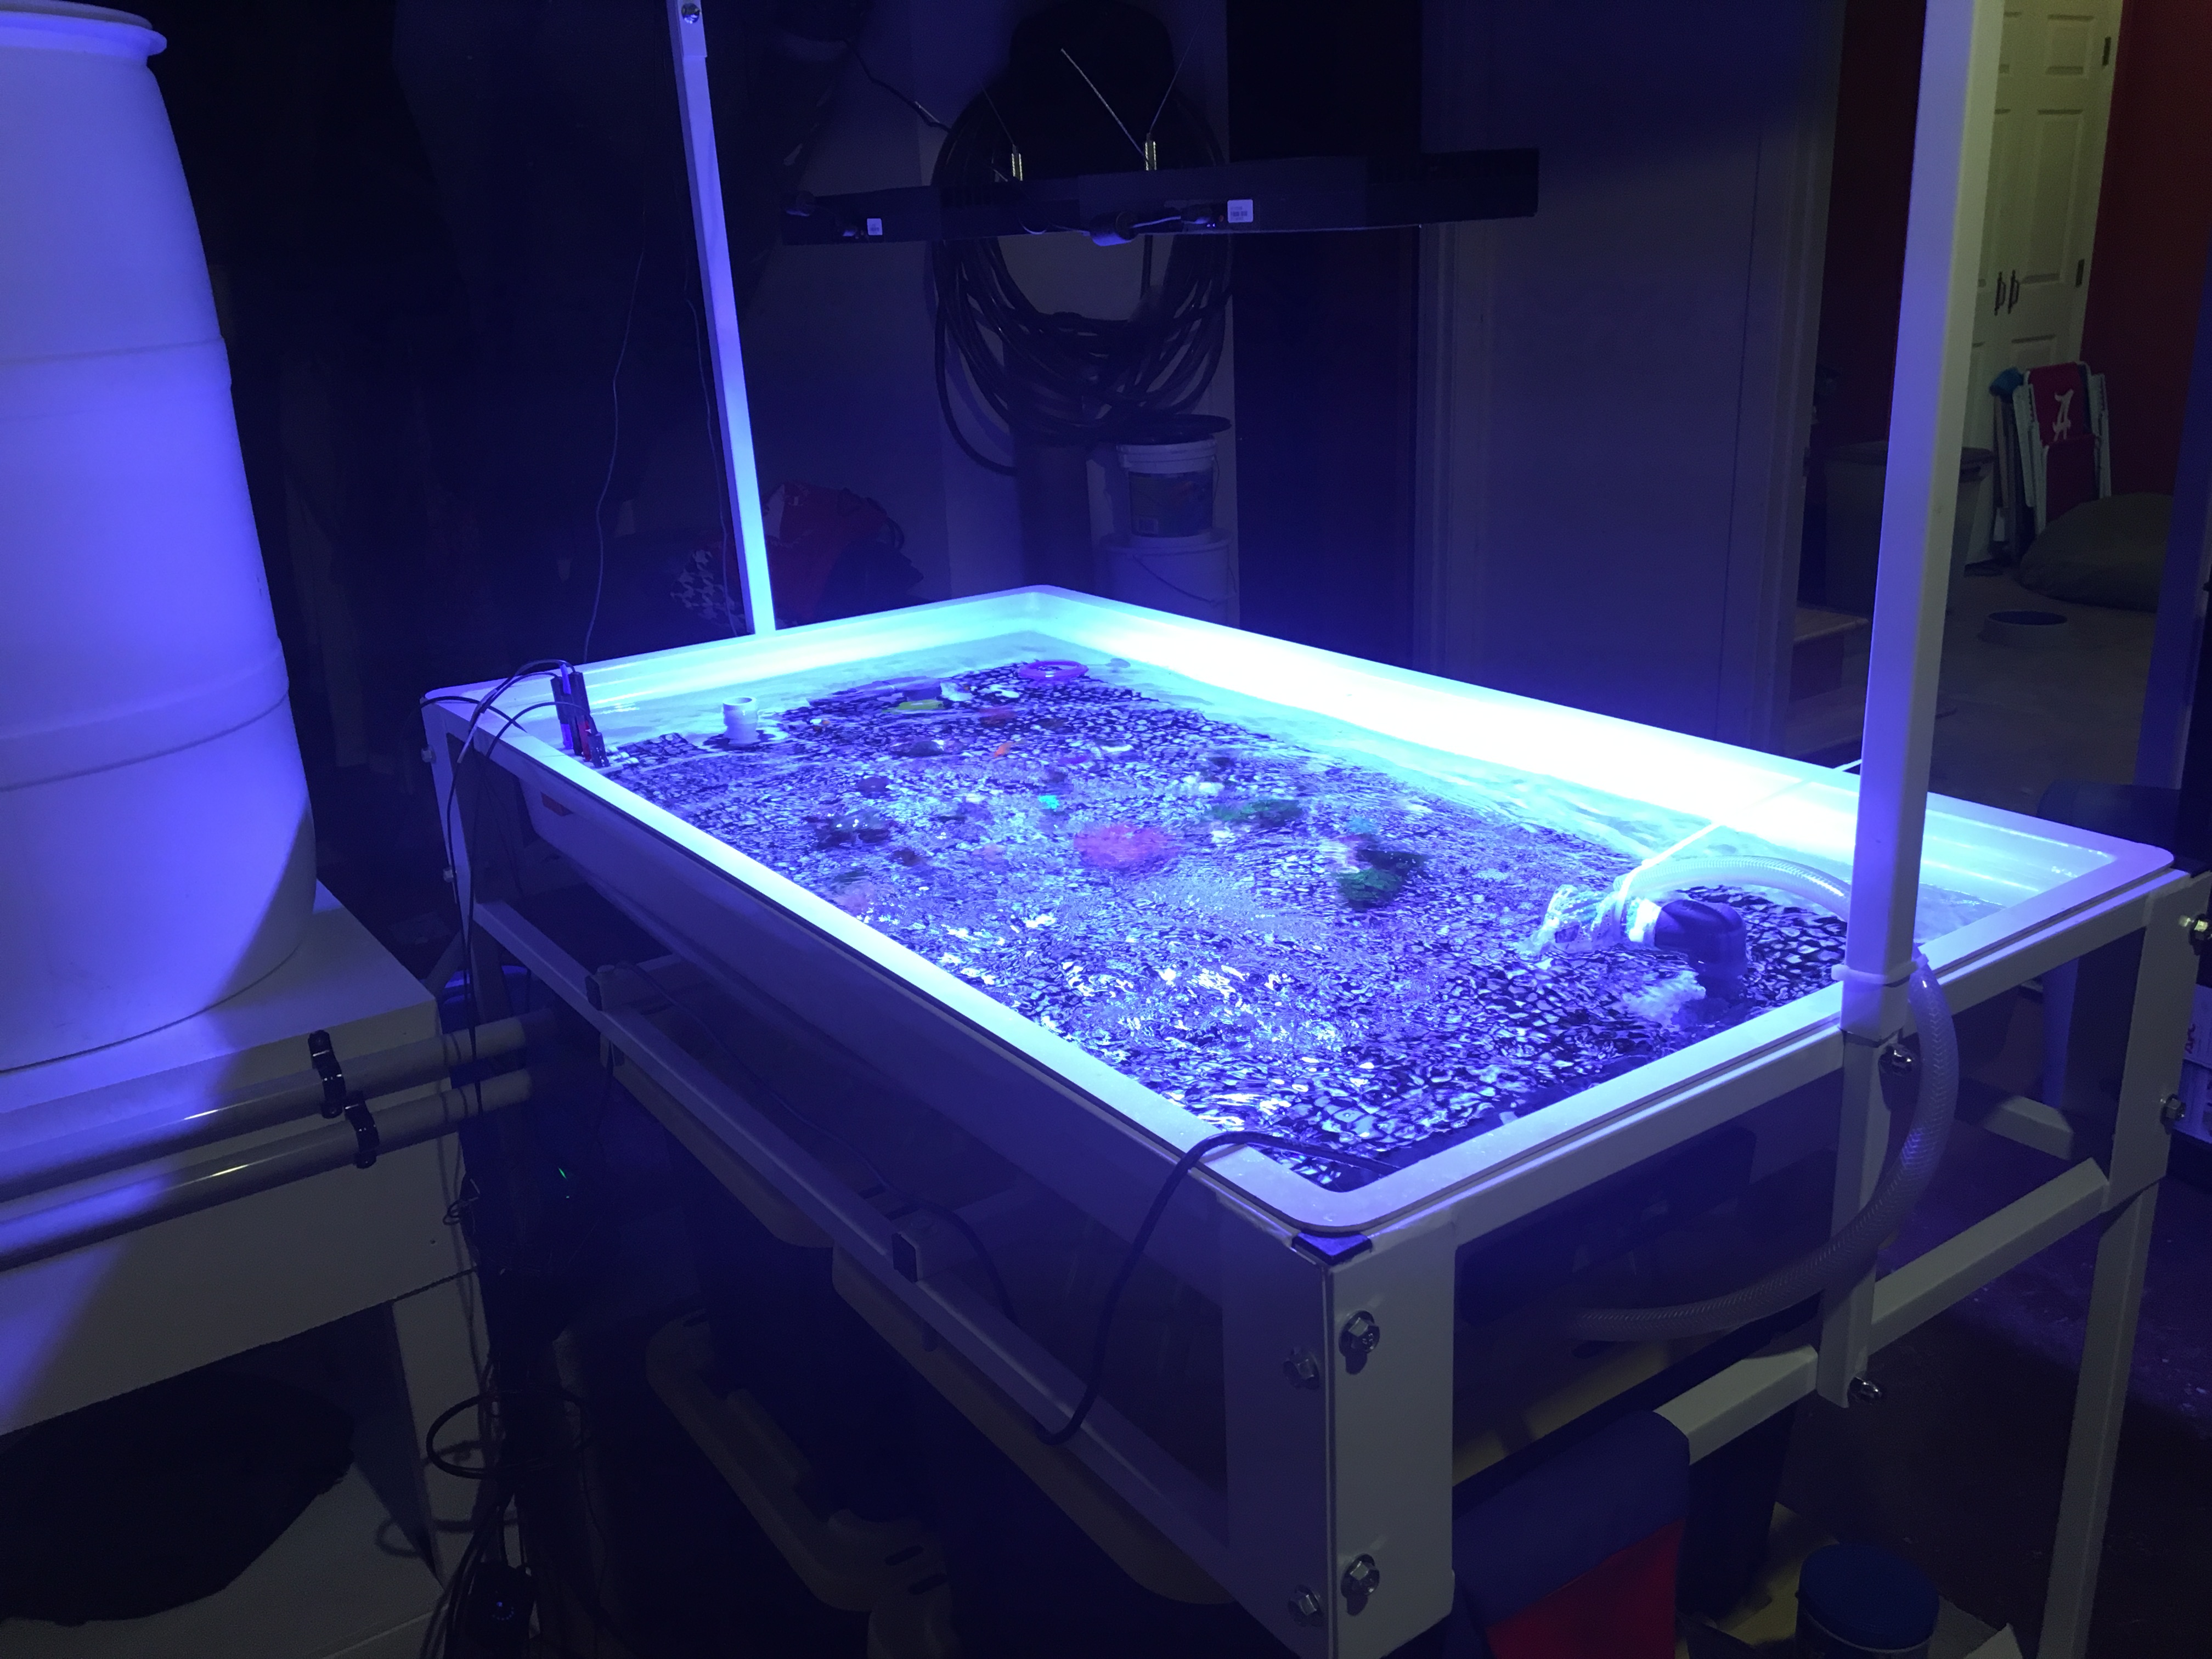
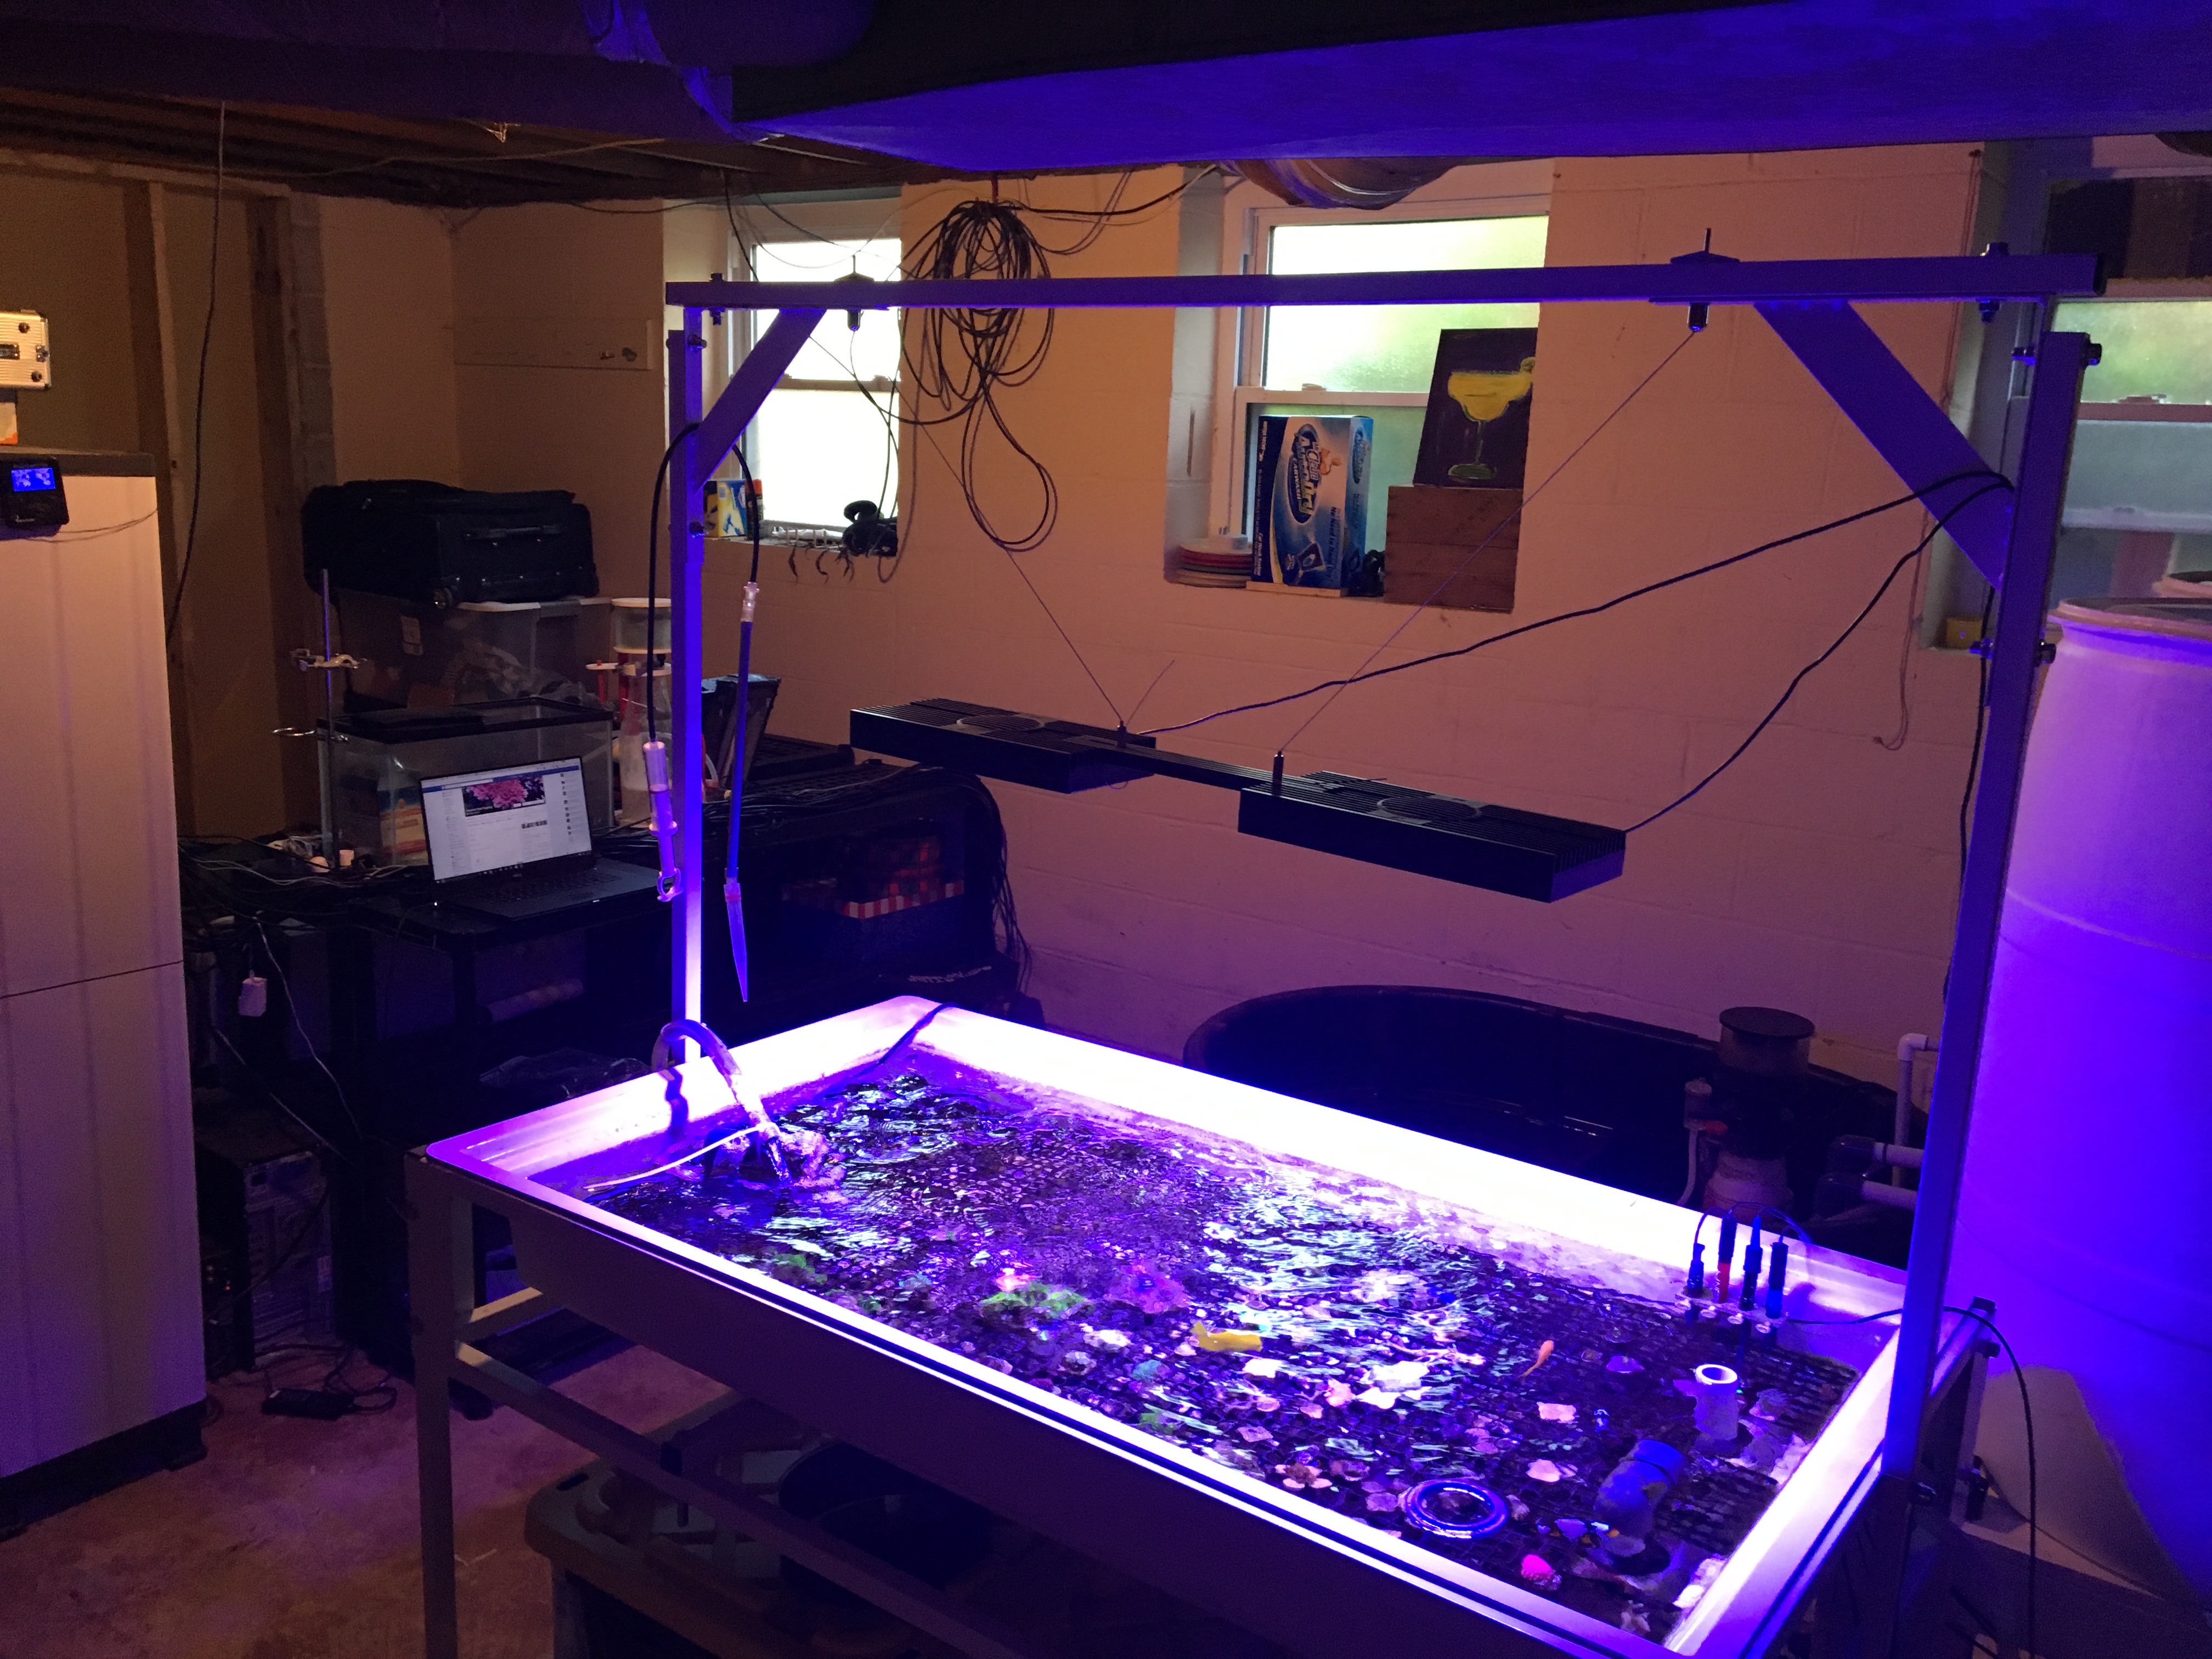
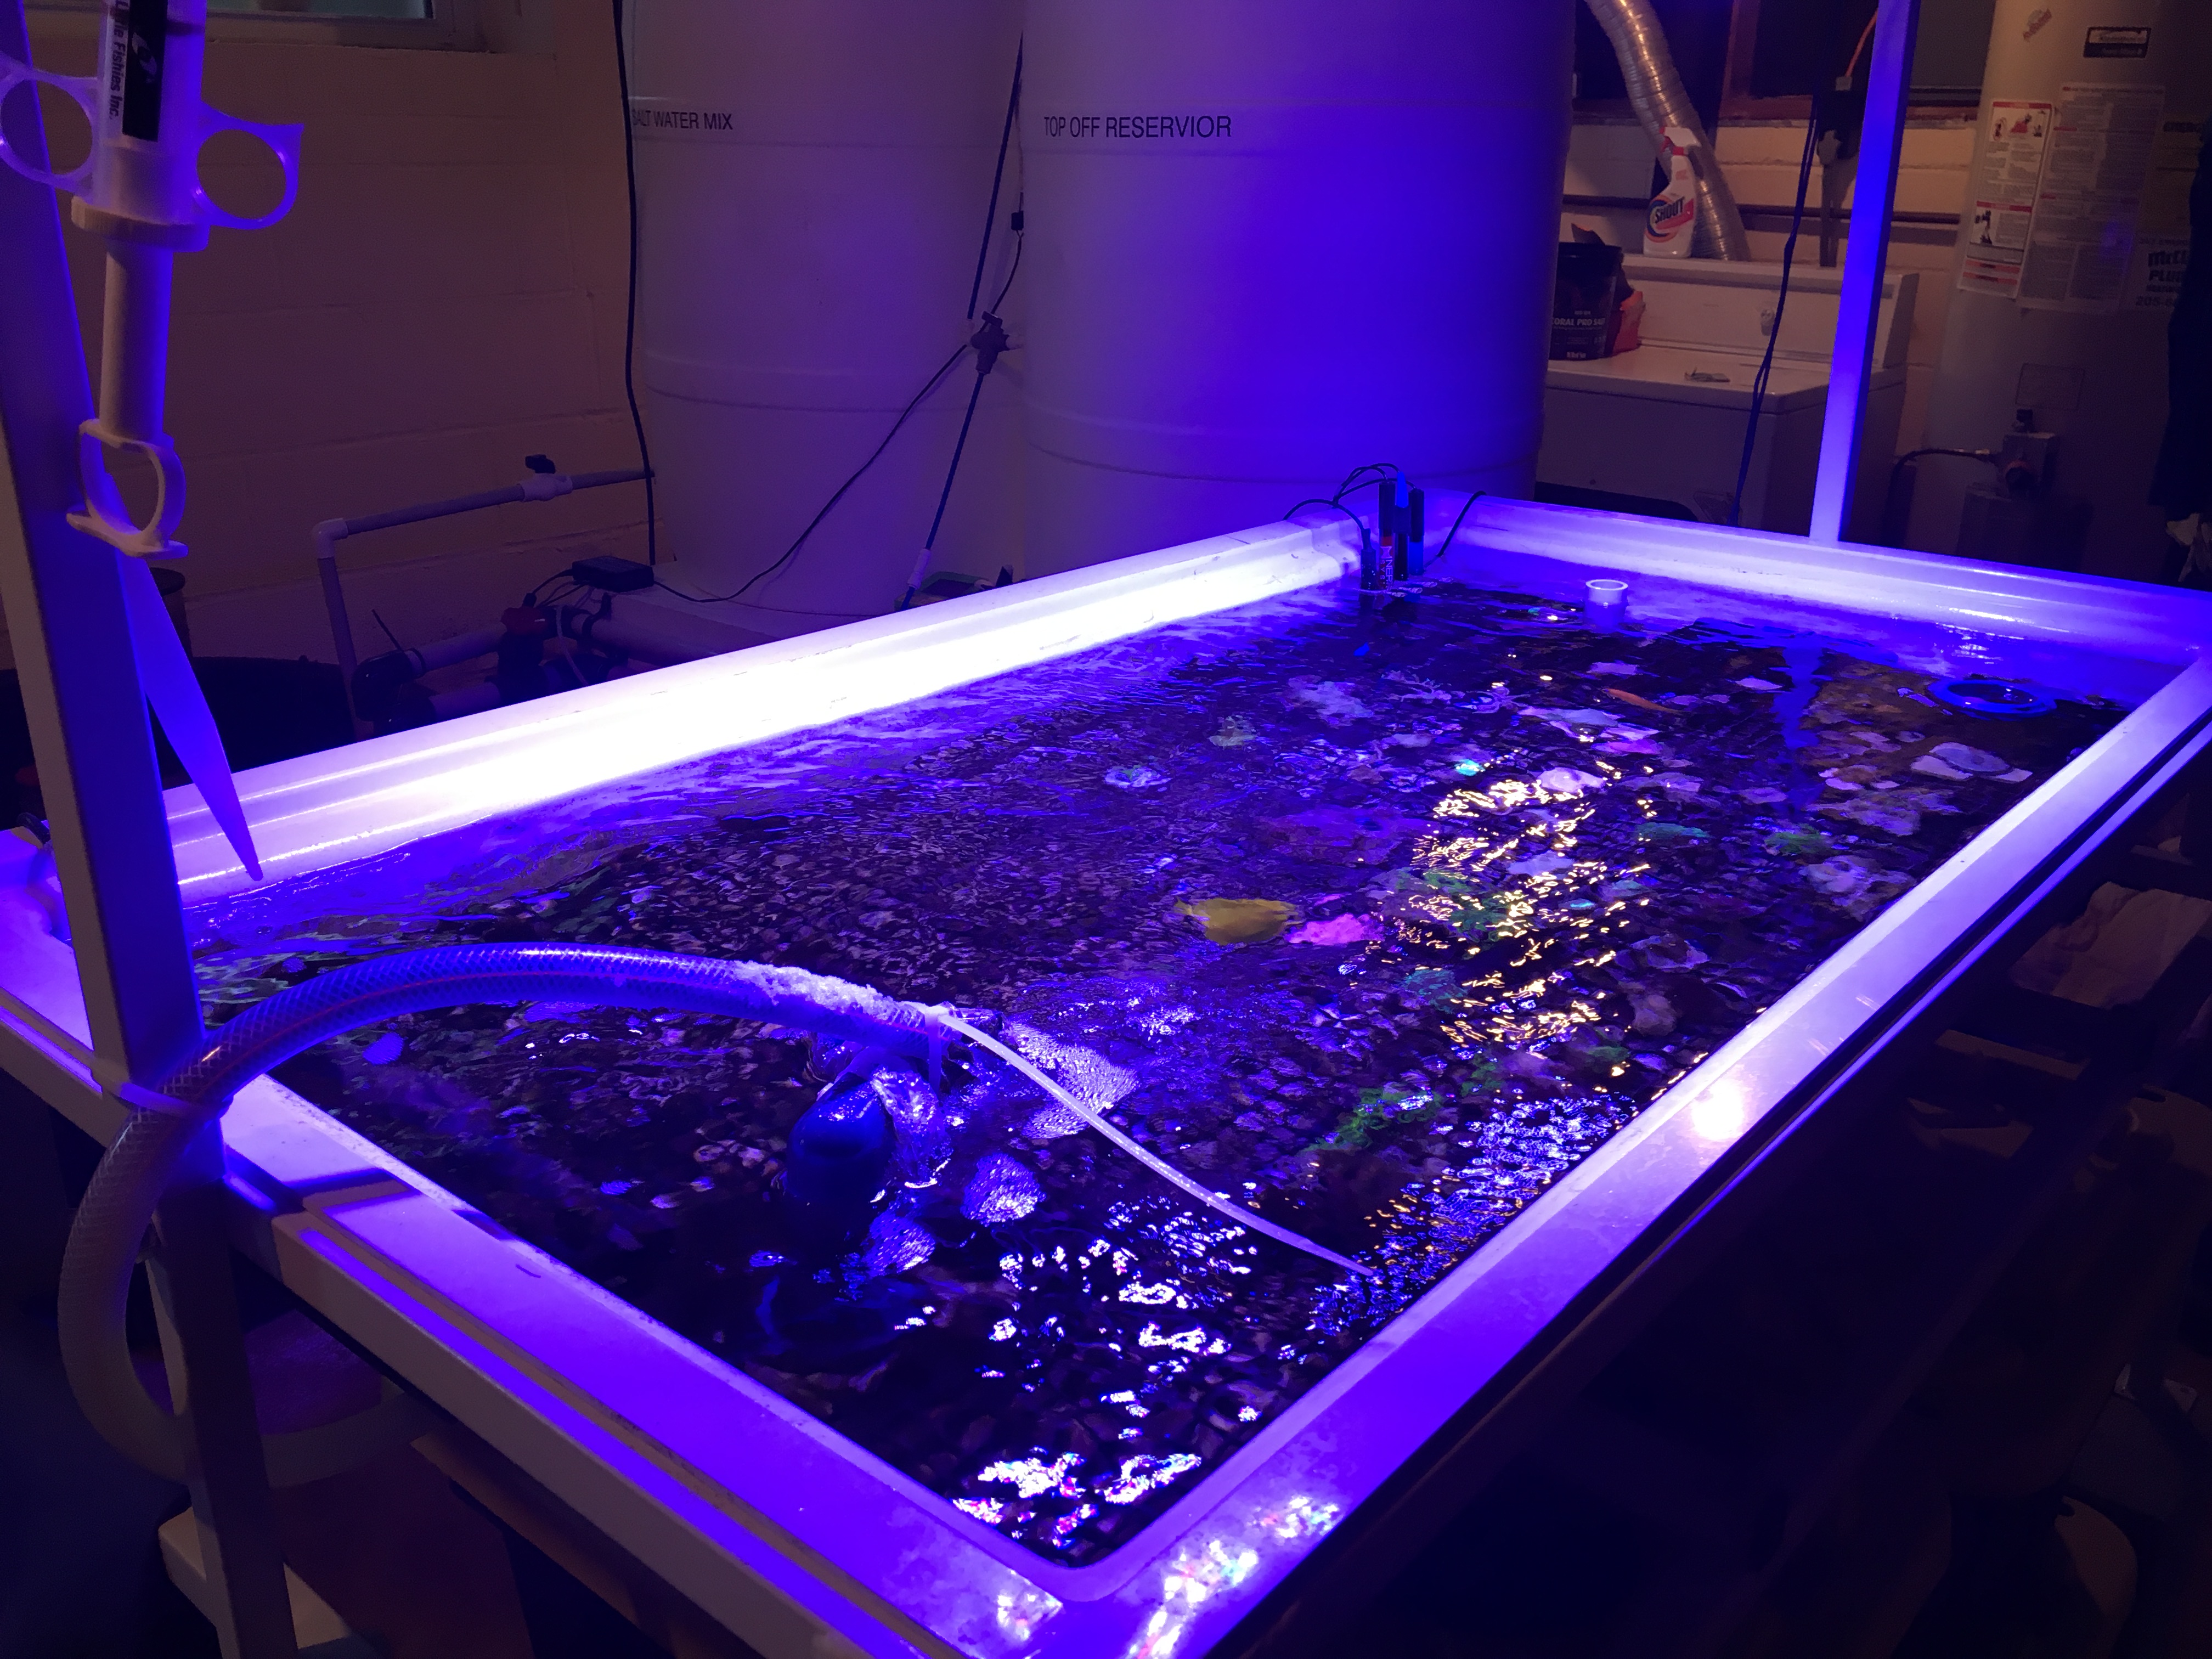
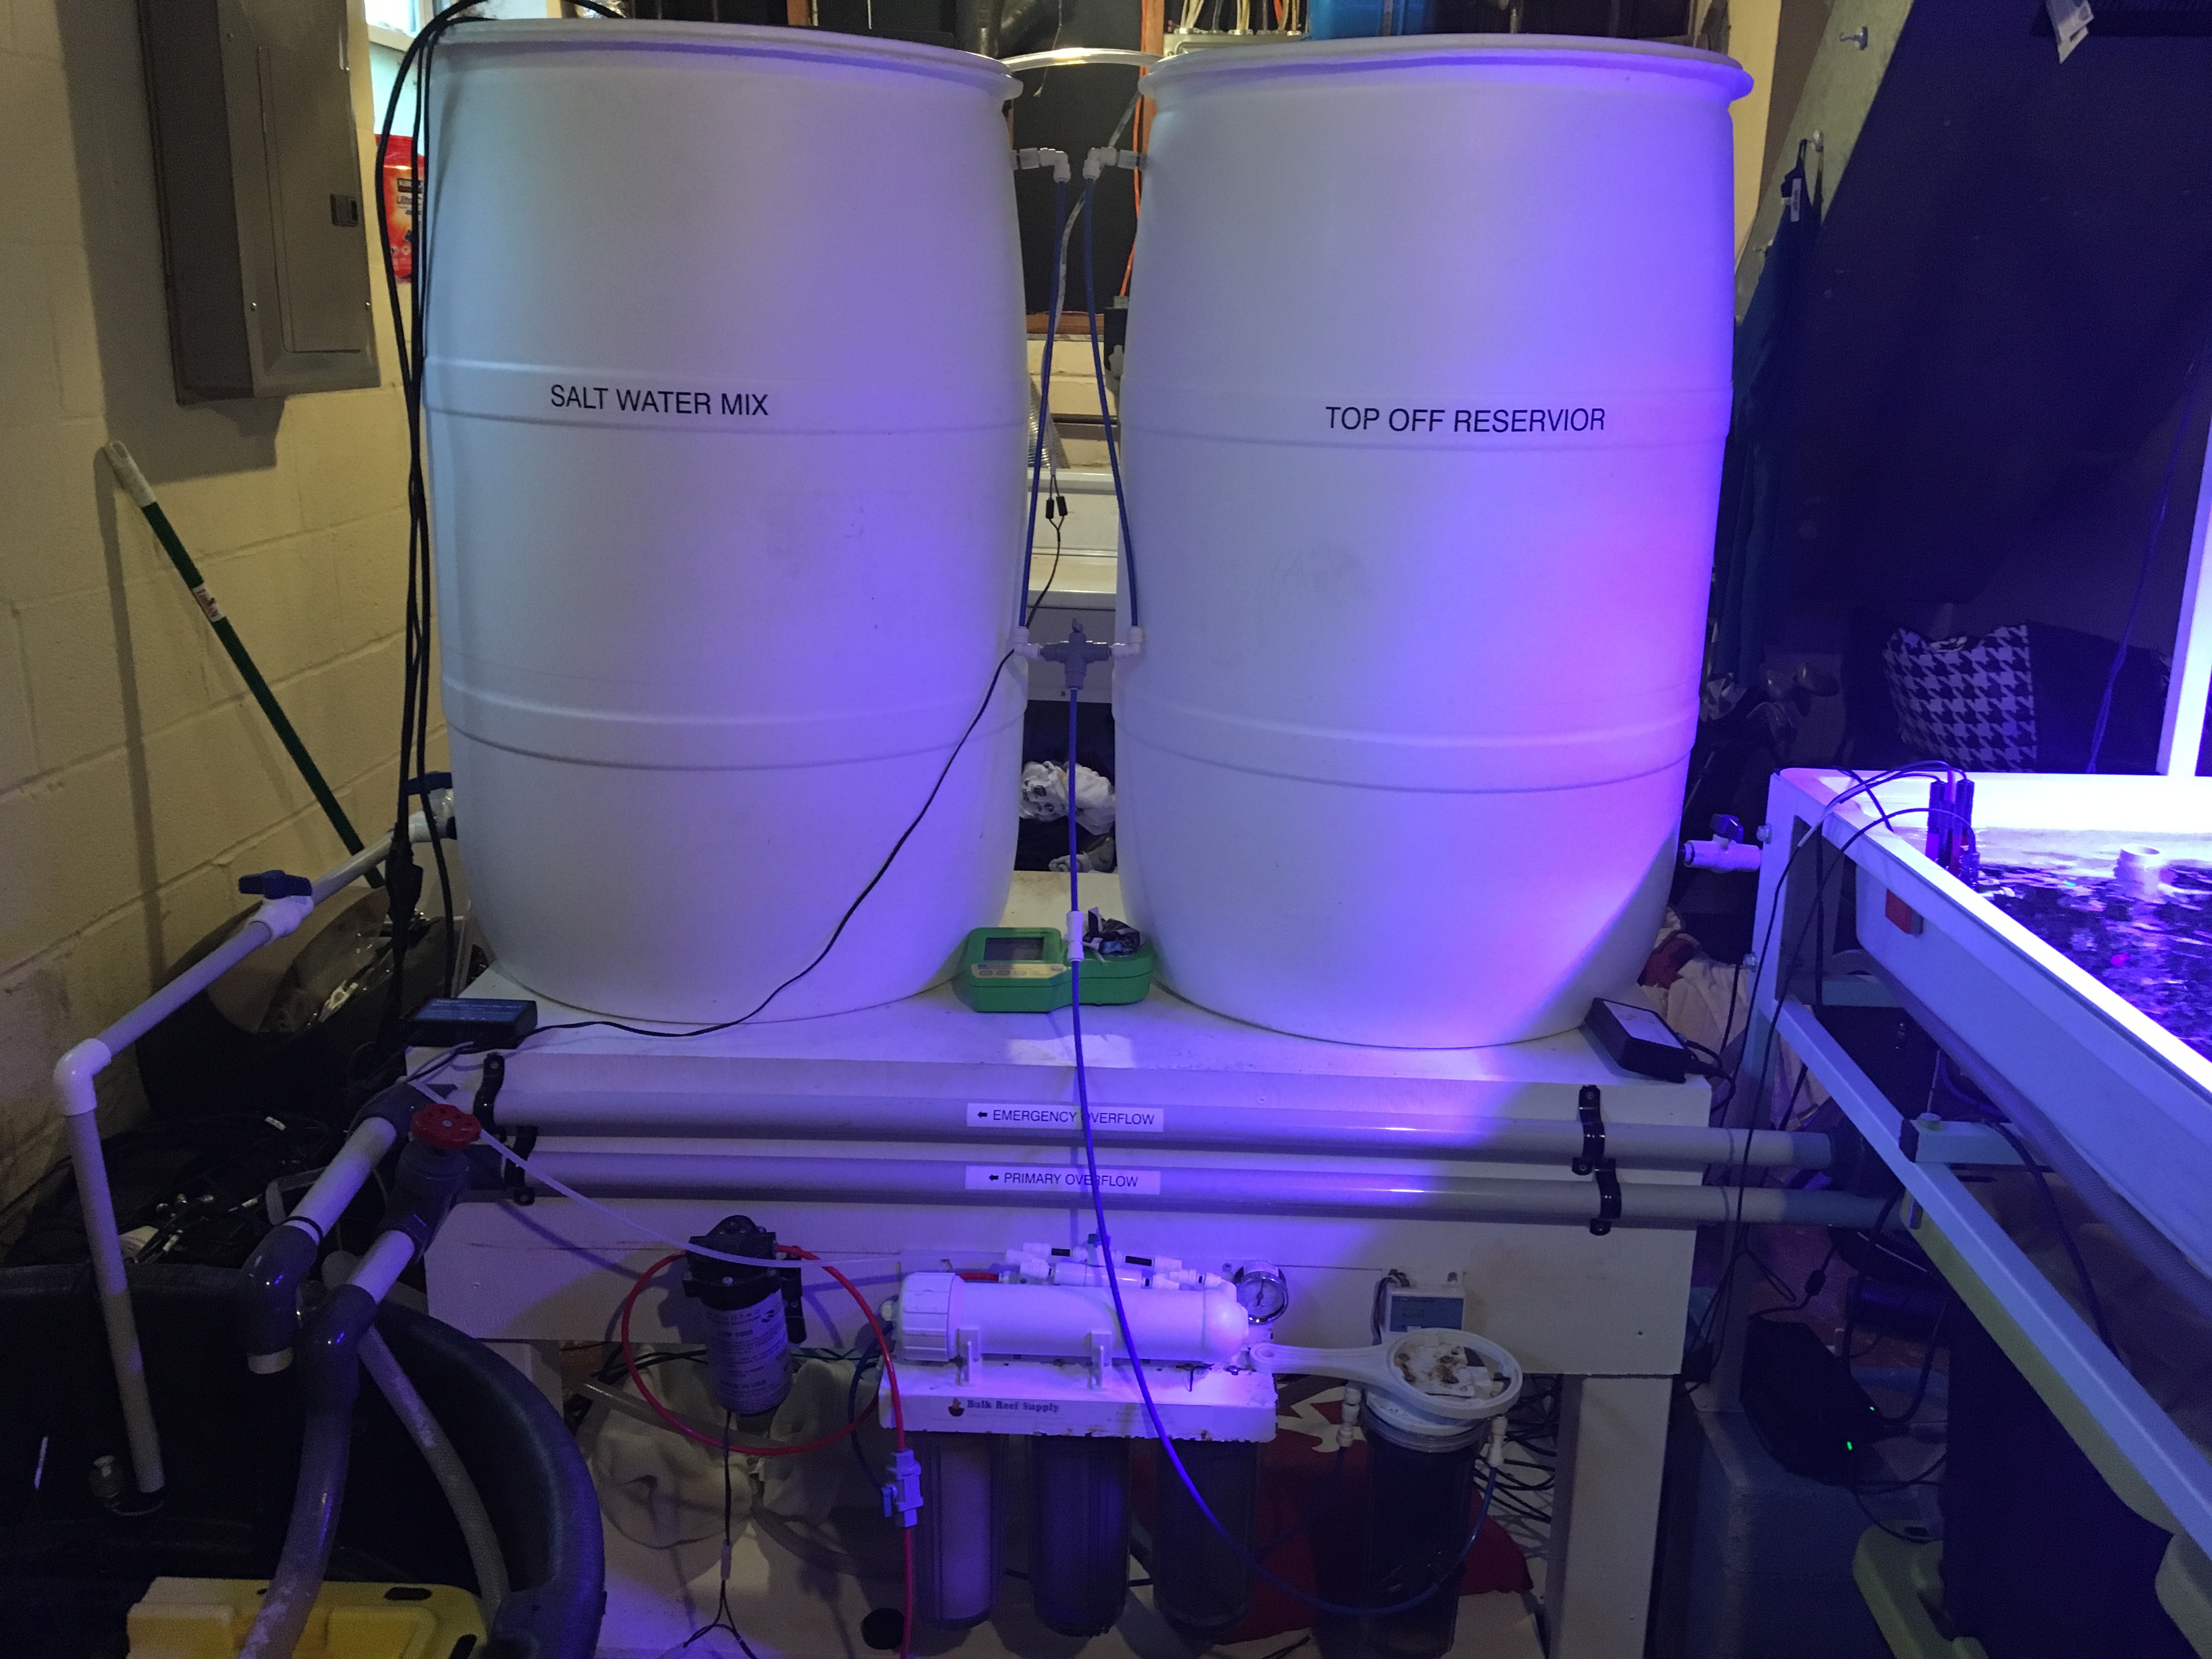
The temporary return pump feeds a 2 x 4 frag table. I went ahead and constructed the stand for the RO/DI and mixing station so that I could hard plumb the overflows, the return is currently just a 1/2" flex tube, I'll plumb that in when I get my external pump.
My temporary return pump has a little less GPH than I'd like, so I installed the Gyre 150 from my old display to add flow. I have to be a little careful with the gyre as it's easy to get a wave that will splash right out of the frag table. Lighting is provide by two Hydra 52's. They're mounted a bit high, but I wanted to be able to lean over the frag tank easily with out hitting my head on them. PAR is 400 at the center of the tank with the Hydra's at 100% so I think it should work fine.
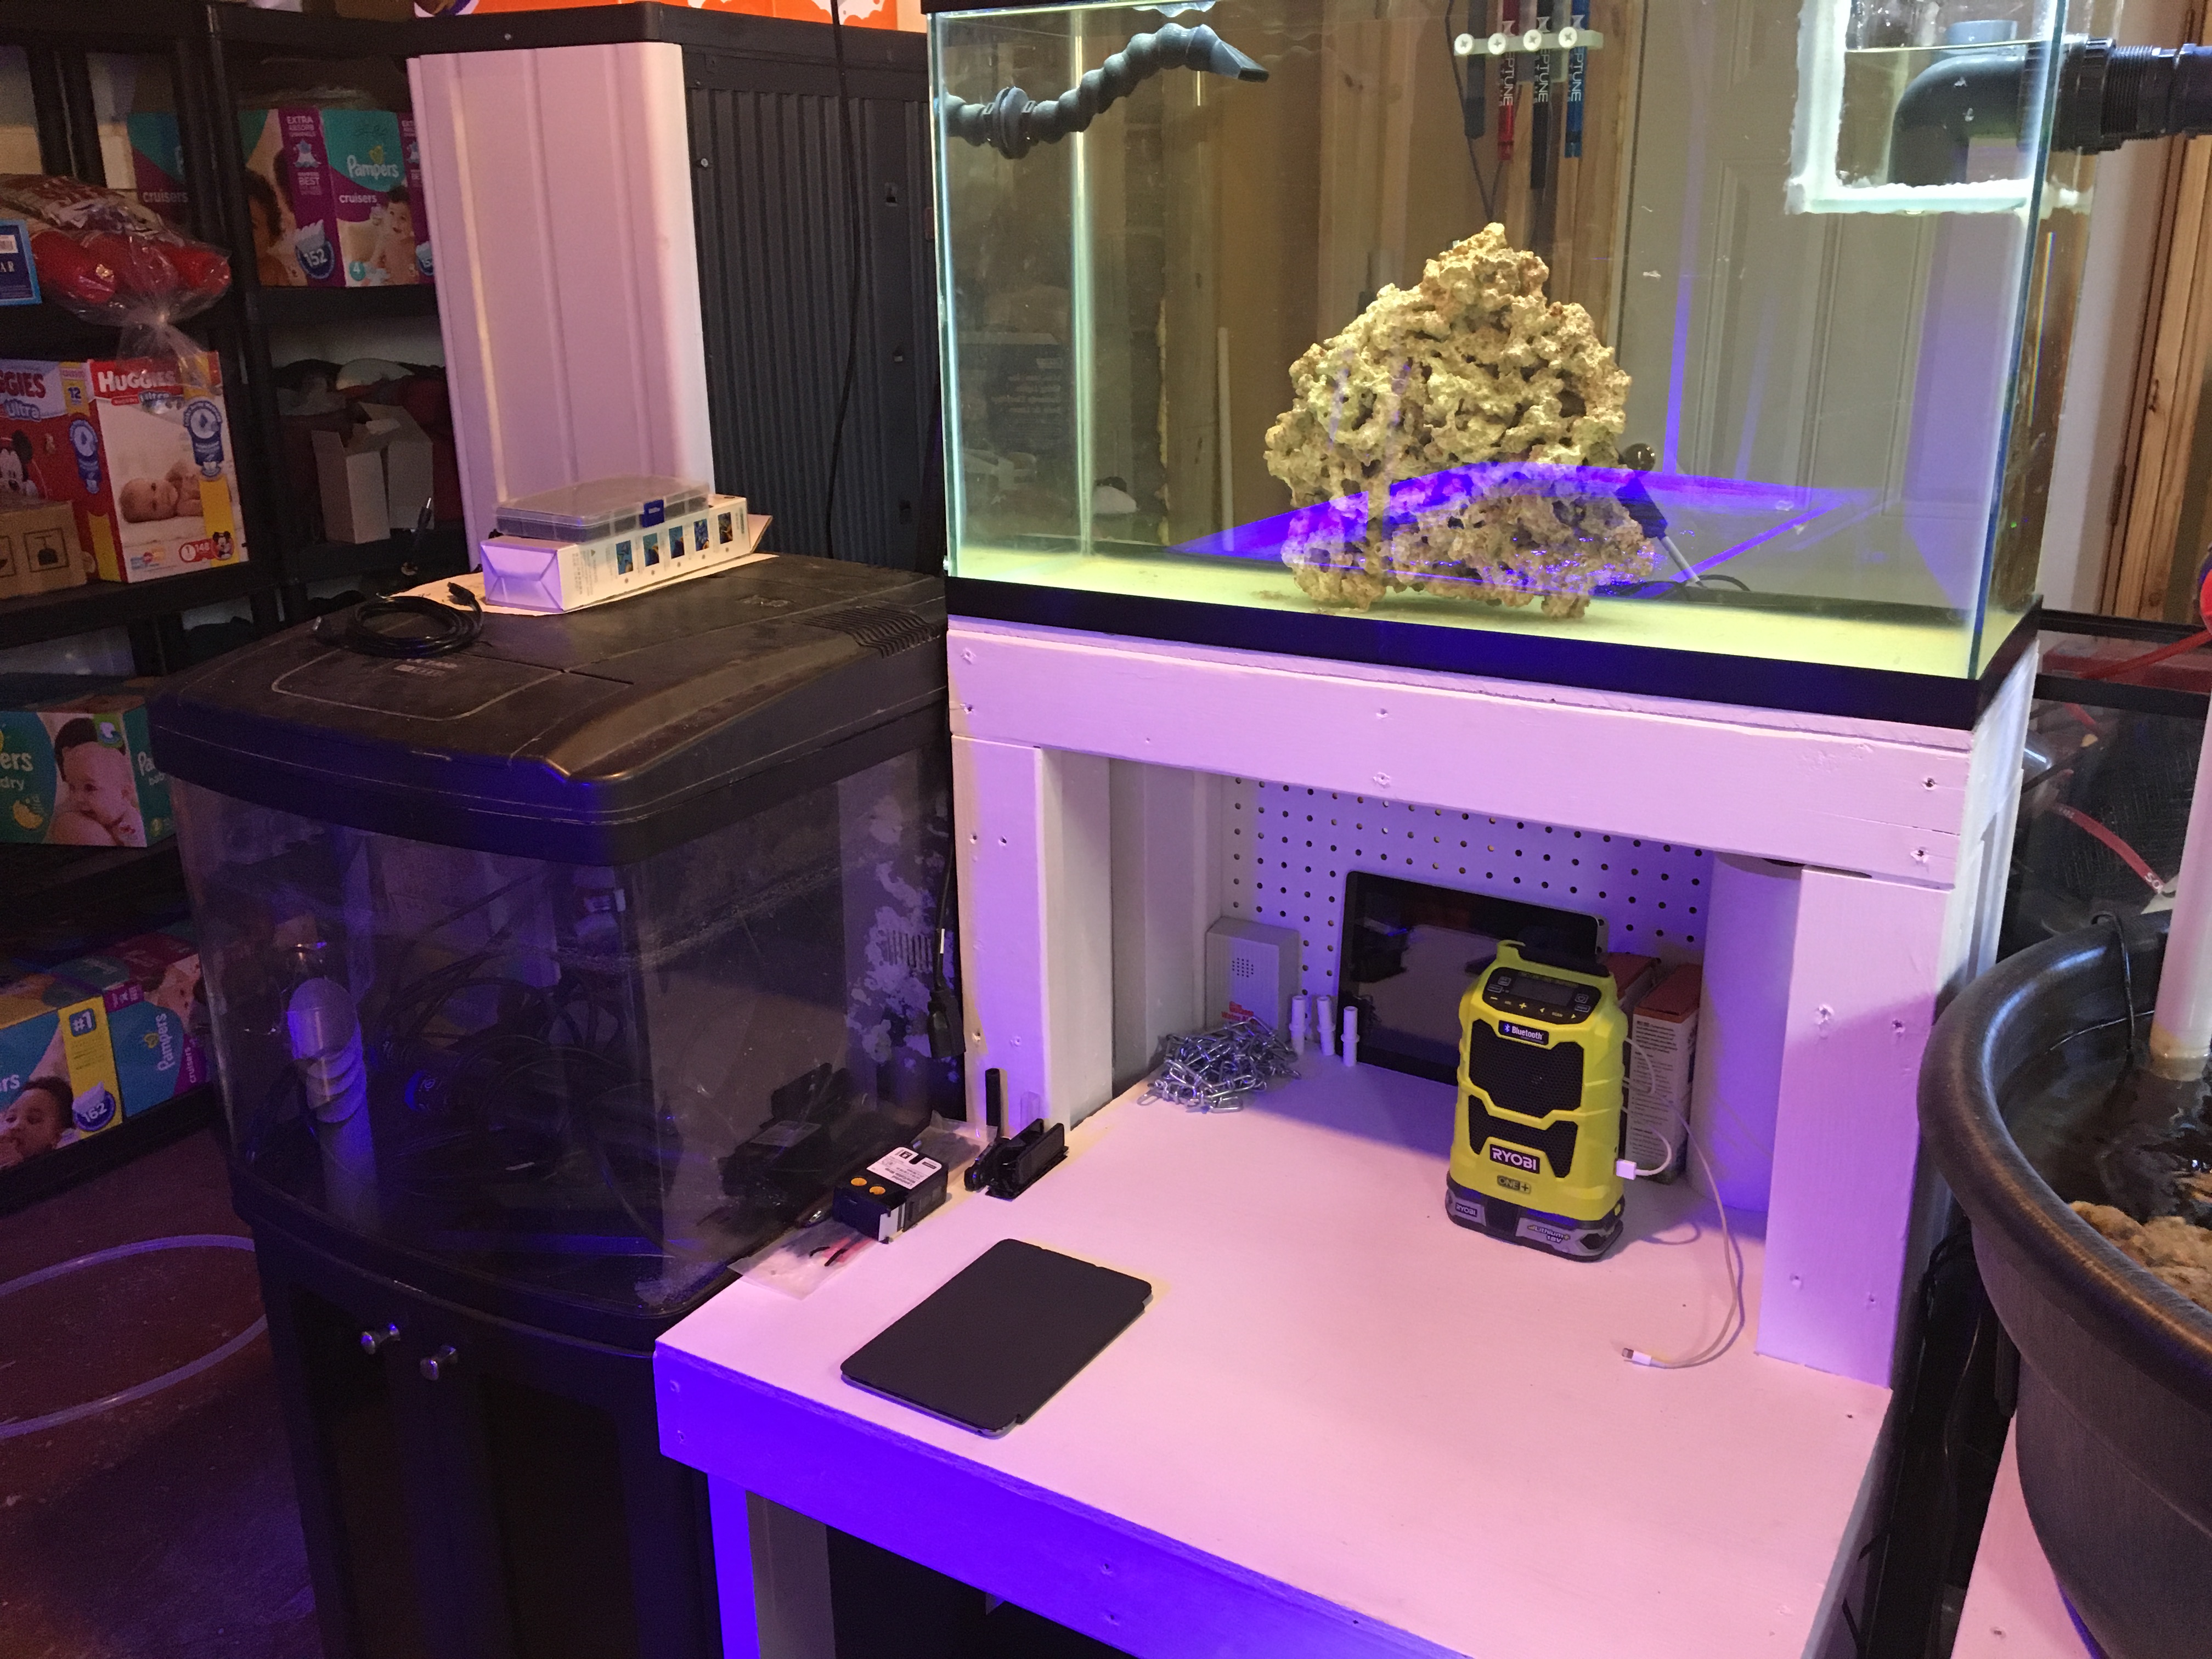
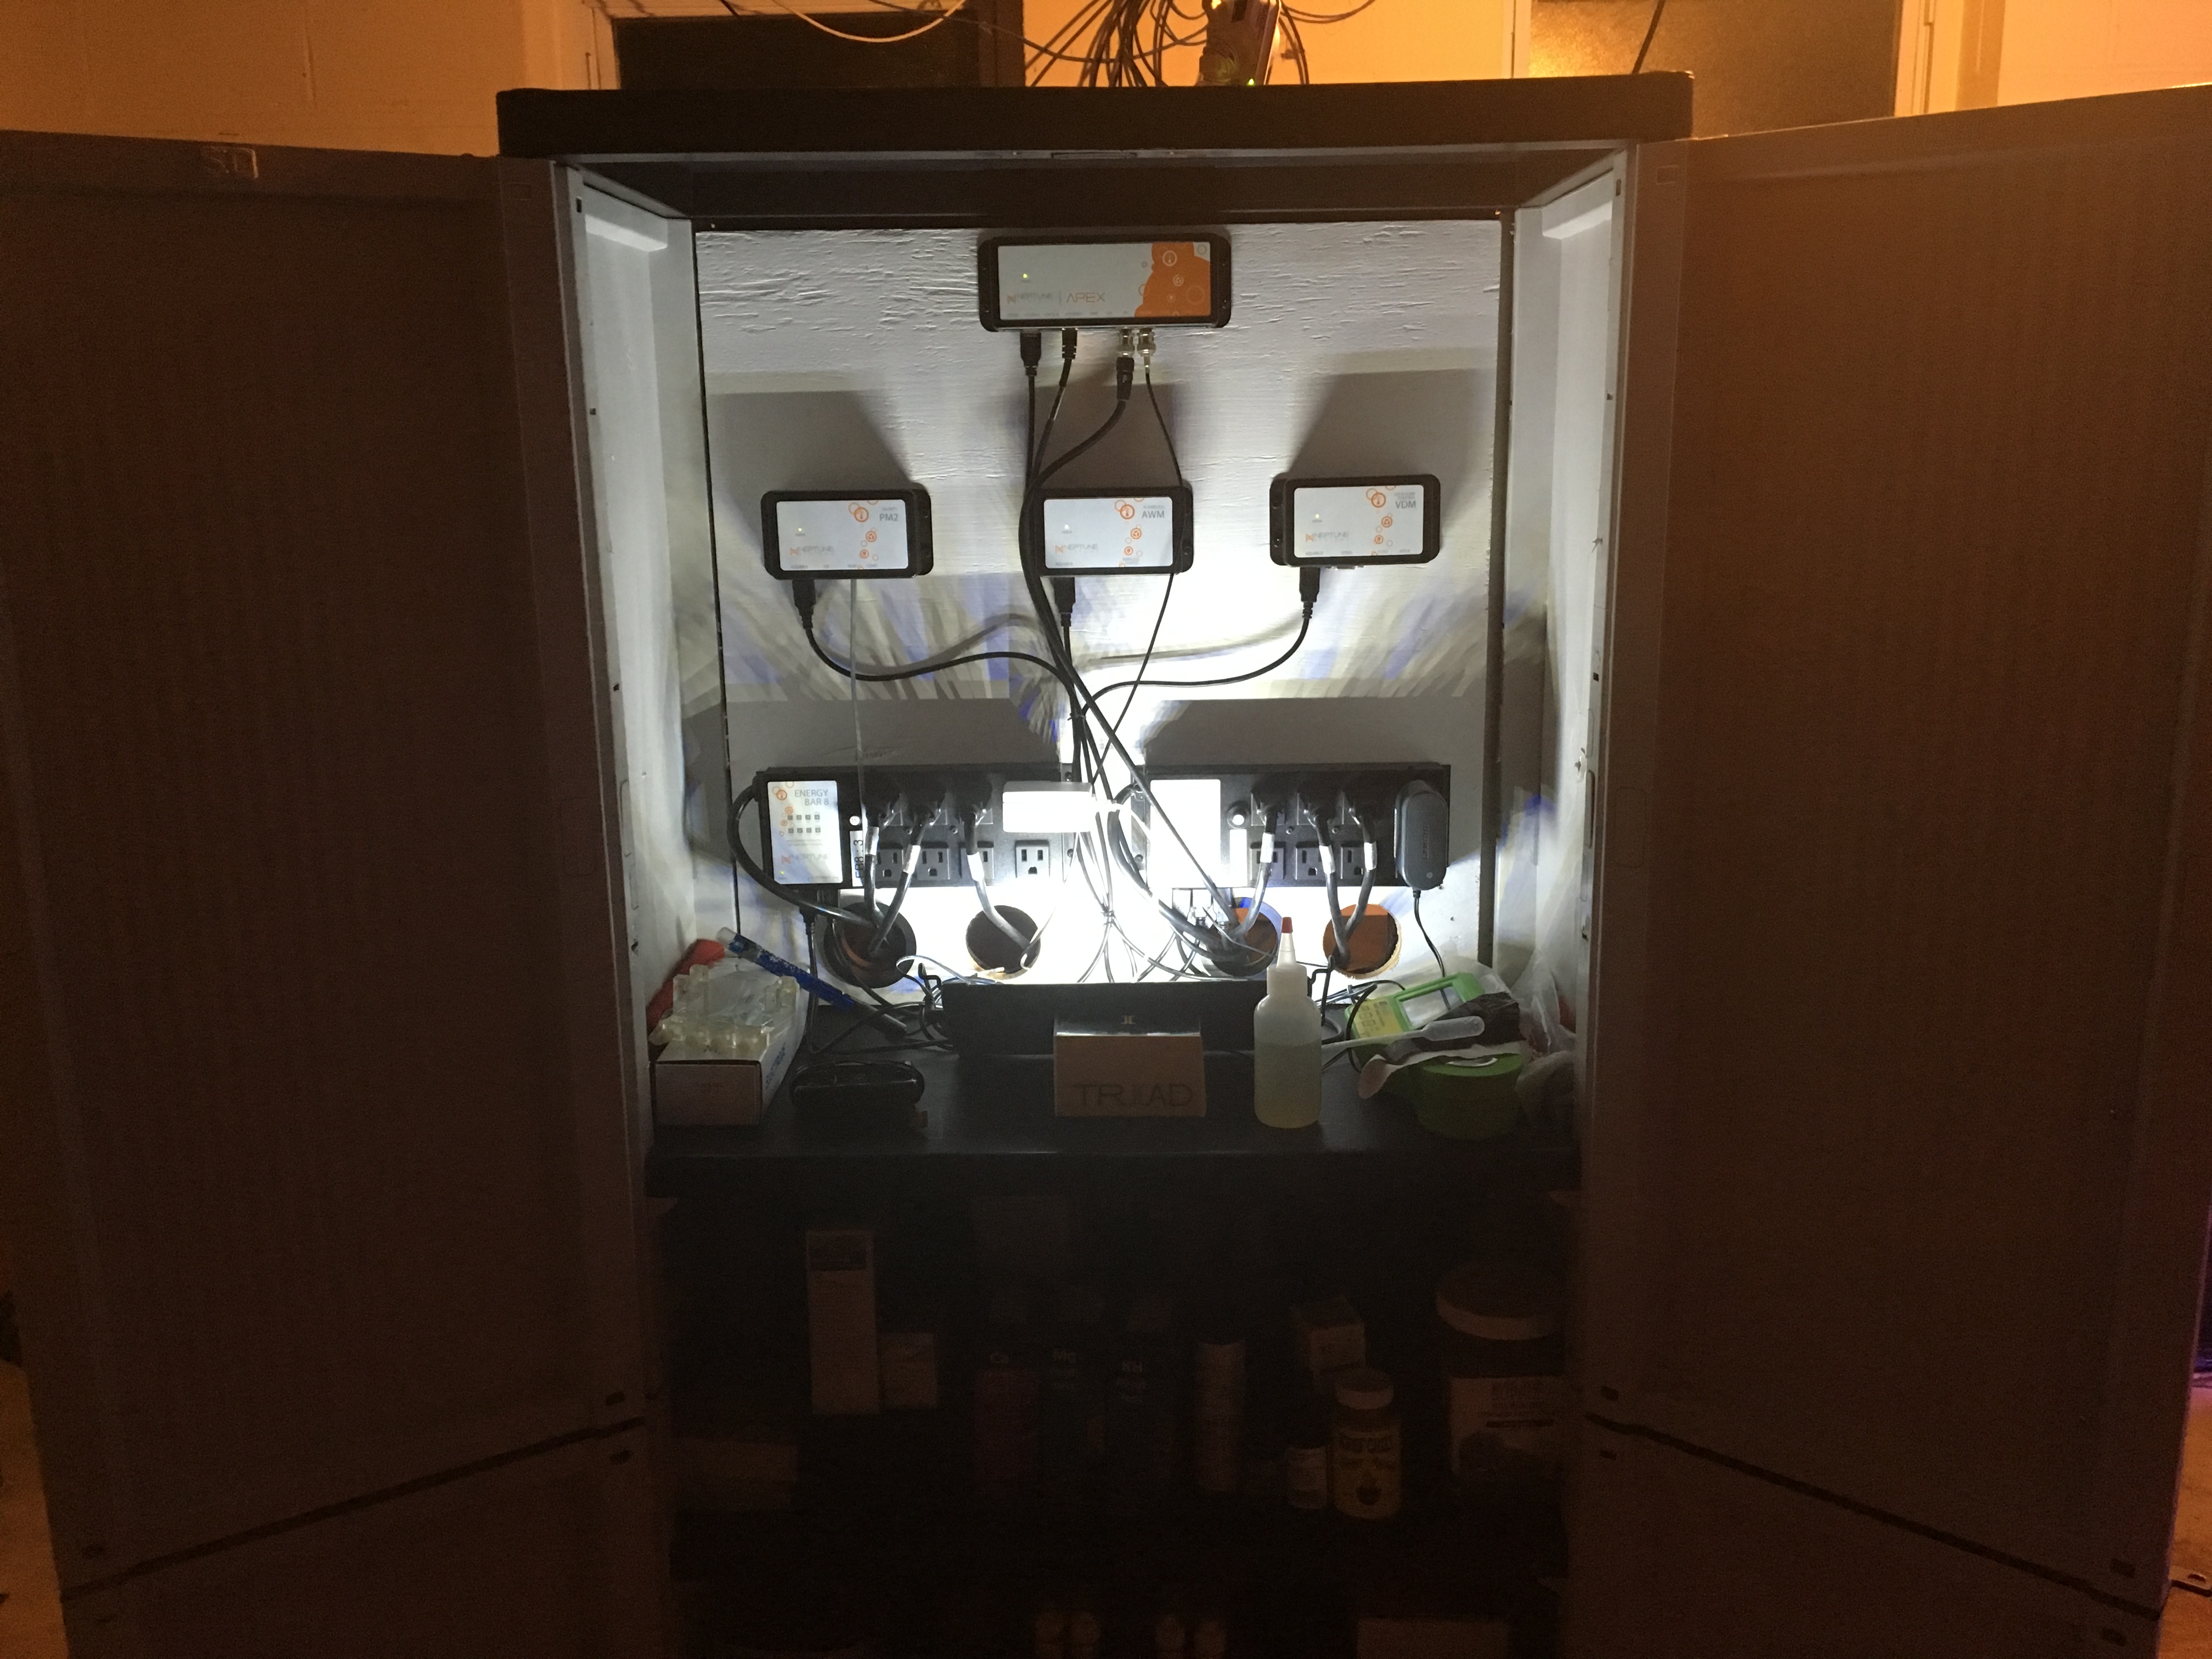
I picked up a cheap storage cabinet to act as the "dry zone" for my apex. I mounted the modules to a piece of plywood and attached it to the inside. Then I drilled four holes for cable passage and installed some grommets. I need to wire up a light in here as the lighting in my basement is junk. I've temporarily put in a little cheap LED giving it some dramatic theater lighting.
I've still got quite a bit of work left in "Phase I", I want to clean up the wiring with some cable ducting and work out a better heater mounting situation. I'm a little paranoid that they're going to melt the plastic of the tub/stand. With most of my livestock in my 30g cube at my office I think I'm going to hold off a bit on GFO/Carbon/Dosing.
Please feel free to pass along any suggestions, they're much appreciated!
I'm going to go at this project in four phases.
Phase I - Frag Tank & Sump
Phase II - RO/DI & SW Mixing Station
Phase III - Refugium
Phase IV - Display Tank
I've just finished the basic setup of the first phase so I decide to start a build thread for anyone that wanted to follow along/provide some suggestions. Thanks for checking it out!
Phase I
The first step was to break down my old tank and transition it into a frag tank and sump. I'm sure most projects have a display tank as part of the initial build, but I'm going to work the other direction as this will give me an opportunity to work through issues before going to the trouble of plumbing my entire house.
I'm using a rubbermaid 150g stock tank and my sump. I replaced the bulkhead with a 1.5" SCH 80 bulkhead as the stock one is know to leak. I've temporarily capped it from the inside, as the first phase of my project I will be using a small pump to act as my return. In phase 3 I'll install a larger external pump and plumb everything together.
The sump has a cheap plastic shelf from home depot for a stand for 27g tote that acts as the first chamber of the sump. I used a dremel to cut the lid of the sump into a filter sock holder. Cutting a slit in the side of the sump for drainage gives me a perfect 9" depth recommended for my skimmer. When I get the display plumbed in the tub will be rotated 90 degrees and the water level raised a bit. At that point the frag tank will just dump straight into the sump as I'll be more concerned with filtering/skimming the water from the display. The live rock from my previous display tank is the starter for this sump. I'll likely add more rock during the Phase IV as I prefer a minimalist display tank.
The temporary return pump feeds a 2 x 4 frag table. I went ahead and constructed the stand for the RO/DI and mixing station so that I could hard plumb the overflows, the return is currently just a 1/2" flex tube, I'll plumb that in when I get my external pump.
My temporary return pump has a little less GPH than I'd like, so I installed the Gyre 150 from my old display to add flow. I have to be a little careful with the gyre as it's easy to get a wave that will splash right out of the frag table. Lighting is provide by two Hydra 52's. They're mounted a bit high, but I wanted to be able to lean over the frag tank easily with out hitting my head on them. PAR is 400 at the center of the tank with the Hydra's at 100% so I think it should work fine.
I picked up a cheap storage cabinet to act as the "dry zone" for my apex. I mounted the modules to a piece of plywood and attached it to the inside. Then I drilled four holes for cable passage and installed some grommets. I need to wire up a light in here as the lighting in my basement is junk. I've temporarily put in a little cheap LED giving it some dramatic theater lighting.
I've still got quite a bit of work left in "Phase I", I want to clean up the wiring with some cable ducting and work out a better heater mounting situation. I'm a little paranoid that they're going to melt the plastic of the tub/stand. With most of my livestock in my 30g cube at my office I think I'm going to hold off a bit on GFO/Carbon/Dosing.
Please feel free to pass along any suggestions, they're much appreciated!
Last edited:


")