
Navigation
Install the app
How to install the app on iOS
Follow along with the video below to see how to install our site as a web app on your home screen.
Note: This feature may not be available in some browsers.
More options
You are using an out of date browser. It may not display this or other websites correctly.
You should upgrade or use an alternative browser.
You should upgrade or use an alternative browser.
LED build for the 300
- Thread starter mike_dani
- Start date
- Tagged users None


Nice build mate.
Quick question...where can i find that aluminum you are using for your heat sink?
I used 1 inch square aluminum tubes from home depot for my build and crammed 13 led's on each of 4 36'' tubes(52led total) and am getting a lot of heat.
Thinking about changing my heat sinks out and reusing old aluminum for some moonlights.
Can't wait to see the finished fixture over your tank.
What optics are you using?
Regards,
Tyler
Wow! Thats very impressive. So much soldering and wire stripping, I bet your fingers hurt! Nice build...

OP
OP
Nice build mate.
Quick question...where can i find that aluminum you are using for your heat sink?
I used 1 inch square aluminum tubes from home depot for my build and crammed 13 led's on each of 4 36'' tubes(52led total) and am getting a lot of heat.
Thinking about changing my heat sinks out and reusing old aluminum for some moonlights.
Can't wait to see the finished fixture over your tank.
What optics are you using?
Regards,
Tyler
Tyler, here is the link to the stuff I used
If you end up not changing out the aluminum, I have found some fans that do a great job of removing the heat.
OP
OP
Wow! Thats very impressive. So much soldering and wire stripping, I bet your fingers hurt! Nice build...
It hasn't been bad 40 or 50 a night and once I found my grove it went quick.

OP
OP
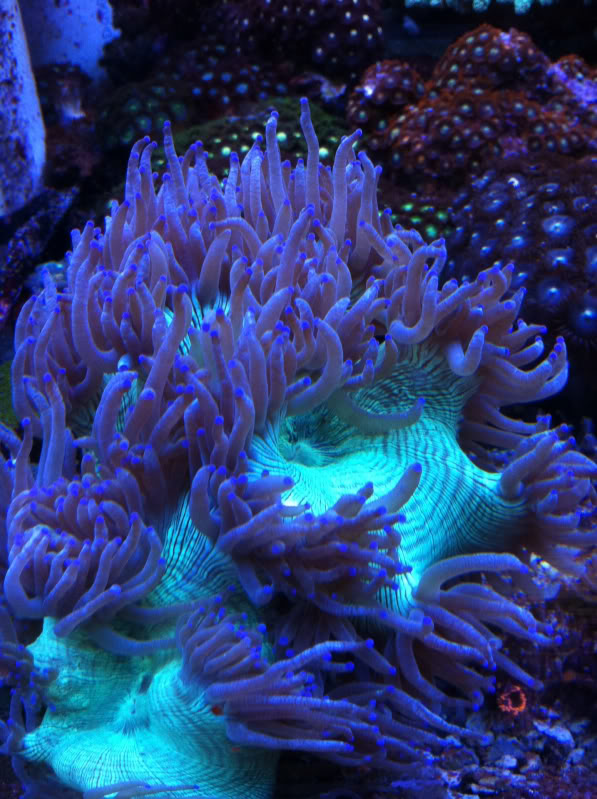
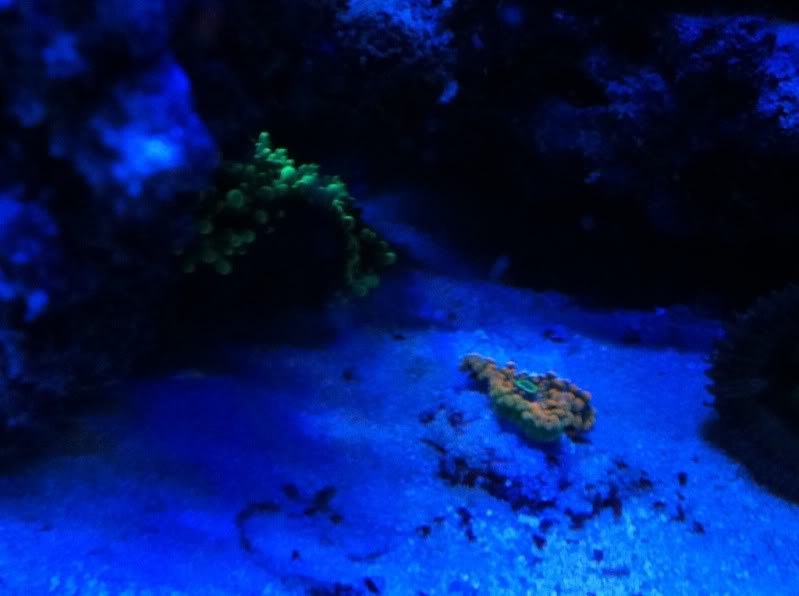
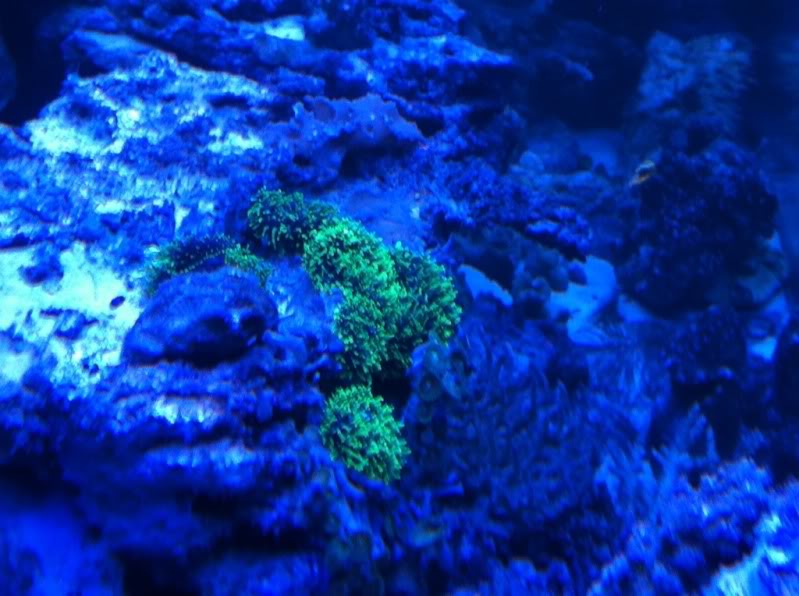
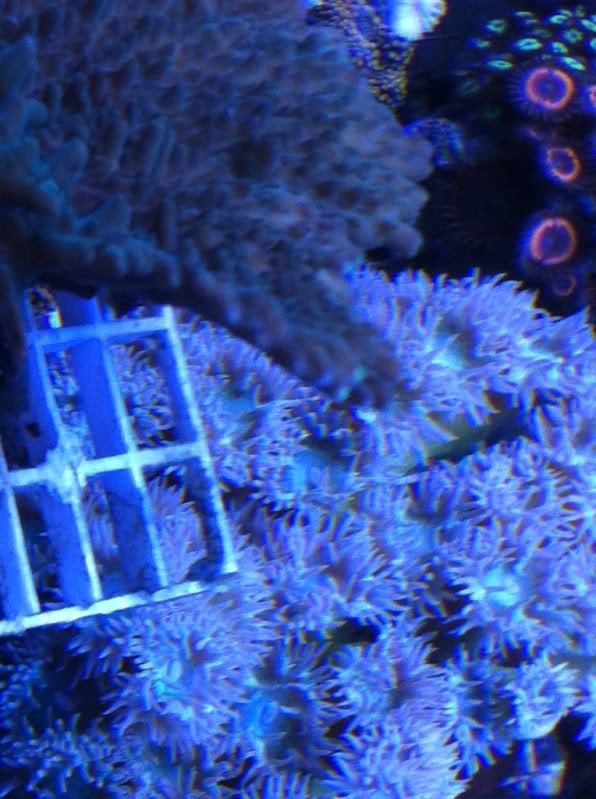
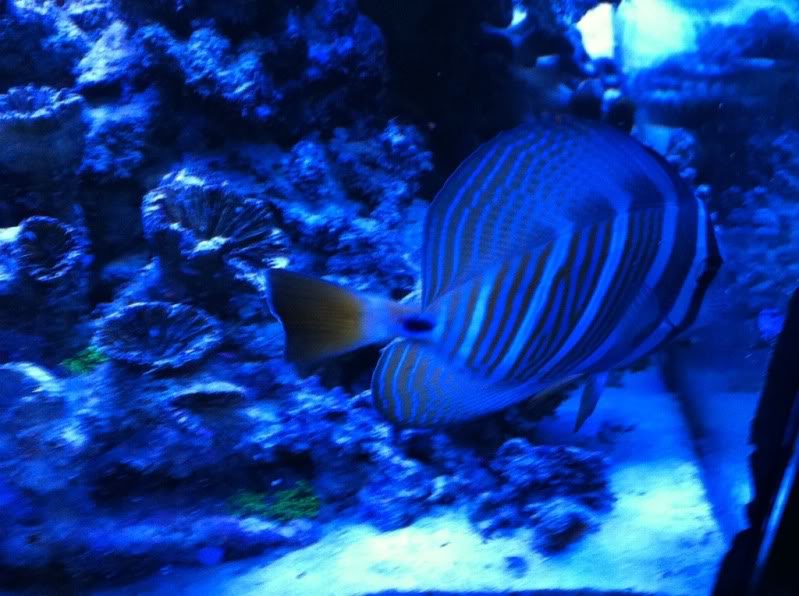
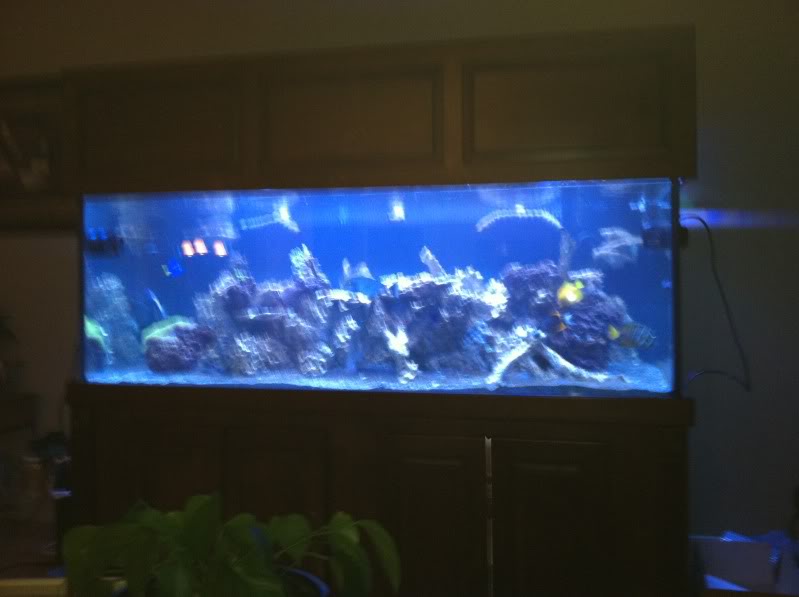
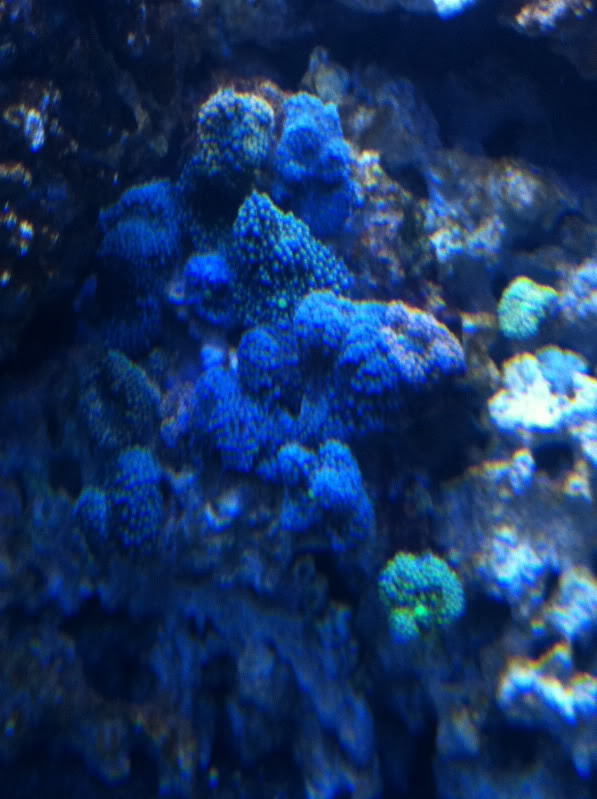
Here is a quick look of livestock under the LEDS.
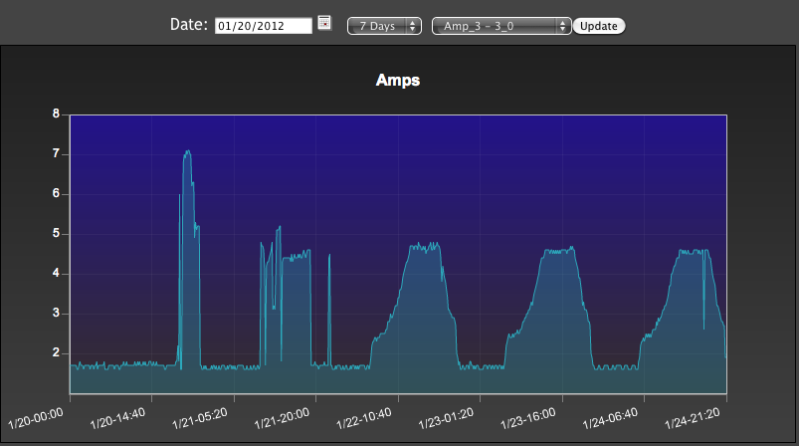
The tank ended up coming completely down and being completely rebuilt so I have no had any time to work on the LEDs. I did however do some power studies and have been greatly impressed with the power consumption of the LEDs.
Input voltage displays for the whites and blues
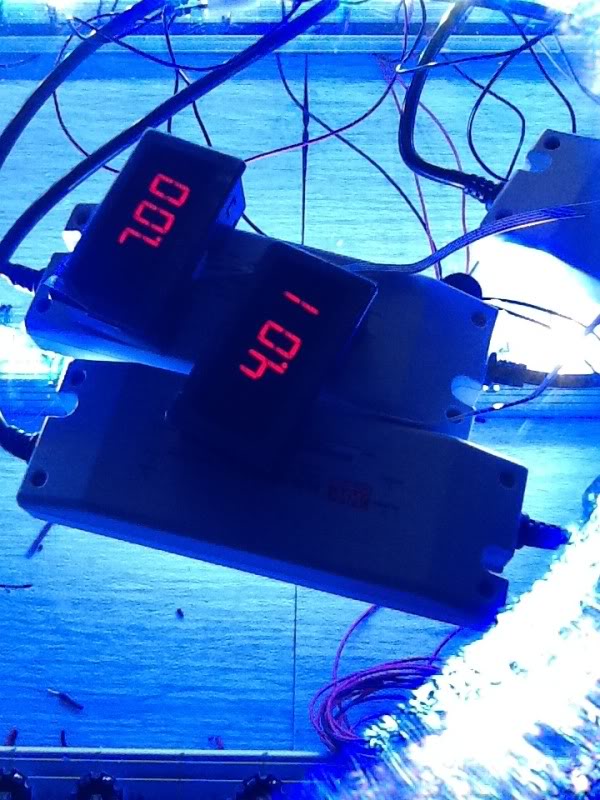
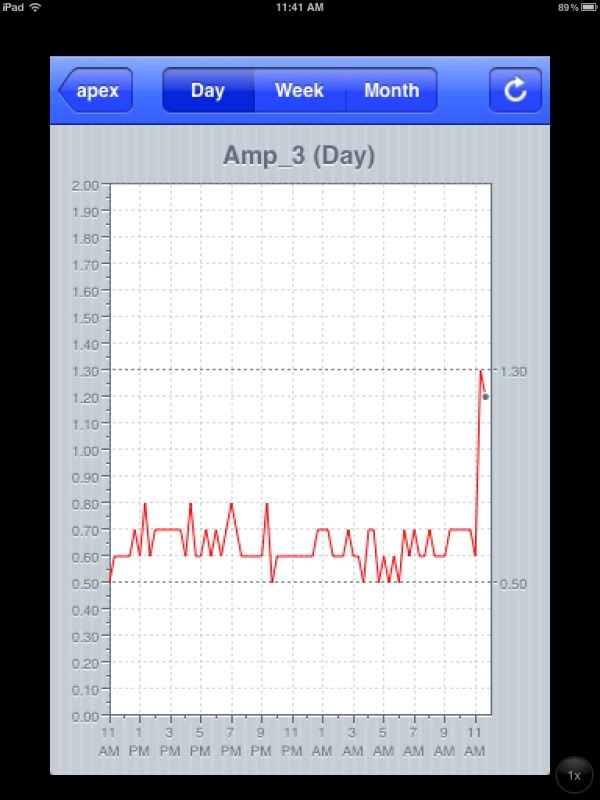
Apex amperage graph 1.2 amps being displayed, .7 amps are being used for other equipment running so that is .5 amps being used by the LEDs and that 96 diodes running.
The tank ended up coming completely down and being completely rebuilt so I have no had any time to work on the LEDs. I did however do some power studies and have been greatly impressed with the power consumption of the LEDs.
Input voltage displays for the whites and blues
Apex amperage graph 1.2 amps being displayed, .7 amps are being used for other equipment running so that is .5 amps being used by the LEDs and that 96 diodes running.
Last edited:
OP
OP
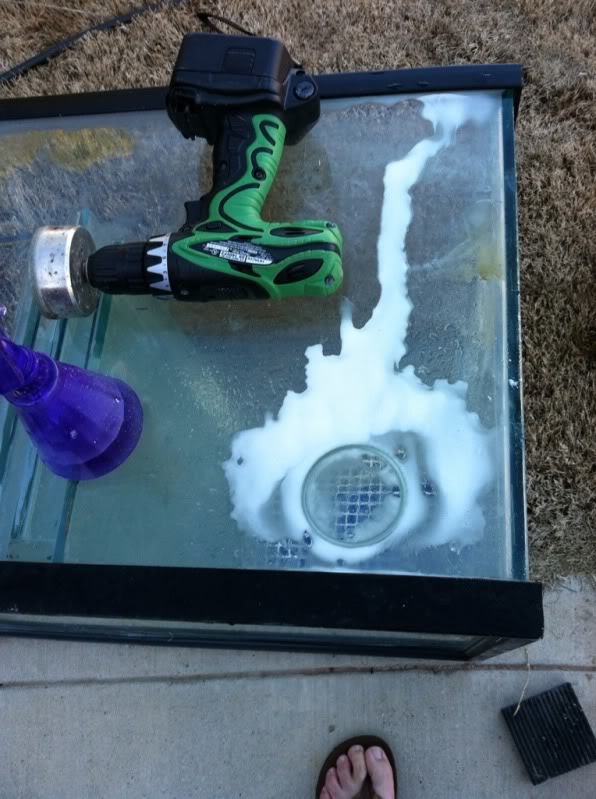
Here is the sump out side waits on me to move some baffles and holes
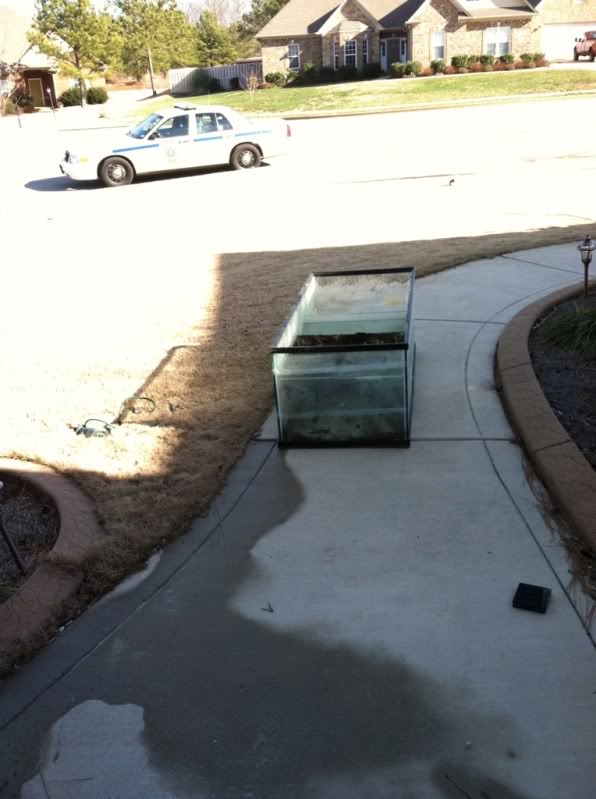
Hole being drilled. It was so cold when I did this the white water is iced over
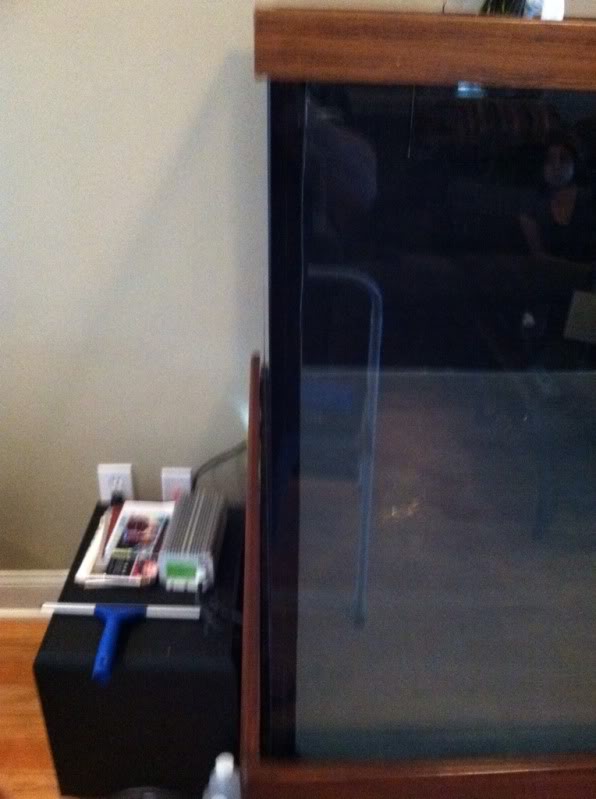
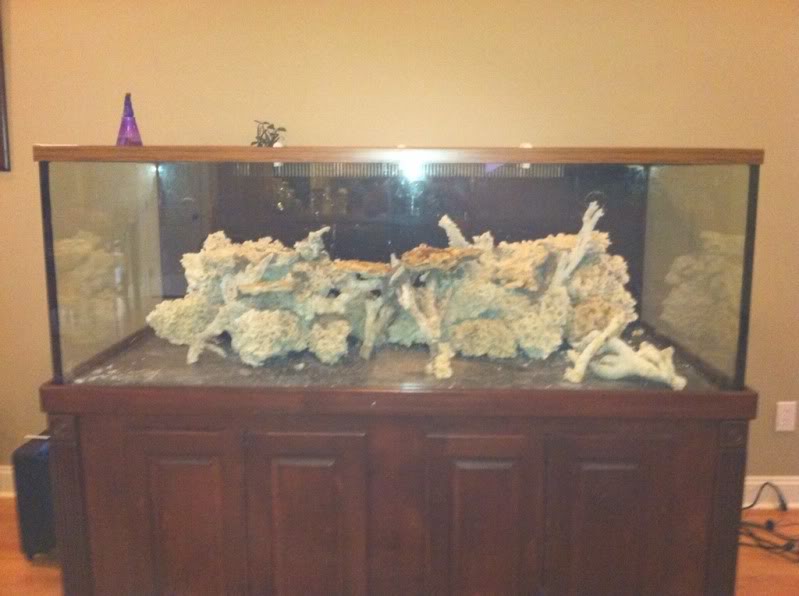
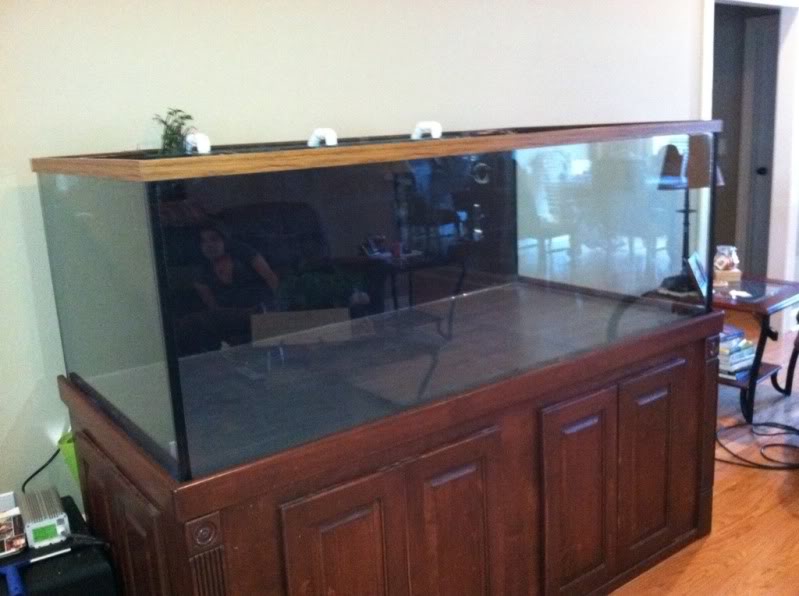
Tank pic
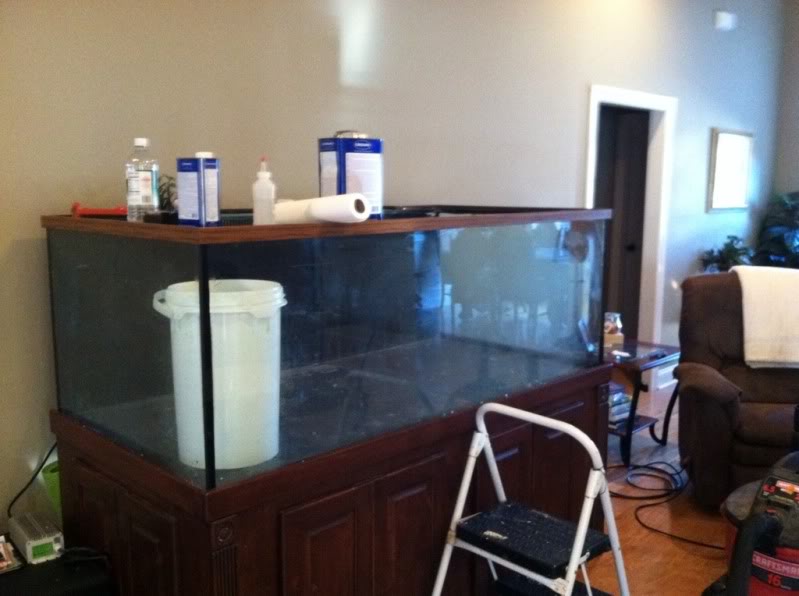
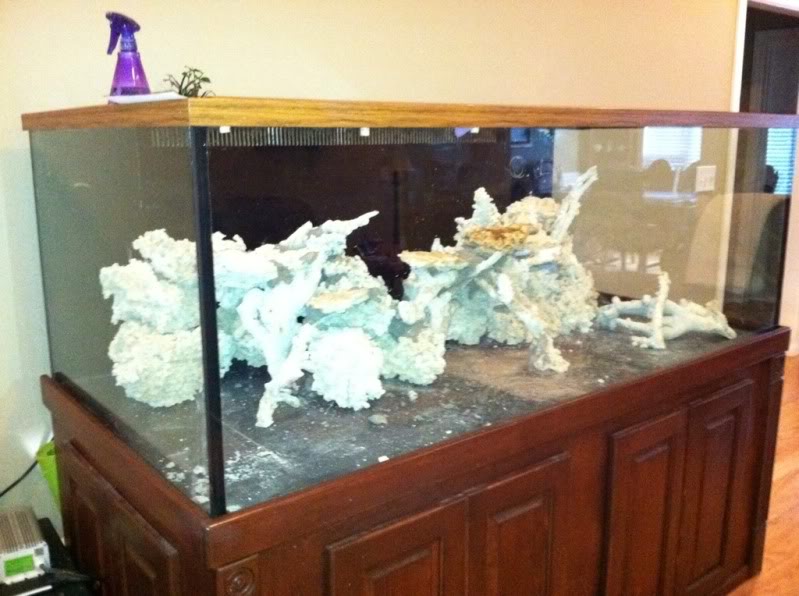
Another one
Sump installed

Filled up with water
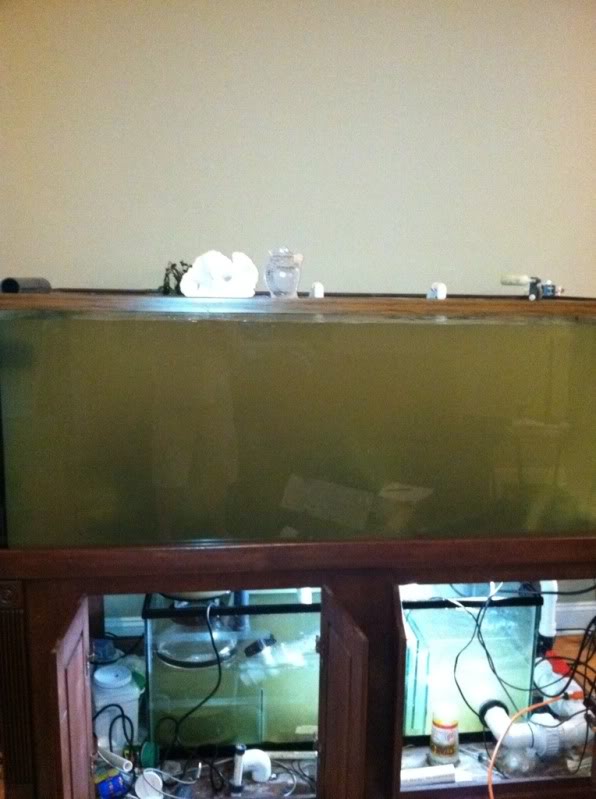
Sump flowing
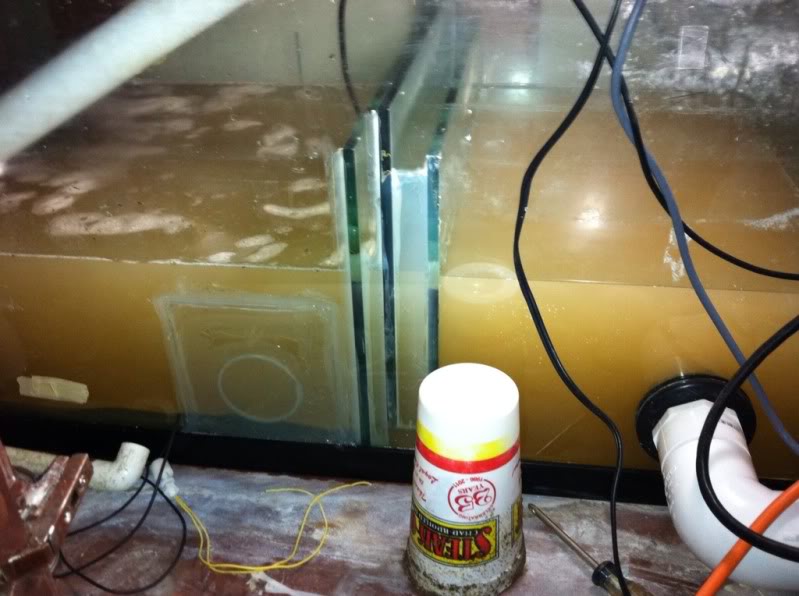
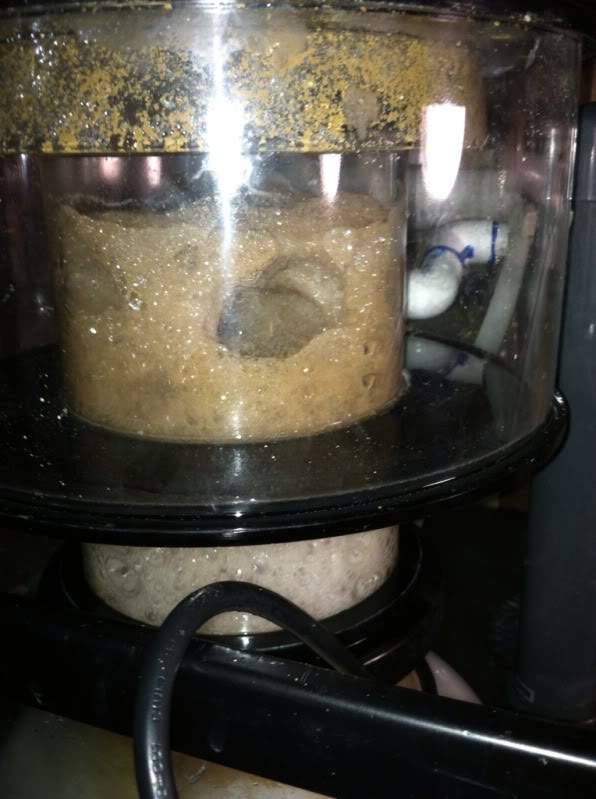
Skimmer pulling out some nasty crap
Hole being drilled. It was so cold when I did this the white water is iced over
Tank pic
Another one
Sump installed
Filled up with water
Sump flowing
Skimmer pulling out some nasty crap


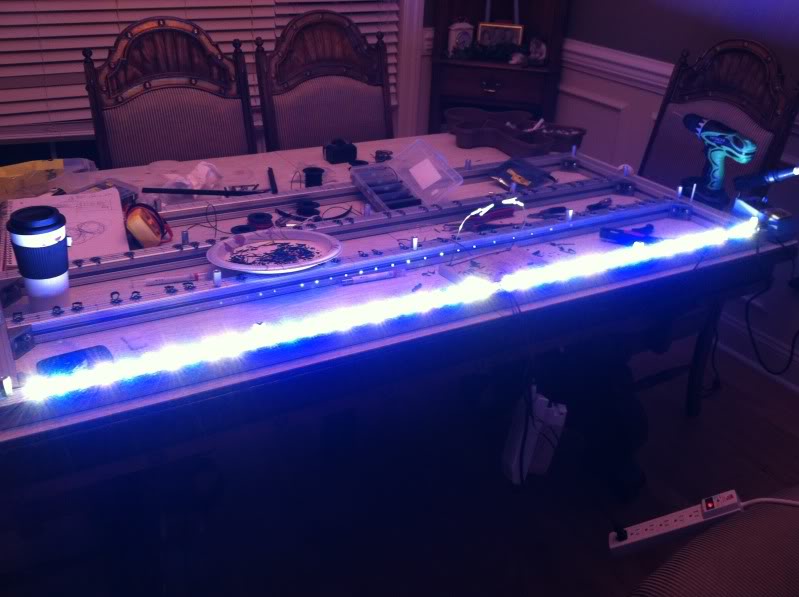
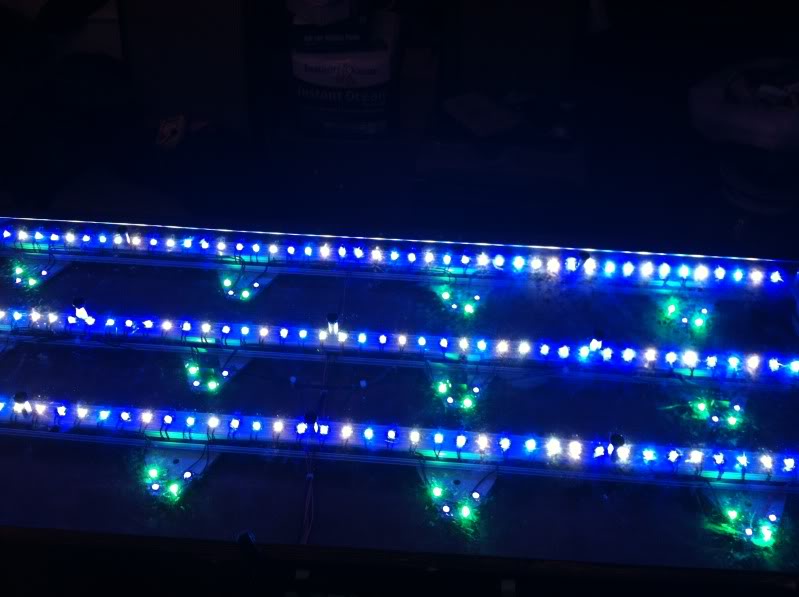
Well I now have 1/4 of the build complete, I have 4 bars that will span the length of the tank with 2 drivers running 48 LEDs all LEDs have a PLED shunt installed in parallel to the LED, this way if one LED blows then the rest will stay lit and will also use the same current as each LED. I have tuned both drivers and the LEDs are shinning like WOW. Here are a couple of pics.
Whites on, I had to add 6 blues to each white section to balance the load
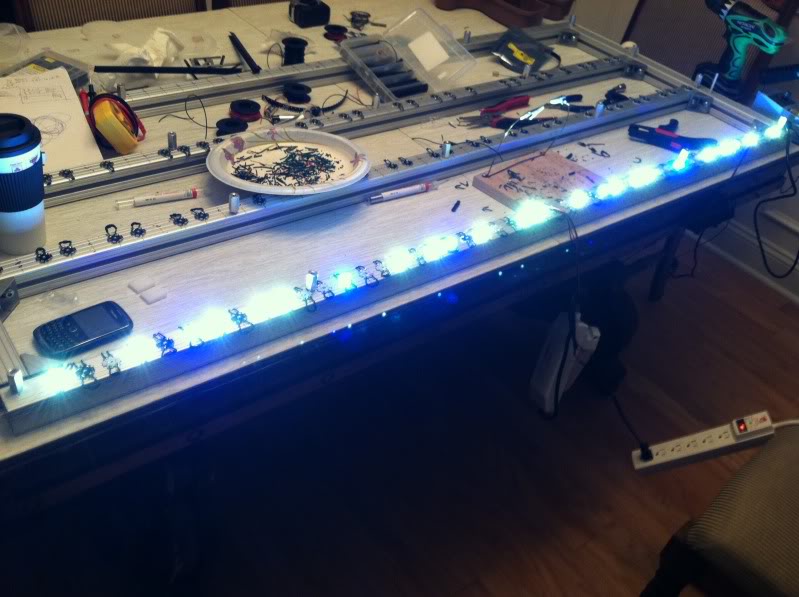
Blues on
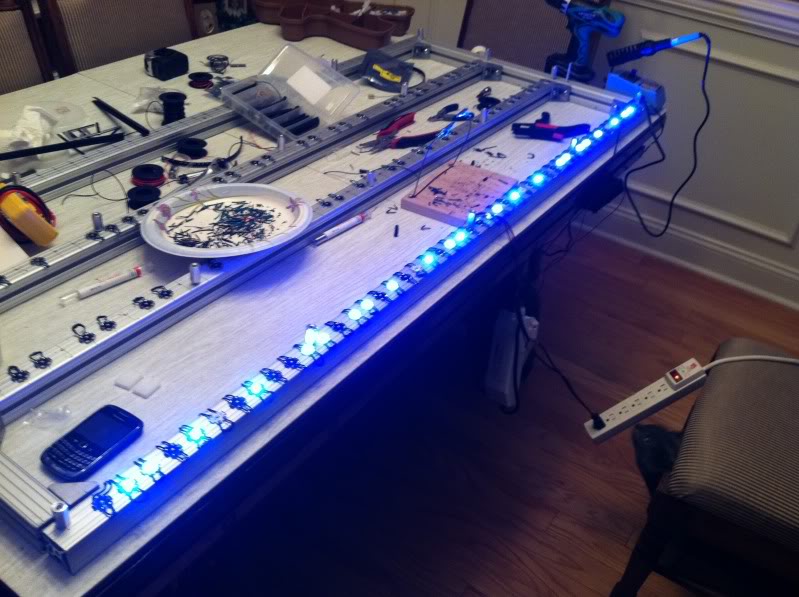
All on picture one
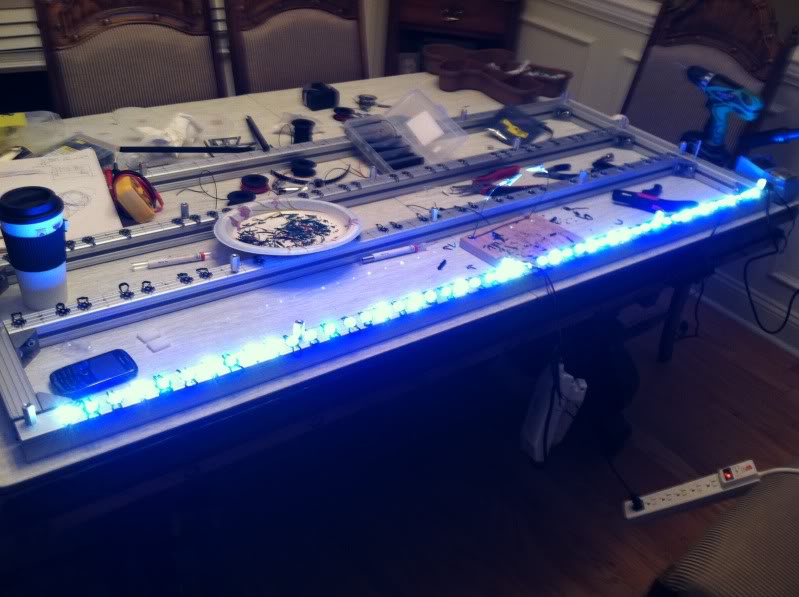
All on picture two
Junction temp after running full brightness for two hours
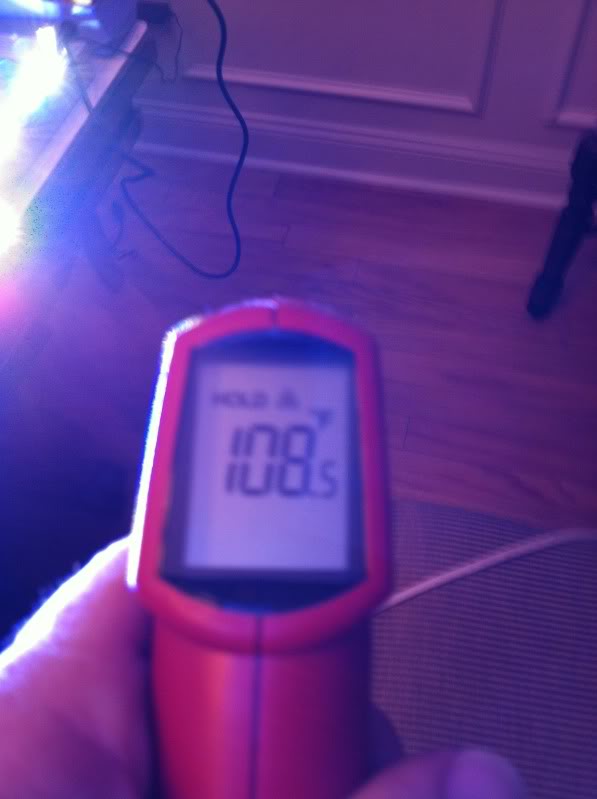
with those temps I have nothing to worry about, my plan is to run them at 10V DC for 8 hours and graph the temps during the run period. I am certain the junction temps will be below 140 degrees F, if that is the case then I will call this one a success.
How are you measuring the junction temperature? That is way down in the chip and not accessible. You can calculate it, however, depending on what you're actually measuring.


Dangit. I gotta get those fans in the mail.... make sure I do it Monday. Unless u want to come to south Pittsburgh to look at a furnace.
OP
OP
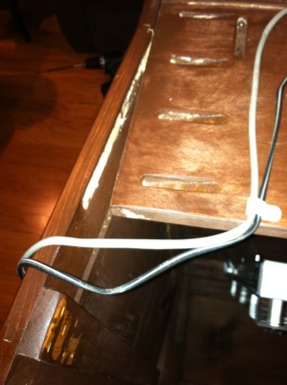
So the LED light fixture is done, all I can say is it is even better then I had expected. The wires are all hidden, drivers cant be seen and there is only two wires coming out of my canopy. First and foremost the power consumption is awesome and here is some cool facts. I use 1.8 amps constant 1.3 is the Dart pump and .5 is the apex itself so when you look at the amp chart below keep this in mind. At peek power the LEDs only consume 2.8 amps and to break that down into daily cost here it is
1 KWH in Huntsville is $0.09 so the formula is this 2.8 amps X 120V = 336 watts. 336 watts X 6 hrs = 2016 watt hours 2016 watt hours/1KW or 1000 = 2.016 KWH 2.016 KWH X .09 = .18 per day for peek power consumption or 5.44 per month. That was the cost of one 250Watt MH and two T-5 bulbs. I was running 3 250 watt MH before and it cost 15.00 a month, I like that savings not to mention no more bulbs to change.
So I have had a ton of questions on how I added the PLEDs to this unit so first here is a PLED
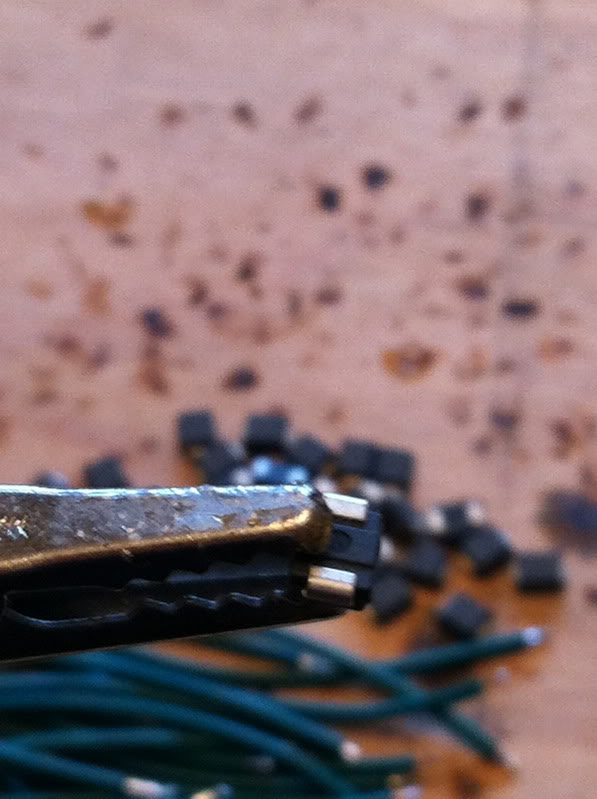
Here is a tinned PLED
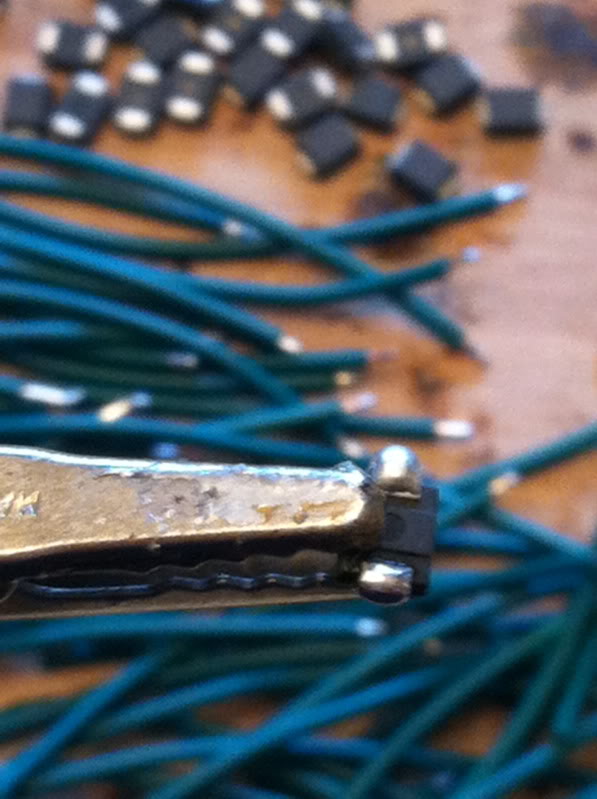
Here is a wired PLED
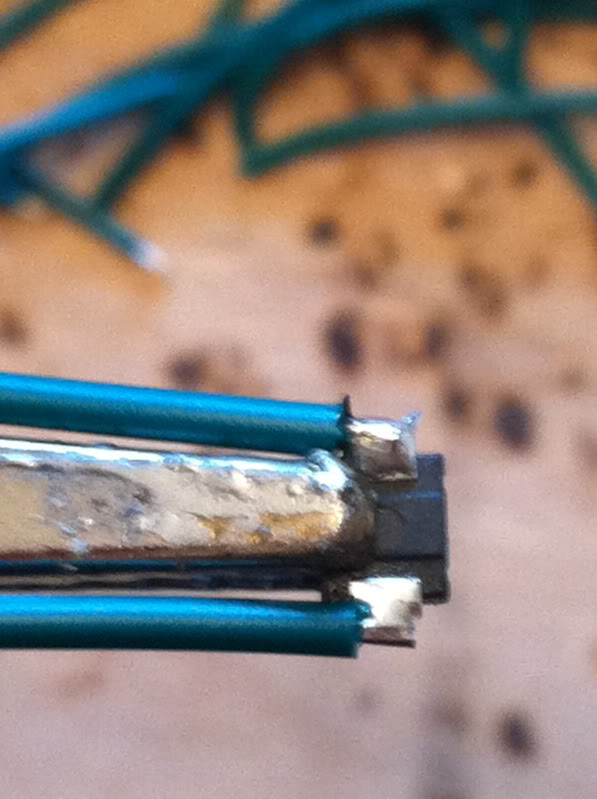
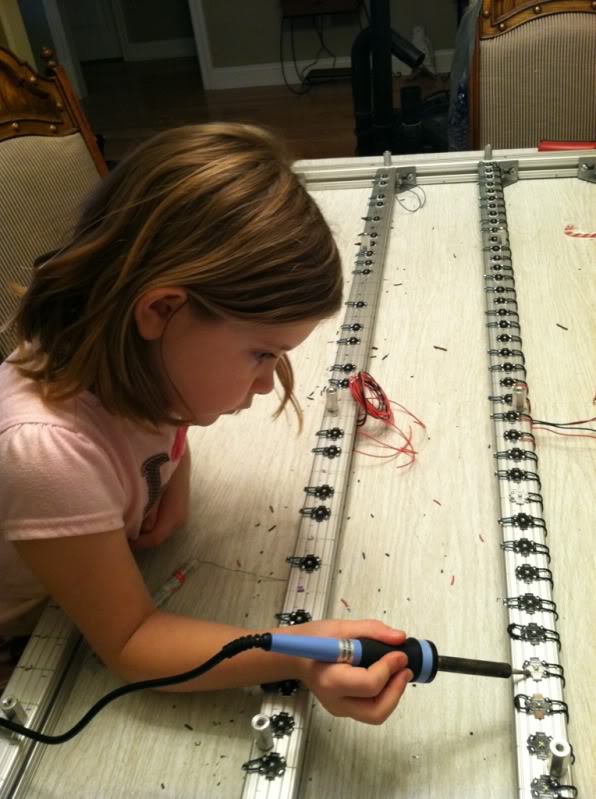
It is a tedious job and very small pinpointed work but once you find your grove it no big deal, so easy a 7 year old can do it…….
and one attached to a LED look at the LED and you will see two green wires coming off of the LED
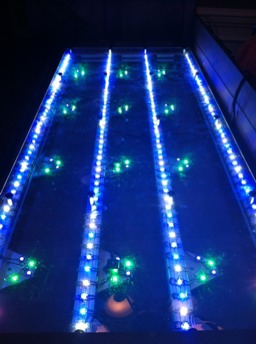
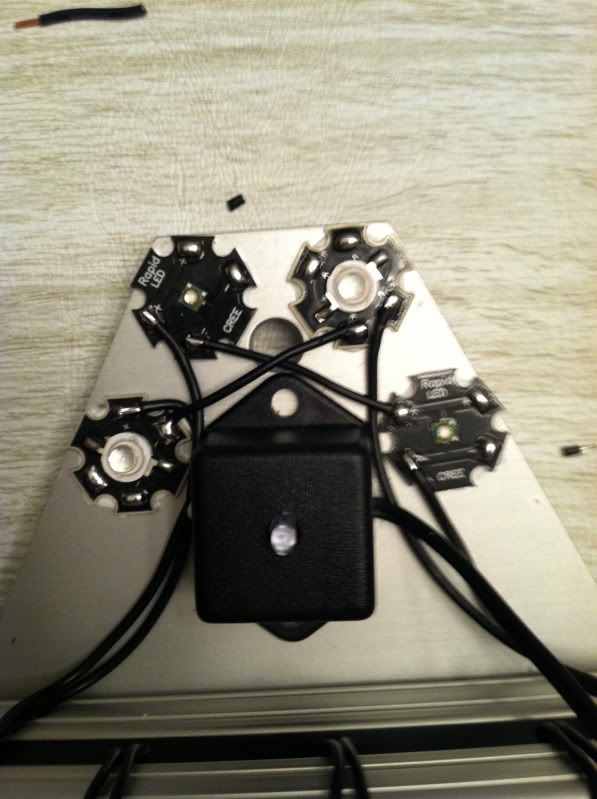
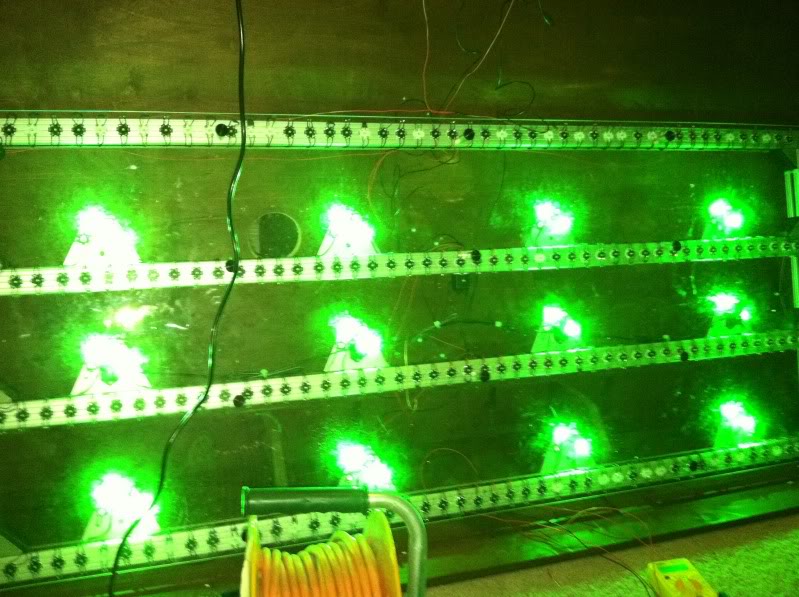
I added 12 aluminum plates to mount my green, violets and moon lights to the top left and bottom right are Green and the top right and bottom left are violets, the square one is the Neptune’s moon light
Here is the greens lit up
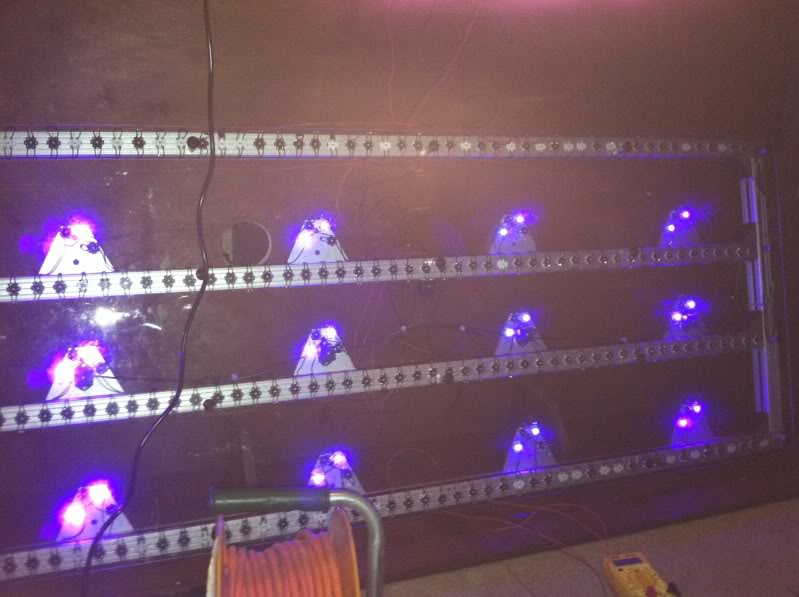
Here is the Violets lit up
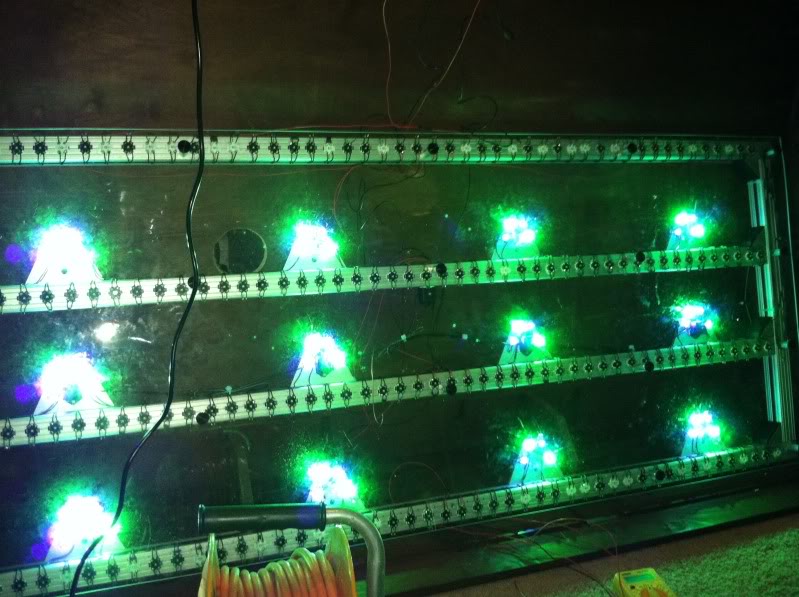
Here is both together
Here is all of then on for the first time for a bench test, and yes I ran through the streets naked in joy…………………………Well almost
1 KWH in Huntsville is $0.09 so the formula is this 2.8 amps X 120V = 336 watts. 336 watts X 6 hrs = 2016 watt hours 2016 watt hours/1KW or 1000 = 2.016 KWH 2.016 KWH X .09 = .18 per day for peek power consumption or 5.44 per month. That was the cost of one 250Watt MH and two T-5 bulbs. I was running 3 250 watt MH before and it cost 15.00 a month, I like that savings not to mention no more bulbs to change.
So I have had a ton of questions on how I added the PLEDs to this unit so first here is a PLED
Here is a tinned PLED
Here is a wired PLED
It is a tedious job and very small pinpointed work but once you find your grove it no big deal, so easy a 7 year old can do it…….
and one attached to a LED look at the LED and you will see two green wires coming off of the LED
I added 12 aluminum plates to mount my green, violets and moon lights to the top left and bottom right are Green and the top right and bottom left are violets, the square one is the Neptune’s moon light
Here is the greens lit up
Here is the Violets lit up
Here is both together
Here is all of then on for the first time for a bench test, and yes I ran through the streets naked in joy…………………………Well almost

OP
OP
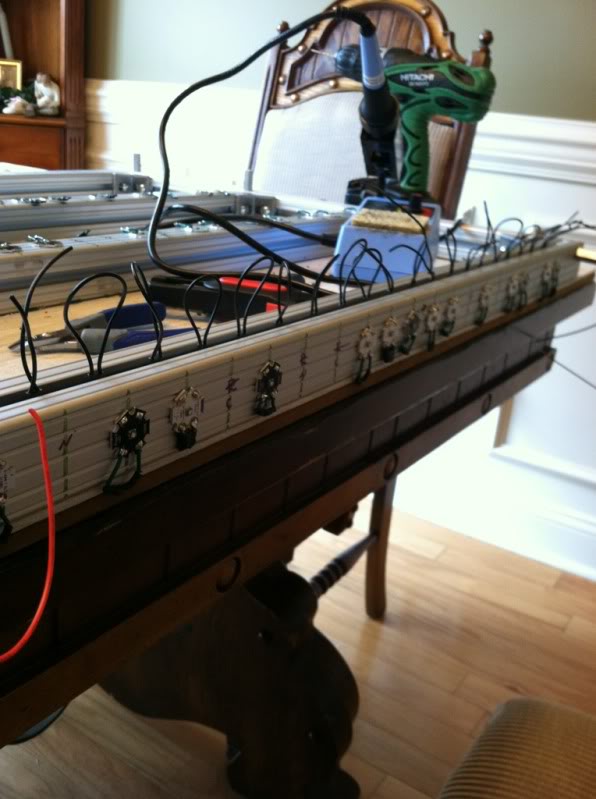
I attached all 10 driver to the top back of the canopy and used some touch safe terminal strips to daisy chain the 4 blue drivers 10v signal and the 110v power together that way the run at the same intensities.
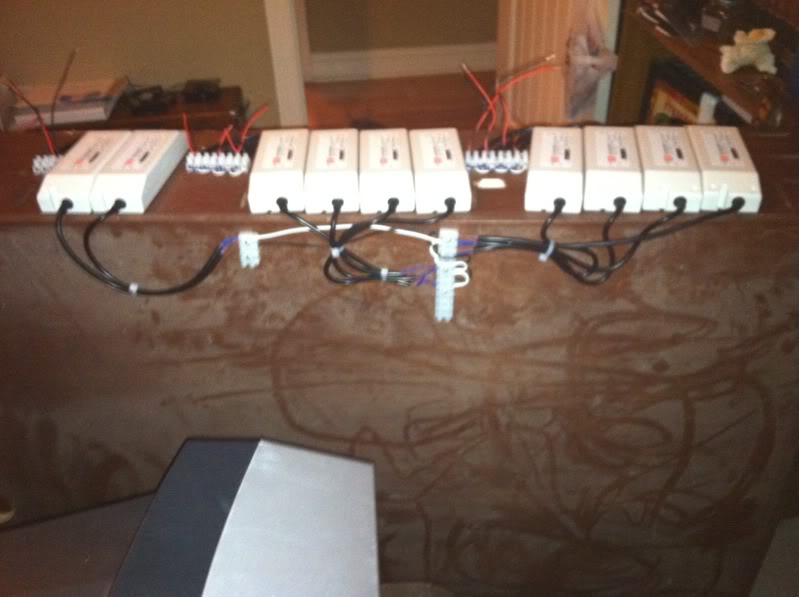
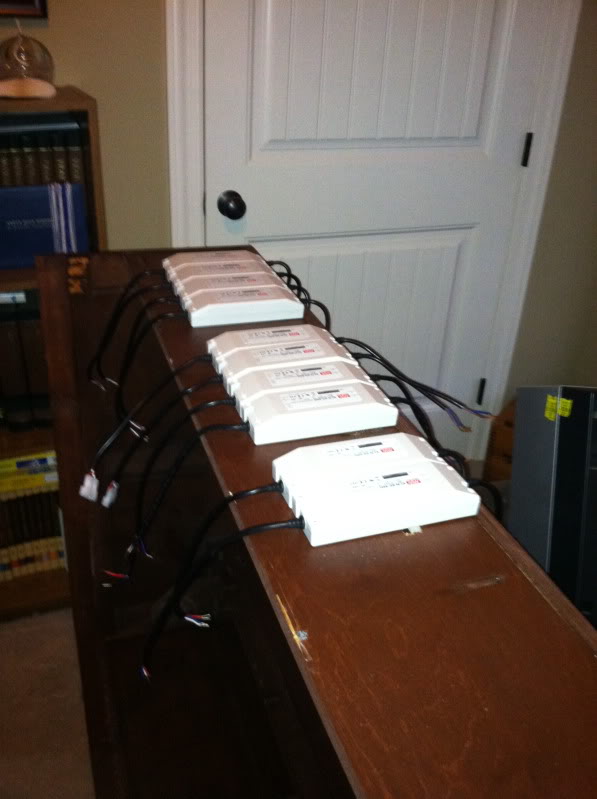
The rest of these photos will speak for themselves.
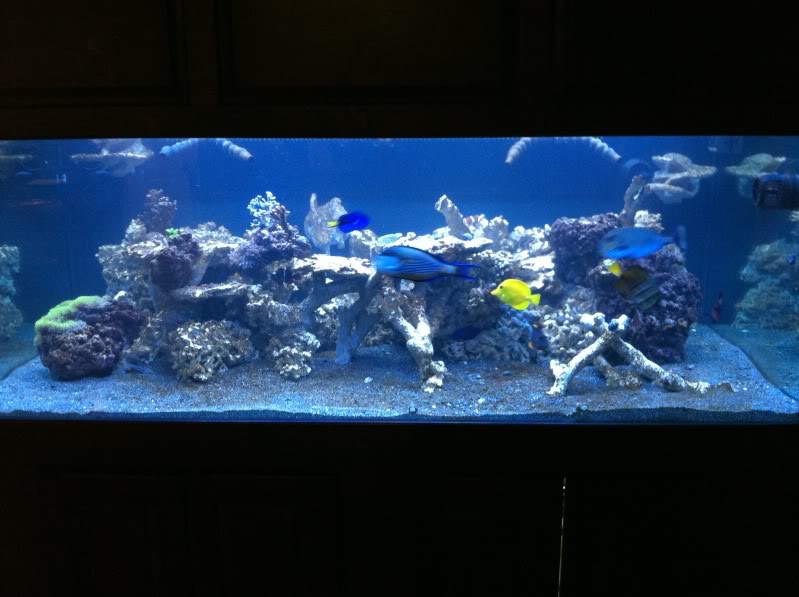
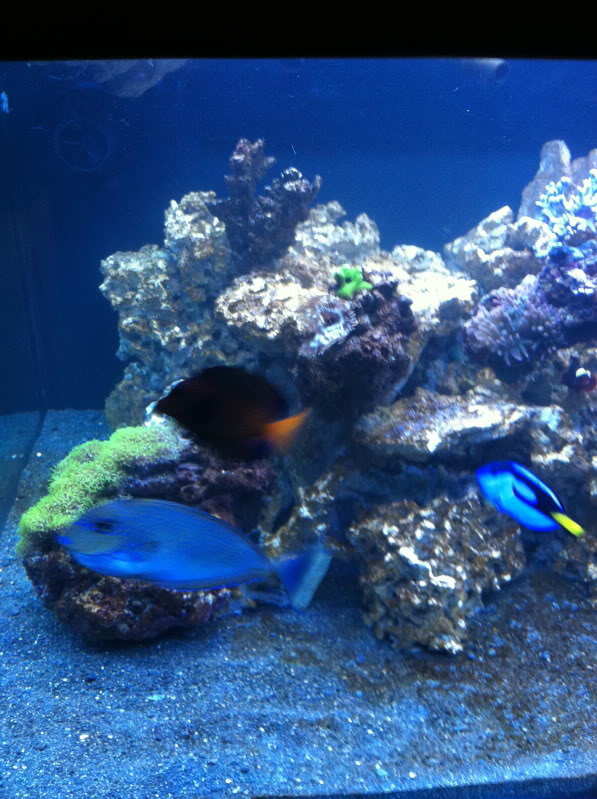
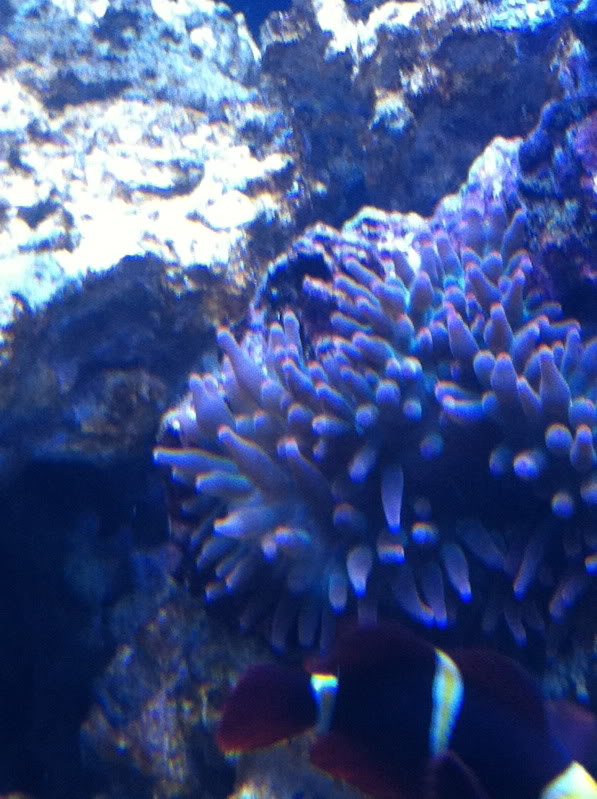
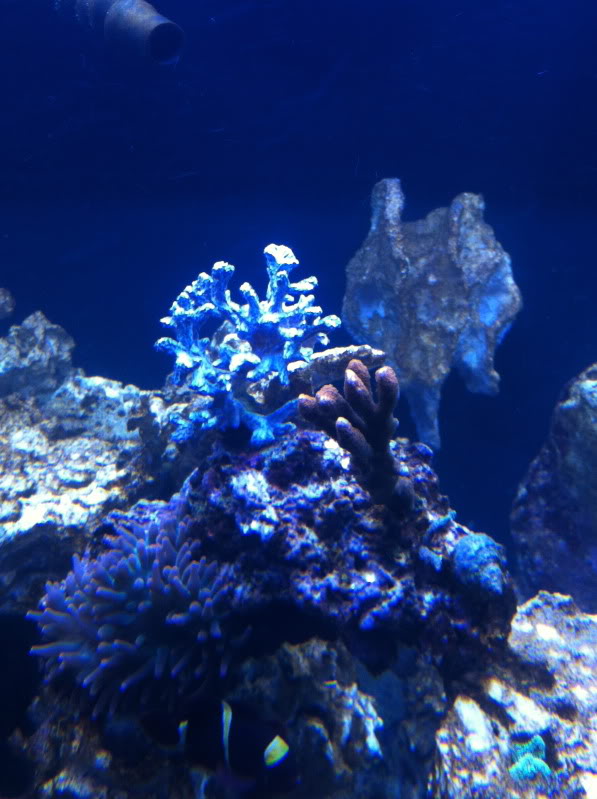
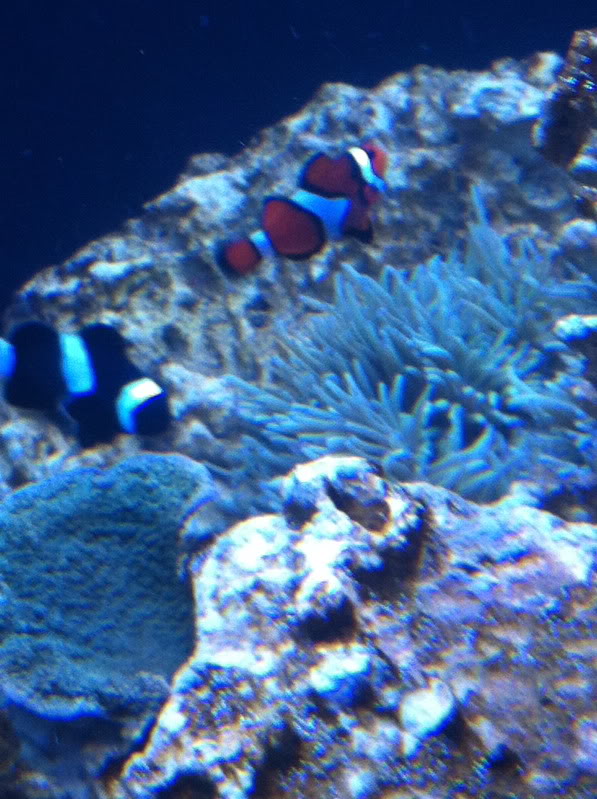
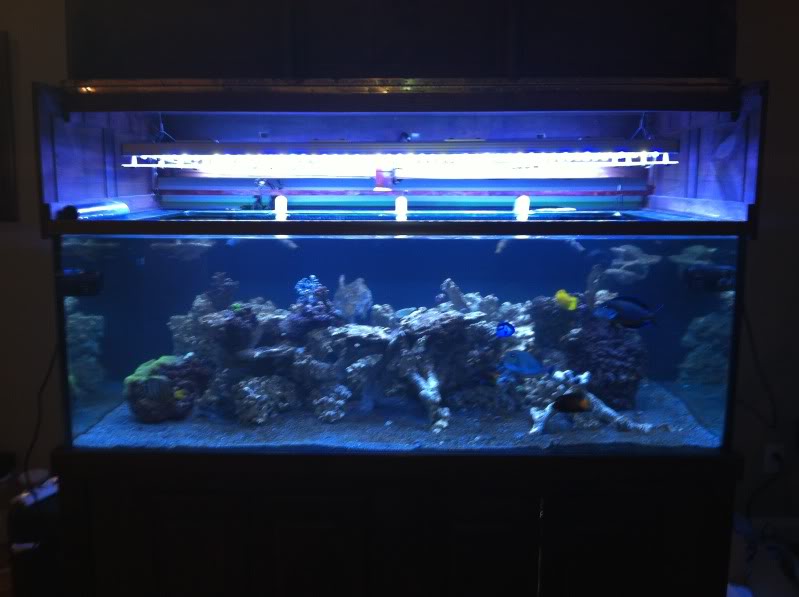
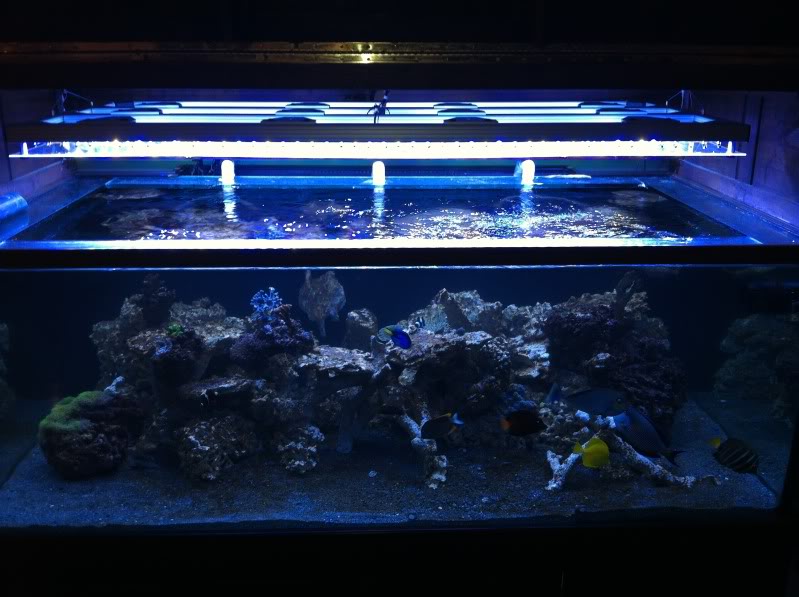
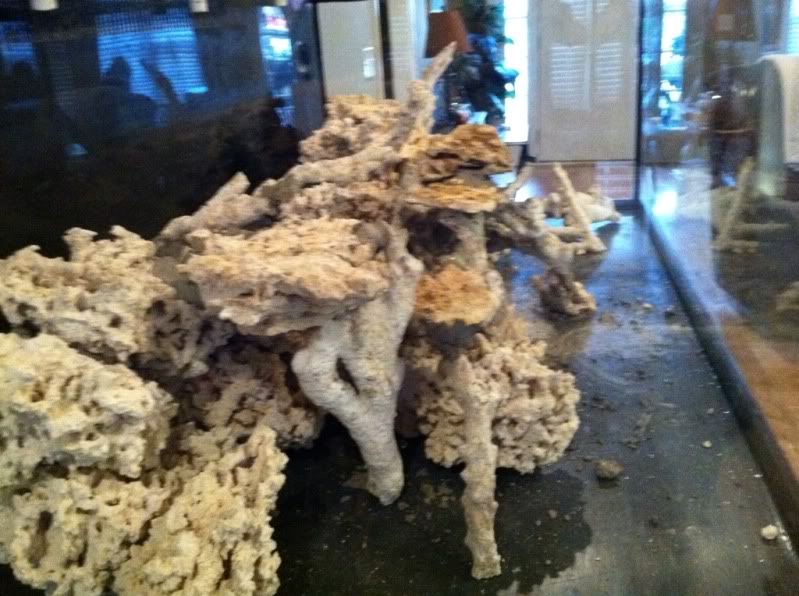
I know the tank is almost void of corals, but keep in mind this tank has all new rock, sand and water. I know some of you think how does he have some many fish in there so soon and then to top it off two bubble tip and one sebae anemone…..
Well that is one for the making of the new 300 display tank build so you will just have to wait for my secret of a “quick cycle”
The rest of these photos will speak for themselves.
I know the tank is almost void of corals, but keep in mind this tank has all new rock, sand and water. I know some of you think how does he have some many fish in there so soon and then to top it off two bubble tip and one sebae anemone…..
Well that is one for the making of the new 300 display tank build so you will just have to wait for my secret of a “quick cycle”
Now your done it. Photographic proof of child labor law violations. Is that work room up to OSHA standards? I don't see safety glasses on that employee. Since that fixture would be an easy retrofit on the 280, we'll forget all about it when you bring it by") .
.
Looks good Mike. Can't wait to see it with some coral.
.Looks good Mike. Can't wait to see it with some coral.
Similar threads
- Replies
- 10
- Views
- 208
- Replies
- 1
- Views
- 73


