
Navigation
Install the app
How to install the app on iOS
Follow along with the video below to see how to install our site as a web app on your home screen.
Note: This feature may not be available in some browsers.
More options
You are using an out of date browser. It may not display this or other websites correctly.
You should upgrade or use an alternative browser.
You should upgrade or use an alternative browser.
Let's talk DIY Plywood stands
- Thread starter kcinnick
- Start date
- Tagged users None


By the way, we used a cardboard cut-out of the footprint of my sump (Triton 44 v1), to ensure it could be added and removed, when deciding on how to size the center-post. The sump has about .5-1" wiggle room when sliding it in at an angle. With that consideration, I have no known need to ever remove the center-post.
The stand was built after I received my tank from Custom Aquariums. The holes in the top of the stand were positioned based on the tank's overflow drains and pre-drilled, return bulkheads.
The stand was built after I received my tank from Custom Aquariums. The holes in the top of the stand were positioned based on the tank's overflow drains and pre-drilled, return bulkheads.
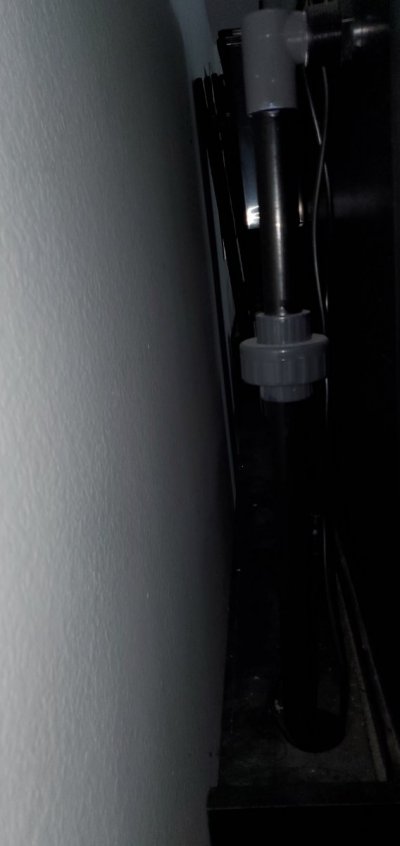
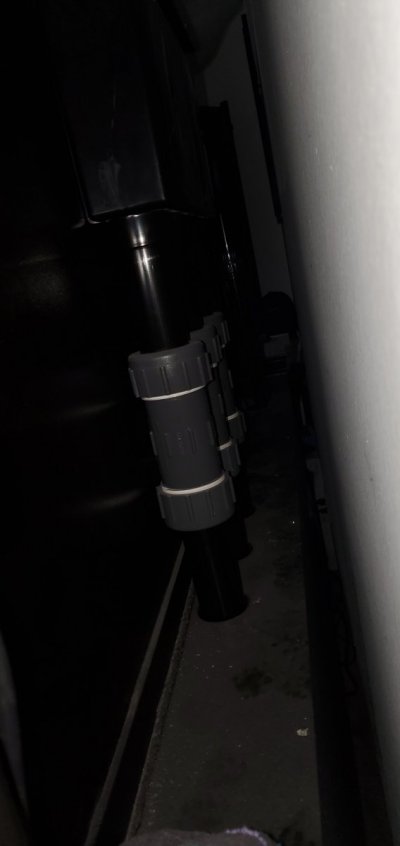
Did the same with my cube tank stand as well as a 29G Biocube stand. Gives you more room for the sump and it looks good. My 215 had corner overflows with drains in the bottom so plumbing behind the tank wasn't an issue.The stand is deeper than the tank. This is to allow the plumbing for the three drains from the back, external over-flow (middle) and the two returns (far left and far right) to go vertically in/out of the stand rather than stick out the back of the stand. With this method, the stand (in my living room) is just a few inches from the wall. It makes it aesthetically more pleasing, IMHO.

- Joined
- Jul 20, 2017
- Messages
- 52
- Reaction score
- 32
I see why it bowed now! I was worried for a minute, but I will be boxing that corner, serves the same function as your added support. I was worried for a minute!Here's a fresh pic showing front beam and one if the 2 pieces of angle-iron. Angle-iron was added due to insufficient rigidity of the front-side of each side-panel.

It bowed because the top was not sitting on top of the side. Just the front "beam", and small style hold up the top.
Instead of the weight just pushing down, it was pushing out and down.
Instead of the weight just pushing down, it was pushing out and down.
That is very possible. The beam is screwed to the top panel all the way across. It is not screwed or glued to the side panels. I don't understand the dynamics myself.It bowed because the top was not sitting on top of the side. Just the front "beam", and small style hold up the top.
Instead of the weight just pushing down, it was pushing out and down.
The top panel is attached to the side panels using the strip of hard-wood with pocket screws and glue. The back of the top panel sits on top of the back panel and is attached to it using the strip of hard-wood with pocket screws and glue.

- Joined
- Jul 20, 2017
- Messages
- 52
- Reaction score
- 32
How much extra space did ya'll leave when you built your stands? Tank is suppose to be 72 and 1/8" X 30 and 1/8" with trim. I was thinking 72.5" X 30.5" would be plenty of space for the top. I have mostly built racks in the past and I left a little more room than that on aquarium racks though.

The 1/8" is likely on both ends so it would be +1/4" to total glass length and width. My stand has a lip surrounding the sides and front. There is less than a 1/8" gap. The stand was made after receiving the tank so actual measurements were used. I wanted the lip for my own peace-of-mind.
I doubt the filled tank could ever slide, but we do have earthquakes here in CA and I'd swear that I saw the slab floor moving during the 1994 Northridge quake. That one was a "roller" (vs a "shaker") where my bed was flopping/swaying around for seemingly 30 seconds to a minute, and I lived 60 miles away from the epicenter.
There is no lip in the back because the top panel extends out 5" in the back to cover the plumbing, drains and returns, and to give me more real estate underneath. The side lip is chiseled out of the side panel (3/4" thick with about 1/4" removed) leaving a slot for the tank. The slot ends just past the back of the tank so it is "notched" in there.
Adding a 1/2" total each way seems safe to me as a minimum size for the top, if you plan to construct the stand before the tank arrives.
- Joined
- Jul 20, 2017
- Messages
- 52
- Reaction score
- 32
Nope, total trim is only 1/8" for both sides total, I have seen other tanks with it like this, it is more to hide the water line than anything else.The 1/8" is likely on both ends so it would be +1/4" to total glass length and width. My stand has a lip surrounding the sides and front. There is less than a 1/8" gap. The stand was made after receiving the tank so actual measurements were used. I wanted the lip for my own peace-of-mind.
I doubt the filled tank could ever slide, but we do have earthquakes here in CA and I'd swear that I saw the slab floor moving during the 1994 Northridge quake. That one was a "roller" (vs a "shaker") where my bed was flopping/swaying around for seemingly 30 seconds to a minute, and I lived 60 miles away from the epicenter.
There is no lip in the back because the top panel extends out 5" in the back to cover the plumbing, drains and returns, and to give me more real estate underneath. The side lip is chiseled out of the side panel (3/4" thick with about 1/4" removed) leaving a slot for the tank. The slot ends just past the back of the tank so it is "notched" in there.
Adding a 1/2" total each way seems safe to me as a minimum size for the top, if you plan to construct the stand before the tank arrives.
No problem. What you describe sounds more like a thin moulding instead of frame, with no supportive properties.
My tank has a 1/8" frame all the way around, top and bottom. Actually, the plastic, corner pieces are 1/8" and the aluminum frame is less.
My tank has a 1/8" frame all the way around, top and bottom. Actually, the plastic, corner pieces are 1/8" and the aluminum frame is less.

- Joined
- Jul 20, 2017
- Messages
- 52
- Reaction score
- 32
Correct, it doesn't provide support at all. A lot of big tanks don't use the trim for support to prevent bowing.No problem. What you describe sounds more like a thin moulding instead of frame, with no supportive properties.
My tank has a 1/8" frame all the way around, top and bottom. Actually, the plastic, corner pieces are 1/8" and the aluminum frame is less.
- Joined
- May 6, 2018
- Messages
- 746
- Reaction score
- 1,010
You also have 1x4 supporting it aswellIn the process of finishing mine, albeit it’s not quite as big. It’s 24x16 and constructed with 3/4” plywood

Where do you see that?You also have 1x4 supporting it aswell

- Joined
- May 6, 2018
- Messages
- 746
- Reaction score
- 1,010
The lighter colored wood looks like 1x4In the process of finishing mine, albeit it’s not quite as big. It’s 24x16 and constructed with 3/4” plywood
Oh that’s just decorative molding. It’s not supporting anythingThe lighter colored wood looks like 1x4
The only thing weight bearing is the plywood sides. The white pieces were just added for decoration. They’re not fixated to the top of the stand or the bottom piece of plywoodIn the picture it looks like it’s going from top to bottom making it weight bearing
- Joined
- Sep 18, 2017
- Messages
- 5,601
- Reaction score
- 3,447
The only thing weight bearing is the plywood sides. The white pieces were just added for decoration. They’re not fixated to the top of the stand or the bottom piece of plywood
Never mind .
Similar threads
- Replies
- 4
- Views
- 207
- Replies
- 24
- Views
- 729


