My 75G starfire display refugium feeding by gravity my 150G starfire reef tank build up

OP
OP
basile

basile

Well-Known Member
View Badges
Joined
Oct 19, 2013
Messages
723
Reaction score
87
Location
Gatineau/Ottawa canada
Rating - 0%
0   0   0
The arrival

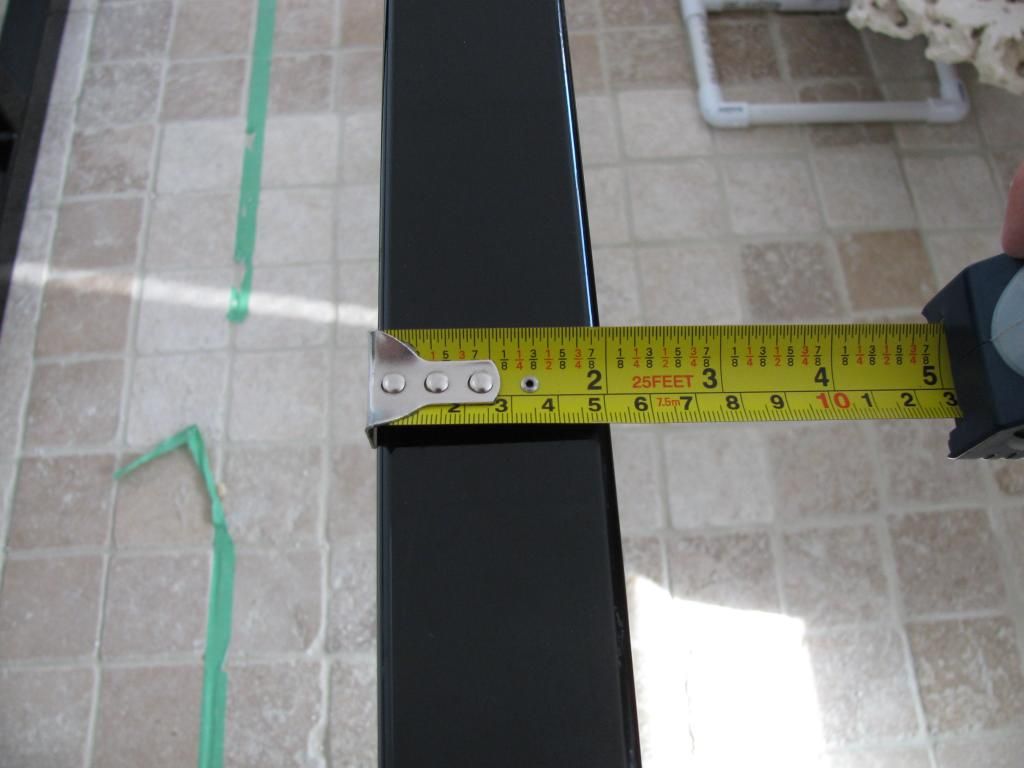
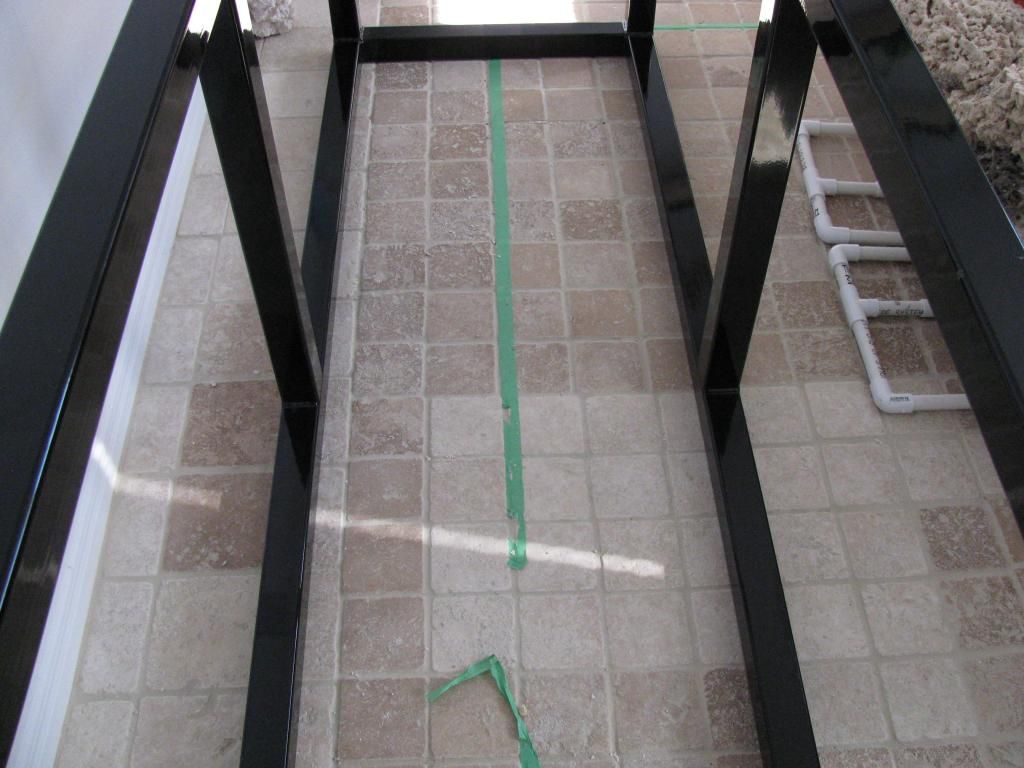
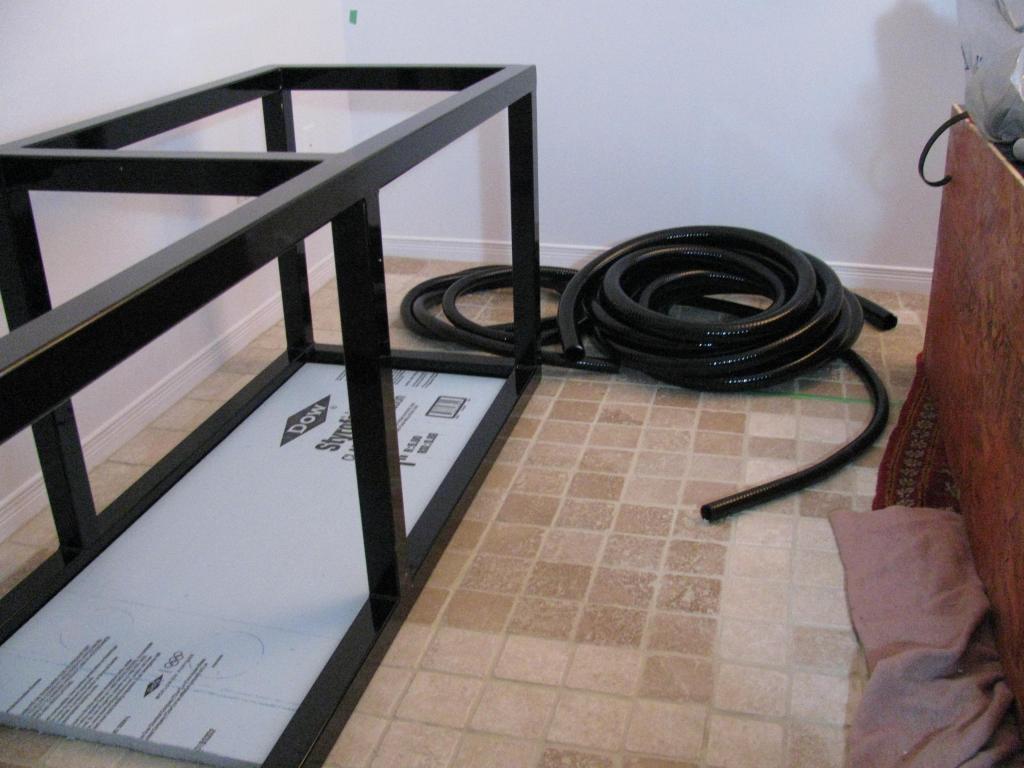
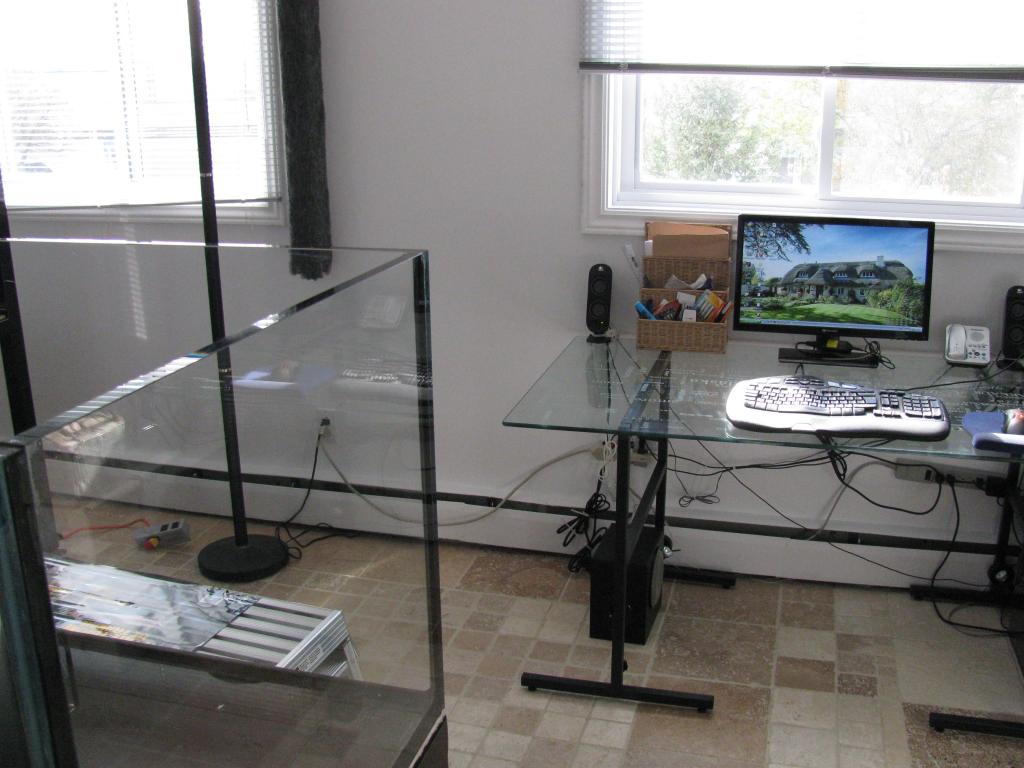
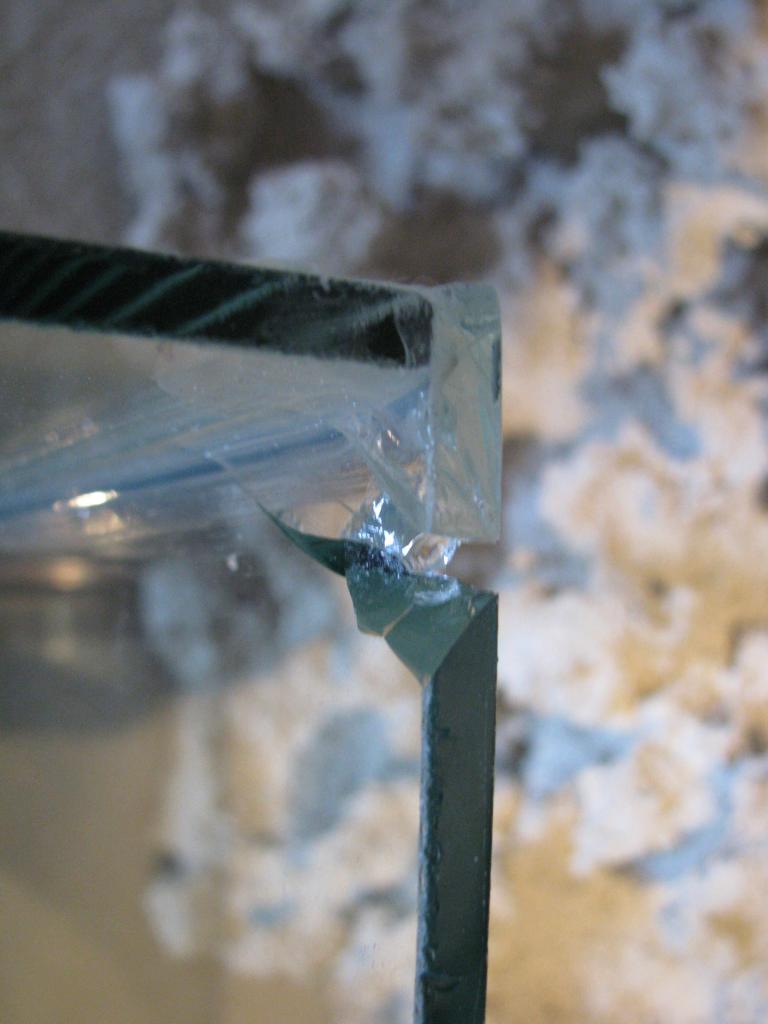
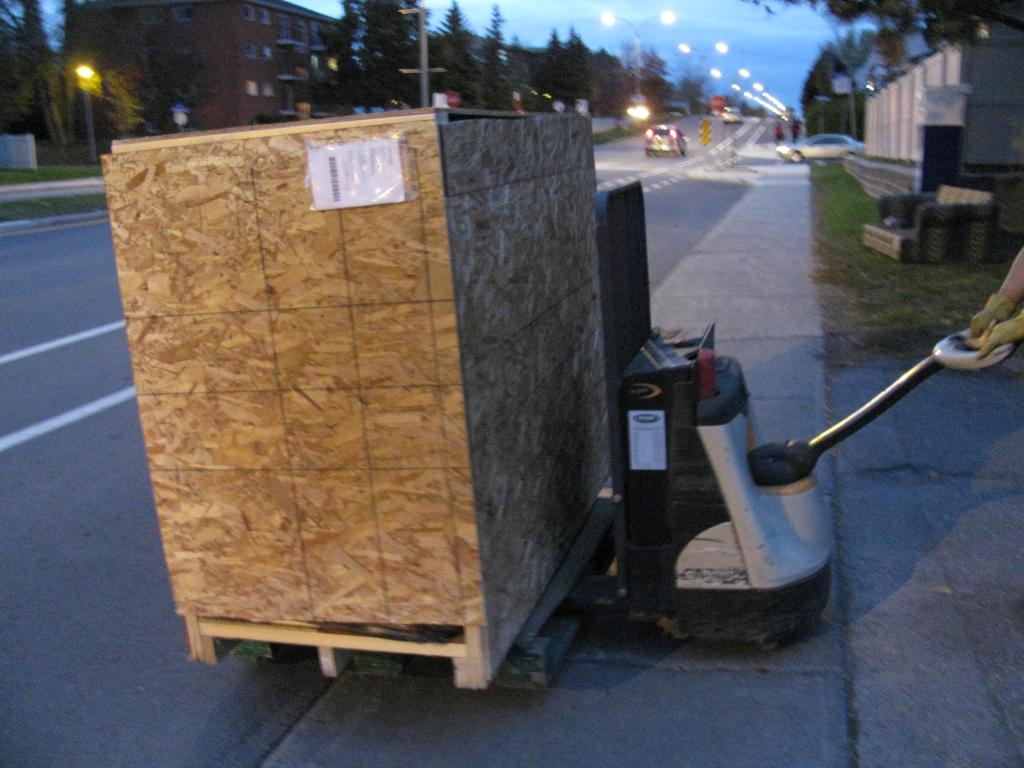
The arrival of the tanks, the stand didn't make the connection.....are we pleased???Nooooo....
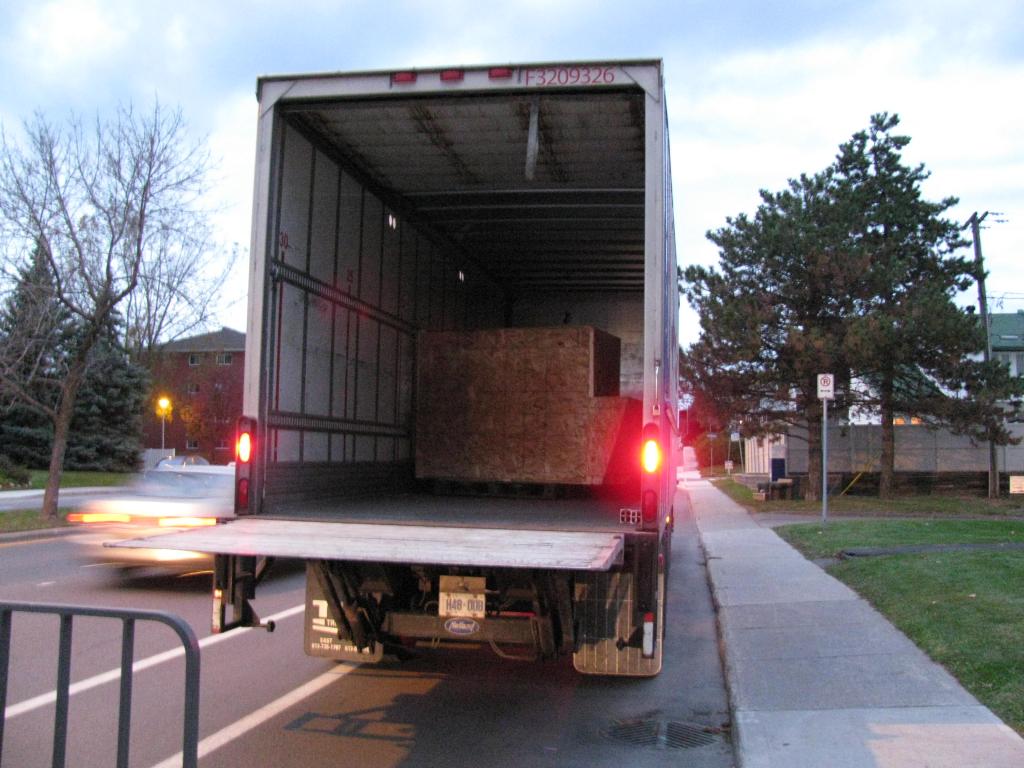
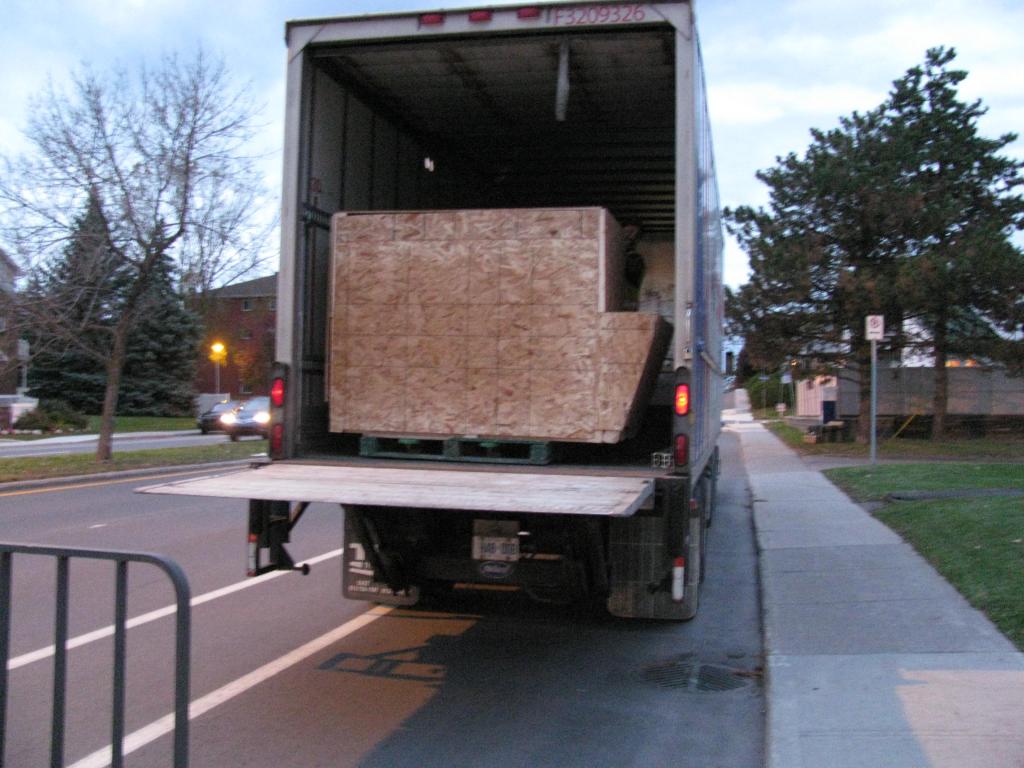
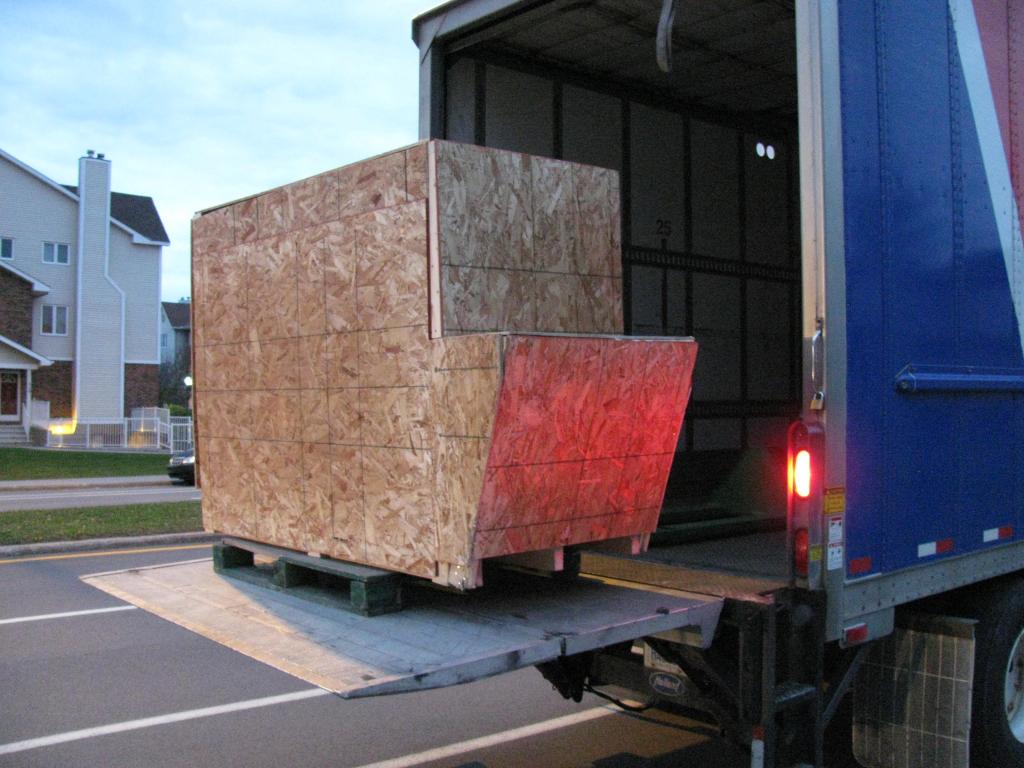
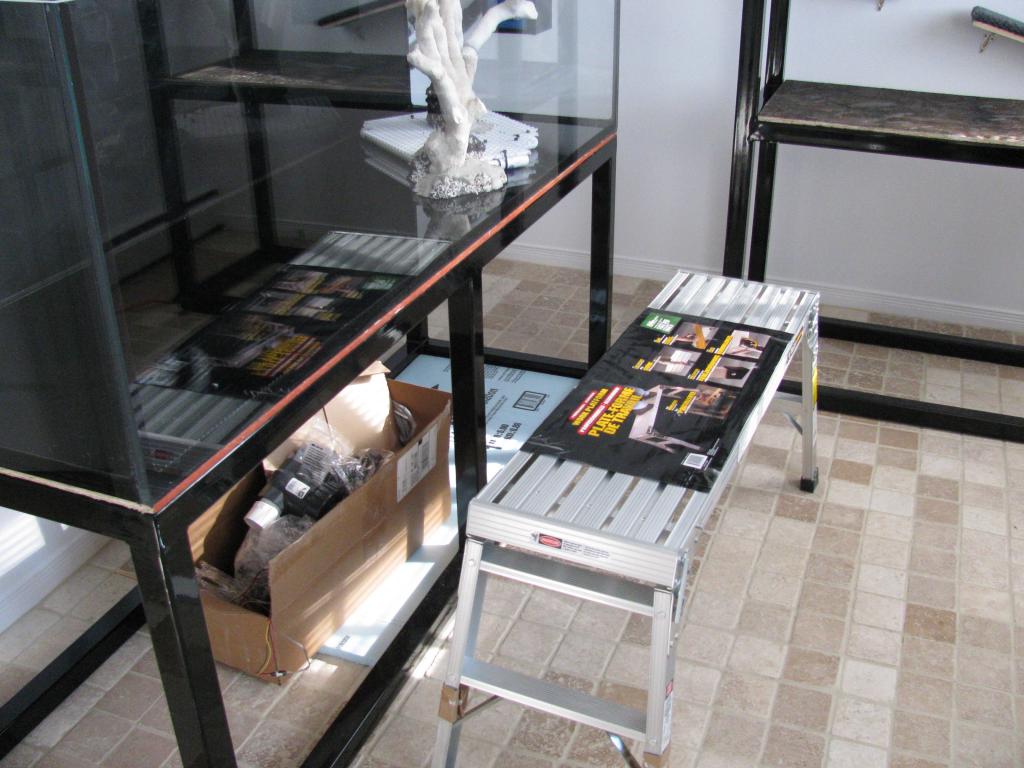
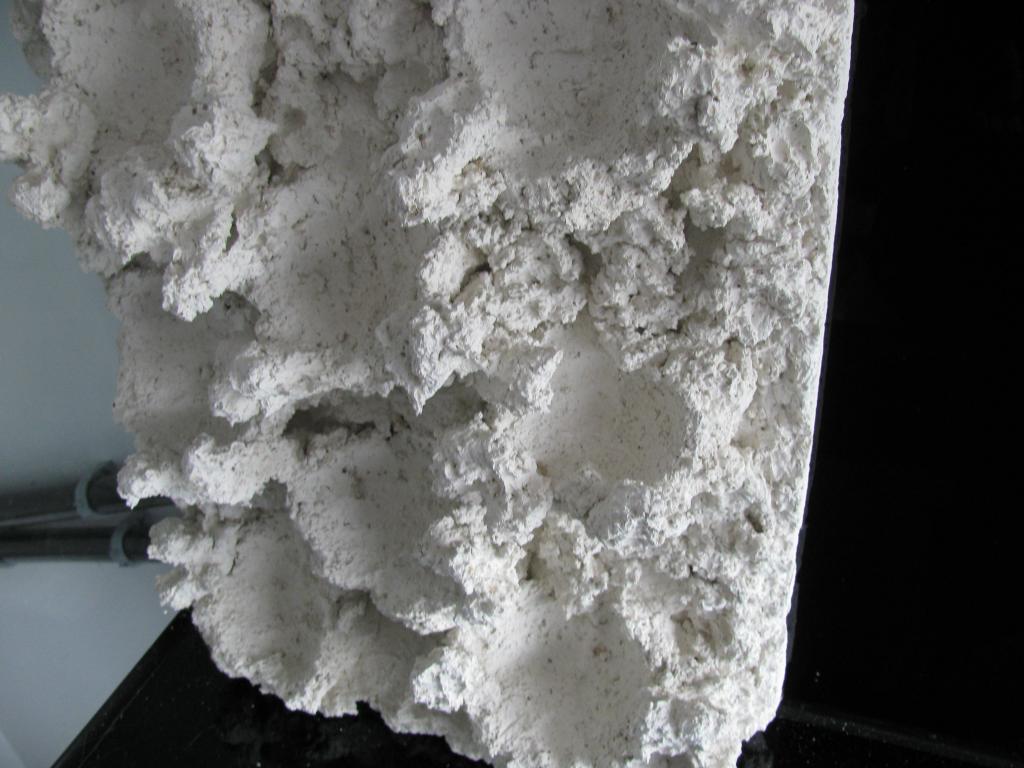
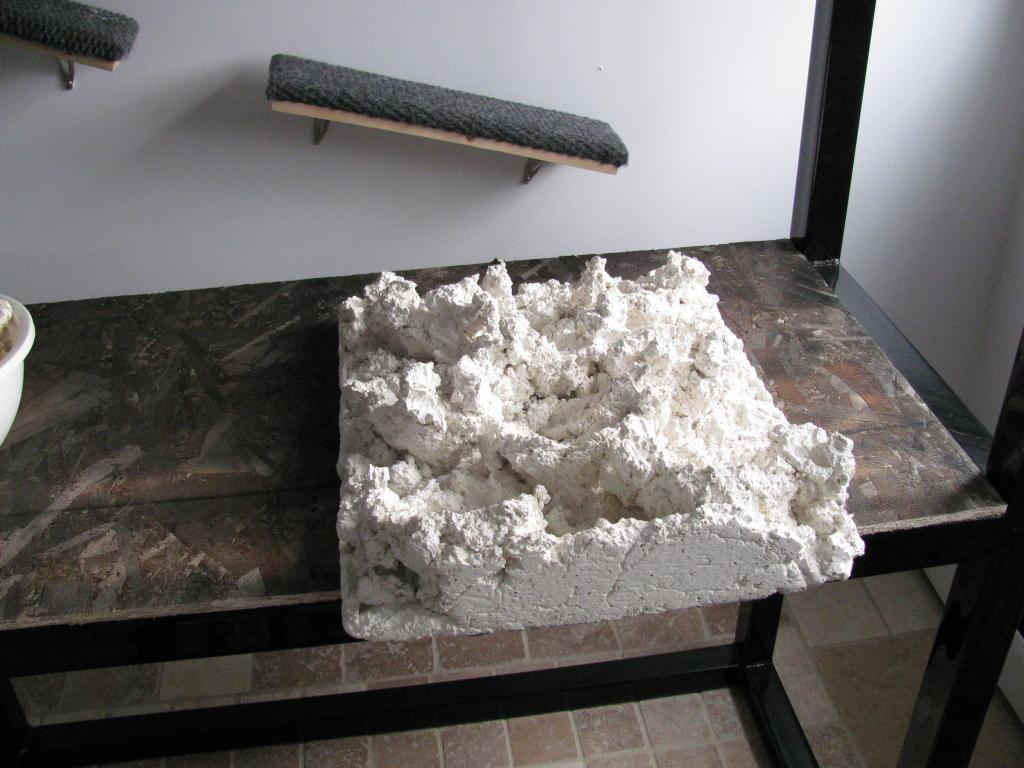
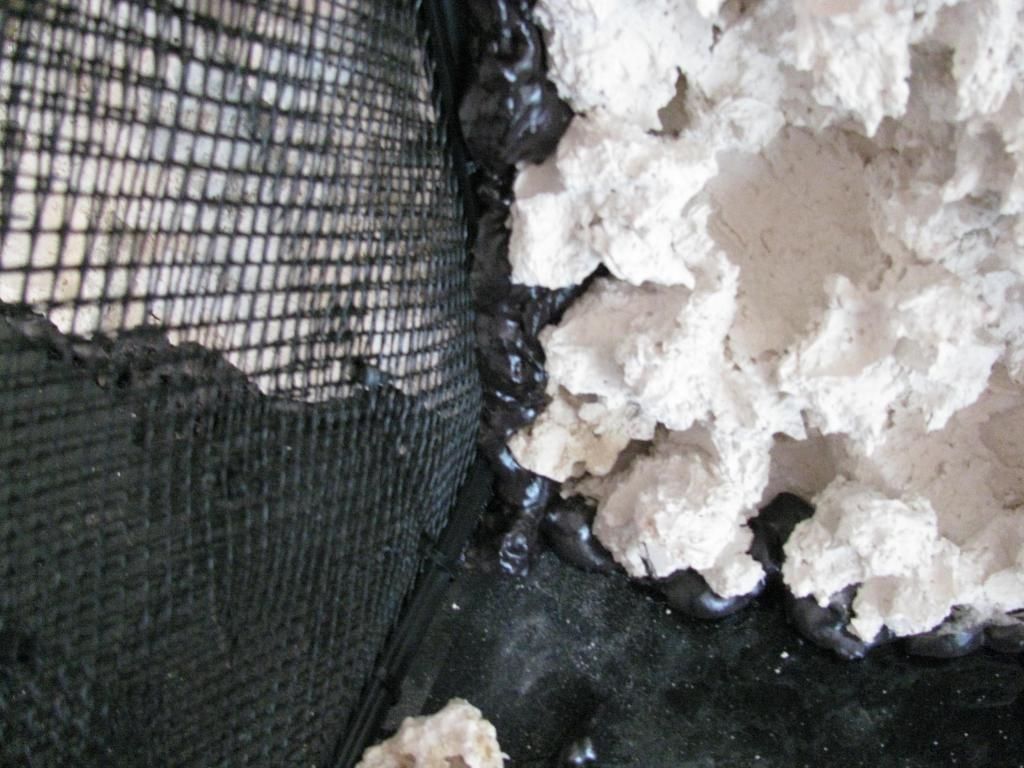
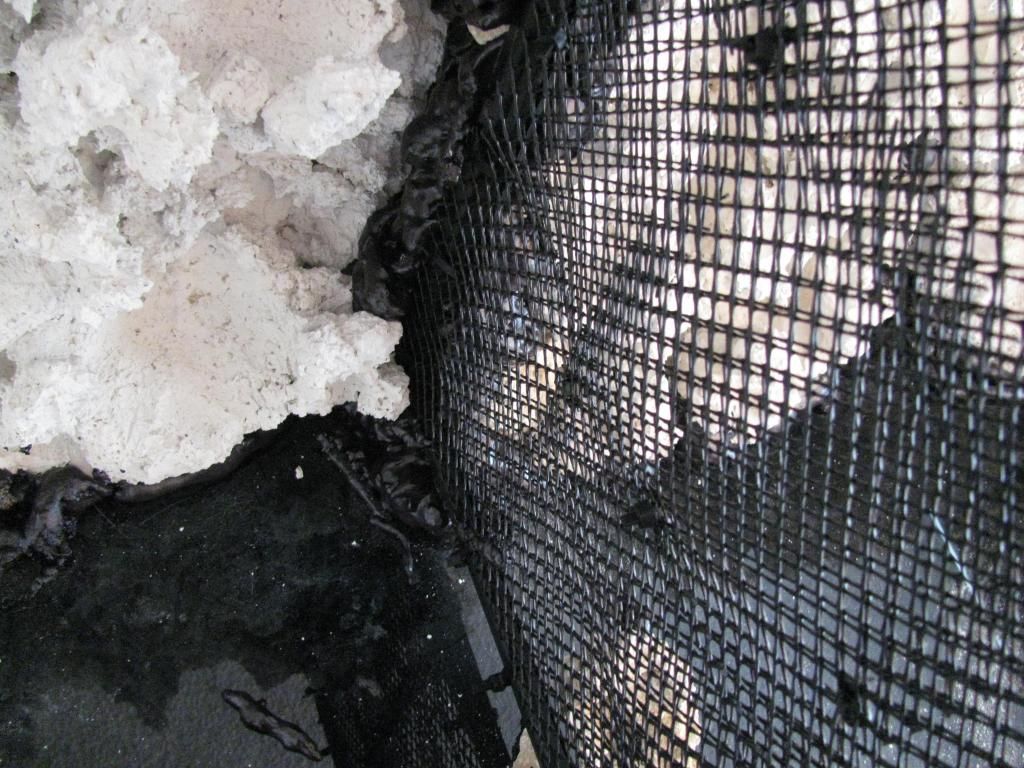
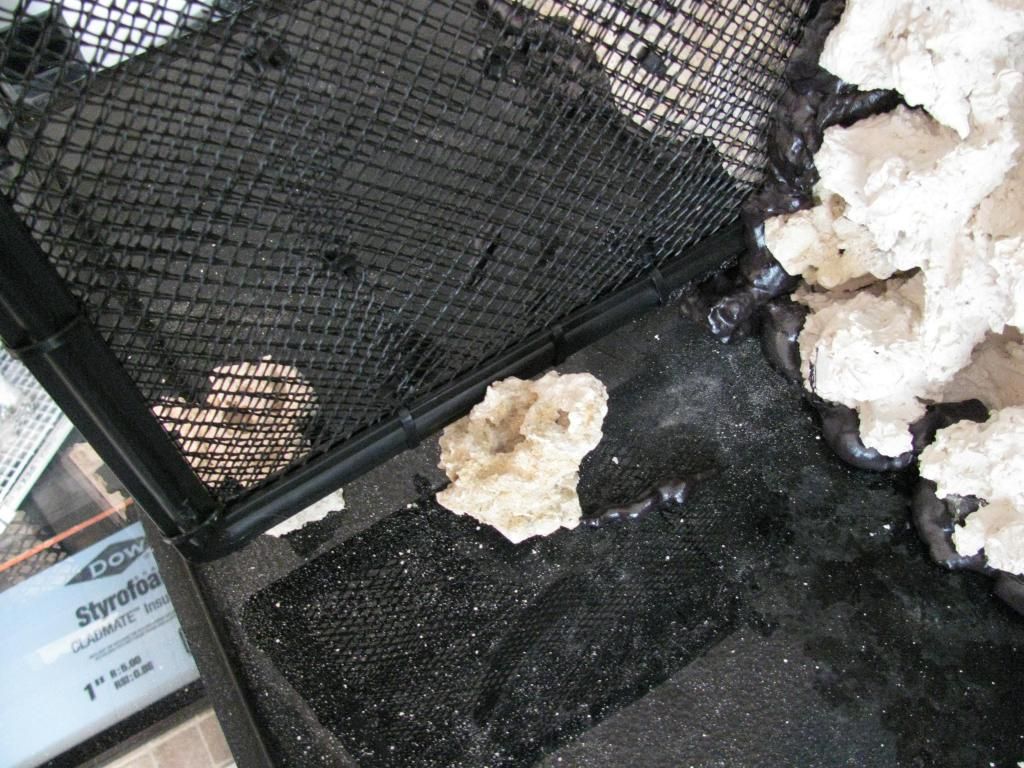
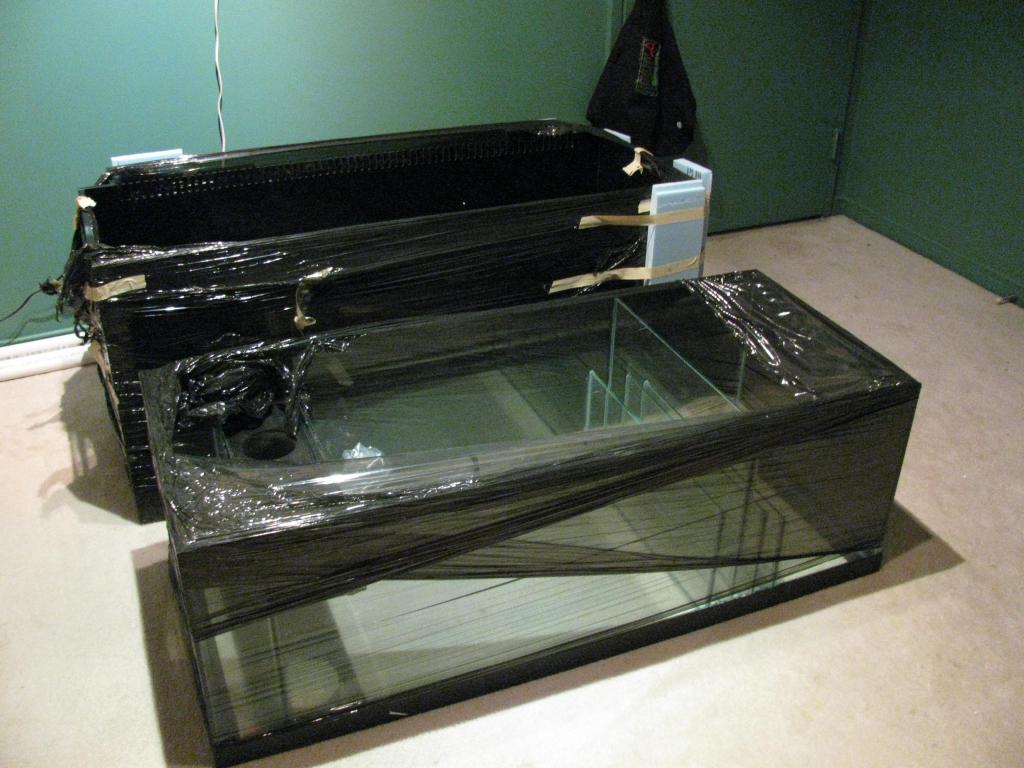

Photo001-1.jpg


Photo002-1.jpg


Photo003-1.jpg


Photo004.jpg


Open crate???


Photo005.jpg


Photo006.jpg


Photo007.jpg


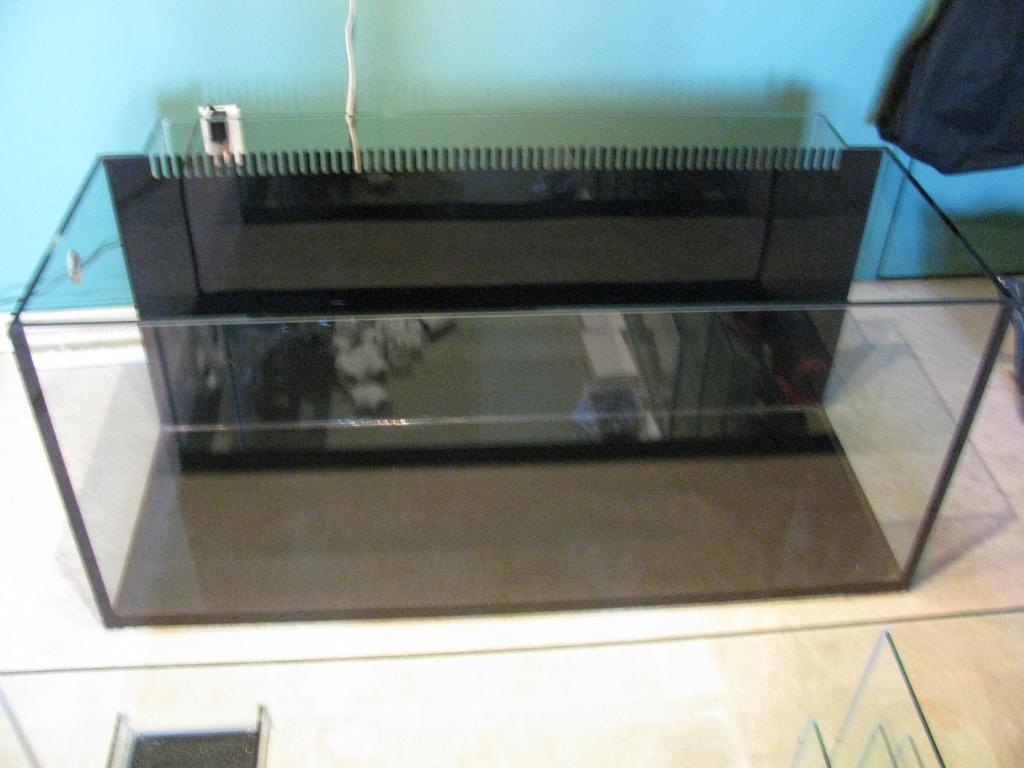
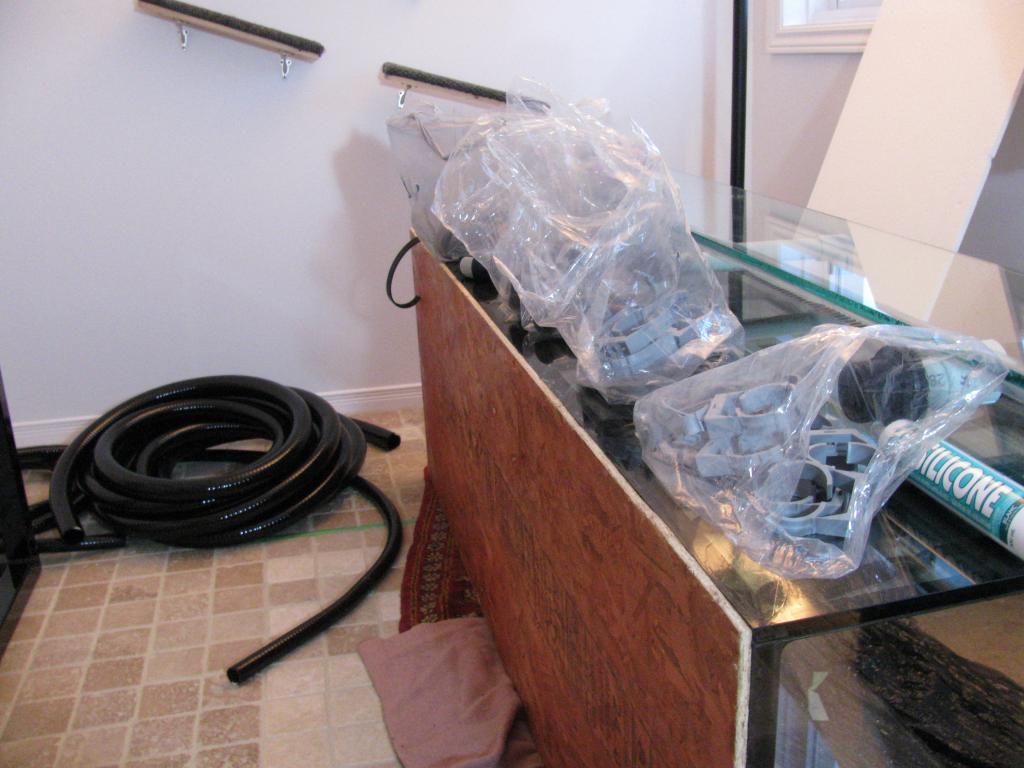
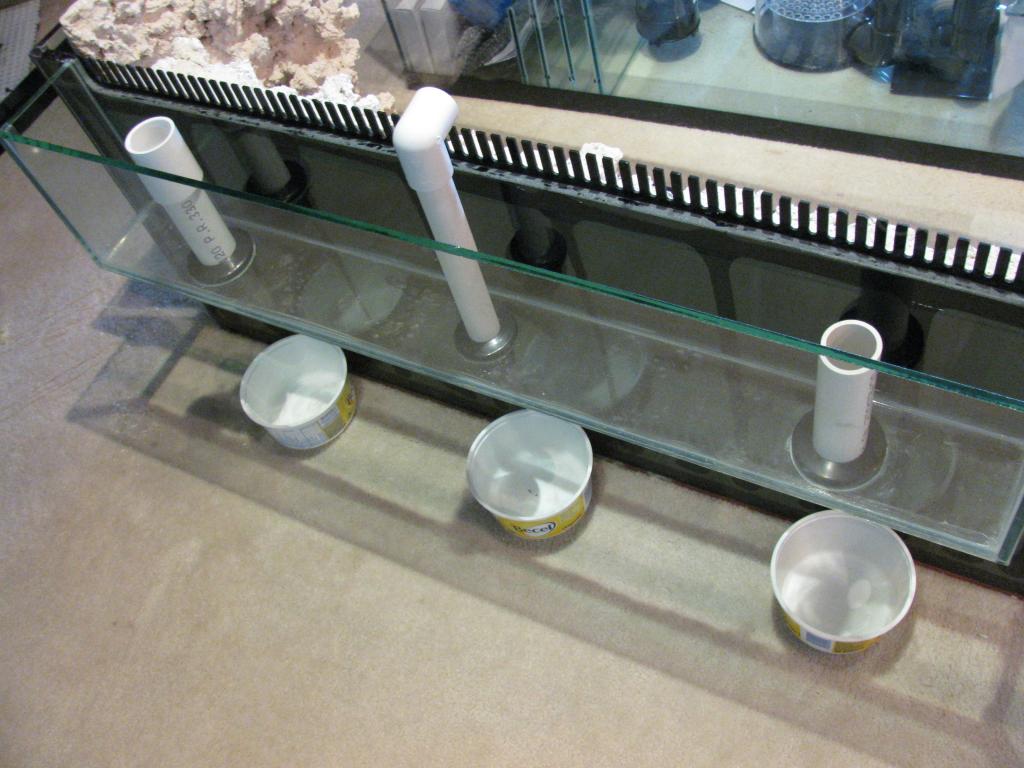
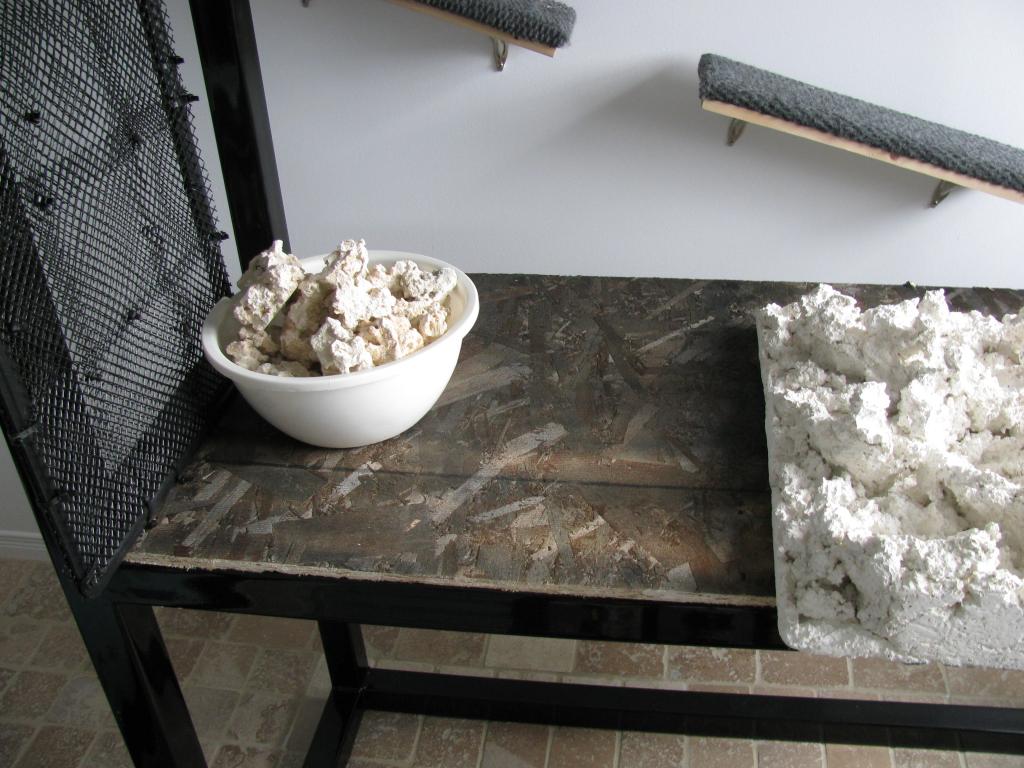
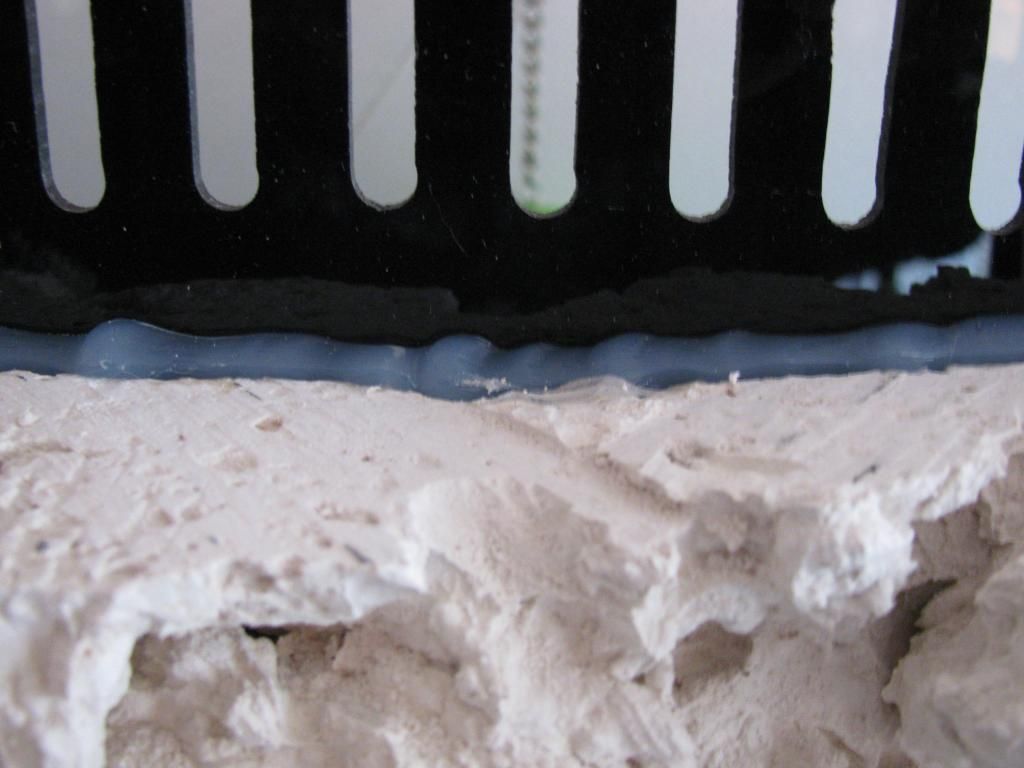
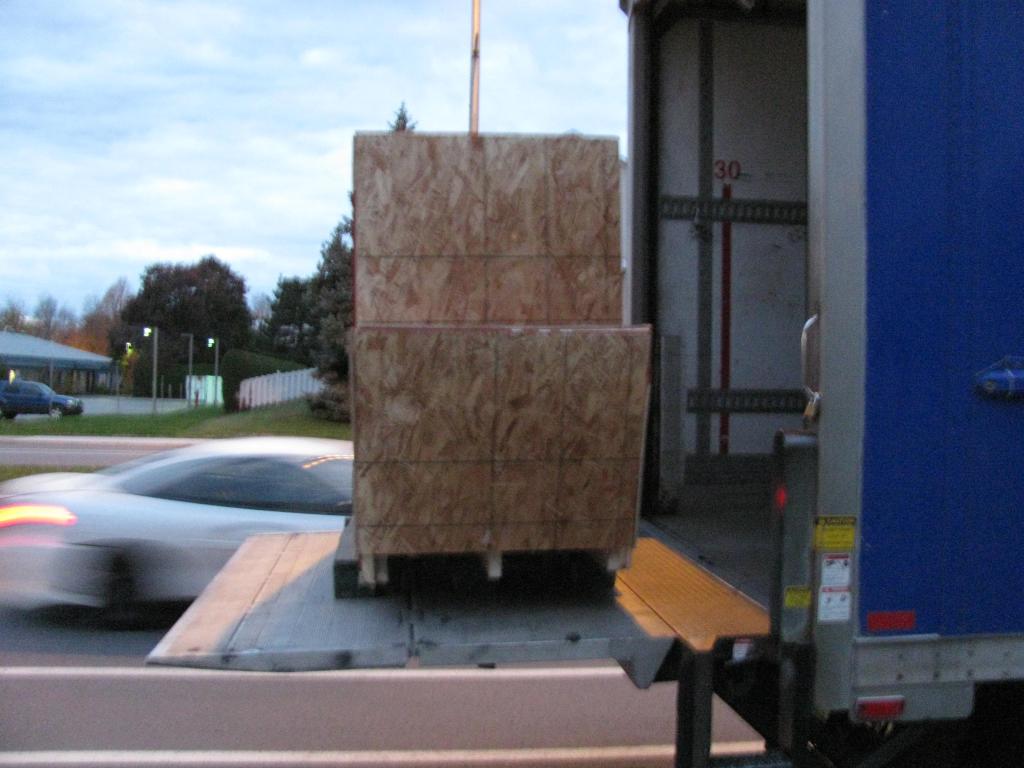
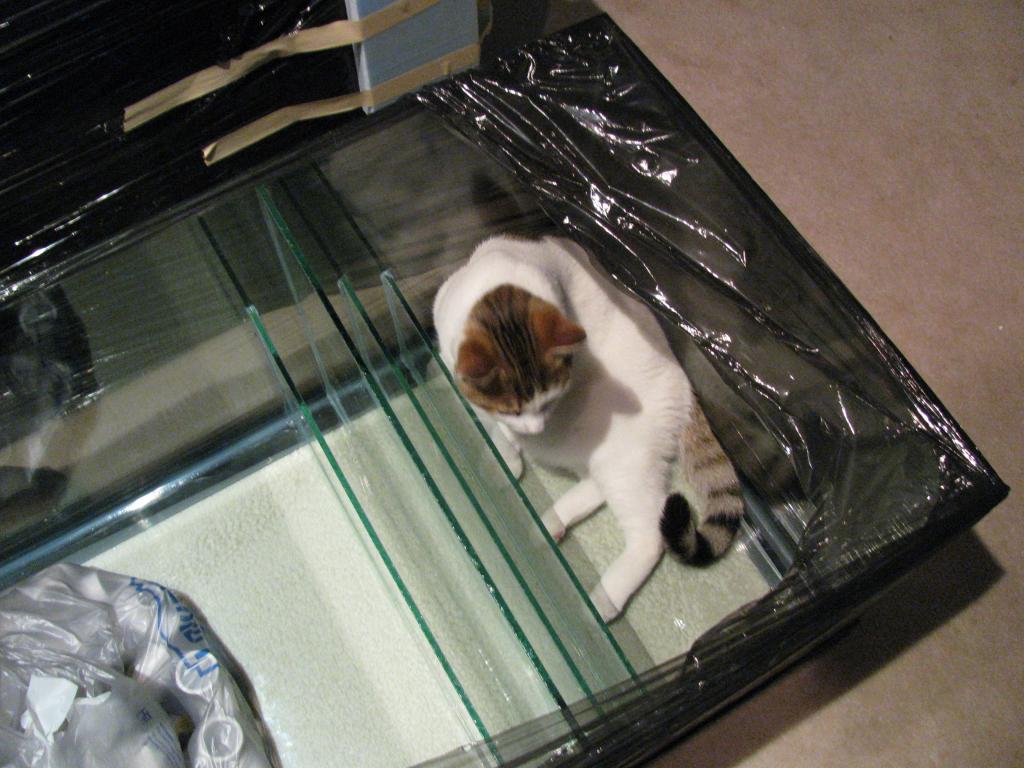
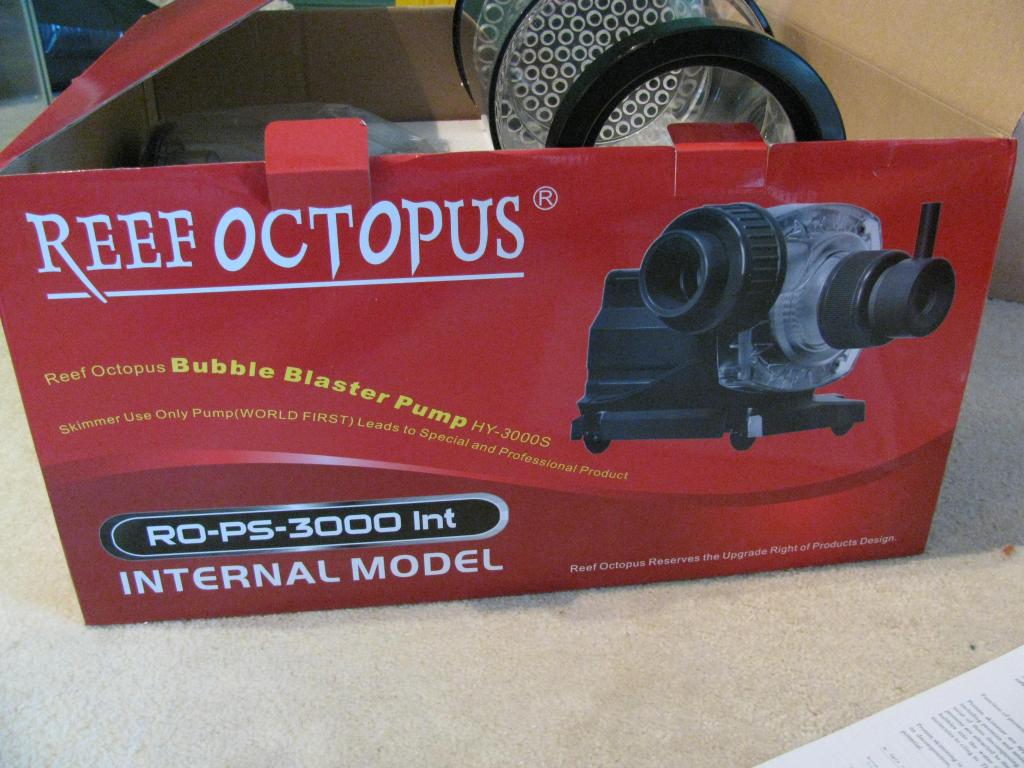
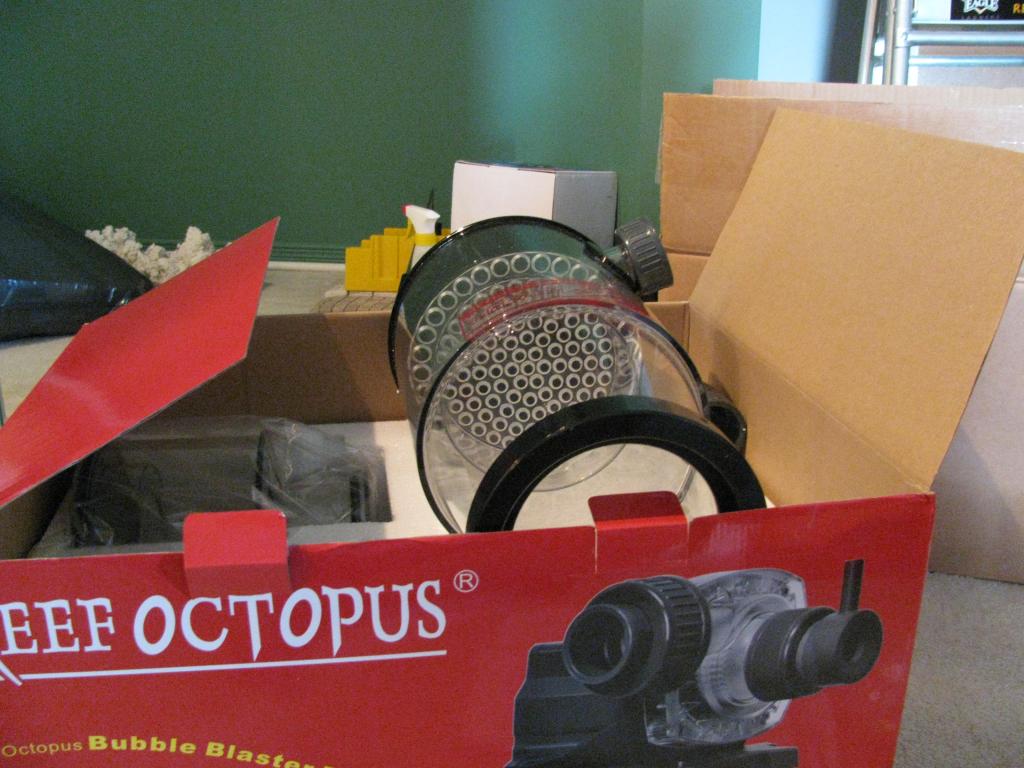
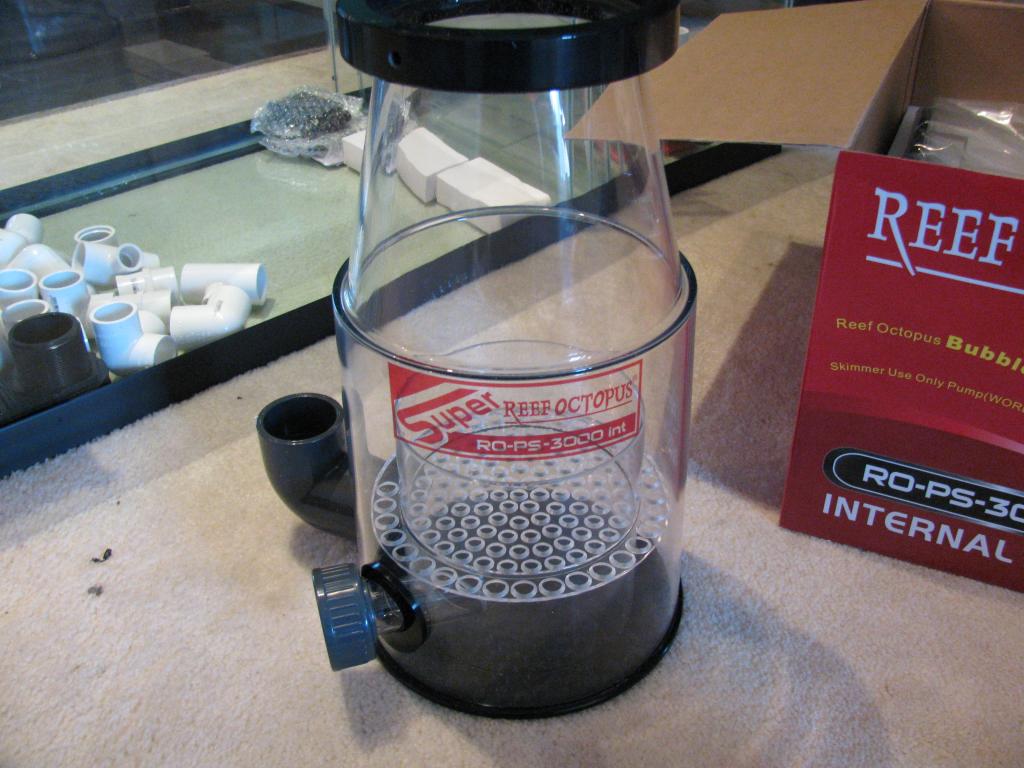
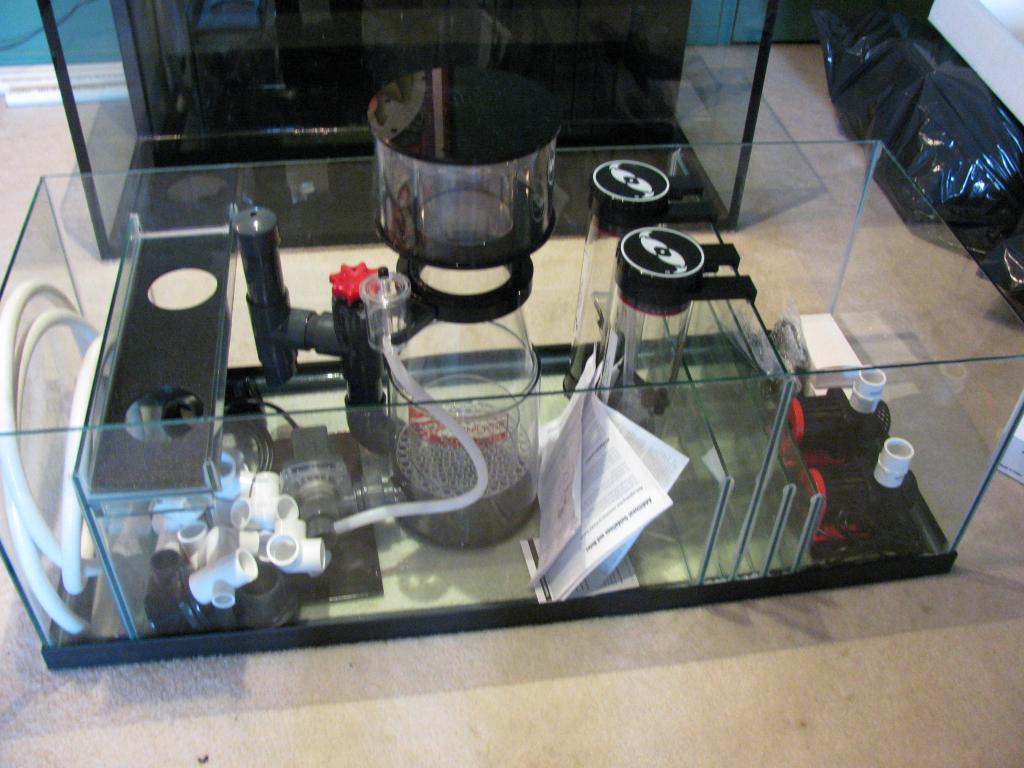
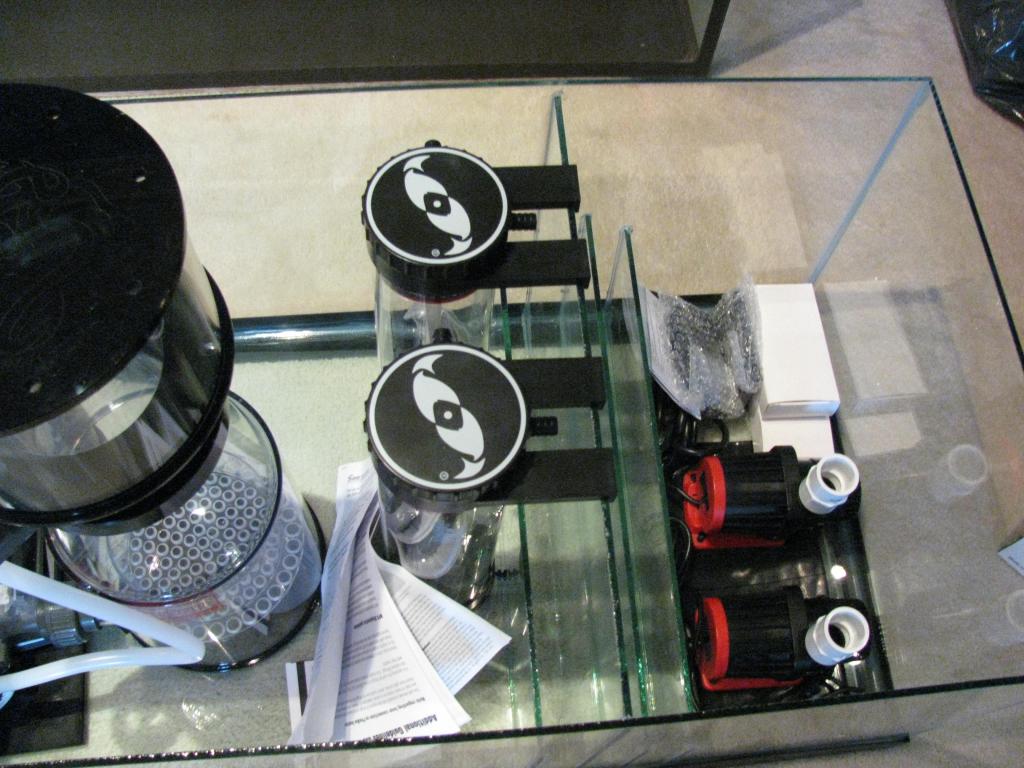
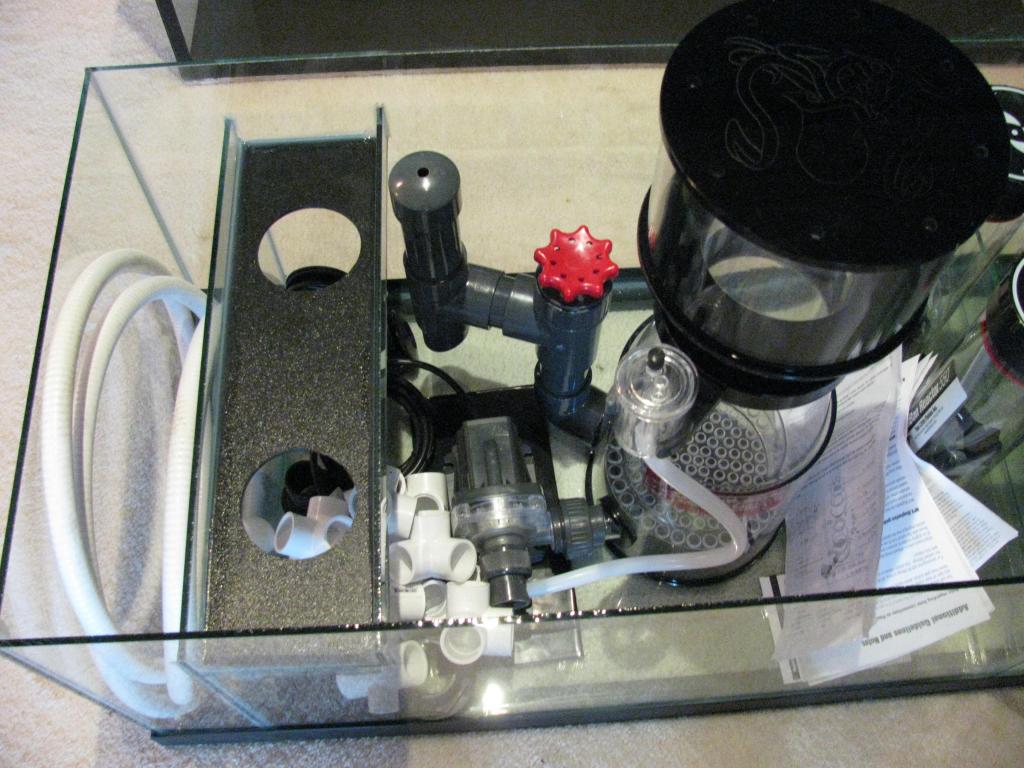
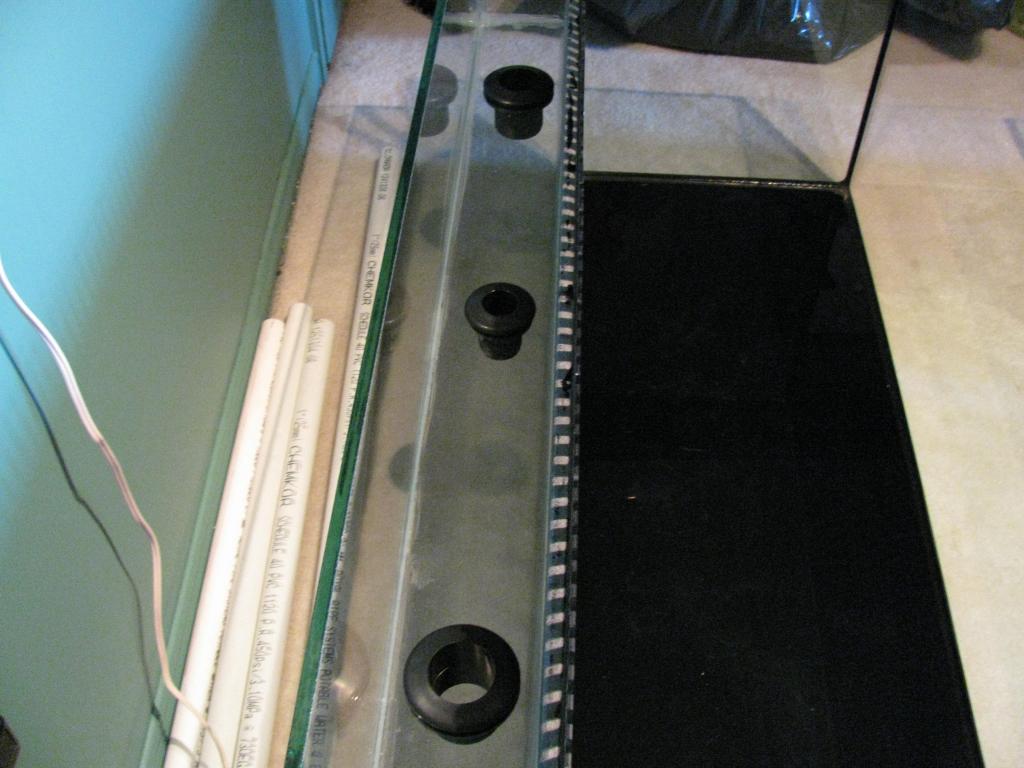
I keep the wraped up untill ready to be used. They seem fine and the way they where protected no worries. Those babies were heavy!!!!! The 75 g refugium and the 65 g sump here


Photo008.jpg


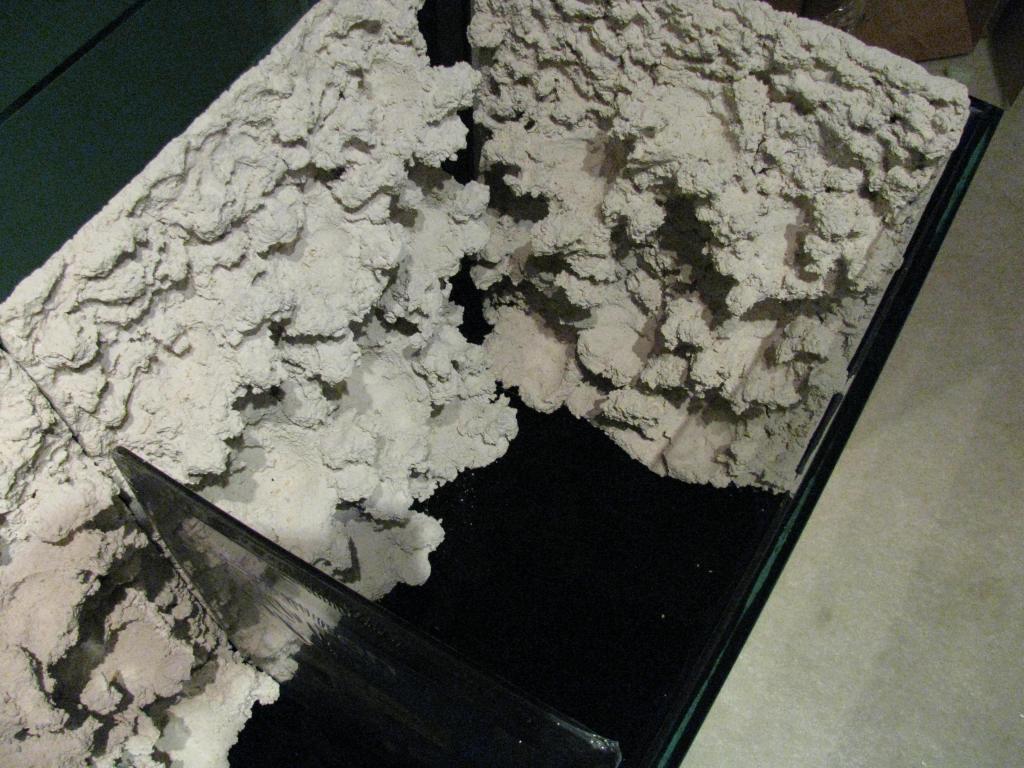
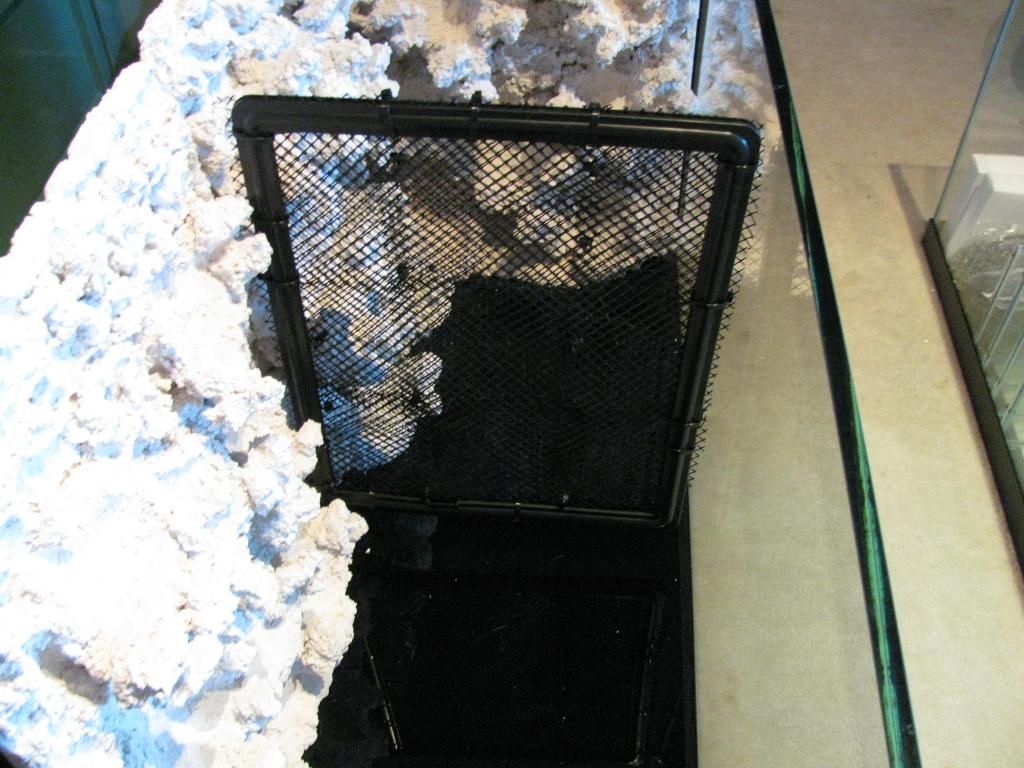
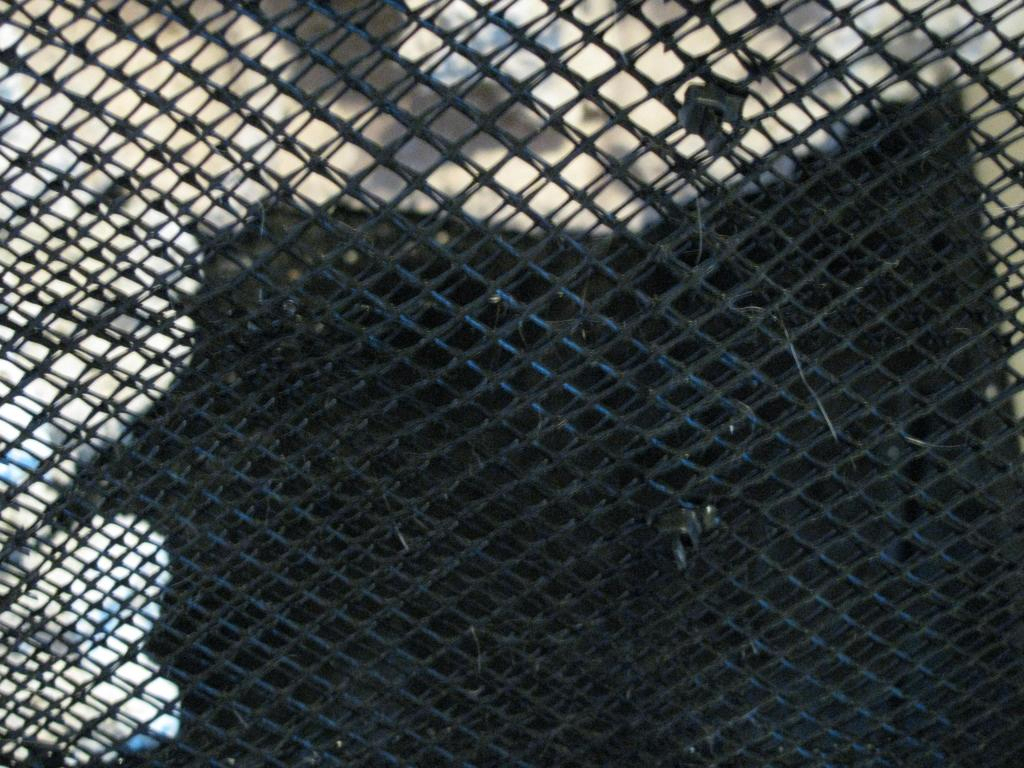
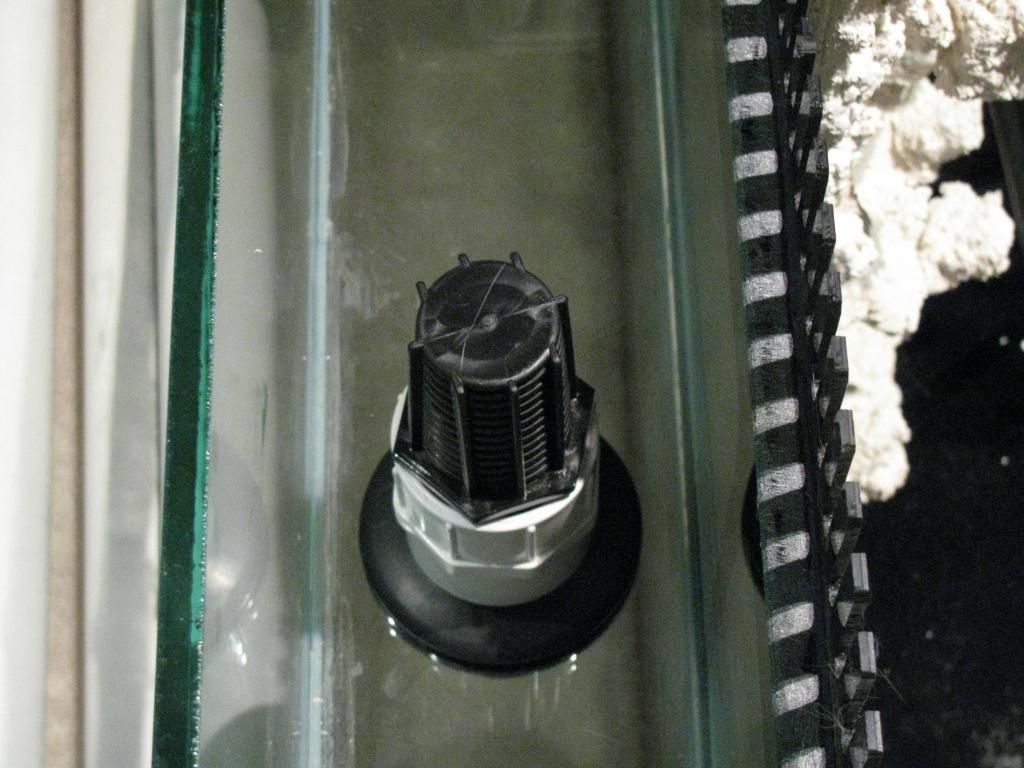
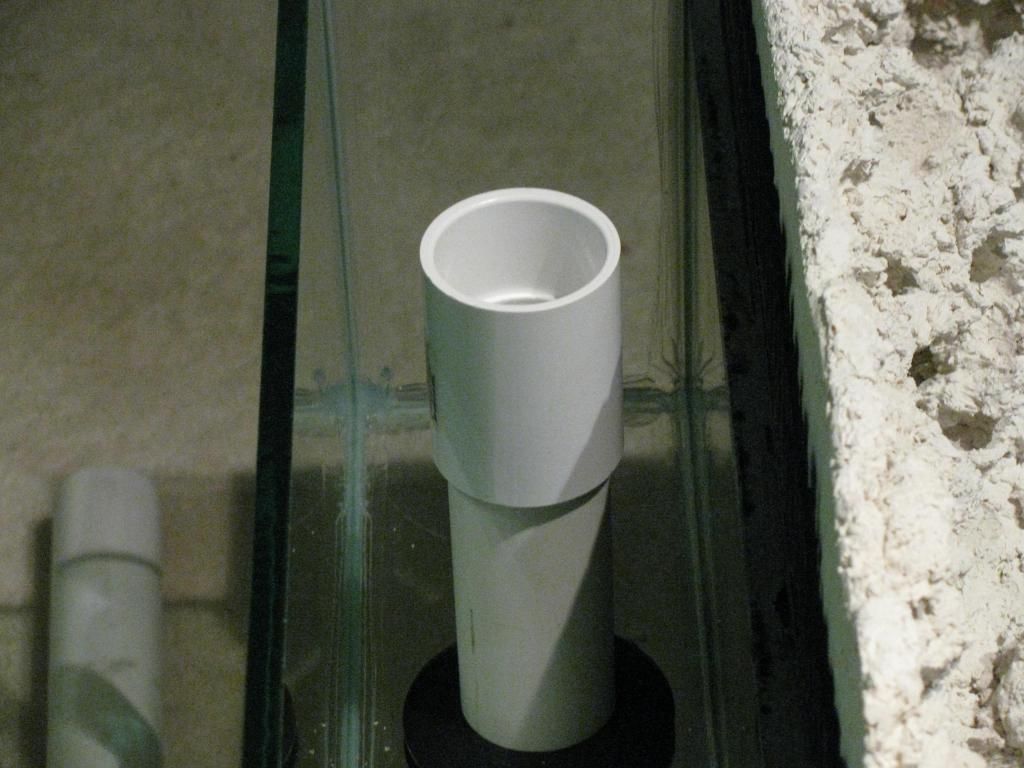
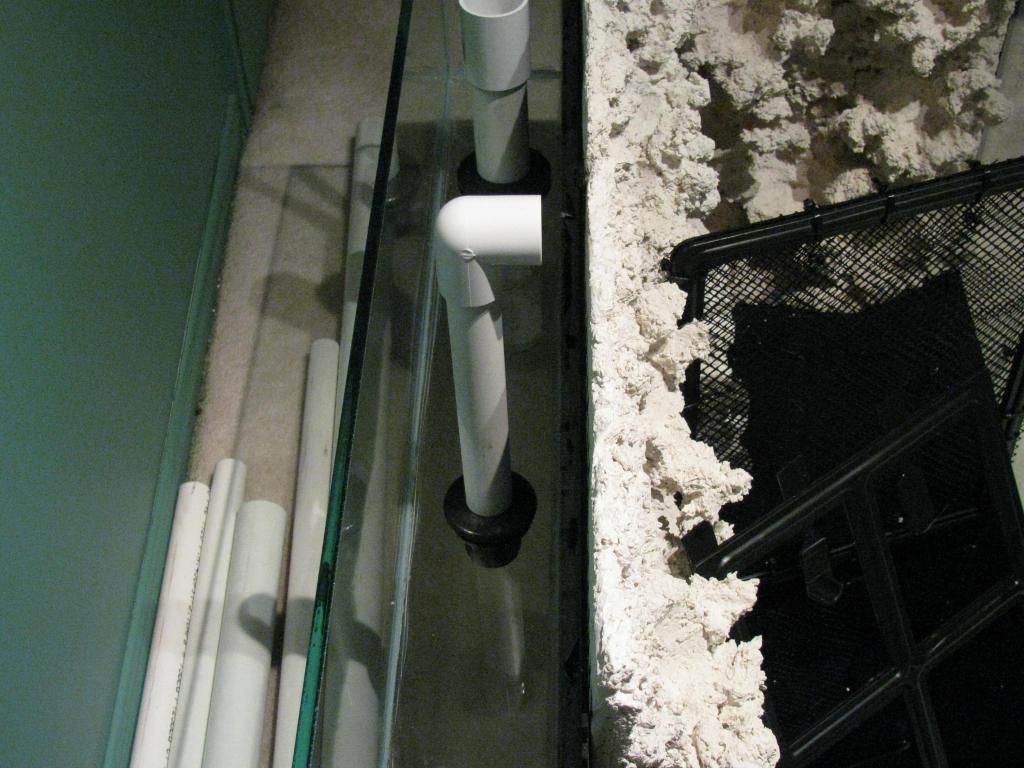
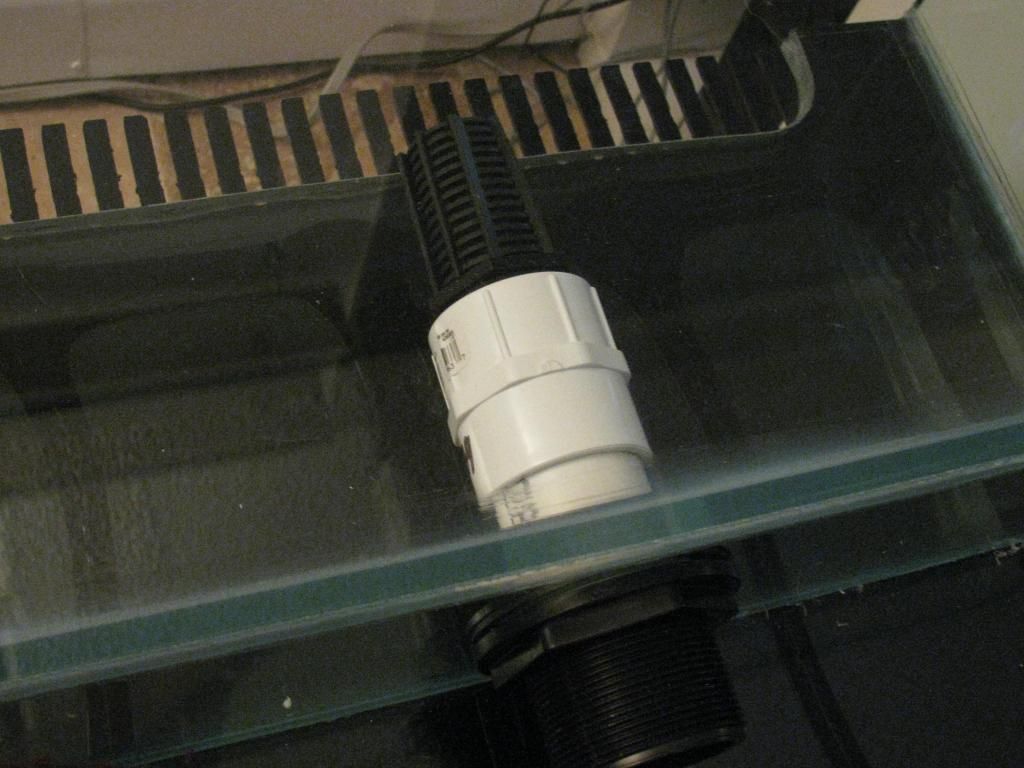
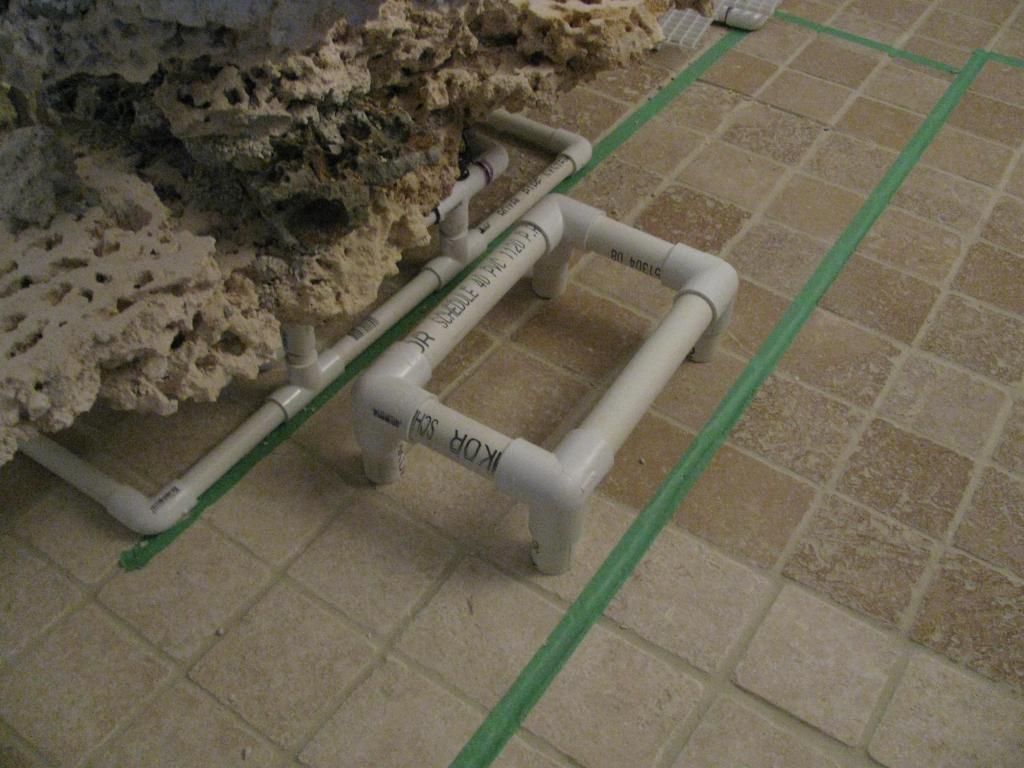
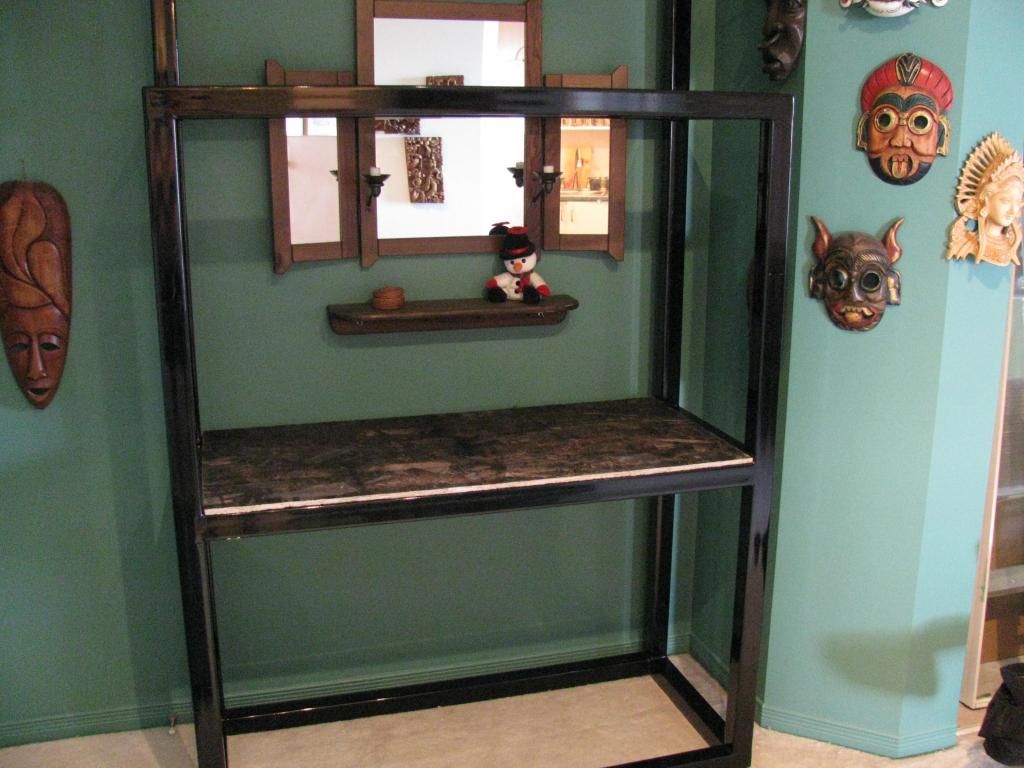
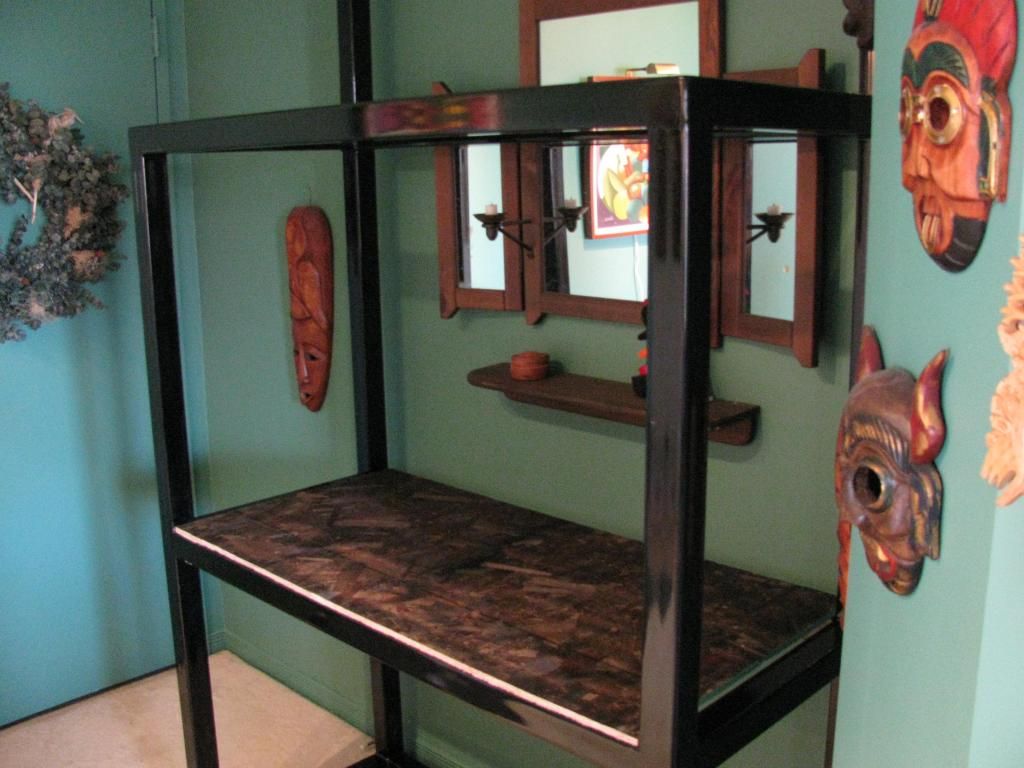
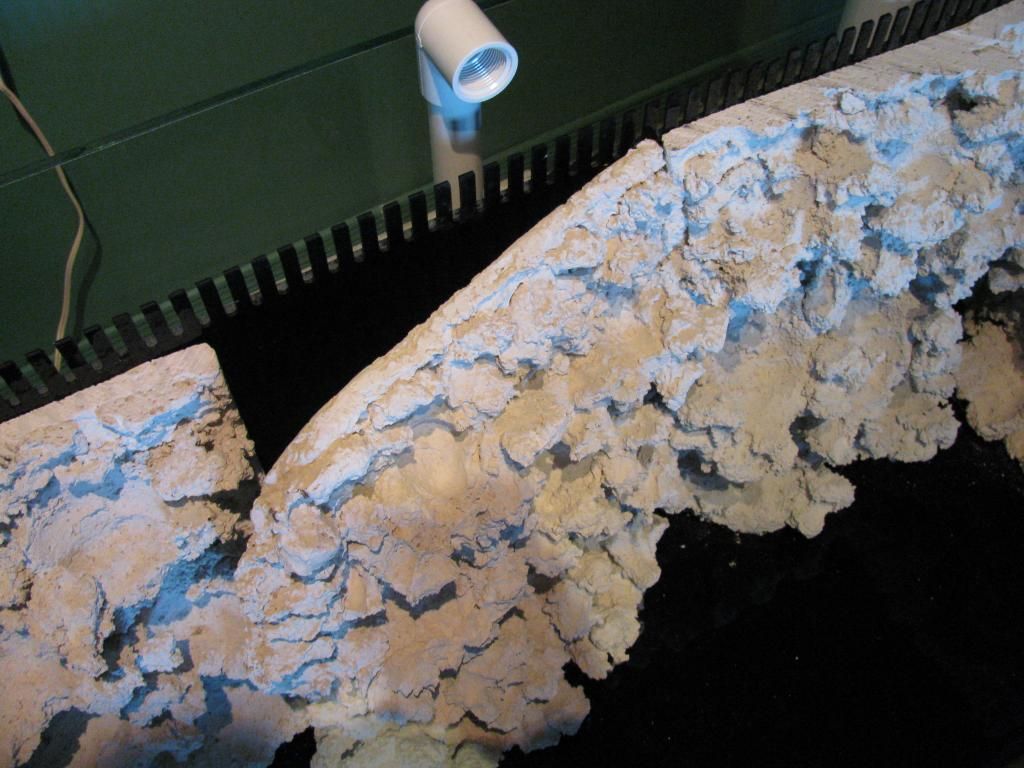
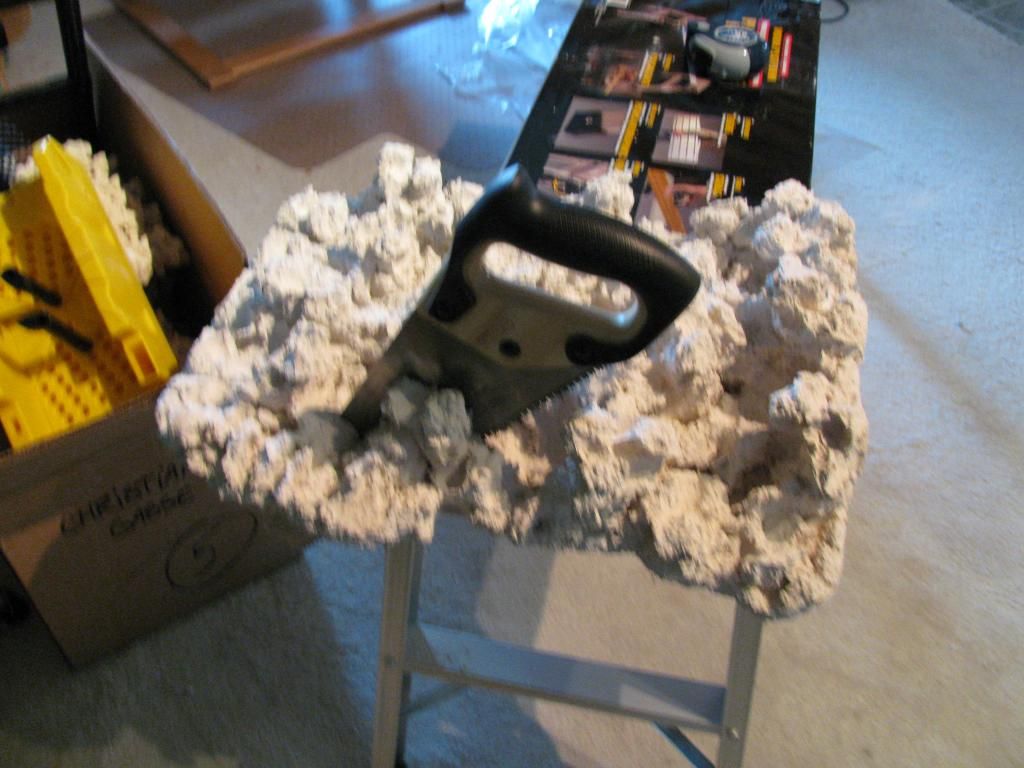
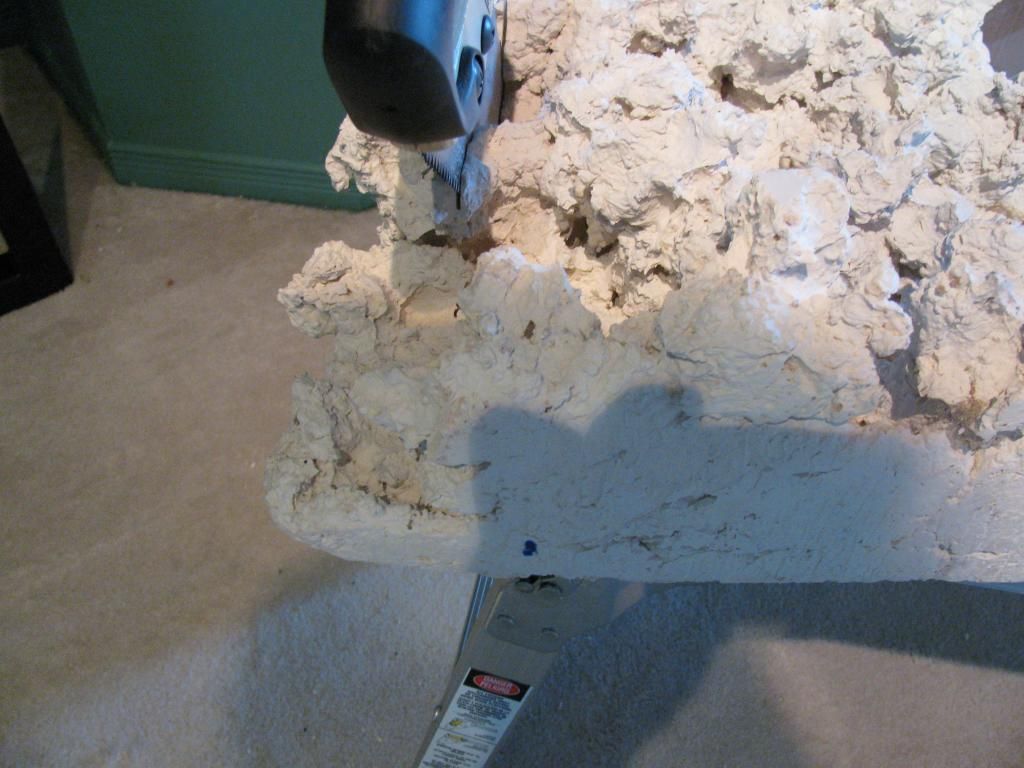
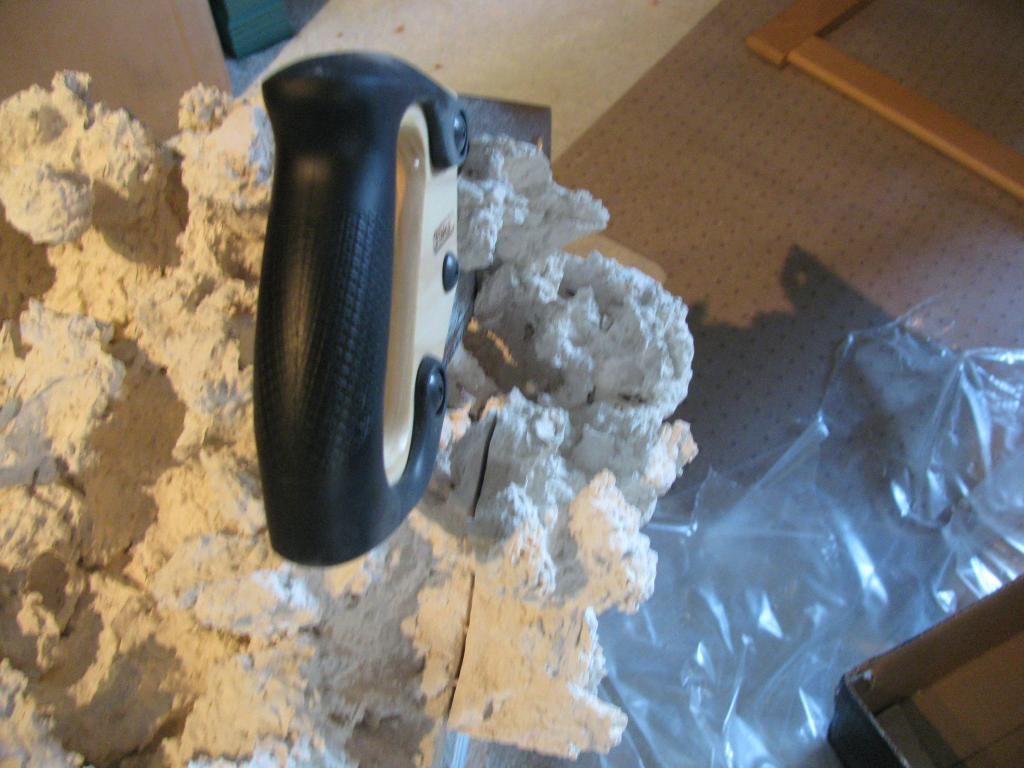
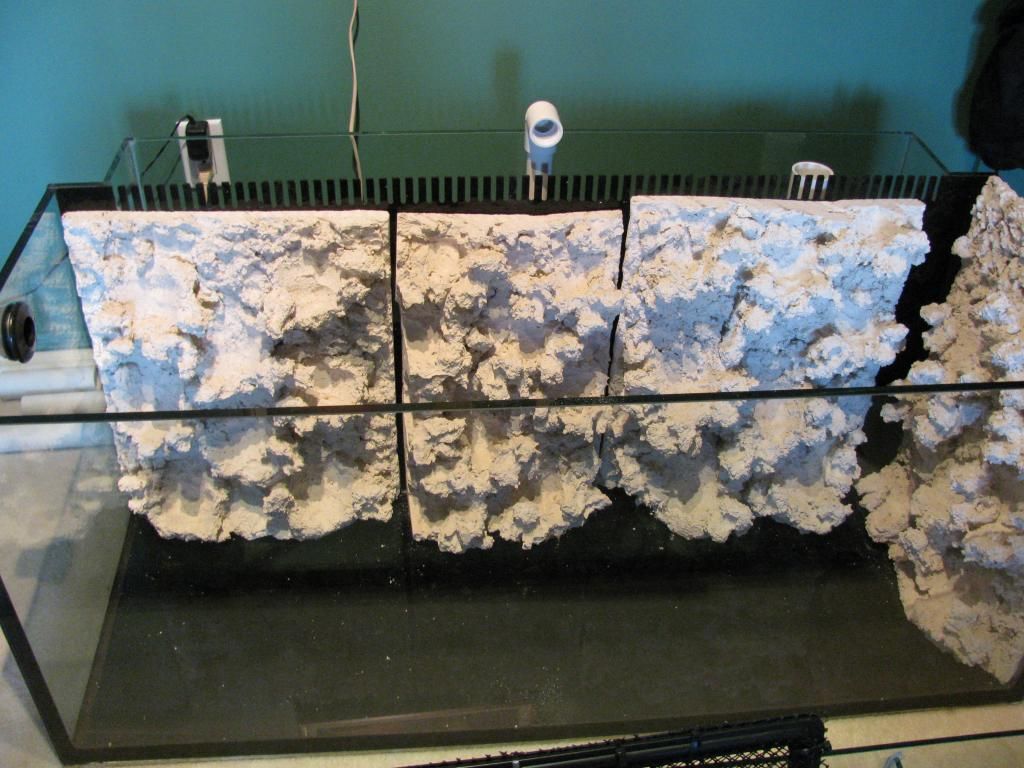
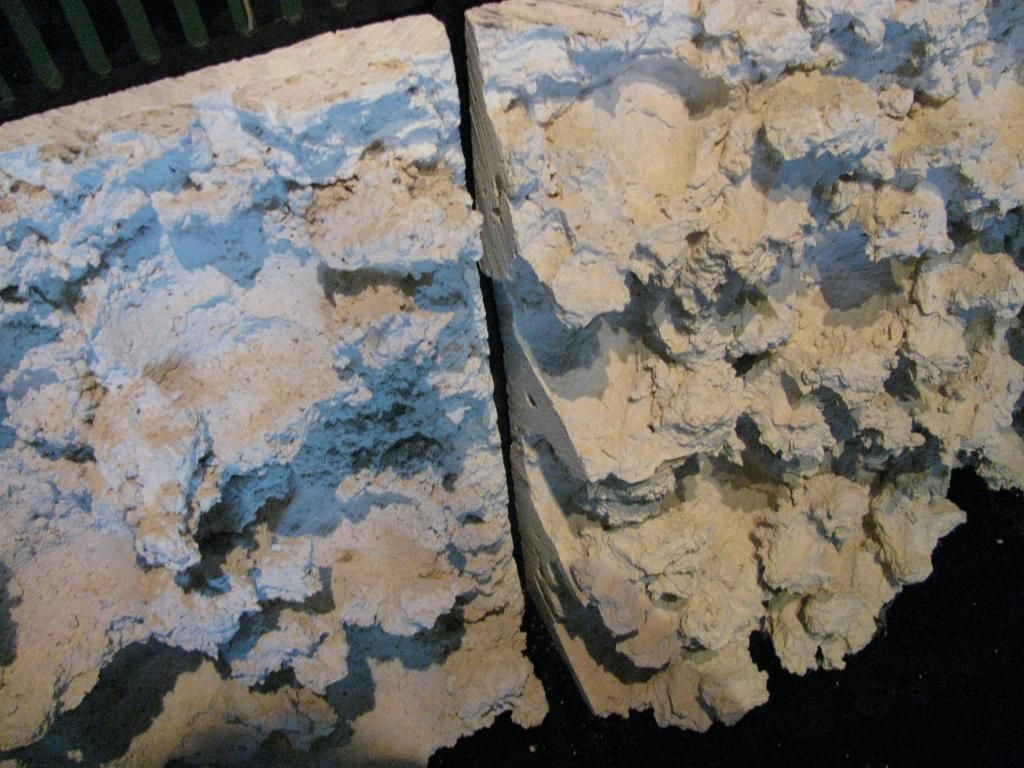
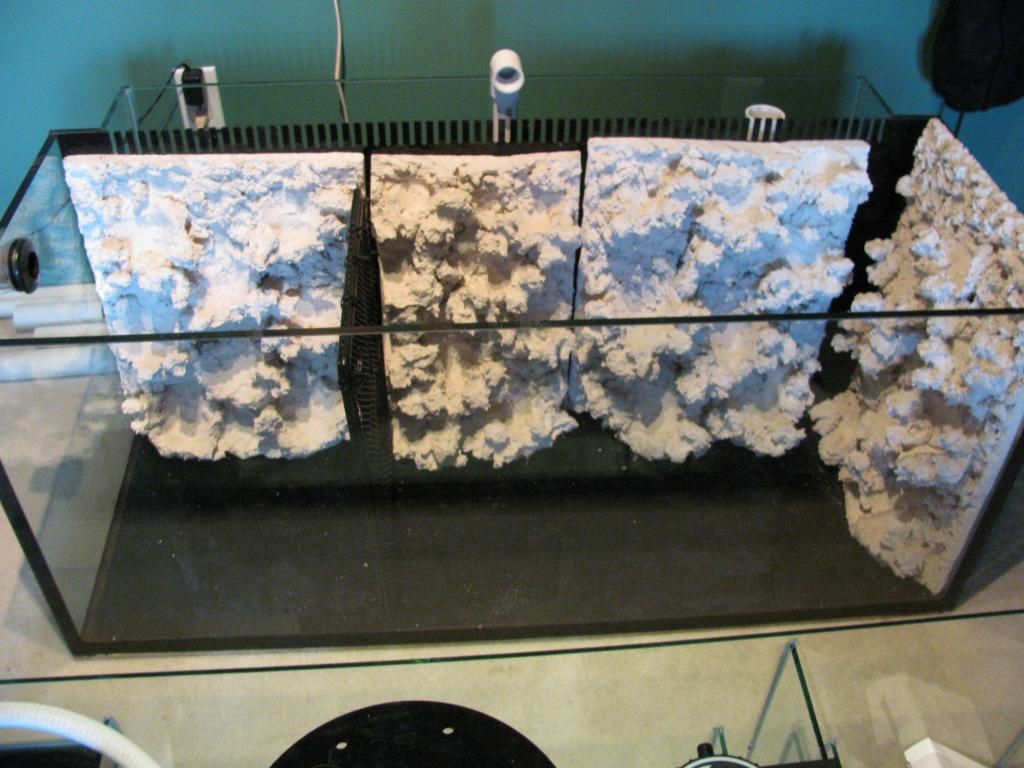
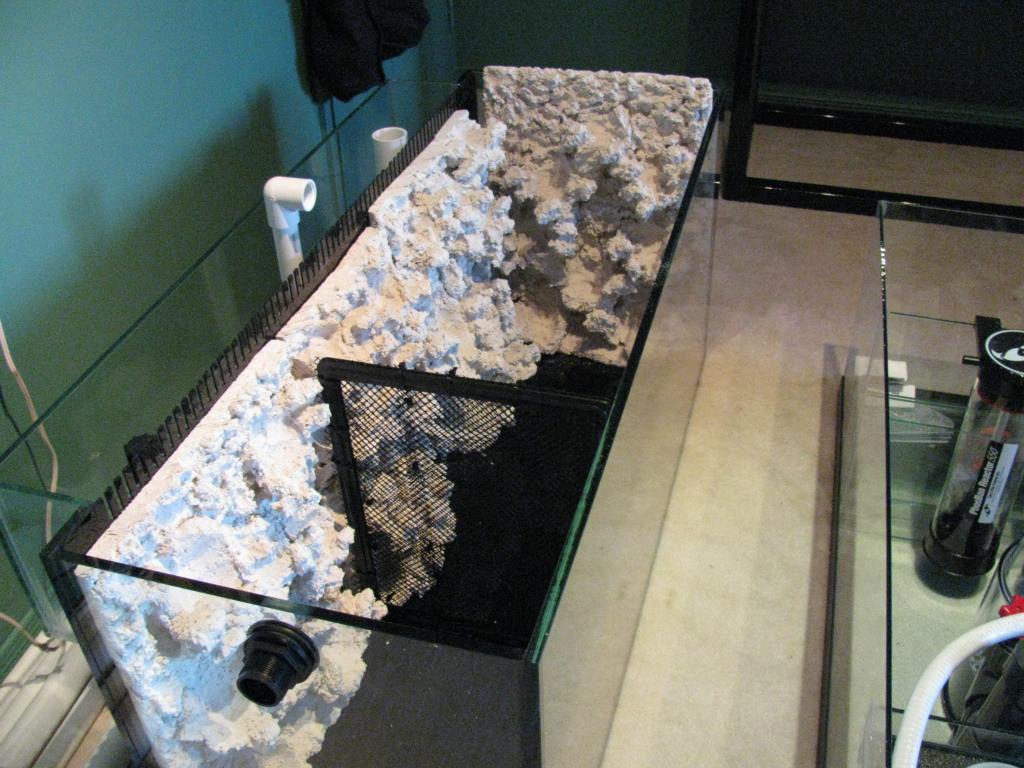
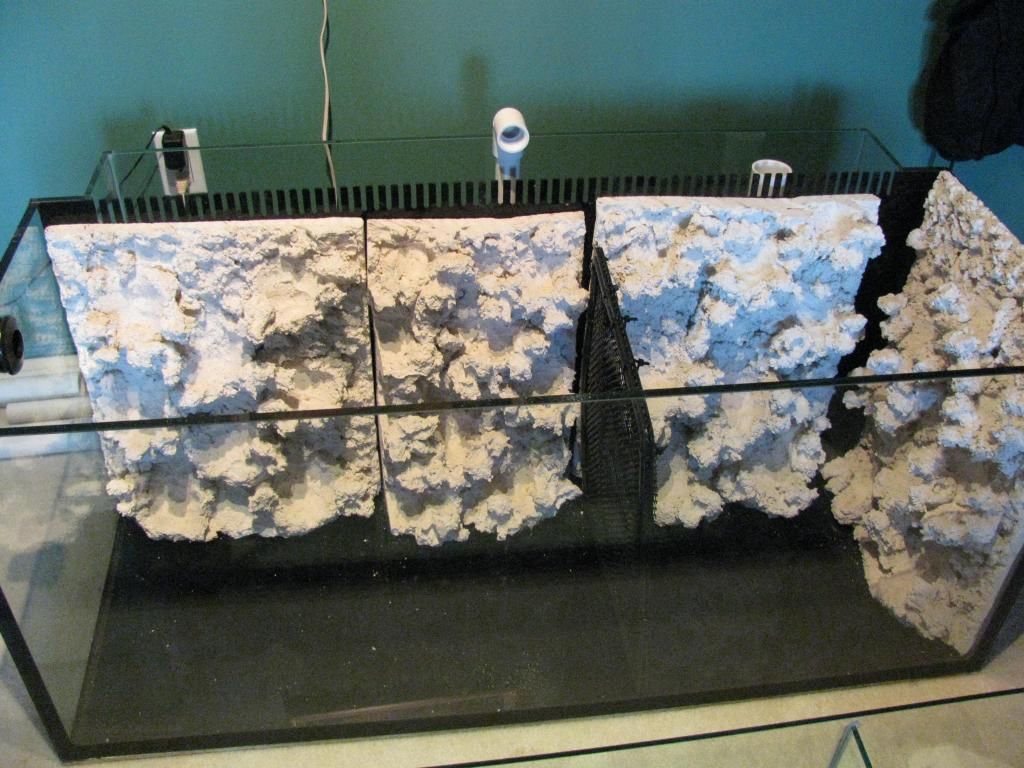
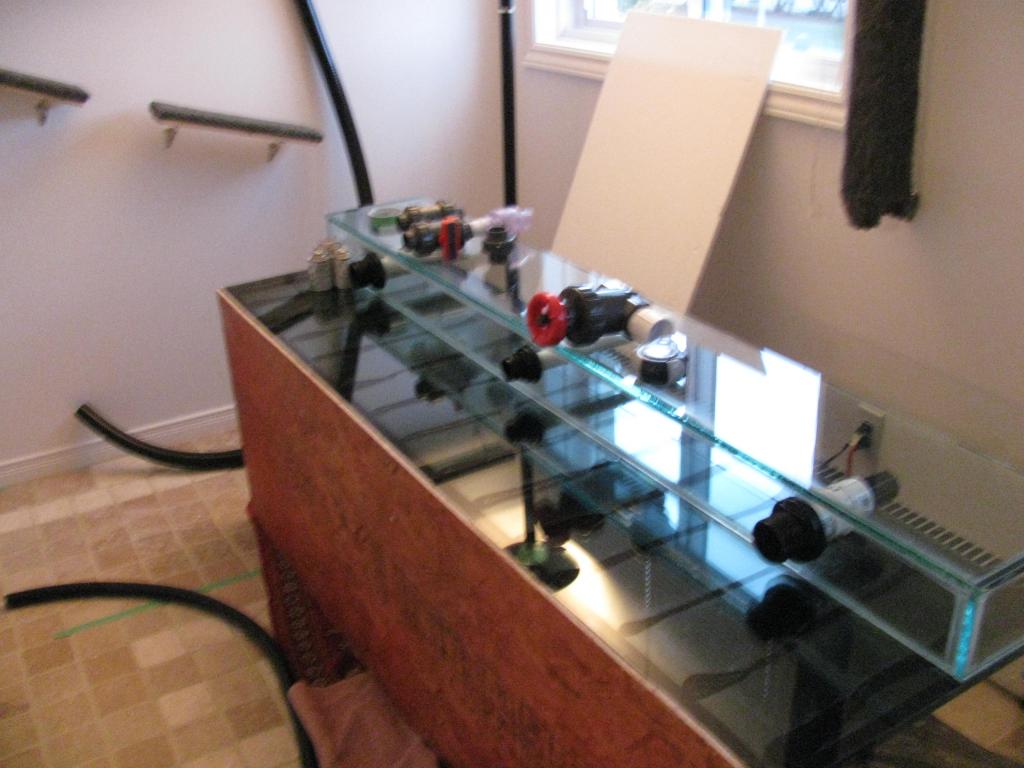
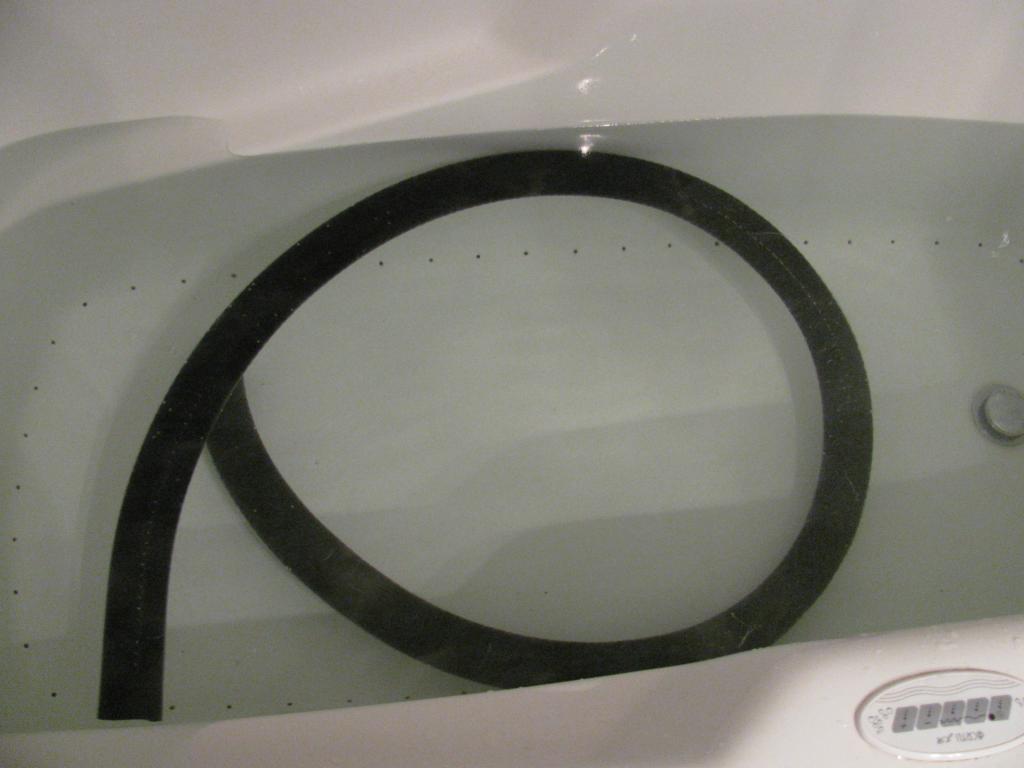
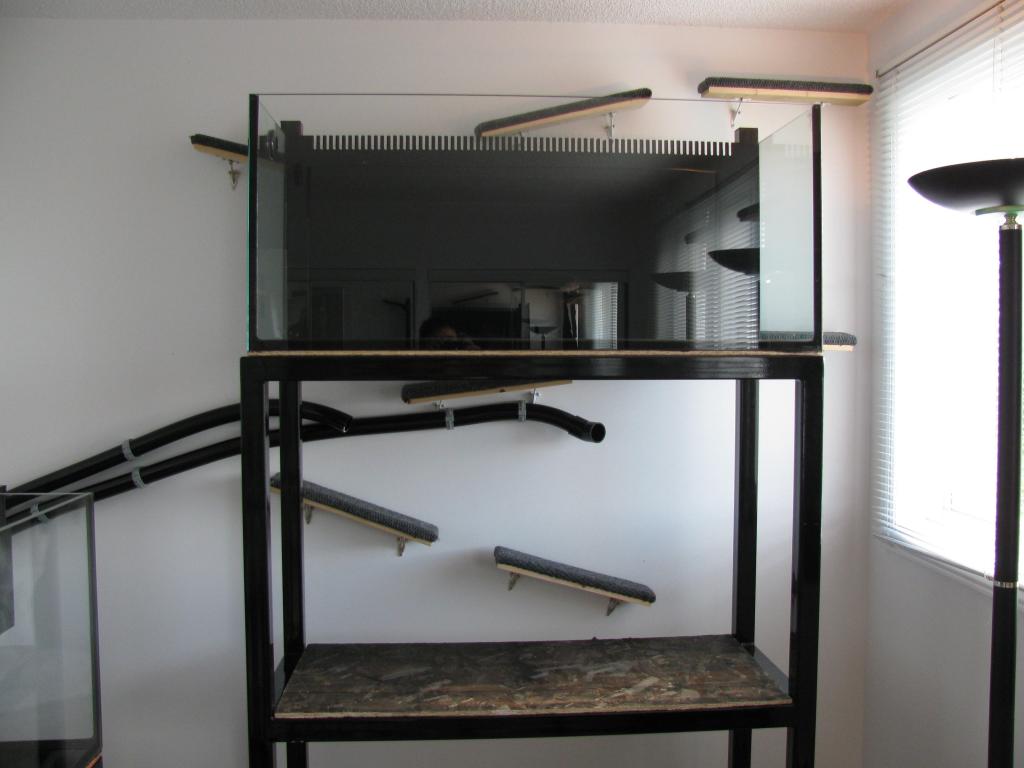
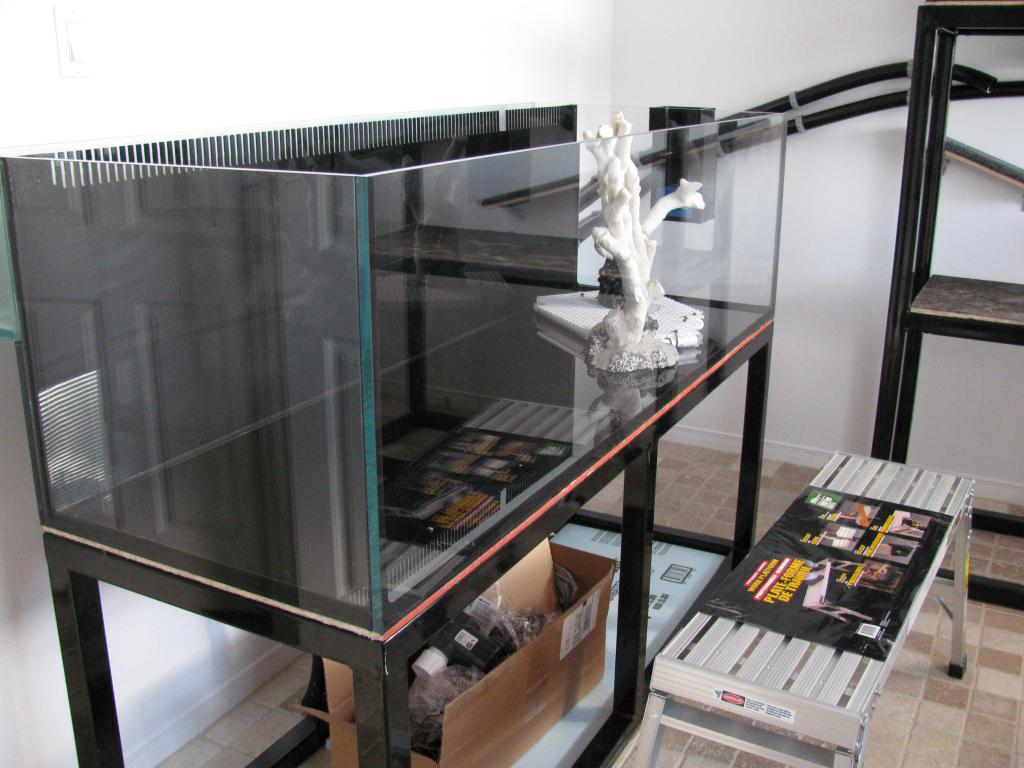
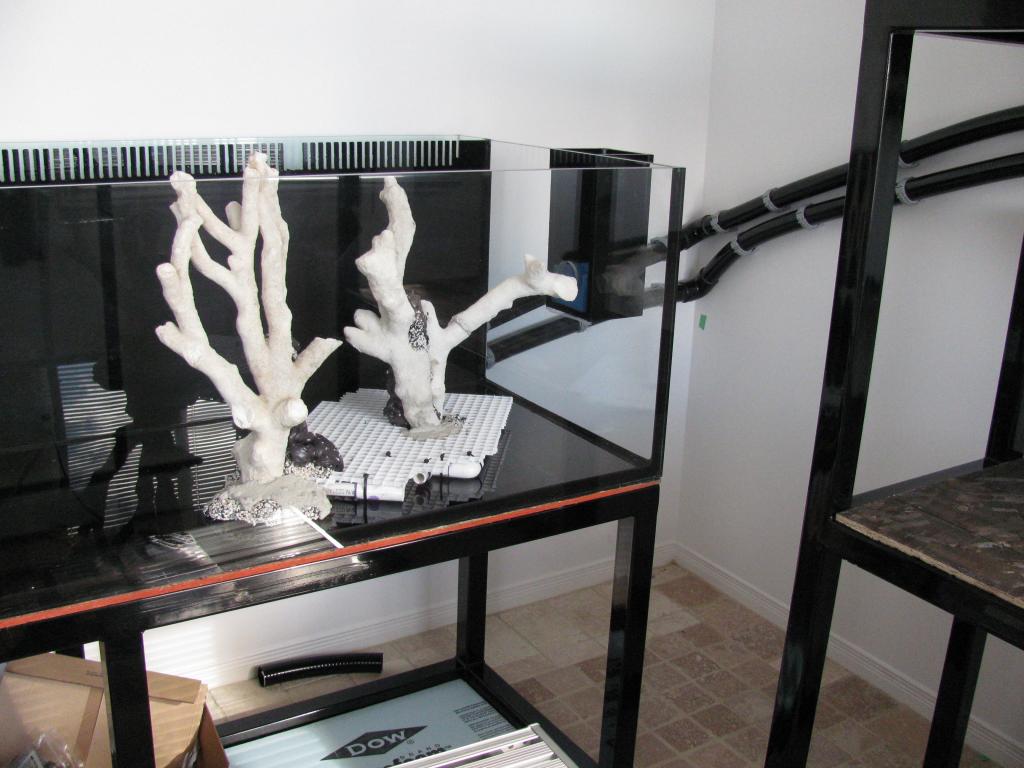
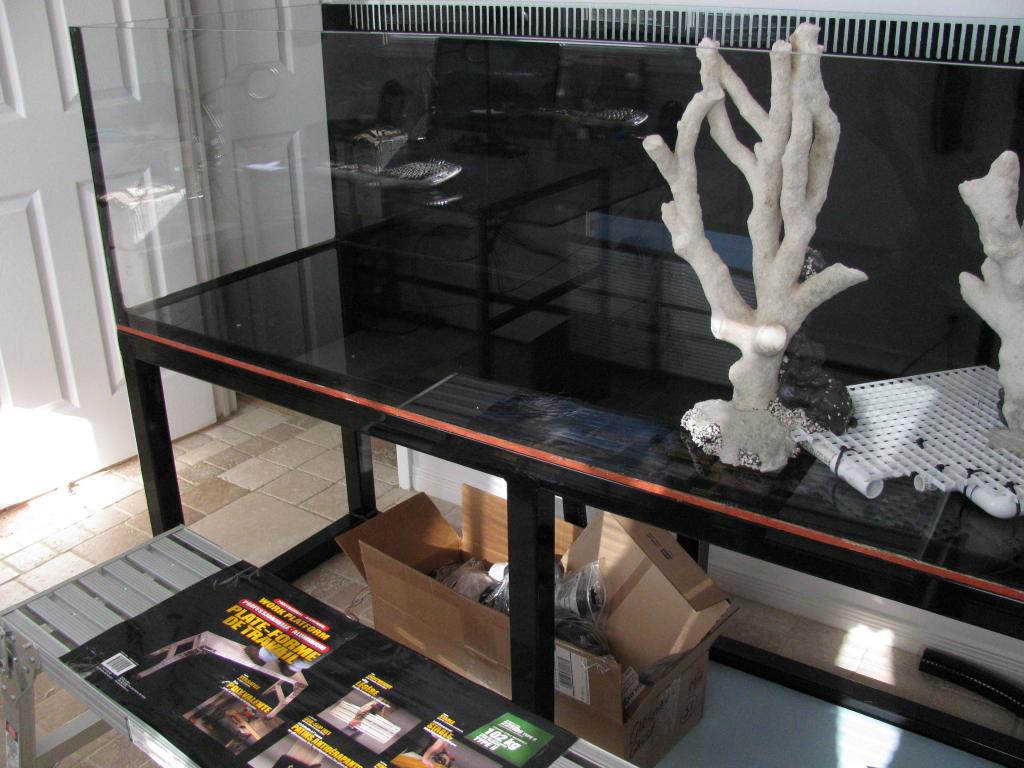
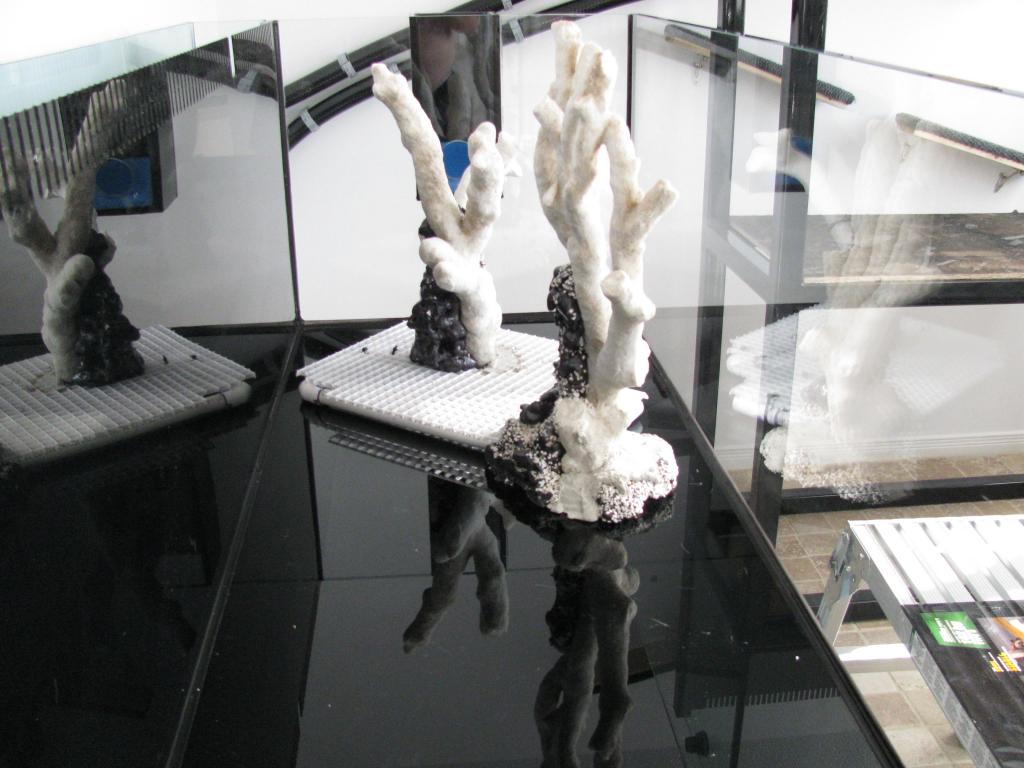
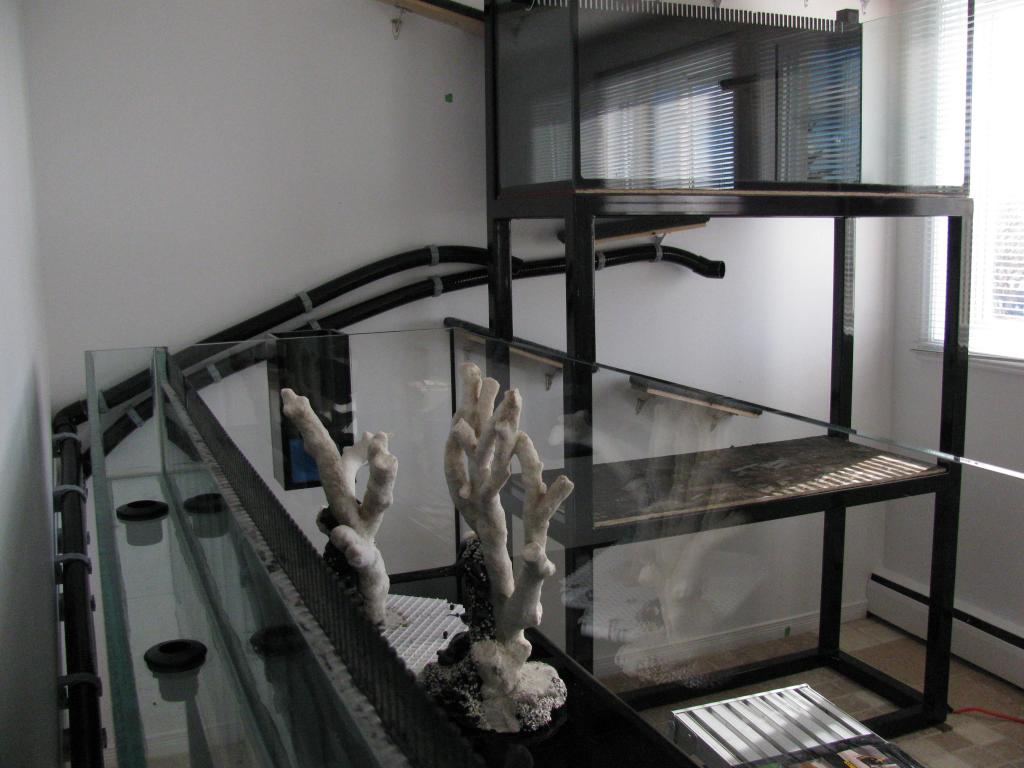
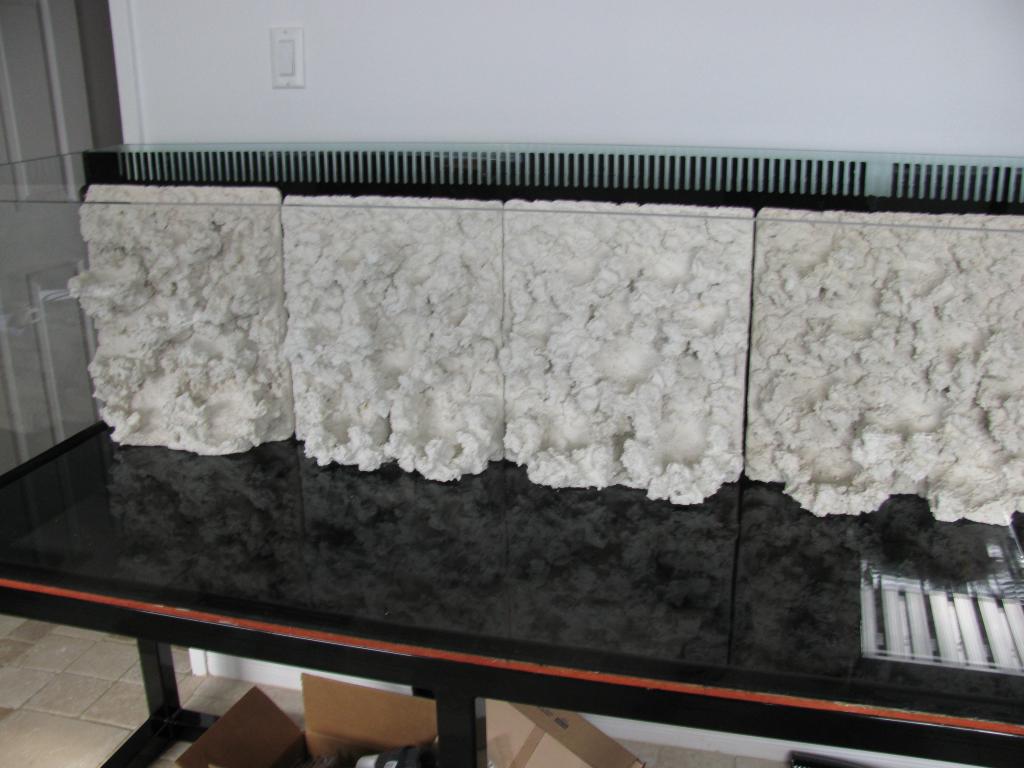
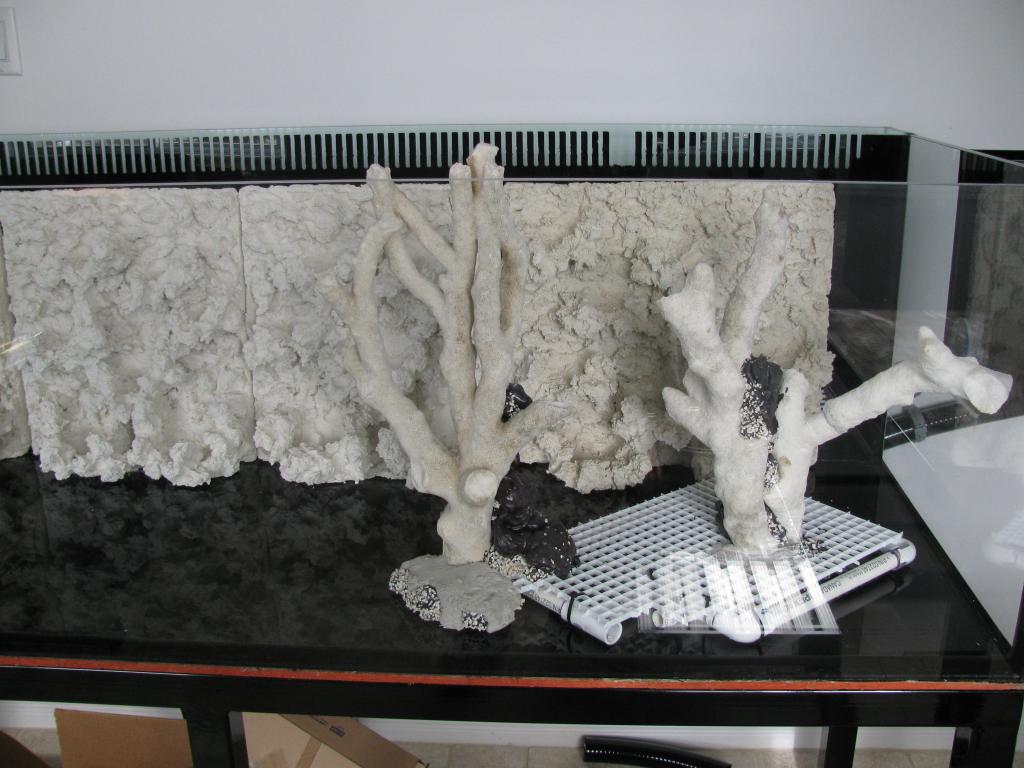
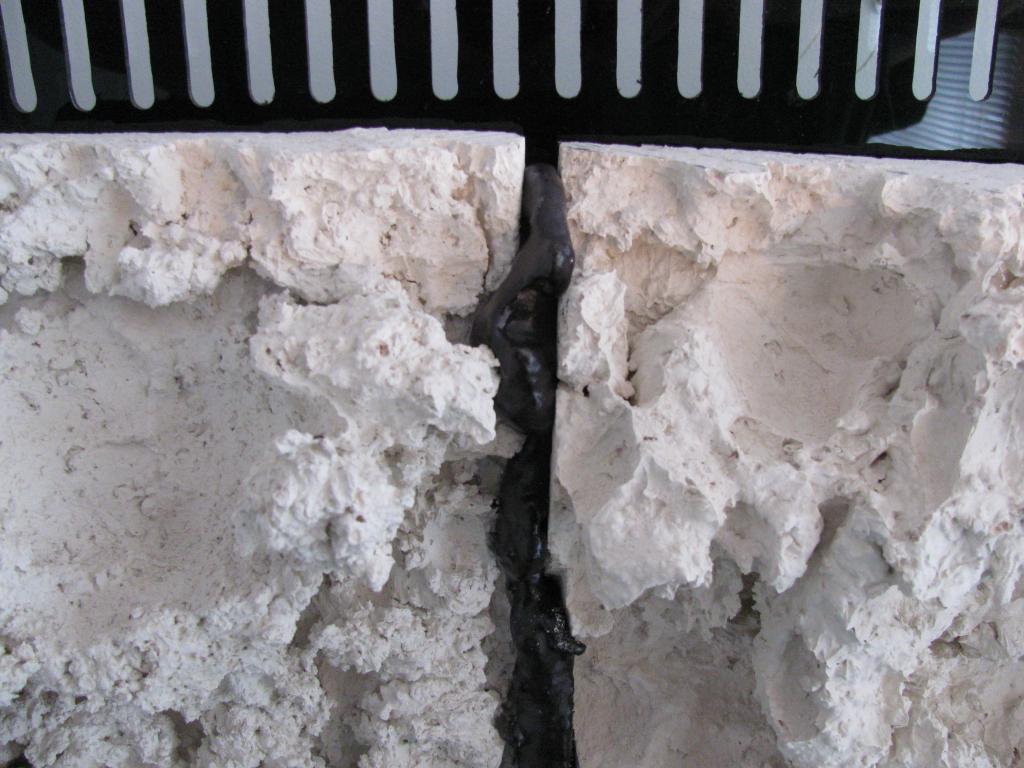
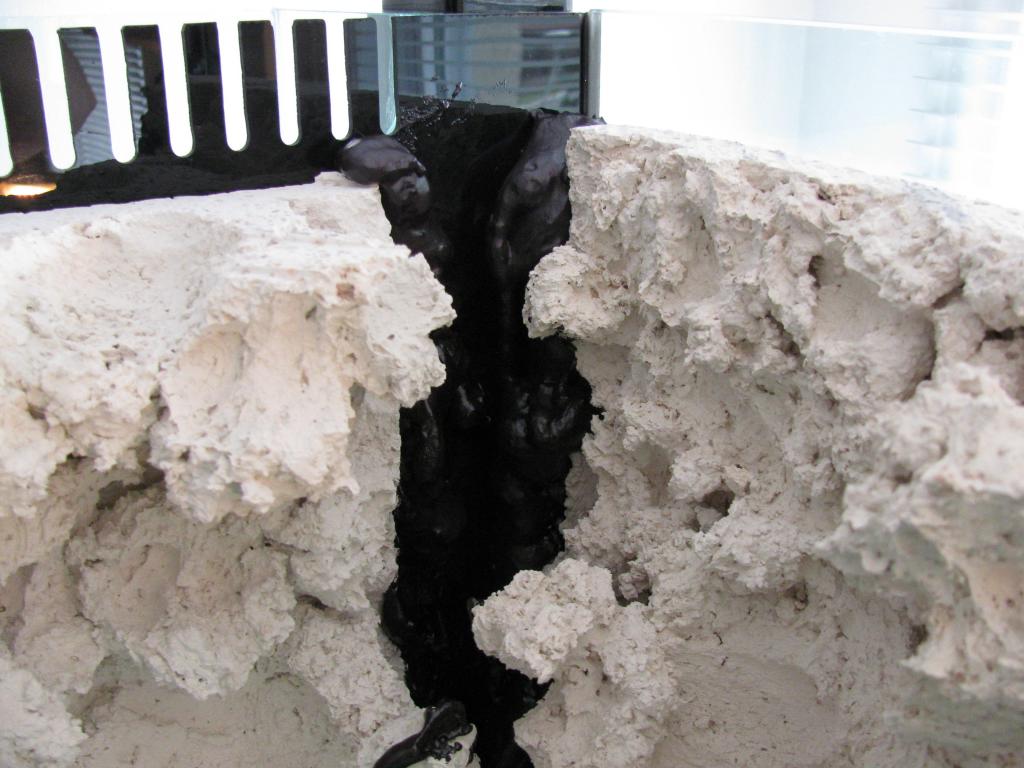
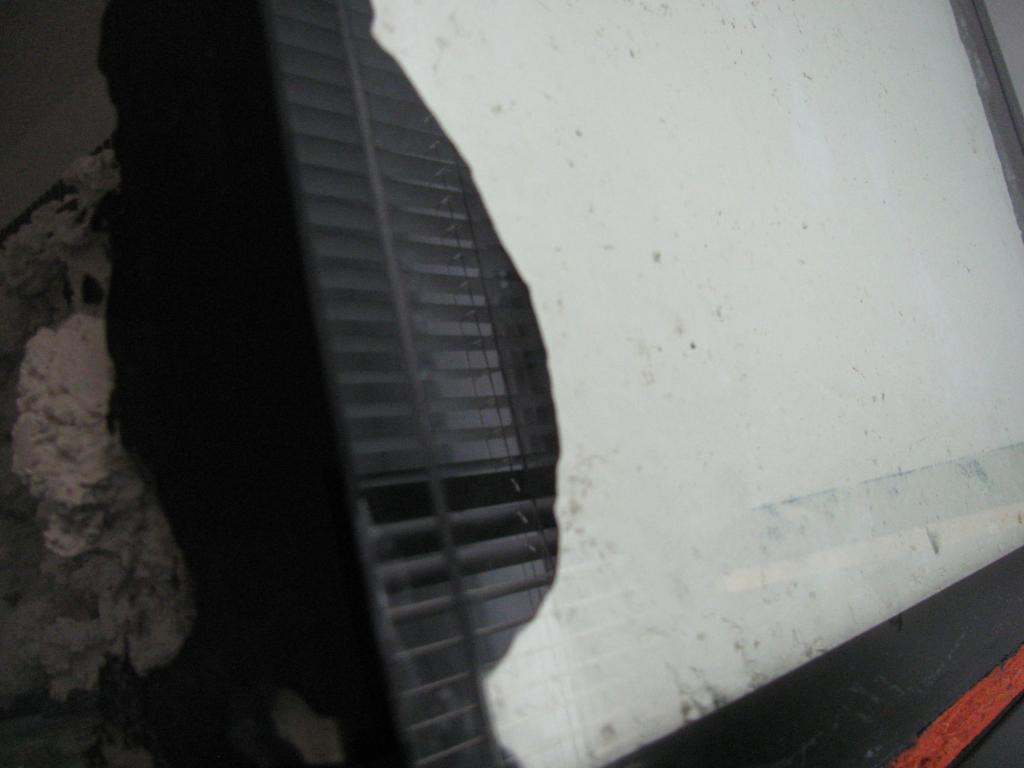
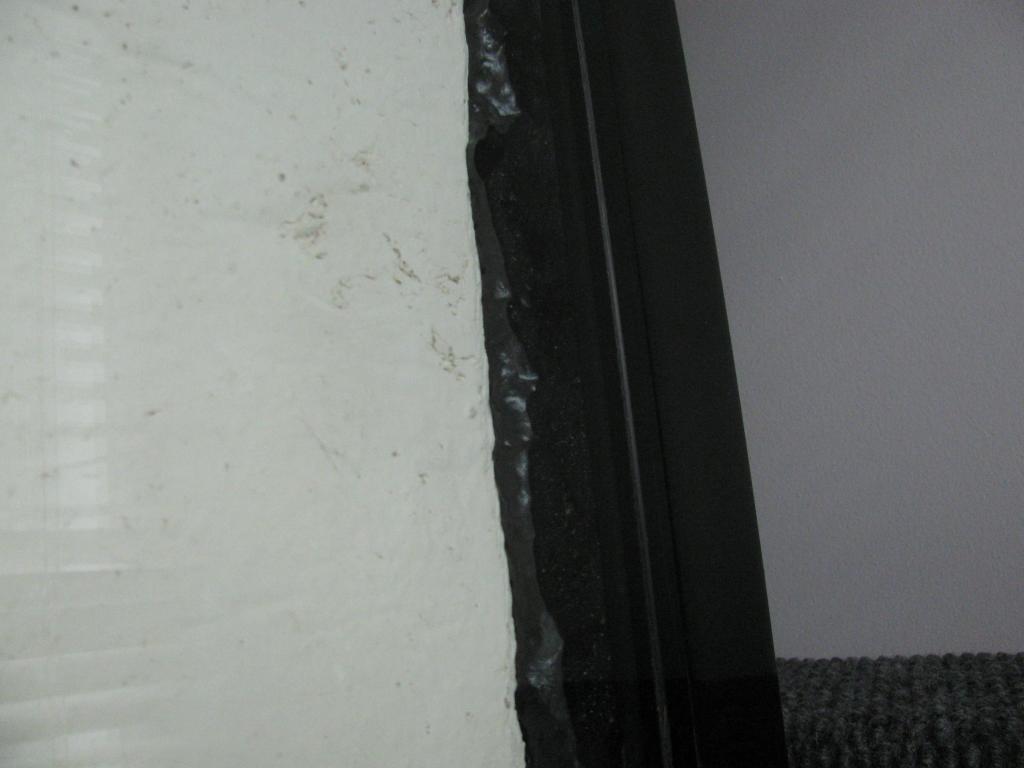
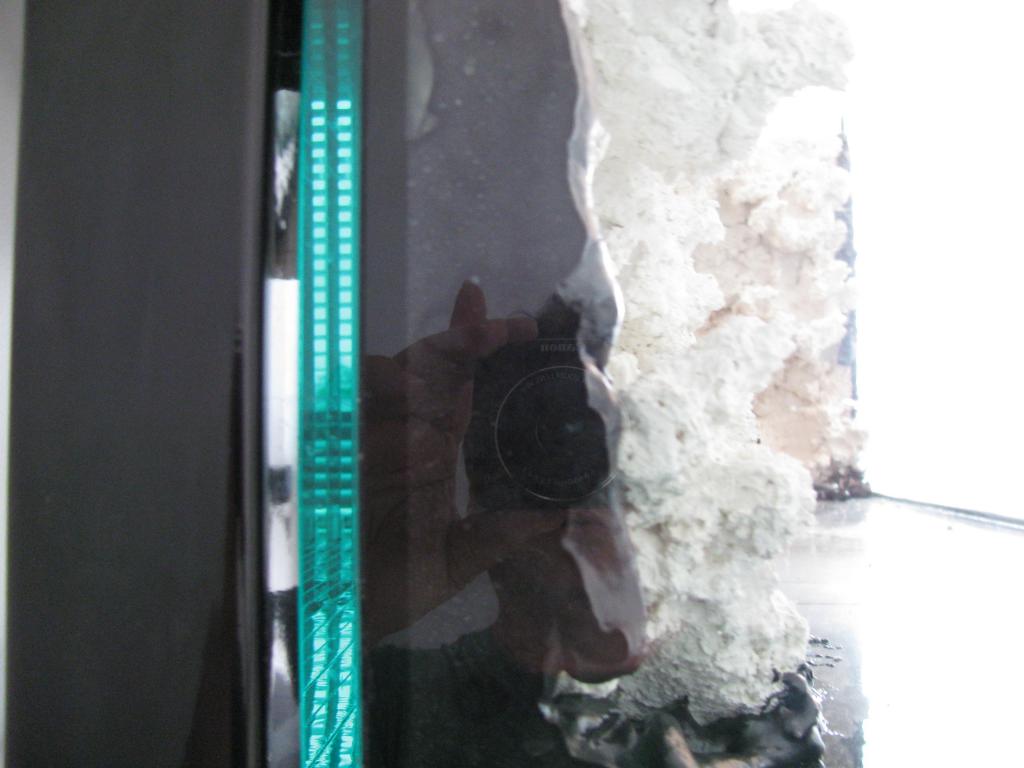
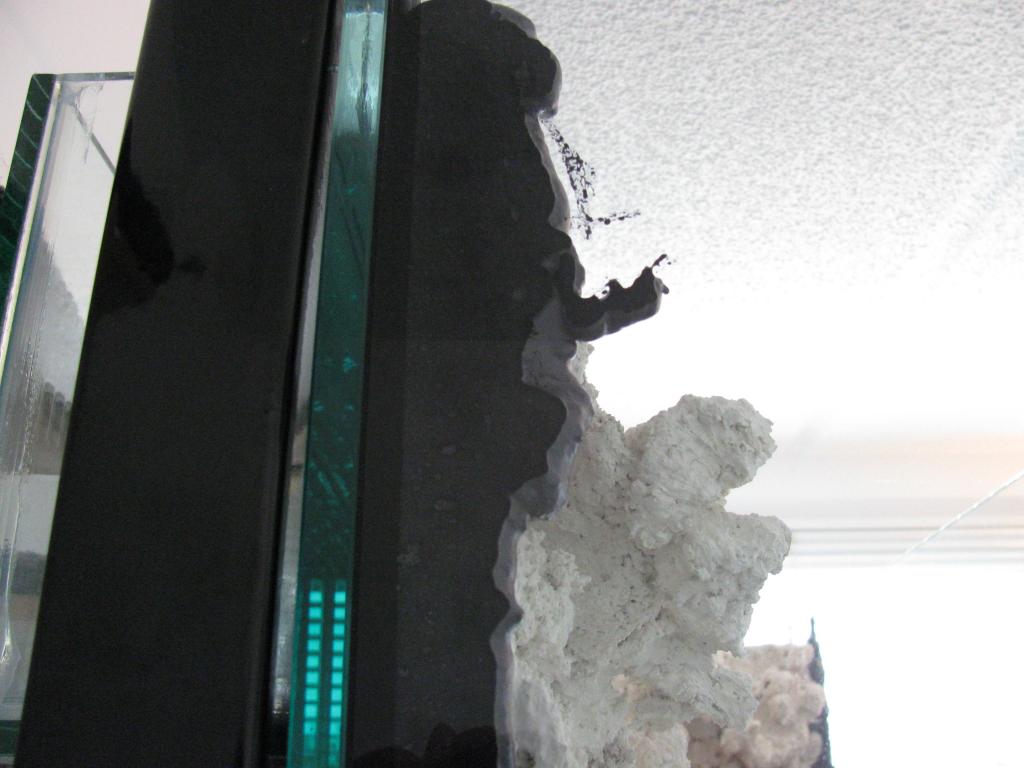
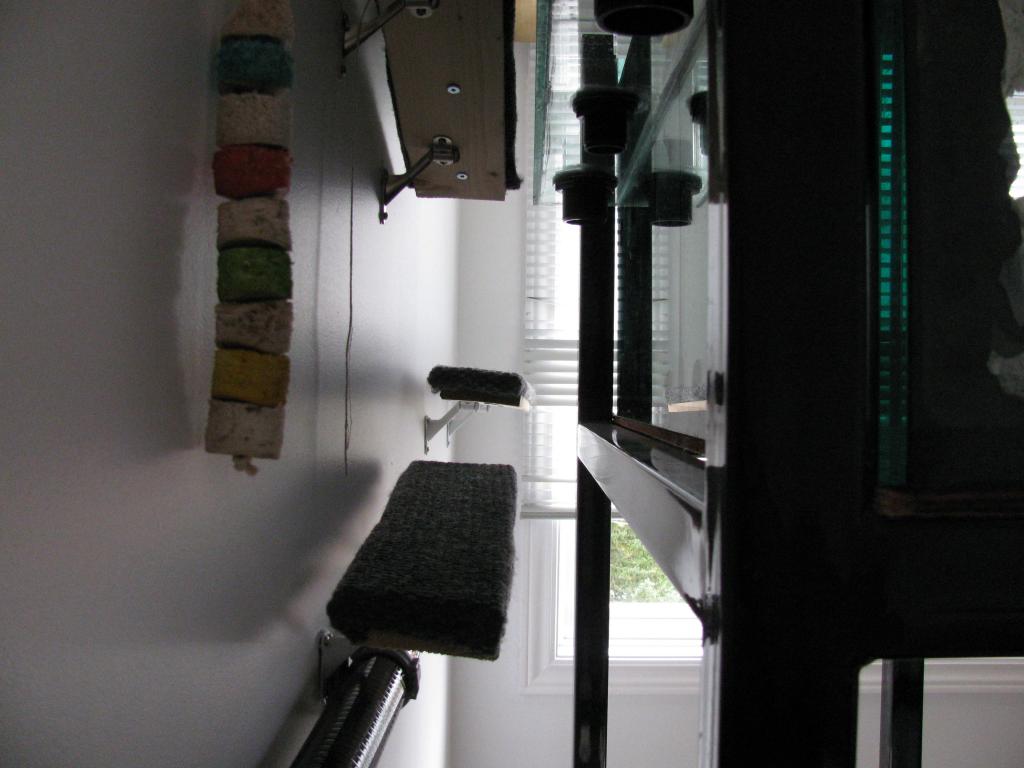
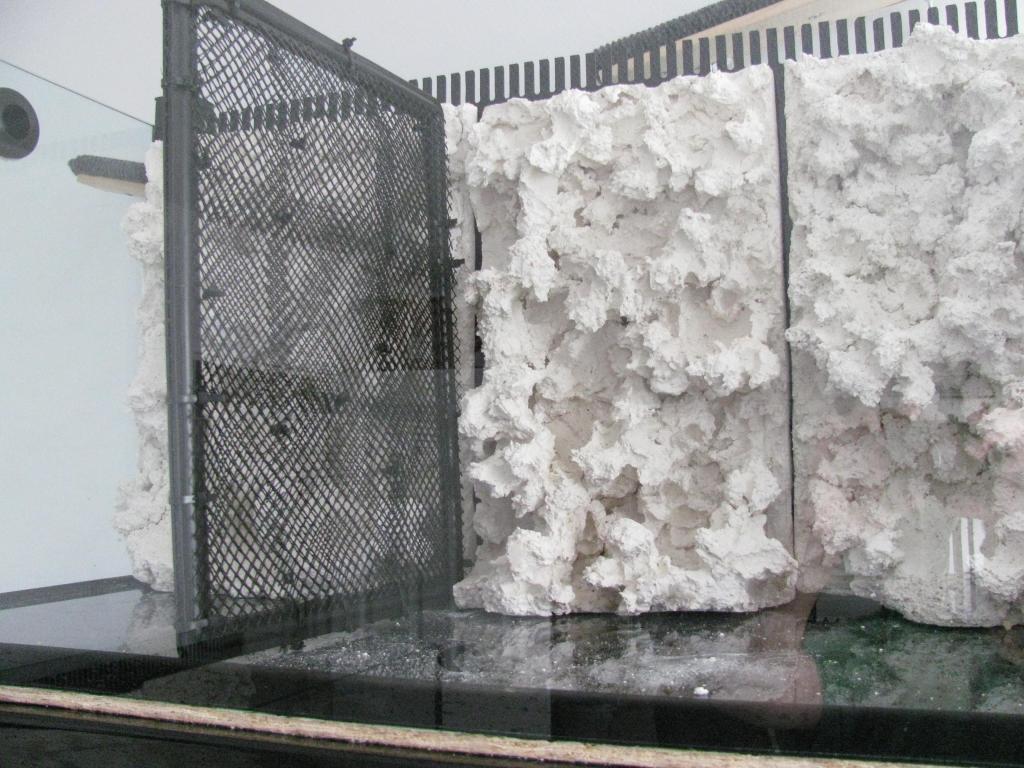
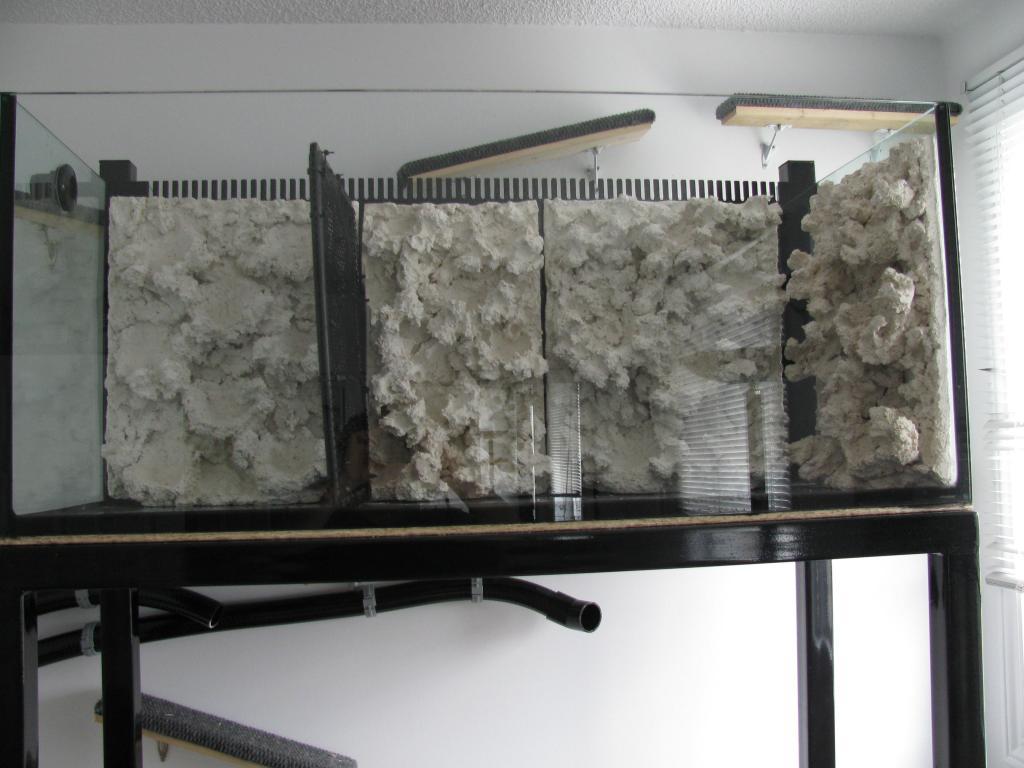
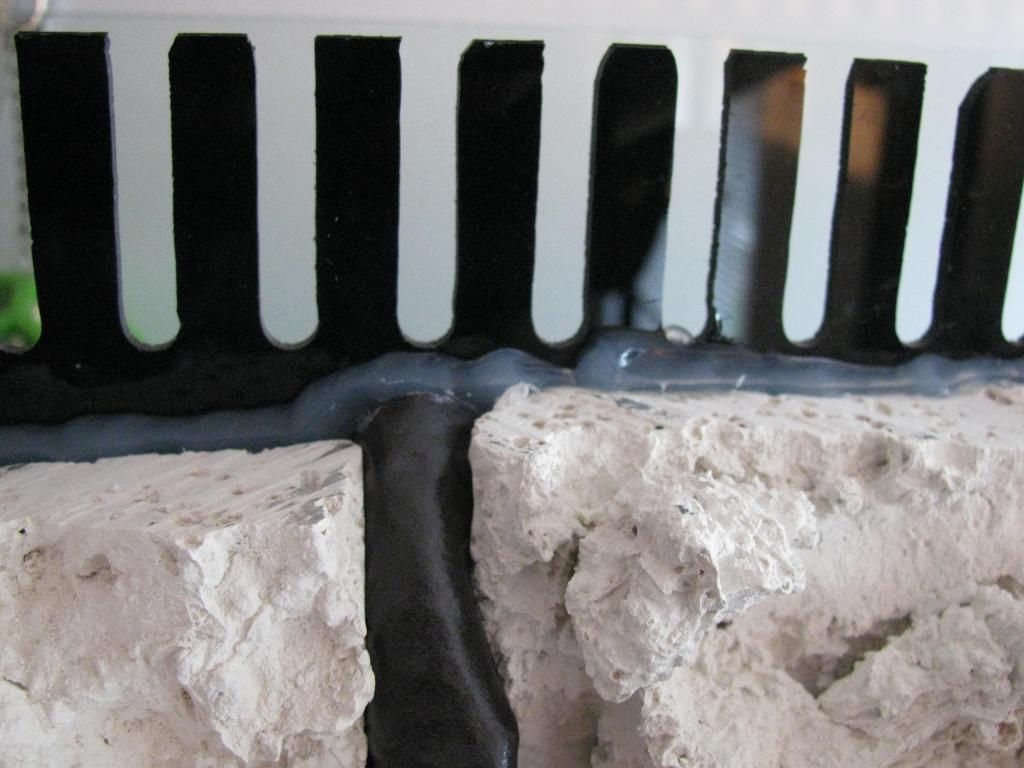
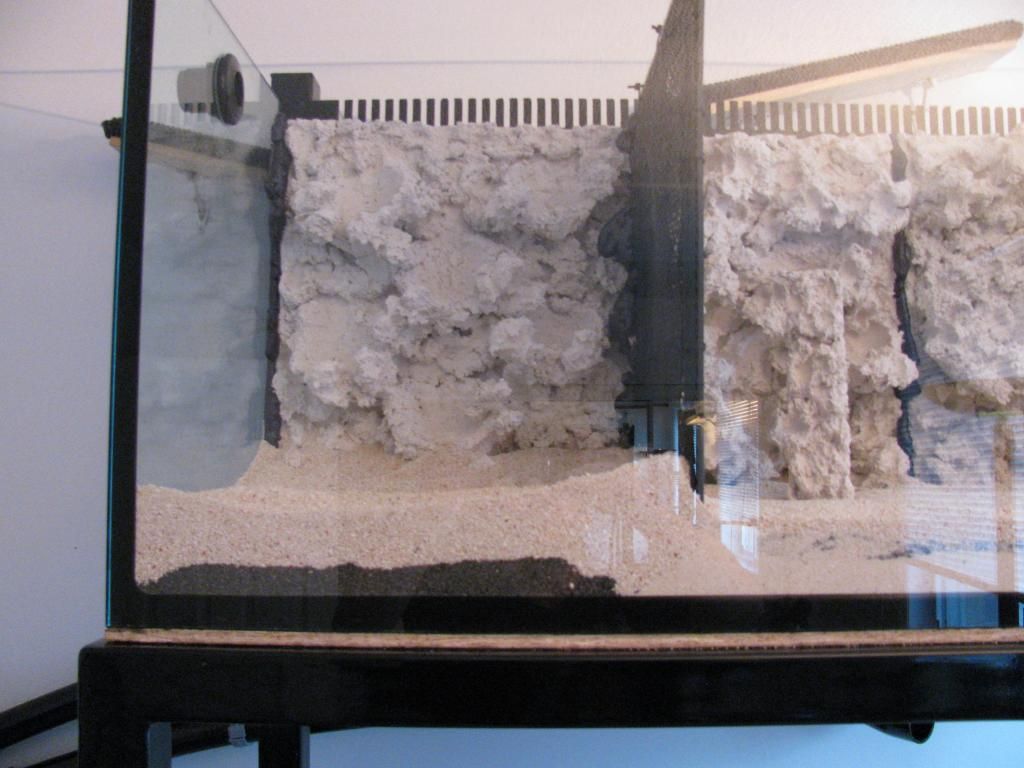
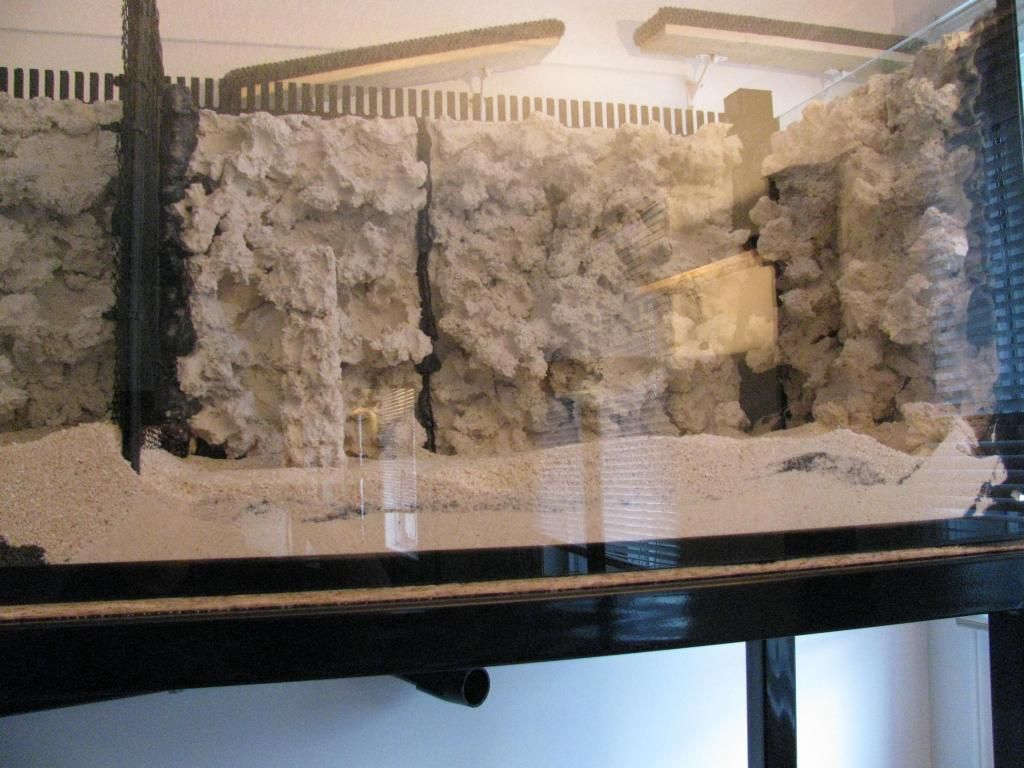
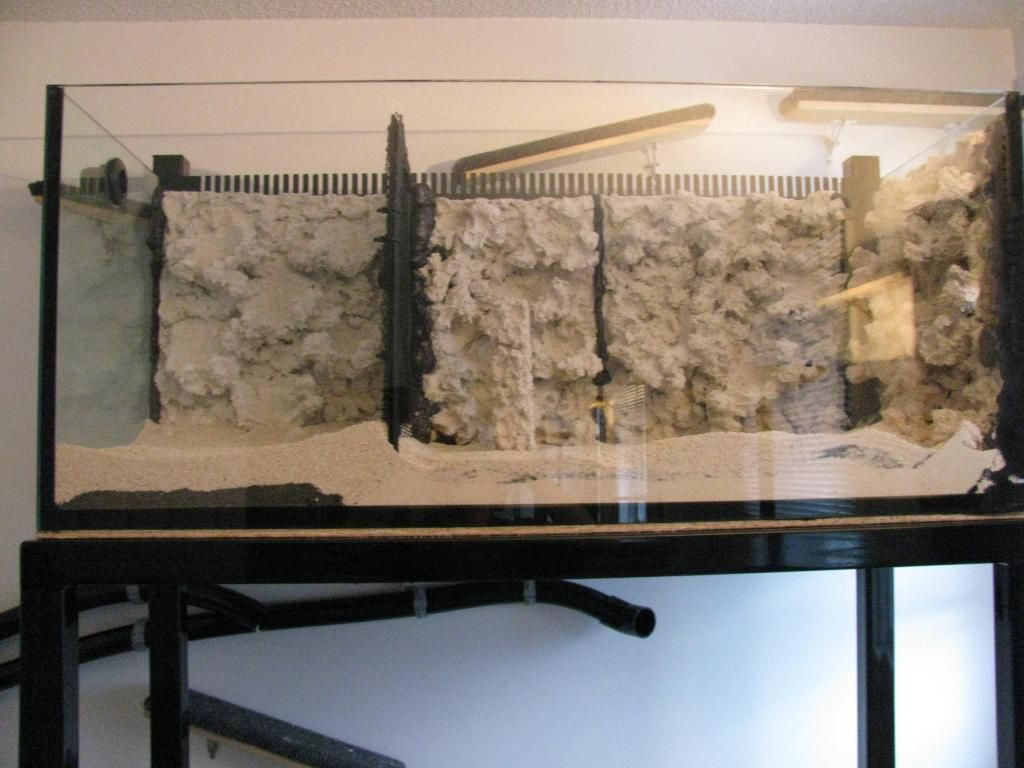
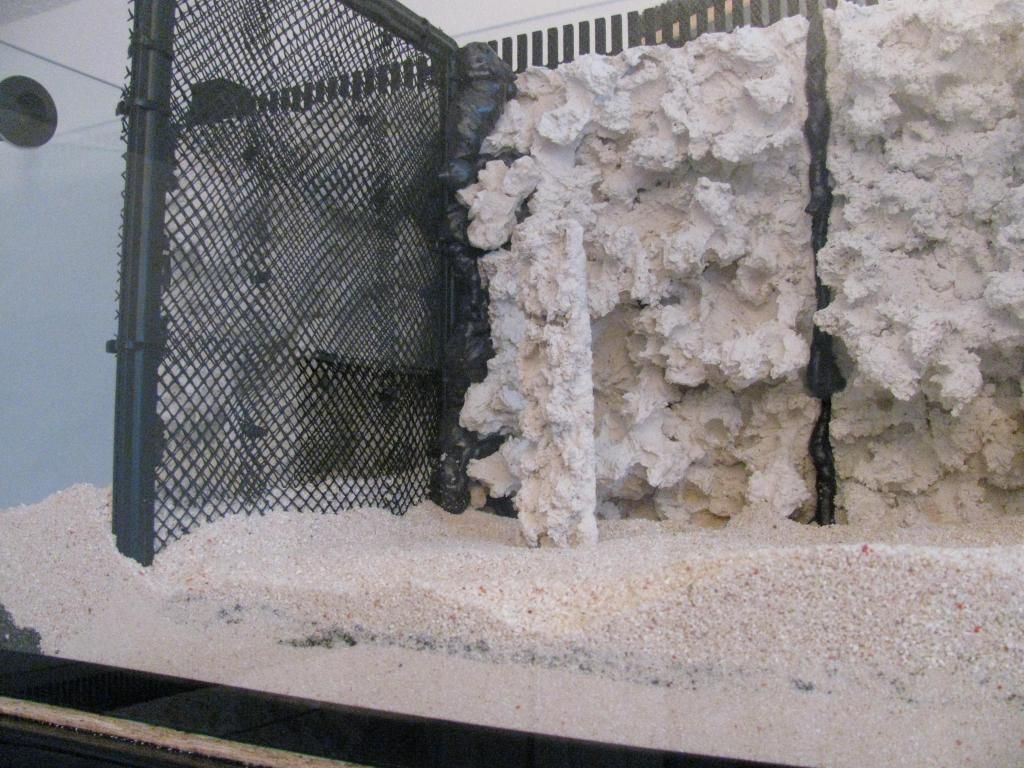
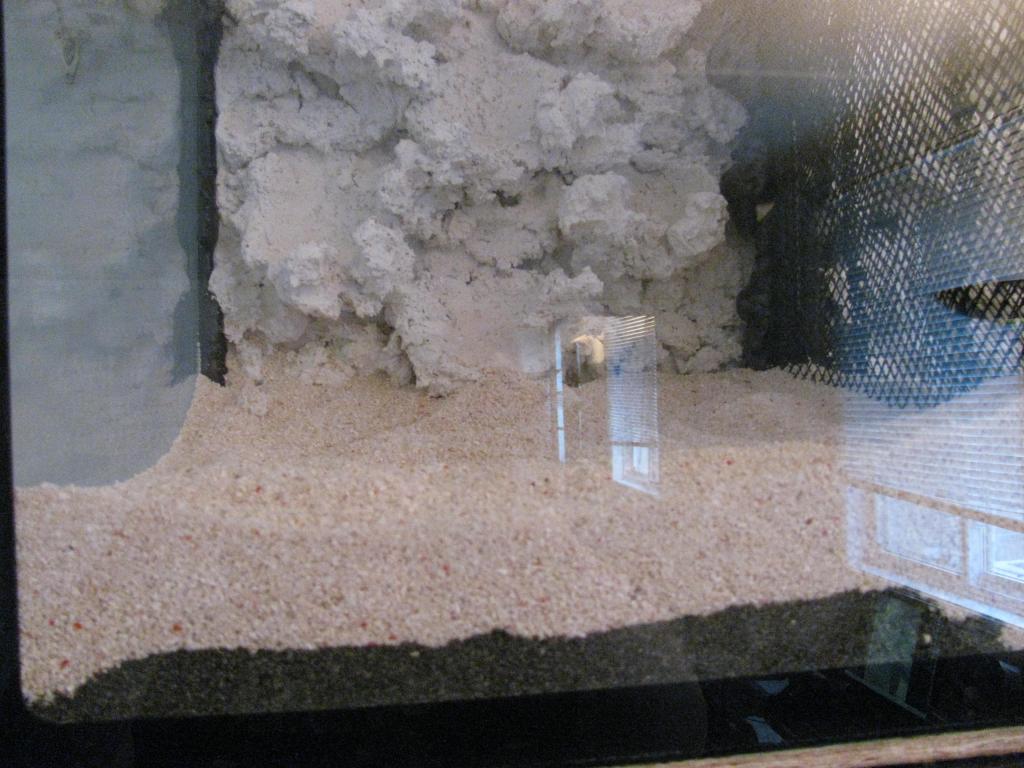
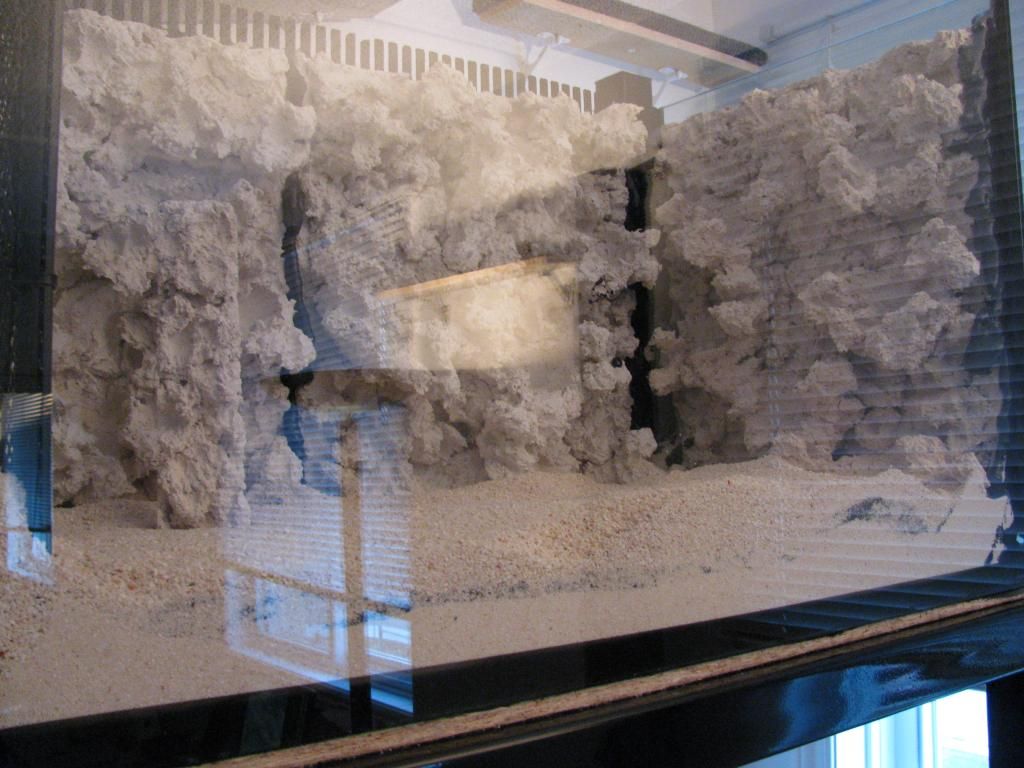
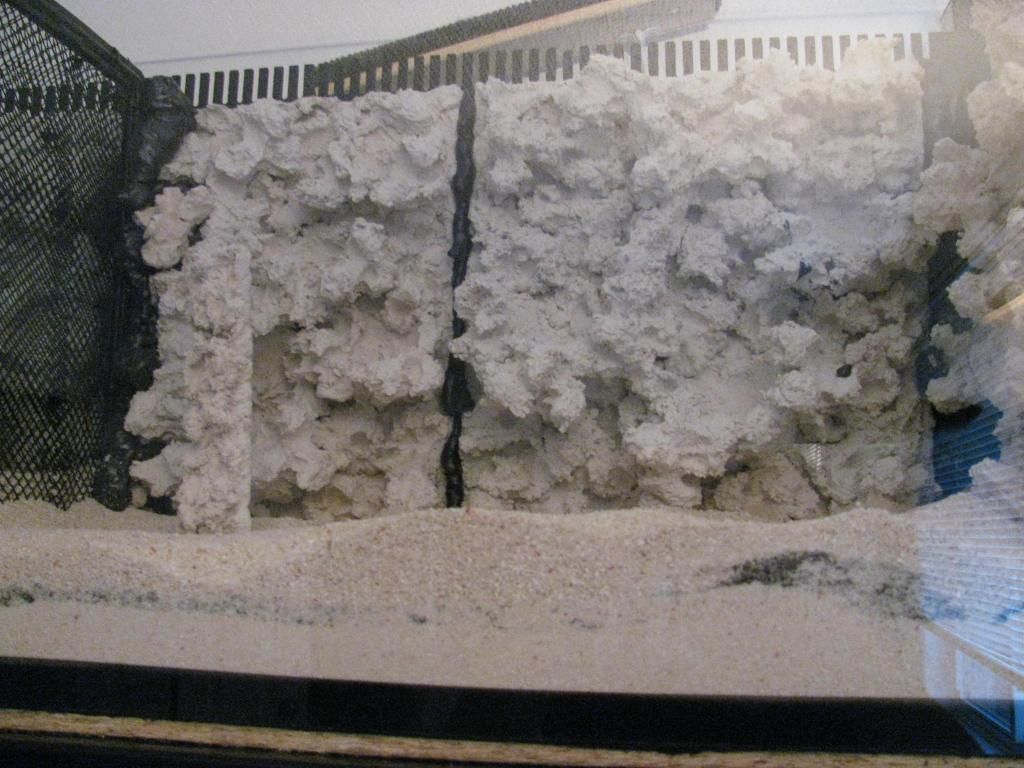
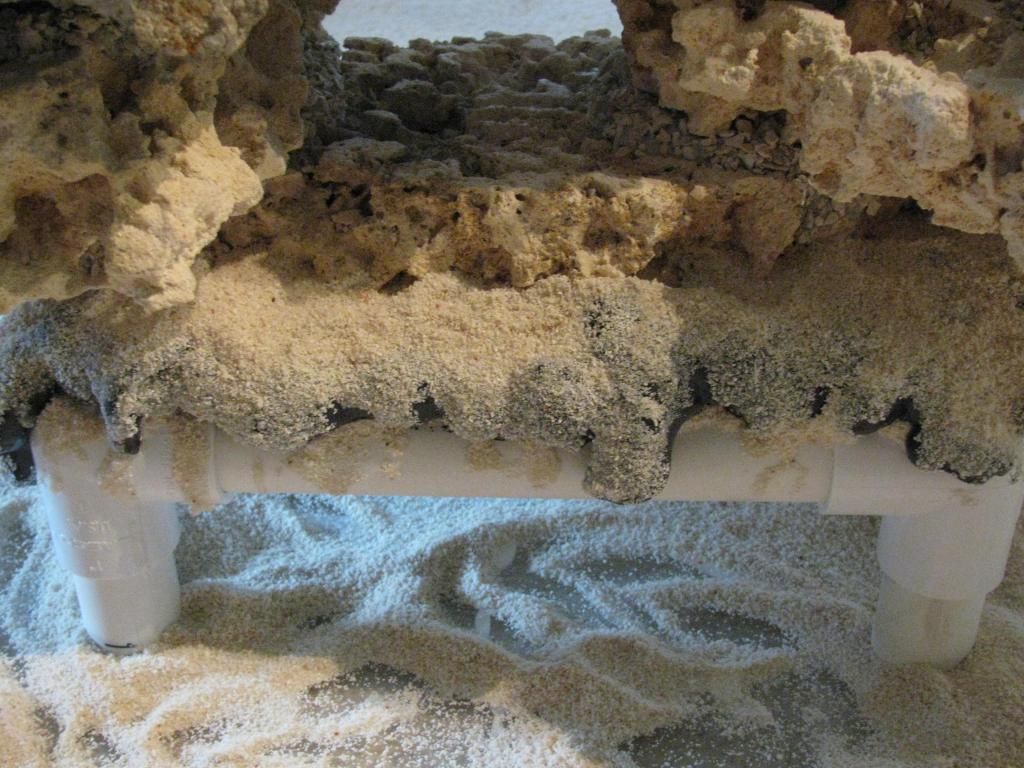
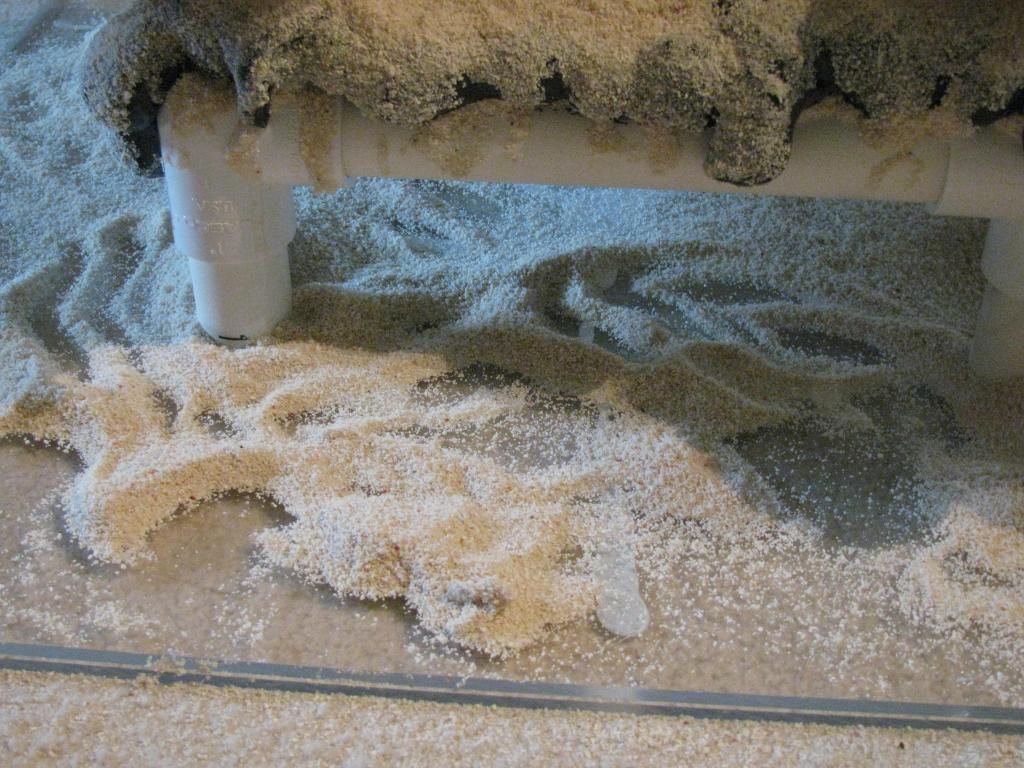
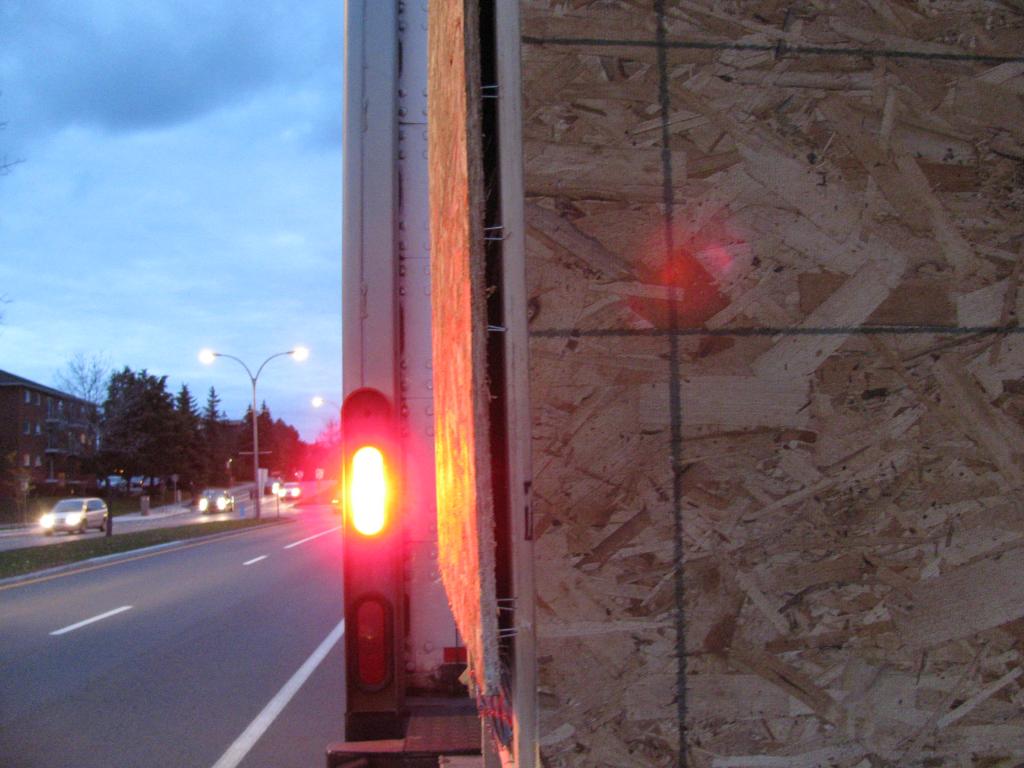
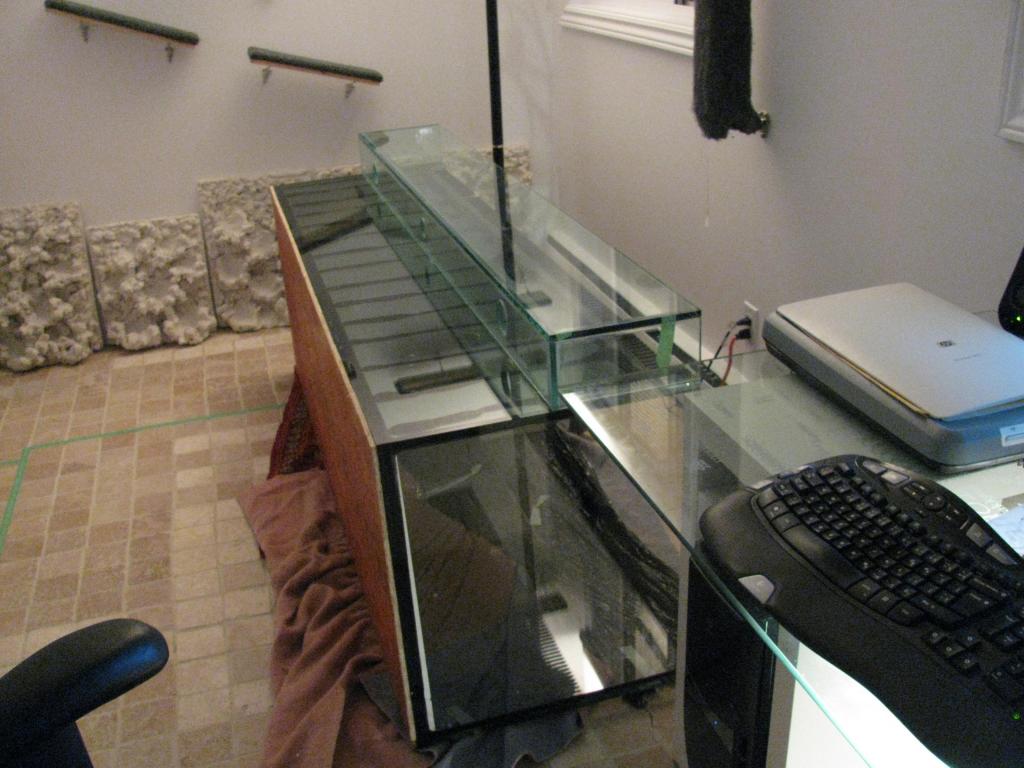
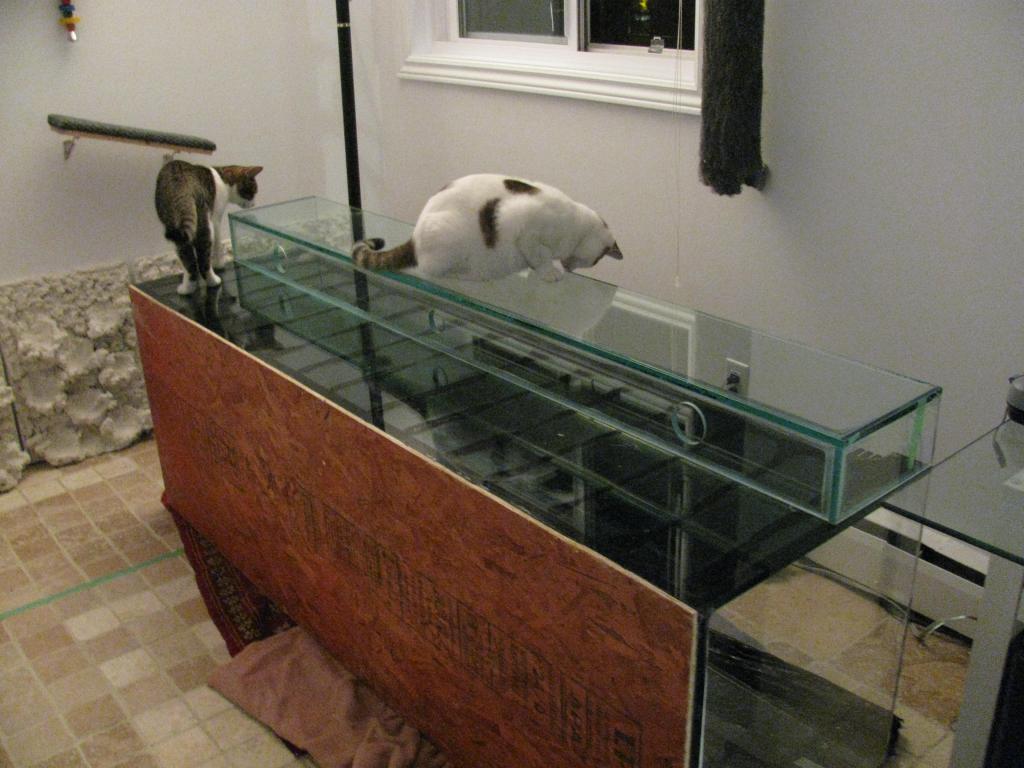
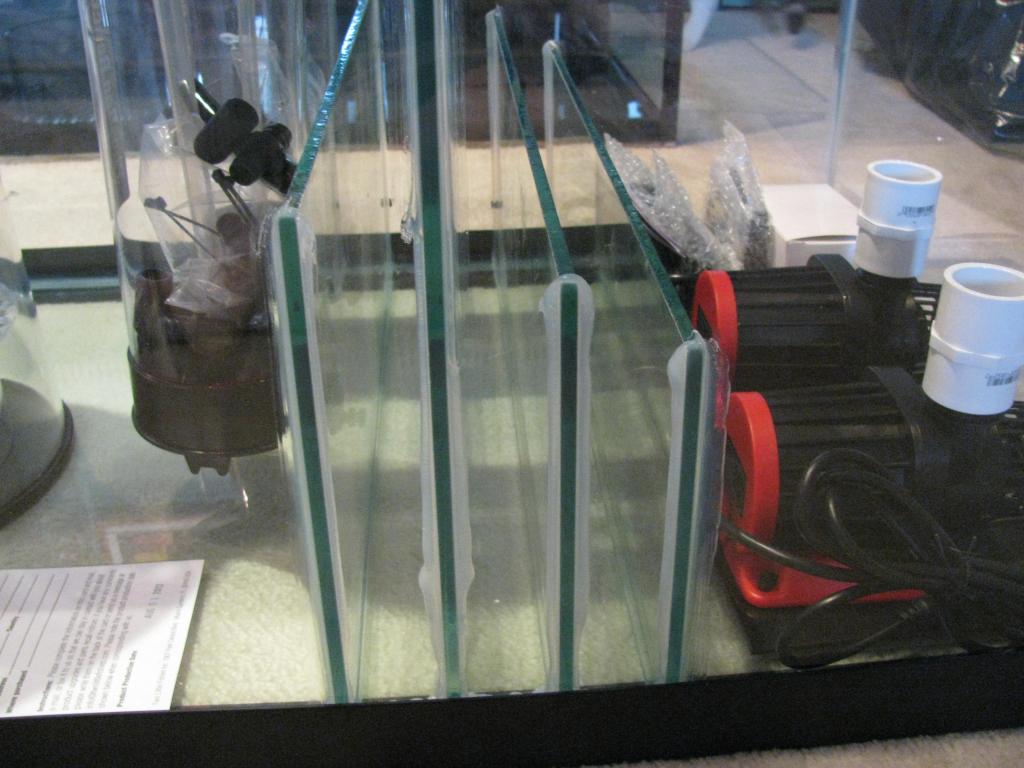
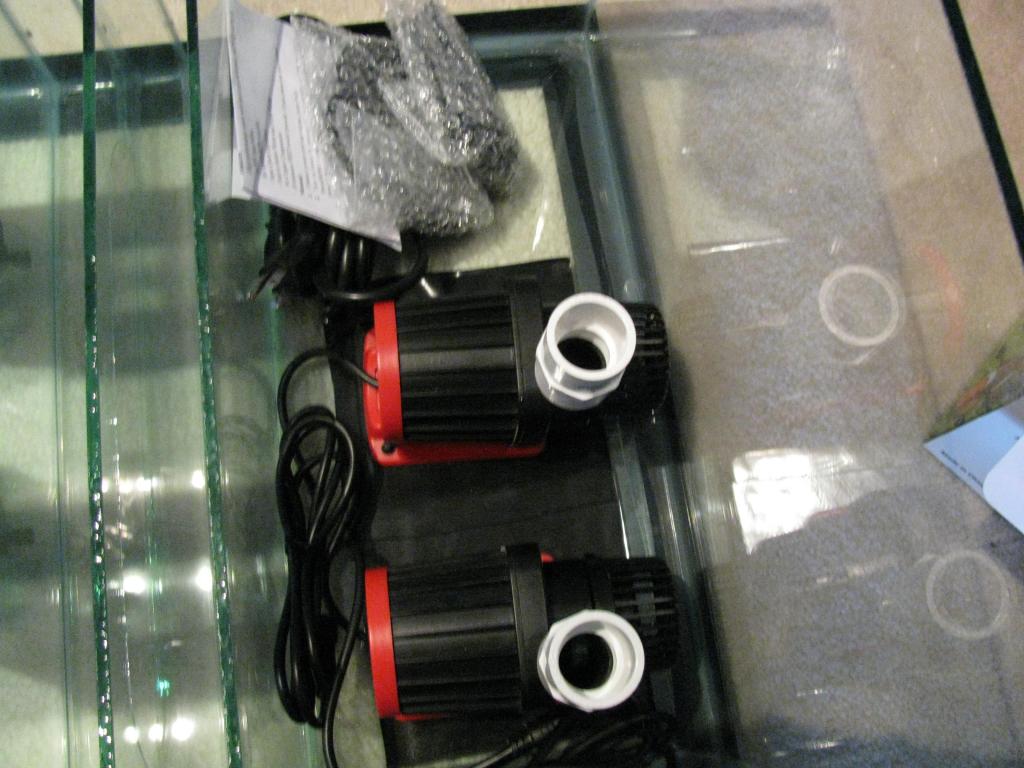
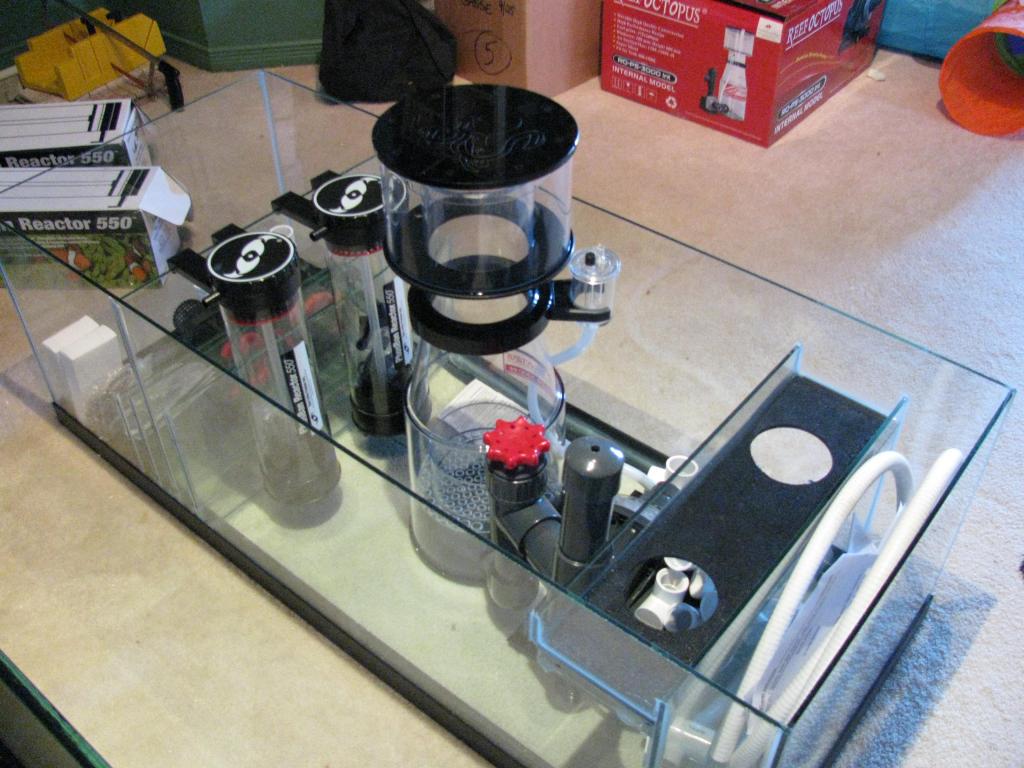
And the monster 150 G in perfect condition , i'm goin to work on the overflow and its easier like that and monday she'll be put on right side up on her stand. All the guys were looking at her overflow and the wavebox , pretty neat design. They loved the glued press resin wood panel on the bottom idea.


Photo010.jpg


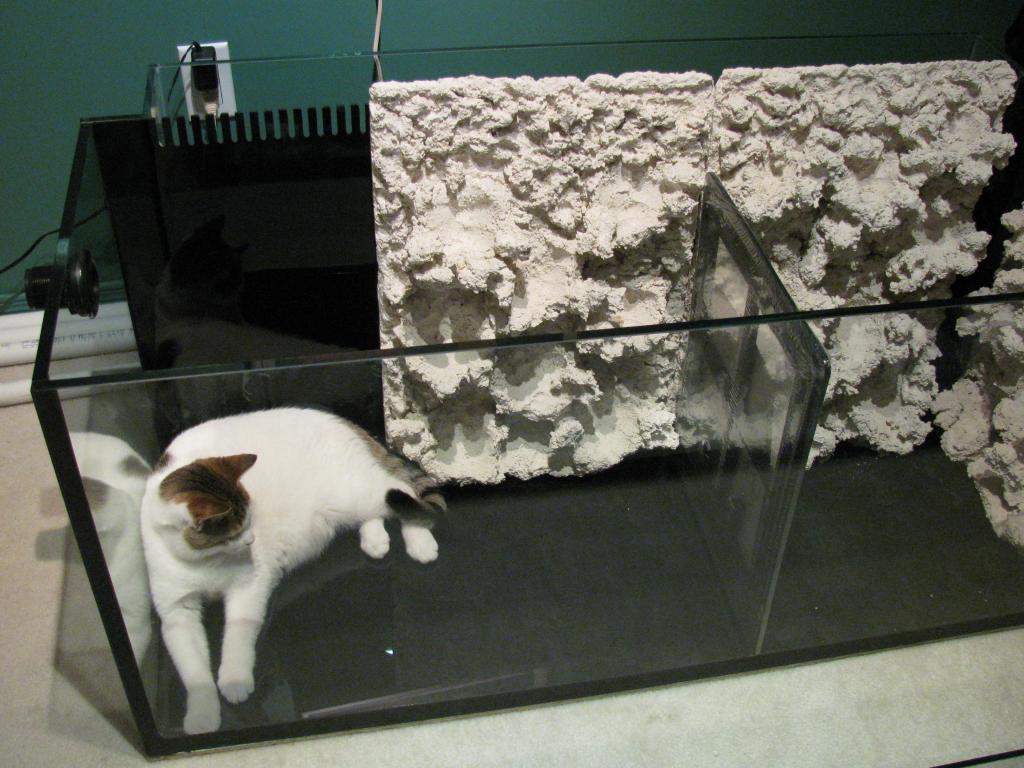
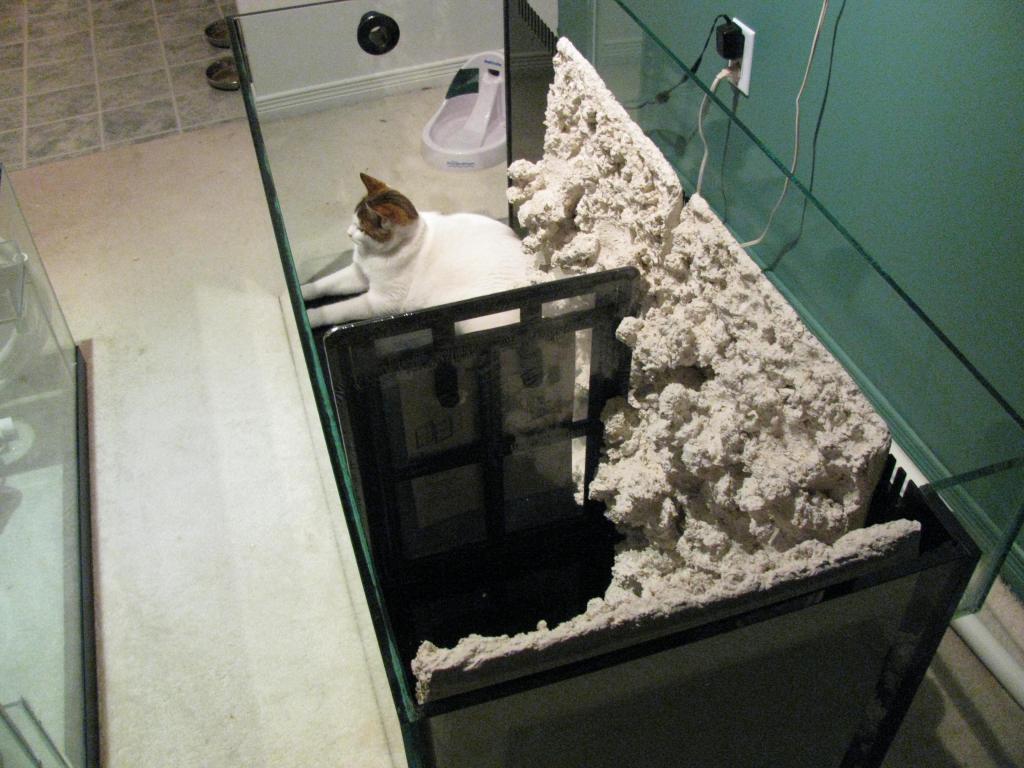
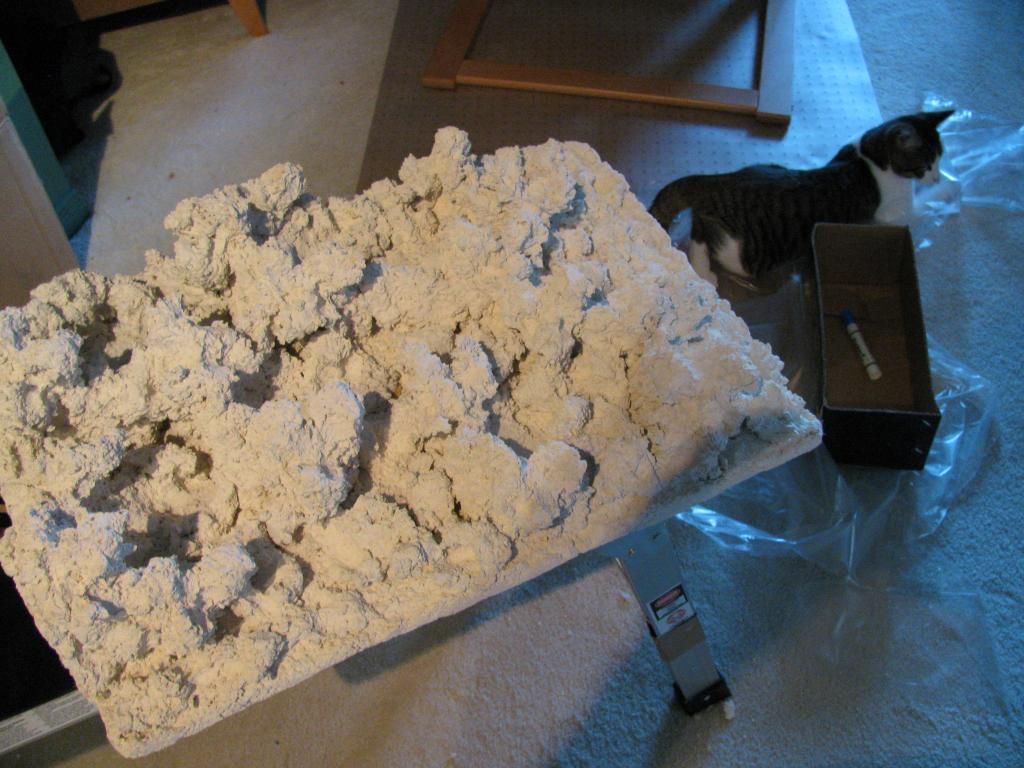
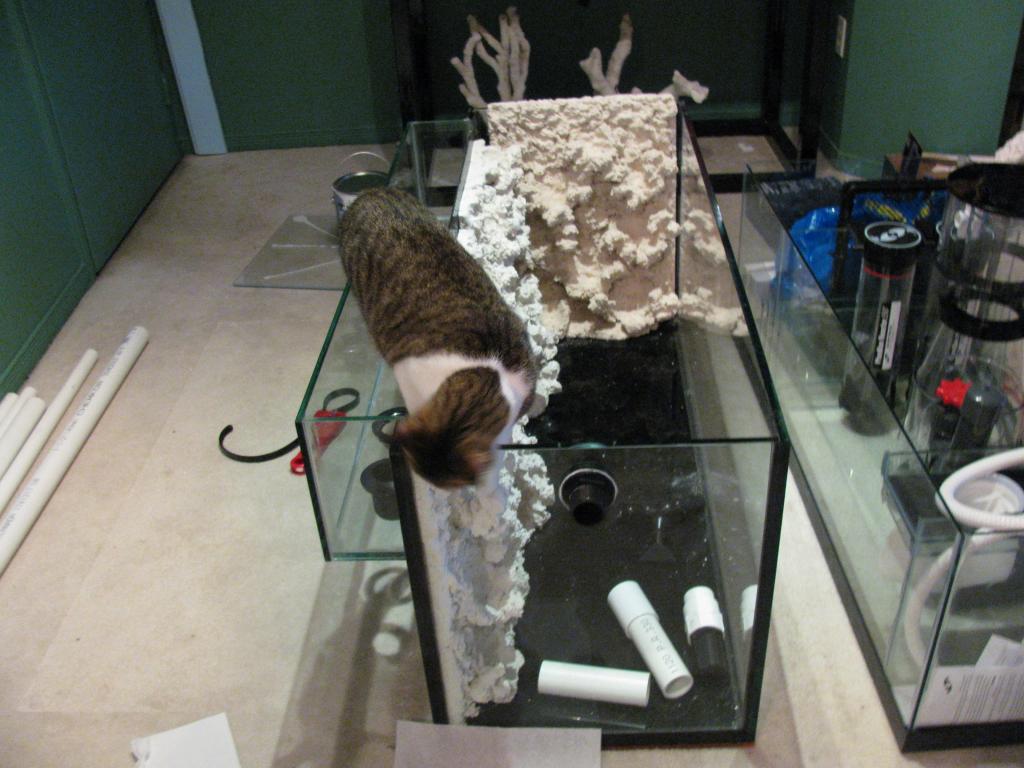
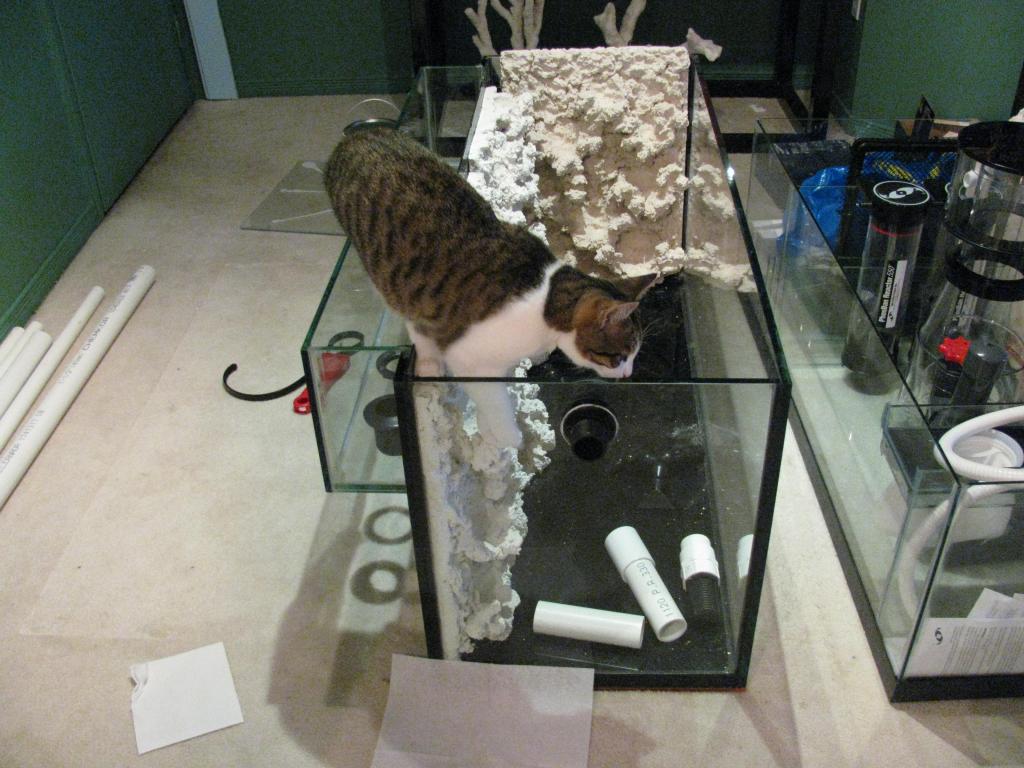
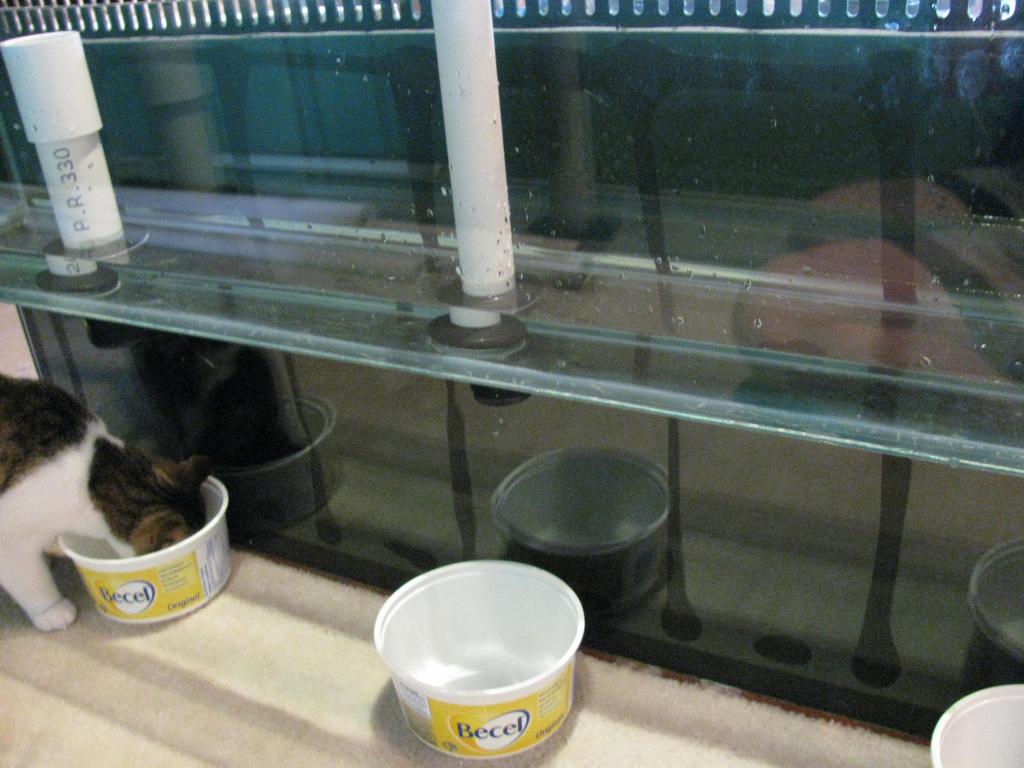
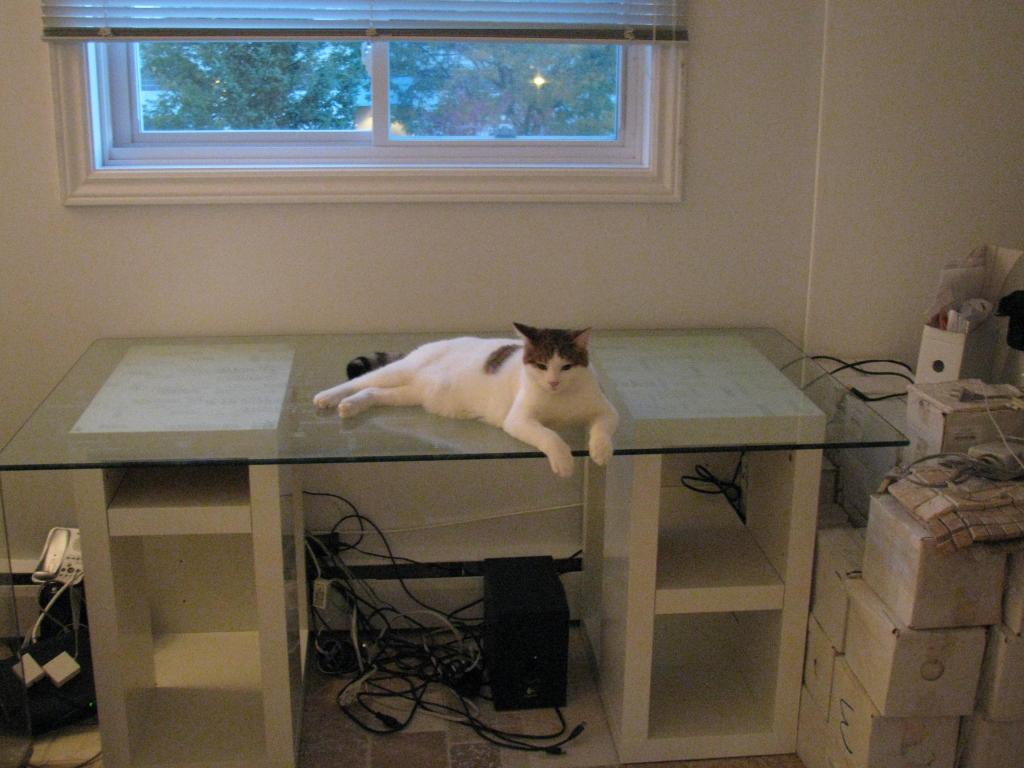
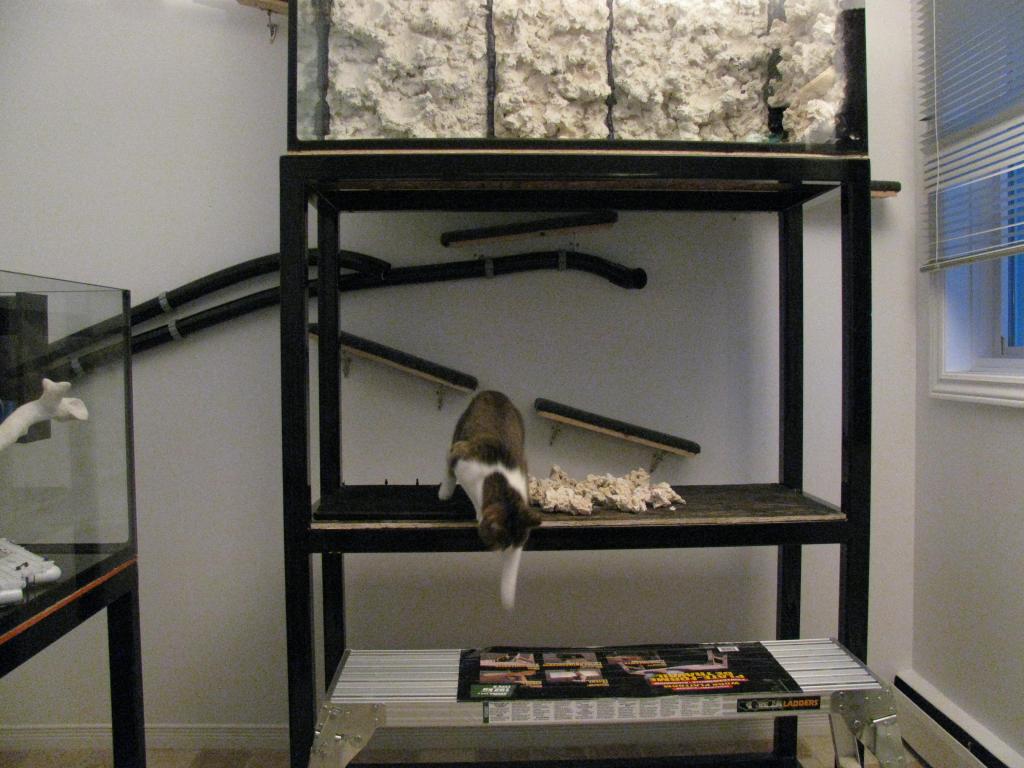
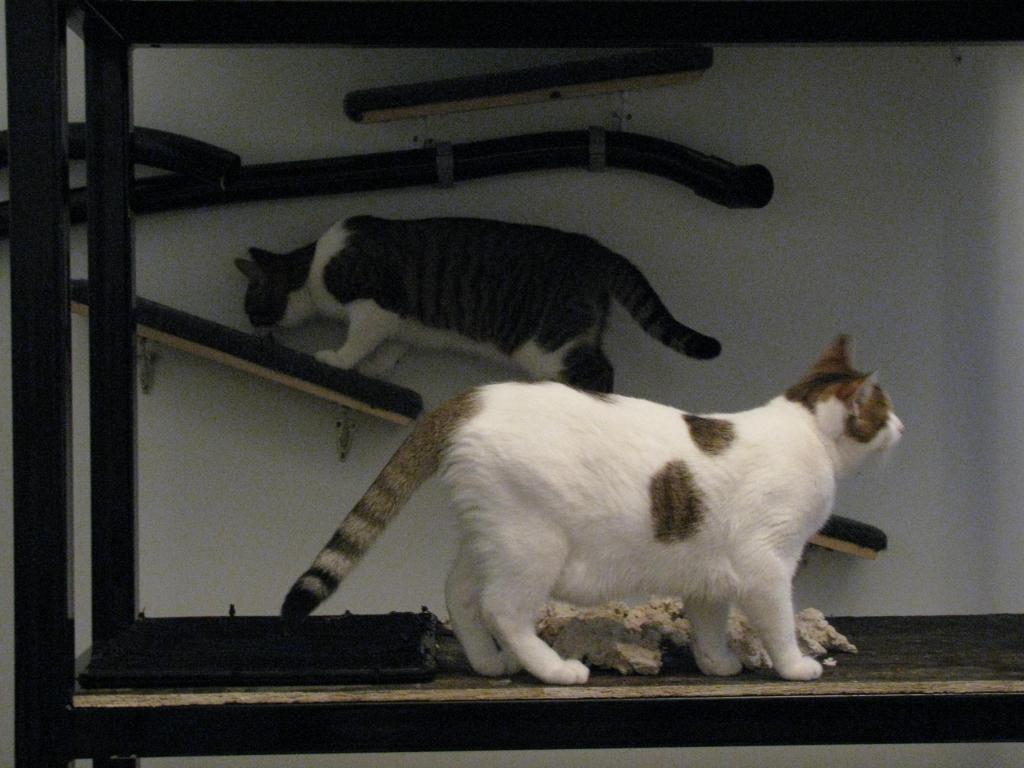
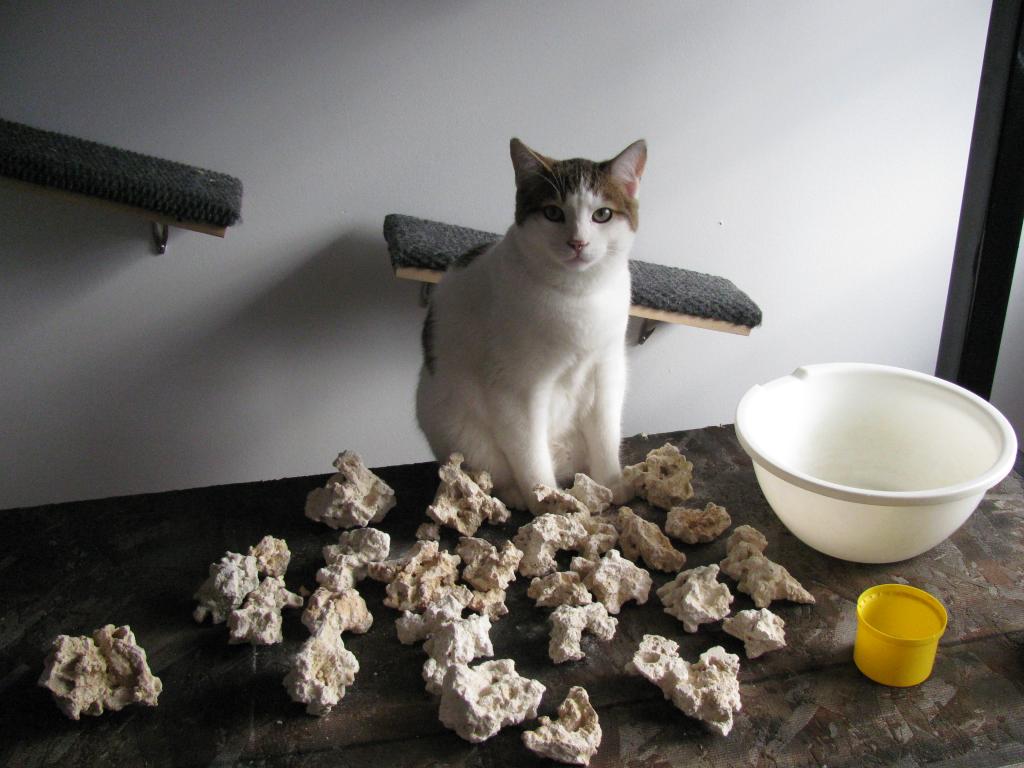
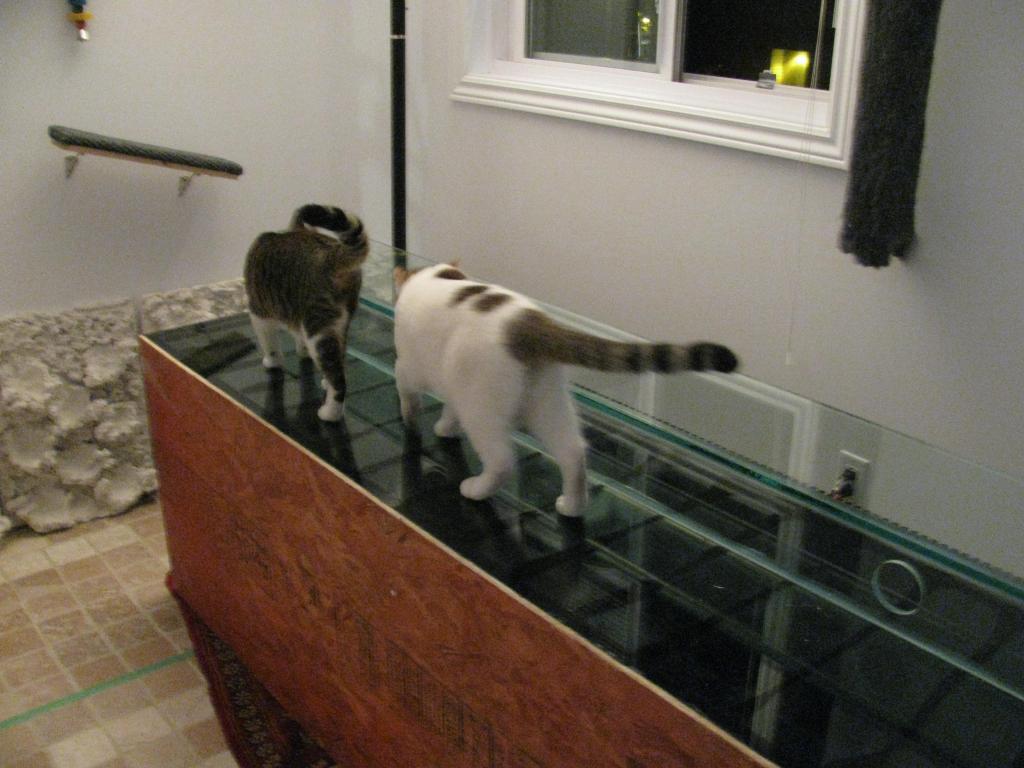
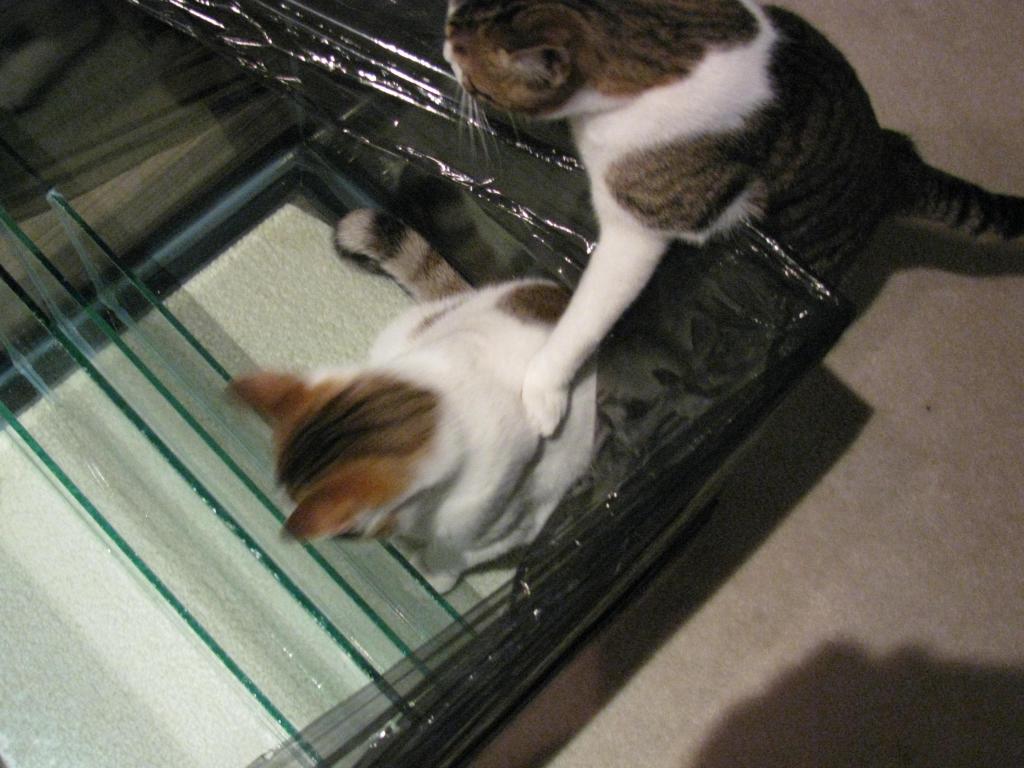
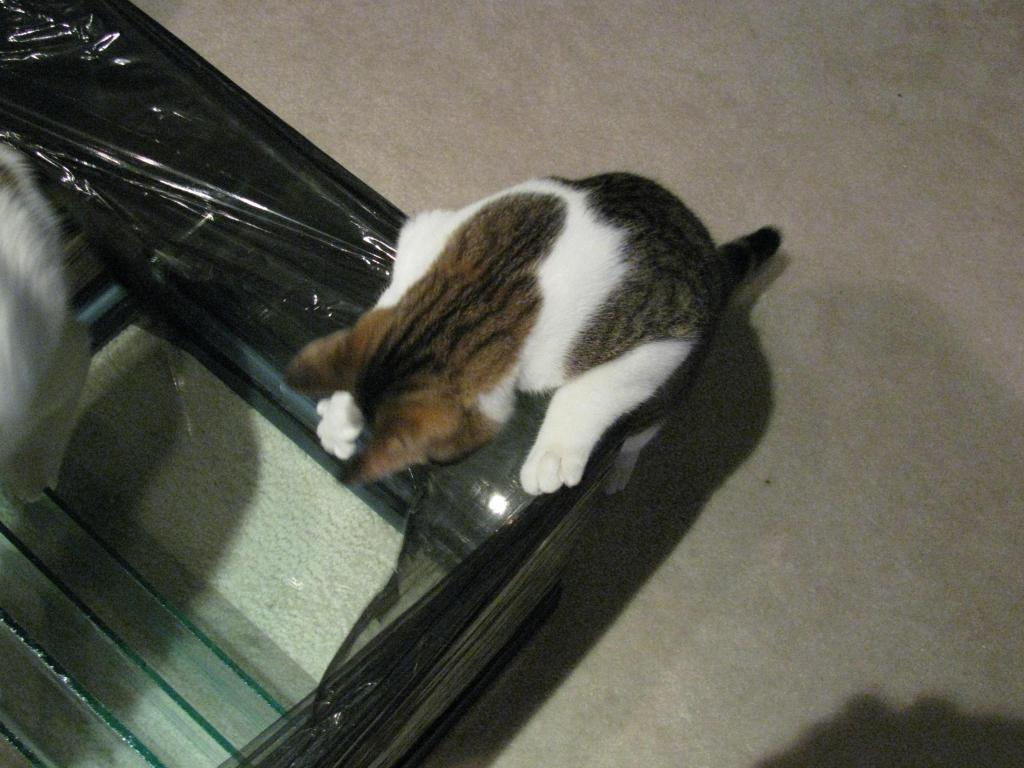
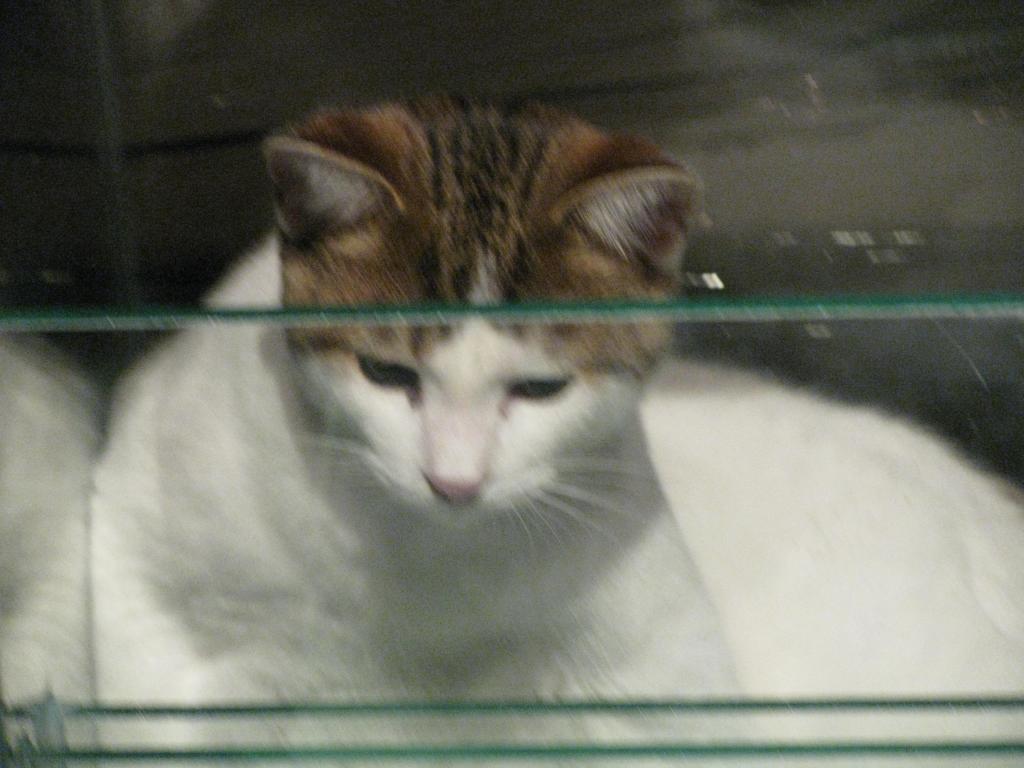
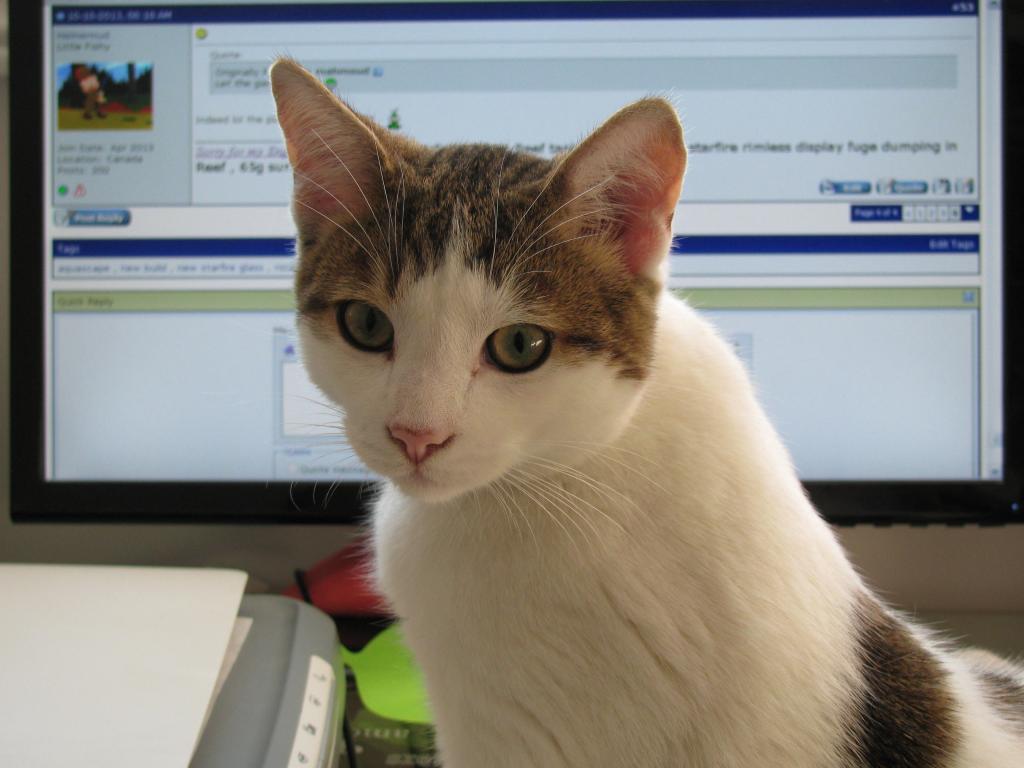
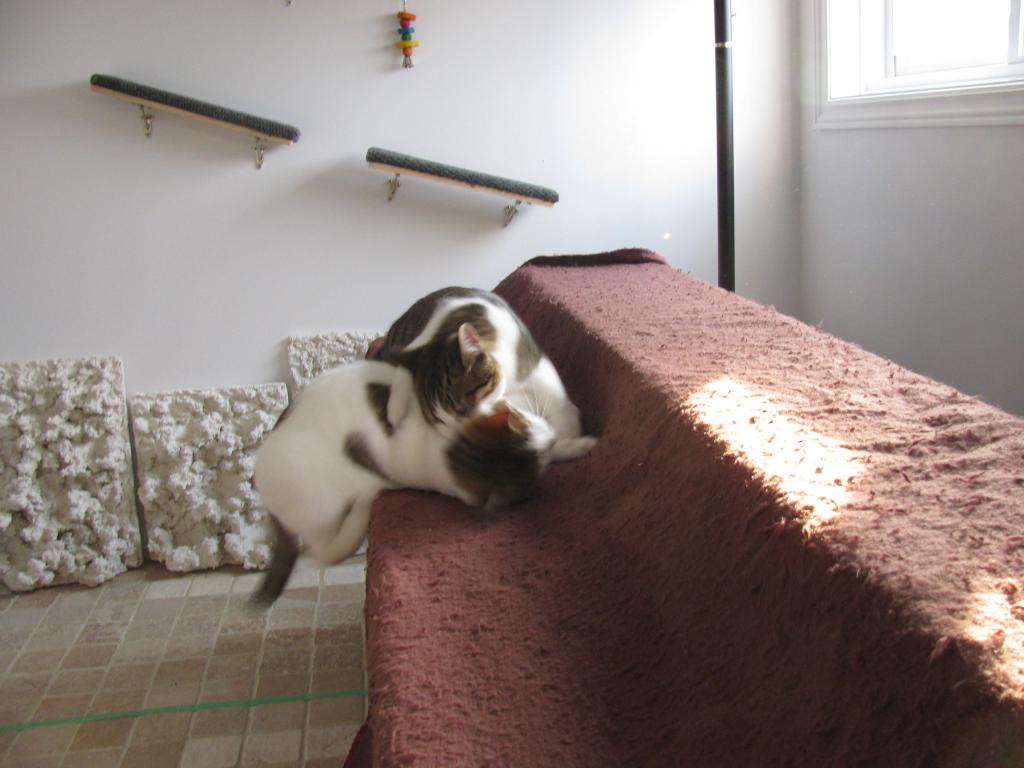
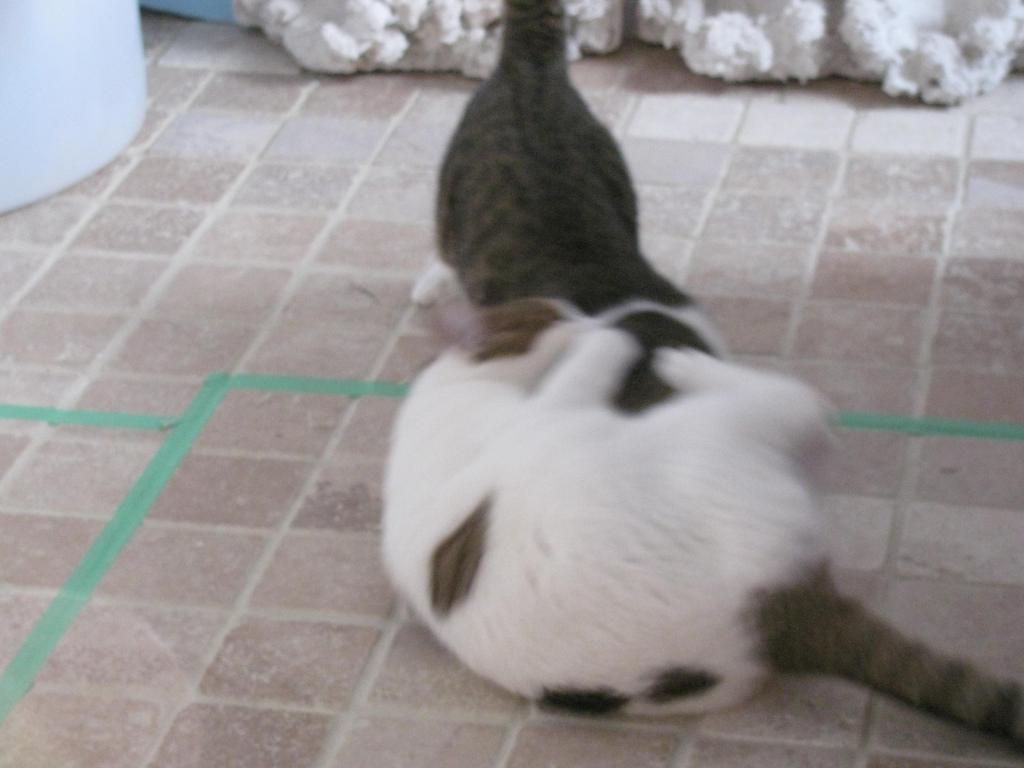
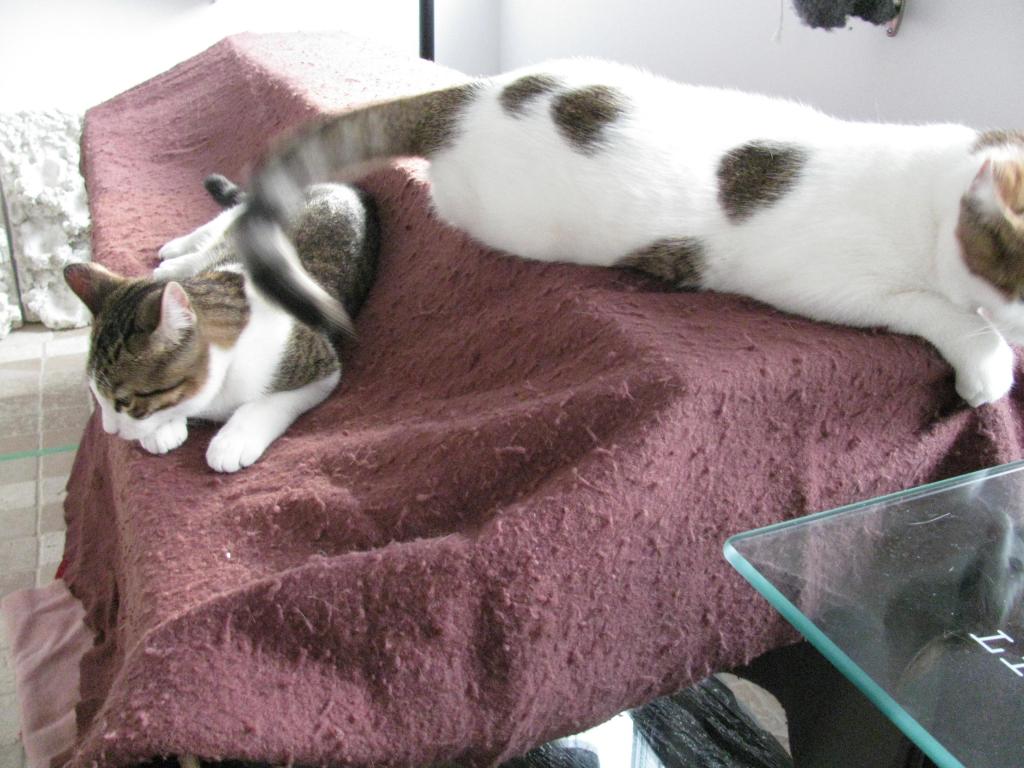
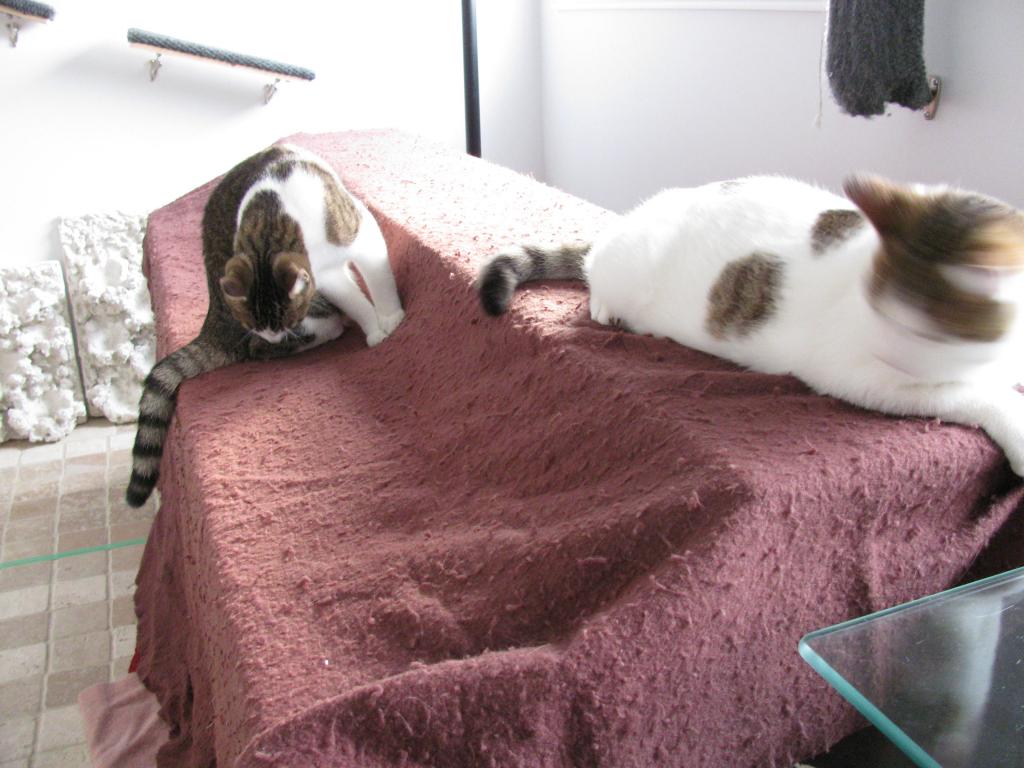
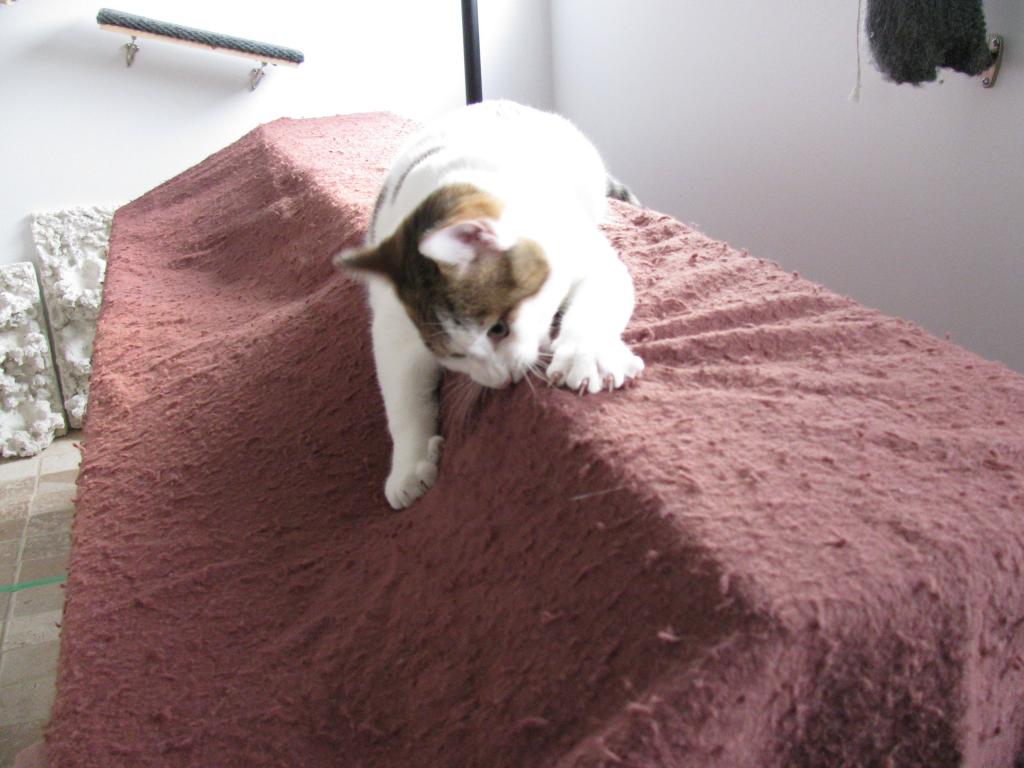
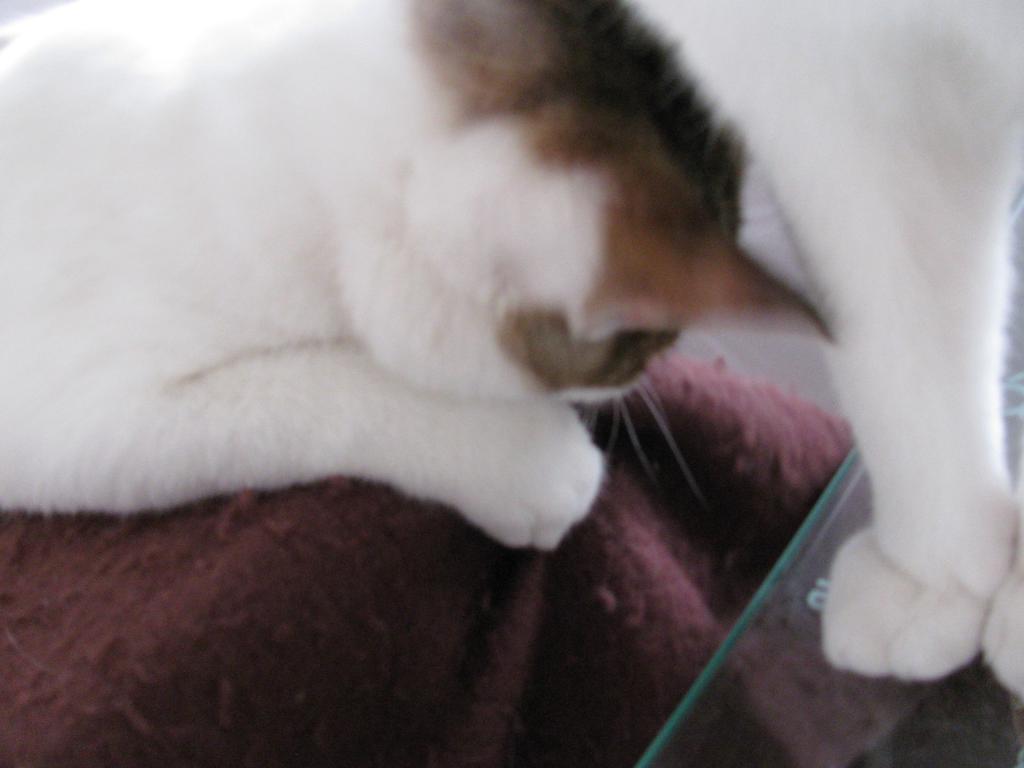
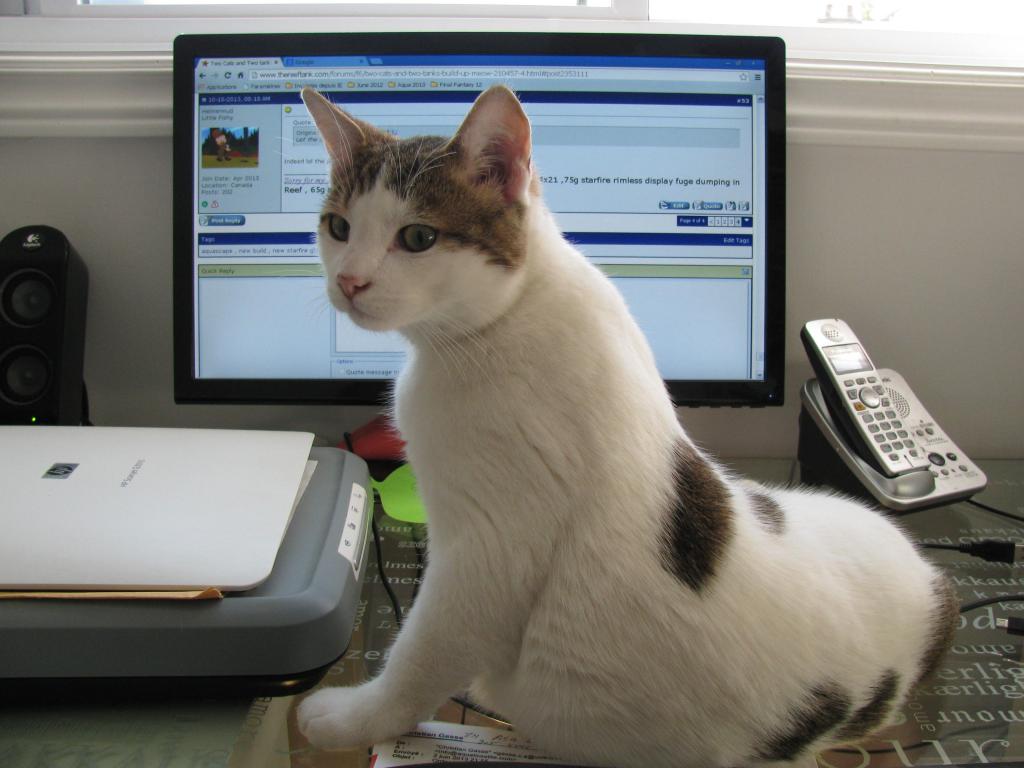
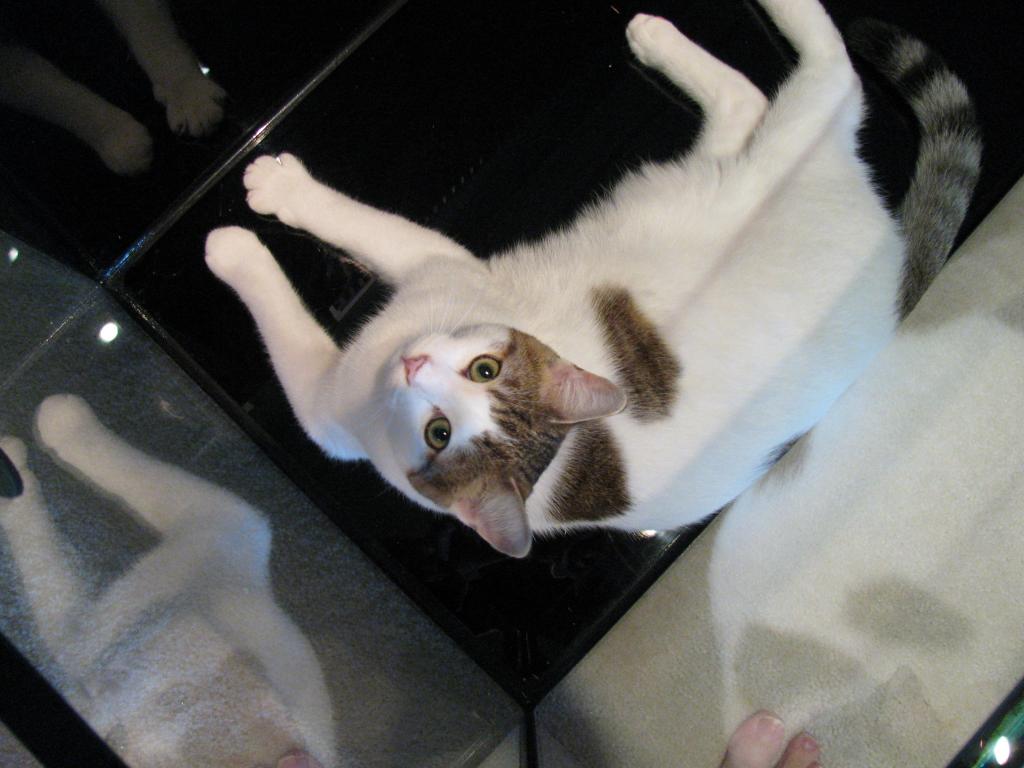
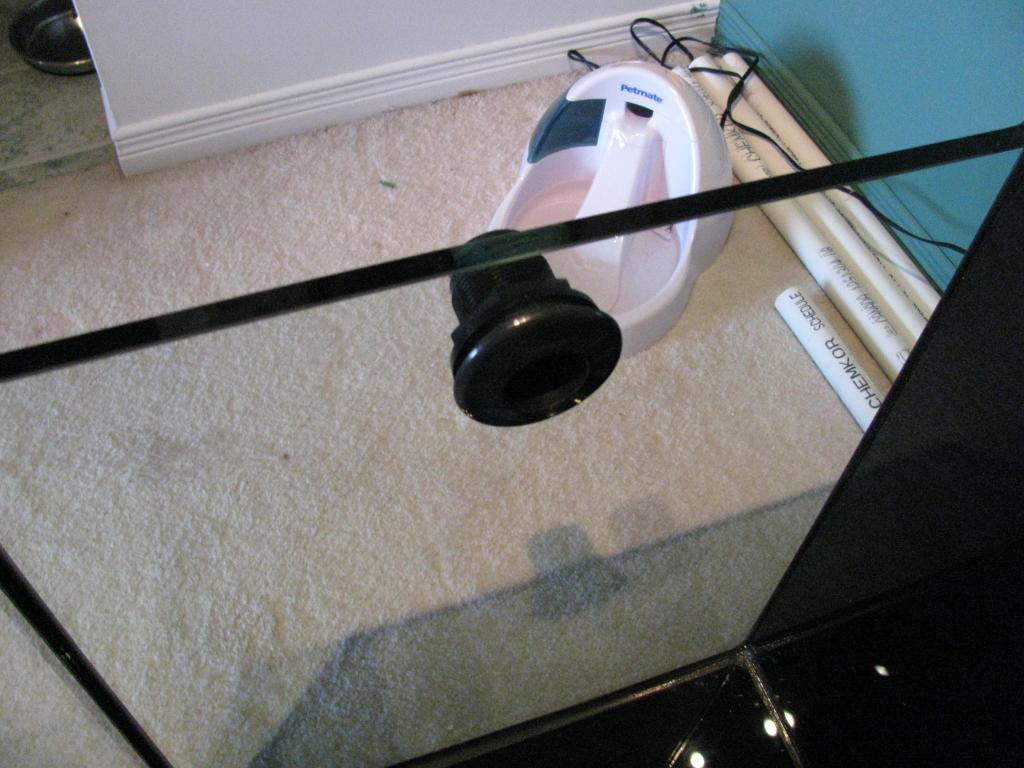
How can we forget Lulu and Theo, making their inspections


Photo011.jpg


Photo012.jpg


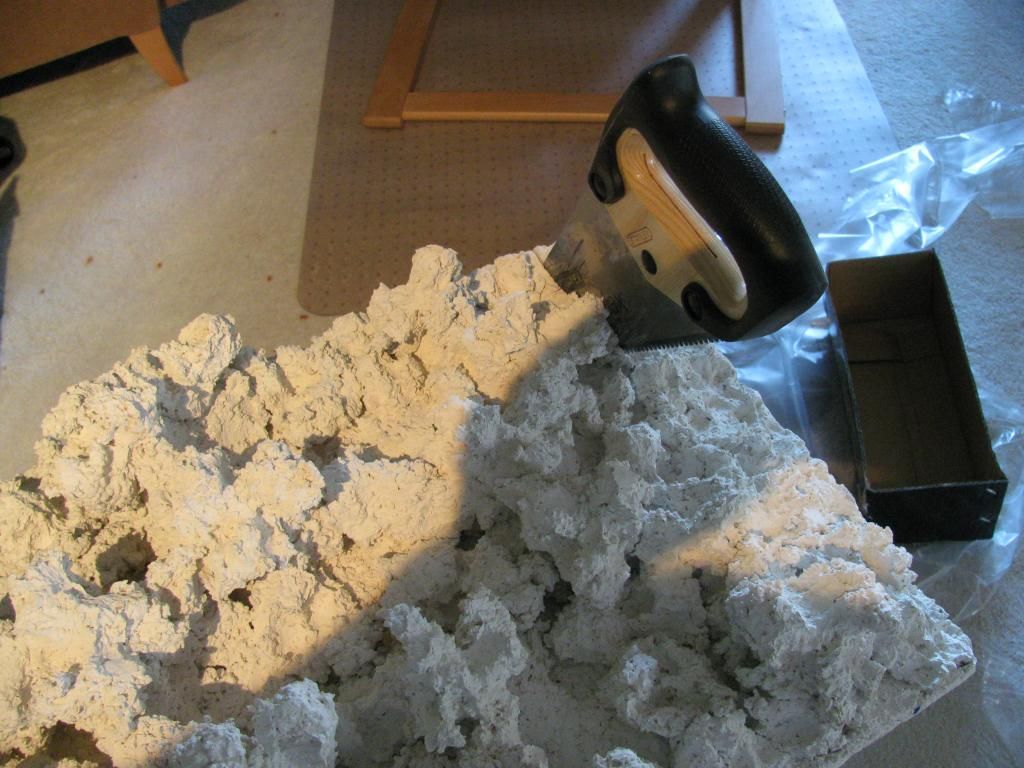
I'll have more and better pics later time for bed cheers!
 
OP
OP
basile

basile

Well-Known Member
View Badges
Joined
Oct 19, 2013
Messages
723
Reaction score
87
Location
Gatineau/Ottawa canada
Rating - 0%
0   0   0
The catwalk

The tanks will be sharing these guy's room along with my PC room so for those who missed the beginning here are Lulu and theo's catwalk


Lulu playing in the tanks, in the sump now, the return section; the next time it will be a little wet my friend!!!


Photo013.jpg


0fa985da-9ed0-486b-bd73-a6344d8753bc.jpg


4c5d4a05-0b71-43b3-bf57-be05fe5ca395.jpg


Completely baffled


Photo021.jpg


Lulu the computer expert


Photo012.jpg


Photo009.jpg


Photo010.jpg


I had to cover my tank they were leaving all sort of foot print on it! Now their battling it out who's going to be on top, lol often as brothers do.All the way to the floor


Photo027.jpg


Photo028-1.jpg


Peace time again


Photo024.jpg


Photo023.jpg


See what i mean see what he's doing he's bitting my tank, eating it, good thing i got the blanket, to protect it.


Photo026.jpg


Photo022.jpg


Hyppocrit! lol


Photo011.jpg


See you on the next catwalk
 
OP
OP
basile

basile

Well-Known Member
View Badges
Joined
Oct 19, 2013
Messages
723
Reaction score
87
Location
Gatineau/Ottawa canada
Rating - 0%
0   0   0
Playing with my toys

I know that grown ups are suppose to be mature, set example to younger generations, but with cool things like that who can resist? So played with MY TOYS!!!!!!!


Photo011-1.jpg


Photo012-1.jpg


Photo013.jpg


Photo014.jpg


It was already mesured , the stand at 28" left plenty of room for the foot print and the cup , but never assume anything in this hobby i've learned the hard way!


Photo015.jpg


I've heard so much about this monster, that i actually modified my sump for it.


Photo016.jpg


Photo017.jpg


Photo019.jpg


Photo019.jpg
 
OP
OP
basile

basile

Well-Known Member
View Badges
Joined
Oct 19, 2013
Messages
723
Reaction score
87
Location
Gatineau/Ottawa canada
Rating - 0%
0   0   0
Through research on the net i discover a material on the market that absorb 98% of vibrations and noise in any environement according to the manifacturer; Sorbothane. So i ordered some for my sump. It doesn't change unlike foam or plastic or other materials.


Photo021.jpg


Photo022.jpg


Photo024.jpg


Photo023.jpg


Photo026.jpg


A very well stocked sump


Photo027.jpg


My reactors for phosban and carbon


Photo028.jpg


The drains will dump in the first section on the left and fill it; it'll overflow into the socks and then go throught the skimmer and head to the return who'll split in two feeding the reactors and returning to the Reef tank. The second pump will send all the way to the refugium, on the other wall.See floor plan in the thread


Photo029.jpg


Remember earlyer i said i had to modify the sump because of the Bubble Master Skimmer. Its so proficient at making micro bubbles that some finds their way to the return pumps in system all over. So i had an extra baffle installed to prevent that, hopefully it will.


Photo030.jpg


The two return have lots of room, i can still put a third and even maybe a fourth pump.


Photo031.jpg


Guess who's comming to dinner?


Photo032.jpg


This is the feeding bulkhead to the Reef tank. Its about an inch under the water line to avoid skimming the junk and catching the good stuff for the reef. If the power fail; the lack of the return pump will stop the flow , as the "T" fitting at the bulkhead .


Photo036.jpg


The external coast to coast of the refugium with the 1.5" Herbie style system drain bulkheads and the 1" return bulkhead.


Photo037.jpg


One thing that i really resent from Octopus is the fact that we have to order seperatly that grey silencer at the end of the gate valve for $ 70, they should include it in the Skimmer box at $ 500 the skimmer, i wrote them about it in a negative way. You should too if you have one, it matters!!


Photo038.jpg


The 150 G overflow system bulkheads


Photo039.jpg


The 75G looks prestine out of its foam and plastic. As for the younger generation , they wouldn't have the money to play with such toys, lol......;)


Photo009-1.jpg
 
OP
OP
basile

basile

Well-Known Member
View Badges
Joined
Oct 19, 2013
Messages
723
Reaction score
87
Location
Gatineau/Ottawa canada
Rating - 0%
0   0   0
My wall

Trying out my wall and my separation as my refugium it will host seahorses on the left side and anglers on the right side.


They're a bit high so i'll have to cut them with a saw, its easy , but they're fragile it like chaulk.


Photo041.jpg


The reason their's a panel on the right side is the window right accross the tank and right at that level, so no sun light please.


9e2a2747-747c-44a5-8012-00d17a66460a.jpg


9bad5821-d4b5-487f-b8ae-25e1e61cc118.jpg


Your reading right , my sepeartion is a screen door for pets. i just have to put the nylon screen in cut the inside panel i don't need and the seperation is done and the water can flow easely between the two sides. even the shrimps can't cross over, just the pods. The instalation will require some rubbles and pond foam to secure everything no silicone on the glass no need. everything will be held from the bottom and the reer.


30eb498a-b2cf-42cb-9b81-5b4129fdca51.jpg


The angler doesn't needs much room they hardly swim this cube shape biotope will be perfect for it.


Photo047.jpg


All the panels will foamed around the edges to prevent water going in the back with detritus. I'll sealed them on all sides. In between rubbles will be added to blend the seems and the foam will be sanded with resin as well.
 

ShippD

Active Member
View Badges
Joined
Sep 25, 2013
Messages
305
Reaction score
0
Location
Irving,TX
Rating - 0%
0   0   0
Looking great yep cats love boxes and i agree 70 bucks for a end cap with a whole drilled in it a T and a small piece of pipe what the heck. My helpers are not scared of water so makes life fun gotta have covers on tanks around here or they go right in weird cats lol
 
OP
OP
basile

basile

Well-Known Member
View Badges
Joined
Oct 19, 2013
Messages
723
Reaction score
87
Location
Gatineau/Ottawa canada
Rating - 0%
0   0   0
Looking great yep cats love boxes and i agree 70 bucks for a end cap with a whole drilled in it a T and a small piece of pipe what the heck. My helpers are not scared of water so makes life fun gotta have covers on tanks around here or they go right in weird cats lol

LOL yes tell me about it lol :bigsmile:
 
OP
OP
basile

basile

Well-Known Member
View Badges
Joined
Oct 19, 2013
Messages
723
Reaction score
87
Location
Gatineau/Ottawa canada
Rating - 0%
0   0   0
The refugium separation

Well i've worked a bit on my tanks today and made my separation for my fuge.


Well i've worked on my separation, here it is. I've used gutter gard instead of window screen, bigger holes that won't clog as easy and will let the water flow more freely. Those holes shouldn't let any crabs or ordinairy snails through, although small shrimp which i'll avoid might, maybe, i said might squeeze through, but no big deal.


The frame opens up to trap the gutter gard between its sides, but since gutter gard is a bit thicker than ordinary screen i have to use Zip ties to hook it up and hold it tight on the sides and in the middle.


Photo001-3.jpg


Photo002-3.jpg


Zip ties are your friend in this Hobby, lol I did both directions to make a double mesh to prevent small shrimps and snail o go through , it took more ties.....


Photo003-3.jpg


Photo004-2.jpg


Photo005-2.jpg


Photo006-2.jpg


On the bottom, some rubble will be put to lift the gate a bit higher and foam will be applied to glue the hole thing on the bottom and on the reer panel as well. Rubble will also be used on the back panel to blend in the gate. Nothing will be put on the fron glass , it will all be held from the back and bottom, no need to smear my display glass.


Photo007-2.jpg


I still have the door of the frame. I can still make another separation for another tank.


Photo008-2.jpg


My Herbie drain with its strainer


ca9659cd-98b9-47a7-95a2-21fee3329c59.jpg


My emergency overflow


4c4a87ad-4bf4-414d-a80d-8c19ad482d96.jpg


My return , i haven't decided if i'm having a "T" going across , still debating that one.


6d38b11e-9d7c-4476-ae38-1941387c8e6f.jpg


Funny on this angle the drain looks higher than it actually is. Its actually much bellow the waterline of the 150G overflow box.


2830e93f-eaf1-432a-b3f8-0e645291965d.jpg


Same illusion here the emrgency drain on the 150 g looks higher than the wierd, lol its not.


Photo014-1.jpg


Thats my new stand for my sculpture, the old as been cracking up on all side the 60 lb structure is too heavy for it. So this new 1" pvc structure will be glued to it tomorrow with foam. Then it will rest on a plexiglass sheet at the bottom of the tank to spread the load evenly and not concentrated at the end of those four legs.


Photo016-1.jpg
 
OP
OP
basile

basile

Well-Known Member
View Badges
Joined
Oct 19, 2013
Messages
723
Reaction score
87
Location
Gatineau/Ottawa canada
Rating - 0%
0   0   0
Finally got them

I got them by George i got them!!! Delivered this morning and the janitor helped me , one went inthe elevator no problem, the other, in the dam stairwell, great....just great.... Beautiful finish powdered coated and that 2 " steel, its there for a long time.


The sump fits just flush my calculation was spot on. And so was my green lines lol as you can see. A foam will be put on the floor under the sump.I've already thought of a cover for the stand, easy , simple and beautiful.


Photo001-4.jpg


Two inch of steel powder coated; what a great finish.


Photo002-4.jpg


All the mesurements where on the lines.


Photo003-4.jpg


The refugium stand is on standby since the 150G is in its spot. I'm waiting for my guys to move it all this weekend. All the masks on the wall are form each country i visited


Photo004-3.jpg


The shelf will be the QT spot and stuff. Underneath a mixing station and maybe auto feeding fridg ; click the link, Reef Aquarium Refridgerated Auto Feeder DIY Dosing System - YouTube


Photo006-3.jpg


Some of my ceramic panels are a little too tall so i had to cut them. Easy with a saw, so you know its not cement , lol. Its more like chaulk, this type of ceramic is porous, its been made for are needs, by a company in Germany, who specialised in this.


Photo007-3.jpg


Photo008-3.jpg


This particular one was too wide to fit so cutting it lenght wise was necessary, and ...long......


Photo009-3.jpg


Photo010-2.jpg


Photo010-2.jpg


Photo013-1.jpg


Photo014-2.jpg


As you can see i'm way off in my cut; look at the little blue dot at the center bottom of the feet. Cutting ceramic heats up the blade and curves it and make you chage direction whether you want or not. So one of the best way is to start from the other side and try to reach your incomming cut.


Photo015-2.jpg


Photo016-2.jpg


It looks like their's lots of gaps but i need those to fill them with foam and seal the ceramic panels from water penetration behind the panels. The foam will surround all the panels and prevent detritus from accumulating in impossible spots.It'll also fix the panels permantly to the wall so nothing moves. As a note after moving those tanks and stands if i sell i sell with the tanks and stands, i'm not moving those ever again, yu can ask my chiropractor!


Photo017-1.jpg


Photo018.jpg


This is dilema for me; what do you think? The smaller pen will be for the anglers. Now should i put the angler near the feeding tube to the Reef for the pods to migrate in safety, or the other way around. What do you think, i'm asking, i'm not sure if it matters but i don't know everything, and maybe it does matter.


Photo020.jpg


Photo021-1.jpg


Or this way, the seahorses will be near the feeding pipe to the reef.


Photo023-1.jpg
 
OP
OP
basile

basile

Well-Known Member
View Badges
Joined
Oct 19, 2013
Messages
723
Reaction score
87
Location
Gatineau/Ottawa canada
Rating - 0%
0   0   0
Learn to laugh at yourself

Of course life can be so serious sometimes you have to let go and laugh at yourself. So here's one for you guys. Check my last post and look at the pictures with the stand and the mirrors. I took those shots early in the morning between my first coffee and waking up. Not being particularly awake and concient of the mirror behind the stand i took my pictures in my original, manly costume. Having only taking a few sip of the morning juice i proceeded to post on facebook my new stands. and went all morning to work on my project and other things. At noon i checked my facebook page and clicked the photopage and looked again at the pictures, in shock i see myself in the mirror in all its glory ; the ugliest fish in the room , all hairy and sagging from every sides ; a real jewel of the sea to be sure. The moral don't be a morron like me and take pictures when your half awake and most importantly posting them right away, and know when their's a mirror in the room , specially your own stupid mirror.


Here's the joke of the day folks.
 
OP
OP
basile

basile

Well-Known Member
View Badges
Joined
Oct 19, 2013
Messages
723
Reaction score
87
Location
Gatineau/Ottawa canada
Rating - 0%
0   0   0
The Borg assimiilation

Well time to progress at last i've got all my parts, finally i can go ahead. As you can see, it looks like the Borgs have taken over.... with their black pipes and tubings everywhere, on the floor and the walls. Since the stands, my PC desk are black, why not the give the mad scientist look, the Borg touch, so the UltraFlex i ordered and the fittings are black as well minus the exceptions i couldn't find , lol. Am i obsess with Star Trek, Noooooo just going with it, lol.


Photo019-2.jpg


The bags contains wall clamps for the Flex, you screw the clamp in the wall push the Flex in voila, fasten end of story one every foot or every 6" in sensitive area and your done. I use special nails because of the vibration these tubes will generate and a piece of the Sorbothane pads for isolation from vibration on the walls.


Photo018-1.jpg


Photo026-1.jpg


Photo027-1.jpg


Markers; thats where the bulkheads will be in front of the catwalk.


Photo020-1.jpg


Photo021-2.jpg


Very handy thing to tighten your bulkheads 1/4 turn after hand tight, $10 at walmart.


Photo022-1.jpg


You put a layer of this when installing your bulkhead, always on the otherside of the glass and the gasket otherwise they'll compete with each other.


Photo023-2.jpg


They're never far......


Photo024-1.jpg


Photo025.jpg


Photo028-1.jpg
 
OP
OP
basile

basile

Well-Known Member
View Badges
Joined
Oct 19, 2013
Messages
723
Reaction score
87
Location
Gatineau/Ottawa canada
Rating - 0%
0   0   0
Time line

Before the tank goes up 7 feet in the air might as well test it for leaks


Photo006-4.jpg


Yes Theo was testing the water


Photo007-4.jpg


No i'm not cooking dinner this is a little trick for your Flex tubing or spa Flex boiled water


Photo008-4.jpg


Add some hot water in the tub before, then add your boiling water.


Photo010-3.jpg


It wont become like super soft but a bit more manageable


Photo011-3.jpg


Photo014-3.jpg


Photo016-3.jpg


Photo017-2.jpg


Yes i have a scaffold to go up there...the cats have their private staircase and private box in the back lol. A plan to put a plexiglass hooked on the steel frame to prevent the feline to hop on the razors LED's.


Photo023-3.jpg


One of the sculpture, almost finished, wanted to see the positioning. I've explained this earlier, its important to have your tank to do your sculpture because you can juge your scale. I did mine without. Sure enough i have to change the orientation of this one. One of the arm of the sculpture was too long to fit properly so i have to turn it now. not exactly the position i wanted. It still work but, flow wise i could be in trouble, we'll see.


Photo024-2.jpg


The eggcrate will be under the sand amd still have to hide the foam with resin and sand and trim a bit of the crate, almost finish. The right arm of the right scupture was the problem. too long to put towards the front.


Photo025-1.jpg


This is where the second scupture will be with the stalactite facing left.


Photo028-2.jpg


As you can see i've got rid of the white towers, they didn't match the Borg looks, lol, more stream line too.


Photo029-1.jpg


Now i had to face this guy to get rid of those two towers. The Lord of the Room!


Photo019-3.jpg


Because i had to change the orientation, see my sculpture is now in the wavebox line of fire. It wasn't before. It'll still work but i rather it wasn't there.


Photo030-1.jpg


The Refugium will be feeding the 150G Reef tank and will be on a reverse photoperiod hopefully the proximity wont be an issue.


Photo031-1.jpg


The entrace to the room and the new cleaner look with the new desk


Photo032-1.jpg


A usefull tool for both my tanks, $ 40 at lowes


Photo033-1.jpg


A setback , my sump is 20" wide the stand for the 150 is 20" wide but the sump has a 2mm trim , bummer we are working on the problem don't blow a gasket.......


Photo034-1.jpg


The sculpture on the left will have some of its extremeties out of the water, and on the right the sculpture had her right arm too long to put her front and center hence the position change.


Photo036-1.jpg


Plenty of room for the second sculpture.


Photo036-1.jpg


Oh yes their's a back wall to put in too another DELAY....LOL......
 
OP
OP
basile

basile

Well-Known Member
View Badges
Joined
Oct 19, 2013
Messages
723
Reaction score
87
Location
Gatineau/Ottawa canada
Rating - 0%
0   0   0
Concept Aquariums from Calgary the best service you can ask for.

I phone Concept Aquariums today about my problem with the sump size, and they suggested to take the trim off with a utility knife all around which will take a few milimeters off each sides of the sump, which is exactly what was missing, or should i say was in surplus. So it should fit now and if it doesn't they'll make me a new one, how's that for service. No worries.::dance::banana::beer:
 
OP
OP
basile

basile

Well-Known Member
View Badges
Joined
Oct 19, 2013
Messages
723
Reaction score
87
Location
Gatineau/Ottawa canada
Rating - 0%
0   0   0
Foaming time

Well yesterday i did a bit of foaming in the fuge i foamed my wall . I place temporarely my wall in my main tank to see what cut i would have to make. I say temporarely because we have to move that pig again to be able to slide my sump back into position again. Oh dear...... Anyway it looks nice .


I'll foam those in after the sump is put in.


Photo008-5.jpg


I'll be putting resin and sanding the foam on the sculpure today 2 inch of sand will cover the eggcrate making my Tonga branch stand alone.


Photo010-4.jpg


If you use any foam Acetone will clean out the spout very well and you can use your can and spout again and again. That stuff really strong .It also very good to clean your hands


Photo011-4.jpg


Photo012-3.jpg


The foam will be sand today and will be blend in. I don't want dirty water to be trapped behind those panels.


Photo014-4.jpg


Photo015-3.jpg


Photo016-4.jpg


The foamed worked well it went right where i wanted and is blocking any entry spot.


Photo018-2.jpg


Photo019-4.jpg


Photo021-3.jpg


A nice blade will get rid of the smudge.


Photo022-2.jpg


Smelly cat, smelly cat, or is it soft kitty?


Photo031-2.jpg


Photo030-2.jpg


Photo028-3.jpg


Cat alley......behind the scenes


Photo023-4.jpg


They shouldnt mess with the plumbing right????


Photo024-3.jpg


Thats how thick those stands are


Photo025-2.jpg


What a line up!The 150 G backwall


Photo027-2.jpg


Inside the $20 external glass Wavebox, i just bought the Tunze pump and voila. I bought the sponge too to house the pump.


Photo026-2.jpg


The top of the panel will be siliconed on this one because foam swells too much . I don't want the foam blocking my teeth.


Photo020-2.jpg
 
OP
OP
basile

basile

Well-Known Member
View Badges
Joined
Oct 19, 2013
Messages
723
Reaction score
87
Location
Gatineau/Ottawa canada
Rating - 0%
0   0   0
Foaming time

A lurker....


Photo013-2.jpg


The next step is to foam in the seperation with rubbles and blend in the foam and rubble with resin and sand.Thats today; Foam and rubbles will help make and secure the screen. I thought that i wouldn't need silicone on the front glass, that it would be tight enough. WRONG i'll have to put silicone after all. Can't win every time .


Photo007-5.jpg


On the left side will be the anglers, they don't need much swimming room they rather "walk" and stalk their prey. The right side will be the seahorses territory. The extreme right panel prevent the light from the window to go in the tank.


Photo006-5.jpg


Before foaming i made sure that every panel was flush with the glass. As you can see they are very flat.


Photo005-3.jpg


Photo004-4.jpg


The bottom are also very flat and smooth


Photo002-5.jpg


The rubbles for the screen


Photo001-5.jpg
 
OP
OP
basile

basile

Well-Known Member
View Badges
Joined
Oct 19, 2013
Messages
723
Reaction score
87
Location
Gatineau/Ottawa canada
Rating - 0%
0   0   0
Finishing the Refugium

Ok well today was finishing the refugium decor, backwall , the separation and the substrates.


So i chose some rubbles to put in the larger openings and gaps between the separation and the ceramic panel, and then applied the foam.


Photo013-3.jpg


Photo014-5.jpg


I applied foam on both sides to make sure shrimps the smallest of the critters wouldn't cross over and be eaten by the anglers.


Photo015-4.jpg


Photo016-5.jpg


Now i didn't apply foam in the bottom like i intended to do because 3 inch of sand would help hold this as well. I just put rubbles to help lift the screen in place while the foam cures. after that i'll silicone the front edge to the front glass panel. I thought i wouldn't have too, but i have too.Their's a gap and i have to fill it.


Photo017-4.jpg


Thats the silicone i used on top of the panels not block the teeth with foam, the same will be done for the screen.


Photo018-3.jpg


Photo019-5.jpg


I have 2 gallons of mud in the tank with the sand on top on one side, and on the other side its a bit mixed. The sand is Tropic Eden Tonga Reef Flakes and Tonga Reef mini-Flakes 2-1 ratio. I use mud for medicinal reason and nothing else, i still do my water changes , i do my own miracles......


Photo020-3.jpg


Photo021-4.jpg


Photo022-3.jpg


Photo023-5.jpg


The Anglers pen , 30 G


Photo024-4.jpg


The seahorses pen 45 G


Photo025-3.jpg


Photo026-3.jpg


Oh yes i forgot i sanded my sculpture


Photo001-6.jpg


I'll probably do a second coating


Photo002-6.jpg


Photo003-6.jpg


Don't forget to clean your spout with acetone to be able to reuse it


Photo006-6.jpg


Photo007-6.jpg


Photo008-6.jpg


Photo009-5.jpg
 
OP
OP
basile

basile

Well-Known Member
View Badges
Joined
Oct 19, 2013
Messages
723
Reaction score
87
Location
Gatineau/Ottawa canada
Rating - 0%
0   0   0
They're instances where i don't or wont do it. Like for my second sculpture, i wont. Because she'll be totally covered with zoa on one and by green star polyps on the other, so their's no need , in either case. The softies will take over quite quickly. In between the ceramic panel will depends if it will be taken over fast or if any creature can or will be a danger to the foam itself. The sea urchin is known to eat it. So a coating of resin and sand would stop that. But in the refugium i wont put an urchin cause it will eat all my Macro-Algae, and with all the algae present the foam will be hidden pretty quickly. That may change in the reef tank though....
 

Form or function: Do you consider your rock work to be art or the platform for your coral?

  • Primarily art focused.

    Votes: 18 7.8%
  • Primarily a platform for coral.

    Votes: 40 17.4%
  • A bit of each - both art and a platform.

    Votes: 155 67.4%
  • Neither.

    Votes: 11 4.8%
  • Other.

    Votes: 6 2.6%
Back
Top