
If you put a acrylic shield on there, it will do a better job and keeping the endcaps and ballests cool, at least in theory.
If you can get a hold of one, get a aqua science 22k bulb.
If you can get a hold of one, get a aqua science 22k bulb.
Follow along with the video below to see how to install our site as a web app on your home screen.
Note: This feature may not be available in some browsers.


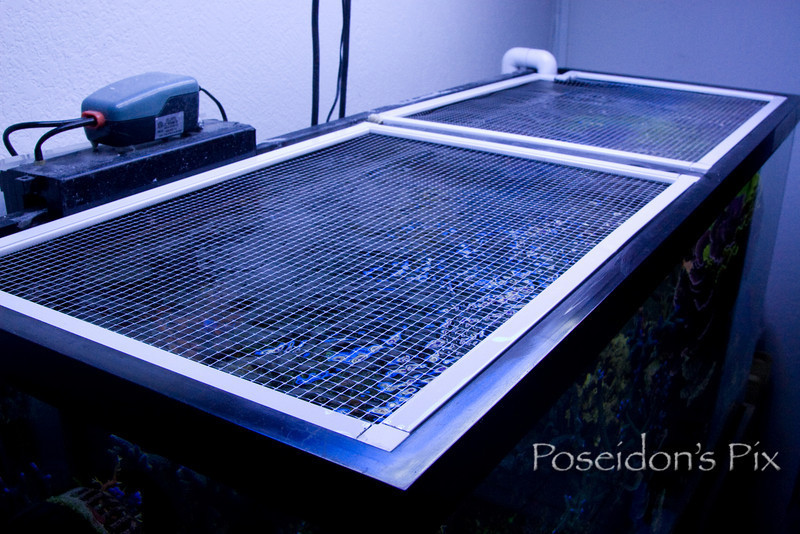
That fixture is dead sexy. Nice job man. Where'd you get the SS sheet at?
that is awesome. what size tank is that? looks like a 75 but I don't know
Mike, I had an idea for helping to reduce the amount of lost light from the sides. Why don't you make a metal lip to cover up the plastic rim on the tank, it could just rest on the corners. Not only will it match the canopy but it'll help bring it all together I think. I can show you what I mean when I swing by this weekend.


Yeah Very Nice! You know what would go good with that light?
A matching stand LOL!
Oh and Junior is right the Aqua Science Bulbs are my favorite especially the 22k!

thats exactly what i said...lets see a aluminum facia for the thing!
I like everything about your setup. I even like that sump setup. I just don't have a room I could set one up like that in even in the new house. That is a sweet tank and the light system looks awesome.
Question, how did you power the fans?


