A Plan Is Born:
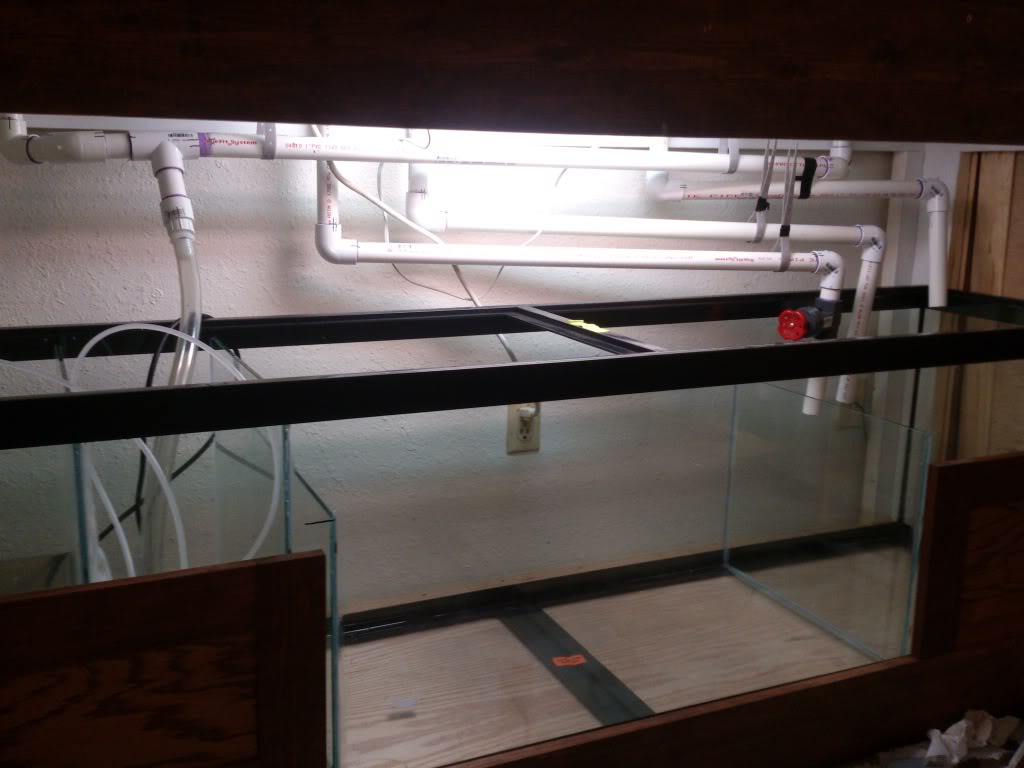
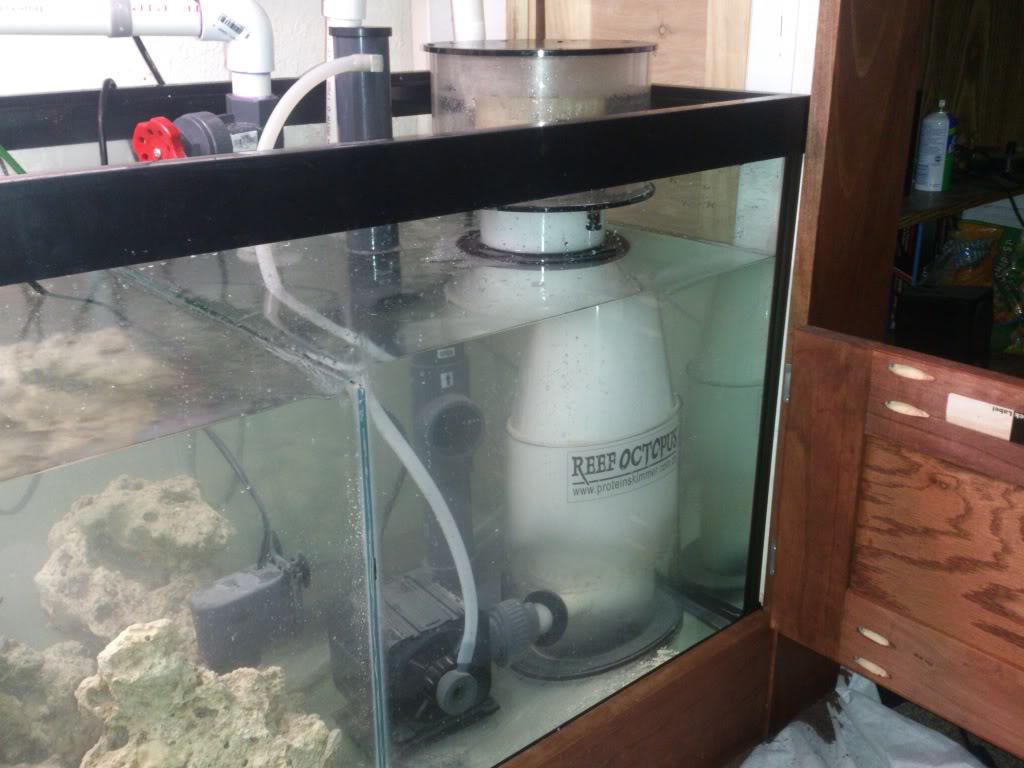
The original idea for my tank build started out when I decided I liked the idea of having a sump to stick my equipment in. The guy I bought my first saltwater tank, a 55 gallon setup, from did not have one on it. I very quickly ran into issues with putting a sump in as the inside of the stand was split in the middle vertically. I decided this would mean a custom acryllic sump built into the stand on both sides, and joined via bulkheads, by drilling through the middle of the stand.
Then I remembered my 55 gallon tank in the garage! So plans started to form on a 55 gallon DT over a 55 gallon sump/refugium.
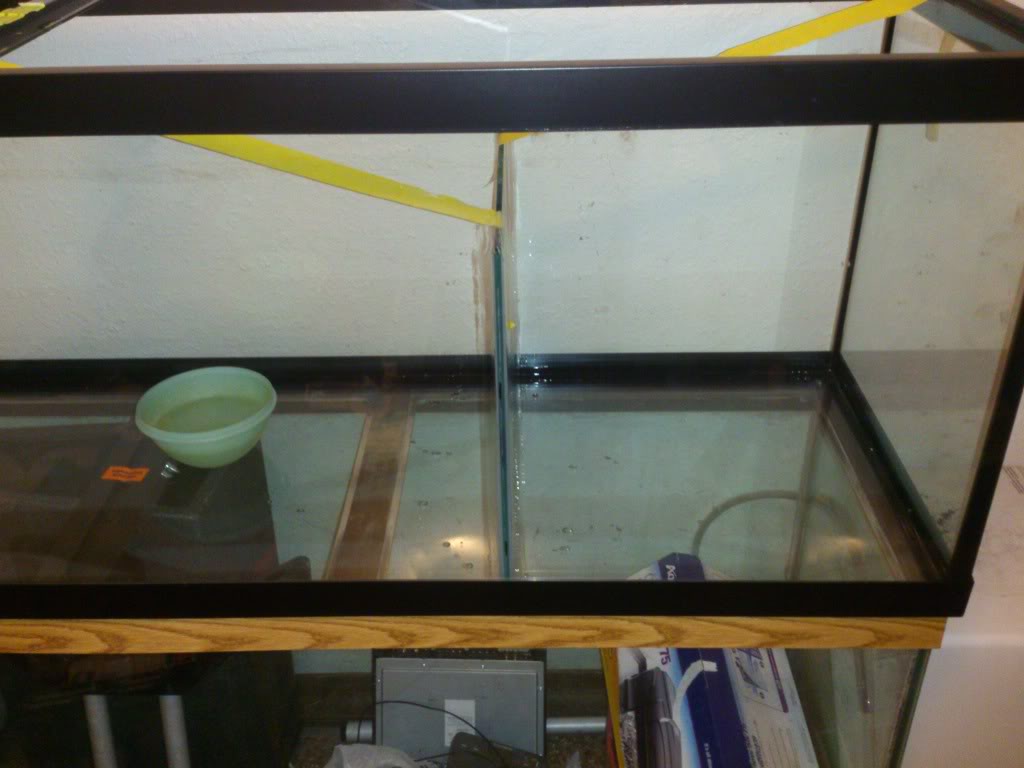
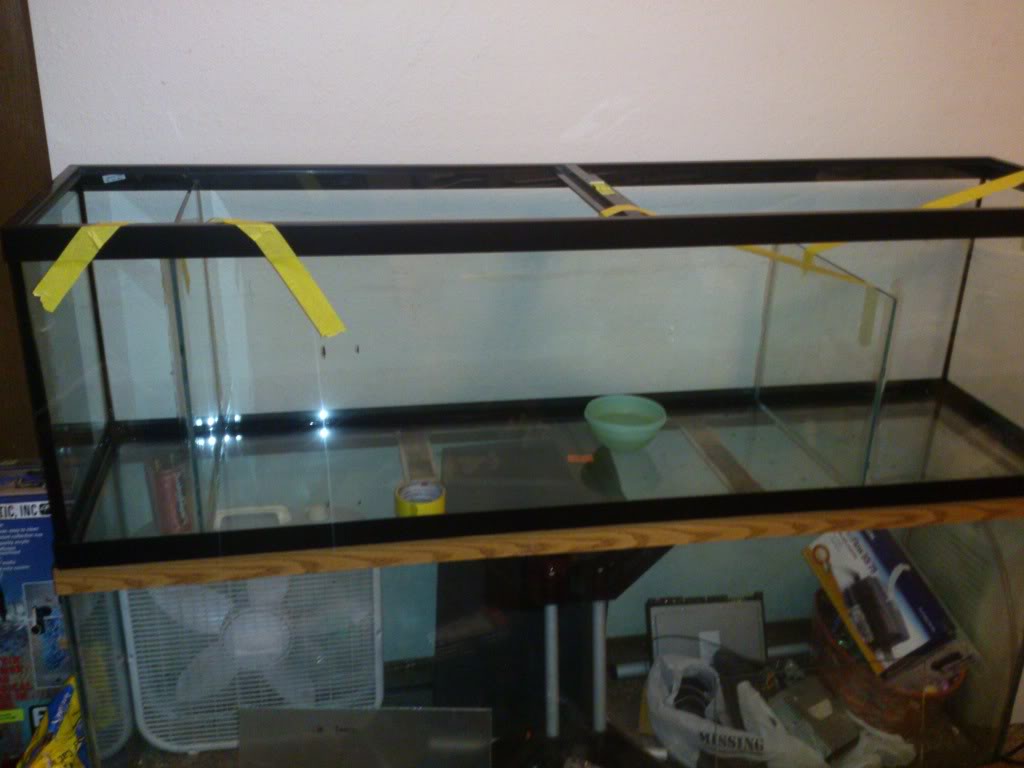
In the meantime, I wanted to add some livestock to the tank as it only came with one small clownfish. A lot of what I liked, I found my tank to be too small for so I began toying around with the idea of having a 125 gallon DT, still with the 55 gallon sump... Until I saw a 125 gallon sump/fuge.
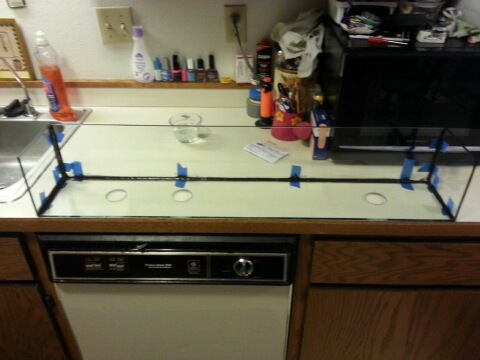
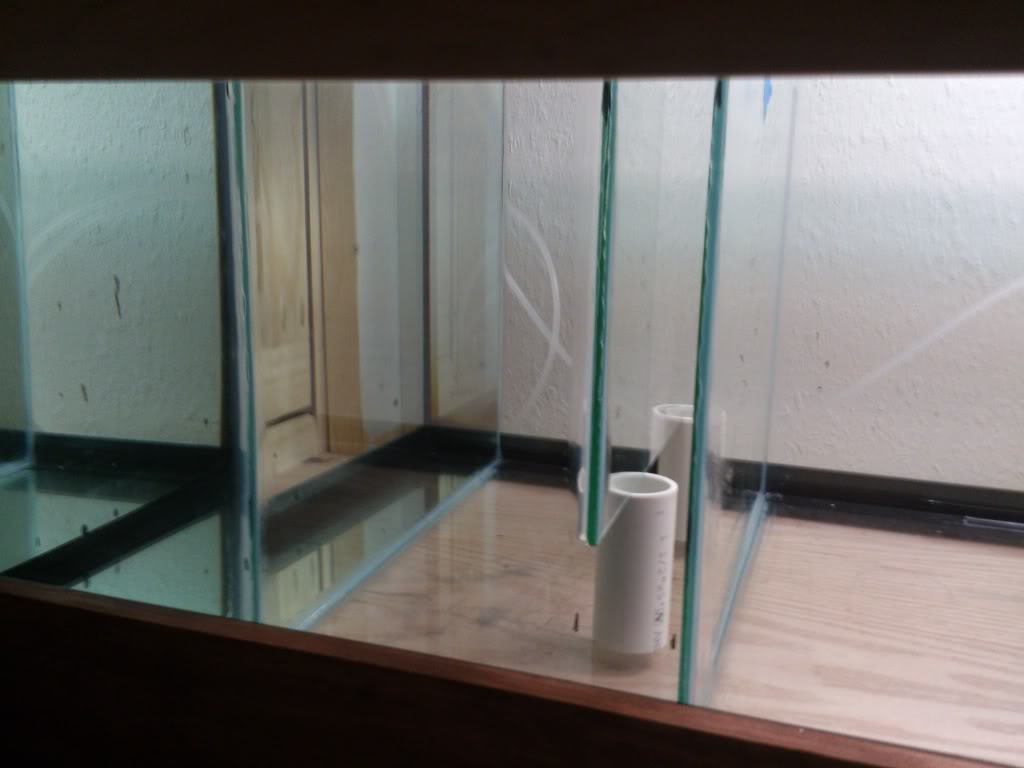
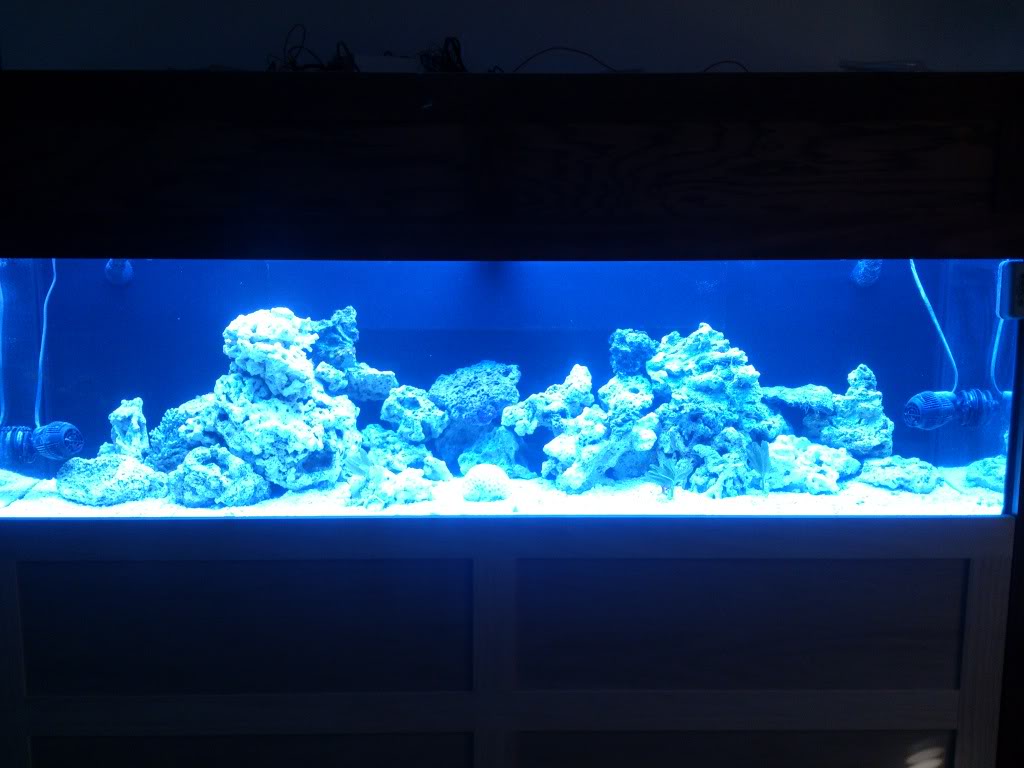
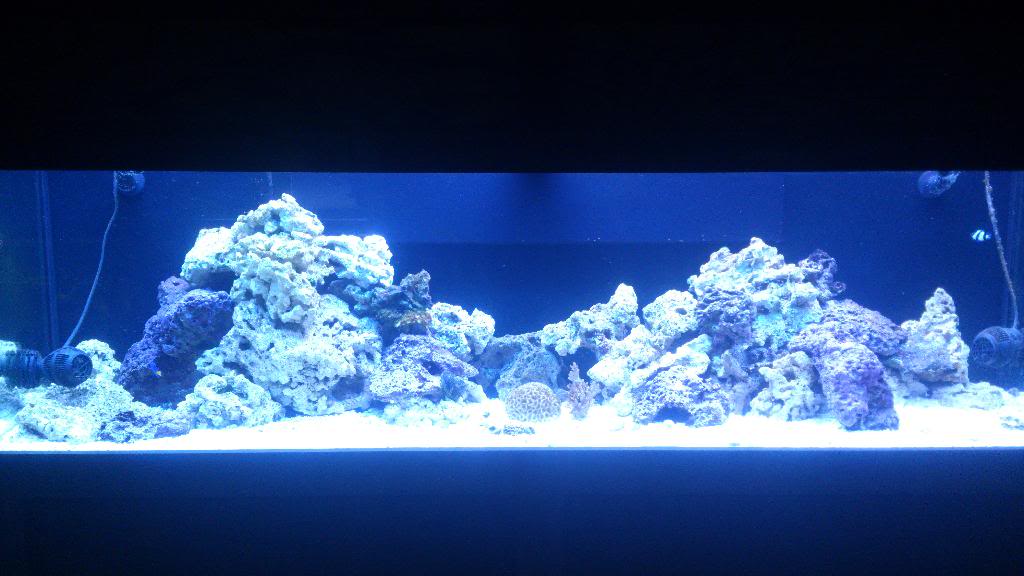
I ordered two 125 gallon tanks. The guy at the LFS INSISTED I buy the tanks predrilled with corner overflows. I almost bit on it too as I was really very new to saltwater and large tanks both, but I knew I wanted something other than corner overflows. Someone from my local reef club, Red River Valley Reefers , Suggested something called a "Bean Animal Overflow". I did some reading on it and decided this was definitely what I wanted. He said he could drill it too. And this is what I told the guy at the LFS. He argued a few more points about it, but I had my mind made up. So the order went in.
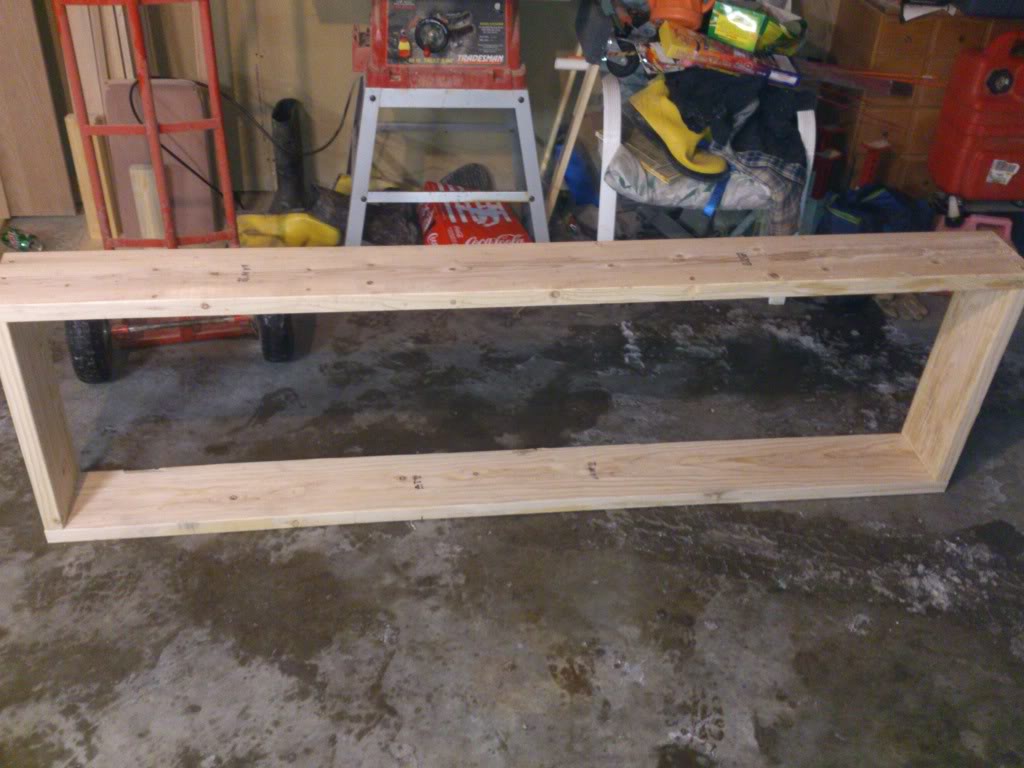
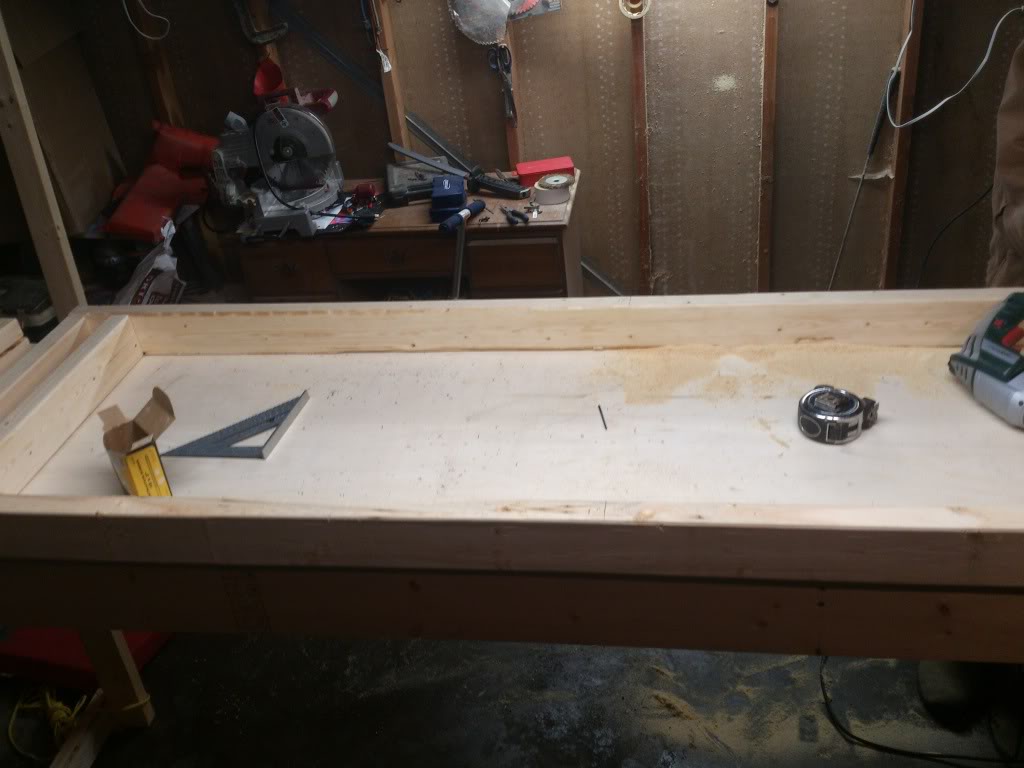
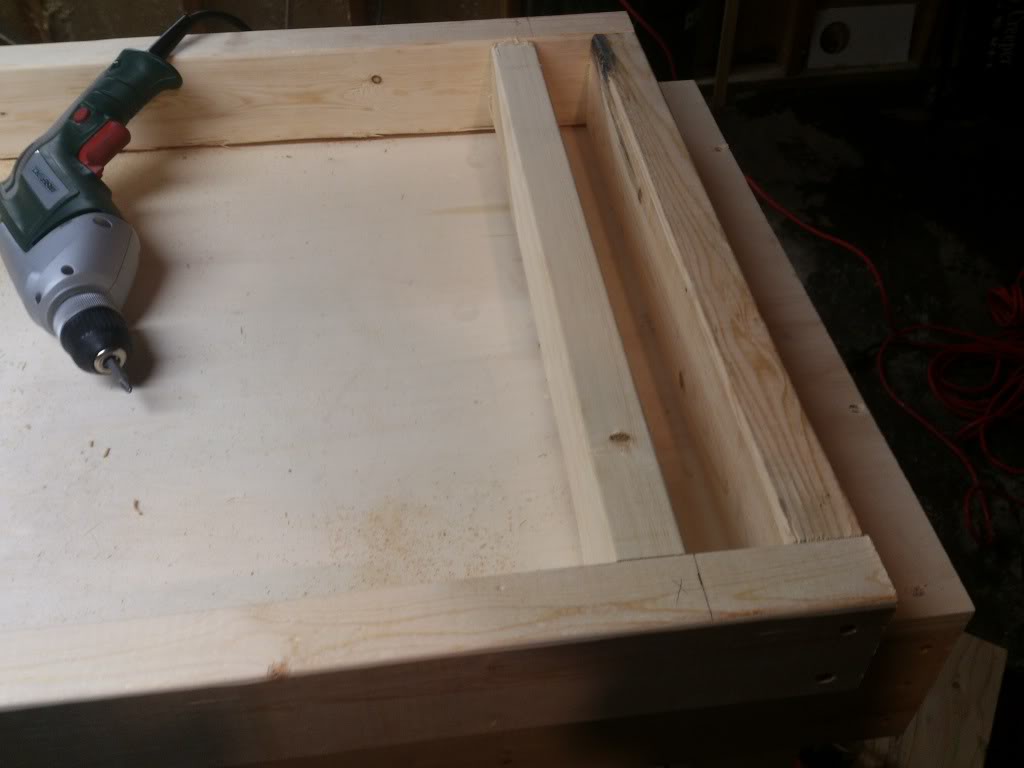
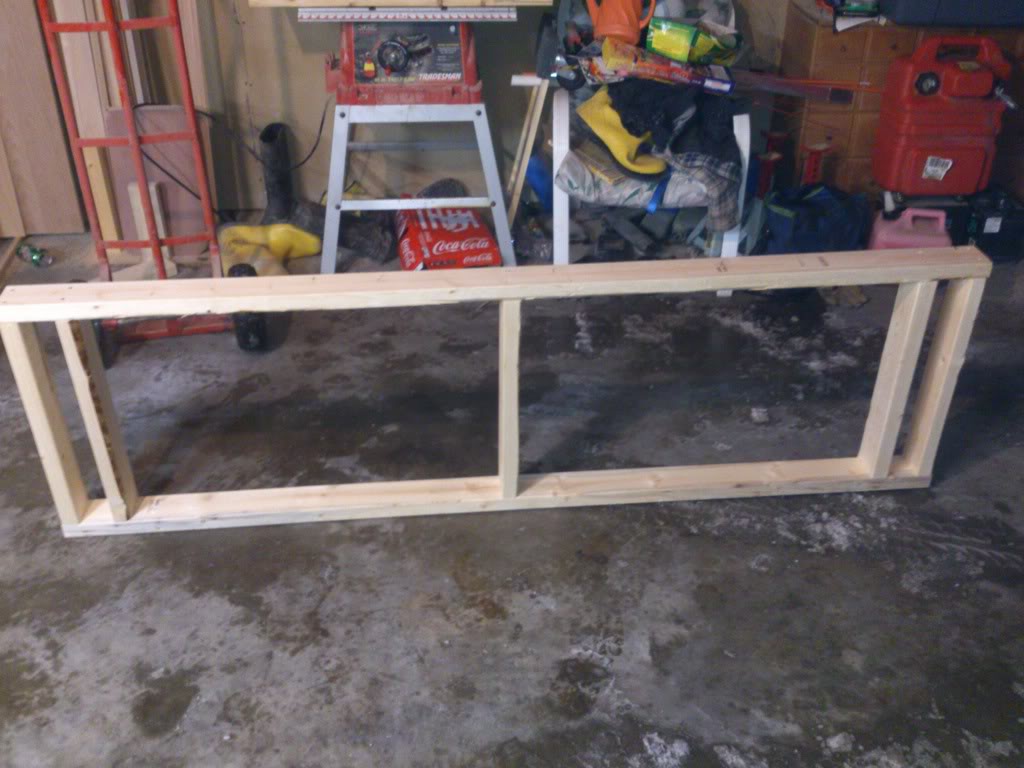
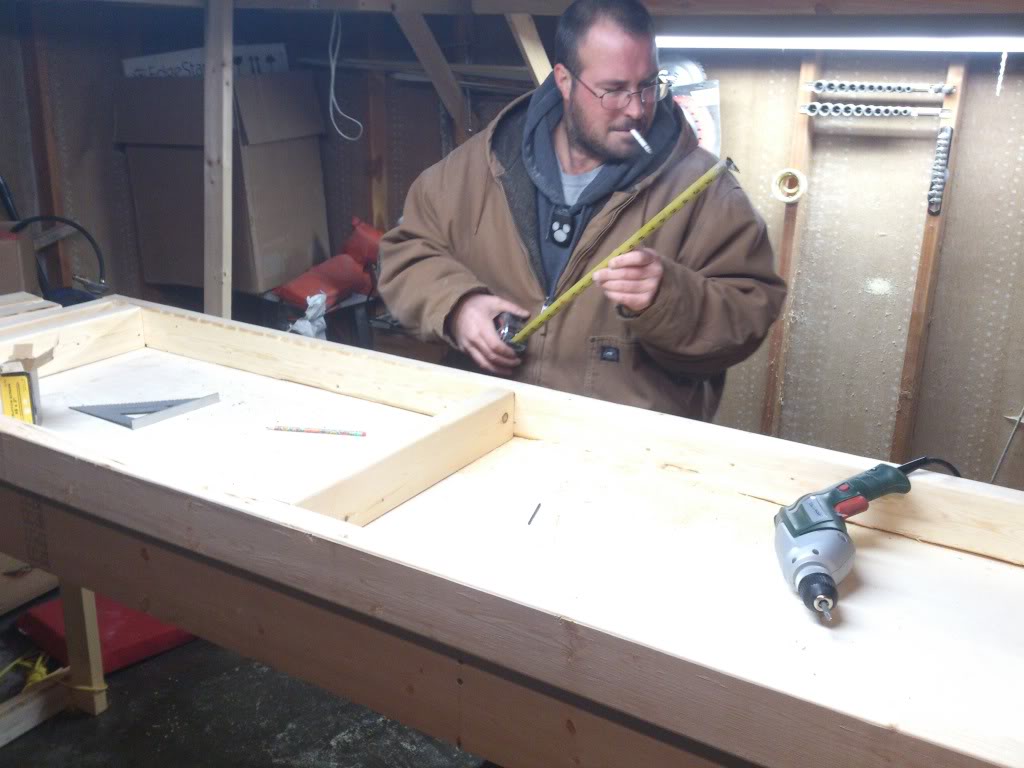
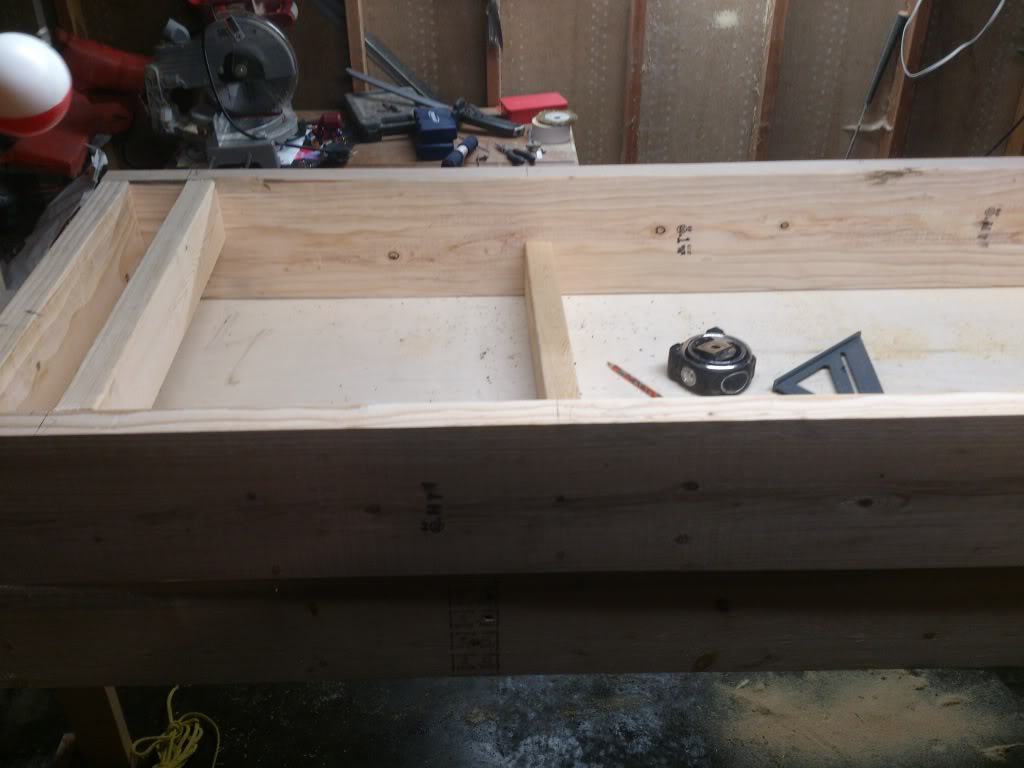
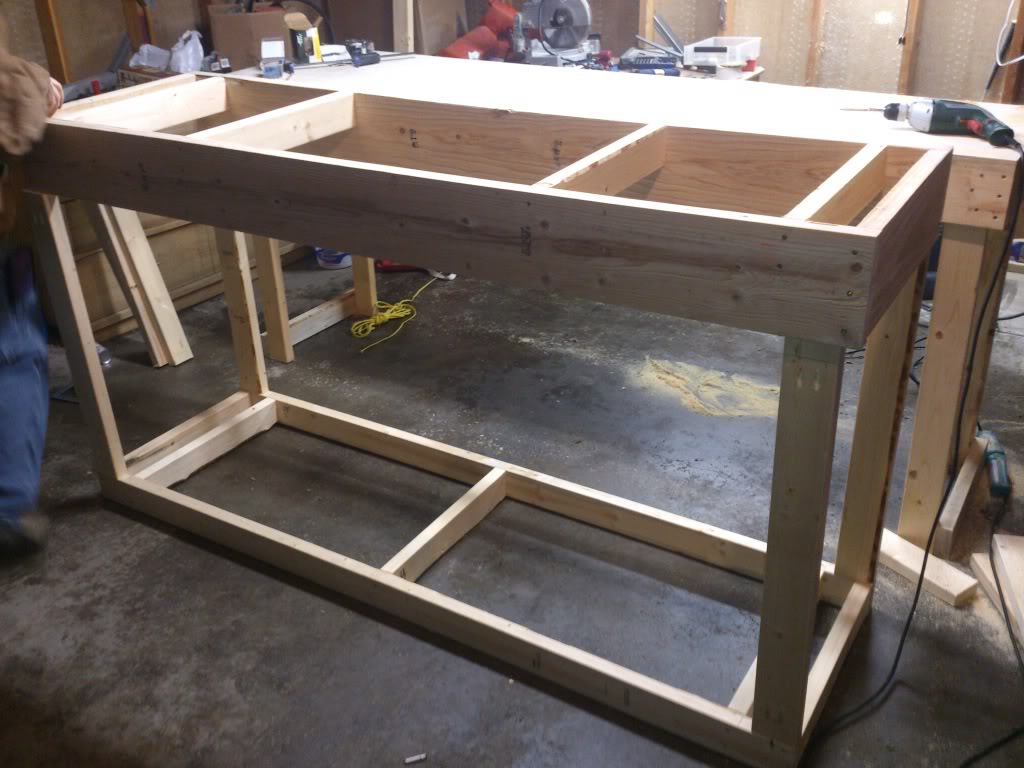
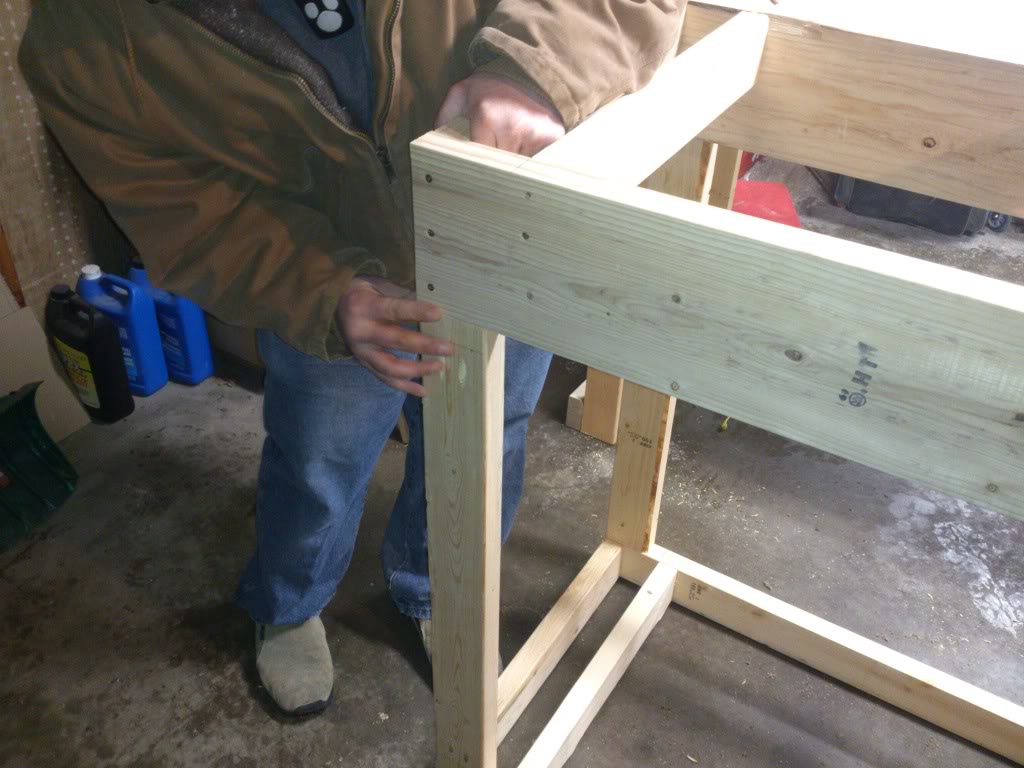
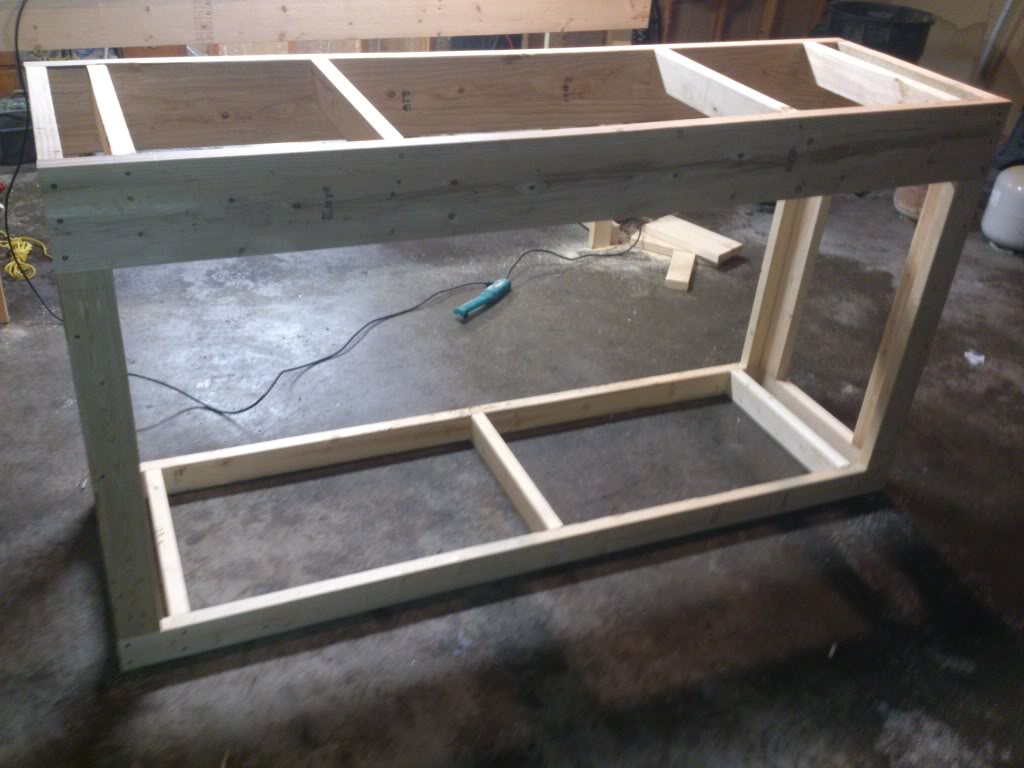
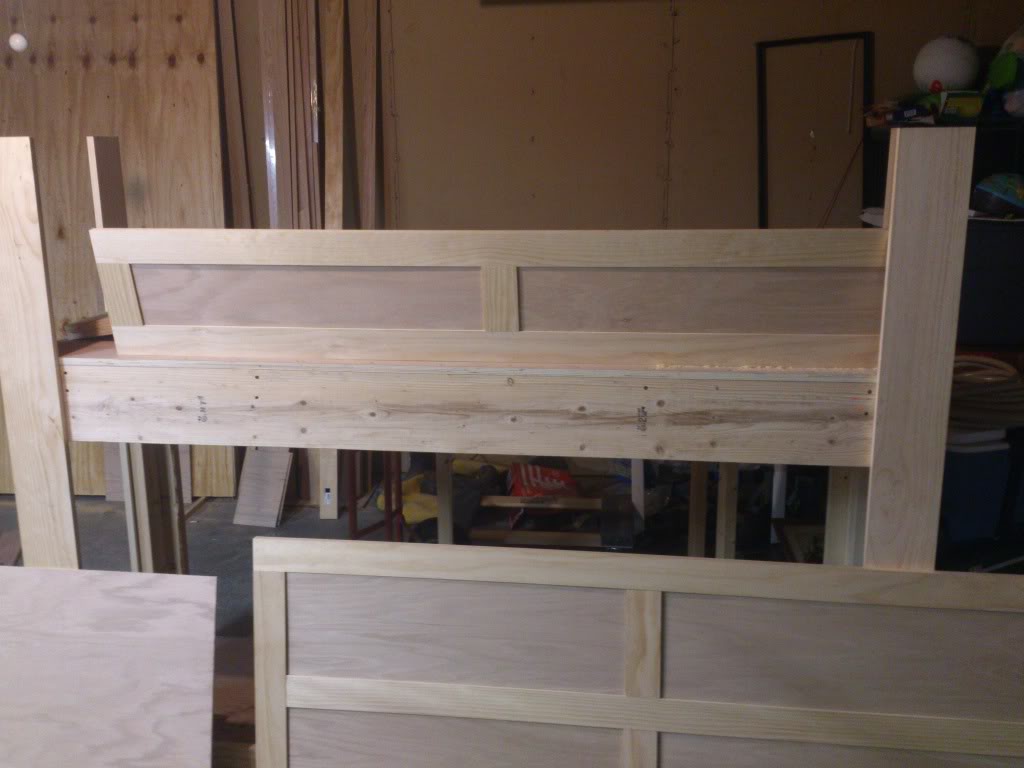
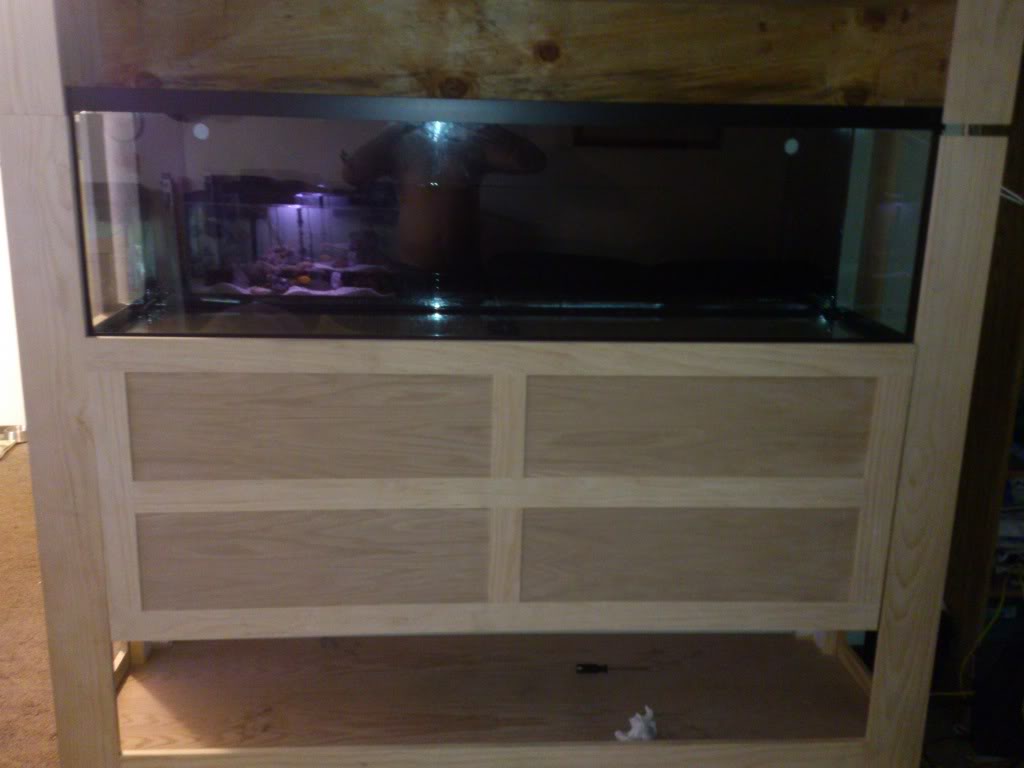
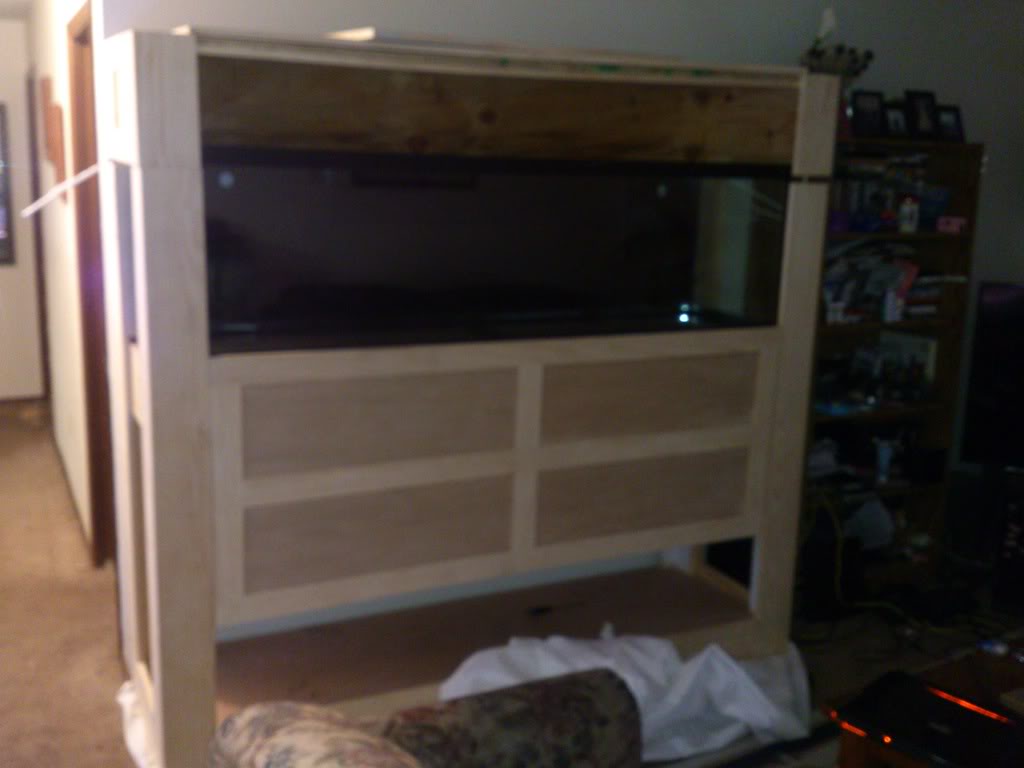
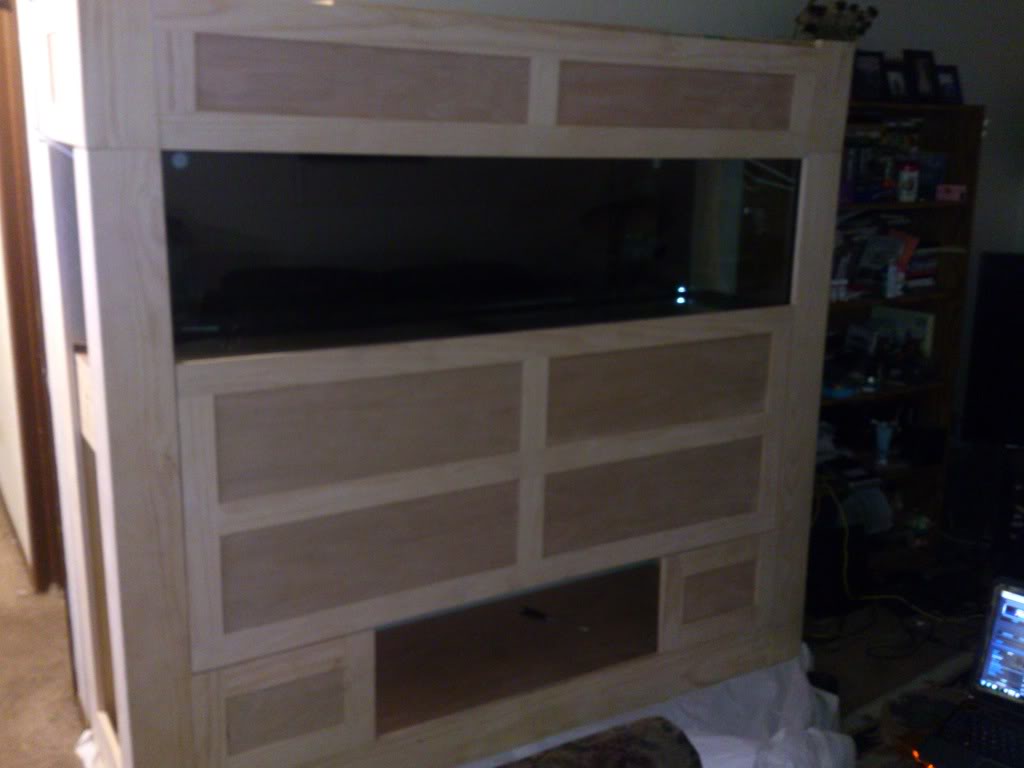
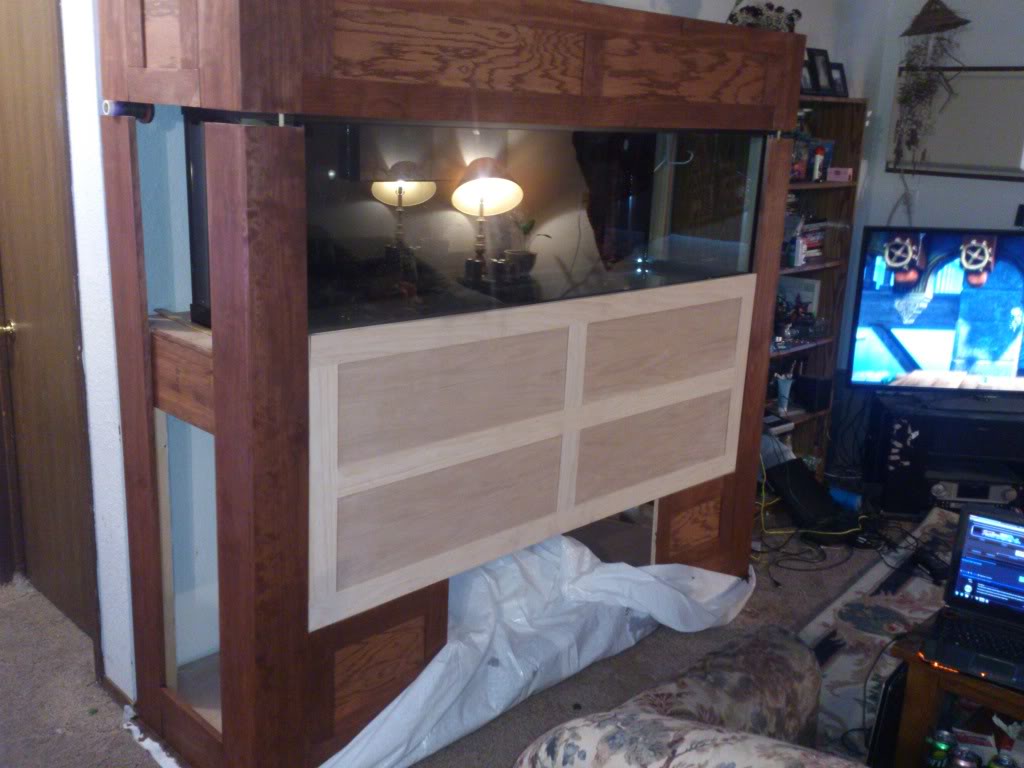
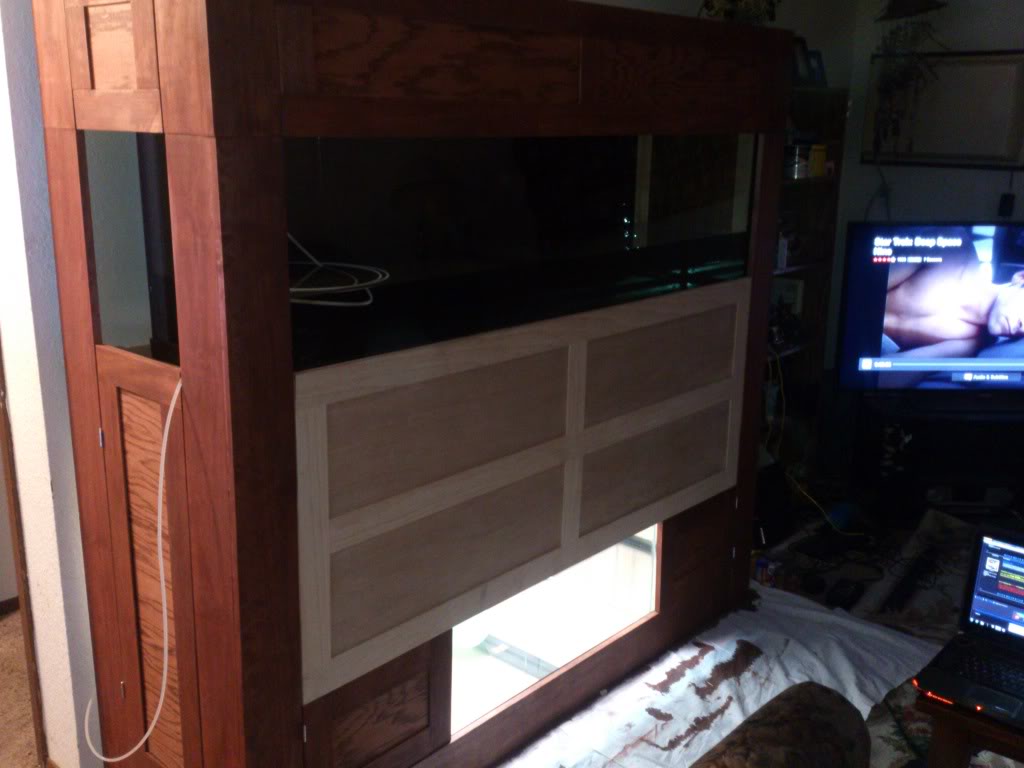
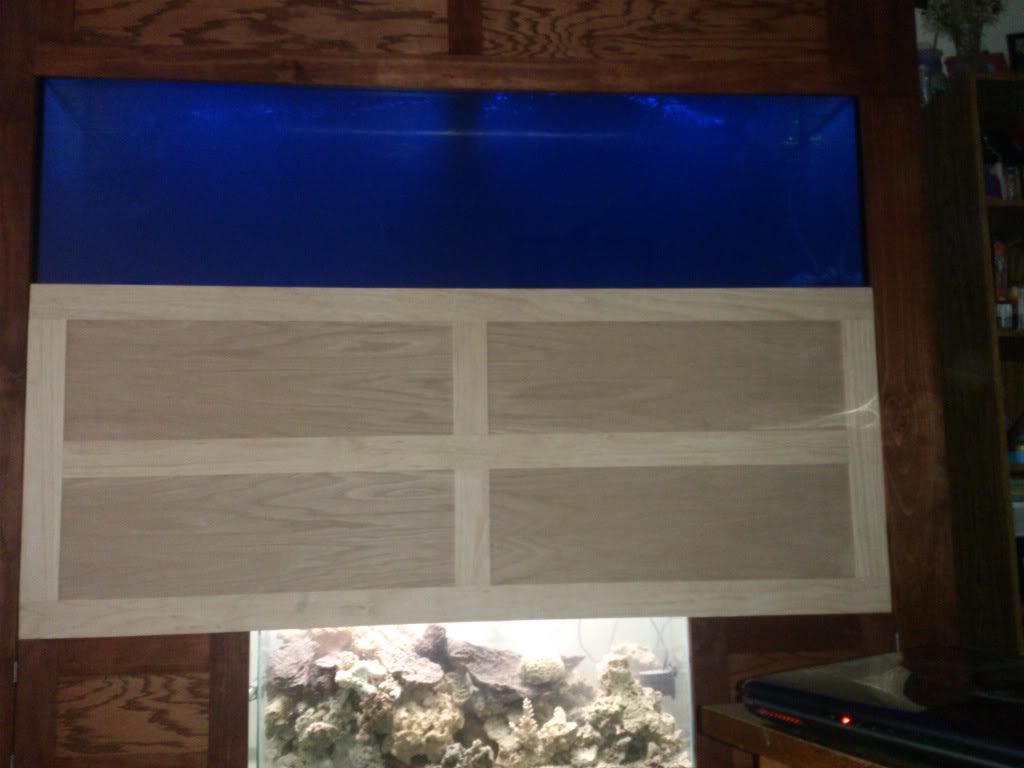
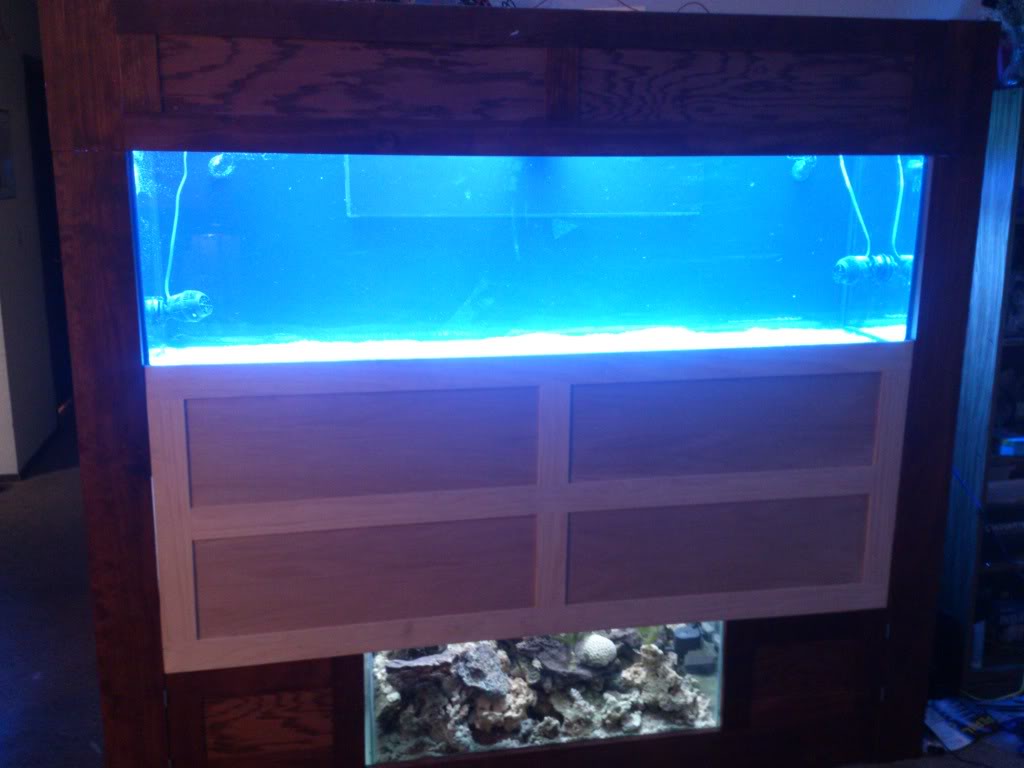
I had read people talking on the local forum about a guy who was awesome at building stands, and he turned out to be the same guy that said he could drill my tank and build my overflow, So I started talking to him about a stand. I scoured the internet for a stand design for my tanks, and couldn't find ANYTHING! Then one day, I came across a picture completely by chance and I showed it to Lyle a.k.a. "the guy" and He said he could reverse engineer it. And to my amazement, he did!
And that is how this project came to fruition.


