New Build - DIY heavy...New FTS!

Marc.The.Shark

Active Member
View Badges
Joined
Jun 4, 2015
Messages
275
Reaction score
243
Location
MI
Rating - 0%
0   0   0
Figured I document my new tank build that's been a year in the making. Had the tank made last summer and just getting to the cusp of filling with water. Should be wet here shortly. This is a pretty custom setup with lots of DIY aspects by yours truly. I tend to keep my tanks for a long time & with this one, I've incorporated solutions to most of the issues that have bugged me over the years. I haven't bought a new tank in over 10 years and I currently have my 8g running, so there was really no hurry to get it up and running. This will take the place of the 8g after it's cycled.

Current FTS 12/15/2016
IMG_0857.JPG


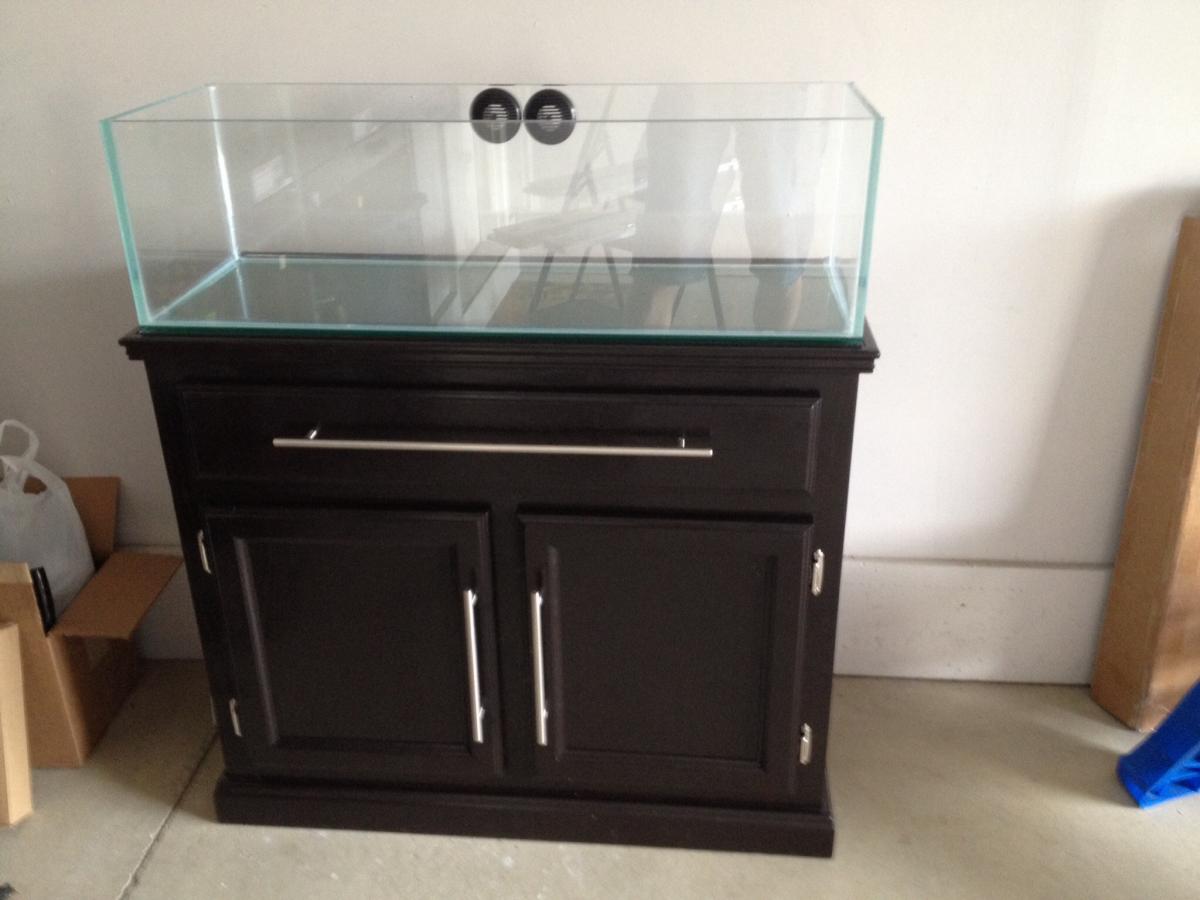
FTS 07/27/2016 - no water yet

*Tank

- Custom local built 36" x 12" x 10"; 3/8" Starphire glass 4 sides. (approx. 20g)
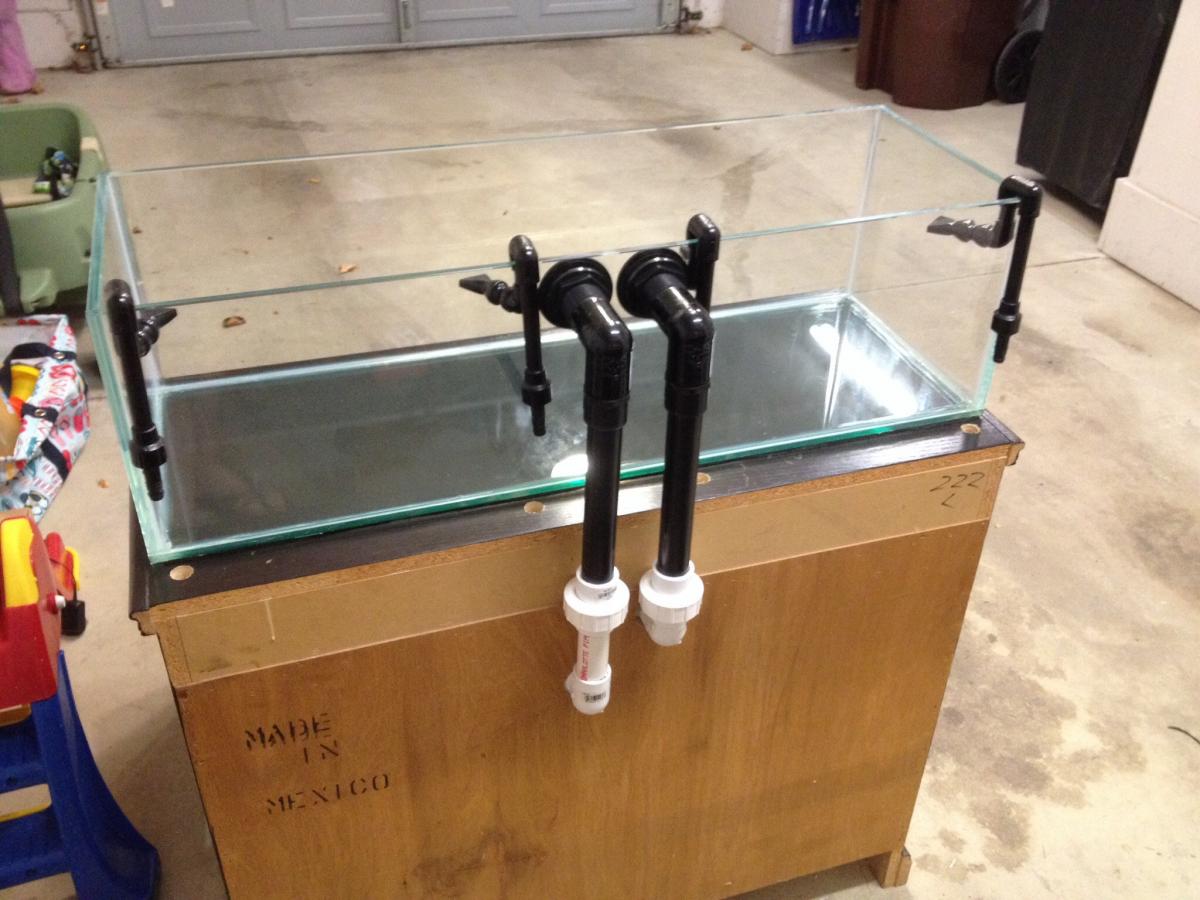
- Dual 1" Bulheads w/strainers down to dual Reverse Durso's in the sump (gate valve on 1)
- Dual 1/2" CPVC over the rim returns/split by 3/4" SCWD
- ReefCleaners Dry Rock & Old Dry Rock I had
- Tropic Eden Meso-Flakes
- Custom Screen Cover by @cromag08
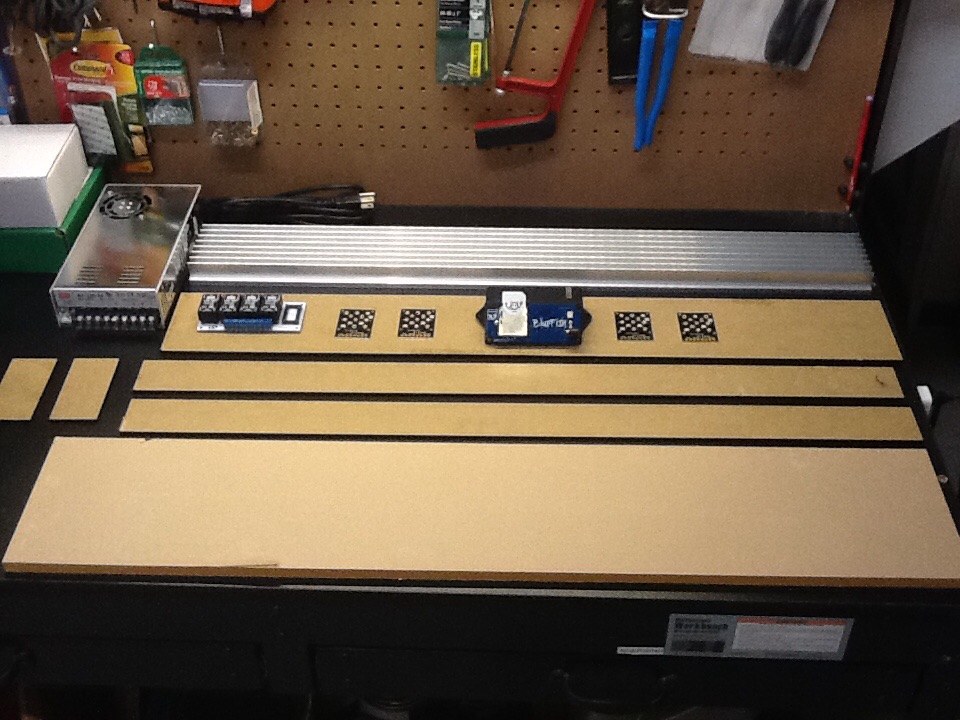
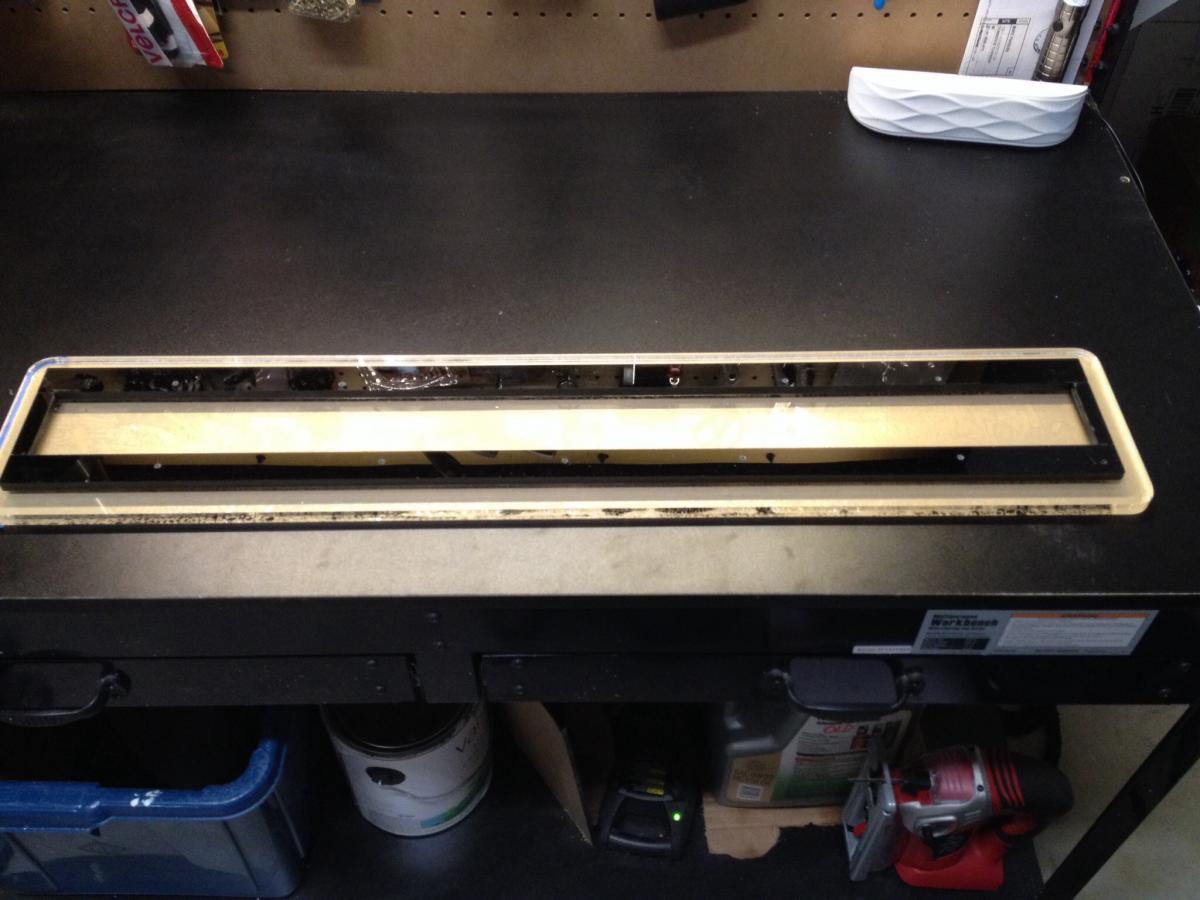
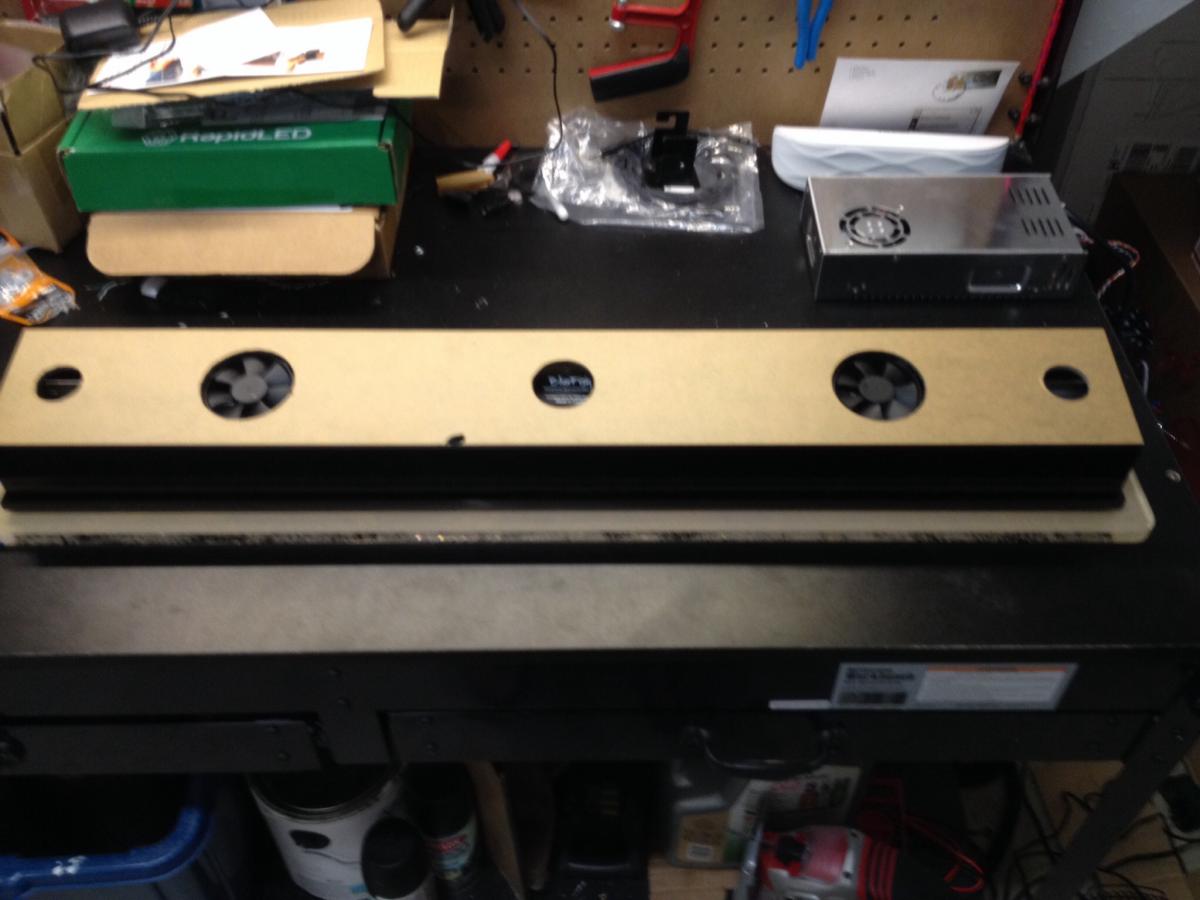
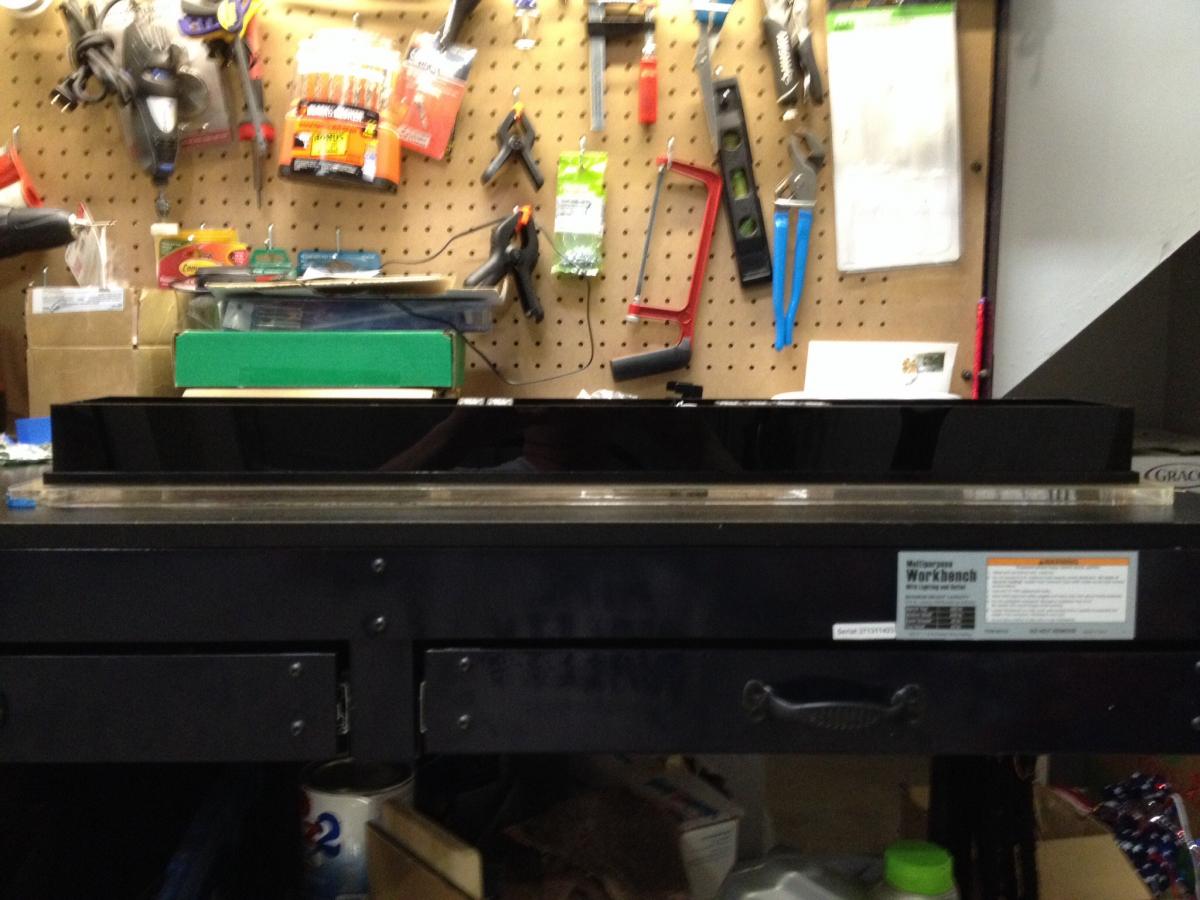
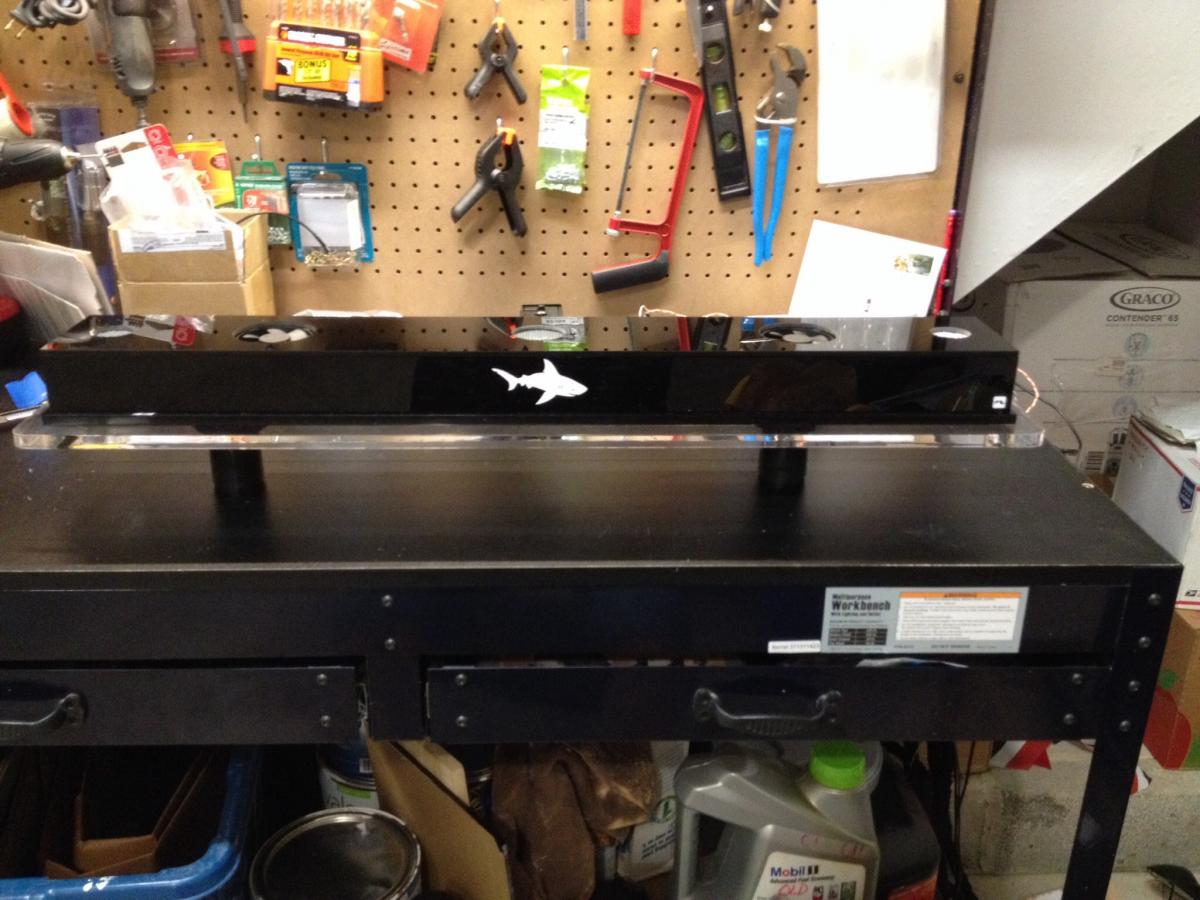
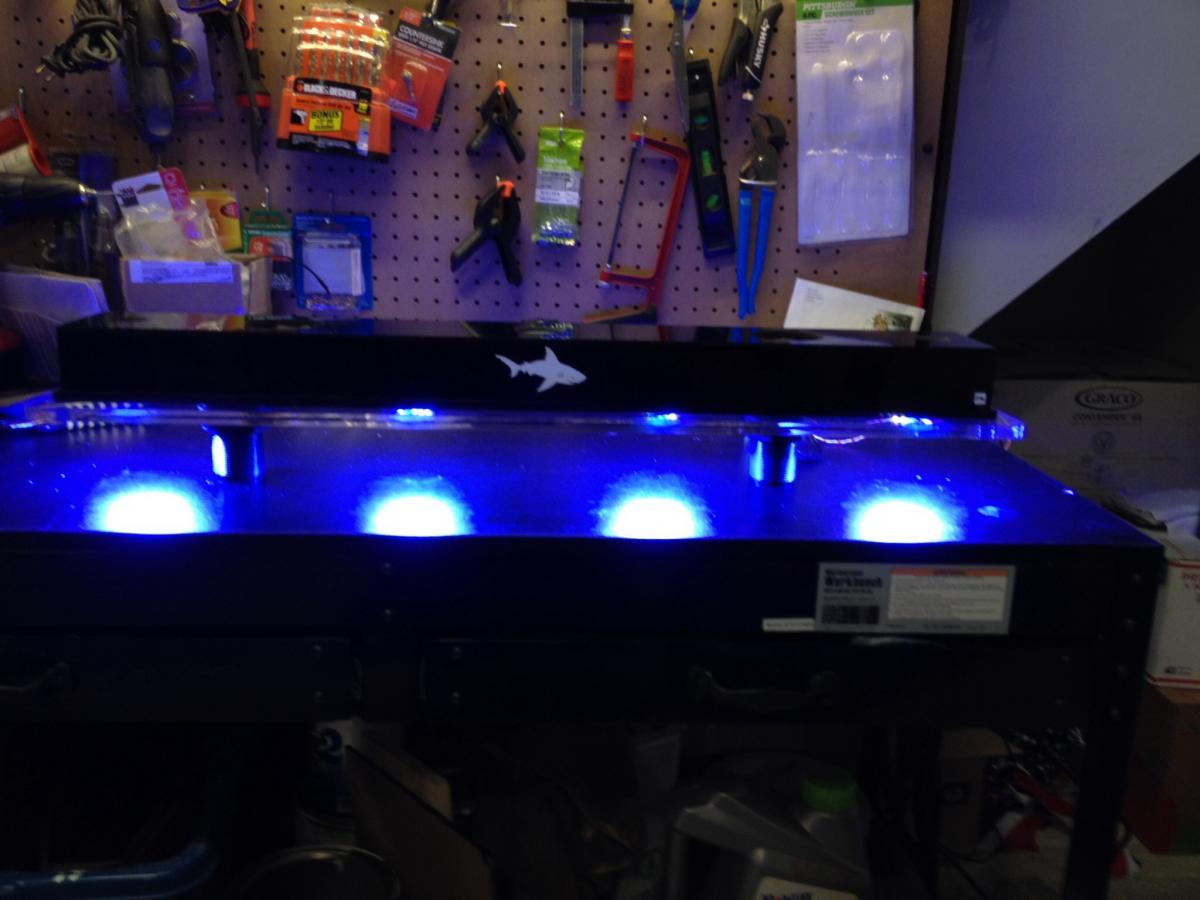
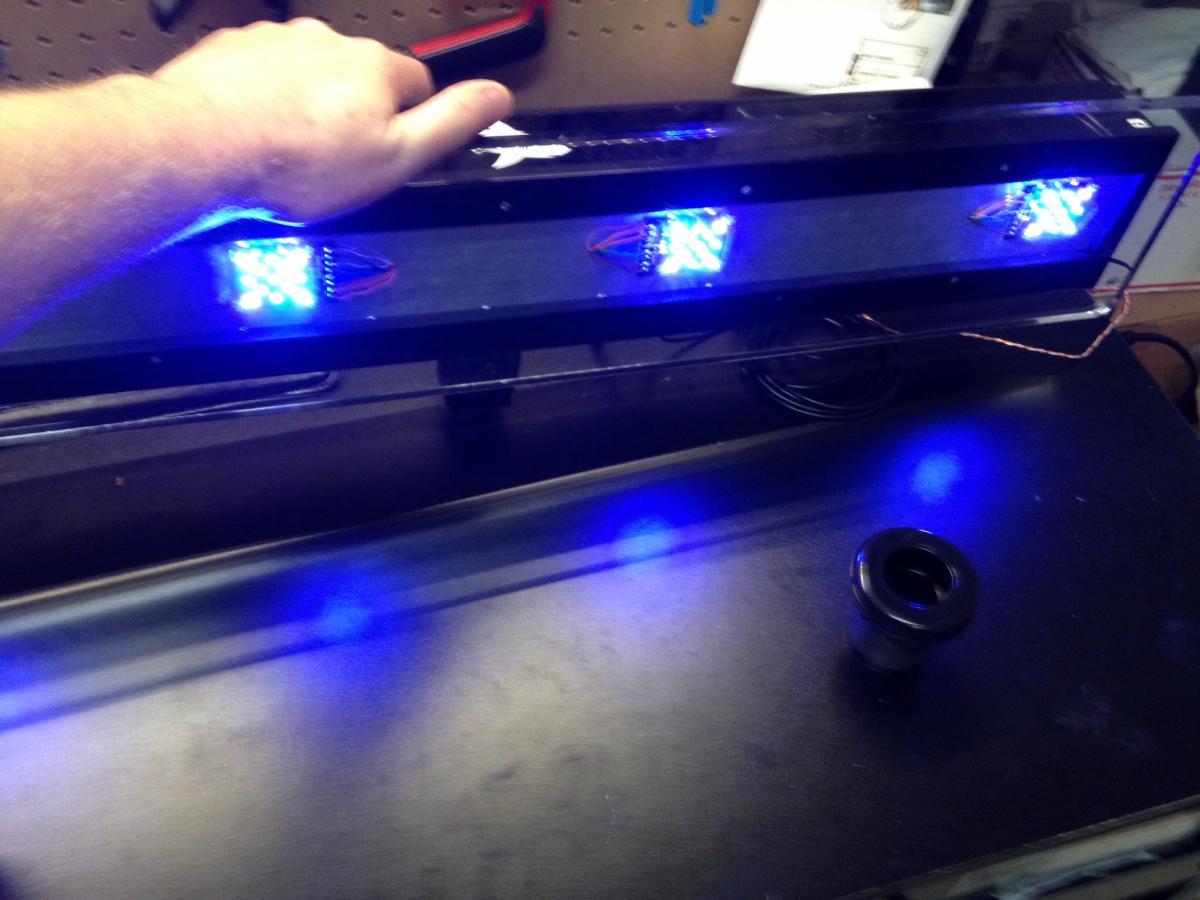
*Lighting

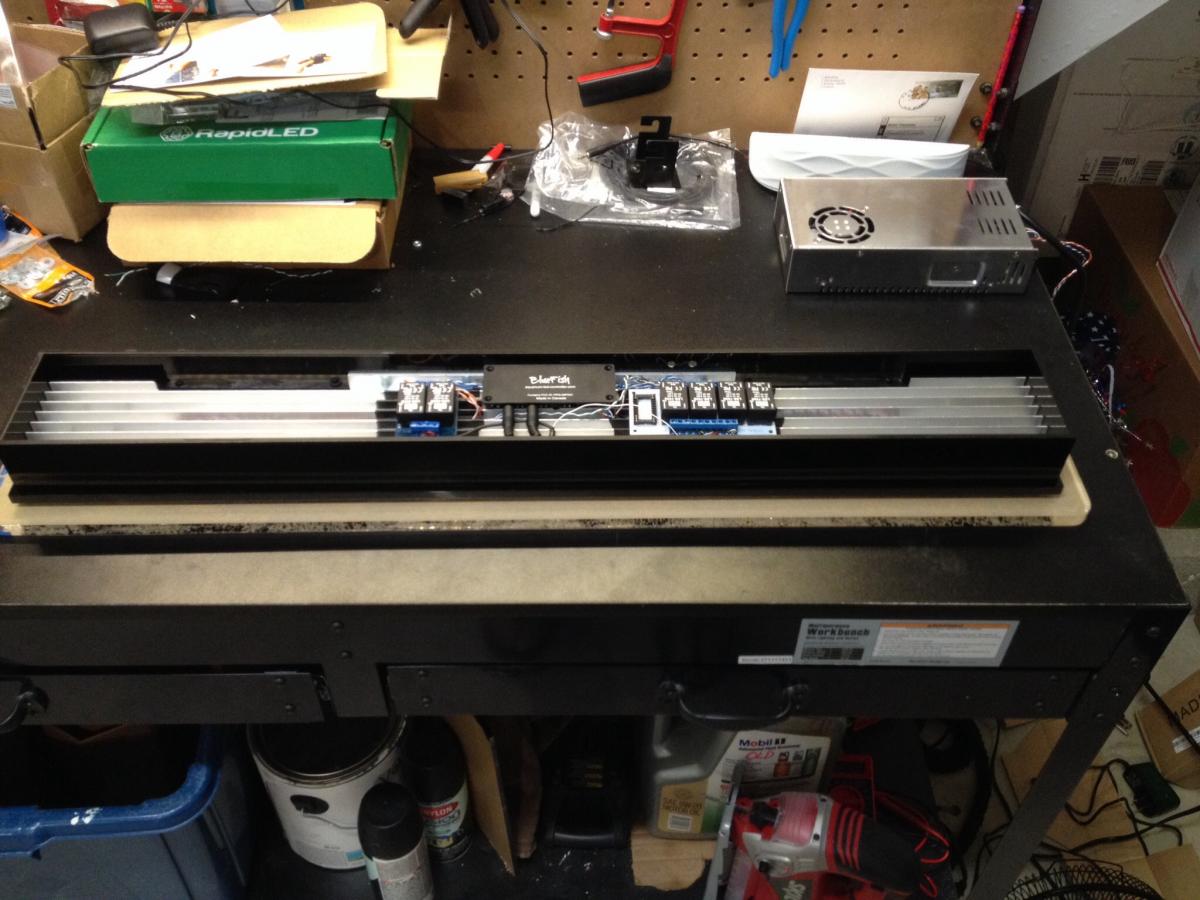
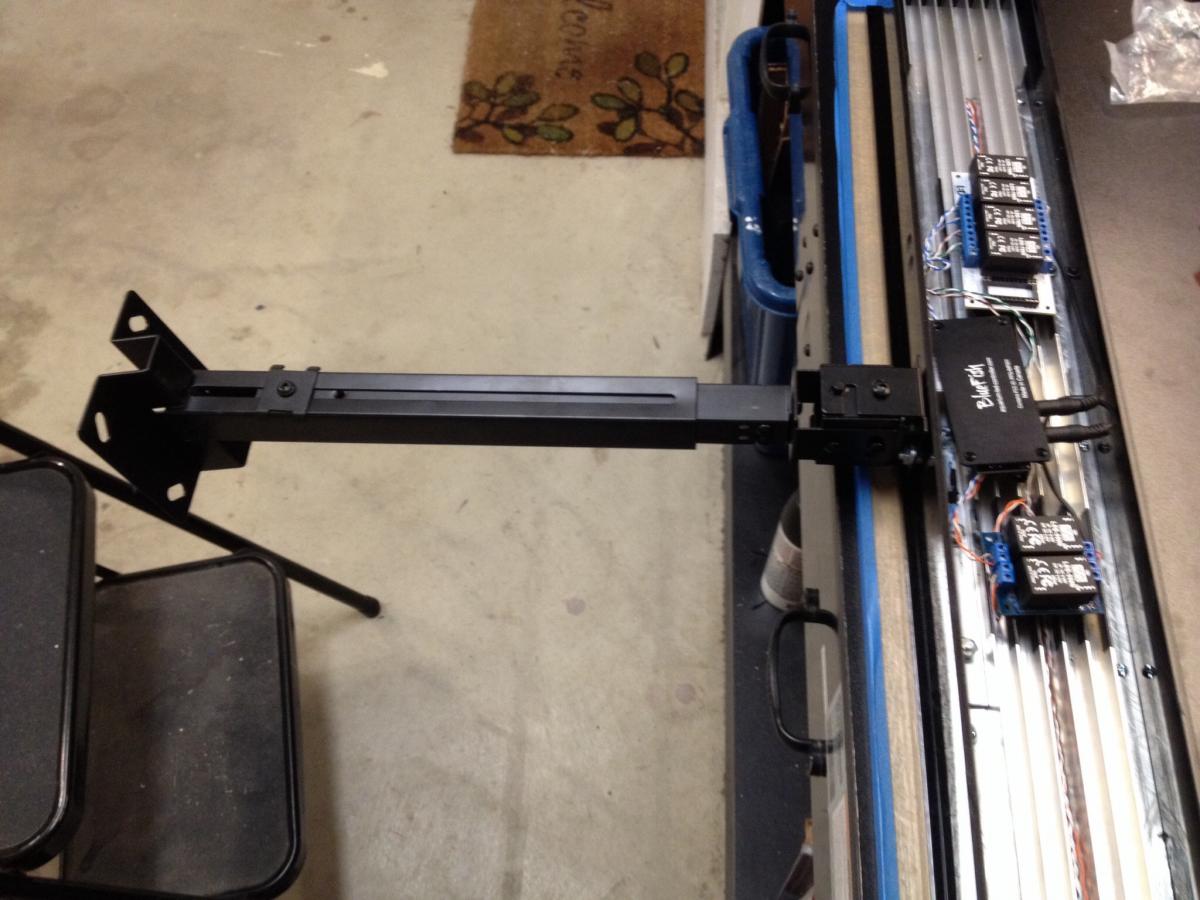
- Custom made (by me) acrylic 32" (30" heatsink) LED
- 4 NanoBox V3 arrays (4 channel)
- Bluefish control

*Sump/Equipment

- 10g standard tank w/Oceanbox Designs Sump Kit (3 chamber)
- Coral Compulsion par30
- LED interior cabinet lighting actived by switch on left door
- Tunze 9001 Skimmer
- IM MiniMax Reactor
- 150w Finnex Titanium Heater
- Jebao DCT6000 DC pump w/Georg Fischer 3/4" Wye check valve
- Marine Color 3 channel dosing pump w/custom dosing containers
- Oceanbox Designs custom ATO container (approx. 4gal) w/Smart ATO Micro
- Apex Classic Full version w/PM2
 
Last edited:
OP
OP
Marc.The.Shark

Marc.The.Shark

Active Member
View Badges
Joined
Jun 4, 2015
Messages
275
Reaction score
243
Location
MI
Rating - 0%
0   0   0
Stand.
I bought this from Craigslist for $15. Removed the drawer & made it a flip down door, stained cabinet dark Java & put on new hardware


Also installed cabinet lighting that turns on when left door is opened
 
Last edited:
OP
OP
Marc.The.Shark

Marc.The.Shark

Active Member
View Badges
Joined
Jun 4, 2015
Messages
275
Reaction score
243
Location
MI
Rating - 0%
0   0   0
Tank fitted on the stand
post-12858-0-71053100-1439331797.jpg


post-12858-0-02026200-1440449042.jpg


Sump area coming together


Custom slide-out for LED PSU & Apex components using drawer slides & a piece of laminate shelving


Next up.....Light Build..
 
OP
OP
Marc.The.Shark

Marc.The.Shark

Active Member
View Badges
Joined
Jun 4, 2015
Messages
275
Reaction score
243
Location
MI
Rating - 0%
0   0   0
I couldn't find an off the shelf light that I was happy with, so decided to make my own. I liked the look of the Oraphek thick splashguard, but wanted something long & skinny so I would get good coverage on the tank @ 36". The light measures 32" x 4" with a 30" heatsink. I used 4 NanoBox V3 arrays spaced pretty evenly keeping in mind the 3 island concept that I was going to use for my rock scape. Hopefully will help minimize shading. Made it out of mostly acrylic. My first time working with acrylic....not too bad! lol
Parts
post-12858-0-32445200-1439572939.jpg


Splash guard
post-12858-0-91357000-1439573116.jpg


Lid with fan cutouts
post-12858-0-46999800-1439573912.jpg


Heatsink with LED's attached
post-12858-0-22588000-1439573020.jpg


Side view
post-12858-0-86295800-1439573865.jpg


Internals with drivers & bluefish
post-12858-0-42390900-1439573744.jpg


Mounting arm. This is attached directly to the heatsink & is a projector mounting bracket rated for like 60lbs., $12.99, WHAT A BARGAIN!!
post-12858-0-07436500-1439602077.jpg


FINISHED!!!!
post-12858-0-06499800-1439948003.jpg


testing
post-12858-0-72816300-1439948457.jpg


post-12858-0-10335400-1439948501.jpg


I did take it back apart & add some diffuser to the inside of the splash guard.
 
OP
OP
Marc.The.Shark

Marc.The.Shark

Active Member
View Badges
Joined
Jun 4, 2015
Messages
275
Reaction score
243
Location
MI
Rating - 0%
0   0   0
This is pretty much how it looks in the nook where I have it, minus the light


with light


Sump area 95% complete


Drop down door with Return pump controller & Apex display mounted. The readings are from my other tank.


That's about it for now. Still a few loose ends to tie up, then water in a week or so.
 

revhtree

Owner Administrator
View Badges
Joined
May 8, 2006
Messages
47,843
Reaction score
87,823
Rating - 100%
1   0   0
WOW somebody has some skills! Very nice!
 

jsker

Reefing is all about the adventure
View Badges
Joined
Apr 11, 2015
Messages
24,974
Reaction score
79,738
Location
Saint Louis
Rating - 0%
0   0   0
Very nice work. Now I have to clean up my wires:rolleyes:
 
OP
OP
Marc.The.Shark

Marc.The.Shark

Active Member
View Badges
Joined
Jun 4, 2015
Messages
275
Reaction score
243
Location
MI
Rating - 0%
0   0   0

Cary Hover

Community Member
View Badges
Joined
Mar 9, 2016
Messages
82
Reaction score
39
Rating - 0%
0   0   0
Looks great. Nice job. Only thing I might be afraid of are the two big holes drilled side by side right in the middle of the back. Might be creating a weak point. Tank is small enough though to probably take the stress.
 
OP
OP
Marc.The.Shark

Marc.The.Shark

Active Member
View Badges
Joined
Jun 4, 2015
Messages
275
Reaction score
243
Location
MI
Rating - 0%
0   0   0
Looks great. Nice job. Only thing I might be afraid of are the two big holes drilled side by side right in the middle of the back. Might be creating a weak point. Tank is small enough though to probably take the stress.
3/8" glass & the holes are actually about 3" apart. The bulkheads & screens make it appear very close. There won't be any bowing on this thing! lol

Any ideas on what your doing in this tank? I'd think it be a cool zoa tank :D
Mixed reef. I have a few zoa colonies already in my other tank that will make the trip over. A few select arcos up high, then mixed LPS/Zoa,bottom 3/4 of the rockwork. Here's a pic of my current tank (crappy, I know.) Prob 60% of this will make its way into the new setup..
 

spllbnd2

Active Member
View Badges
Joined
Dec 1, 2014
Messages
178
Reaction score
117
Location
Edmonds, Washington
Rating - 0%
0   0   0
Very nice looking and I wouldn't worry to much about the holes in the back. I would be more concerned with what looks like a particle board top soaking any water up.

Very nice work on the lighting unit too.

Cheers,
Alex
 
OP
OP
Marc.The.Shark

Marc.The.Shark

Active Member
View Badges
Joined
Jun 4, 2015
Messages
275
Reaction score
243
Location
MI
Rating - 0%
0   0   0
That's awesome! I really admire when people can build basically anything. It's not a skill you can fake.
Thanks.

Very nice looking and I wouldn't worry to much about the holes in the back. I would be more concerned with what looks like a particle board top soaking any water up.

Very nice work on the lighting unit too.

Cheers,
Alex

LOL, yeah, never made the connection on the top & sides being skinned & I drilled thru it! My current stand is particle board & it's crap, but not nearly as sturdy. Just a crappy off the shelf BC stand. Thanks for pointing it out, I'll be careful with wet hands. I did apply 3 coats of polyurethane over the stain tho, so that should help.
 

Bubbles, bubbles, and more bubbles: Do you keep bubble-like corals in your reef?

  • I currently have bubble-like corals in my reef.

    Votes: 61 39.9%
  • I don’t currently have bubble-like corals in my reef, but I have in the past.

    Votes: 17 11.1%
  • I don’t currently have bubble-like corals in my reef, but I plan to in the future.

    Votes: 44 28.8%
  • I don’t currently have bubble-like corals in my reef and have no plans to in the future.

    Votes: 29 19.0%
  • Other.

    Votes: 2 1.3%
Back
Top