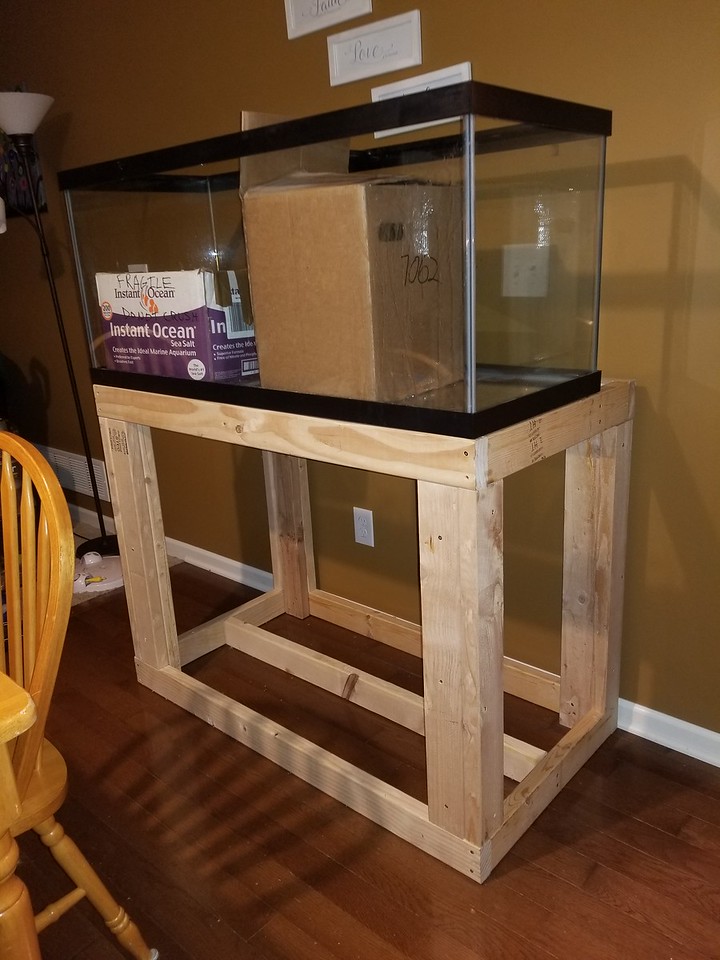
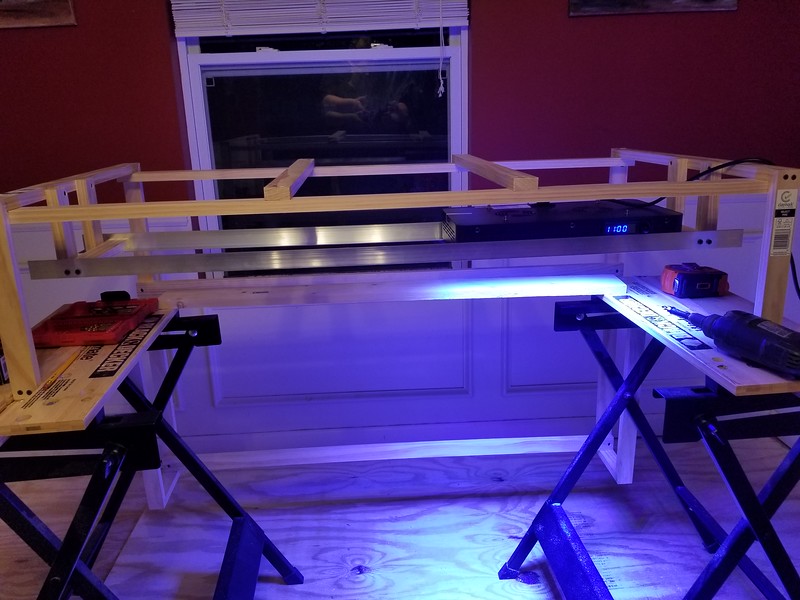
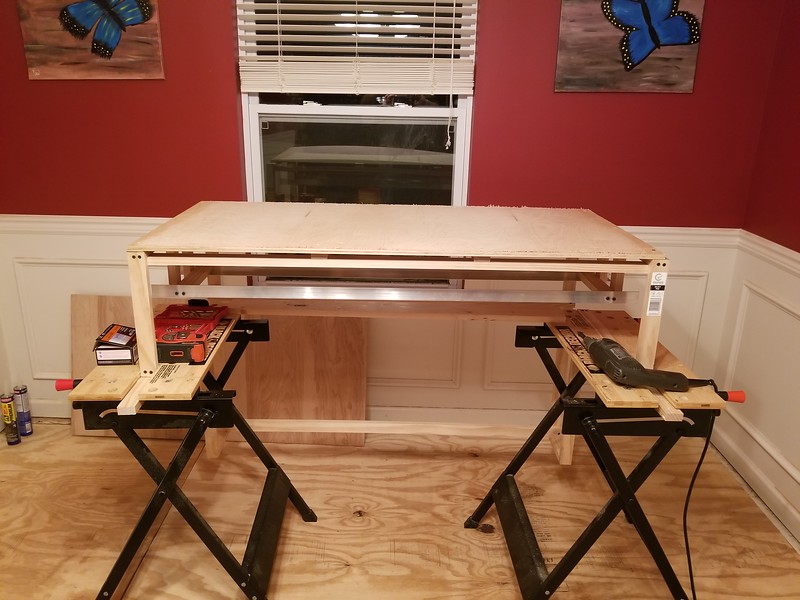
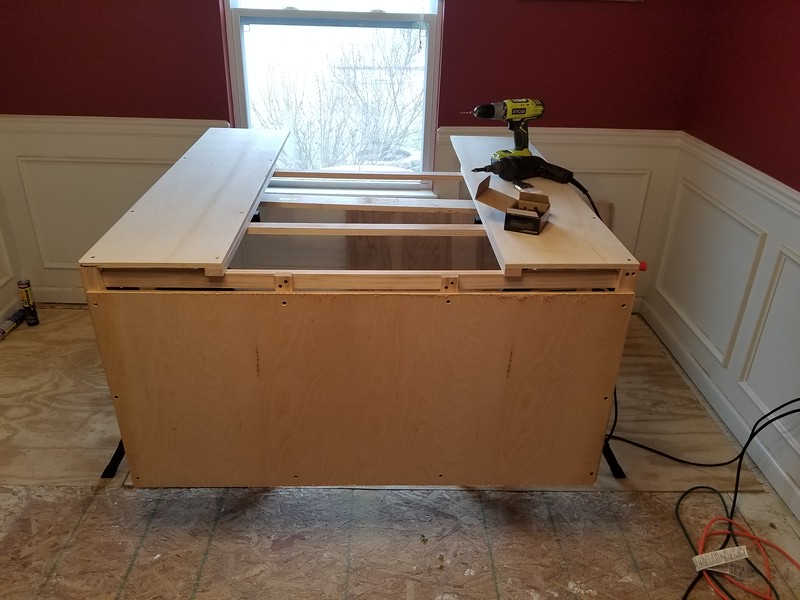
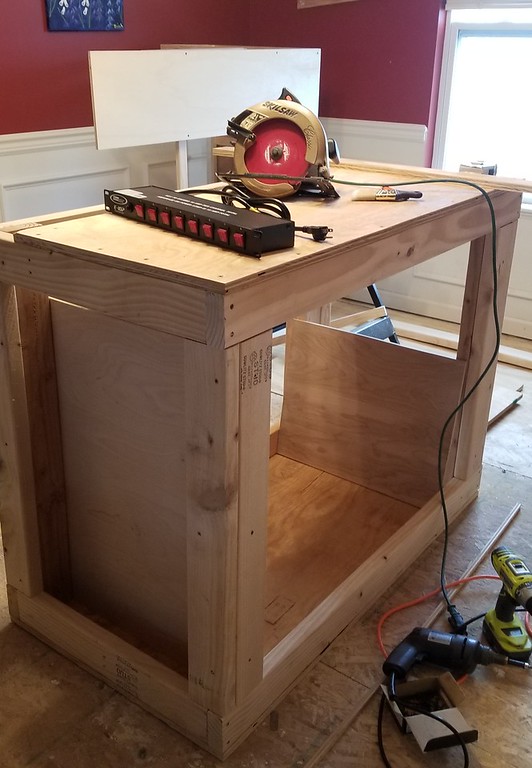
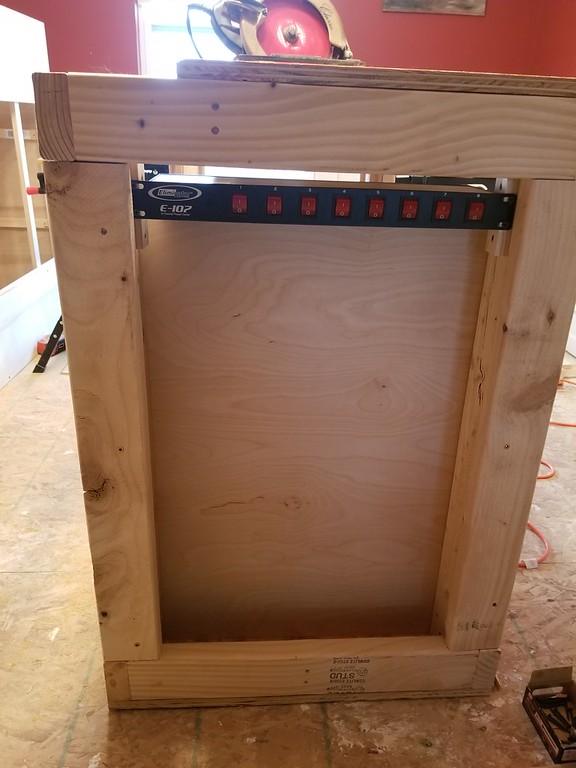
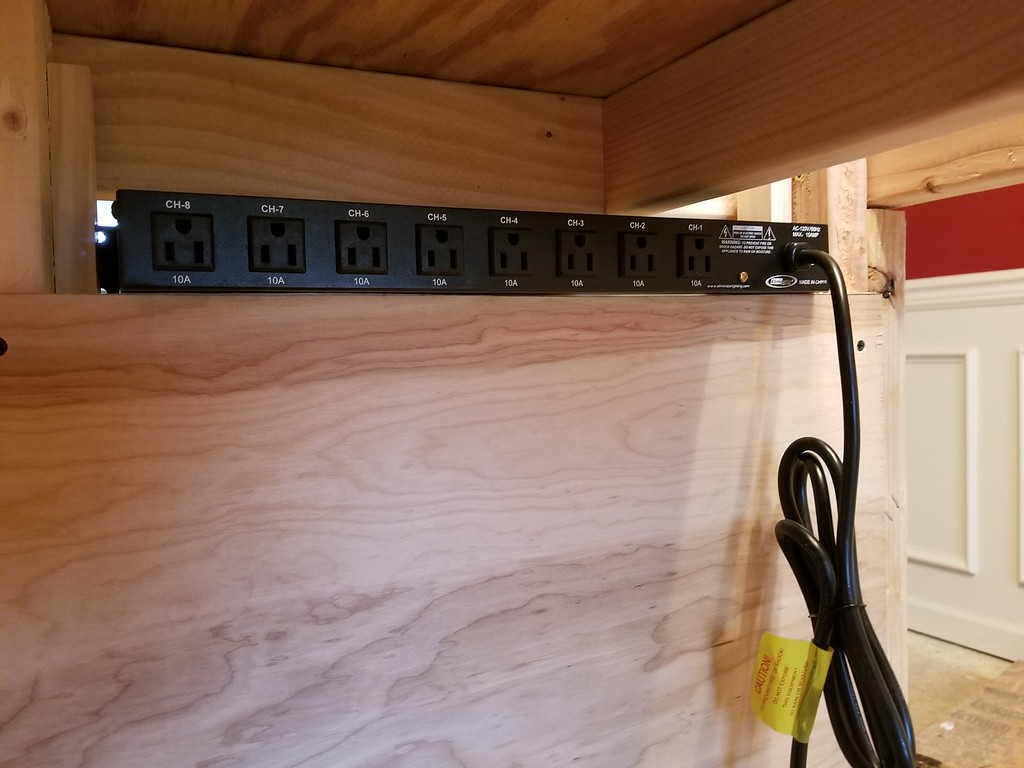
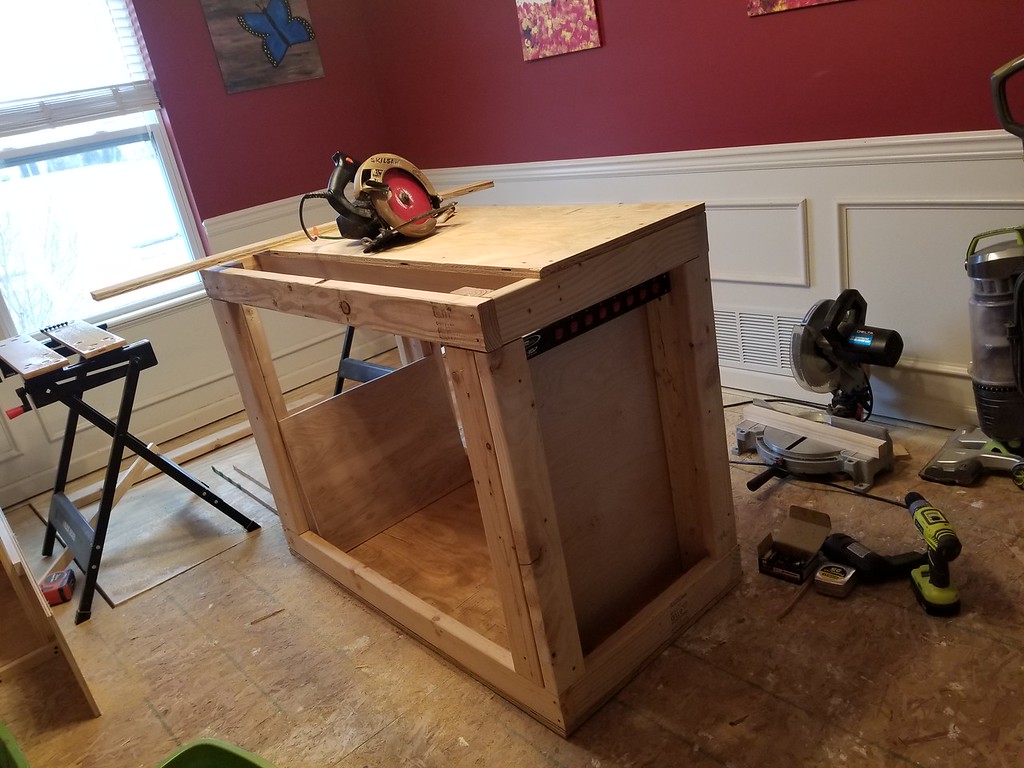
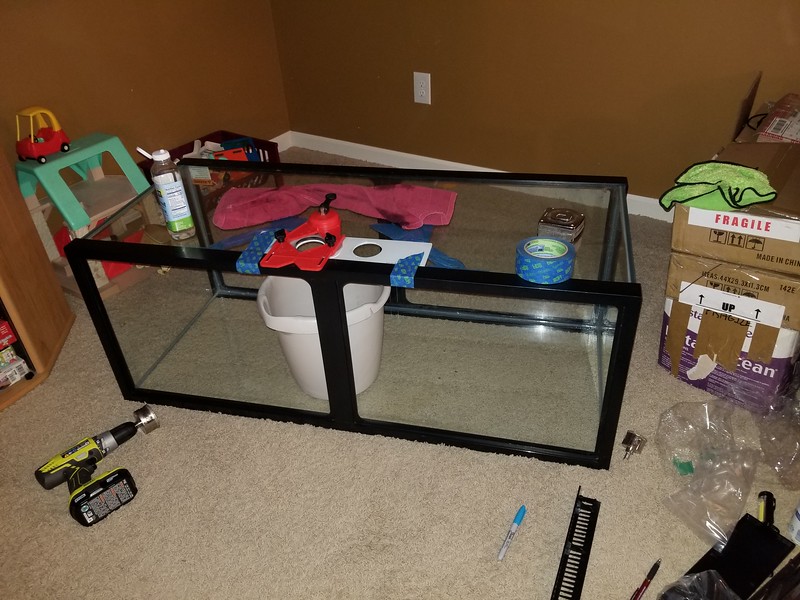
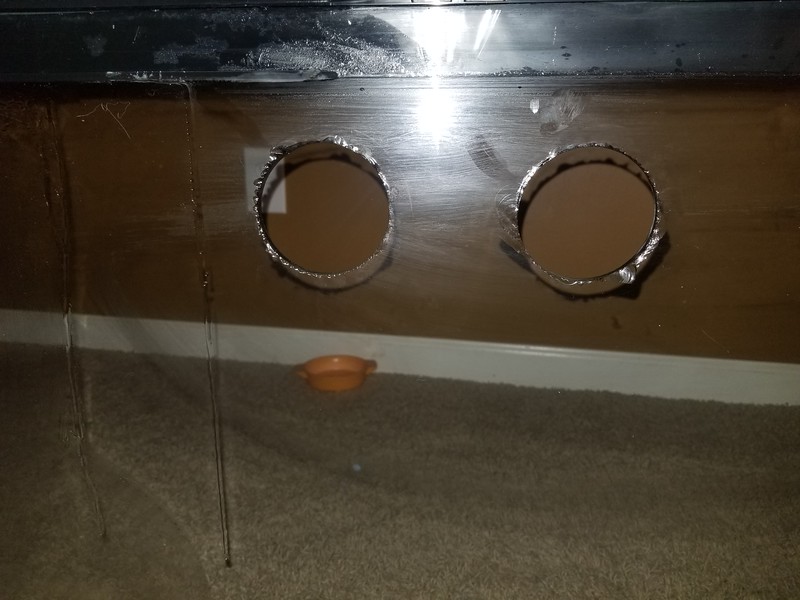
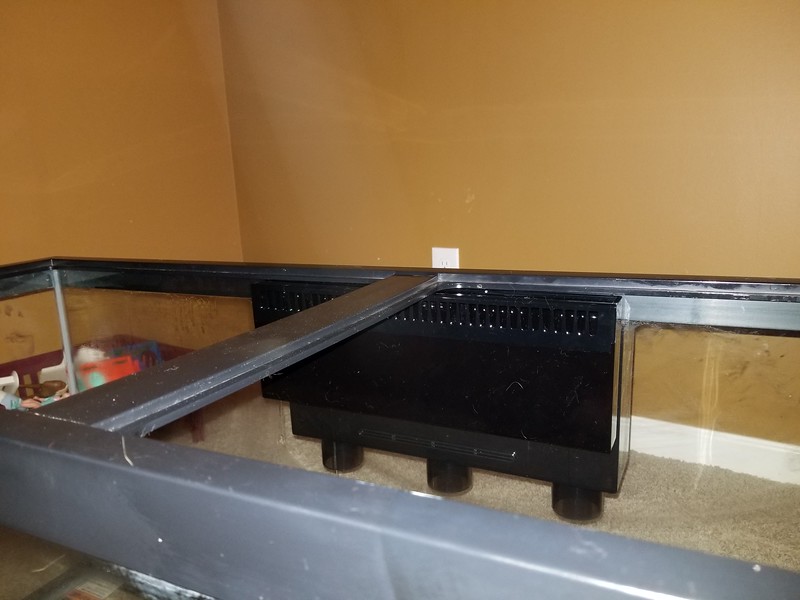
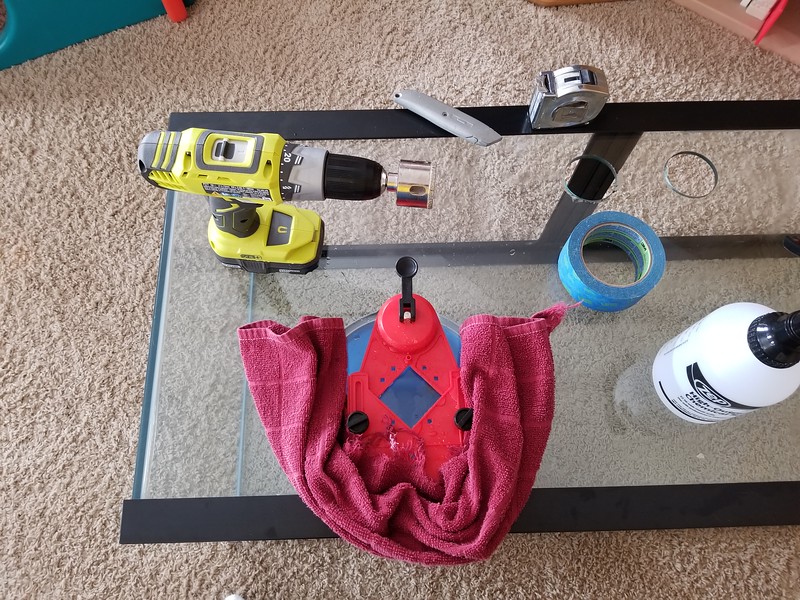
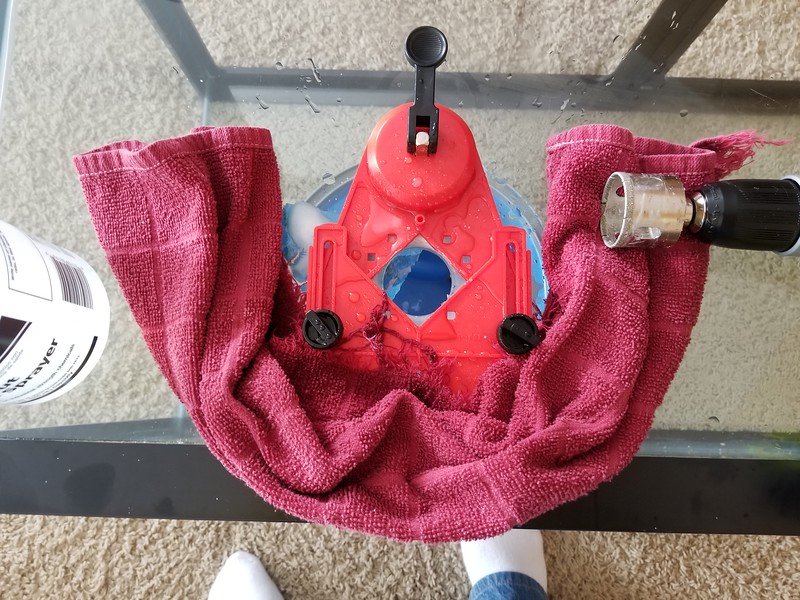
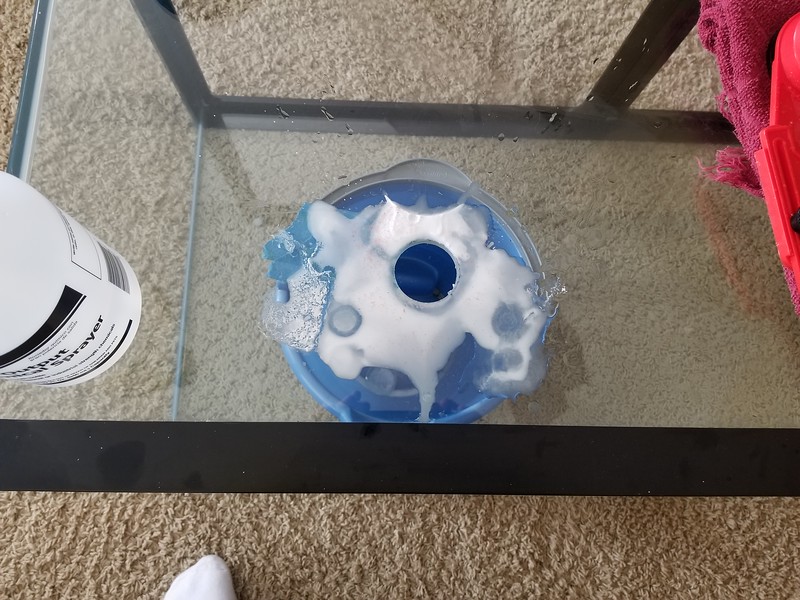
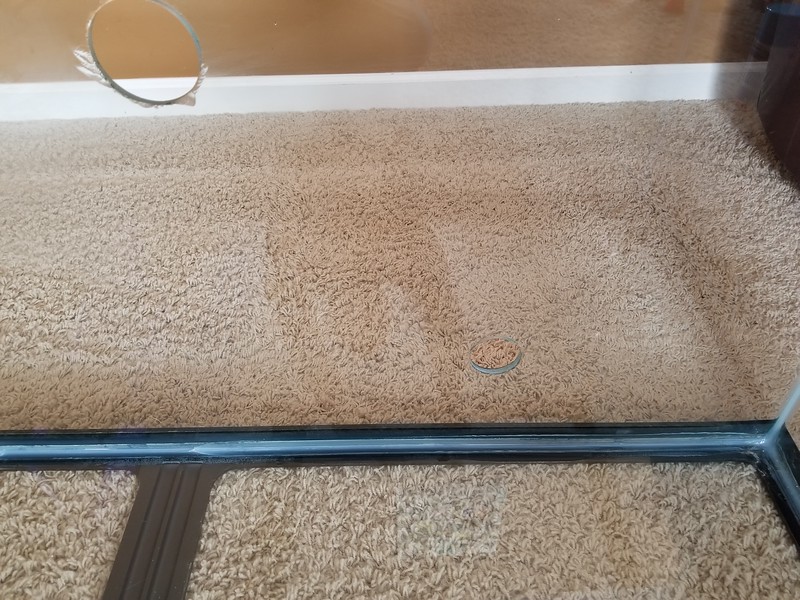
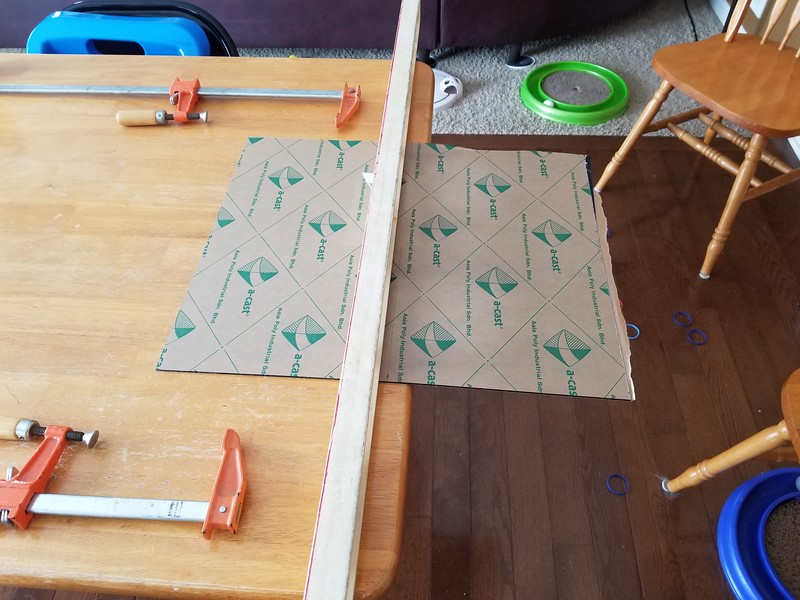
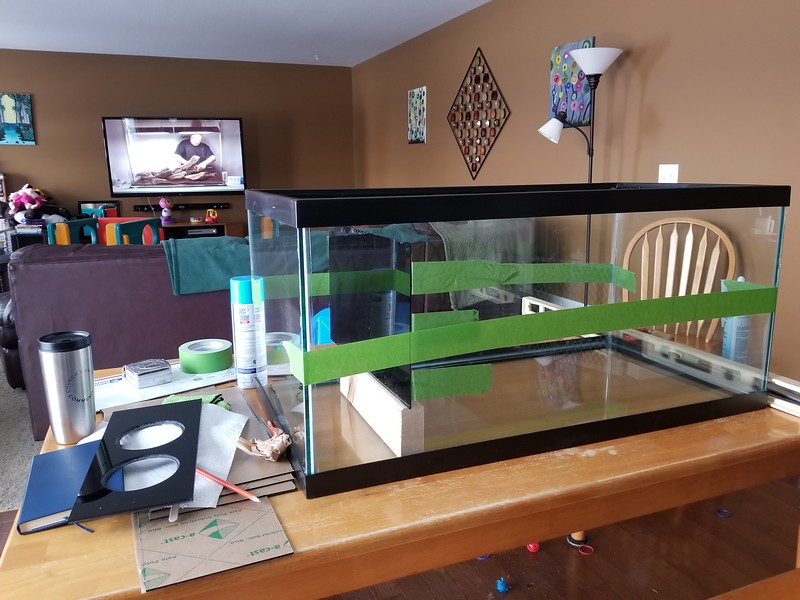
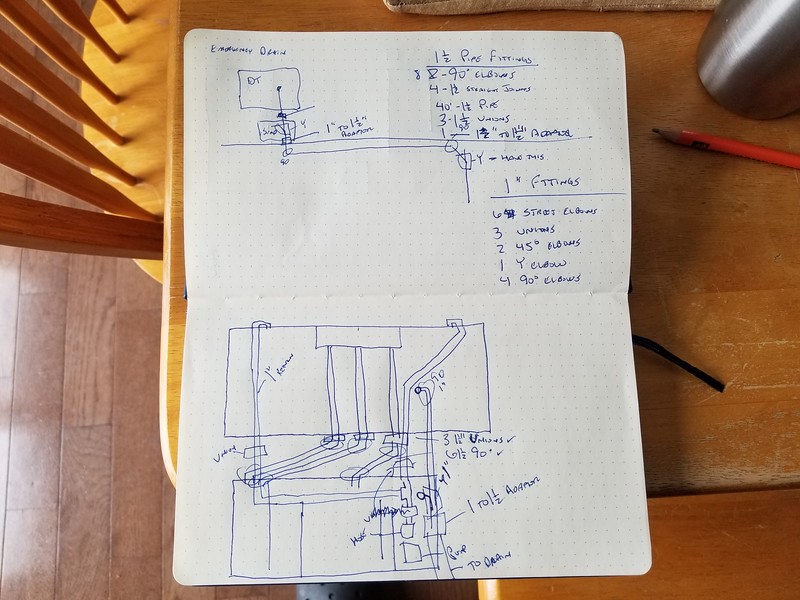
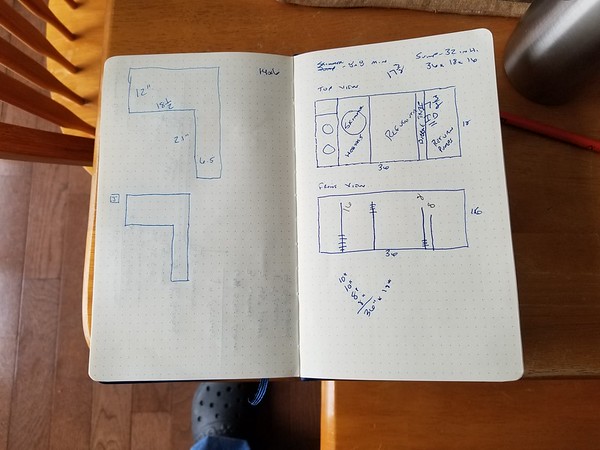
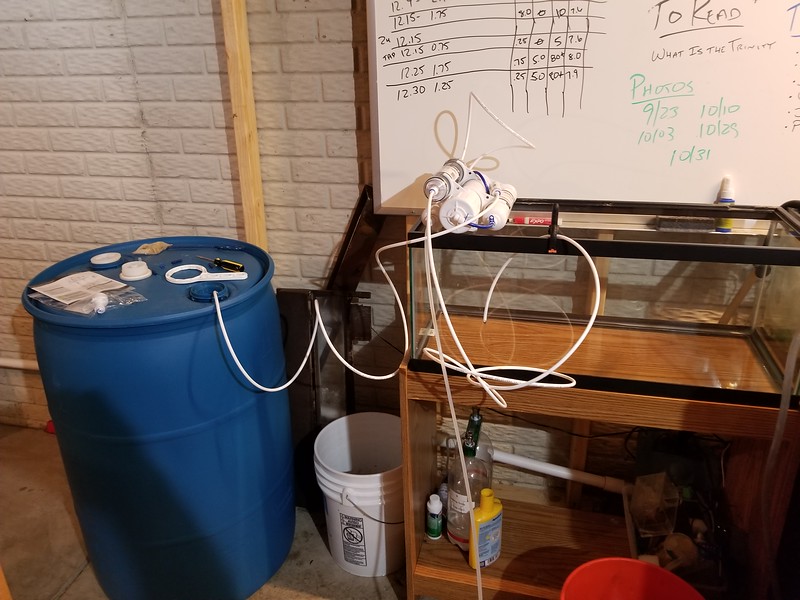
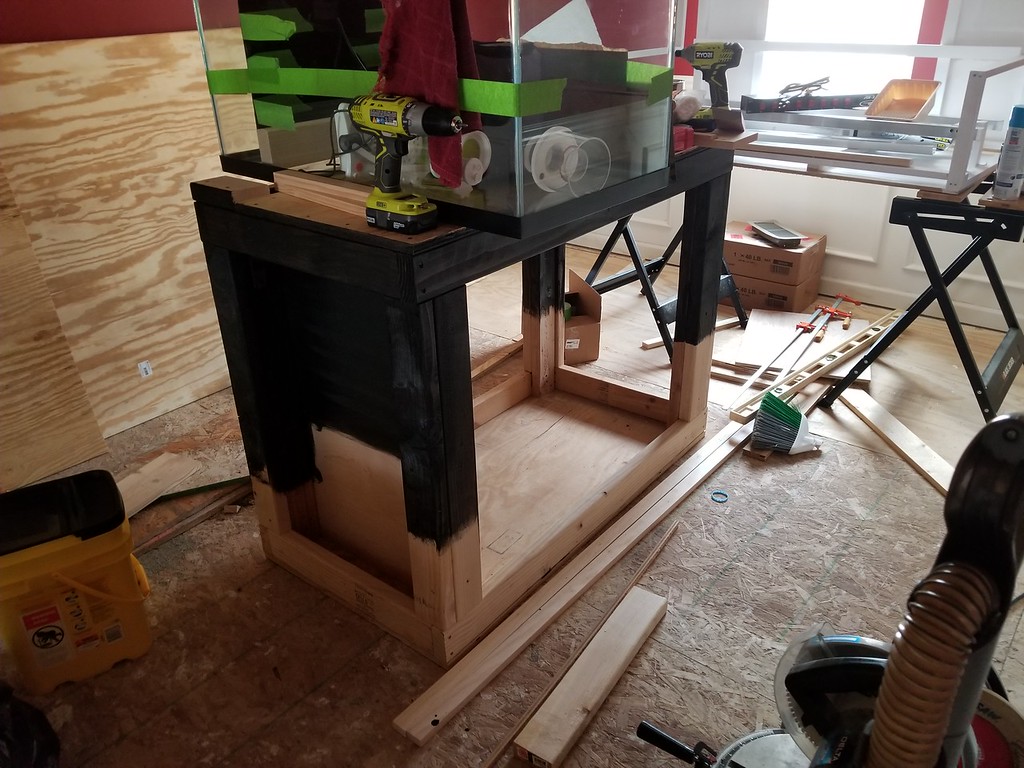
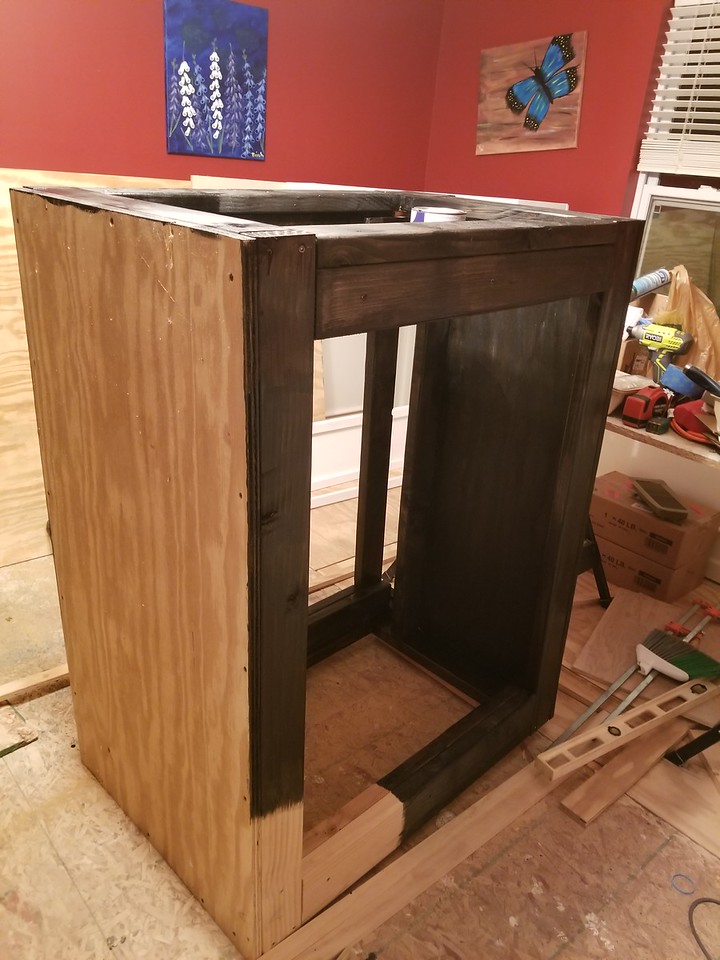
OP
OP
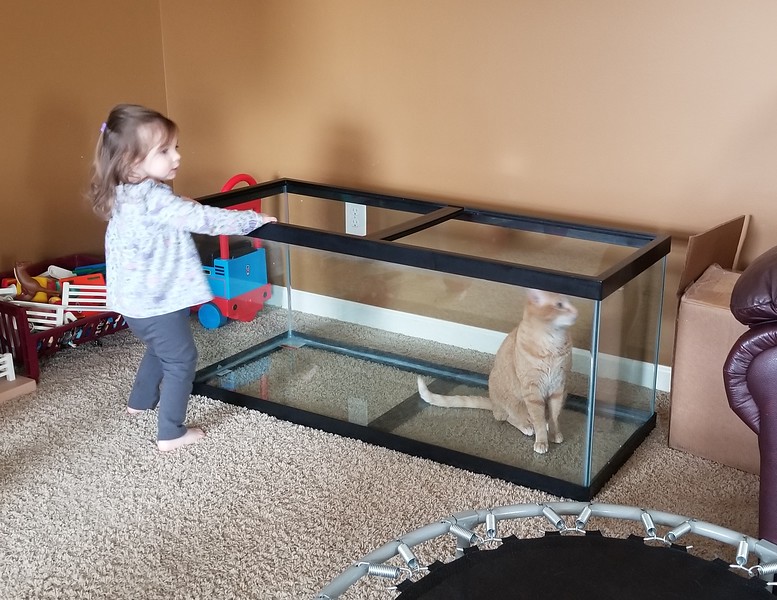
watching this thread, hoping to see the tank room downstairs haha
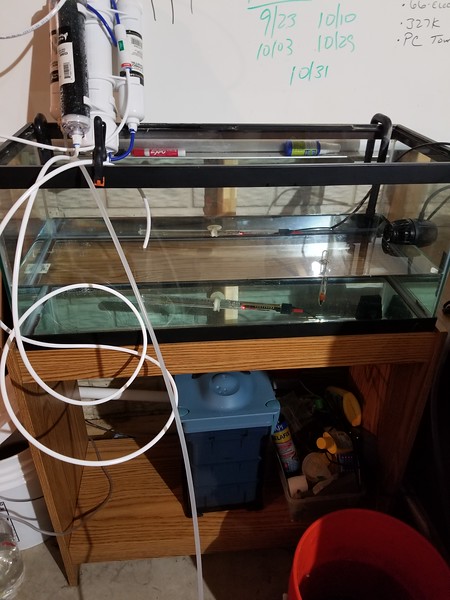
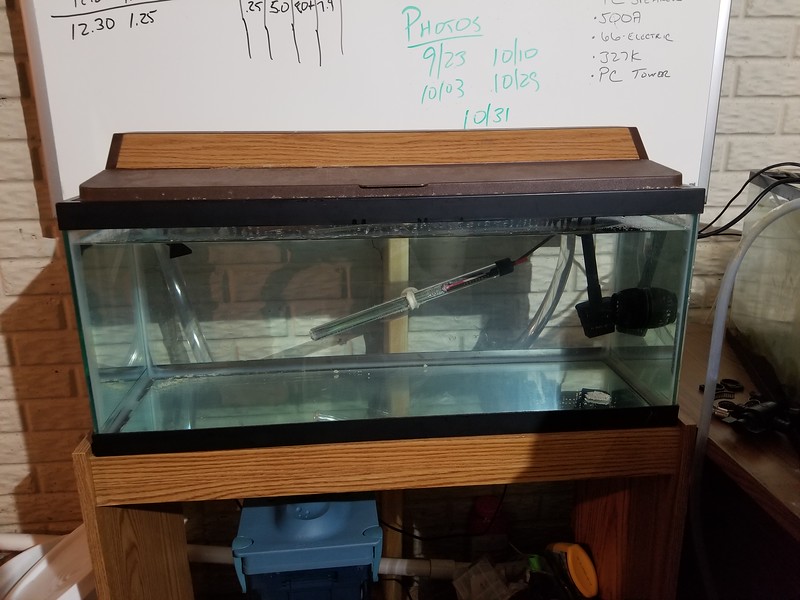
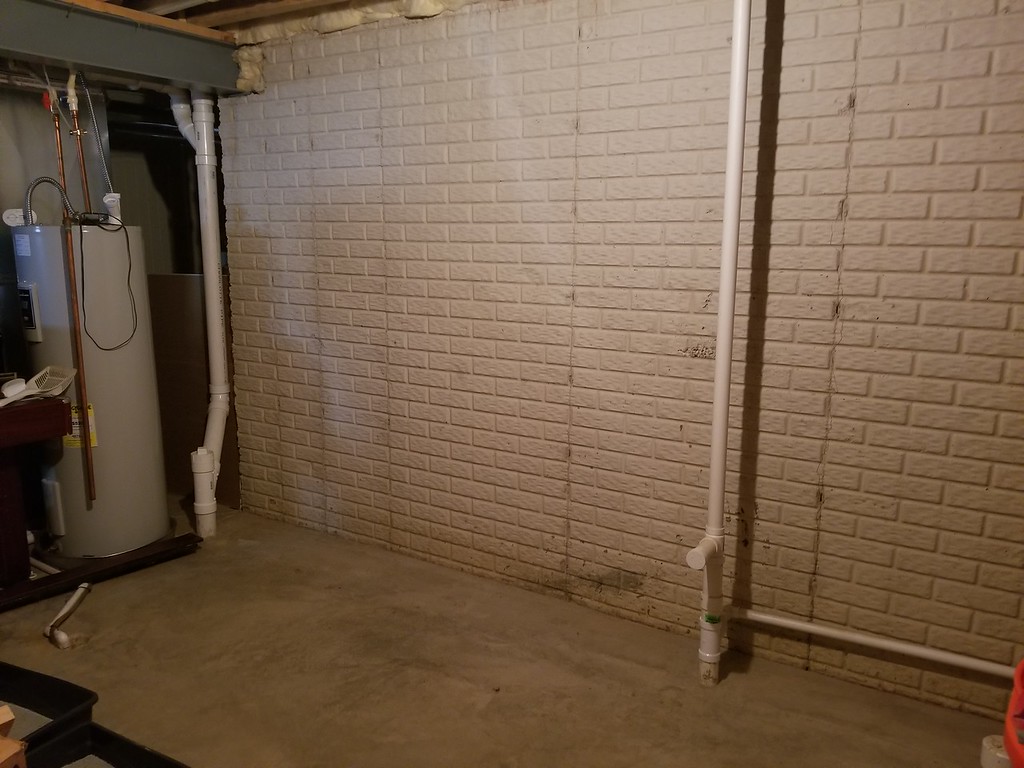
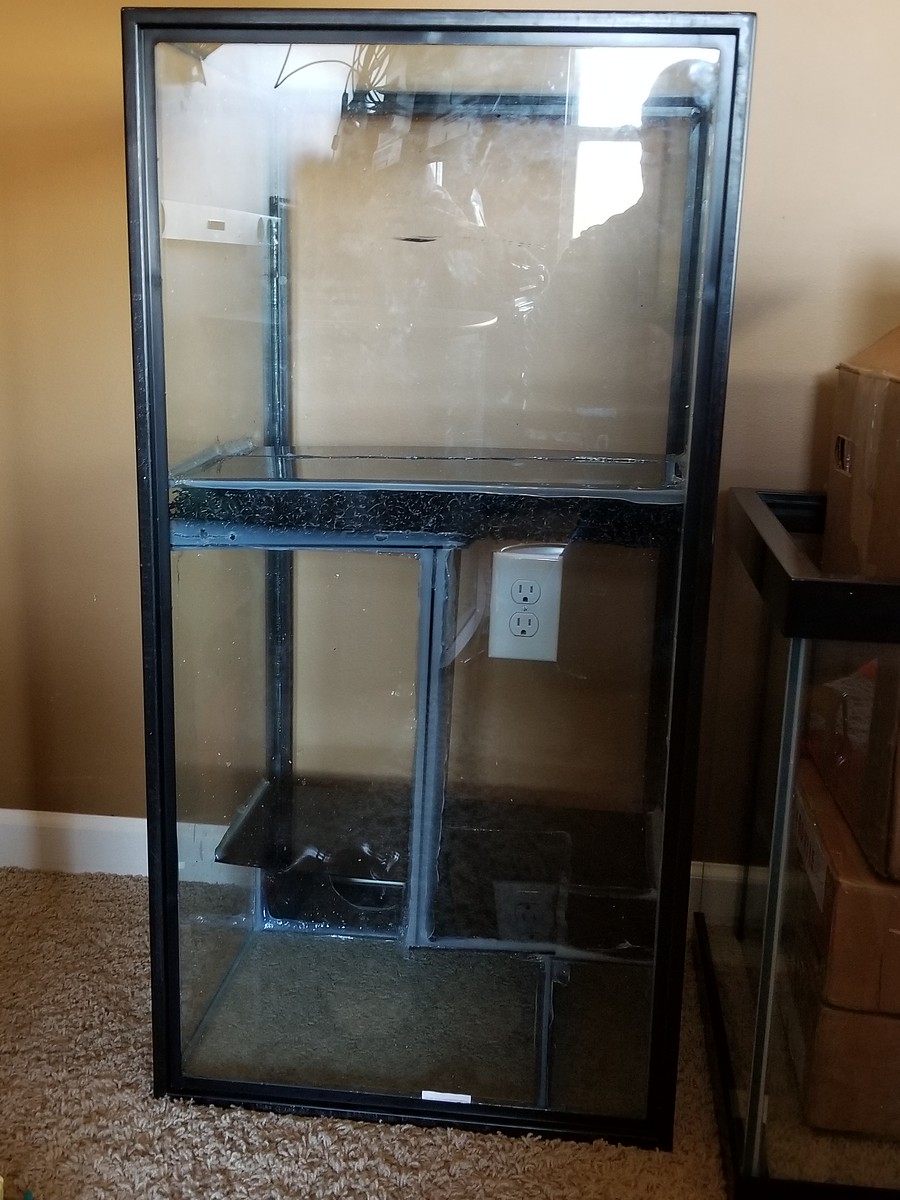
That won't happen for a while... The basement is under construction and my Man Cave was the only available space in which to move stuff while construction is going on, so my Man Cave is basically a room full of boxes, furniture, etc. with two small walkways to give me access to my tanks so I can feed the fish and change their water when necessary... After I'm done with the basement construction though, I'll post some pics...