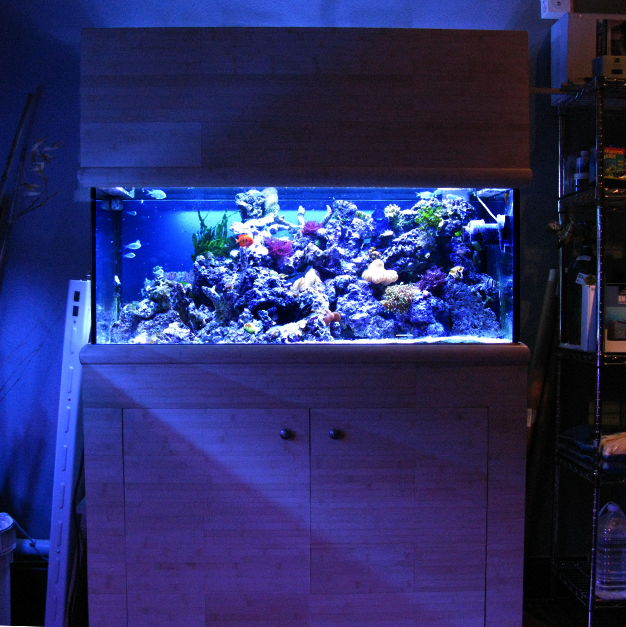
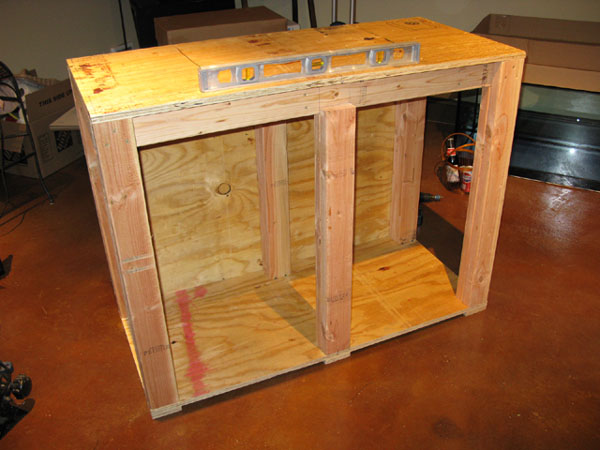
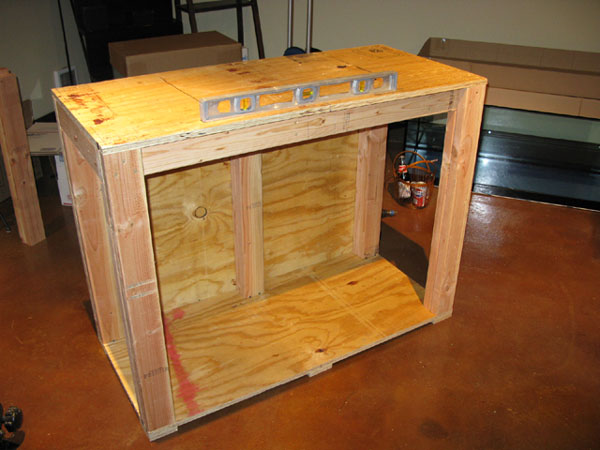
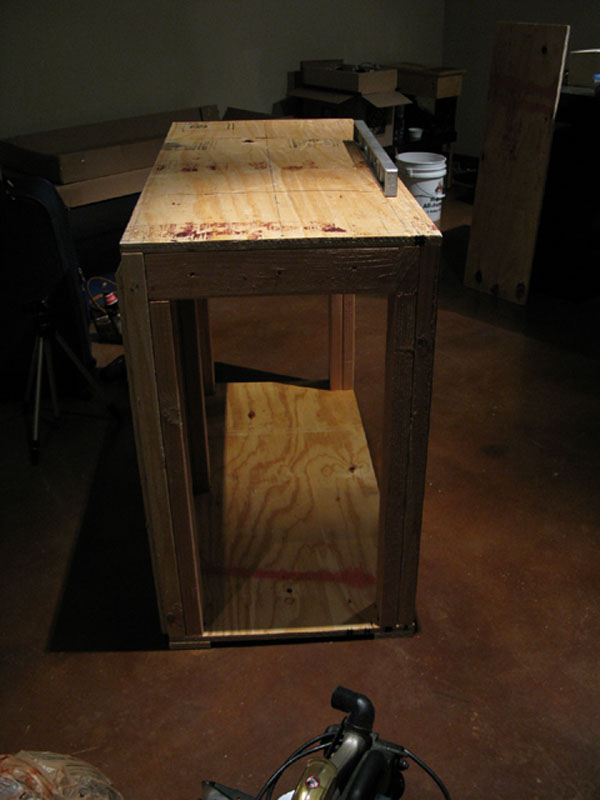
This is my tank build thread from the beginning, to show tank progression to current status (last page).
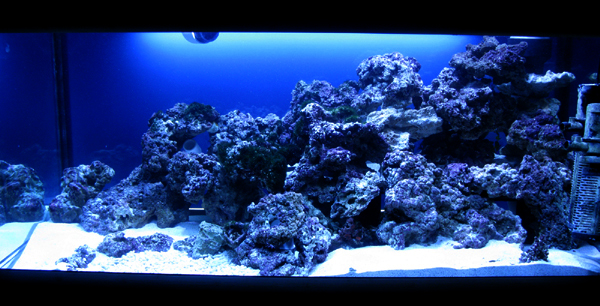
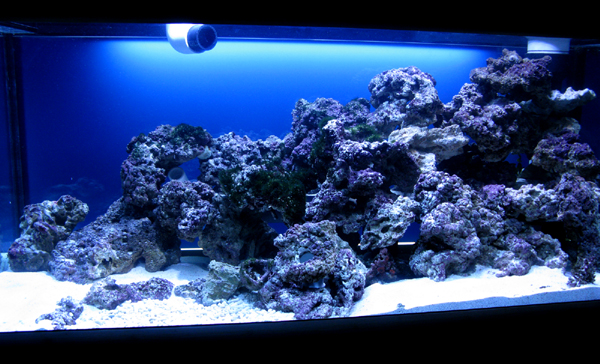
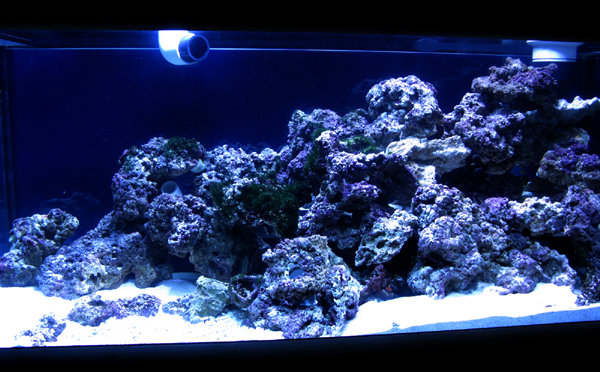
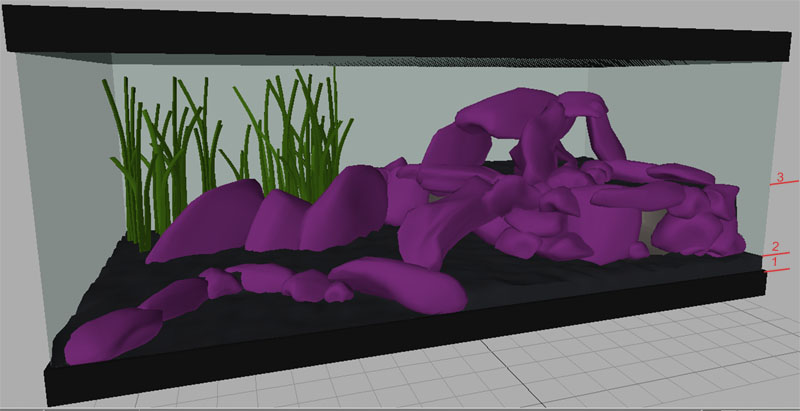
I wanted to try something a little different with this Build. Ive had my personal tank for a while, over 15 years in the same exact 55 gal tank, all my Fiji rock shoe horned in to the tank, not allot of open space at all. I wanted to try a "tri level" setup. I had done a 2 level setup on the sandy front left of the 210 at before. This 2 level sand was formed by a Live rock ridge, with high to top sand on one side, and low sand on the other, kinda like a dam... in a arc. It was decorated with zoas, and such, and lookes really colorful. It was prime realistate for gobies, blennies, and other animals to make their home, in fact they often fought over this area. I believe it was because it was easy to dig in and make a nice protected home. It also put the fish that are small right out in plain sight for perfect viewing.
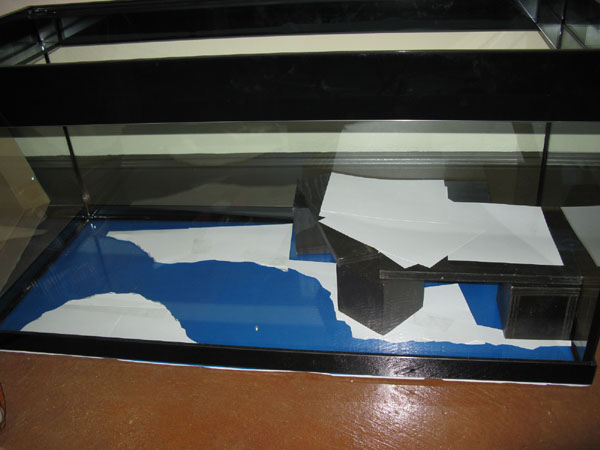
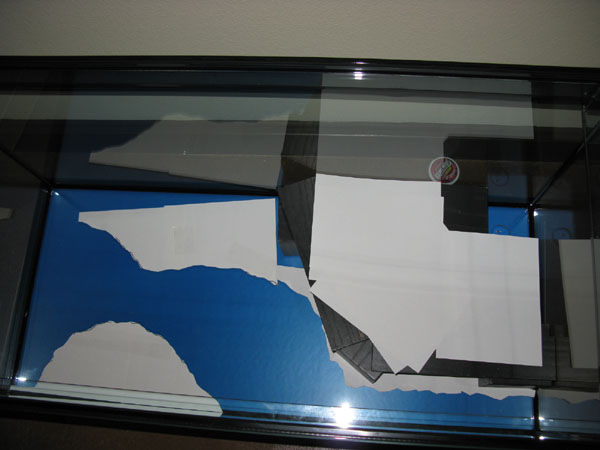
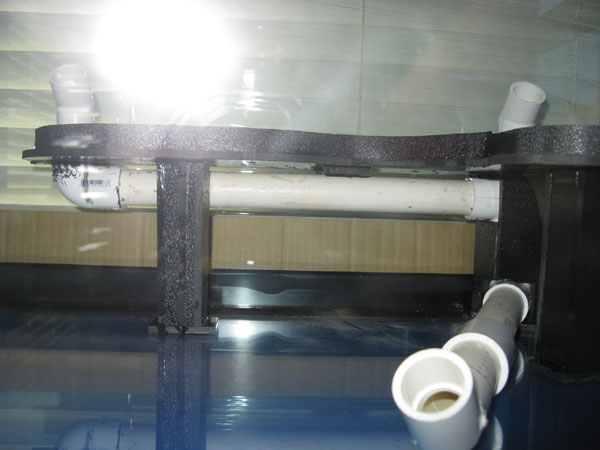
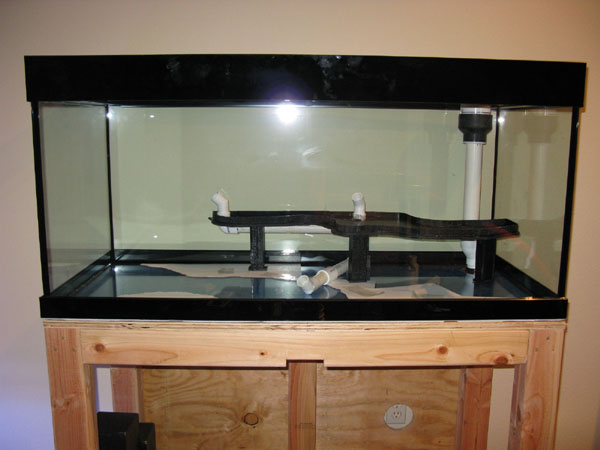
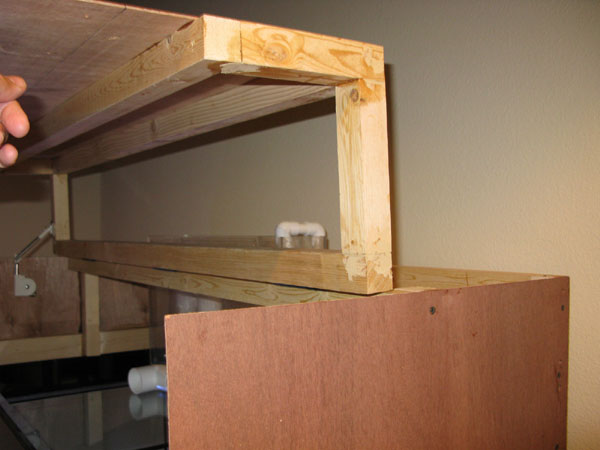
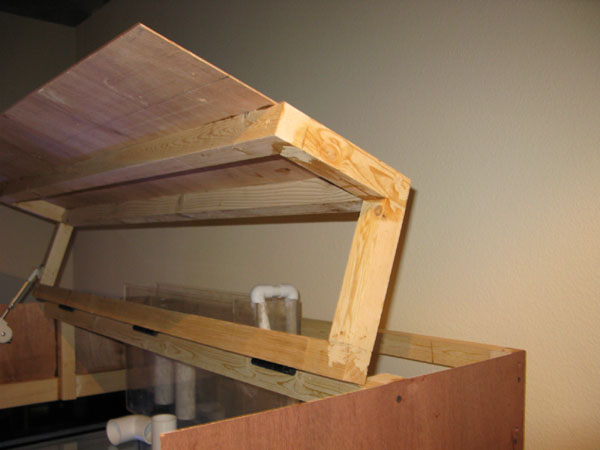
So the idea was to build a "stepped" type sand /rock structure. The Idea was to have a "tray" to hold sand supported somehow, with a wide open cave below the tray. There is an opening on the front right, and back left of the "tray" area (cave is shown in light grey) sand is pending "black" sand, but that may change. I also figured id look at some reef pictures, and some fresh planted tanks for ideas.
I was able to mock up the rockwork in a 3D model. Now remember... this is a mockup, the purple stones, are suppose to represent live rock, but there shaped like round pond style rocks for the mockup. This is a first idea version, so it will look different due to rock shapes and such, and the volume of rock I actually have too. It will also have allot of plants, and be completely devoid of "tangs".
This system will also not have any sand deeper than 3.5 inches max anywhere but will be slightly built up on the back sides of the left side "high side" ledge.
Here is my initial 3D Mock up:
slightly diff angle, showing the 3 possible "chill spots" for the smaller inhabitants, highlighted by yellow light
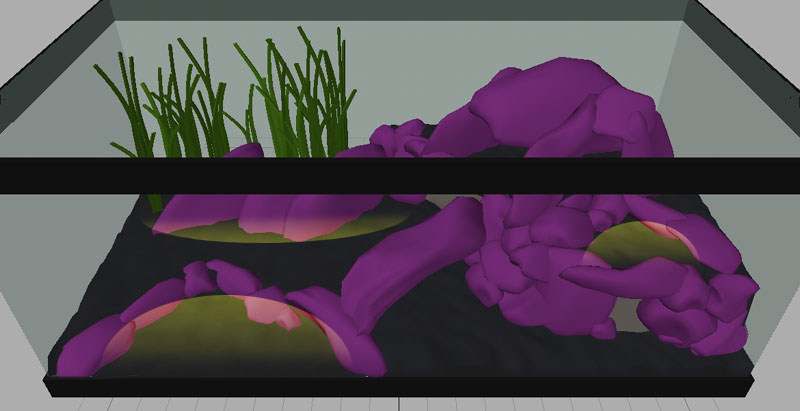
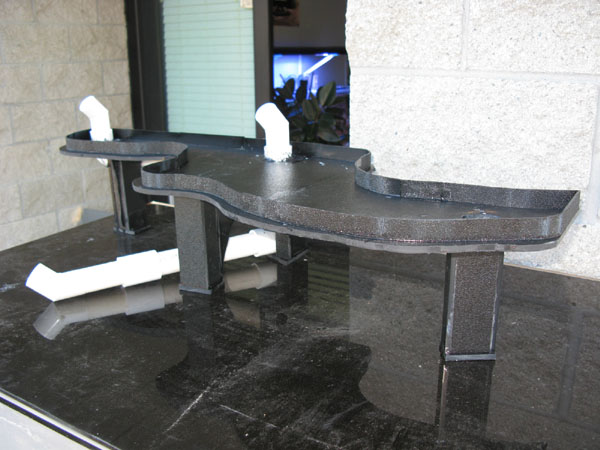
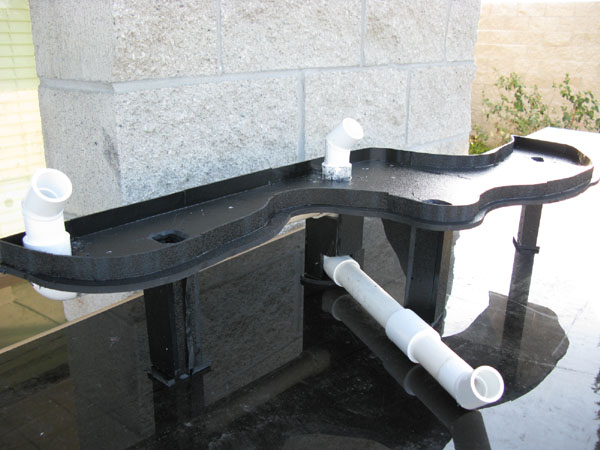
Thoes green sticks are actualy Seagrass, I plan also to have a few mangroves on the level 3, so they can crest the water surface eventually. I havent got all the livestock areas planned out yet, but I did want to "semi" mock up the tank, so i can figure out how im going to do the shelf on the right with the sand "ON TOP" of it.
All the 3d model was for is to figure out the "Direction" and to get the shelf area "defined". It may come out very different, but thats the direction.
Ill try to explain it a little better as the idea develops.
Any comments are GREATLY appreciated
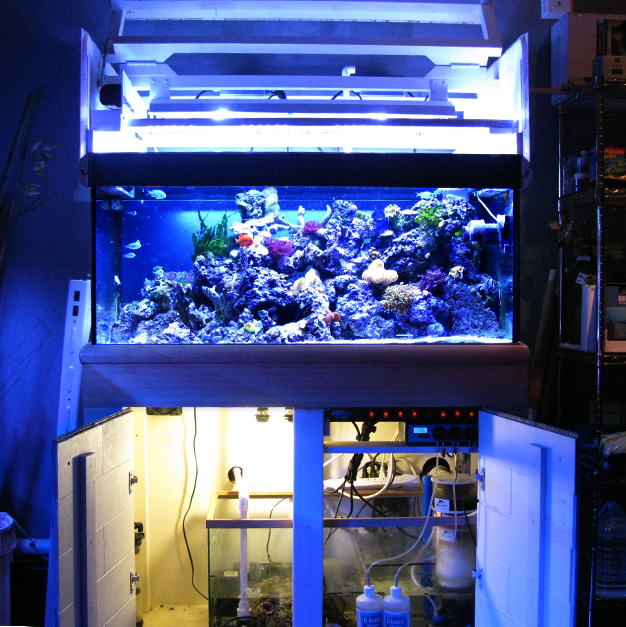
EQUIPMENT Since 9-1-09:
NAC-7 Bubble Magus Skimmer
BM-T01 Bubble Magus 3 Pump Doser
Reef Tec 4000 Pump
8 Bulb T5 lighting w/All ATI bulbs Change 4-2010
- Blue + (front to back)
- Blue +
- Aquablue Special
- Blue +
- Blue +
- Purple +
- Blue +
- Blue +
2 x 175w MH Lighting Rem 4-2010
2x Koralia 4 circulation Pump
1x Tunze 6060 circulation Pump (Modified)
NOTE:
Italic: Denotes Added Already
Red: Denotes Removed from Planned Addition
I wanted to try something a little different with this Build. Ive had my personal tank for a while, over 15 years in the same exact 55 gal tank, all my Fiji rock shoe horned in to the tank, not allot of open space at all. I wanted to try a "tri level" setup. I had done a 2 level setup on the sandy front left of the 210 at before. This 2 level sand was formed by a Live rock ridge, with high to top sand on one side, and low sand on the other, kinda like a dam... in a arc. It was decorated with zoas, and such, and lookes really colorful. It was prime realistate for gobies, blennies, and other animals to make their home, in fact they often fought over this area. I believe it was because it was easy to dig in and make a nice protected home. It also put the fish that are small right out in plain sight for perfect viewing.
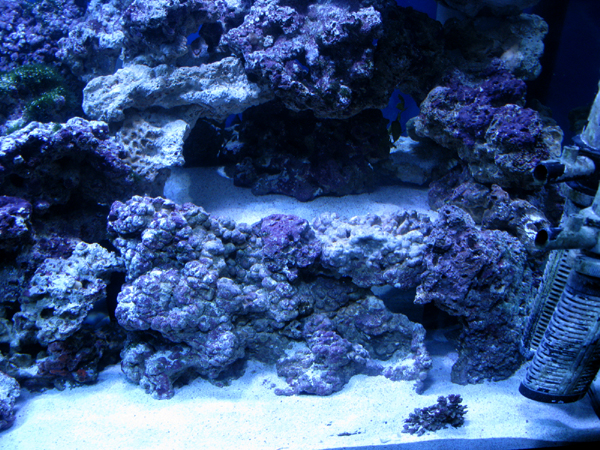
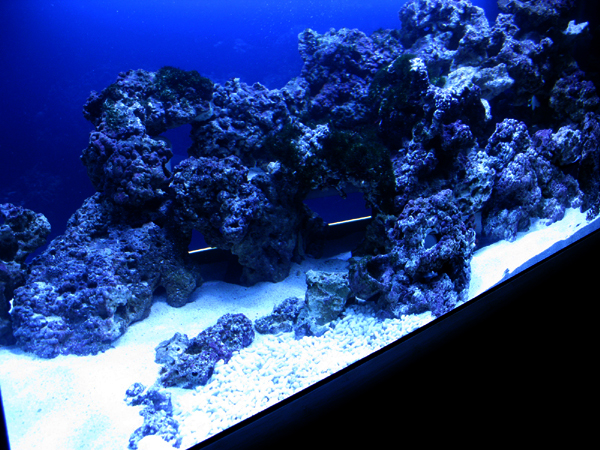
So the idea was to build a "stepped" type sand /rock structure. The Idea was to have a "tray" to hold sand supported somehow, with a wide open cave below the tray. There is an opening on the front right, and back left of the "tray" area (cave is shown in light grey) sand is pending "black" sand, but that may change. I also figured id look at some reef pictures, and some fresh planted tanks for ideas.
I was able to mock up the rockwork in a 3D model. Now remember... this is a mockup, the purple stones, are suppose to represent live rock, but there shaped like round pond style rocks for the mockup. This is a first idea version, so it will look different due to rock shapes and such, and the volume of rock I actually have too. It will also have allot of plants, and be completely devoid of "tangs".
This system will also not have any sand deeper than 3.5 inches max anywhere but will be slightly built up on the back sides of the left side "high side" ledge.
Here is my initial 3D Mock up:
slightly diff angle, showing the 3 possible "chill spots" for the smaller inhabitants, highlighted by yellow light
Thoes green sticks are actualy Seagrass, I plan also to have a few mangroves on the level 3, so they can crest the water surface eventually. I havent got all the livestock areas planned out yet, but I did want to "semi" mock up the tank, so i can figure out how im going to do the shelf on the right with the sand "ON TOP" of it.
All the 3d model was for is to figure out the "Direction" and to get the shelf area "defined". It may come out very different, but thats the direction.
Ill try to explain it a little better as the idea develops.
Any comments are GREATLY appreciated
EQUIPMENT Since 9-1-09:
NAC-7 Bubble Magus Skimmer
BM-T01 Bubble Magus 3 Pump Doser
Reef Tec 4000 Pump
8 Bulb T5 lighting w/All ATI bulbs Change 4-2010
- Blue + (front to back)
- Blue +
- Aquablue Special
- Blue +
- Blue +
- Purple +
- Blue +
- Blue +
2 x 175w MH Lighting Rem 4-2010
2x Koralia 4 circulation Pump
1x Tunze 6060 circulation Pump (Modified)
NOTE:
Italic: Denotes Added Already
Red: Denotes Removed from Planned Addition


")