So I've done this a bunch of times over the last 30 years. My last one was supposed to be a Reefer 250 back in 2016, and even after getting the all-critical WAF approval, things went south before I even finished pricing that build out. As it turns out, tank approval didn't mean husband approval, and well, one divorce, a bunch of money and almost 8 long years later, I'm circling back to this project!
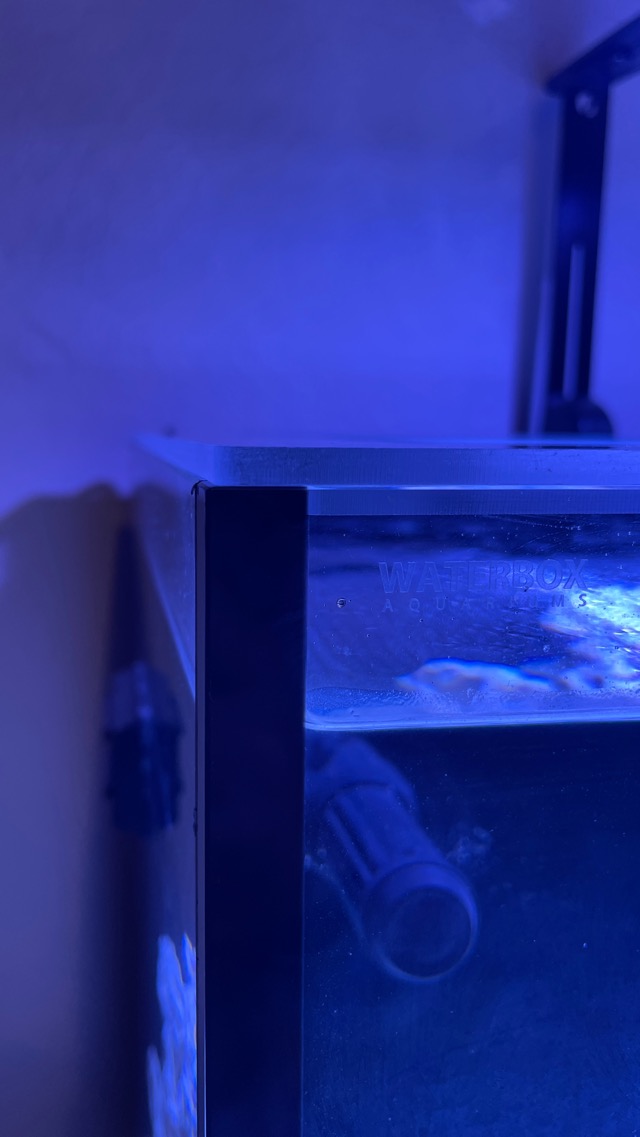
With the starter wife out of the way, and the new & improved wife 2.0 on board, we decided on a Waterbox Marine X 110.4. It was a tough decision against IM INT 100. I've had IM tanks before and we liked the appearance of the stand better, but sale prices speak to me.
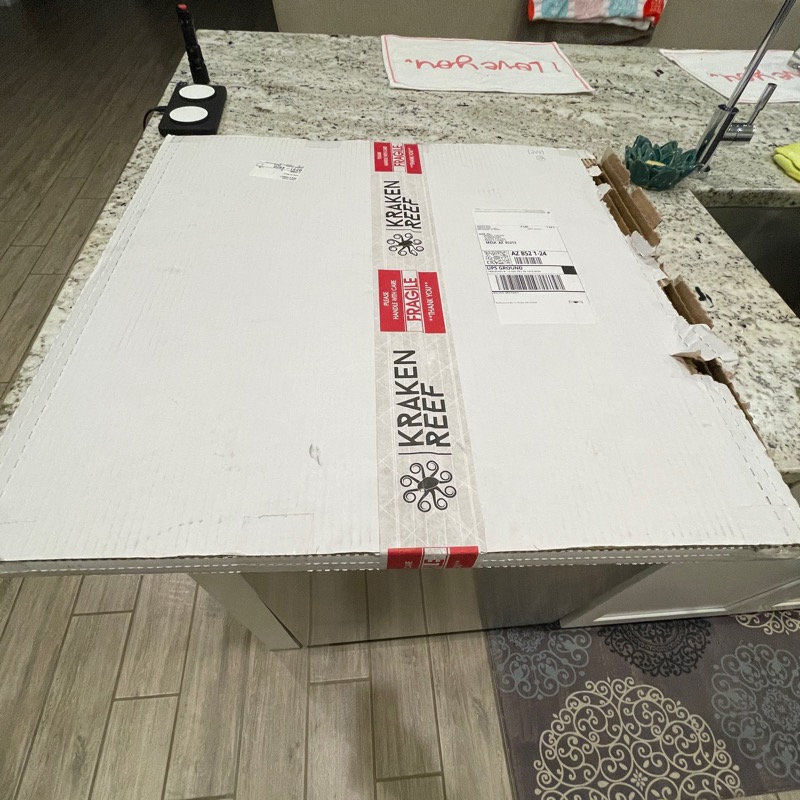
When the freight driver arrived it was like Christmas and I was so excited that I forgot to take pics lol. Everything was stacked on 1 pallet and delivered in the garage. Of course I opened it up (duh!) and things looked intact. We started assembling the stand later that night. I'll be honest here, the stand does not seem capable of the strength needed to support ~700 pounds of water, sand and rocks. It slightly wiggles left to right too much for my liking. Others have posted on similar wiggles. We'll see what happens...
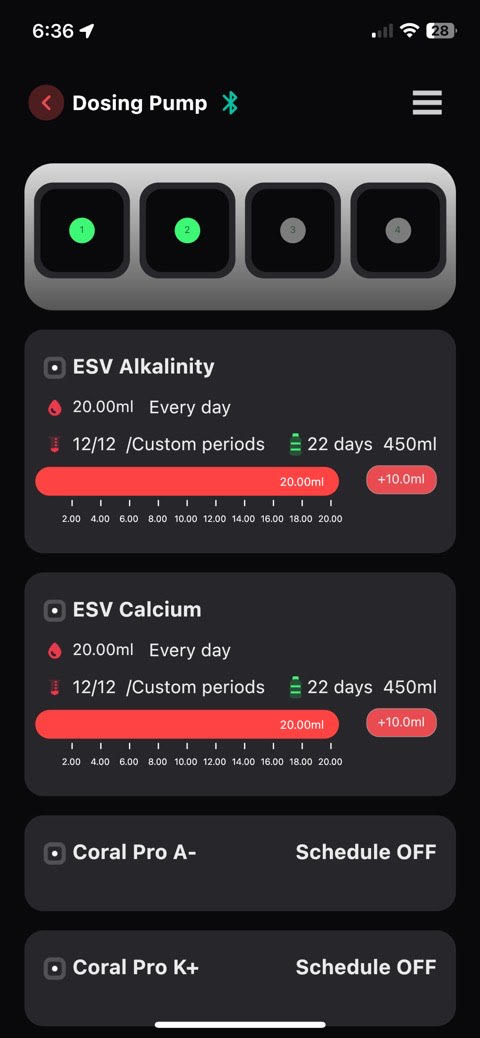
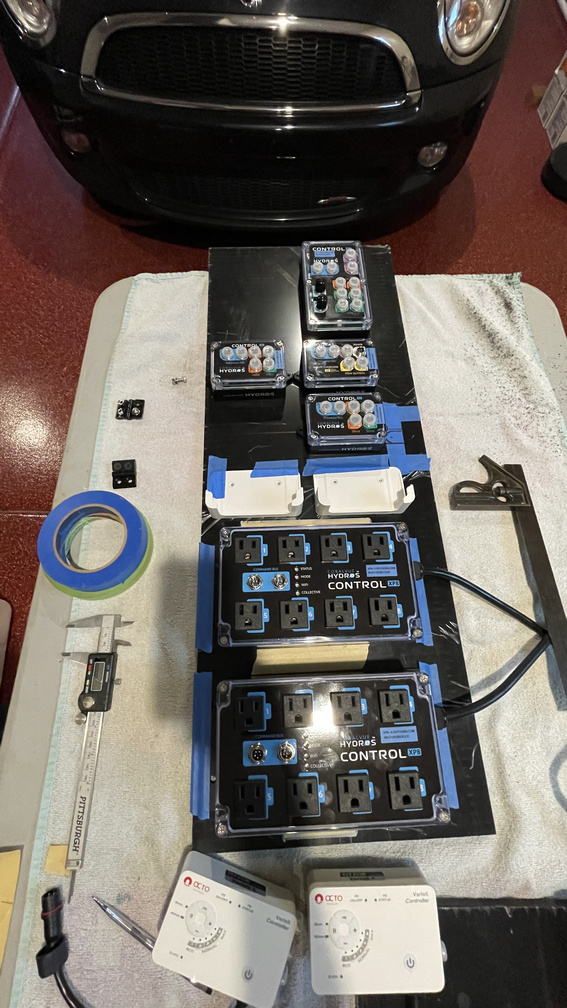
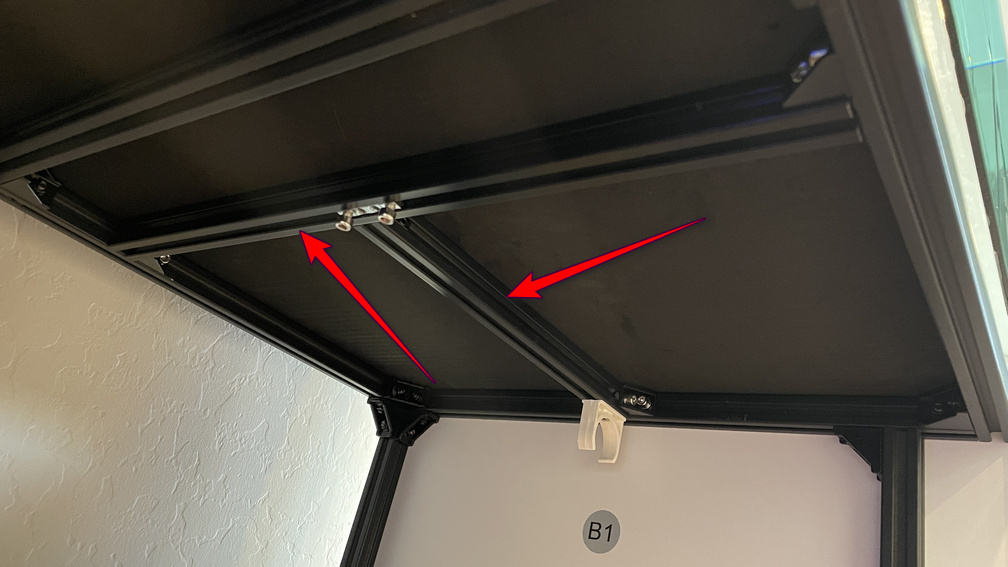
With the stand built I turned to electrical and the controller setup. On my last tank I used a ReefKeeper controller and I almost went with an Apex this time but opted for Hydros (because, why not?). I ended up shifting the sump to the right side. Left would have been a little better for other routing reasons but the drain tubes just wouldn't play well, and I wasn't willing to fight it. This left ~12 inches to put a controller board. I ended up buying some 400mm and 500mm 2020 T-slot track to add some mounting points. The first went laterally across the left opening to hold the controller board.
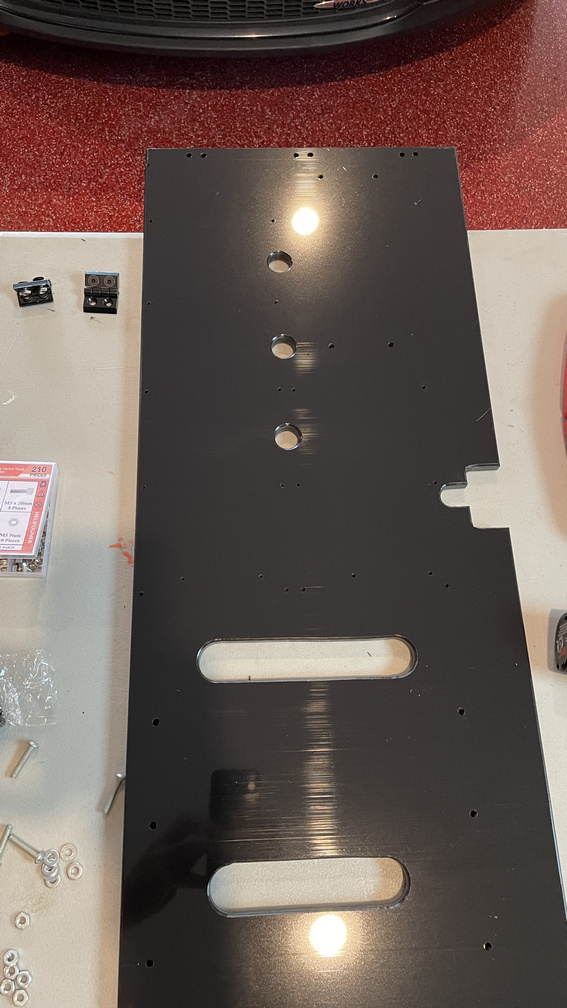
Next up was designing the board. I decided to use a 12" wide sheet of black HDPE. It looks sharp AF but drilling it and any kind of cutting is a very messy ordeal.
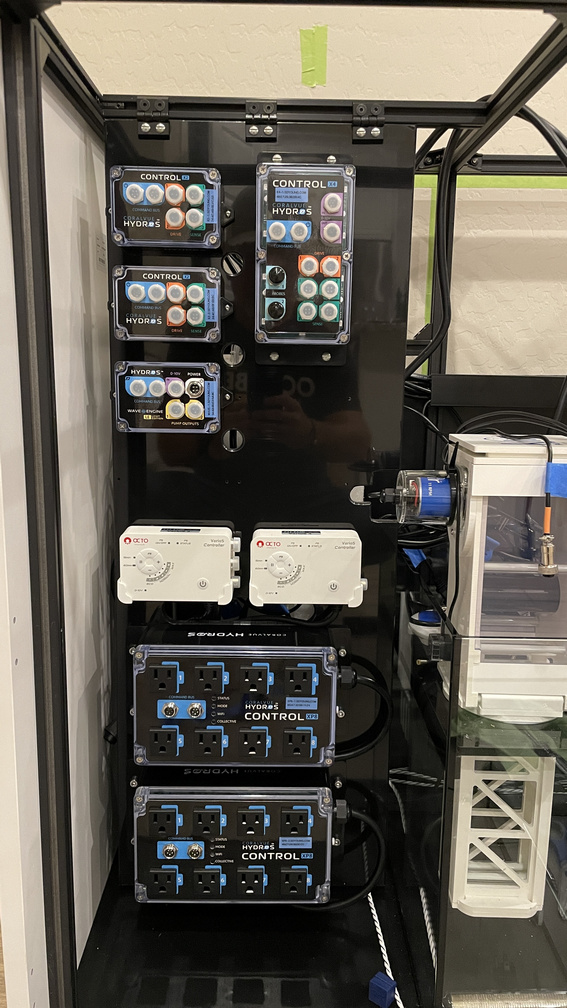
I landed on a layout that I hope works well into the future. The board is hinged at the top so I can swing it out to work behind it (allegedly, it's gonna be tough).
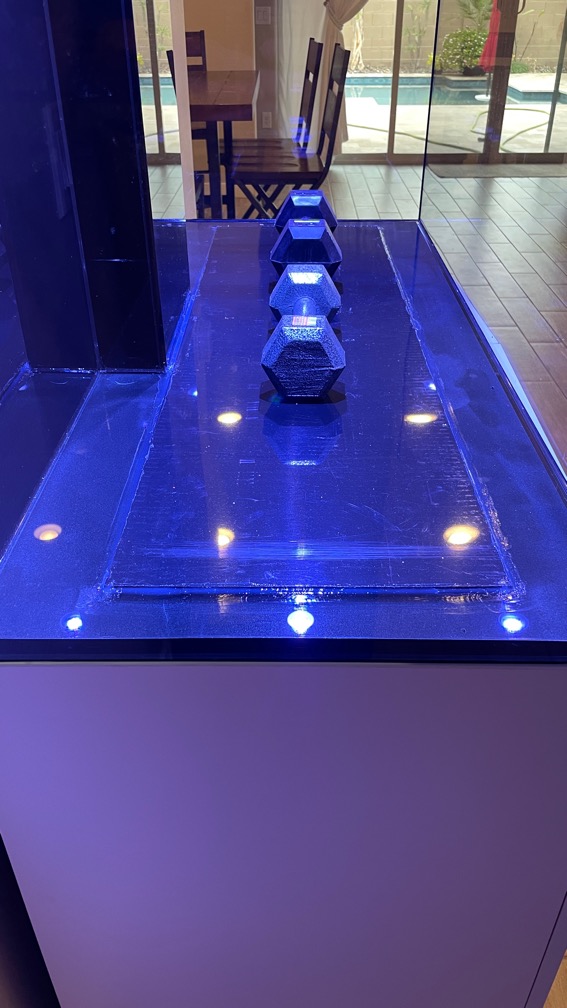
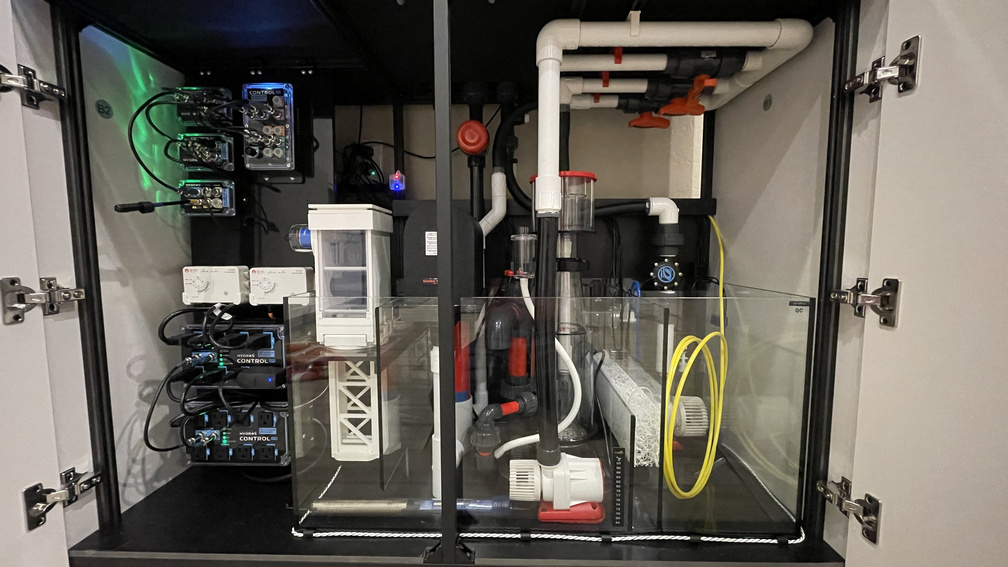
So here we are at this point
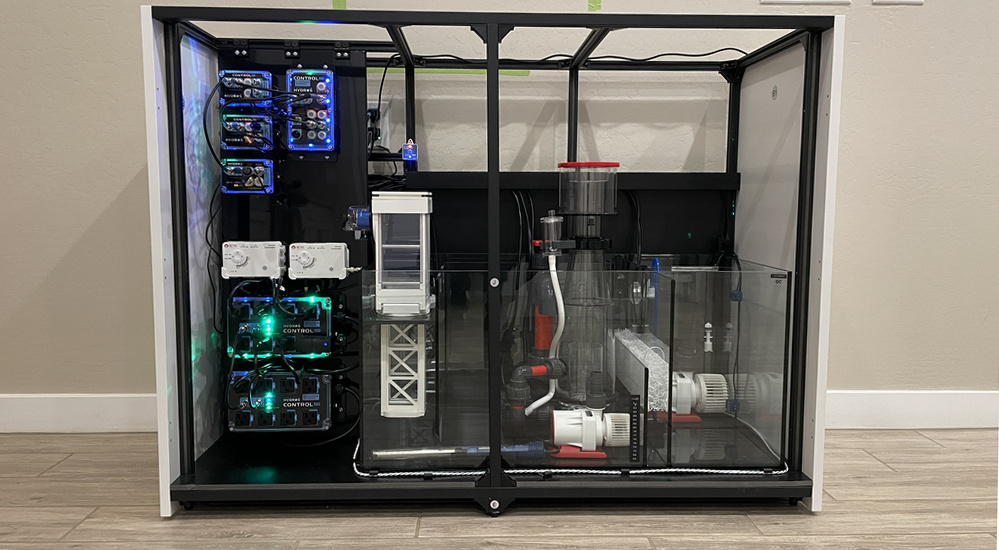
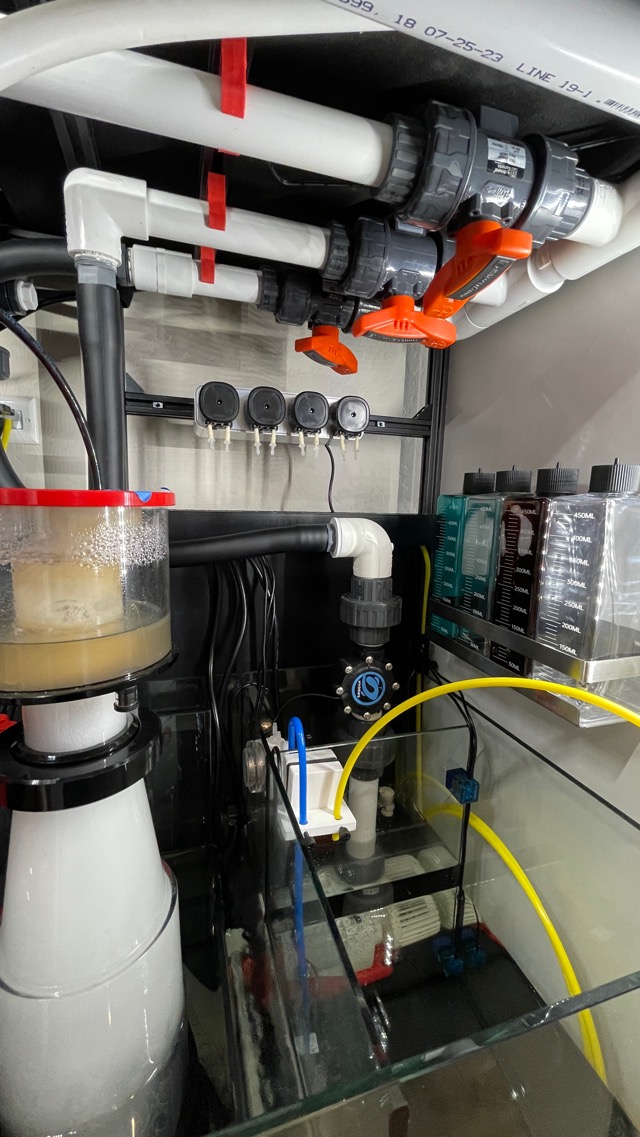
Probably a good spot to mention some other choices I made... The roller mat, skimmer and pumps... I wasn't willing to start modding the sump to accommodate any roller mat so I went with the Klir-4 since it's nearly a drop and insert. Nearly because blocking the second sock hole should have been easy by using the Klir block-off part, but of course, it didn't fit right, so I had to mod that with some white PVC board to make that work. I blame the metric system.
I've never had a recirculating skimmer so when BRS had a Classic 110 EXT open box for sale I snagged it. Hopefully no more dealing with sump water height. Also, because I'm going to try an algae scrubber, some threads note a skimmer may not be needed. If so, then great because it was a steal, but it's there just in case. The scrubber is a Santa Monica RAIN2 with a DIY pole mount with (you guessed it) more PVC board and some fittings. Way cheaper than the ready-made mount but if you want it turn-key, spend the money and just buy it.
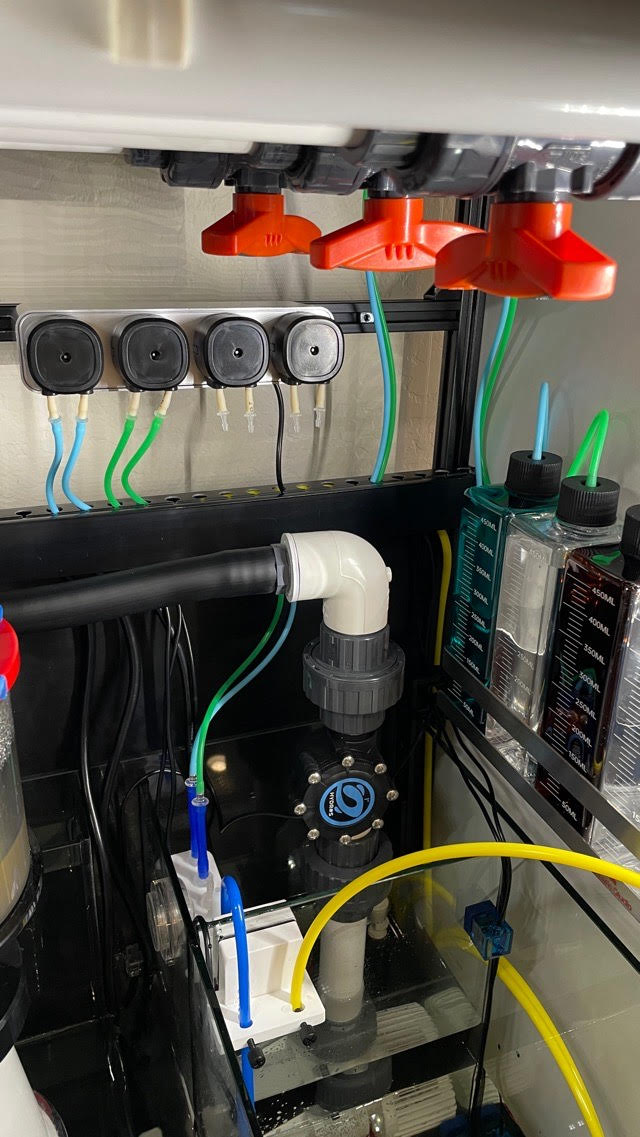
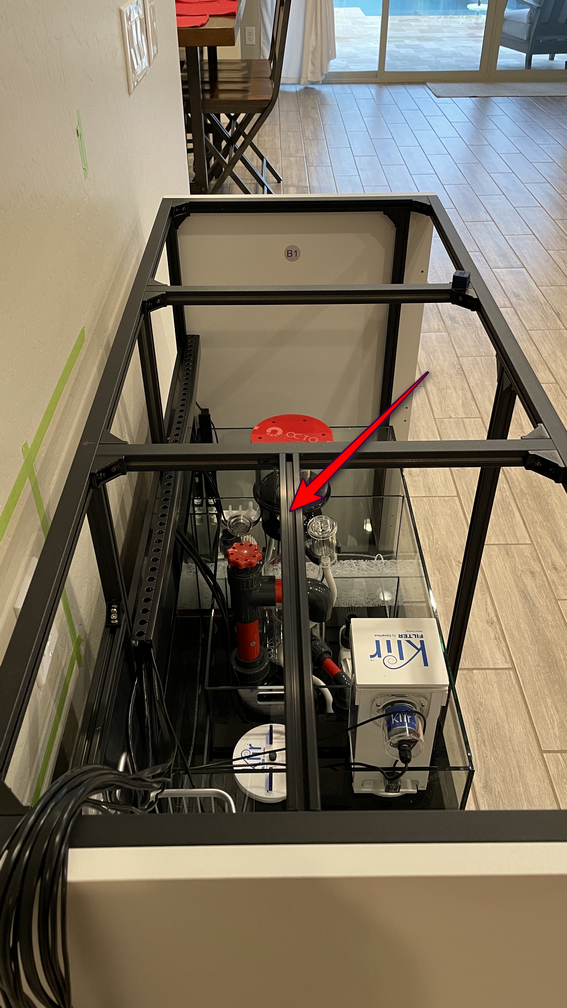
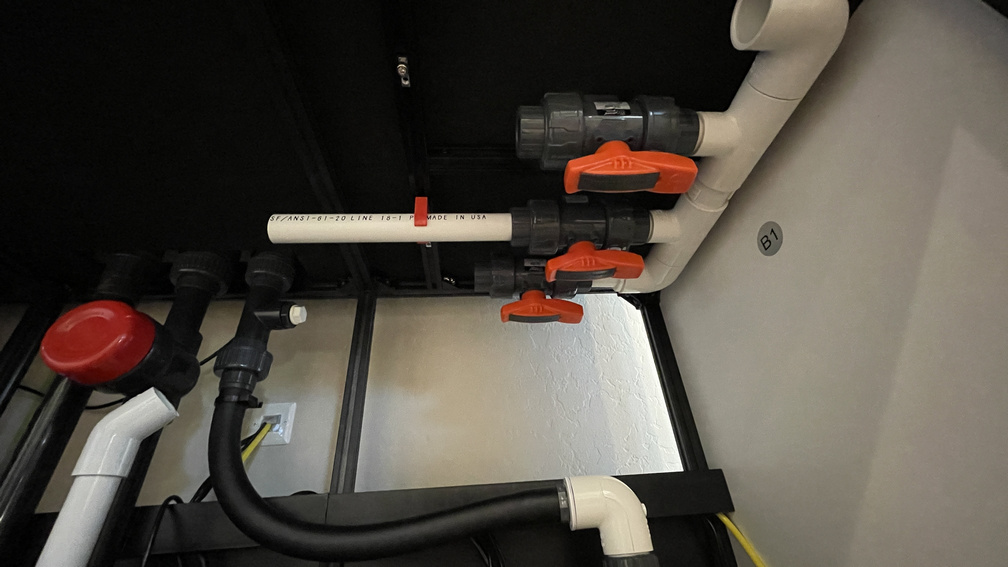
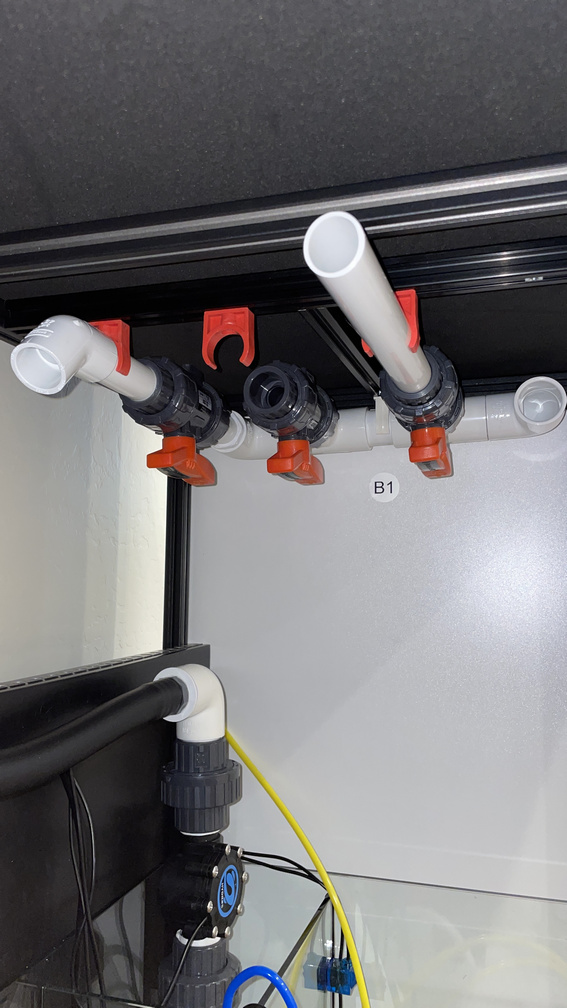
For pumps I'm running two Varios units. A VarioS-4 for the return and a VarioS-2 for the sump loop. I may regret the latter. The sump loop is to a 3 valve manifold, with one extra spared-out. Hopefully this will flow enough to feed the skimmer and scrubber. I cannot stand screwing around with siphon flow when tee-ing off the return, but nice of Waterbox to include a threaded port to work with if you want that misery.
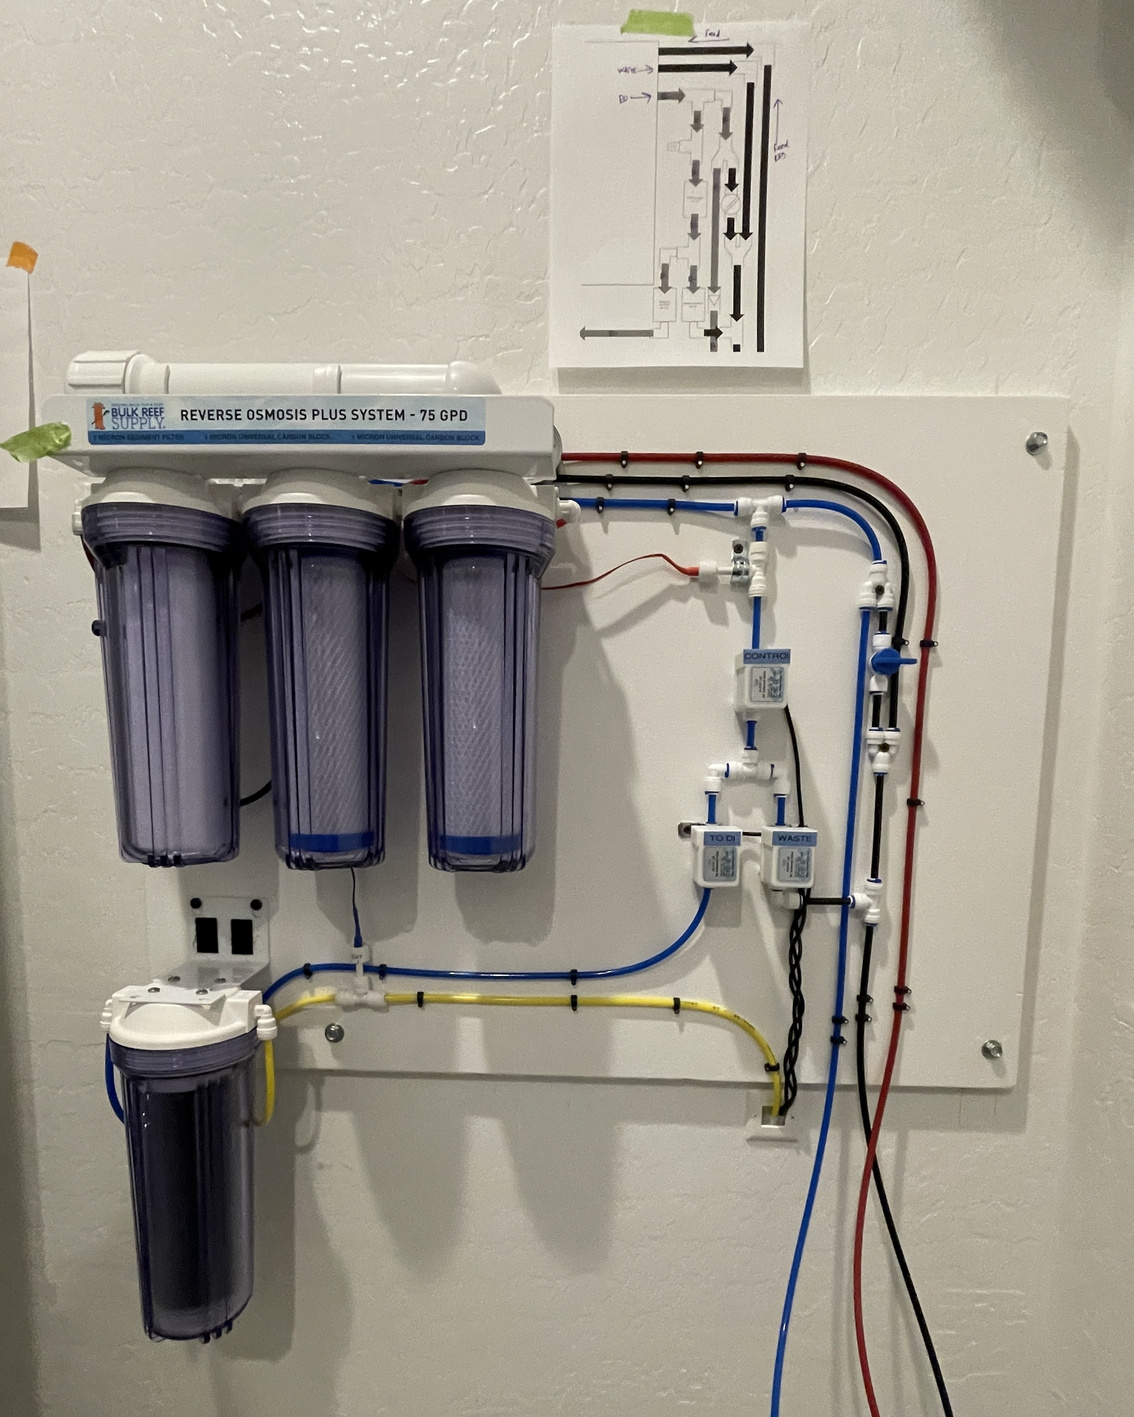
RODI is a BRS 5 stage unit. I got lucky and the wall the tank is on backs up to the laundry room. There's also a beer fridge in there that doesn't have a water line today. I'm adding a RO tank and tying in the RO permeate line through a check valve to feed the ice maker/door water. This should work well because we go through ice like crazy in this house. Since I have soft water in the laundry room I just tapped into the cold water line with this nifty adapter and a 1/4" push connect elbow to act as the supply line for the RODI. The waste just runs down the laundry drain pipe. The RODI output setup is a little unique. I have a 3-solenoid control setup. One acts as a master gate feeding two lower solenoids. Then, when I need RODI, to dump the TDS creep laden water, the waste solenoid opens. After some period (TBD) the waste solenoid closes and the permeate solenoid opens, filling the ATO reservoir. When it's filled, both the permeate and control solenoid close. The bonus is I get two solenoids to pass through so if (when?) one fails I still have the other to break flow. (No, the braided solenoid wires do not stay braided through the wall, that'd just be silly.) Red is supply, black is waste, blue is RO and yellow is RODI. Here's a link to the diagram
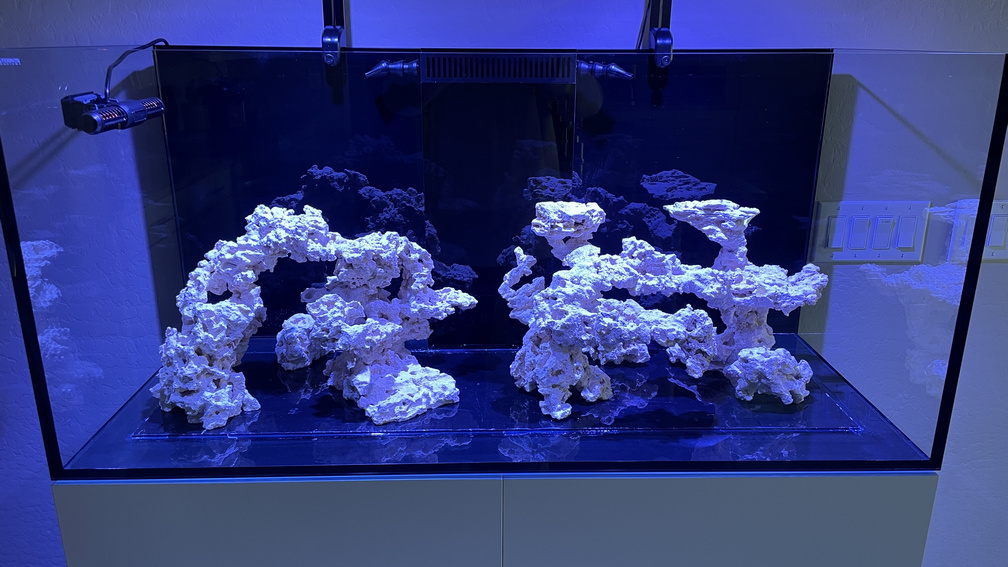
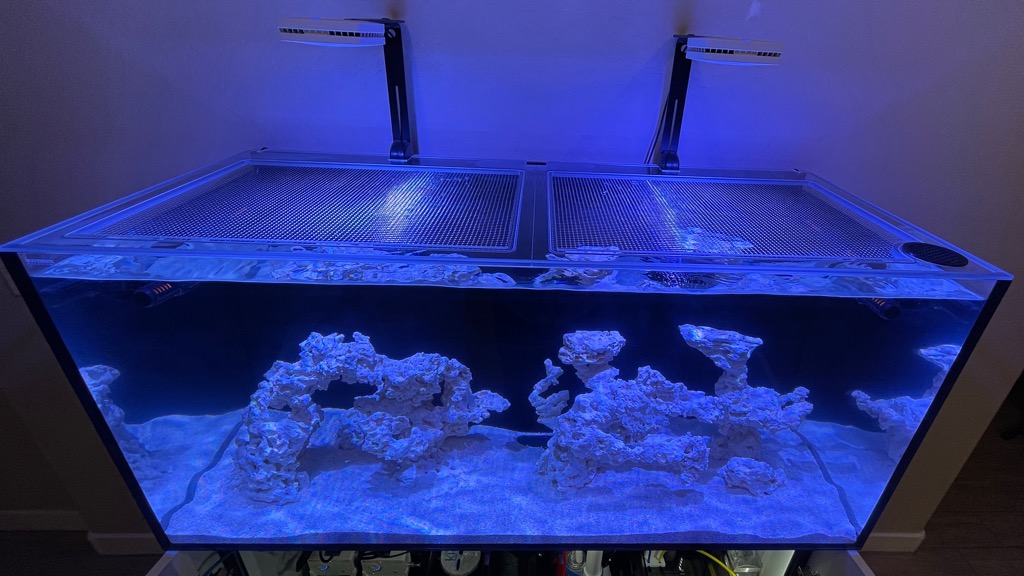
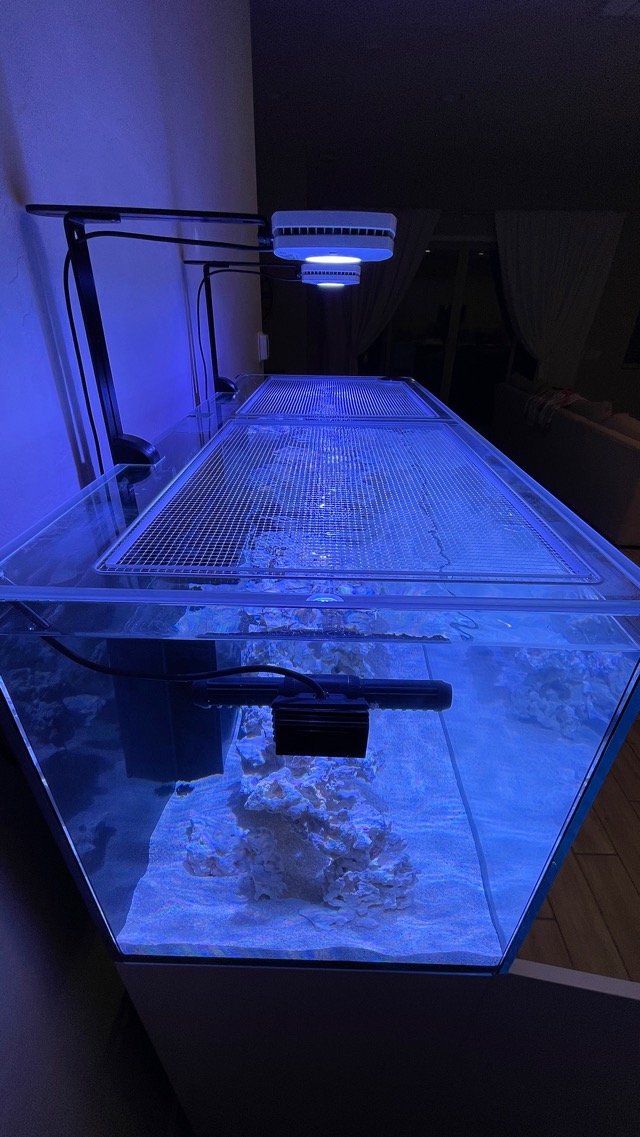
And here we are. Tank is still dry, probably wont get to leak test all of it for another week or two.
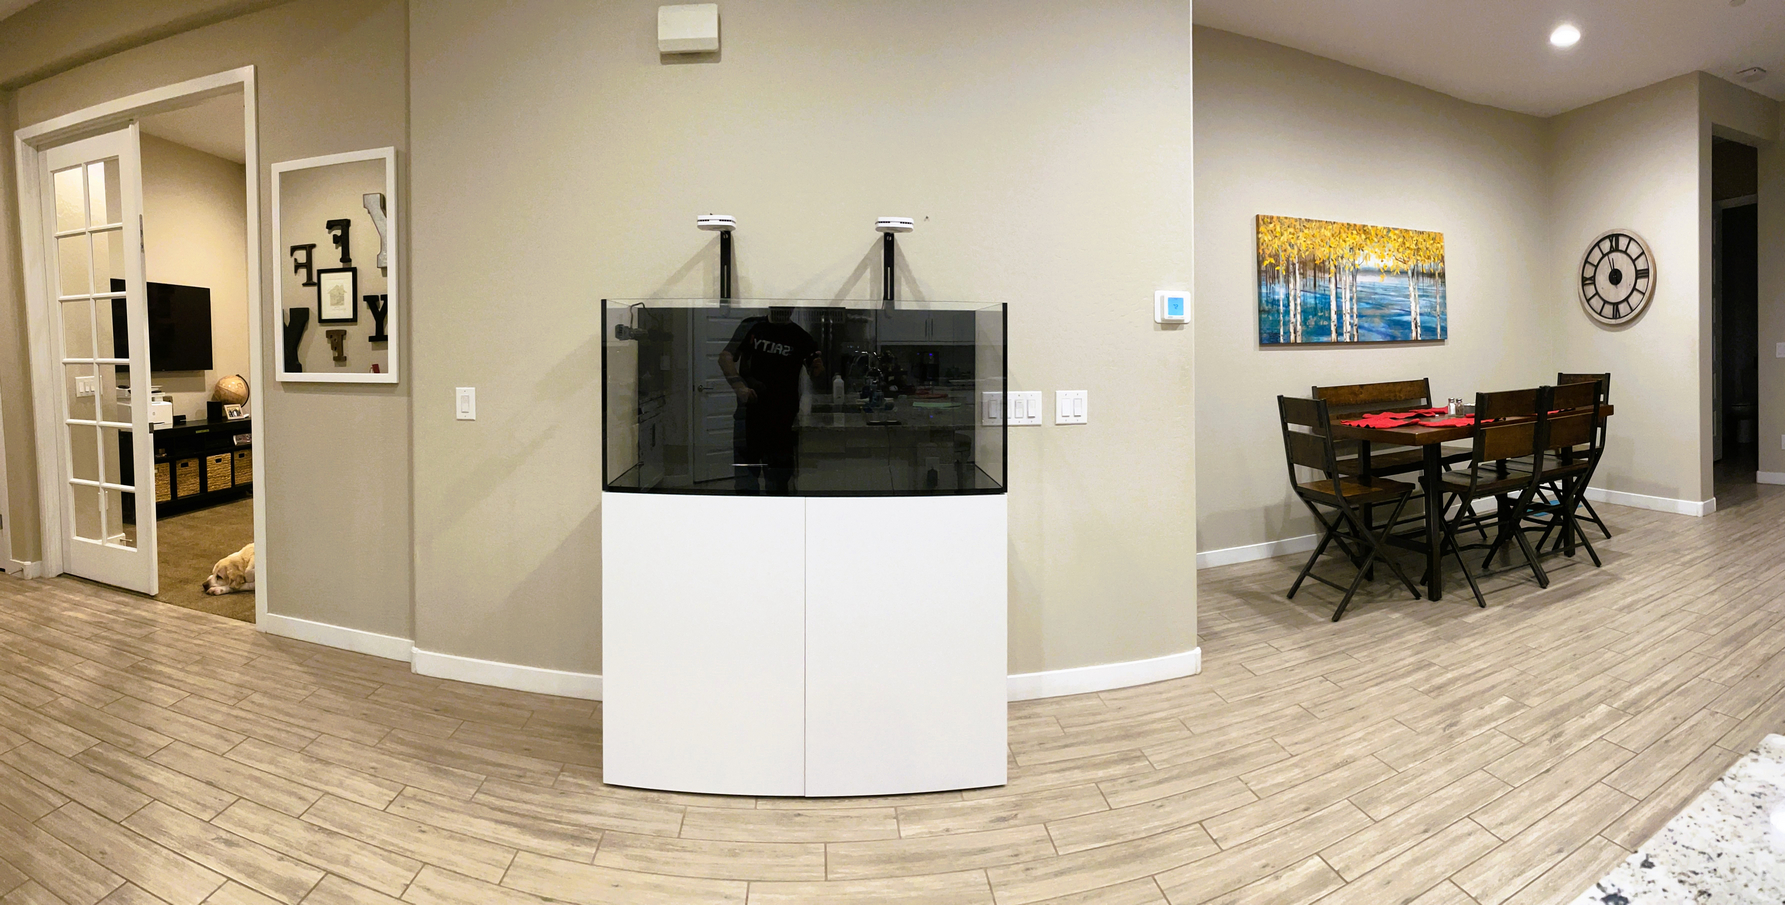
With the starter wife out of the way, and the new & improved wife 2.0 on board, we decided on a Waterbox Marine X 110.4. It was a tough decision against IM INT 100. I've had IM tanks before and we liked the appearance of the stand better, but sale prices speak to me.
When the freight driver arrived it was like Christmas and I was so excited that I forgot to take pics lol. Everything was stacked on 1 pallet and delivered in the garage. Of course I opened it up (duh!) and things looked intact. We started assembling the stand later that night. I'll be honest here, the stand does not seem capable of the strength needed to support ~700 pounds of water, sand and rocks. It slightly wiggles left to right too much for my liking. Others have posted on similar wiggles. We'll see what happens...
With the stand built I turned to electrical and the controller setup. On my last tank I used a ReefKeeper controller and I almost went with an Apex this time but opted for Hydros (because, why not?). I ended up shifting the sump to the right side. Left would have been a little better for other routing reasons but the drain tubes just wouldn't play well, and I wasn't willing to fight it. This left ~12 inches to put a controller board. I ended up buying some 400mm and 500mm 2020 T-slot track to add some mounting points. The first went laterally across the left opening to hold the controller board.
Next up was designing the board. I decided to use a 12" wide sheet of black HDPE. It looks sharp AF but drilling it and any kind of cutting is a very messy ordeal.
I landed on a layout that I hope works well into the future. The board is hinged at the top so I can swing it out to work behind it (allegedly, it's gonna be tough).
| Setting the layout spacing | Cut and ready to mount | Installed |
|---|---|---|
| 
| 
|
So here we are at this point
Probably a good spot to mention some other choices I made... The roller mat, skimmer and pumps... I wasn't willing to start modding the sump to accommodate any roller mat so I went with the Klir-4 since it's nearly a drop and insert. Nearly because blocking the second sock hole should have been easy by using the Klir block-off part, but of course, it didn't fit right, so I had to mod that with some white PVC board to make that work. I blame the metric system.
I've never had a recirculating skimmer so when BRS had a Classic 110 EXT open box for sale I snagged it. Hopefully no more dealing with sump water height. Also, because I'm going to try an algae scrubber, some threads note a skimmer may not be needed. If so, then great because it was a steal, but it's there just in case. The scrubber is a Santa Monica RAIN2 with a DIY pole mount with (you guessed it) more PVC board and some fittings. Way cheaper than the ready-made mount but if you want it turn-key, spend the money and just buy it.
For pumps I'm running two Varios units. A VarioS-4 for the return and a VarioS-2 for the sump loop. I may regret the latter. The sump loop is to a 3 valve manifold, with one extra spared-out. Hopefully this will flow enough to feed the skimmer and scrubber. I cannot stand screwing around with siphon flow when tee-ing off the return, but nice of Waterbox to include a threaded port to work with if you want that misery.
| Some more 2020 T-slot | Manifold Roughed in |
|---|---|
| 
|
RODI is a BRS 5 stage unit. I got lucky and the wall the tank is on backs up to the laundry room. There's also a beer fridge in there that doesn't have a water line today. I'm adding a RO tank and tying in the RO permeate line through a check valve to feed the ice maker/door water. This should work well because we go through ice like crazy in this house. Since I have soft water in the laundry room I just tapped into the cold water line with this nifty adapter and a 1/4" push connect elbow to act as the supply line for the RODI. The waste just runs down the laundry drain pipe. The RODI output setup is a little unique. I have a 3-solenoid control setup. One acts as a master gate feeding two lower solenoids. Then, when I need RODI, to dump the TDS creep laden water, the waste solenoid opens. After some period (TBD) the waste solenoid closes and the permeate solenoid opens, filling the ATO reservoir. When it's filled, both the permeate and control solenoid close. The bonus is I get two solenoids to pass through so if (when?) one fails I still have the other to break flow. (No, the braided solenoid wires do not stay braided through the wall, that'd just be silly.) Red is supply, black is waste, blue is RO and yellow is RODI. Here's a link to the diagram
And here we are. Tank is still dry, probably wont get to leak test all of it for another week or two.
Last edited: