Triggreef's 200g Deep Dimension Marineland Build Thread

Triggreef

Zoa Addict
View Badges
Joined
Apr 11, 2014
Messages
4,929
Reaction score
2,809
Location
East Hampton, CT
Rating - 0%
0   0   0
Oct. 2013 - Thanks a ton to PL-reef and Unclepain for all your help! Stand up guys. They spent the better part of a day helping me out with this.

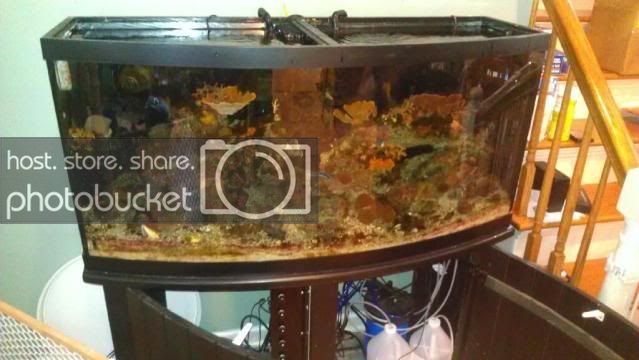
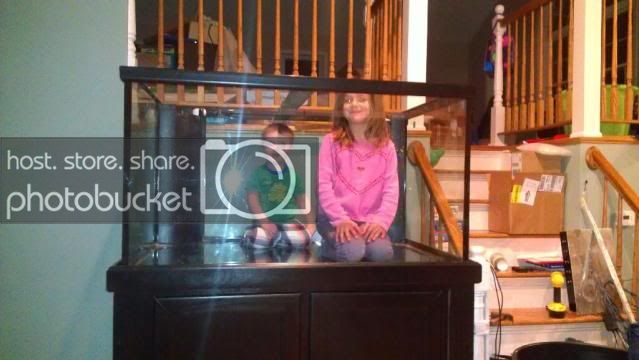
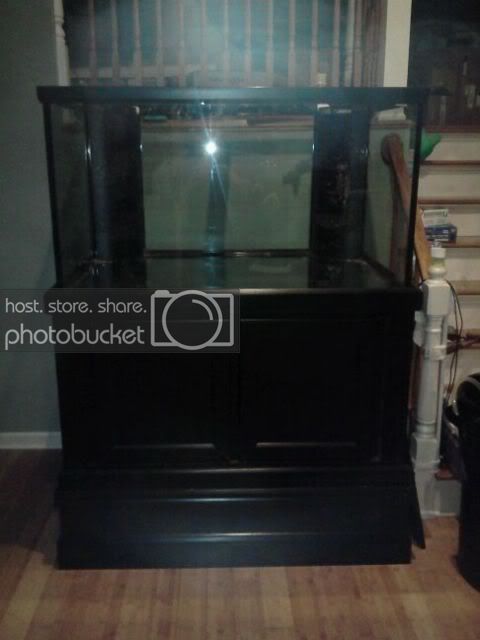
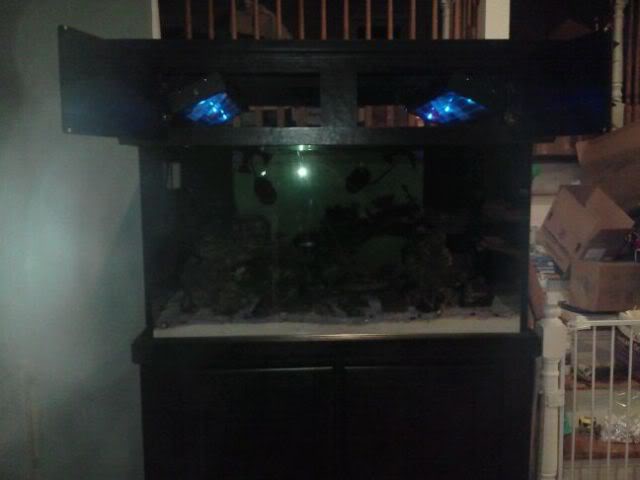
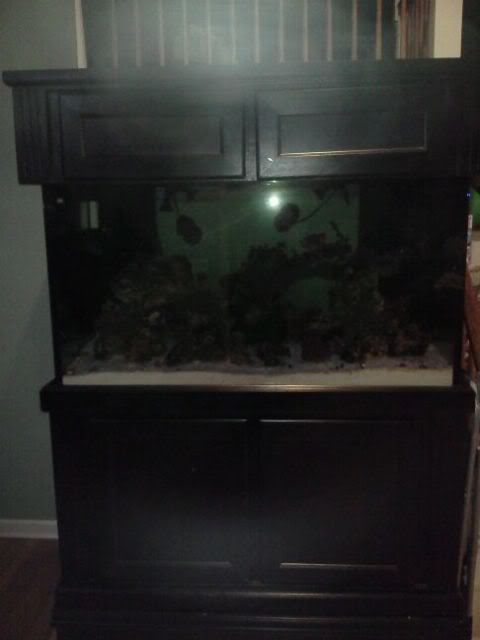
I bought this 200 DD marineland tank/stand/canopy from a friend of mine who was selling it for his ex-wife. Got the whole set up with a bunch of other accessories for $1k. Here it is:

0924131117_zps7665ee7c.jpg


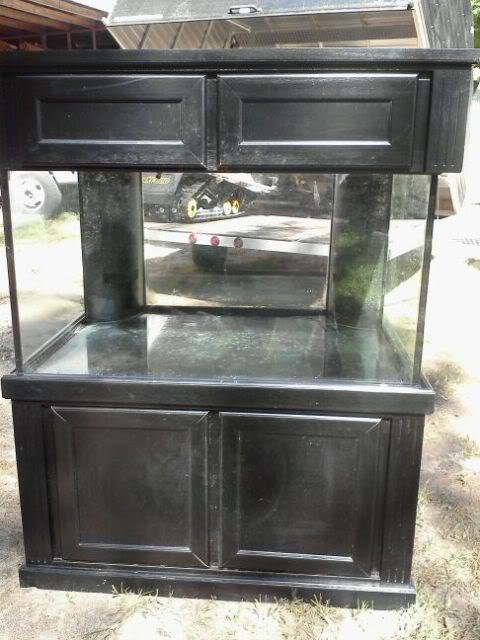
My plan was to swap out my (then) existing 72g mixed reef for this 200g and retain my existing livestock, LR, and sump. My goal setting up my 72g was to keep everything as simple as possible, be as energy efficient as possible, and be as maintenance free as possible. All while not using a skimmer and still being able to keep SPS. These were still my main goals with the 200g.

Backround on my 72g


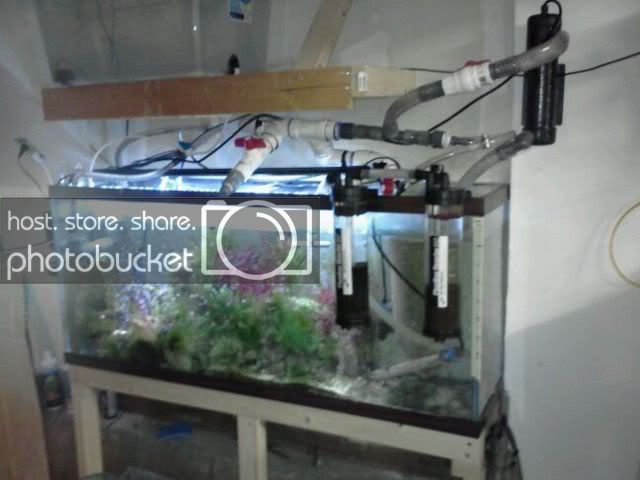
The 72g resides in my great room or living room or whatever you want to call it. It is on a wall that is shared with my garage, which is attached and heated. So naturally I went with a 55g tank for a sump, and plumbed it through the wall to my garage.

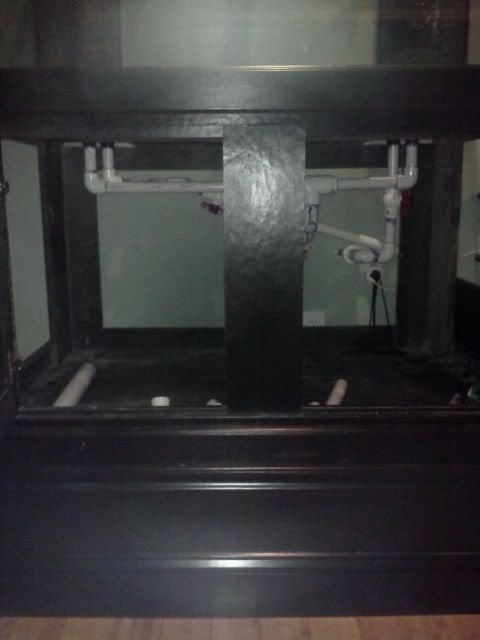
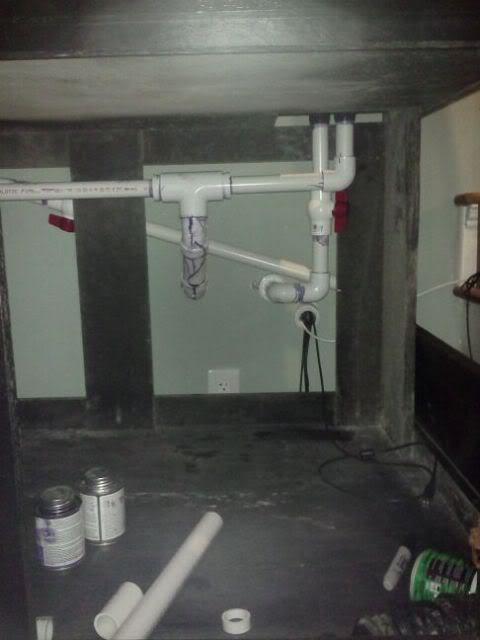
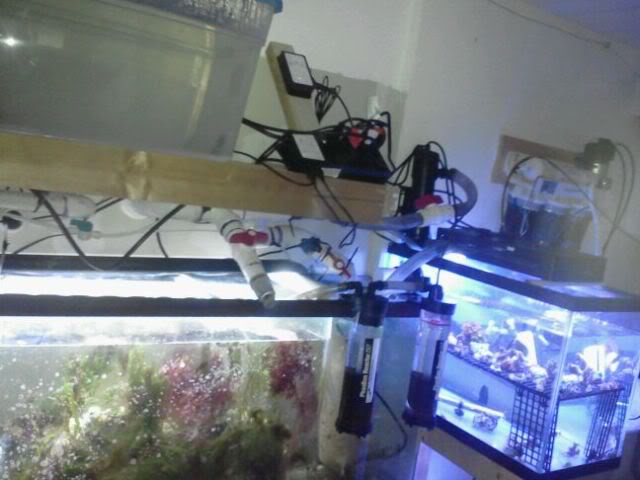
My initial plan was to run as many things off the drain as possible rather than running extra pumps. I learned that works for some things, but not so much for others. I originally ran the drain into the garage and y'd off for several things:

First, a ball valve with a garden hose end to use for water changes. That was and is perfect and works out great so the tank keeps running without a hiccup for water changes, which I seldom do anyway.

Second, another Y goes to a UV sterilizer which then empties to a filter sock. That worked fine but now I've deemed the UV pointless and its bypassed.

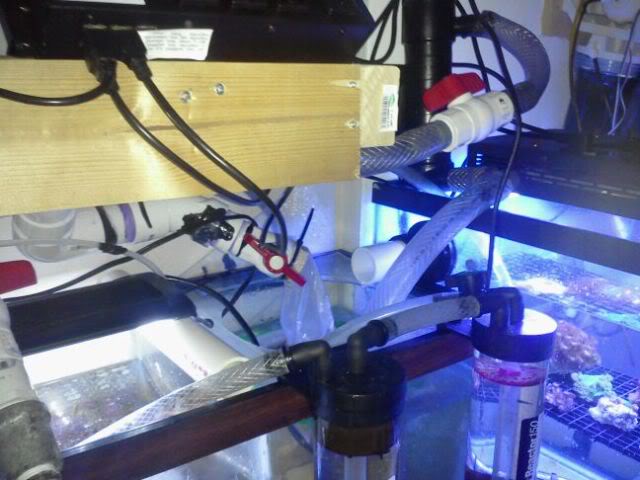
Third, another Y went to a phosban reactor and then another reactor with carbon, then into the fuge. This worked for a while but the problem I didn't think about was the unscreened drain water clogging the heck out of my reactors. So now I run a separate pump for those. Then the rest of the drainage goes directly to the filter sock.

On that sump I also ran only an "aquaripure" denitrator which did well for me on the 72g and kept nitrates down to 3 and I always had PO4 at .02 to .04 despite my heavy feeding and not rinsing frozen foods.

Other than that I use a walmart storage bin for my top off which I attached a 1/4 line to that goes down to a float valve in the sump.

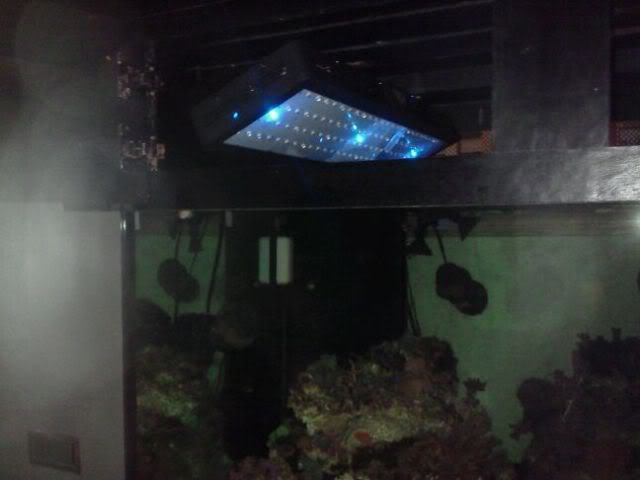
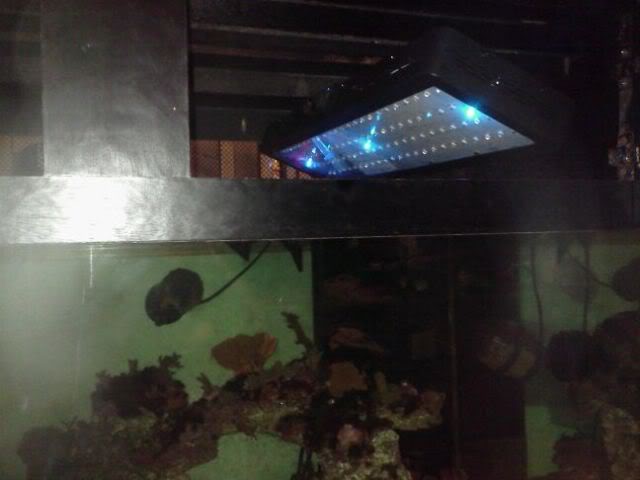
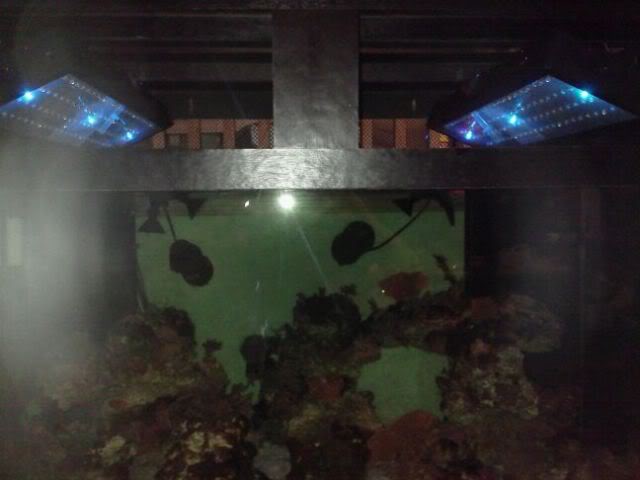
I have a cheapo LED light on my fuge that grows algae like crazy in there. And I went with a DIY bridgelux led light on my 72g which has worked ok. I was getting about 120 PAR in the middle on the bottom with those. I decided to buy 2 reefbreeders photon 32's for my new tank and leave the DIY lights for the 72g. Several reasons, time it took to solder all those leds was crazy. 5 separate circuits and 5 ballasts and 5 dimmers and 5 plugs all would need to be doubled. Also dimmers were only manual. With the photon 32's I only will have 2 plugs and get double the par easy. Plus their own controllers for a gradual increase and decrease in light through the day which is very appealing to me.

I also use a neptune apex controller for all my tanks and BRS dosing pumps with C-balance for my 72g which is going ot stay with my 200dd.

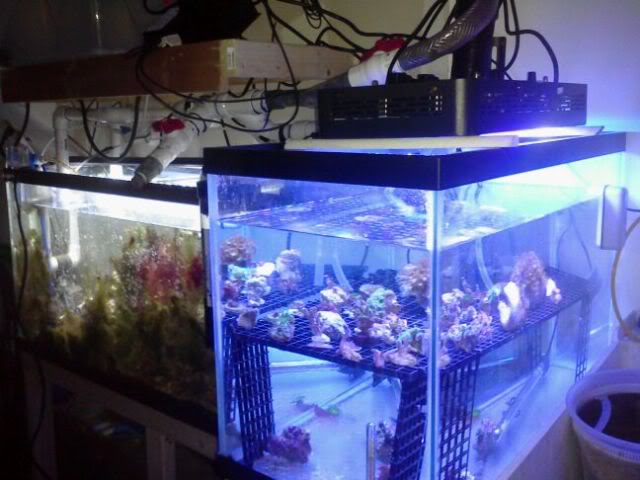
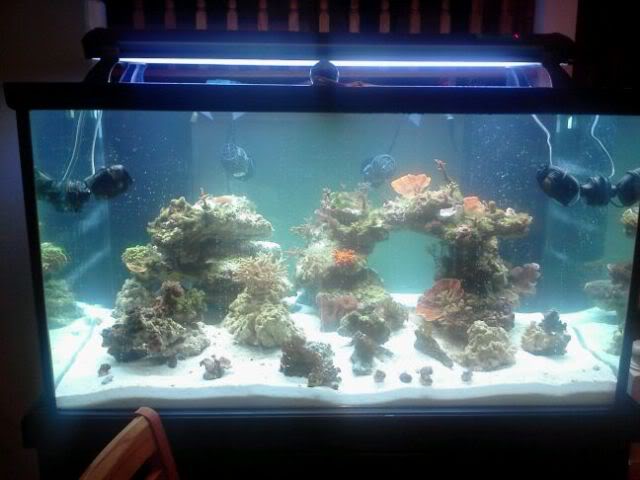
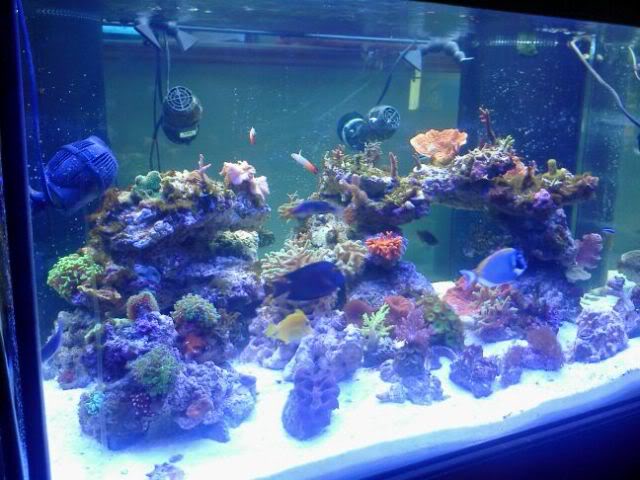
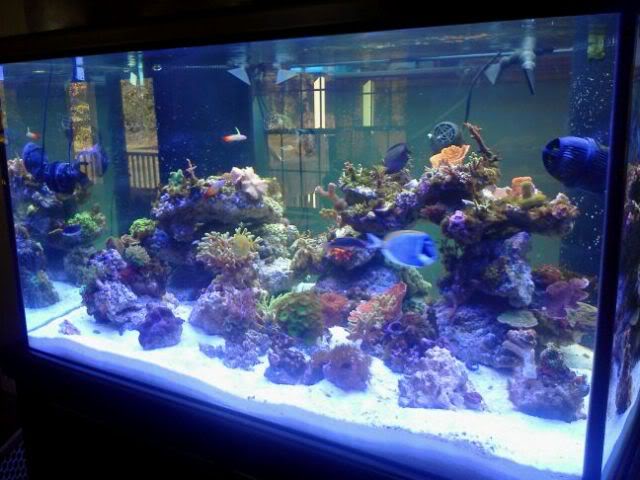
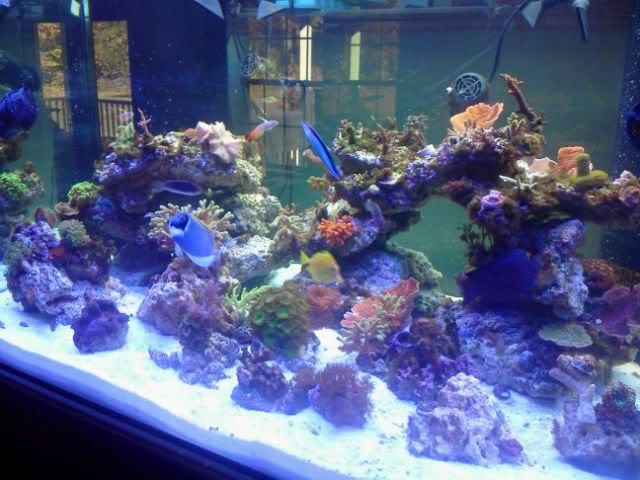
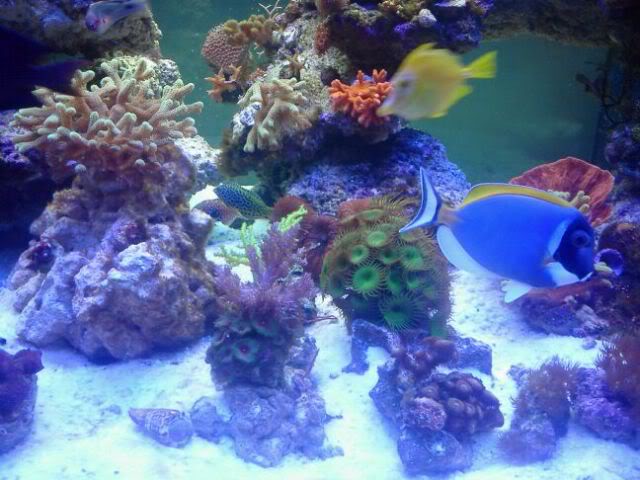
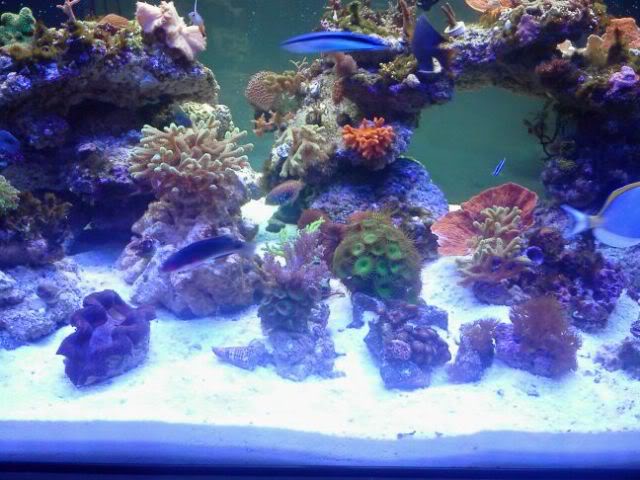
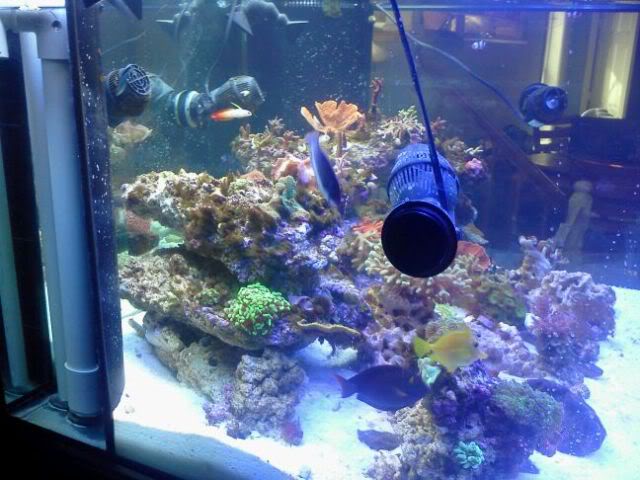
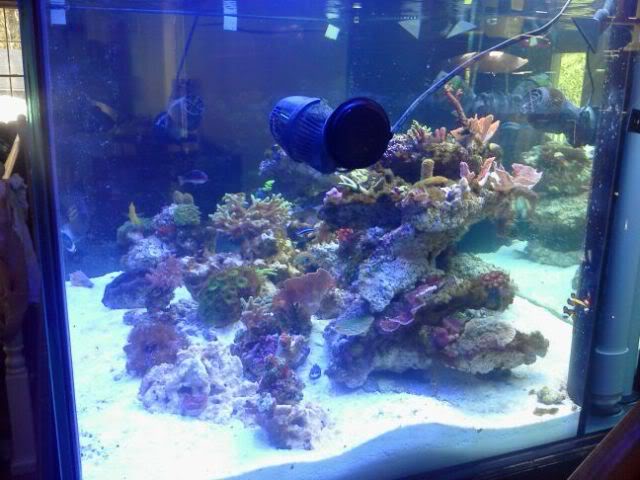
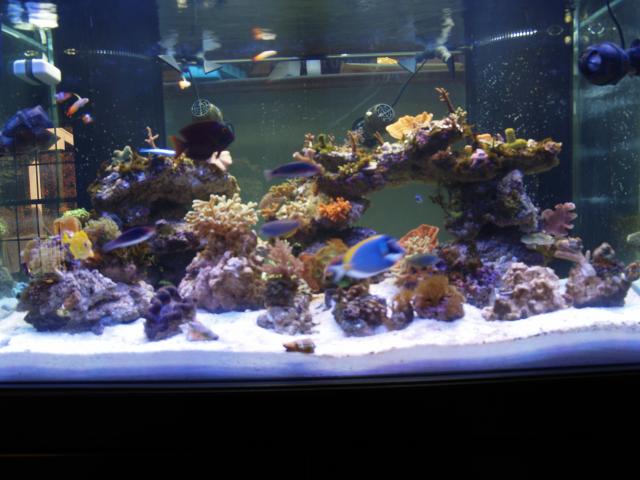
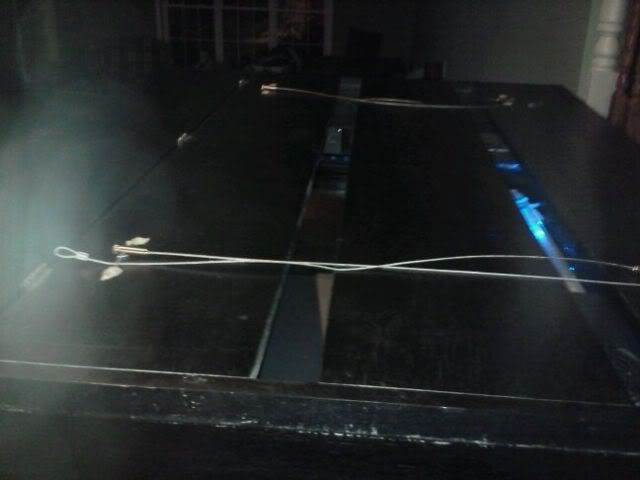
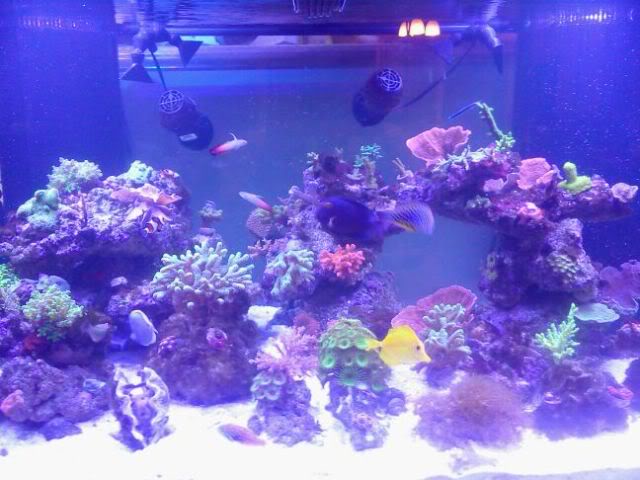
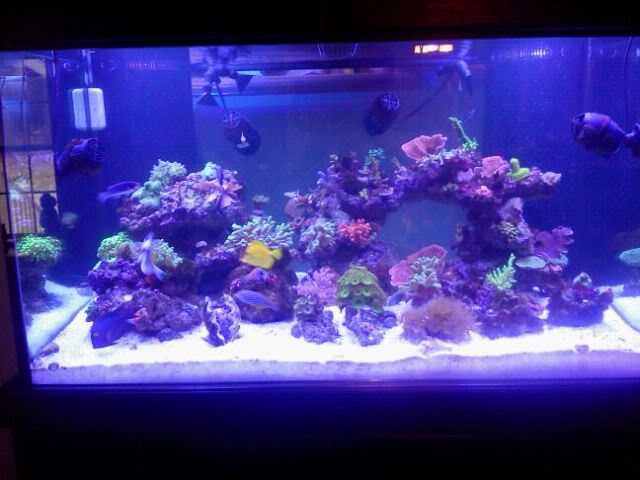
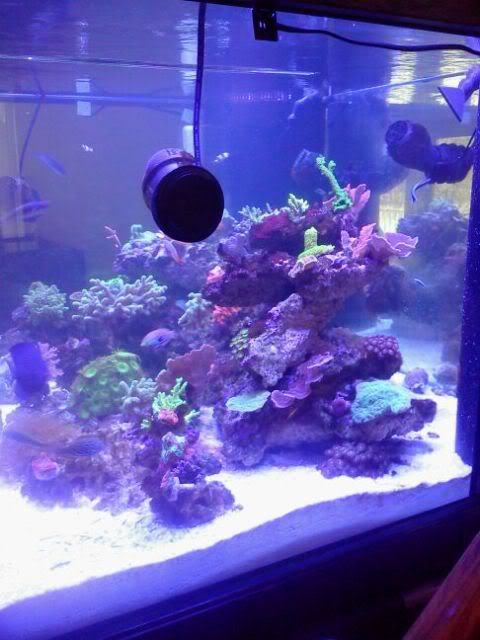
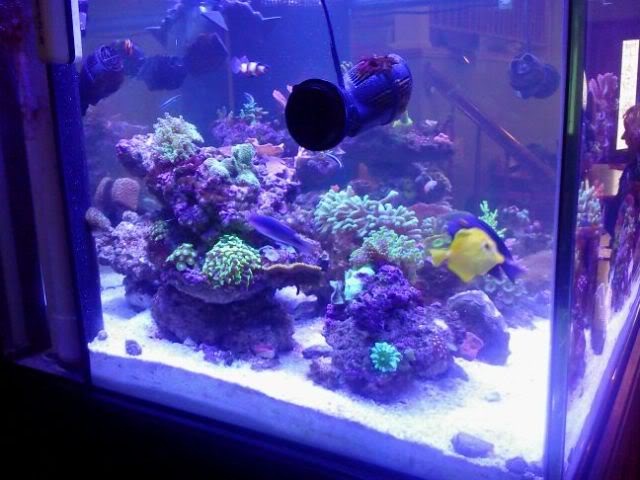
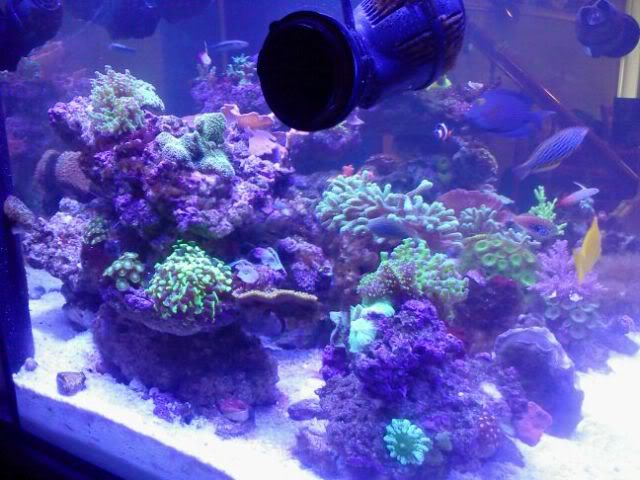
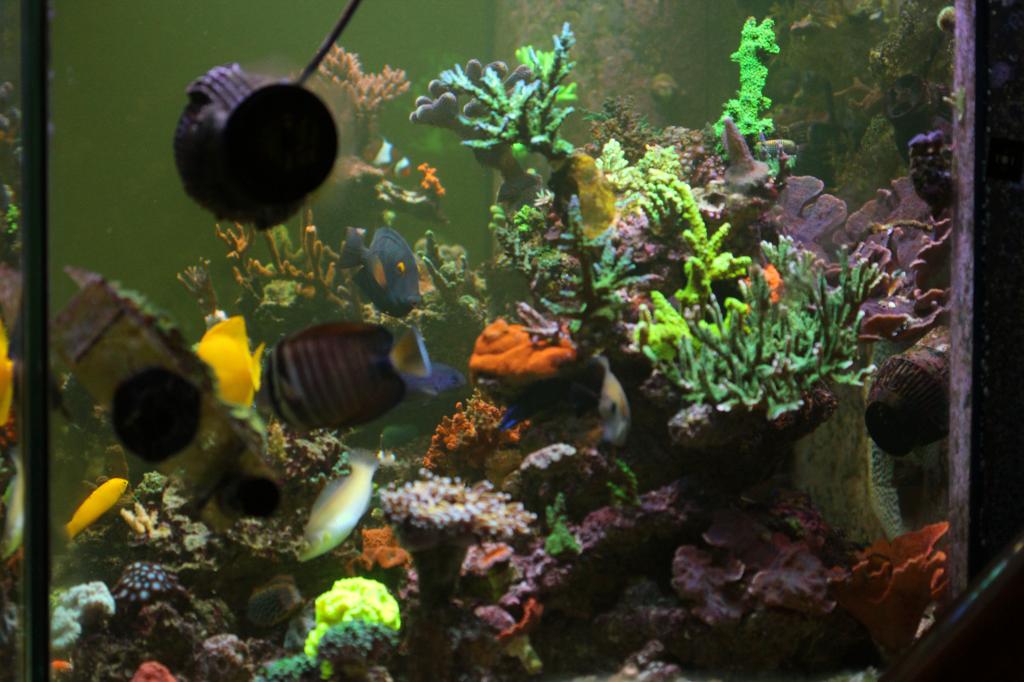
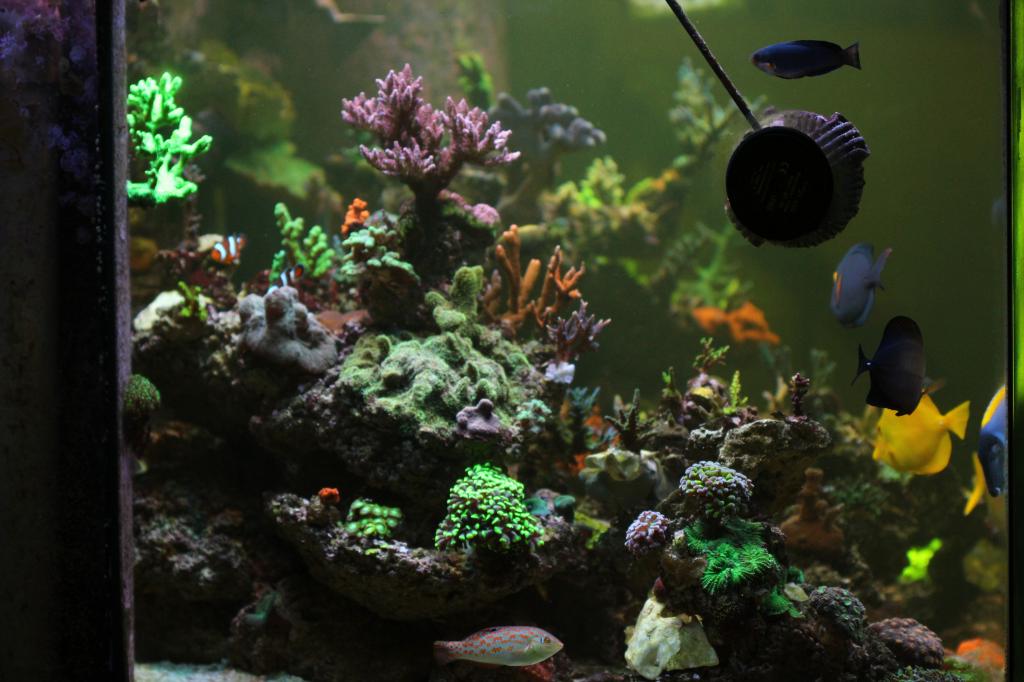
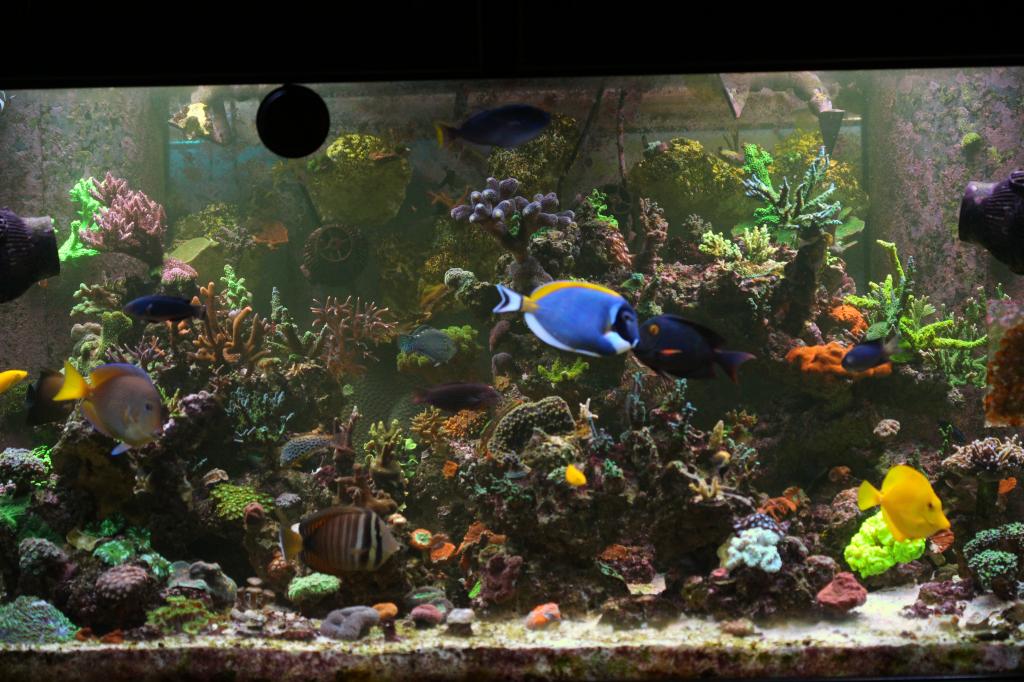
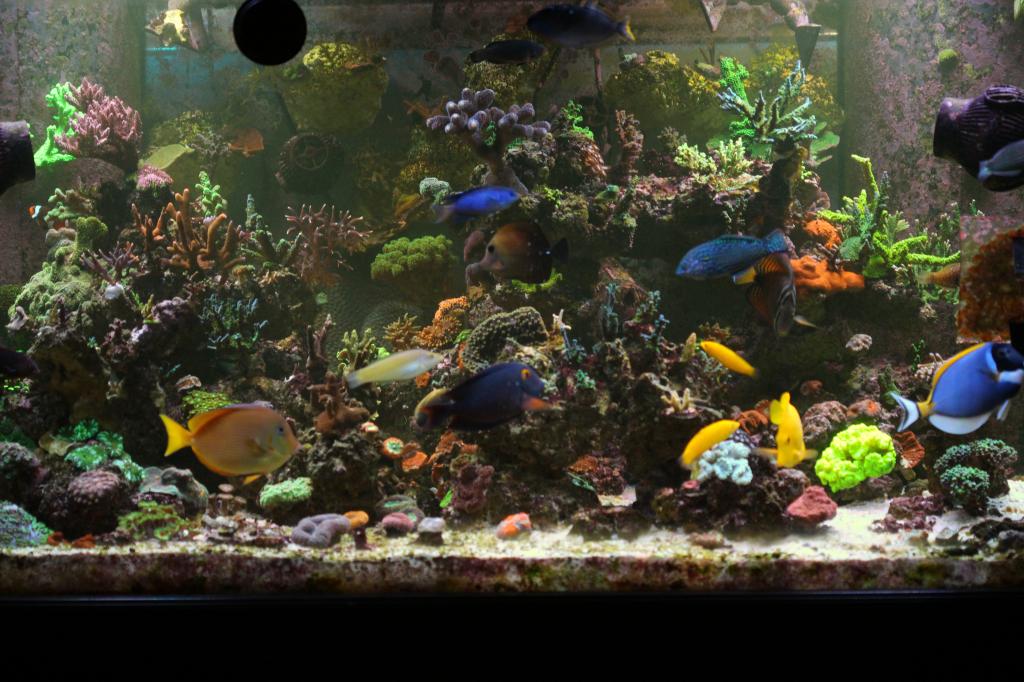
So heres some pics of the 72g, courtesy of Trump (Thank you sir) and a before pic of the sump set up in my garage:

DSC05567_zps0ea27523.jpg


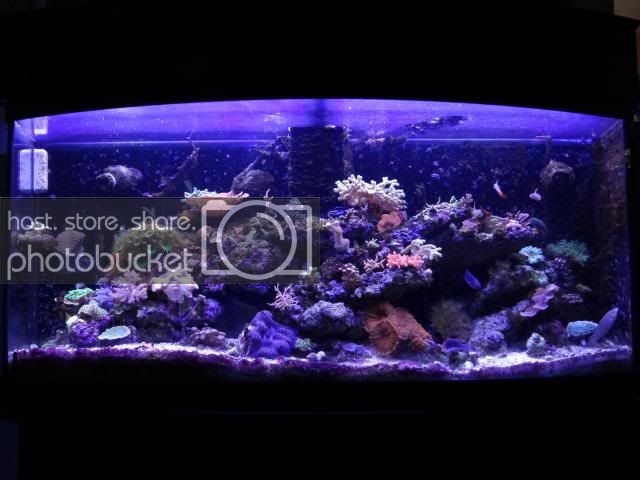
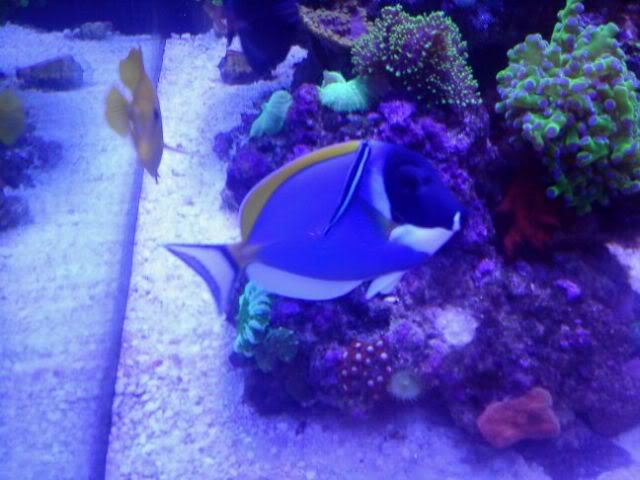
The baby gate to keep my kid from harassing my leopard wrasses to death. My inspiration for making the new tank higher...
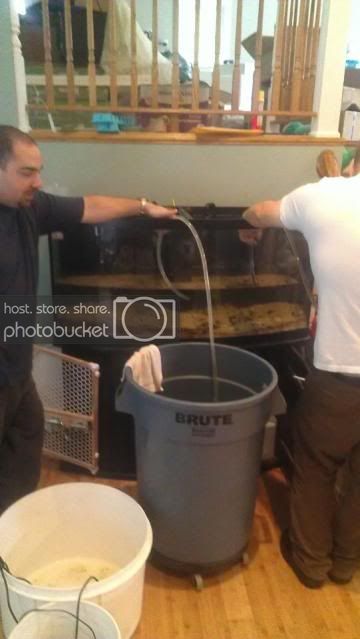
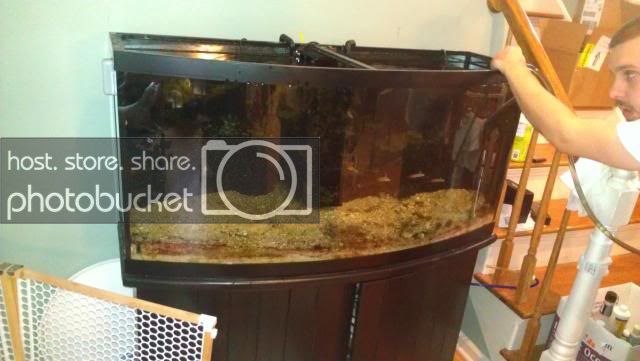
1011131139_zps85806d8a-1.jpg


1006131740_zps989a9d51.jpg


Getting ready


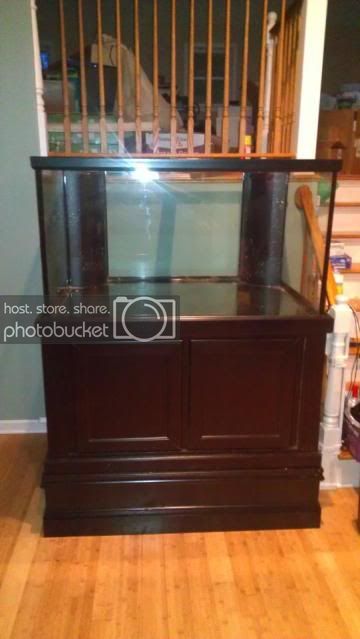
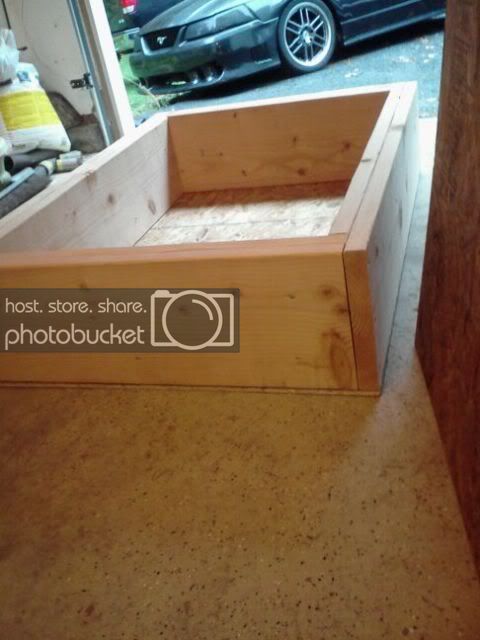
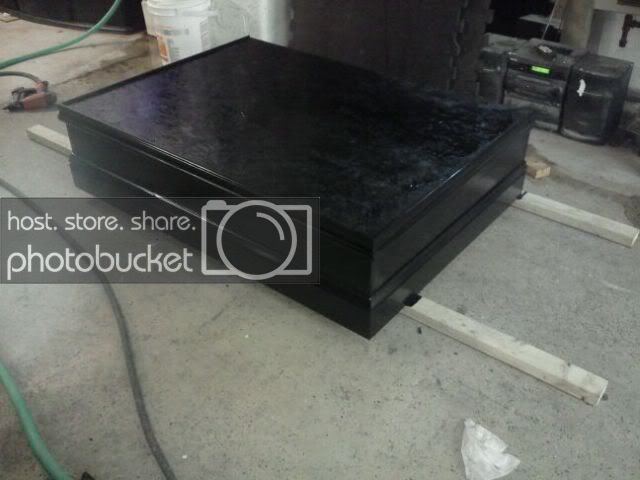
I do like my tanks to be up higher even though I'm short. I don't like the idea of having to bend over to look at the tank. Other than that it also helps with not having to clean the outside of the glass so much from my kids sticky fingers. lol

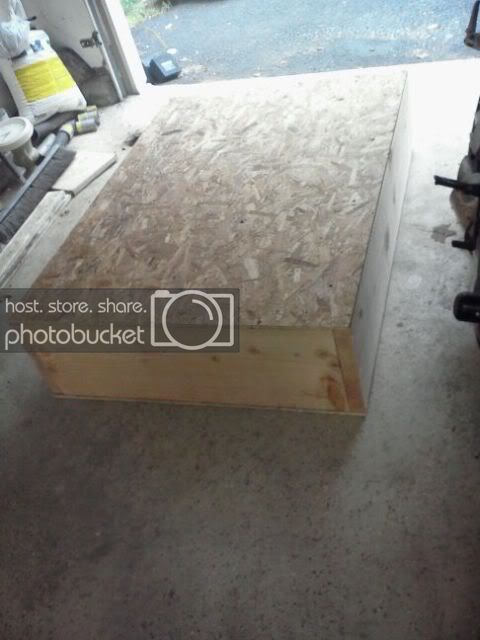
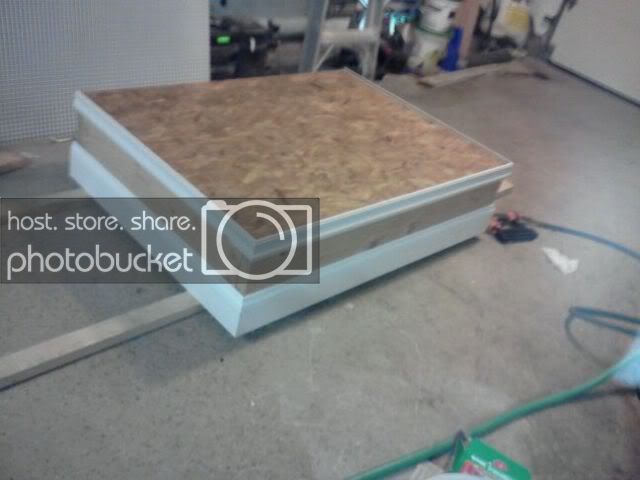
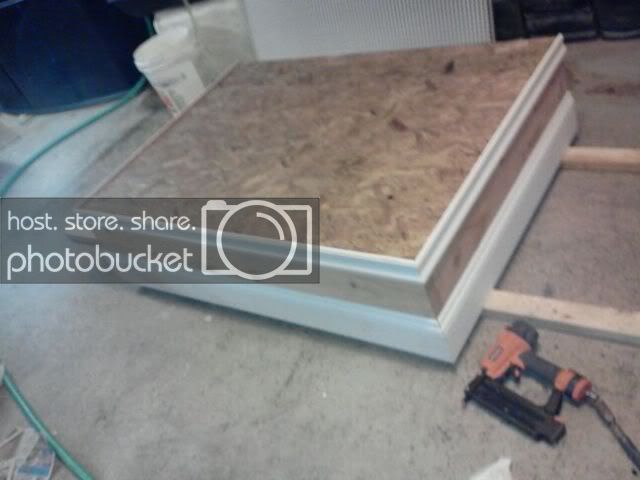
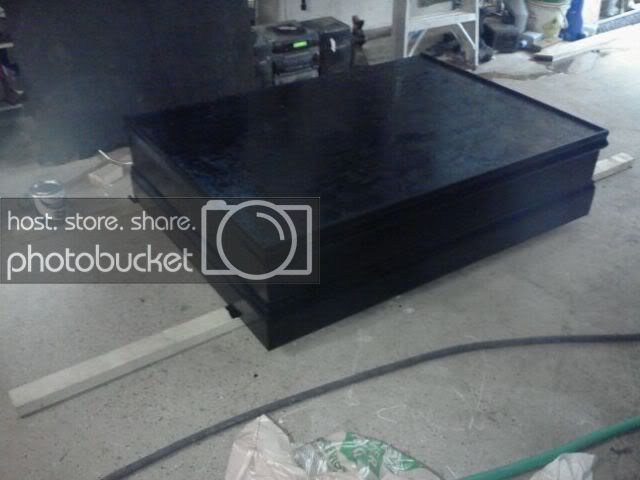
So I built a base for my stand to get some extra height. I used 2x12's and basically made a box and trimmed it out. I went double walled, only because I needed it to be 3" wide. This way it would be far enough in to land under the supporting areas of the stand yet far enough out to be able to trim it out around the outside of the original stand. Worked out pretty well. Thanks to the Home Depot guy for cutting all my lumber to specific lengths so I wouldn't have to break out my radial arm saw. 2x12's also worked out to be exactly the right height I was looking for so a little more expensive but ease of getting this together paid off.

1006131637_zps752c2a59.jpg


1006131645_zpsf28819f3.jpg


1006131739_zps85ee0b6b.jpg


1006131739a_zps97550244.jpg


1007131611_zps86f43ec5.jpg


1007131611a_zpsb73a2e3b.jpg
 
Last edited:
OP
OP
Triggreef

Triggreef

Zoa Addict
View Badges
Joined
Apr 11, 2014
Messages
4,929
Reaction score
2,809
Location
East Hampton, CT
Rating - 0%
0   0   0
For sand I decided to use Pavestone Desert White play sand from Home Depot. I used that in my 125g and have had zero issues with it. And I really like the look much better than the common live sand. So for the price of one bag of live sand, I got six 50# bags of this sand. So $5.99 a bag brought me to a grand total of $36 for my sand. And I used all six bags. I spent most of a day rinsing the sand because it is very fine and I really took my time with it so that I could count on it settling out fast. So I could get this swap done in one day.

Also for those silica worry worts out there, I have seachem silicates test kits which I have used and I get zero. Which is less than that of normal sea water which I believe is .06 or so. So contrary to popular believe, silica sand does not leach silicates, and neither does your glass aquarium.

1006131214_zps831a9d2f.jpg


1006131214a_zps8ad39d24.jpg


The swap 10/13/13


I happened to have a 155 Bow Front tank (previously my QT) that was already holding some of my planned fish for my 200g. It had been free of copper for about 3 months or so via carbon and water changes.

So I spent the week or so leading up to the swap adjusting all parameters to that of my 72g reef so that I could A: use the tank for holding livestock for the day and B: Use the water to help fill the 200g after the swap.

Yup I'm throwing all my corals and inverts into a tank that was recently dosed with copper but now copper free. OMG but doesn't the copper stick to the silicone seals and what are you doing you can't use a tank that was dosed with copper for a reef! :thumbdown Another old wives tale. I have corals and inverts doing just fine in a tank that was fully dosed with copper with LR and the LR is still in the system. Mythbusters :)

So heres more pics courtesy of PL-Reef:

getting ready

IMAG1636_zpscc5455e3.jpg


Draining

IMAG1638_zps721ce9c4.jpg


Looking for those last couple fish

IMAG1637_zpsa5368338.jpg


new set up in place

IMAG1639_zps2cf98c4b.jpg


My almost 2 yr old and PL-Reefs daughter chillin in the tank. Notice the kids are not next to each other but in front and behind one another... Gotta love it.

IMAG1640_zps37b6db99.jpg


Final position

1013132217_zpsce593fdc-1.jpg
 
Last edited:
OP
OP
Triggreef

Triggreef

Zoa Addict
View Badges
Joined
Apr 11, 2014
Messages
4,929
Reaction score
2,809
Location
East Hampton, CT
Rating - 0%
0   0   0
Plumbing done

1013132216a_zpsedc418b9-1.jpg


1013132216_zps99c6590e-1.jpg


Now I also had a spare 20g and I've drilled several tanks now, so I decided to make a frag tank off of my sump. I used the old line that used to provide drain water to my phosban reactor to now provide water to my frag tank. It then overflows directly into my sump. I also bought a value reefbreeder fixture for this. 675 par at the bottom on full blast! So just a tiny circ pump keeps this thing going. Other than that not really any changes on this side of the wall.

1018131109a_zps7692fbb6-1.jpg


1018131109_zps72d70701-1.jpg


1018131108_zps3f2b9b5e-1.jpg


Almost there
Rock and corals mostly in.

1014131941_zps46cf1645-1.jpg
 
OP
OP
Triggreef

Triggreef

Zoa Addict
View Badges
Joined
Apr 11, 2014
Messages
4,929
Reaction score
2,809
Location
East Hampton, CT
Rating - 0%
0   0   0
10/25/2013

Still have not received the reefbreeders lighting so for the time being I'm using my DIY leds from my 72g, and one of the 4' 6 bulb T5's in back. So heres a bunch of pics from different sides and such, taken with my cell.
1018131406_zpse4f1e4e0-1.jpg

1018131405a_zps3a69dae3-1.jpg

1018131405_zpsa9ef2c85-1.jpg

1018131408_zpsed2edbbc-1.jpg

1018131407b_zps32fb0a9b-1.jpg

1018131406a_zps1c240bf8-1.jpg

1018131406b_zps740cf784-1.jpg

And a good pic courtesy of Trump, Thanks man!
P1011287_zps154014e0.jpg

So now I wait patiently for my lighting so I can get my canopy on this.
My only casualties were my newly turned male melanurus wrasse, which was my fault and basically the result of miscounting. I later found his remains in a bucket that I thought was full of only sand. And a firefish that jumped due to the temporarily open top. For corals I lost 2 acro frags that were no name frags and were not doing well in the first place.
My leopard wrasses were my biggest fear but they handle the swap really well.
I know someone will comment on my yellow tang, so I will just go ahead and explain him. He does not seem to like cupramine and has been through 2 treatments of it. One for his first quarantine and then again after another battle with ich. The first time he got hlld fast after dosing cupramine. then he was looking better in my display for several months and I pulled all fish again due to a reoccurence. The second round of cupramine caused some sort of reaction to him where he got the red bloody looking streaks and his fins began rotting away, almost right to his body. He still pulled through and has been slowly healing for the last 3 months or so. I didn't think he would ever have fins again but they are growing back slowly. I'm betting within a few weeks his fins will be completely regrown. I didn't plan to keep him but he got by me while I was putting the fish back in. I'm glad though because he is tearing up some hair algae!
So current fish list:
Powder blue tang
yellow eye kole tang
yellow tang
cleaner wrass (1 year so far this month, went through 2 ich bouts, copper, ttm, and has been in 5 tanks throughout that time)
neon cleaner goby
female bipartus leopard wrasse
2 female meleagris leopard wrasses
exquisite fairy wrasse
solarensis fairy wrasse
neon dottyback
2 ocellerus clowns
2 firefish gobies
pinks potted goby paired with a pistol
yellow watchman goby that relocated himself to the sump.


Several others in QT
 
OP
OP
Triggreef

Triggreef

Zoa Addict
View Badges
Joined
Apr 11, 2014
Messages
4,929
Reaction score
2,809
Location
East Hampton, CT
Rating - 0%
0   0   0
Man, It's crazy to look back at how bad that yellow tang was. You can see the HLLE even in the blurry pic. I wish I had better pics of him that show the detail of how bad he really was. If your reading this, make sure you check out how great he looks in the more up to date pictures.
 
OP
OP
Triggreef

Triggreef

Zoa Addict
View Badges
Joined
Apr 11, 2014
Messages
4,929
Reaction score
2,809
Location
East Hampton, CT
Rating - 0%
0   0   0
11/11/2013

Finally got my reefbreeders last week. Out with the T5's. Had to figure out a way to mount them to the canopy. My plan was to mount them front to back, one on each side.


I ended up mounting them almost all the way to each side, and at about a 45 degree angle. I saw somewhere that can help with getting the light more evenly distributed, I think it was on a tank of the month here on RC a while back so I figured I'd give it a shot.


Reefbreeders suggested 90 degree optics for my tank depth. I got good par on my DIY leds with no optics. I just never tried the optics on my DIY's due to a combination of a fear of spotlighting and laziness.


To mount them I ended up drilling through the canopy. Unless your 6' 6" tall you can't see y holes so its all good. Then I used the cables that come with the reefbreeders lights hanging kit. It actually worked well and I can adjust the tilt of the lights. I actually found that full tilt gets the best spread and is needed to get enough light to the middle of the tank.


First issue was with the 90 degree optics, and the lights being close to the surface, there was spotlighting. You could actually see a "V" straight to the bottom center of the tank. And I had very little par in the upper center of the tank.


I fixed that issue by taking down the lights, taking them apart and pulling the optics. Now a basic 120 degree spread by removing the optics. Problem solved. Great par everywhere. No spotlighting at all and the light is very evenly spread. Hitting near 100 at the sand bed everywhere at the high of 40% power. It is only running that 40% for about 4 hours mid day and slowly ramps up and down. I'll probably add a little next week and so on.


I didn't get any FTS yet with the reefbreeders on, but the color is just perfect. It is very similar to what I had with my DIY leds. Corals I thought had browned out from the t5 instantly looked beautiful again. My new favorite coral is the Joe the coral (I got from Bigfishlittlepond) the color is just amazing. Cant stop looking at it, my wife keeps yelling at me. lol


I set conservatively for now at only 40% power for blues and %35 percent for whites. That gets me to the same par I had prior with the T5 and diy leds on full blast. (There were much less leds on my diy build than whats on each reefbreeder).


So for leds I went with the exact way that the photon32's come, but I had them sub in 4 greens and 4 reds for 8 of the whites. It put them very close to the same set up as my diy's that I was already doing pretty well with on my other tank.


Heres some pics with the moonlights just to show how I mounted the reefbreeders.


1106132222a_zps85eebf06.jpg


1106132222b_zps90f7f394.jpg


1106132221_zps4d4b35af.jpg


1106132222_zps251eef7d.jpg


1106132223a_zps25db2581.jpg


1106132223_zps1a95c74e.jpg


The only plan I haven't gotten to yet is to set up a waterfall style algae turf scrubber. I ordered red LED lighting off ebay very cheap to light both sides of the scrubber. The lights are in the 660 spectrum and are led so will use very little power and hopefully do well to grow me some GHA. I got both lights for a total of $50 shipped. Theres 225 leds on each, 1w leds.

I'm going to tap into the drain line and mount the scrubber above my frag tank. I should be receiving my acrylic to build boxes for the scrubber tomorrow. I also ordered enough on ebay to do the whole thing and they are coming cut to size so I can just put them together. I got enough to make 2 boxes about 21" x 21" x 3" all for about $95 shipped, so I will even be able to make one for my FOWLR tank if the first one works out well.
 
Last edited:

Daniel@R2R

Living the Reef Life
View Badges
Joined
Nov 18, 2012
Messages
37,507
Reaction score
63,952
Location
Fontana, California
Rating - 100%
1   0   0
Looking great! :thumb:
 
OP
OP
Triggreef

Triggreef

Zoa Addict
View Badges
Joined
Apr 11, 2014
Messages
4,929
Reaction score
2,809
Location
East Hampton, CT
Rating - 0%
0   0   0
Well I guess I haven't continued with updates over the last year. So here are some updated photos from this month.... I have bumped up my lighting over about a 4 or 5 month period after getting the reefbreeders and now it maxes out at about 90% blue channel, and 60% white channel for about 5 hours a day. It ramps up and down at each end by about half the percentage per hour. I also added 2 more values fixtures in the front middle. I placed them the long way front to back and tilted them toward the back a little. It made a huge difference and well worth the money. It's now a total of 930w of led above the tank, of course it runs more like 500w.

The best part is, even with all that light, inside a canopy, my tank temp still stays within 2 or 3 degrees of ambient air. So as long as I keep my house cooler than 80 inside, tank temp is fine!

Obviously I managed to get myself a much better camera along the way.... Disregard the green hue in these pics. That is from dosing the red Sea energy stuff, it adds a green hue for a couple hours.


IMG_4261_zps04080d71.jpg


IMG_4260_zps02e9ab2b.jpg


IMG_4259_zpsda2b352e.jpg


IMG_4258_zps26e65af7.jpg
 
Last edited:

EricB

Active Member
View Badges
Joined
Nov 12, 2013
Messages
225
Reaction score
0
Location
Pittsburgh, PA
Rating - 0%
0   0   0
Sweet tank man! I'm in the process of a 200DD build and I'm using two Photon 32's as well. It's nice to see a similar setup doing so well.
 
OP
OP
Triggreef

Triggreef

Zoa Addict
View Badges
Joined
Apr 11, 2014
Messages
4,929
Reaction score
2,809
Location
East Hampton, CT
Rating - 0%
0   0   0
If there's one thing to suggest, don't take the room for granted. I definitely could have taken more time& found a way to get the whole land scape pushed farther back which would give more sand bed in front. Wish I did that. I left a bunch of unused space in back.
 
OP
OP
Triggreef

Triggreef

Zoa Addict
View Badges
Joined
Apr 11, 2014
Messages
4,929
Reaction score
2,809
Location
East Hampton, CT
Rating - 0%
0   0   0
Haven't updated in a while. Lost almost all my acros and euphillia around christmas time, I attribute to levels of copper and zinc and iodine that showed up at that time. A handful of survivors though. I have since (Jan) began the Triton Method and have had much improved success in many areas. Not doing the full method though, just utilizing their test and dosing regime.

Added a couple butterflies (yellow longnose and copperband), and had to sell off all my tangs to do that. So I have added some new tangs (Purple, powder blue, and chevron) after the butterflies became well established. Also added a potters leopard wrasse to the mix.

Some near future plans, due to very heavy fish load I'm looking into adding a skimmer and giving up on the ATS since I never clean it. I'm also looking into building a separate deep settling tank that will be plumbed in prior to my sump. For the sole purpose of letting detritus settle out, to be removed via vacuum. Goal is to eliminate a need for filter sock. Also have a 2' cube tank I will be swapping out with the 20g frag tank so I have some much more usable fragging storage. I also am trying to get someone to help me out with building a new canopy to allow more height and better access to the rear of the tank.

IMG_5537_zpsm1e0xjkf.jpg
 
Last edited:
OP
OP
Triggreef

Triggreef

Zoa Addict
View Badges
Joined
Apr 11, 2014
Messages
4,929
Reaction score
2,809
Location
East Hampton, CT
Rating - 0%
0   0   0
Some new updates, a sick new canopy built by PL-reef who is out of the hobby at the moment. The new canopy has a similar piano hinge in the front only bigger, as well as one on each side in the back to allow access in the back of the tank and overflows. I also used drawer slides for all 4 lights so I can slide them easily out of the way anytime I work on the tank. I also upgraded the frag tank and have a major revamp coming for the sump. I'll get pics up when I can.
 
OP
OP
Triggreef

Triggreef

Zoa Addict
View Badges
Joined
Apr 11, 2014
Messages
4,929
Reaction score
2,809
Location
East Hampton, CT
Rating - 0%
0   0   0
Tore down the left side of my tank to re aquascape. Many corals were killing each other and I had to split them up to get them all some more room.
 

jason g

Well-Known Member
View Badges
Joined
Dec 4, 2013
Messages
602
Reaction score
137
Location
Fresno, CA
Rating - 0%
0   0   0
Tore down the left side of my tank to re aquascape. Many corals were killing each other and I had to split them up to get them all some more room.

Did you save the corals or will you be selling them? What are your plans to fill in left side of tank? Your tank looks awesome by the way.
 
Back
Top