WesF's In-Wall 250g DD

WesF

Well-Known Member
View Badges
Joined
May 17, 2010
Messages
764
Reaction score
77
Location
Raleigh, NC
Rating - 0%
0   0   0
Hi all,

I'm new to R2R. Not really sure why I've never come here until now. My name is Wes. I live in Raleigh, NC. I moved here about a year ago and started work on my In-Wall Reef in January. So here are some pics of the build along the way.

I am copying some of the text from a build thread in a local forum so please bear with me if it appears to be "current tense" instead of past.

Regards,

Wes


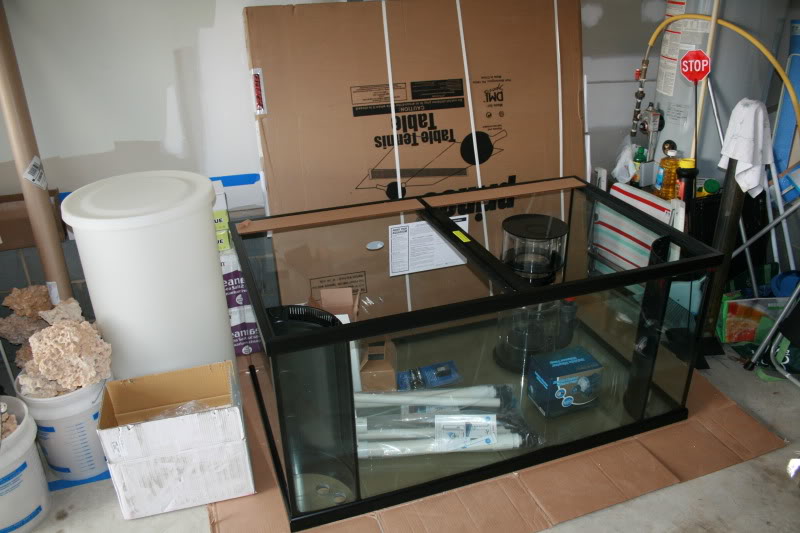
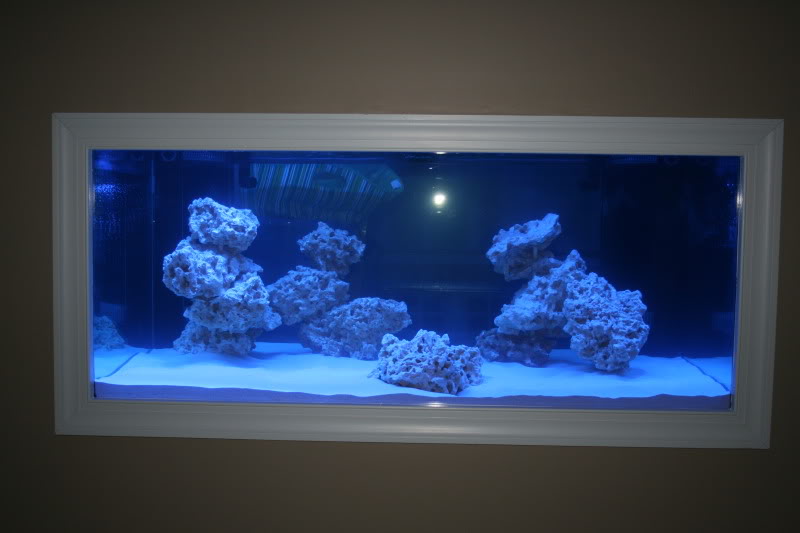
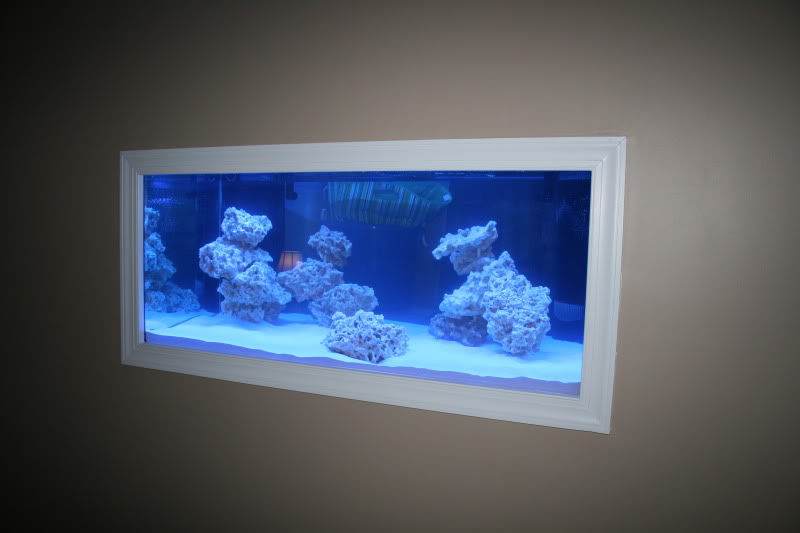
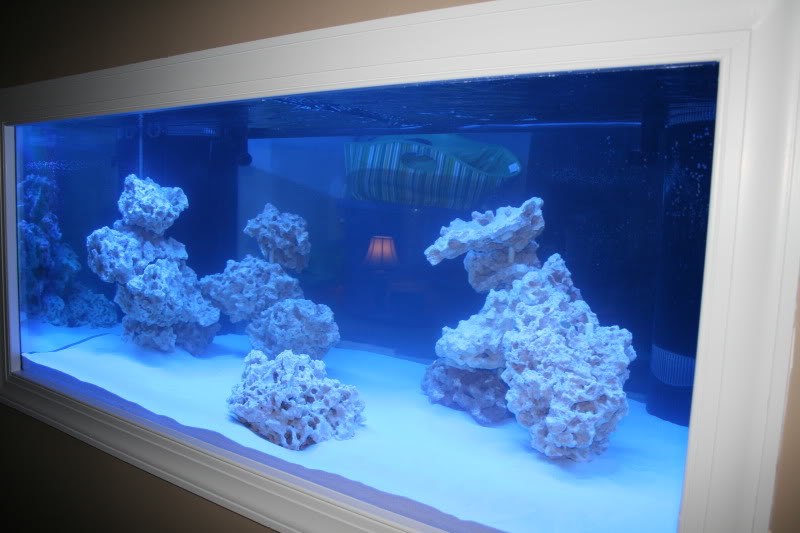
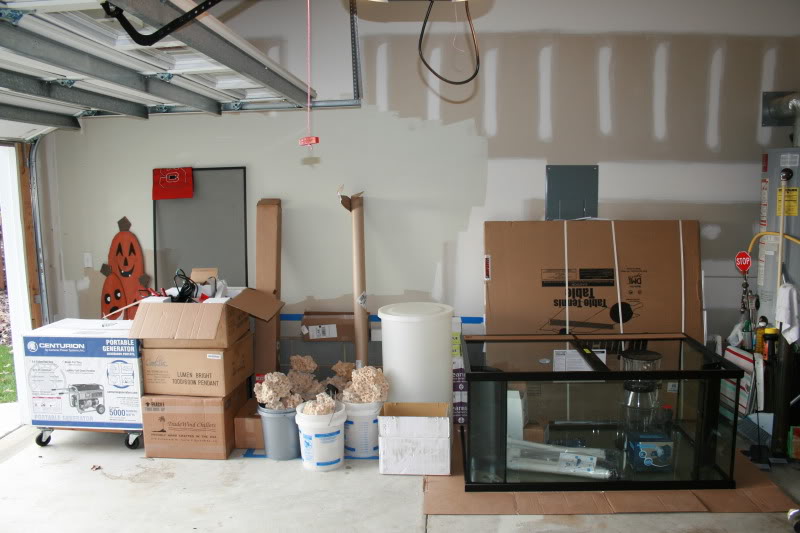
The tank is a 250g Marineland Deep Dimension w/ Starphire front.

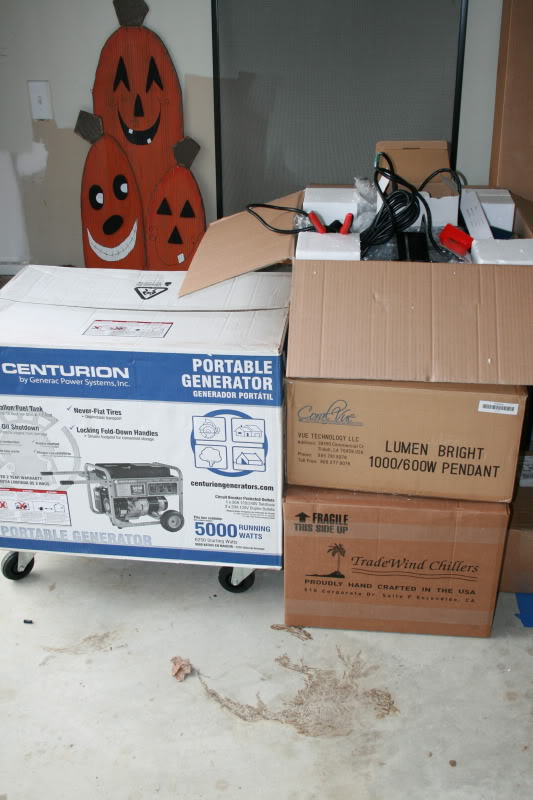
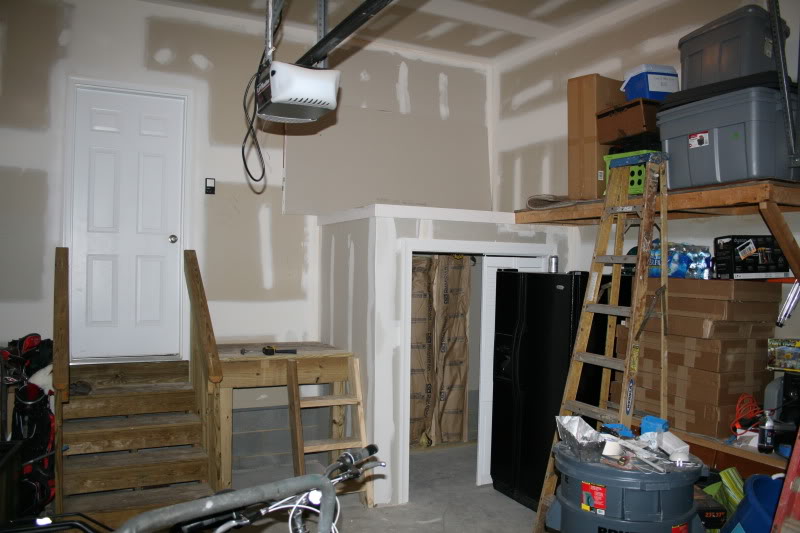
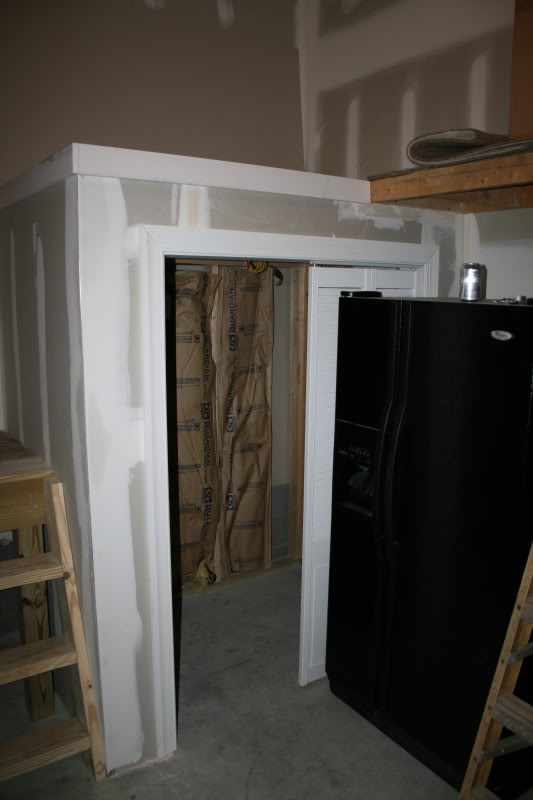
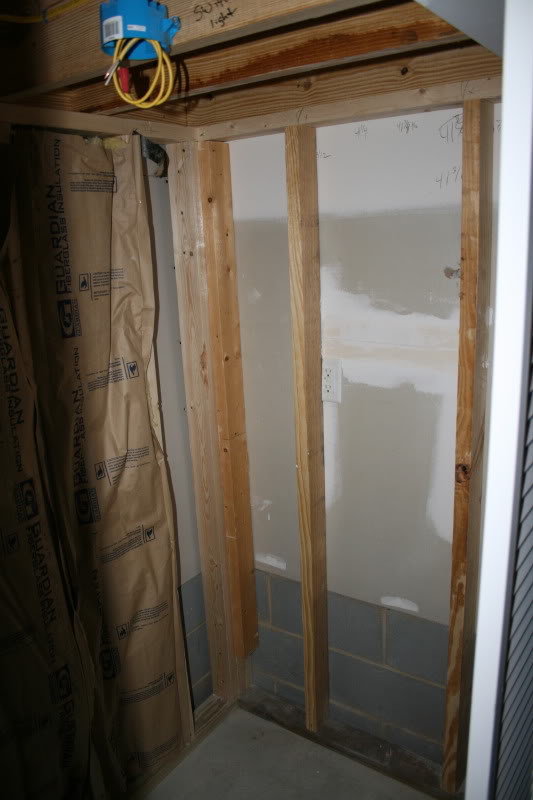
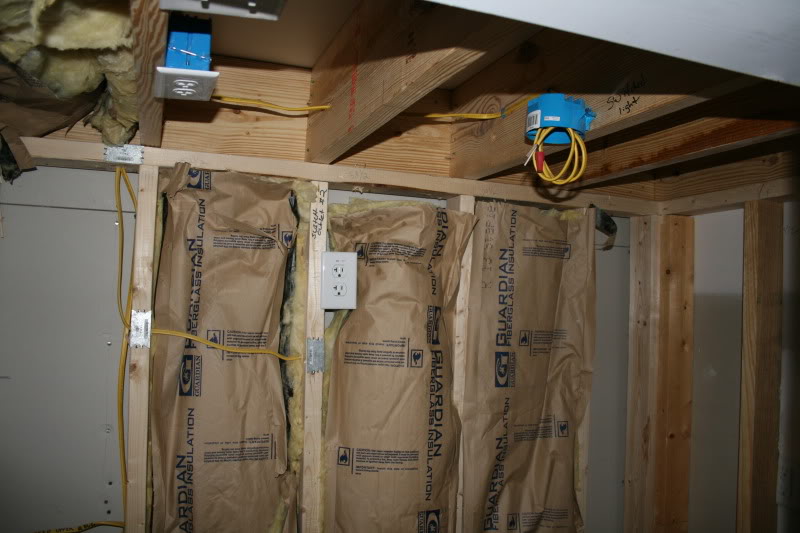
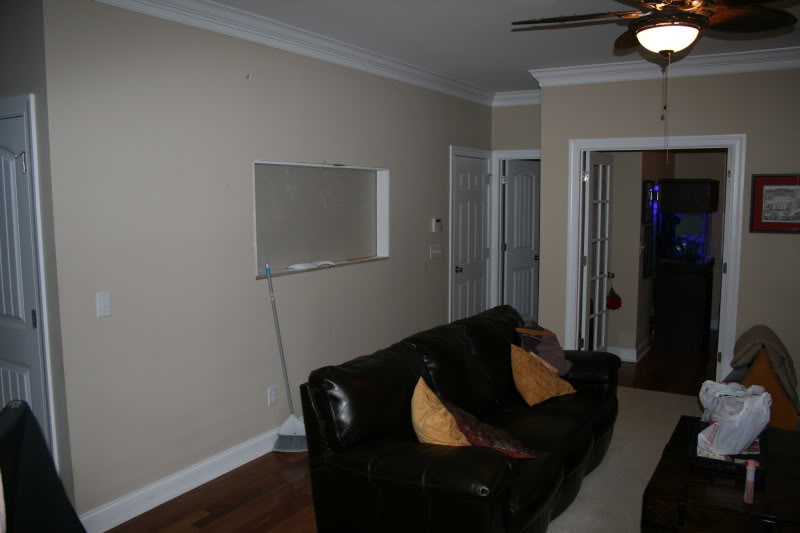
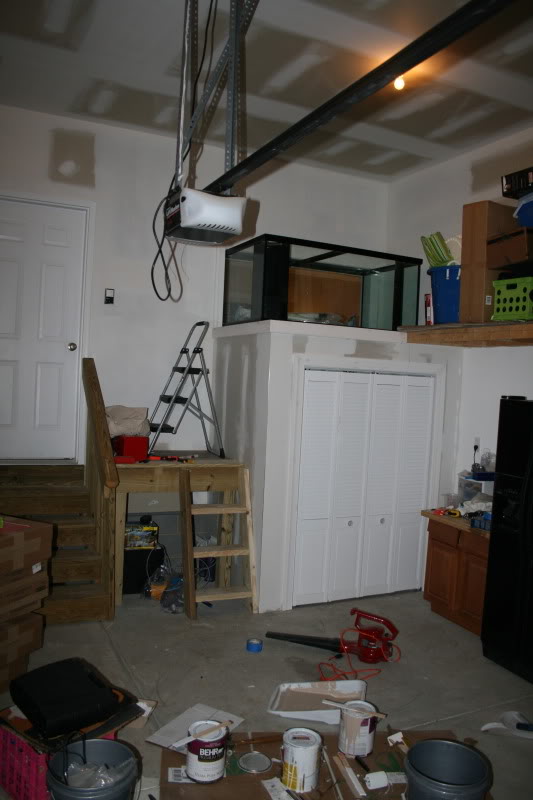
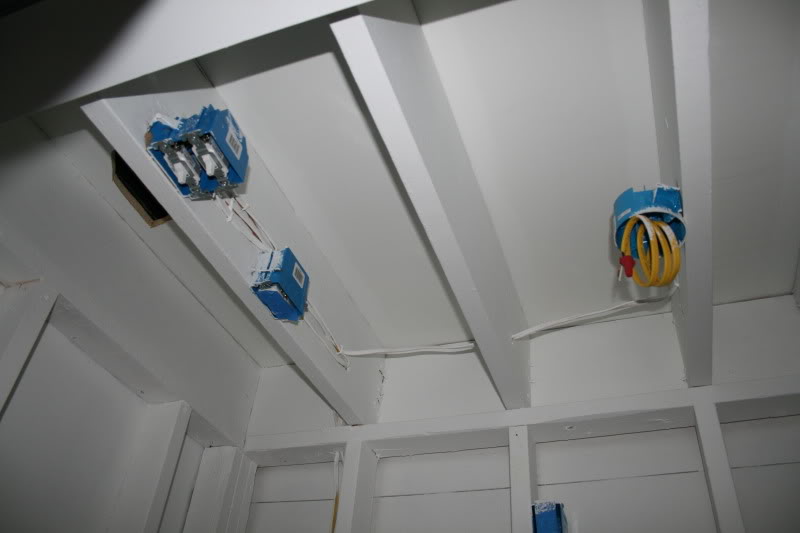
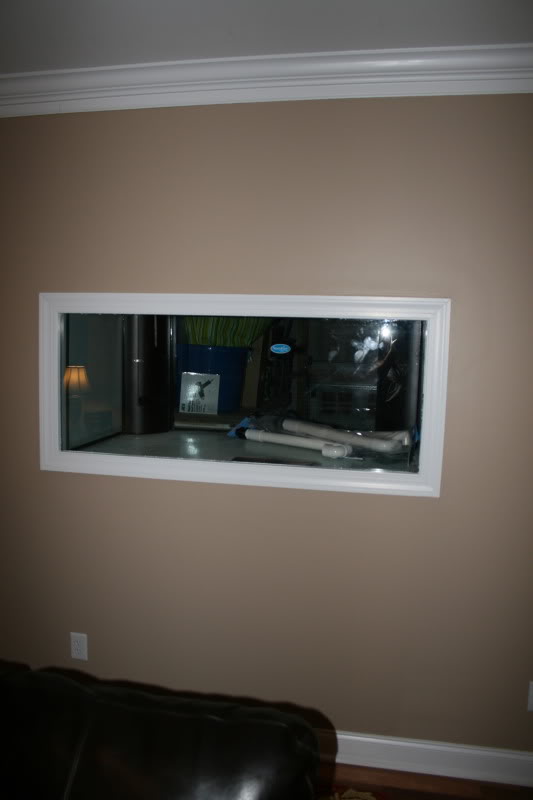
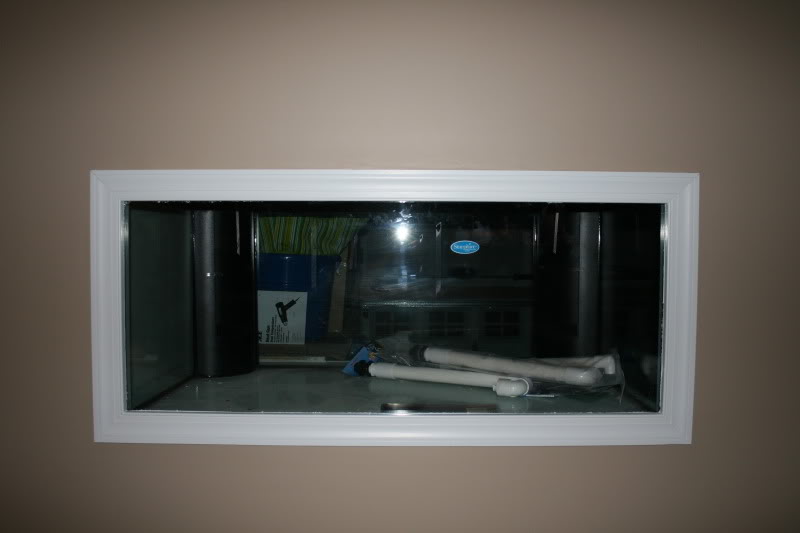
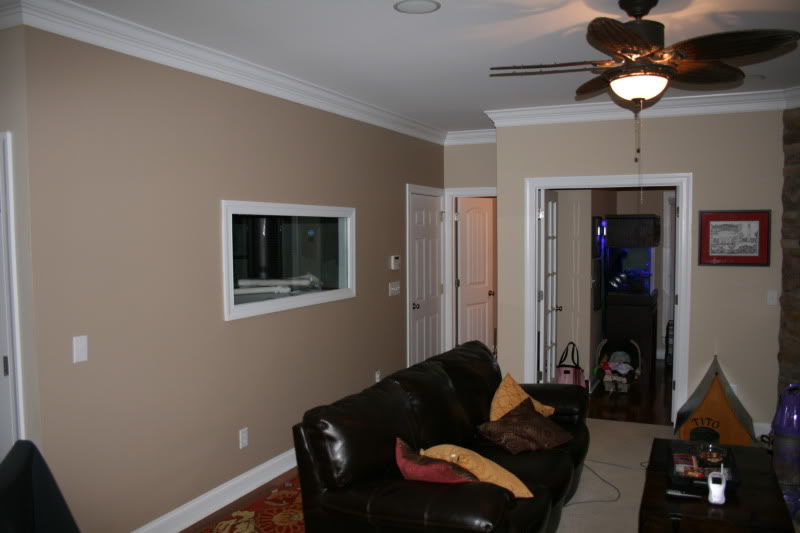
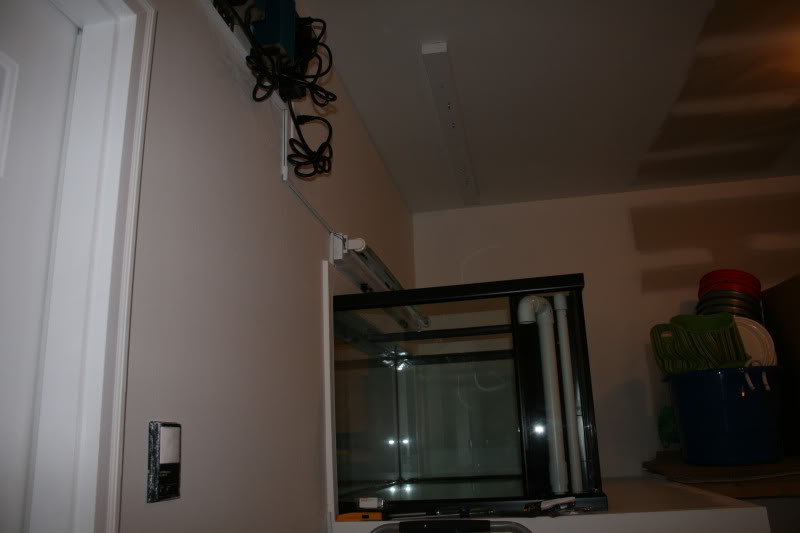
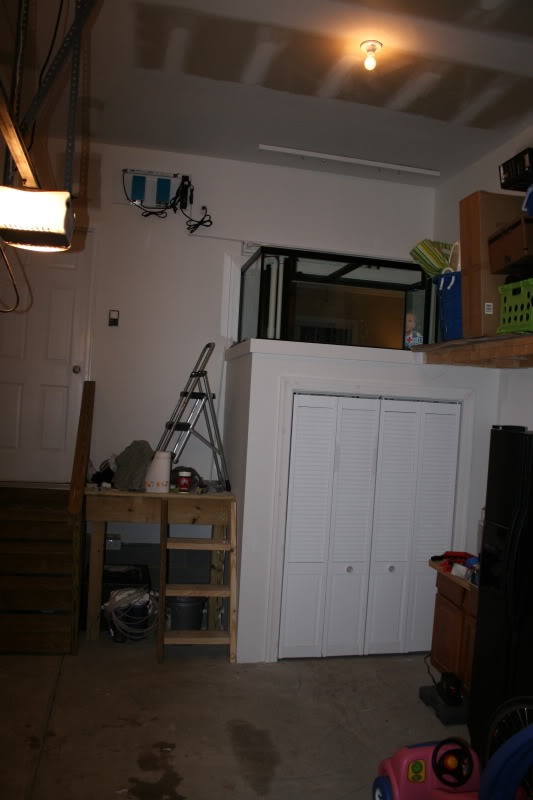
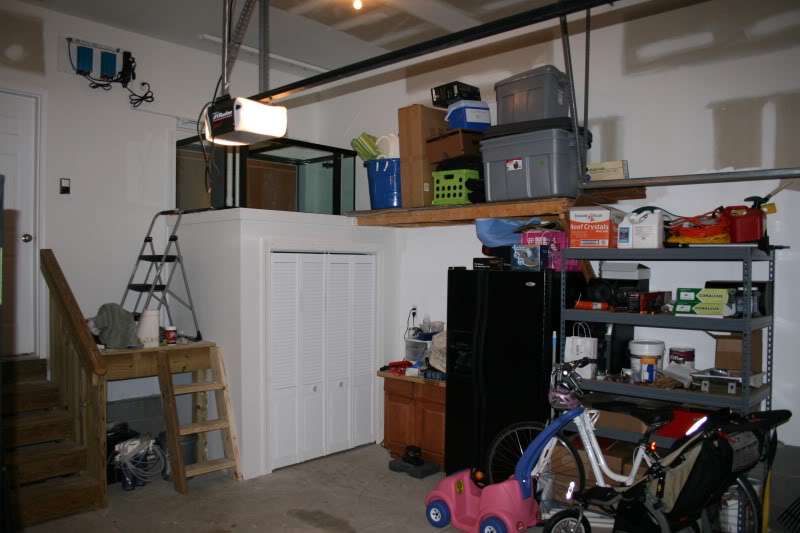
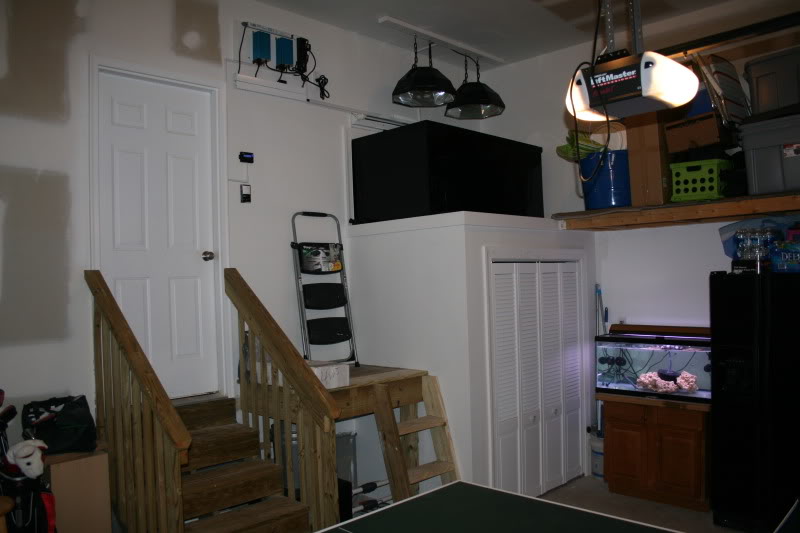
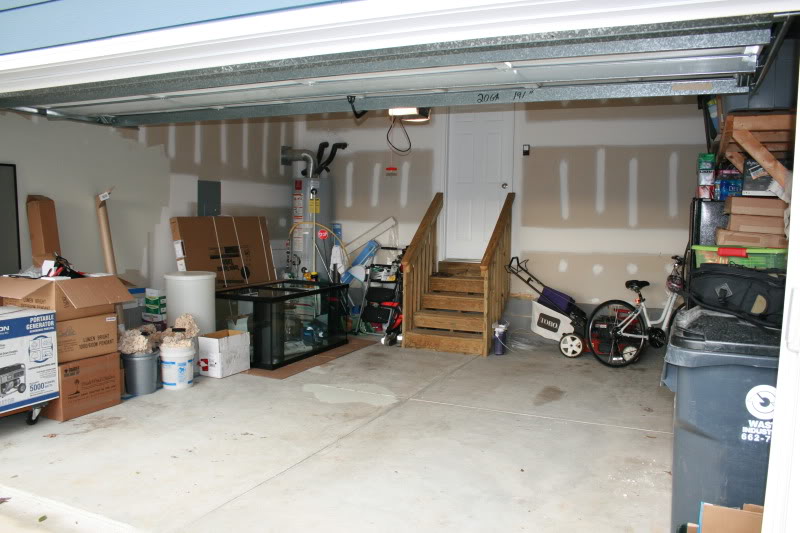
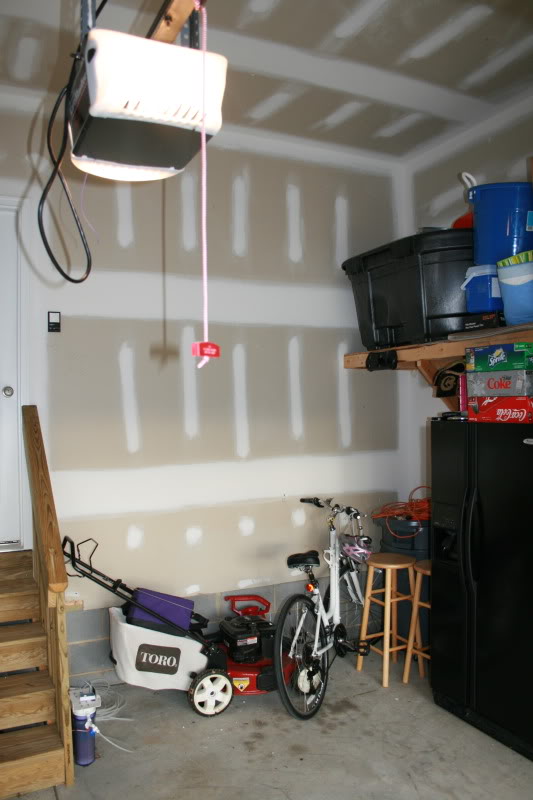
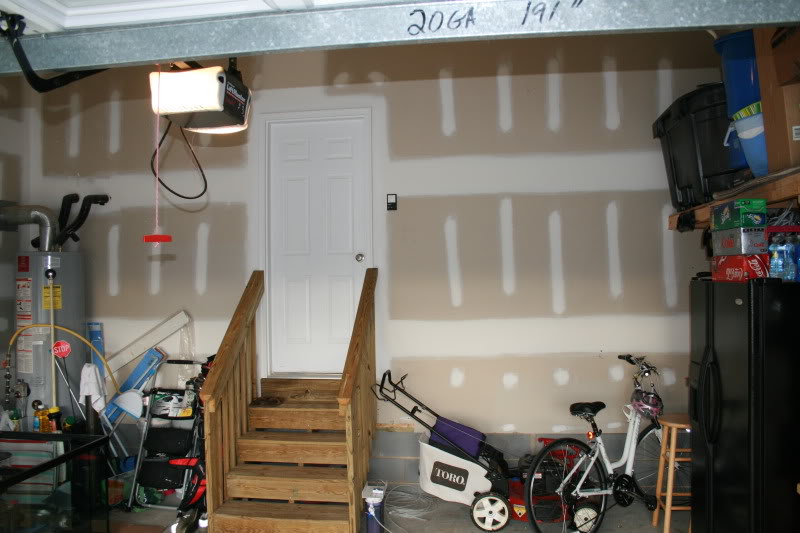
The tank will be located in the garage and viewable from the living room. Here is some of the equipment.

Tank: Marineland 250g Tank (60 x 36 x 27)
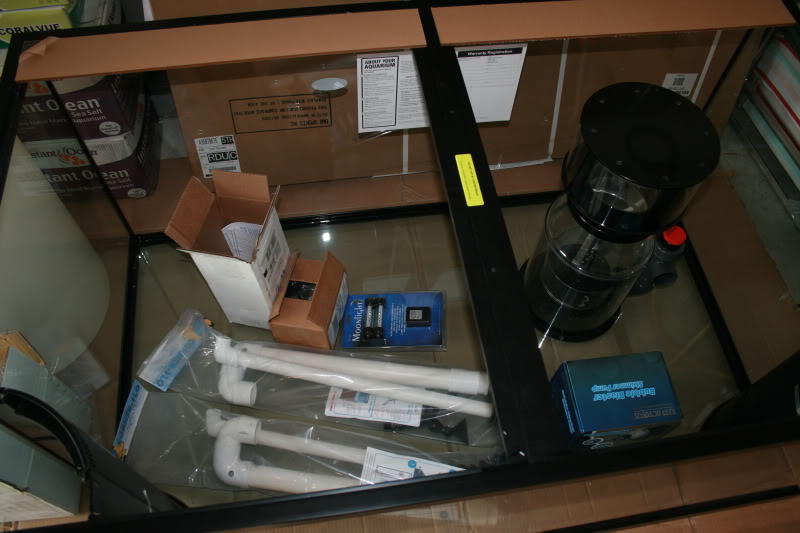
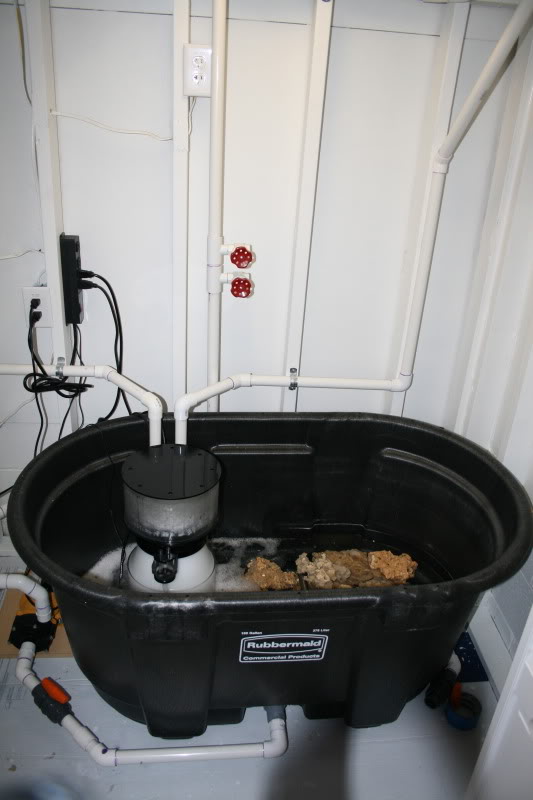
Skimmer: Super Reef Octopus 5000 Internal w/ Bubble Blaster Pump
Chiller: Tradewinds Super 1/2 hp inline Chiller
Return Pump: Blueline 70
Heaters: 2 x 1000w Blueline Titanium Heating Elements
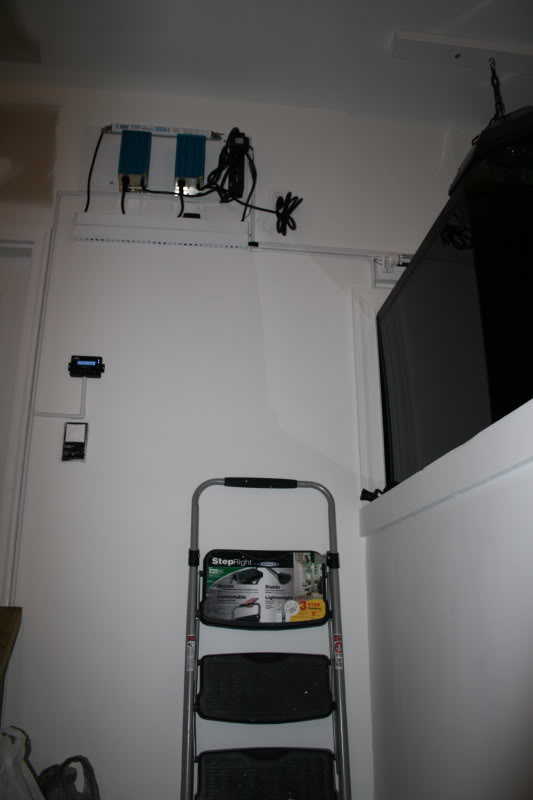
Controller: Reefkeeper Light w/ extra control modules (power strips)
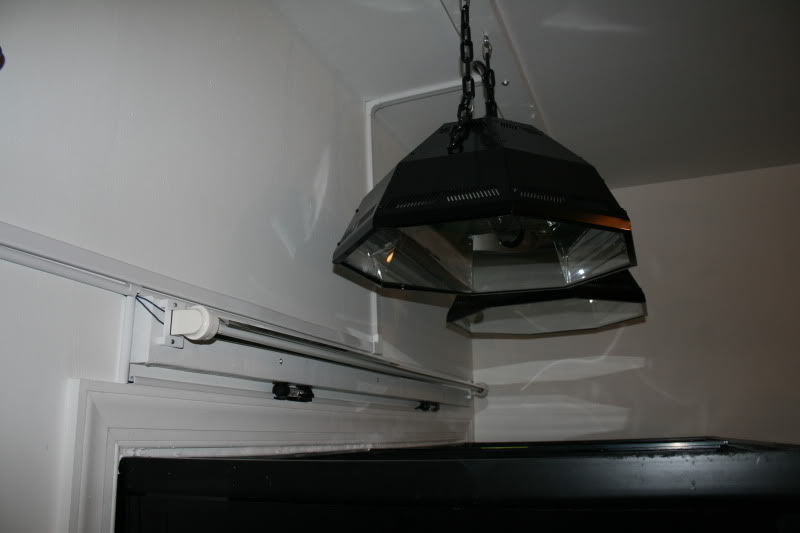
Lighting: 2 x Coralvue Lumen Bright Large Pendants
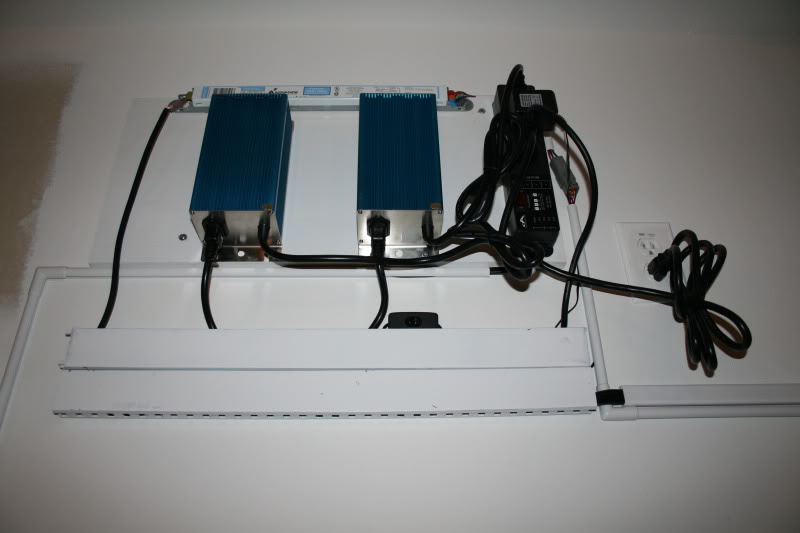
2 x 250w Coralvue ballasts
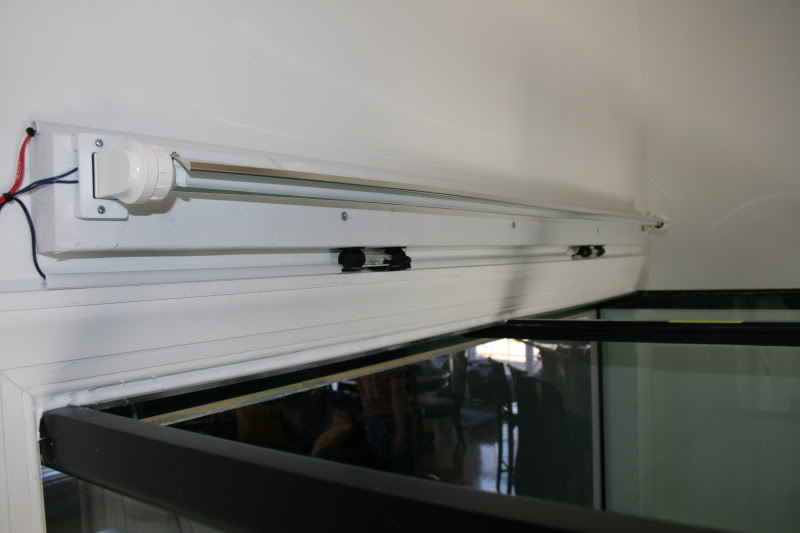
1 x 80w aquaillumination T5 retro kit w/ mira 4 reflector
R2 dual extreme LED moonlights

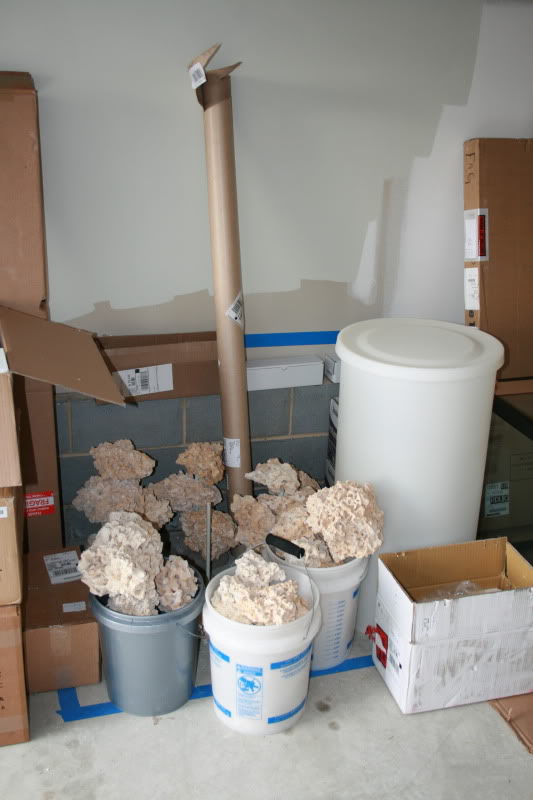
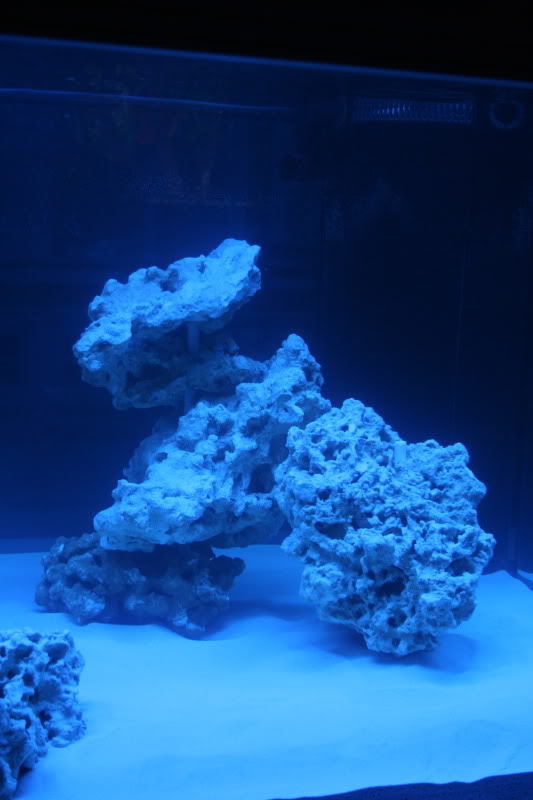
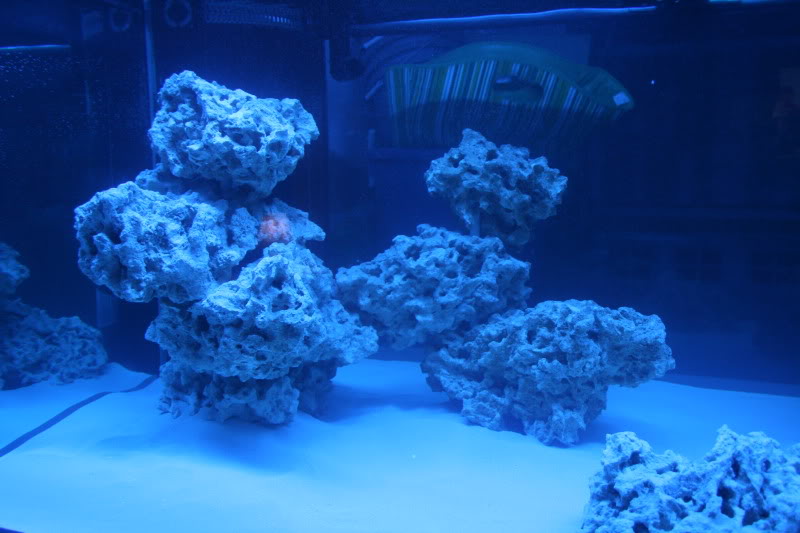
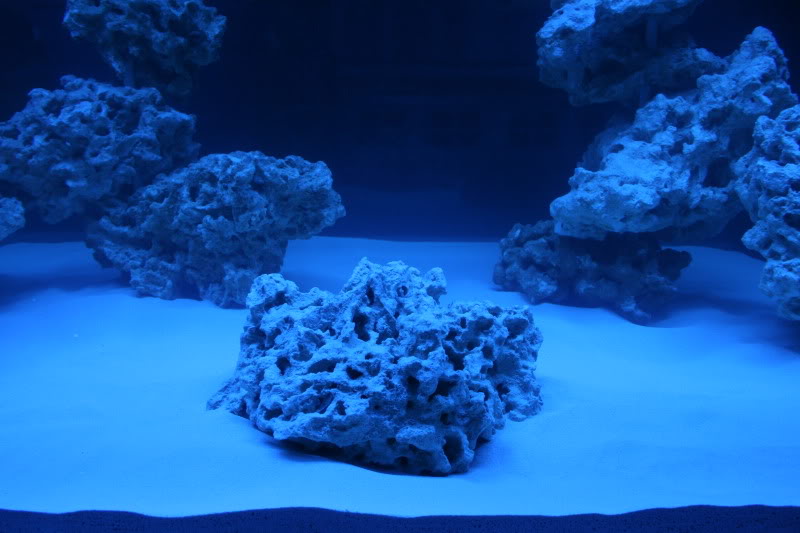
Rocks: 200 lbs of Marco Key Largo Dry Rock
Sand: 360 lbs of Caribsea Aragamax Sand
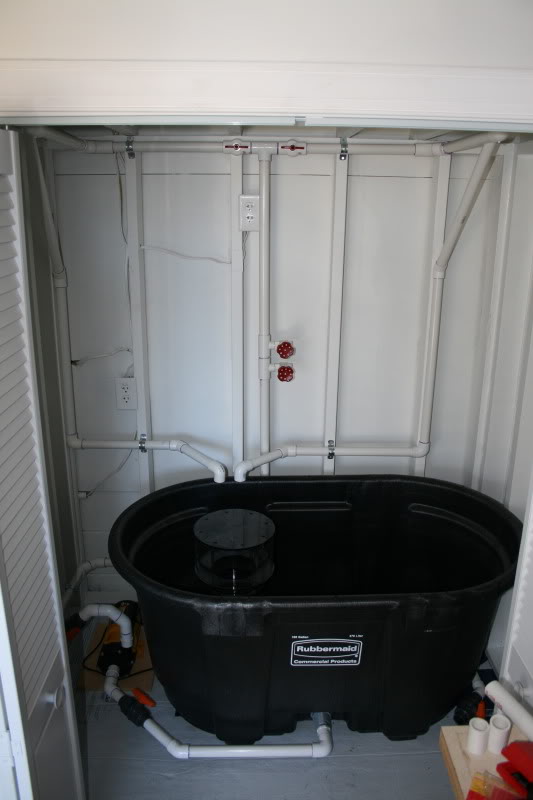
Sump: Rubbermaid 100g Livestock Tank

I am probably forgetting some stuff but i will try to update as I go.

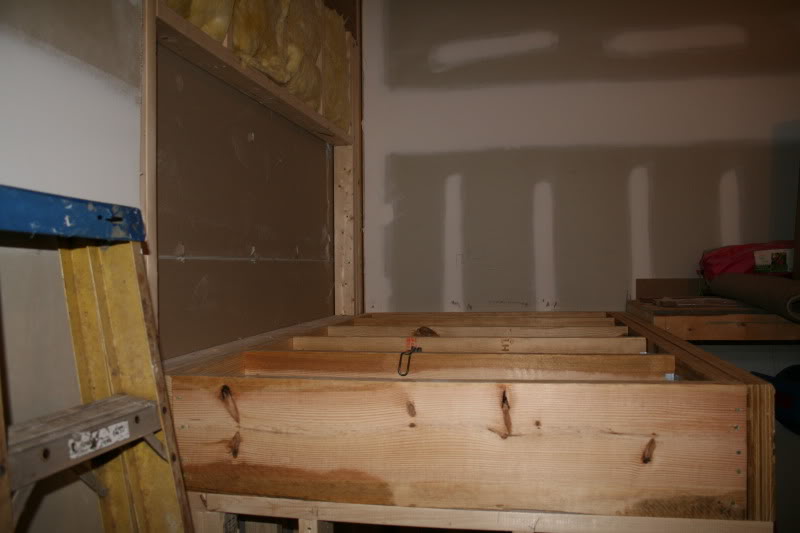
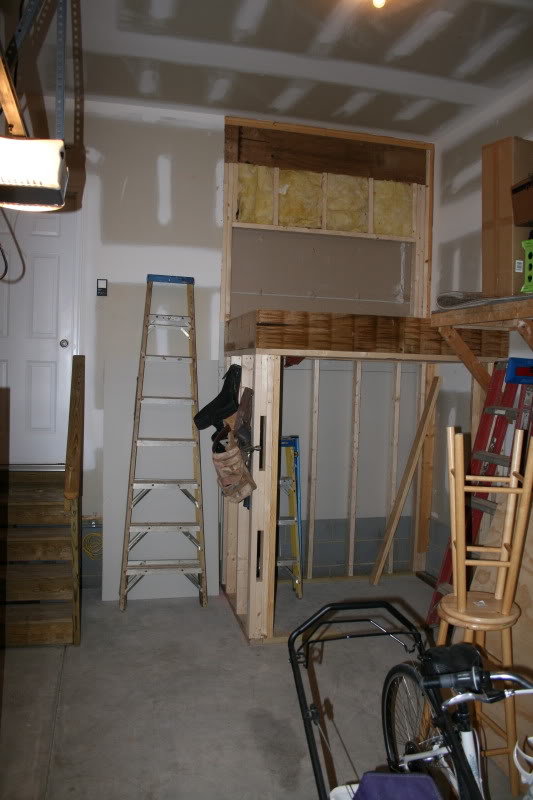
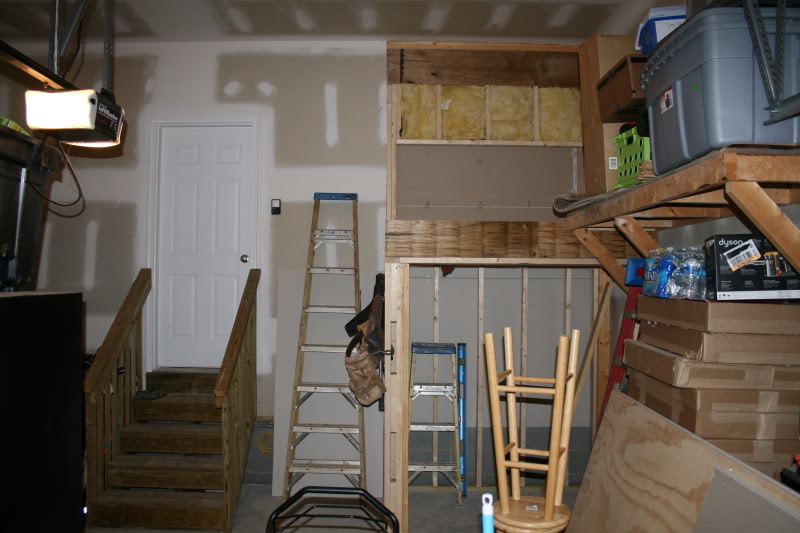
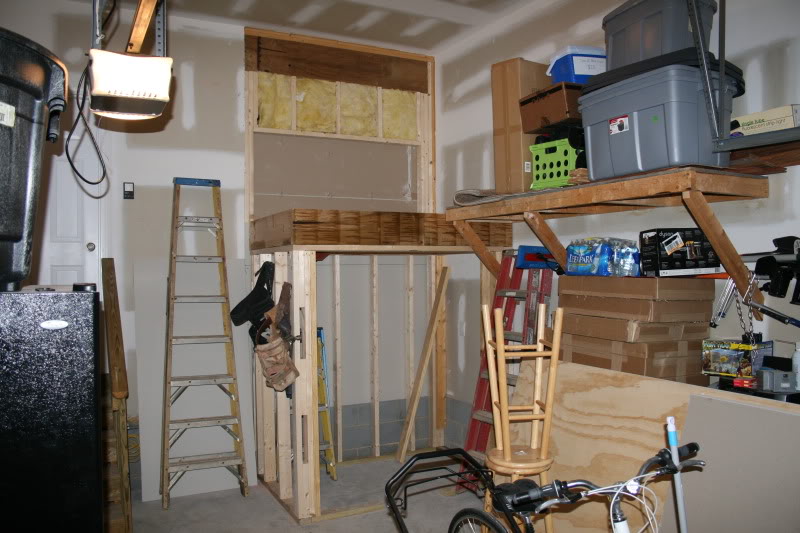
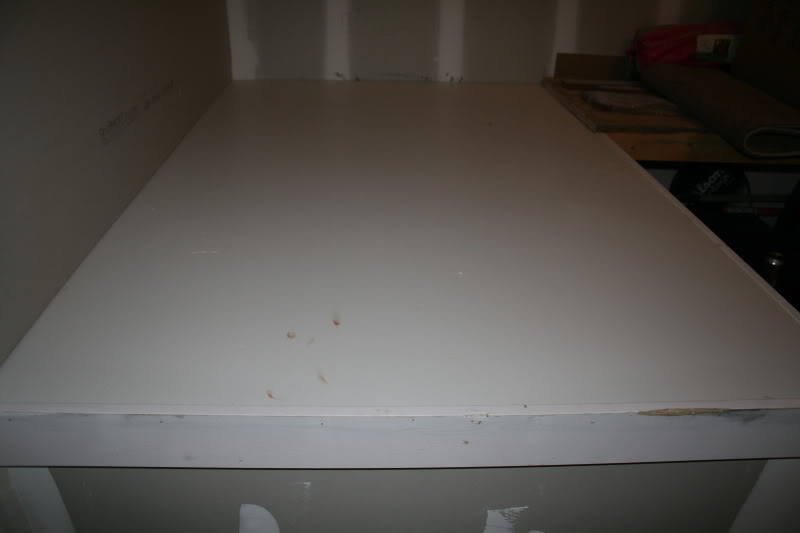
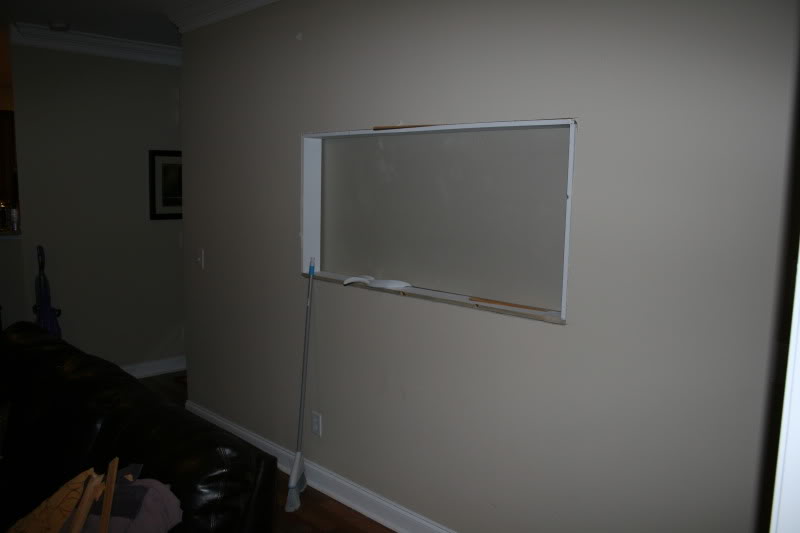
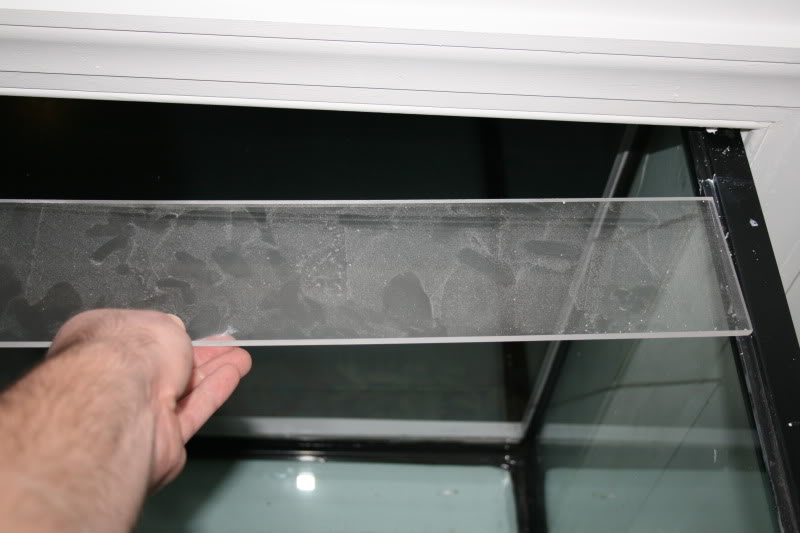
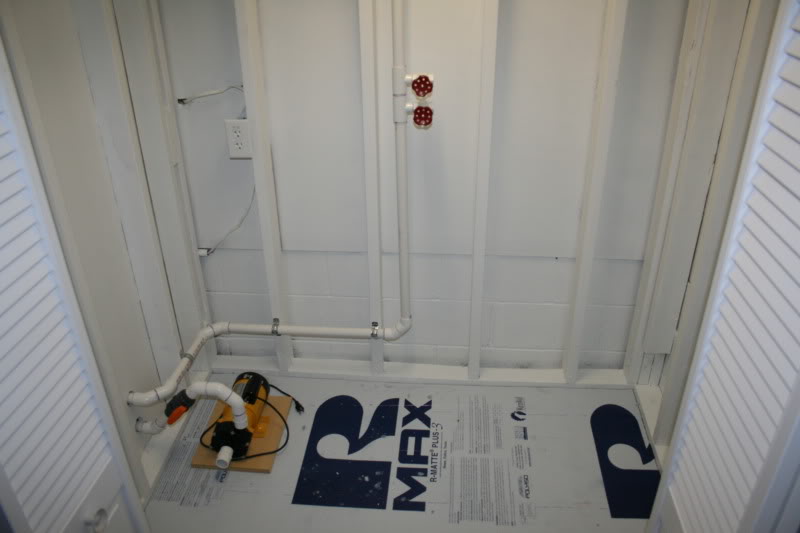
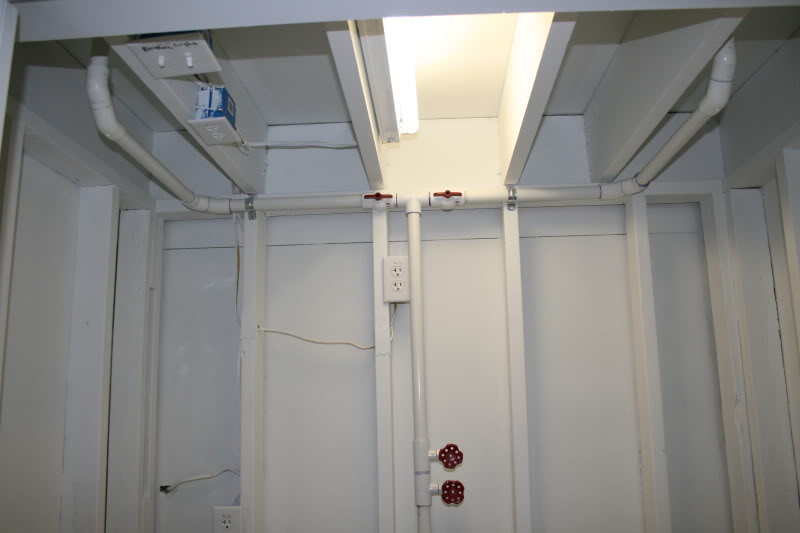
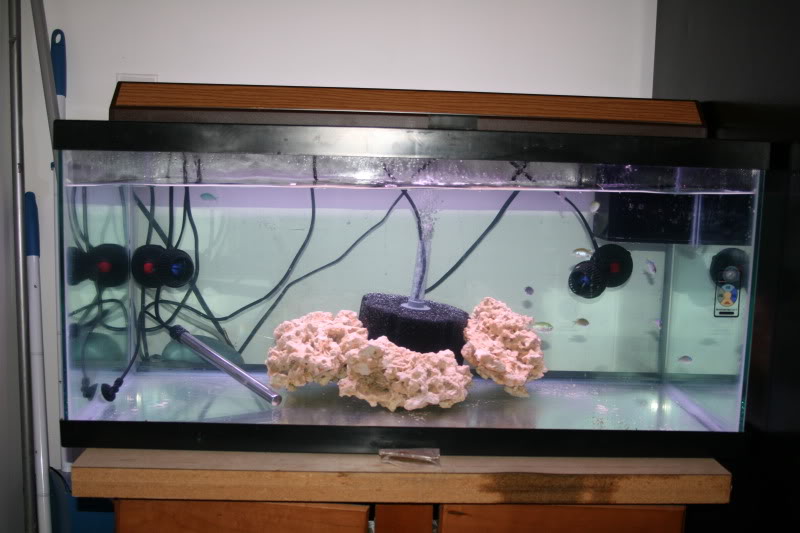
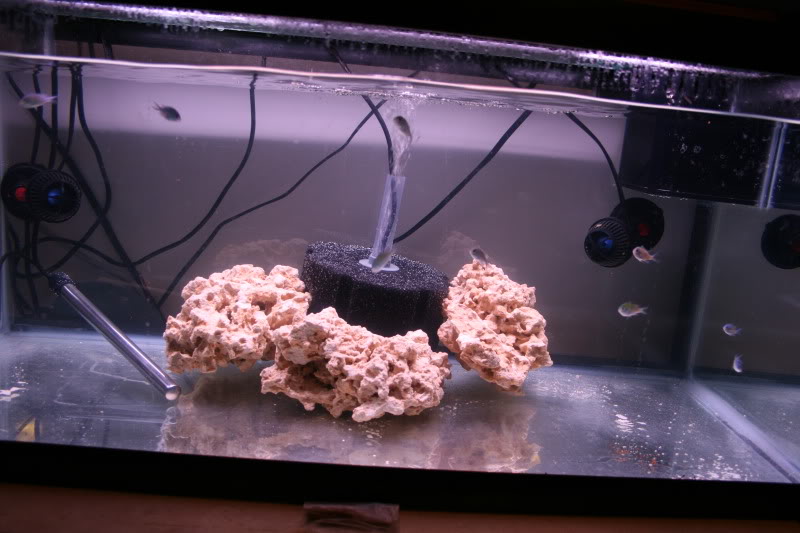
Here are some before Pics:

IMG_1555.jpg


IMG_1556.jpg


IMG_1557.jpg


IMG_1558.jpg
 
OP
OP
WesF

WesF

Well-Known Member
View Badges
Joined
May 17, 2010
Messages
764
Reaction score
77
Location
Raleigh, NC
Rating - 0%
0   0   0
I hired a General Contractor to do the work. Very cool people. Today was the first day of construction. I came home from work and found this. Looks like they got alot done today!

Since it is on load bearing wall, they had to install a header.
IMG_1564.jpg


IMG_1565.jpg


IMG_1566.jpg


IMG_1567.jpg
 
Last edited:
OP
OP
WesF

WesF

Well-Known Member
View Badges
Joined
May 17, 2010
Messages
764
Reaction score
77
Location
Raleigh, NC
Rating - 0%
0   0   0
ive been busy painting all weekend. I never imagined how much time i would be spending on the painting part of this project. I also took down all the christmas decorations/lights outside and made a trip to the dump to get rid a bunch of junk that was cluttering the garage.

IMG_1591.jpg


This is the area under the stand. I applied 2 coats of the special paint called "Watertight" It is water proof and mold resistant. It is very thick and kind of a PITA to apply. It's not cheap either @ $30/gallon. Went thru 2 gallons and need to get some more. I am going to apply several coats on the garage walls around the tank also.

IT might be overkill but i think moisture protection is a good thing.
IMG_1590.jpg
 
OP
OP
WesF

WesF

Well-Known Member
View Badges
Joined
May 17, 2010
Messages
764
Reaction score
77
Location
Raleigh, NC
Rating - 0%
0   0   0
I had to repaint the interior wall because so my wife decided to paint it a slightly different color and make it an "accent" wall. I like how it turned out.

IMG_1585.jpg


IMG_1584.jpg


IMG_1583.jpg


IMG_1582.jpg


This weekend I am hoping to finish up the painting and get started on the plumbing, etc. I'll keep you updated.

Wes
 
OP
OP
WesF

WesF

Well-Known Member
View Badges
Joined
May 17, 2010
Messages
764
Reaction score
77
Location
Raleigh, NC
Rating - 0%
0   0   0
ok sorry for the lack of updates...been too busy to take pictures and I only work on the tank on weekends.

I had acrylic pieces cut to cover the part of the tank that is underneath the wall. Sorry about the dust, I cleaned them before i put them in. I siliconed these in so no water can get in the wall.

IMG_1592.jpg


IMG_1593.jpg


Return plumbing
IMG_1595.jpg


More return plumbing and flourescent light installed.

IMG_1596.jpg
 

I-K@ndY

2500 Club Member
View Badges
Joined
Jan 11, 2007
Messages
3,561
Reaction score
11
Rating - 0%
0   0   0
Nice Wes.. Now I can follow this thread here... Hope all is well there and post more pics.. So far all is looking good man
 
OP
OP
WesF

WesF

Well-Known Member
View Badges
Joined
May 17, 2010
Messages
764
Reaction score
77
Location
Raleigh, NC
Rating - 0%
0   0   0
Finally finished plumbing. I probably killed alot of braincells w/ PVC primer and glue. I hope it doesnt leak.

IMG_1603.jpg


Painted boards for lighting.
IMG_1597.jpg


Aquaillumination 1x80w T5 HO retro w/ ATI blue plus bulb. R2 Extreme LED moonlights.
IMG_1599.jpg


Installed
IMG_1600.jpg
 
OP
OP
WesF

WesF

Well-Known Member
View Badges
Joined
May 17, 2010
Messages
764
Reaction score
77
Location
Raleigh, NC
Rating - 0%
0   0   0
Ballast/Control board installed and cable hider stuff installed. You can also see the board on the ceiling where the MH pendants will hang. I forgot S hooks and didnt want to go back to the hardware store today...AGAIN.

IMG_1606.jpg


IMG_1604.jpg


Also got new garage shelves from Lowes and put it together and tried to clean up the garage a bit.
IMG_1605.jpg


Thats it for this weekend. Next weekend i hope to fill her up and do a leak test.
 
OP
OP
WesF

WesF

Well-Known Member
View Badges
Joined
May 17, 2010
Messages
764
Reaction score
77
Location
Raleigh, NC
Rating - 0%
0   0   0
tank is filled up and running...sort of.

I still have more work to do but at least i have water sand and rocks in there...
I wanted a very open scape with plenty of swimming room for the fish. I like open aquascapes. I get better flow throughout the tank and I don't need to cover every inch of the tank w/ lighting...

I used 1/2" fiberglass rods to create pillars. I got this idea from Sanjay on reefcentral.

These pics were taken with the 1 x 80w ATI blue plus T5 HO. I have not hung the MH pendants yet.

IMG_1607.jpg


IMG_1620.jpg


IMG_1621.jpg


IMG_1622.jpg
 
OP
OP
WesF

WesF

Well-Known Member
View Badges
Joined
May 17, 2010
Messages
764
Reaction score
77
Location
Raleigh, NC
Rating - 0%
0   0   0
Ok it's been a while since I have updated so here are a few more pics.

I have the lumenbrights hung and tried to "hide" the cables as much as I could.

IMG_1637.jpg


IMG_1638.jpg


I ordered some black acy-lite sheets to go around the sides and back. Right now i have them held up w/ black tape. Eventually i might get some powerful magnets to make removal for maintenance easier.

IMG_1636.jpg


Also as you can see I have the QT system up and running.
IMG_1634.jpg
 
OP
OP
WesF

WesF

Well-Known Member
View Badges
Joined
May 17, 2010
Messages
764
Reaction score
77
Location
Raleigh, NC
Rating - 0%
0   0   0
The QT tank is a 30g breeder i got from a friend. It has been drilled so I didnt fill it up all the way. Also please disregard the unevenness. Next time i drain for a big water change ill try to shim it a bit.

IMG_1635.jpg


The QT system consists of
30g breeder
2x koralia 1's
1 large sponge filter w/ Rena Air pump
3 pieces of extra MarcoRock
200w heater.
AGA 36" flourescent light that came w/ my 65g tank. I never took it out of the box for years...Then i realized it was a perfect fit for this QT tank.

IMG_1639.jpg


The first additions.

10x blue/green chromis from TFR. Every fish will go through QT before entering the 250g. All fish will recieve Prazipro and Cupramine treatments during their time in QT.
IMG_1640.jpg
 

When to mix up fish meal: When was the last time you tried a different brand of food for your reef?

  • I regularly change the food that I feed to the tank.

    Votes: 37 23.9%
  • I occasionally change the food that I feed to the tank.

    Votes: 52 33.5%
  • I rarely change the food that I feed to the tank.

    Votes: 47 30.3%
  • I never change the food that I feed to the tank.

    Votes: 15 9.7%
  • Other.

    Votes: 4 2.6%
Back
Top