Navigation
Install the app
How to install the app on iOS
Follow along with the video below to see how to install our site as a web app on your home screen.
Note: This feature may not be available in some browsers.
More options
You are using an out of date browser. It may not display this or other websites correctly.
You should upgrade or use an alternative browser.
You should upgrade or use an alternative browser.
29 gallon Reef Recked build
- Nano Build
- Thread starter Reef Recked
- Start date
- Tagged users None
Your awesome Thank you! and I might just pull the trigger on the vipar considering those Par numbers are even at 23" ! and how much would I actually use the wifi for the SB do you think? I know its of course different for everybody/ every case but is that something you think I would really be using much?
On top of also being on Amazon which means I can have them in two days!I wouldn’t pay the premium for sb reeflights. Visparactas are a very good idea. Put out some nice or too. You could even mod some mars aqua or other eBay lights
I think im definitely leaning in that direction, especially after ive reached out to SB twice now for some info on the new 18"and still havent received a response.
Looking at the SB reeflights they do use a 0-10v pwm. A little different to set up with reef-pi but doable.
I would go with the Vipar lights myself. The wi/fi to me is just something else to play with and not worth the price IMO. I think the SB reeflights have a bit better spectrum but the vipars will grow anything you put in your tank.
I would go with the Vipar lights myself. The wi/fi to me is just something else to play with and not worth the price IMO. I think the SB reeflights have a bit better spectrum but the vipars will grow anything you put in your tank.
BTW if your looking to get a light meter to check you lights this is the one I got:
https://www.amazon.com/d/Light-Mete...UTF8&qid=1547658184&sr=8-6&keywords=lux+meter
It's not water proof so you can only read from water level but it gives a good starting point to figuring out how much par your lights are putting into the tank. Just take the LUX reading and divide by 50 and it will give you a close approximation of par value.
I think I will go with Vipars, Considering this tank started as a more budget minded tank to get me into the hobby before building and starting a much larger tank, before it got a little out of hand ;Greedy. And i try to listen when people much more knowledgeable than me tell me something lol.
Looking at the SB reeflights they do use a 0-10v pwm. A little different to set up with reef-pi but doable.
I would go with the Vipar lights myself. The wi/fi to me is just something else to play with and not worth the price IMO. I think the SB reeflights have a bit better spectrum but the vipars will grow anything you put in your tank.
I wouldn’t pay the premium for sb reeflights. Visparactas are a very good idea. Put out some nice or too. You could even mod some mars aqua or other eBay lights
BTW if your looking to get a light meter to check you lights this is the one I got:
https://www.amazon.com/d/Light-Mete...UTF8&qid=1547658184&sr=8-6&keywords=lux+meter
It's not water proof so you can only read from water level but it gives a good starting point to figuring out how much par your lights are putting into the tank. Just take the LUX reading and divide by 50 and it will give you a close approximation of par value.
I saw that on your thread! but WOW i didnt realize how cheap it was, Ill probly order it with the Vipar!
@Reef Recked seeing the bikes...well you planted a seed, I'm gonna dress for the weather and take my Road King out for a few miles shortly.
Again. Outstanding job and your acrylic work is totally amazing. I noticed in one of the later pics you moved the Tunze Pump off the bottom of the sump...vibration?
Again. Outstanding job and your acrylic work is totally amazing. I noticed in one of the later pics you moved the Tunze Pump off the bottom of the sump...vibration?
Thank you Captain Quint! it means alot! been alot of work to get to this point!
@Reef Recked seeing the bikes...well you planted a seed, I'm gonna dress for the weather and take my Road King out for a few miles shortly.
Again. Outstanding job and your acrylic work is totally amazing. I noticed in one of the later pics you moved the Tunze Pump off the bottom of the sump...vibration?
Thats a nice bike! im jealous its great riding weather down here today but im stuck in the office
Thank you!it was actually my first time working with acrylic for this project but after the first few it starts getting easier. Some of my jigsaw cuts could have been cleaner but after hours you just want it done!
The tunze was a little up because when i was testing those feet kept grabbing the sides of the sump chamber cause its so tight but now i cut a little longer piece and have it sitting on the bottom of the sump. but it actualy was extremely quiet, with that pump and the bean animal its almost silent.
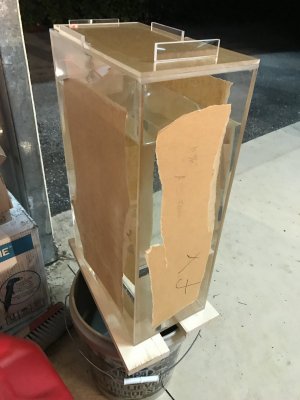
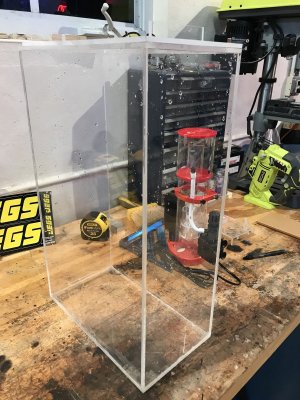
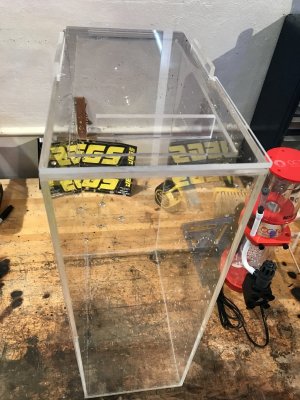
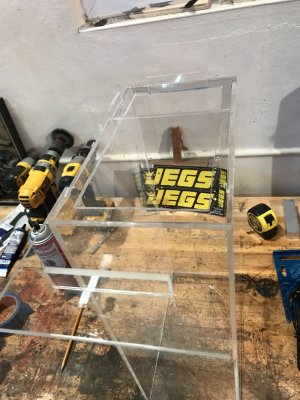
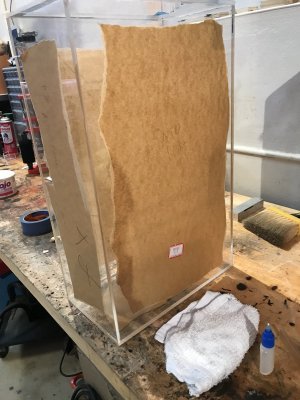
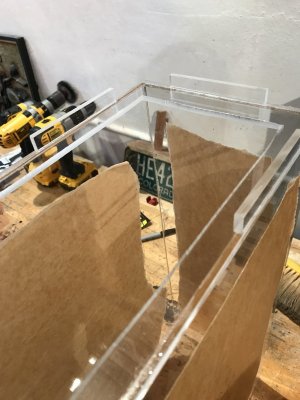
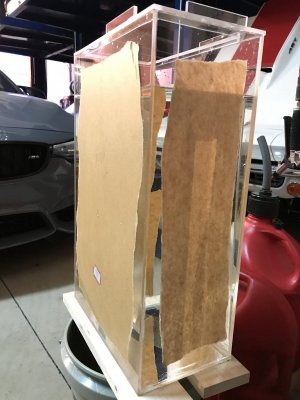
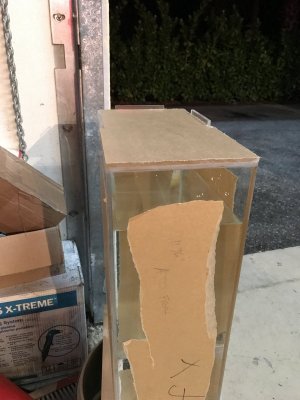
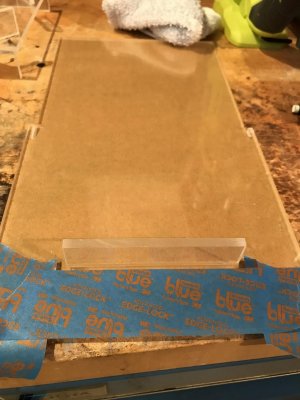
Last night I got my ATO container finished along with the lid, originally I was going to mount it with acrylic hinges but with where I am going to run my reactors it wouldnt be able to open very far so decided to make this setup in order to completely remove the top and have easy access. Water tested and so far so good.


Great job for sure.
The second acrylic tank I made was more of an experiment and I rounded the top some. Pretty rough but looked pretty good after I flame polished it. Yours is really nice.
The second acrylic tank I made was more of an experiment and I rounded the top some. Pretty rough but looked pretty good after I flame polished it. Yours is really nice.
Very nice. Looks like you have a good grasp on making things from acrylic.
I have never done any building with acrylic but I might try an algae scrubber.
Any tips for an acrylic noob?
I have never done any building with acrylic but I might try an algae scrubber.
Any tips for an acrylic noob?
Great job for sure.
The second acrylic tank I made was more of an experiment and I rounded the top some. Pretty rough but looked pretty good after I flame polished it. Yours is really nice.
Thank you both !
Very nice. Looks like you have a good grasp on making things from acrylic.
I have never done any building with acrylic but I might try an algae scrubber.
Any tips for an acrylic noob?
so some things ive learned
- Depending on the size of your cuts use either a table saw or miter saw with at least an 80 tooth blade if you have one available to you.
-With anything measure twice cut once !
-After they are cut you want to sand each seam that is going to be glued, you will see the saw marks after the first few passes and keep sanding until they are gone otherwise the acrylic cement wont bond properly and you could have some leaks.
-Use atleast one square when gluing to make sure your finished product is even. (I like a rafter square but use a rafter and framing square usually)
-You can use Clamps to hold everything to finish by yourself but an extra set of hands is very helpful and usually faster.
-Tape your pieces very close to the edge being glued if your finger is even close to the cement the oils from your finger will be a permanent part of the acrylic! lol ive still made this mistake a few times
-I use Weld on 3 which dries extremely fast (about 10 seconds or so and its not moving) which is both a good thing and bad at times if you bump anything, you can also use Weld on 4 which is suppose to dry slower i believe 1-2 minutes but i haven't worked with it so i cant say.
-Do yourself a favor and also get Weld on 16 which is thicker, to stop any leaks. If any cuts aren't perfect and there is any gap the weld on 3/4 is to watery and thin to seal it so you will need the weld on 16.
I hope this helps and if you have any more questions feel free to reach out and id be happy to help any way I can!
I was actually thinking of doing a super simple easy to follow write up for making an acrylic sump/container. might try to get on that lol.
Great tips.
I do a bit of wood working and I build guitars so I have pretty much all the tools I need. I have 80 tooth finishing blades for my table and mitre saws, I also have a couple different routers and a router table.
When you sand the edges are you using wet/dry sand paper like 600 grit or finer?
I do a bit of wood working and I build guitars so I have pretty much all the tools I need. I have 80 tooth finishing blades for my table and mitre saws, I also have a couple different routers and a router table.
When you sand the edges are you using wet/dry sand paper like 600 grit or finer?
Great tips.
I do a bit of wood working and I build guitars so I have pretty much all the tools I need. I have 80 tooth finishing blades for my table and mitre saws, I also have a couple different routers and a router table.
When you sand the edges are you using wet/dry sand paper like 600 grit or finer?
That is awesome, if you can build a guitar I dont think you'll have much trouble!
Ive just been using 100-200 grit dry on a hand sander and it has been working fine im sure if you worked down to a 600 grit your seam would be even cleaner just depends how much time you want to put into it. Ive been getting antsy to get started so mainly used 100.
when you put the Weld on into the seam it will suck right into it and the seam goes from cloudy to clear where the bond is complete and strong. the better you sand it the clearer it will be. If there are any saw marks left or the edges aren't sanded enough you will see some small bubbles most of the time it will still be waterproof depending on how bad they are but just wont be AS strong or look as good even though no one else will probly notice but you.
I just picked up a dewalt 2 1/4 hp router! excited to work with it. Going to use it to make the acrylic covers to clean up the front of my sump where you can see the sealant from baffles and also to create a cover to measure water level for the ATO
Great build and thank you for sharing! I am thinking of trying to make some stuff from acrylic... can I ask what thickness you use and where you get it from
Great build and thank you for sharing! I am thinking of trying to make some stuff from acrylic... can I ask what thickness you use and where you get it from
Thank you! It really is easier than you think. for everything ive built here ive used 1/4" Cast acrylic from acmeplastics you can order stock sheets or custom cuts. there is cast or extruded acrylic, extruded is easier to flame polish but cast is more scratch resistant which is why i used it for these builds considering it was for a sump and ATO.
The thickness youll need depends mainly on the size (especially height) of your tank and wether it is going to have a brace or top. because I was going to use a brace around the whole top of both of these I knew I could get away with the 1/4" however for alot of decent sized tanks you might need to go up to 1/2".
Let me know if you need anything else!
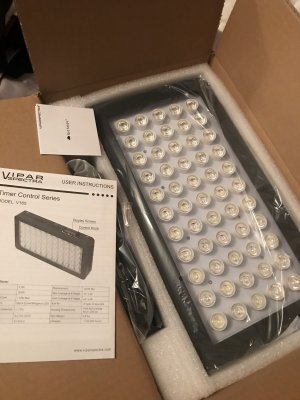
ok I listened to you Diamond and went for the Viparspectra! so well see how that does, I was going to hang from the ceiling but i think ill just weld toether something attached to stand so its all contained.
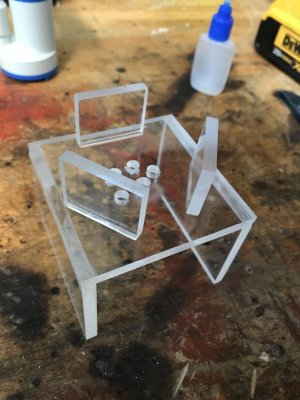
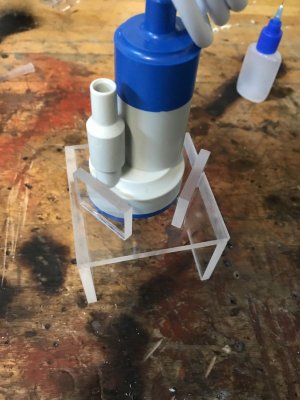
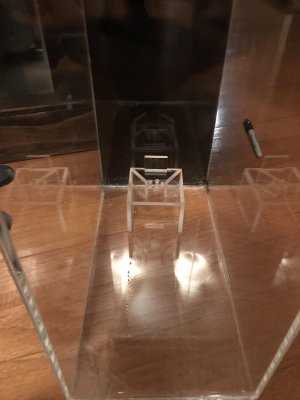
Threw together this little ATO stand last night because im thinking of running Kalkwasser which i heard makes a slurry or something on the bottom of the container. then got the whole ATO system setup just have to fill and test now.
I started my Cycle on Saturday and have tested for ammonia sunday and monday. Took pictures of results Below!
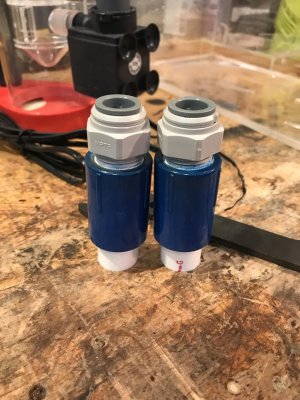
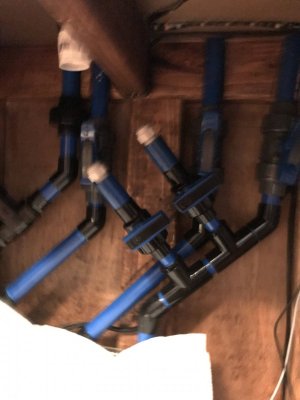
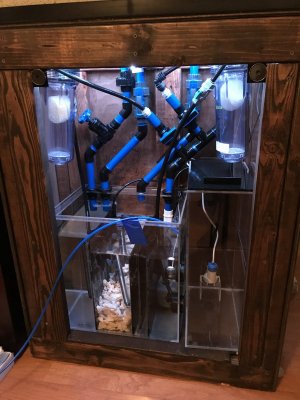
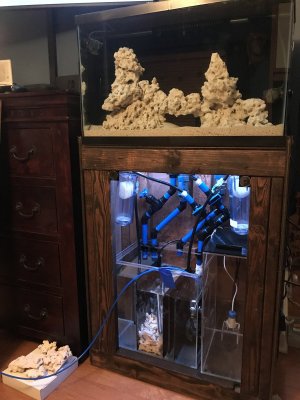
Also got to install the BRS reactors and some pictures of what the system is looking like so far!
Finally it really begins!!
1/20/2019
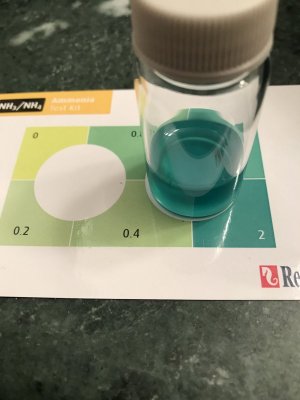
1/21/2019
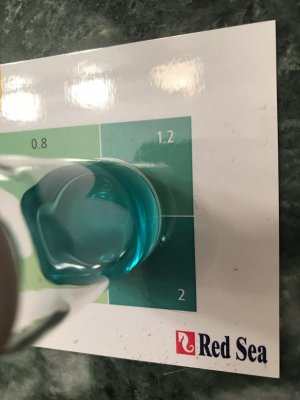
Threw together this little ATO stand last night because im thinking of running Kalkwasser which i heard makes a slurry or something on the bottom of the container. then got the whole ATO system setup just have to fill and test now.
I started my Cycle on Saturday and have tested for ammonia sunday and monday. Took pictures of results Below!
Also got to install the BRS reactors and some pictures of what the system is looking like so far!
Finally it really begins!!


1/20/2019

1/21/2019

Similar threads
- Replies
- 28
- Views
- 591
- Replies
- 3
- Views
- 234
- Replies
- 0
- Views
- 168
- Replies
- 36
- Views
- 474


