I know that this is a reef forum, but this incorporates some of the same plumbing and lighting ideas so I figured - "what the heck"
A lot of this text is going to be copied/pasted from another forum so if any of it doesn't make sense feel free to ask away.
Now that my other tank which was not doorway friendly is gone, I finally get to start on something I've been planning for the past several months.
This tank will be roughly the same dimensions (60 x 28 x 41). The water area will only be about 8-10 in high and be in the form of a stream from the right viewing window to the left. Typical egg crate false bottom setup which will be hidden by hand carved foam/drylok rocks. As well as a large rock/tree background.
The inside of the tank will be fiberglassed and then coated in WetSuit Liquid Rubber (which they use to waterproof Koi ponds). The double coating is to help prevent microcracks in the epoxy/fiberglass from leaking which may form when the tank is moved a couple of times over the next few years. The stand/tank/canopy will be covered in grey formica/laminate akin to an ADA style stand.
Lighting will be DIY LED's controlled by my ReefAngel. The tank will drain into a sump (to facilitate water changes) and the return will be split 3 ways (circulate water under the FB, waterfall/trickle, and main return under the waterfall). I'm throttling down the waterfall because my wife said she would kill me if it sounded like running water all the time.
I may or may not be able to add some Dwarf Pencilfish (Nannostomus marginatus) to the water feature, I have a few concerns about adding WC fish in with frogs. I'm hoping to add my group of A. pepperi to the tank and maybe another frog (thinking about H. azureiventris) depending on how well it all comes together. I was thinking about Gonatodes humeralis as a tankmate, but I realized that this was something better left in fantasy land rather than reality.
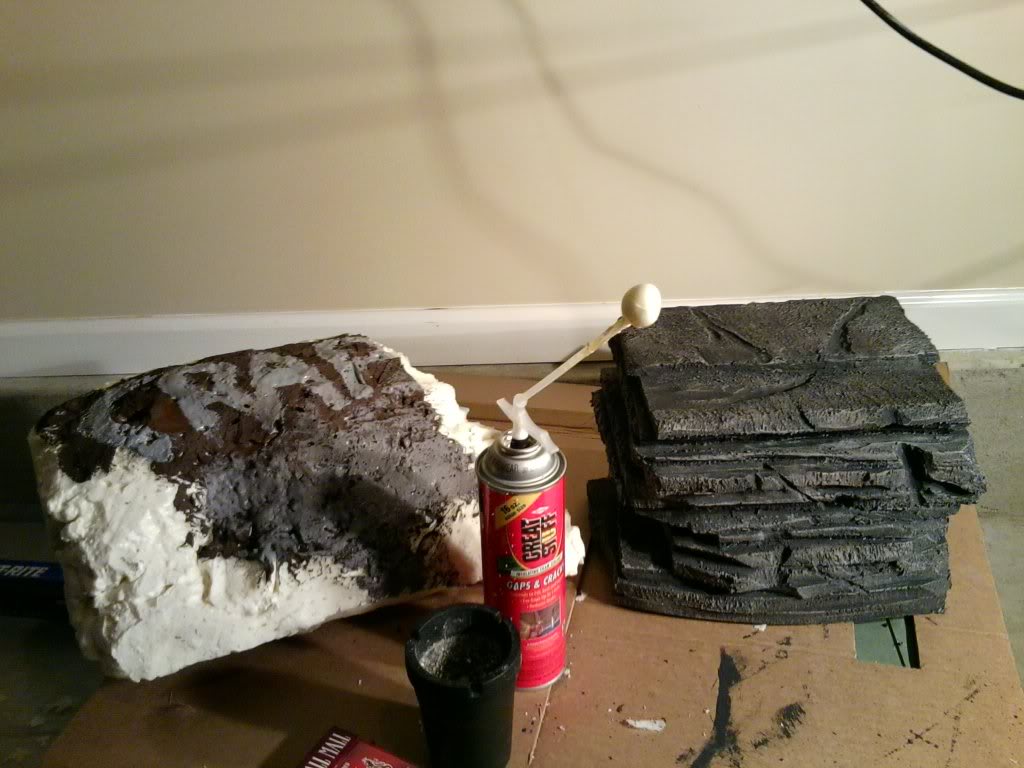
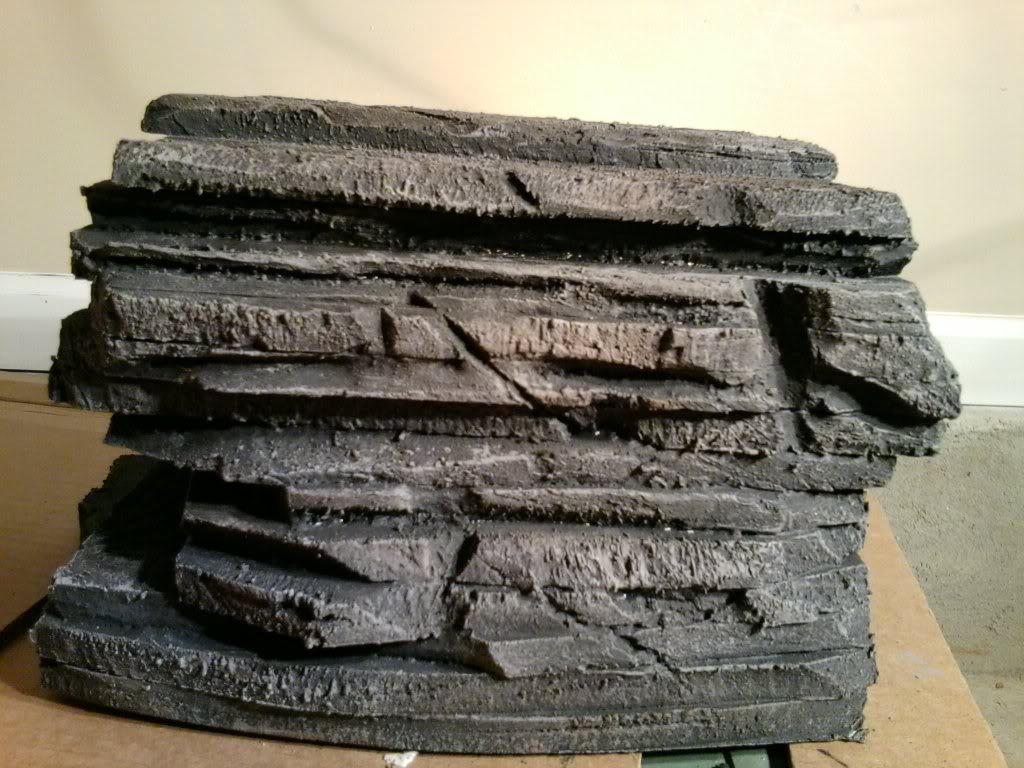
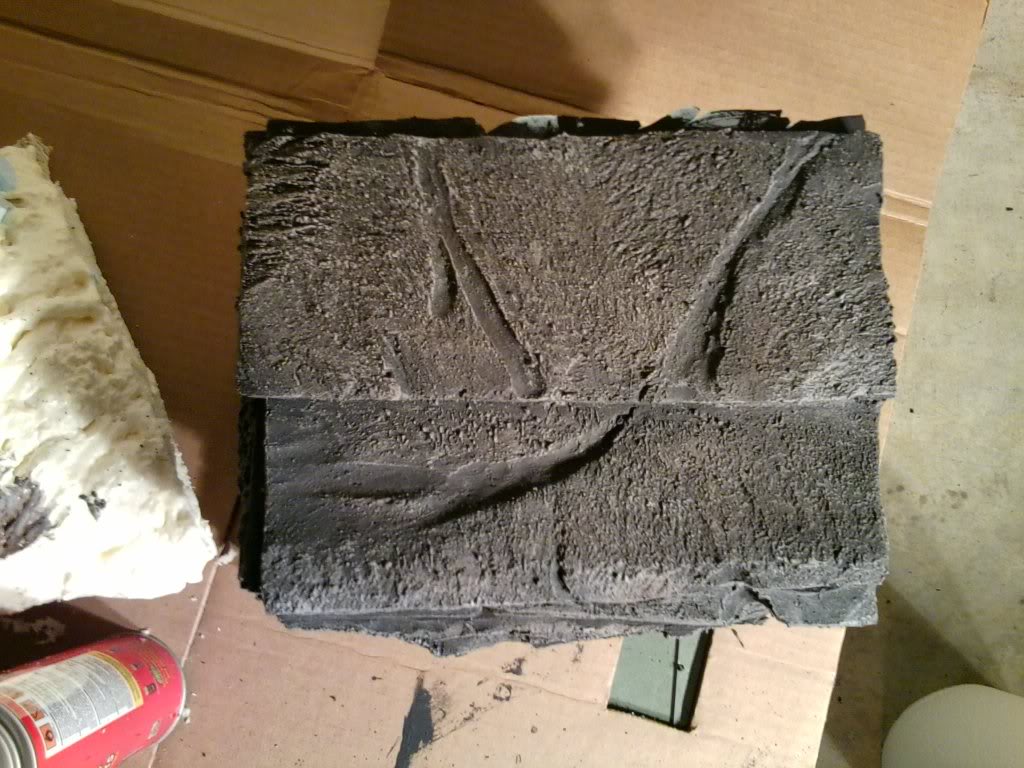
Enough yapping and now some cruddy pictures of a test rock a did a while ago.
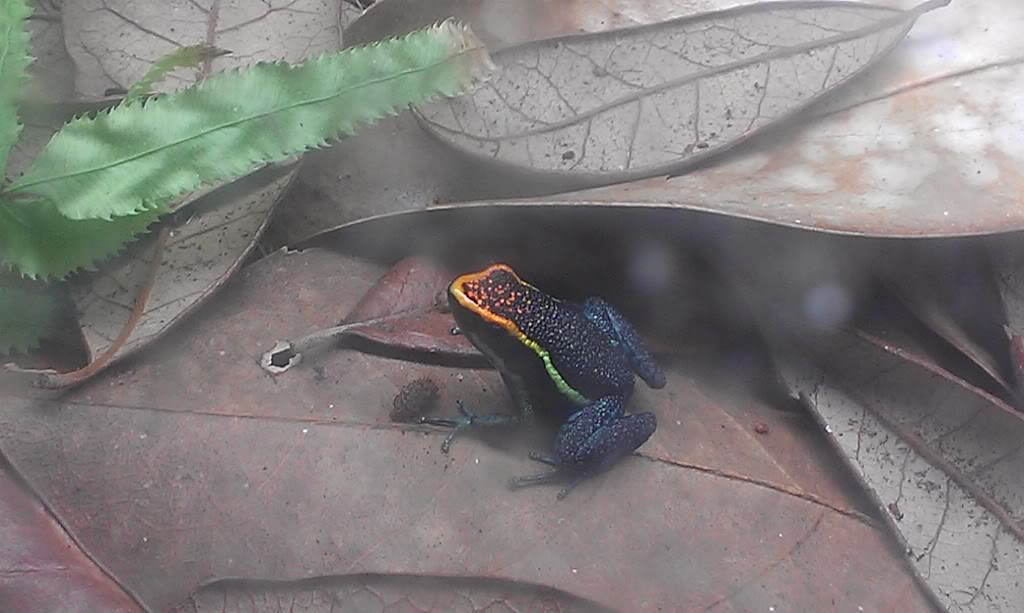
Here is a bad picture of one of the future inhabitants (A. pepperi 'rood/orangehead'):
------
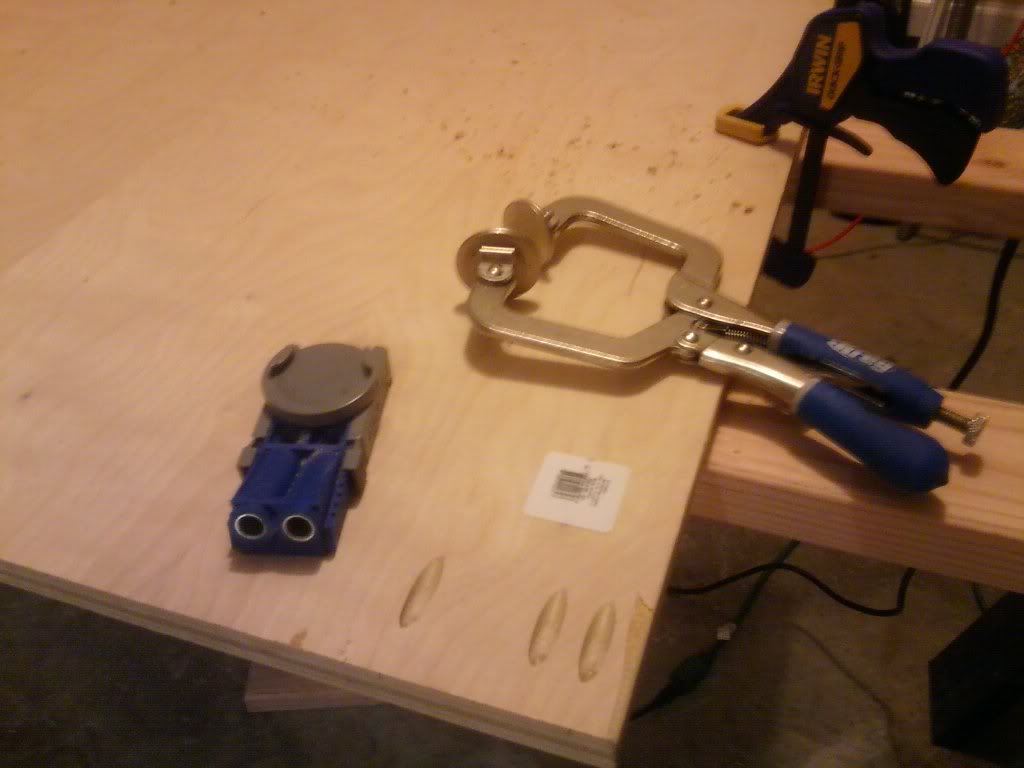
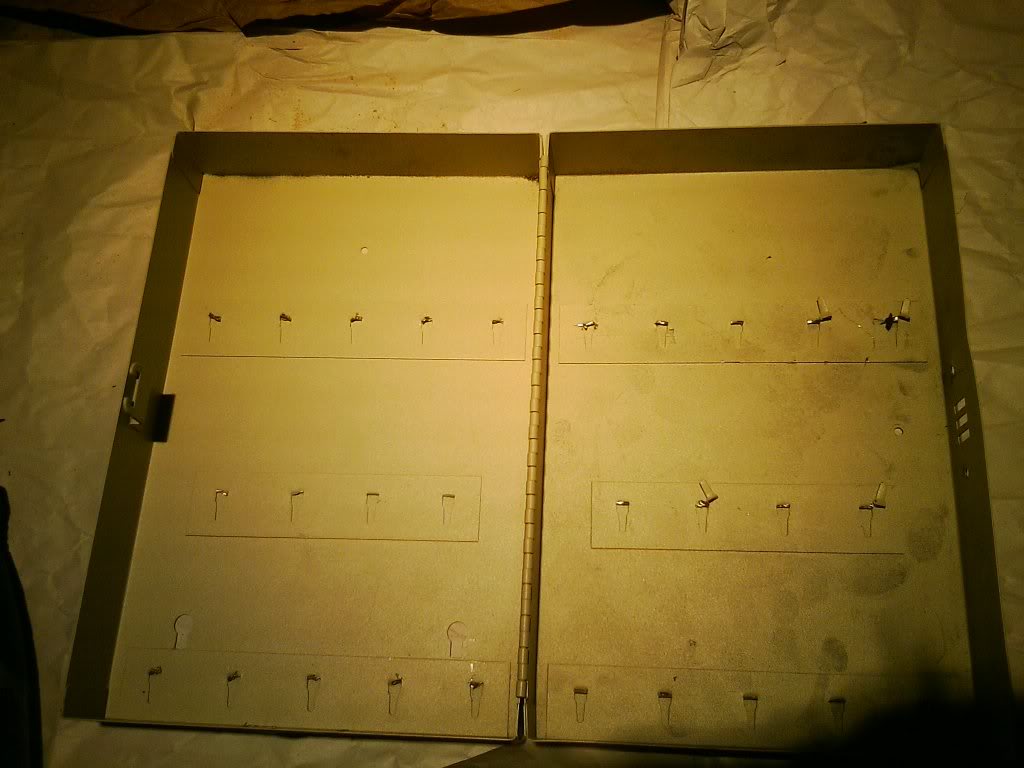
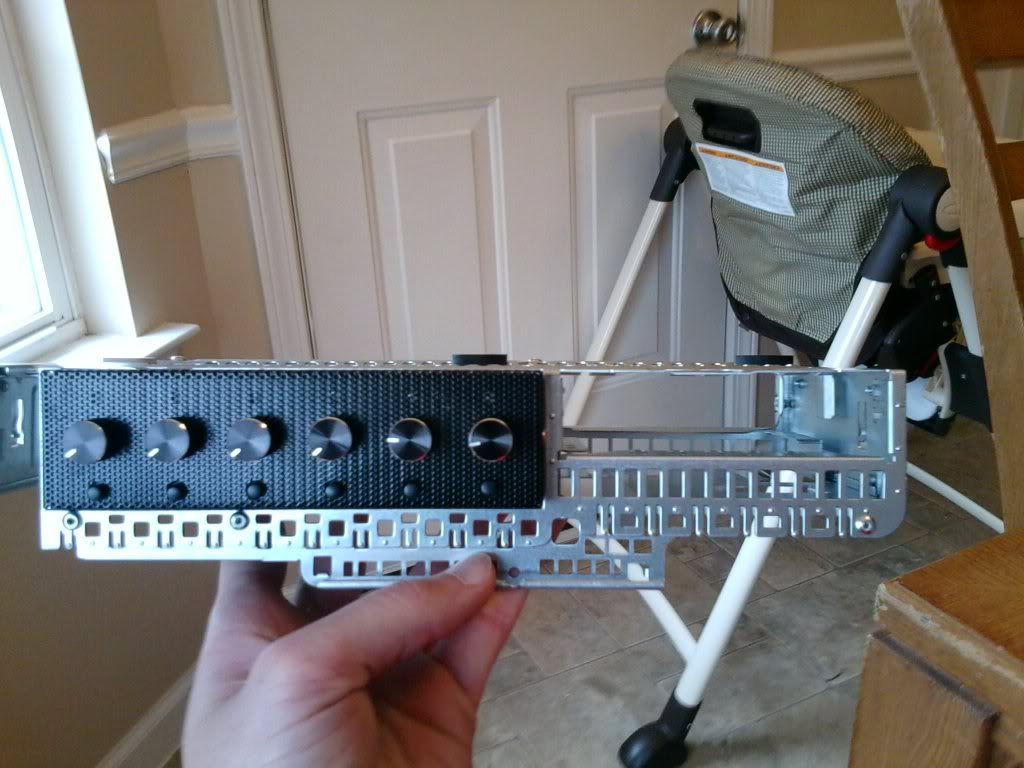
Got LED's today and I had to buy a bunch of tools and clamps etc. because my friendly neighbor who was going to help cut everything is now moving on the 1st of next month.
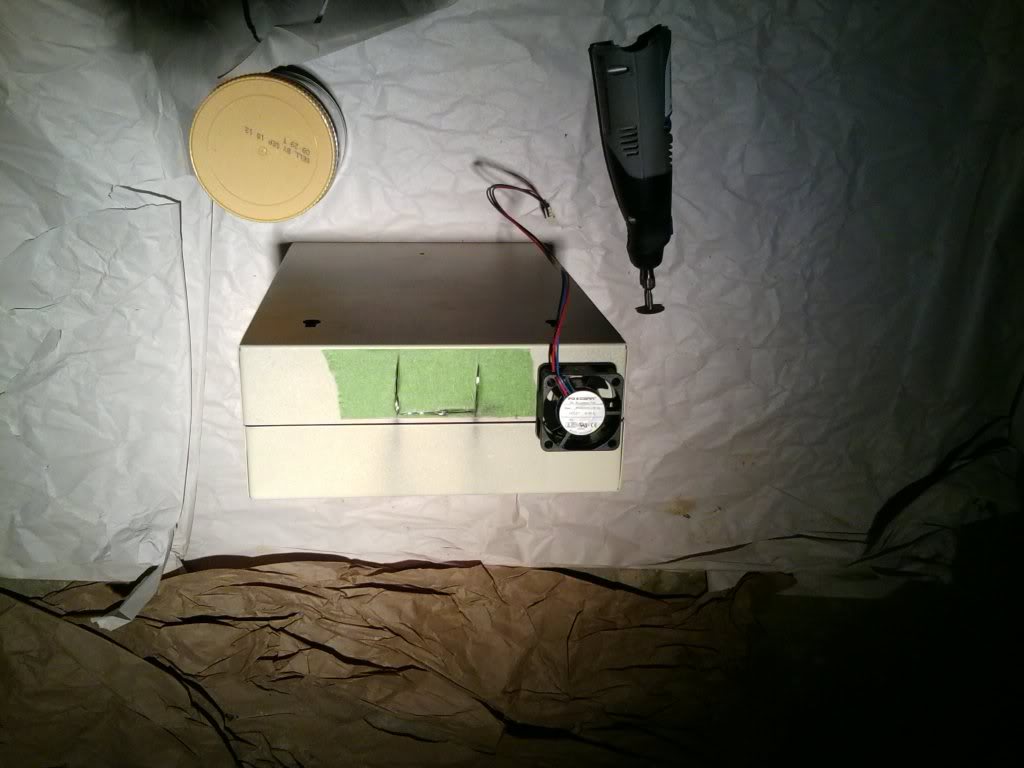
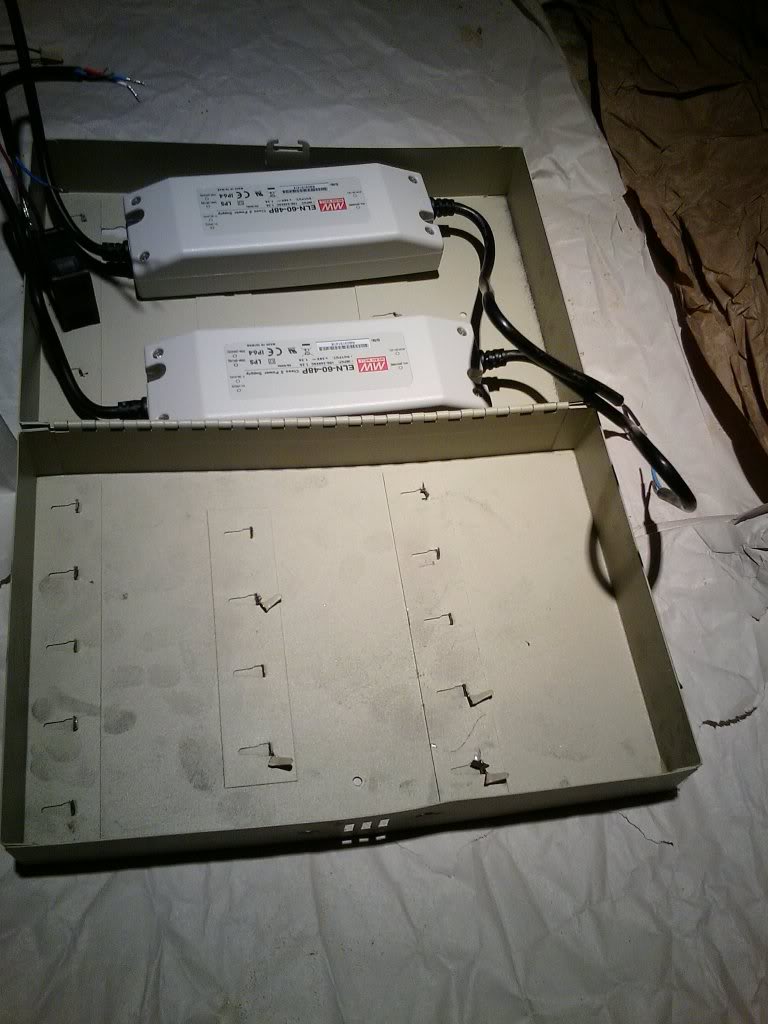
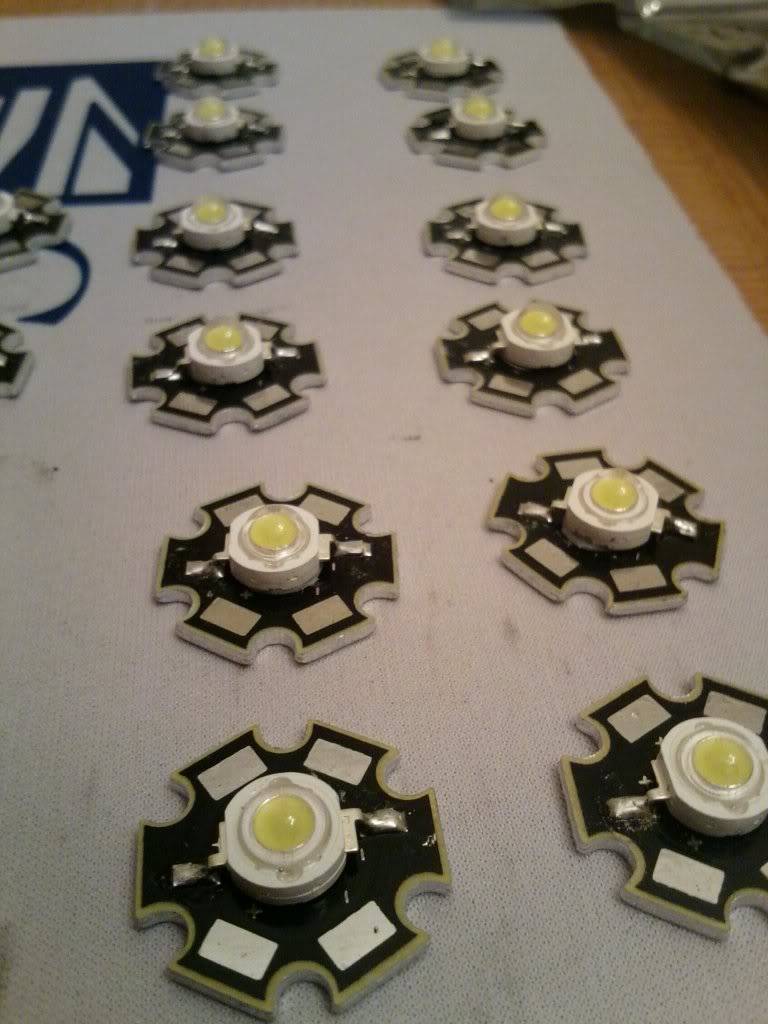
For lighting I'm running 48 3w Bridgelux LED's. Two Meanwell ELN-60-48P drivers which will run 24 LED's each in 2 parallel strings of 12. I'll be making a heatsink and mounting hardware out of aluminum U channel and angle.
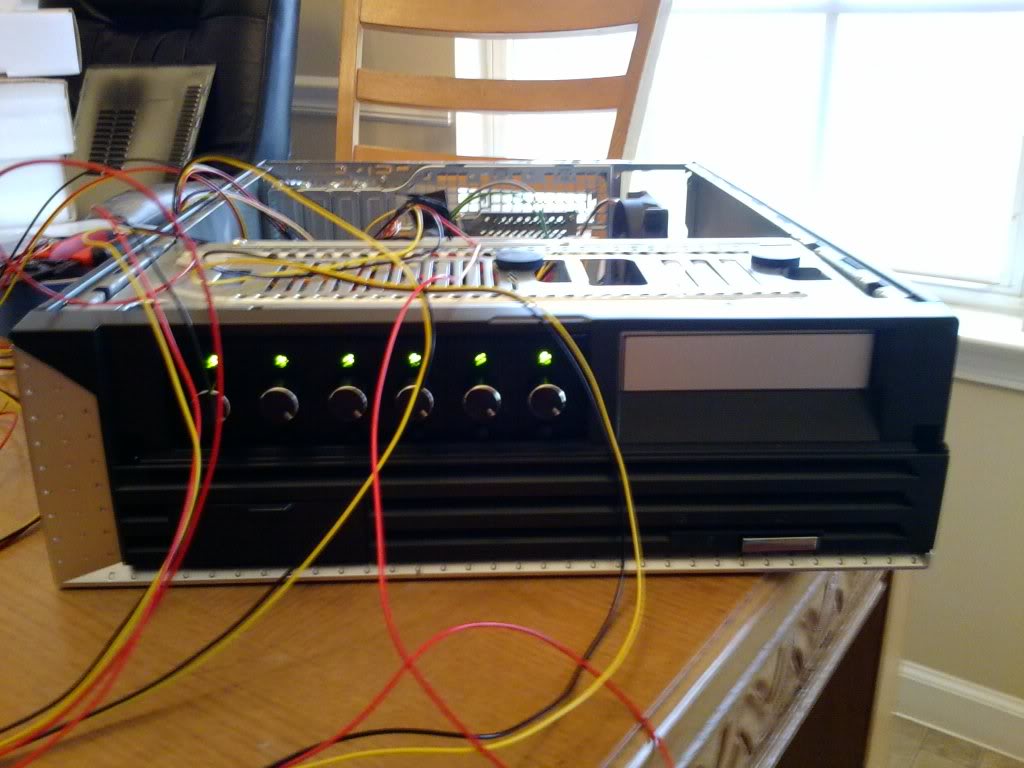
Here is a quick shot of some LED's while I was testing them.
Thankfully I did a test batch of epoxy... either I didn't get my ratios right, didn't mix thoroughly enough, or I should've shaken the hardener. 24hrs later and my test piece is still not cured.
------
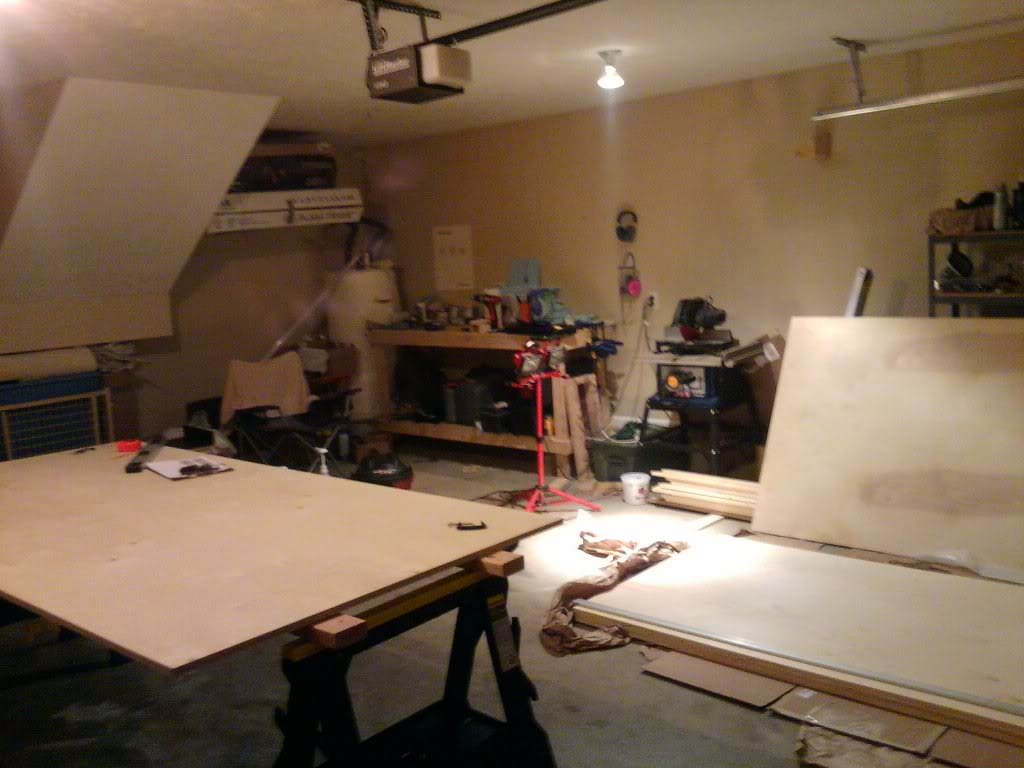
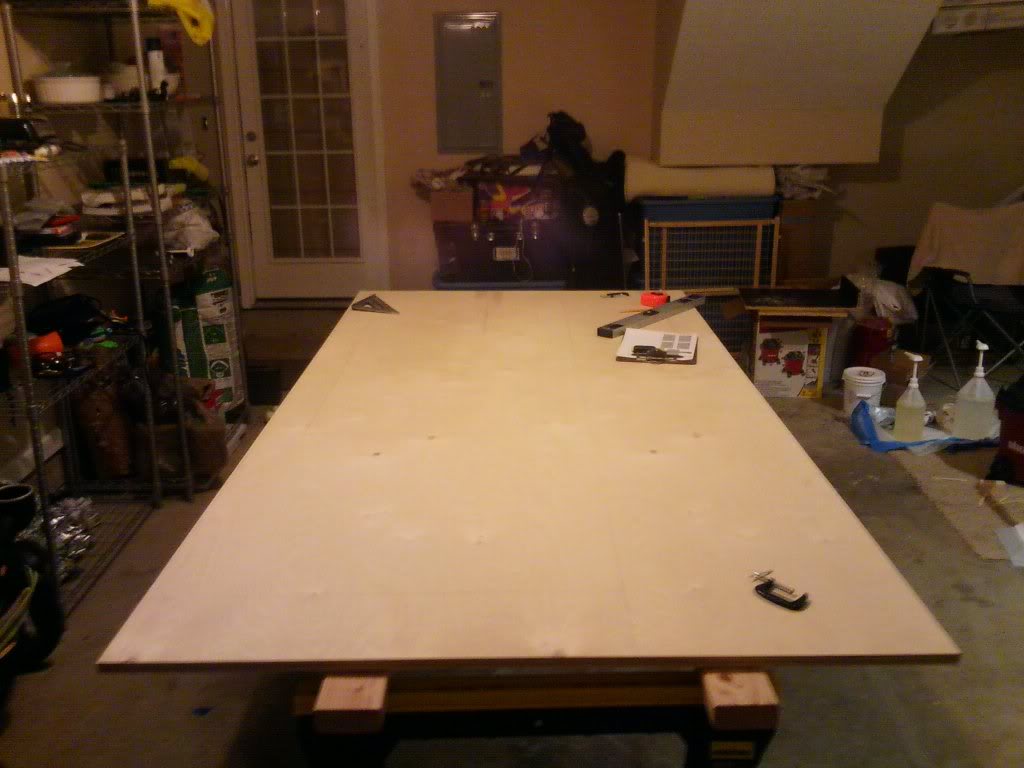
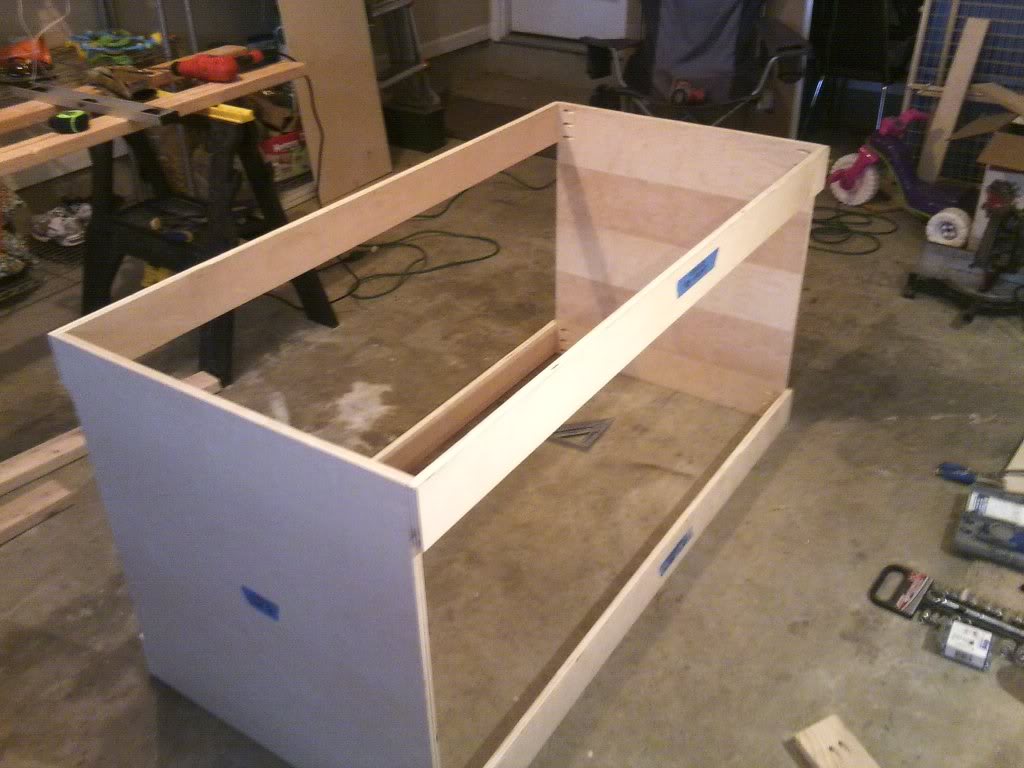
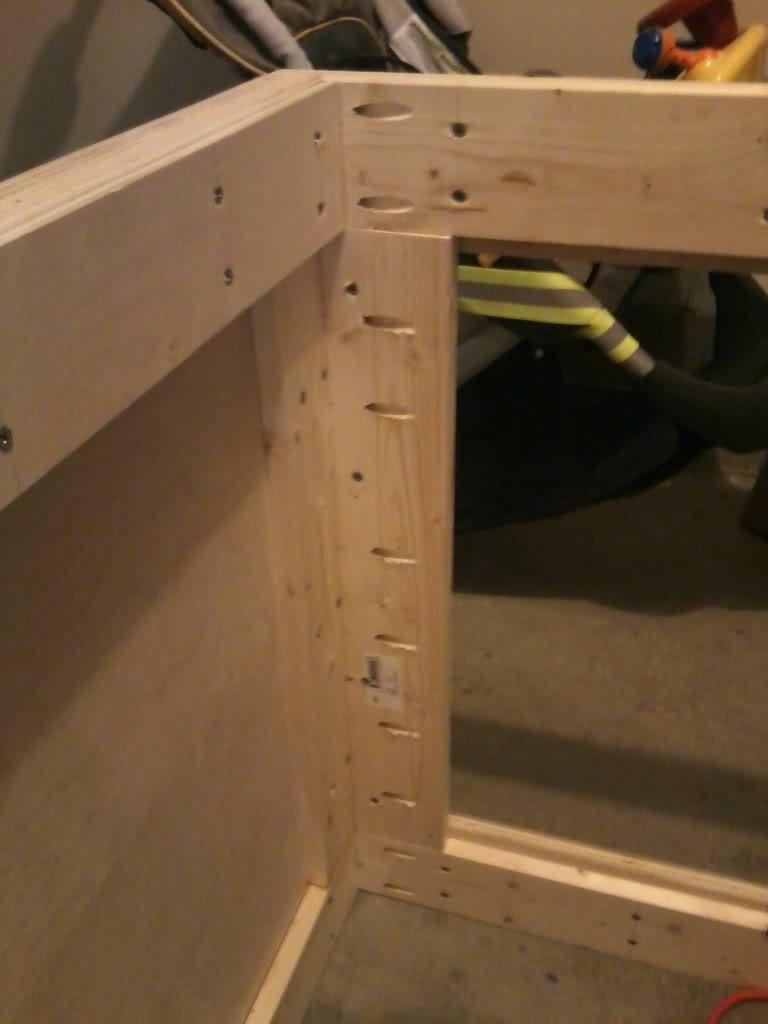
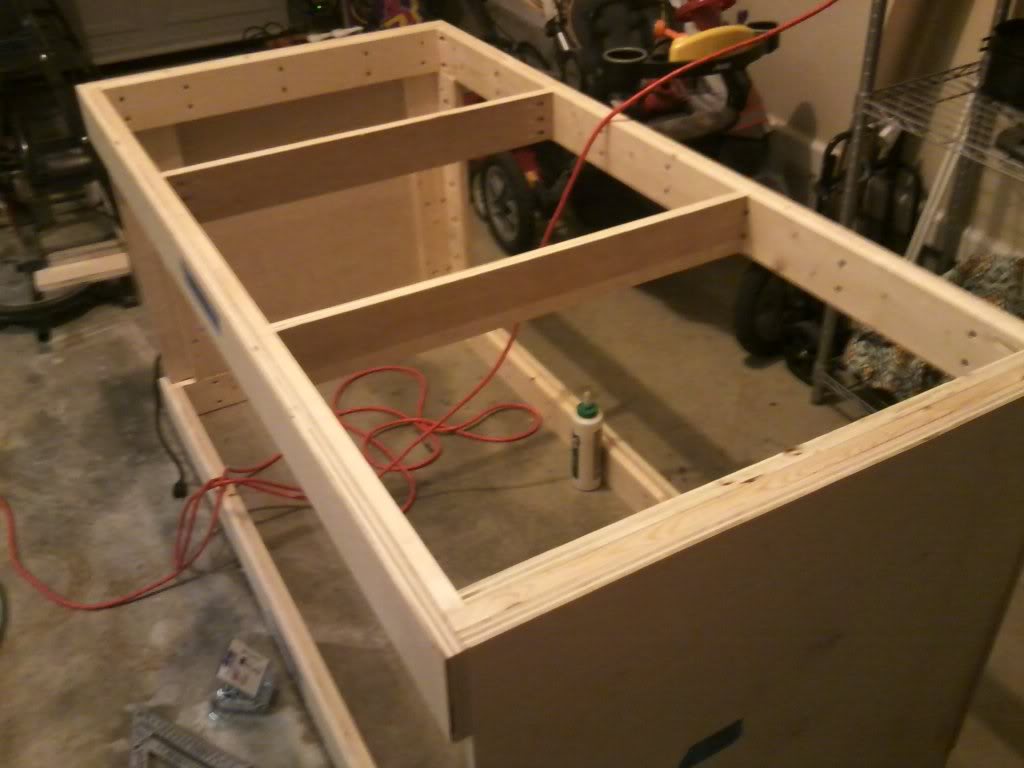
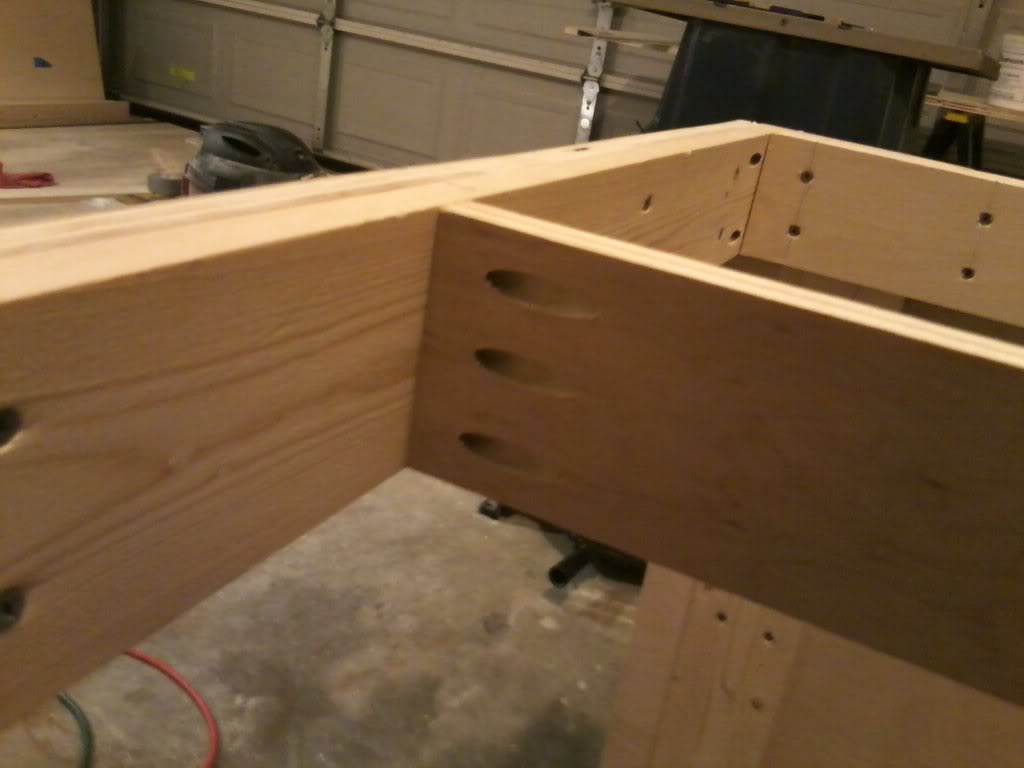
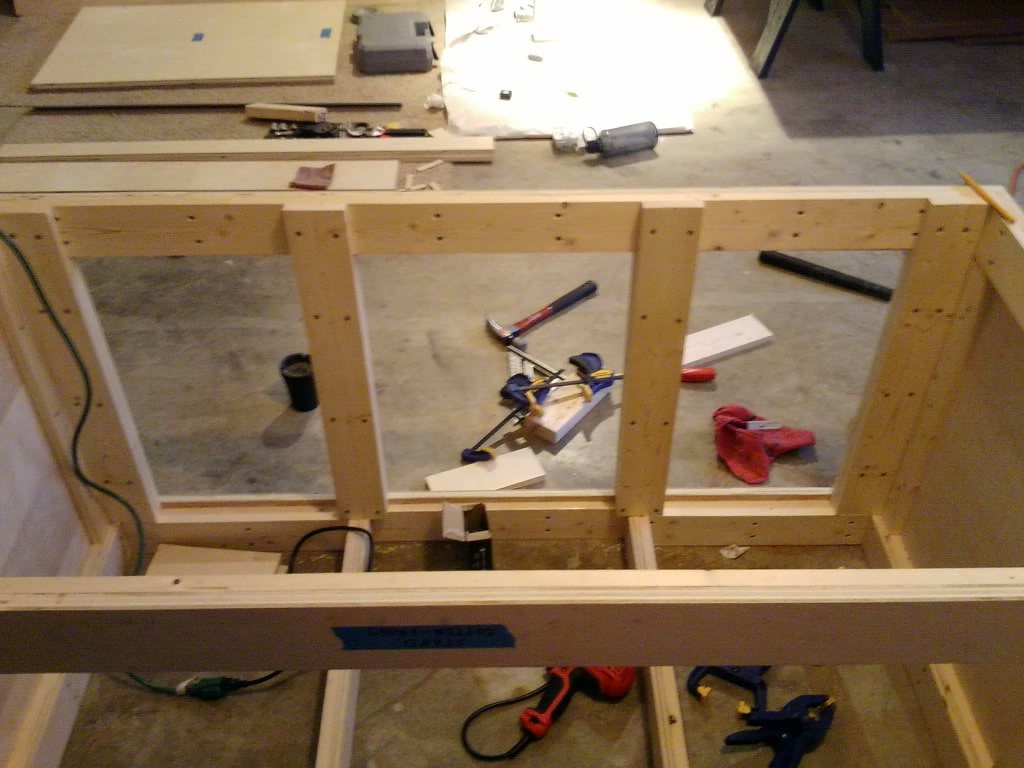
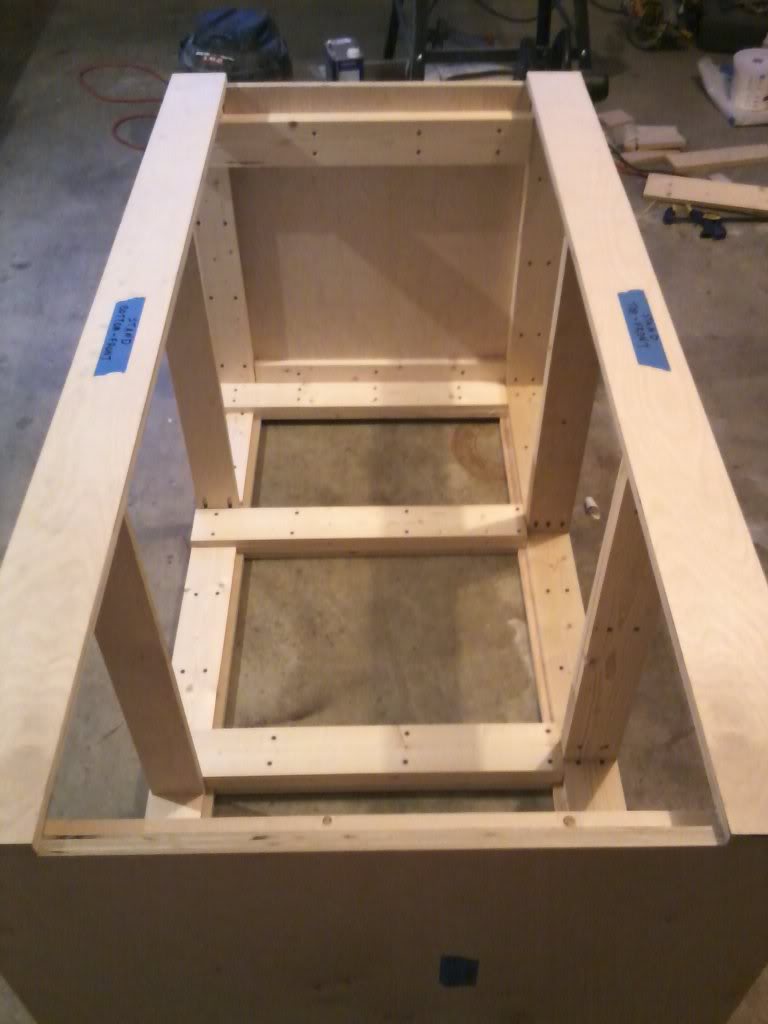
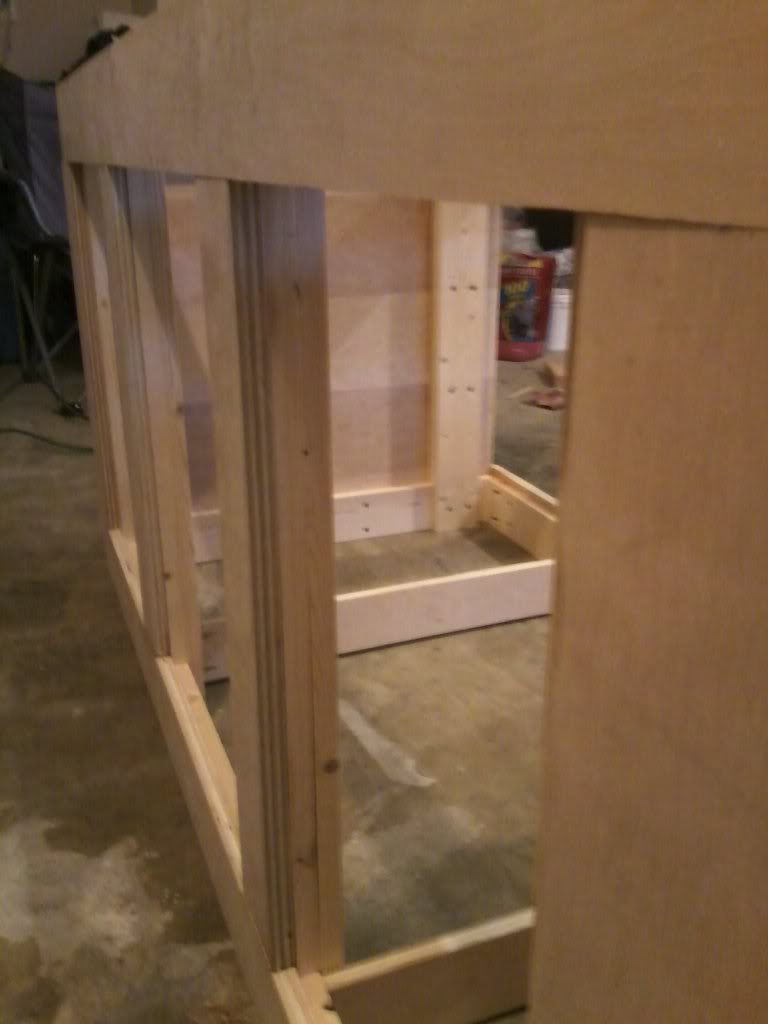
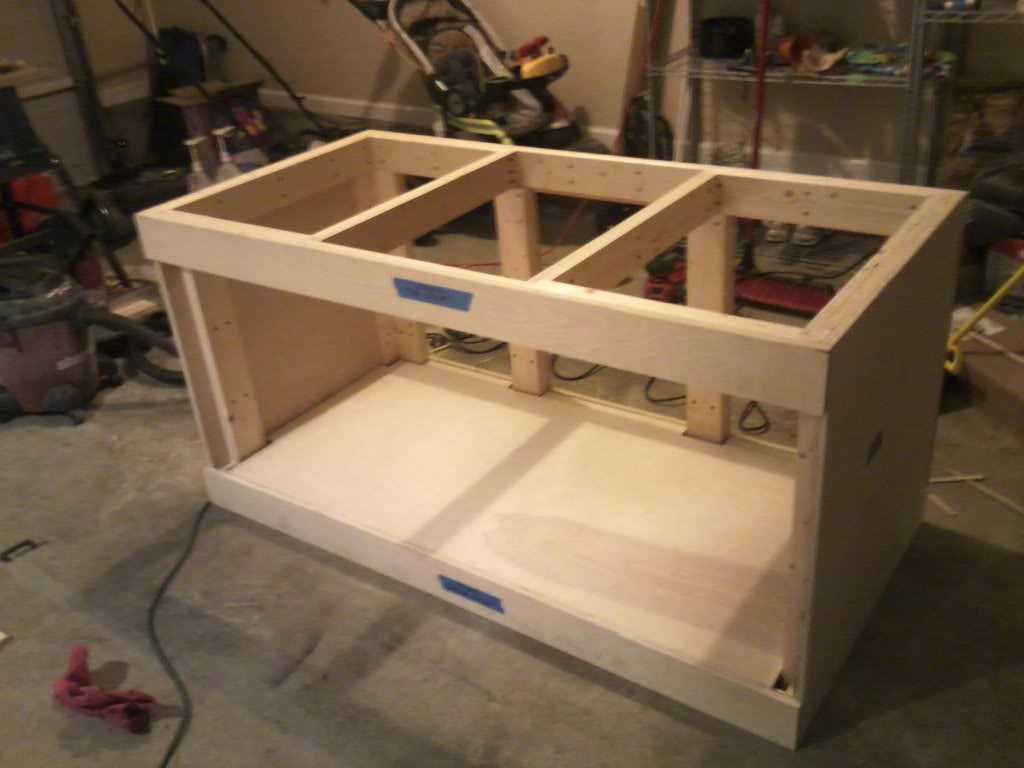
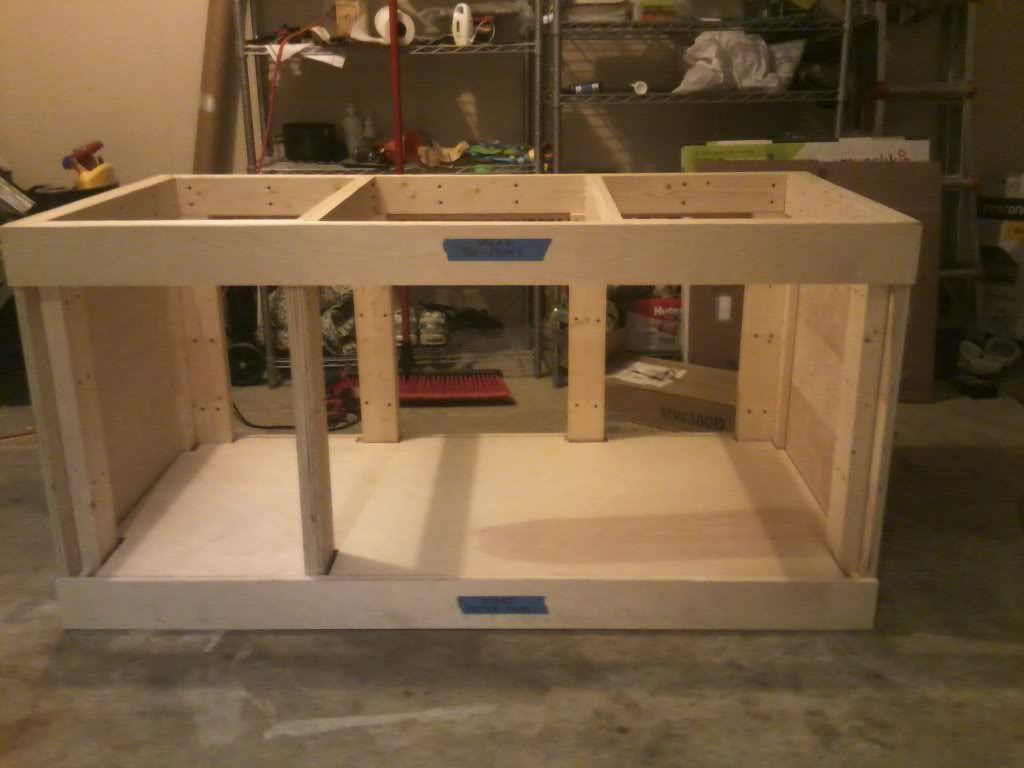
Got most of the wood cut for the stand today.
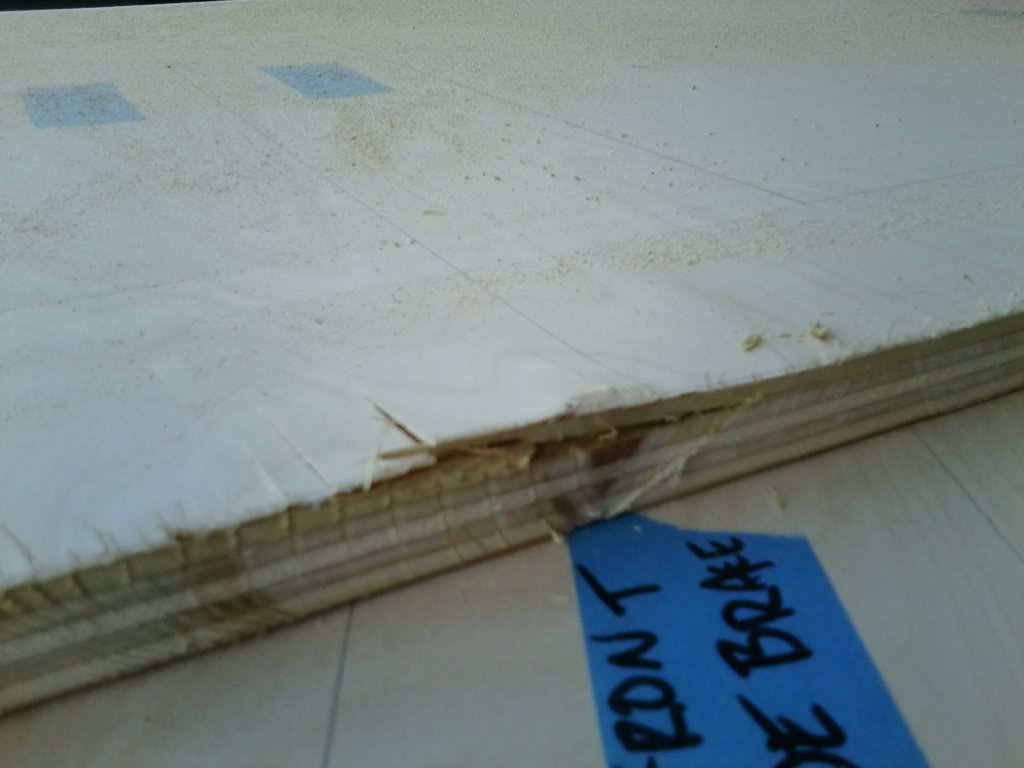
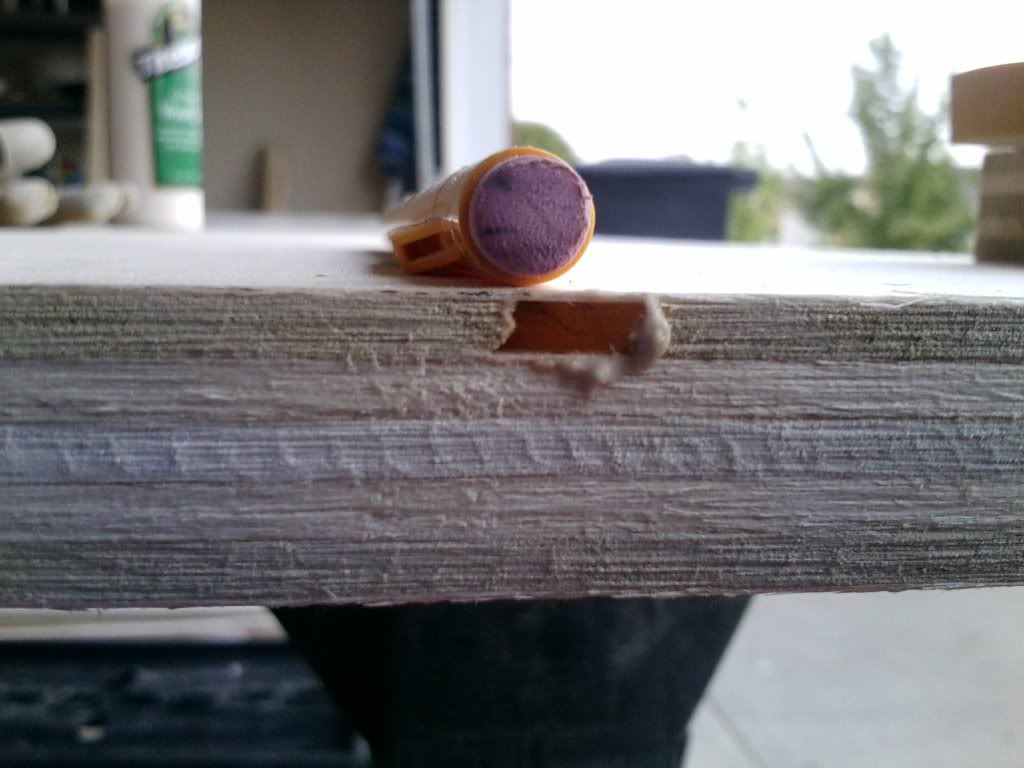
Ran into quite a bit of trouble. The factory 0 (or 90 deg) setting on my circular saw was really more like 87-88 degrees so all my first cuts have a noticeable...deficit. Also, the guide I was using turned wonky in the middle of cutting and would bow out about 1/16th of an inch. Lots and lots of sanding and triple checking to do tomorrow
------
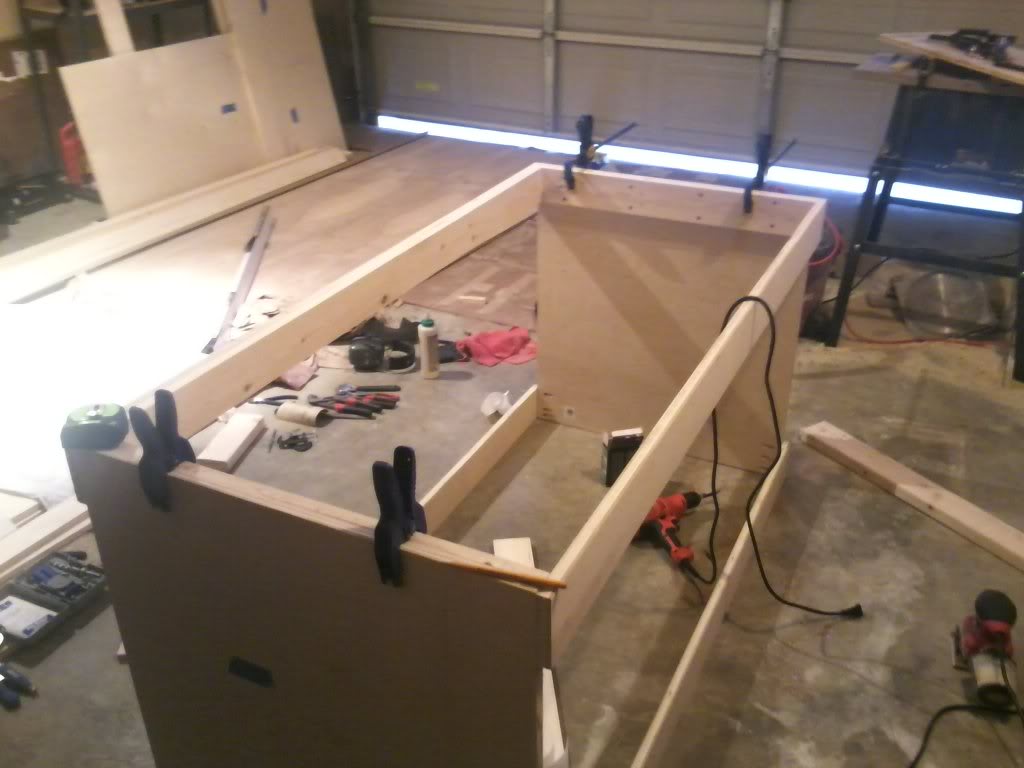
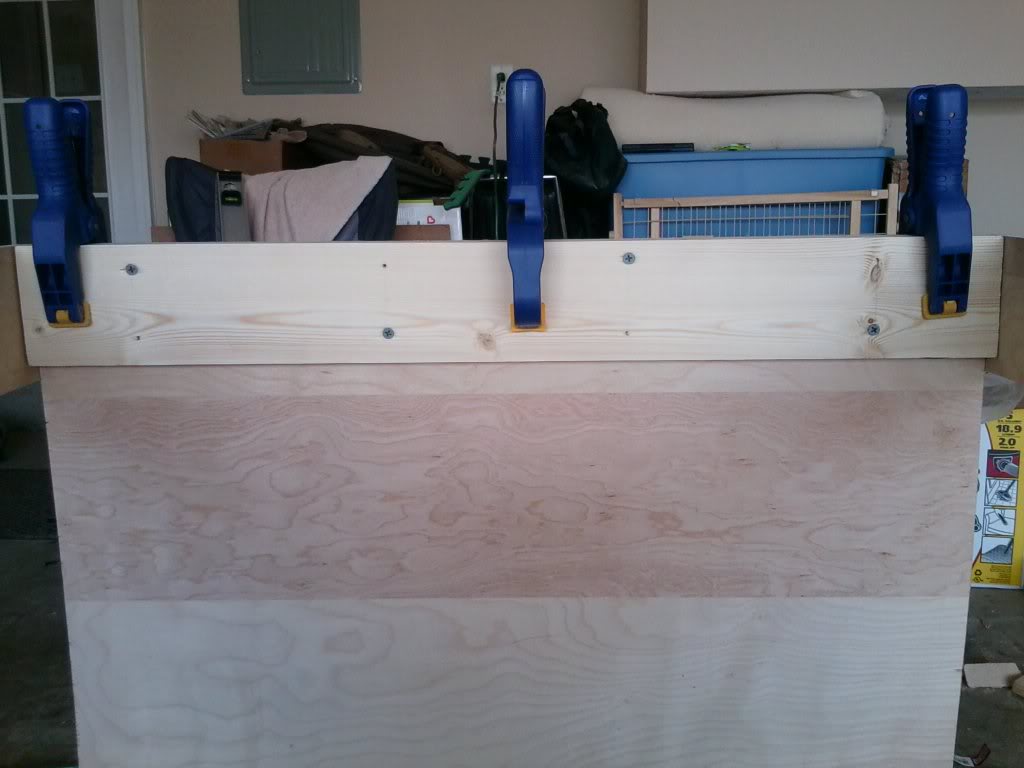
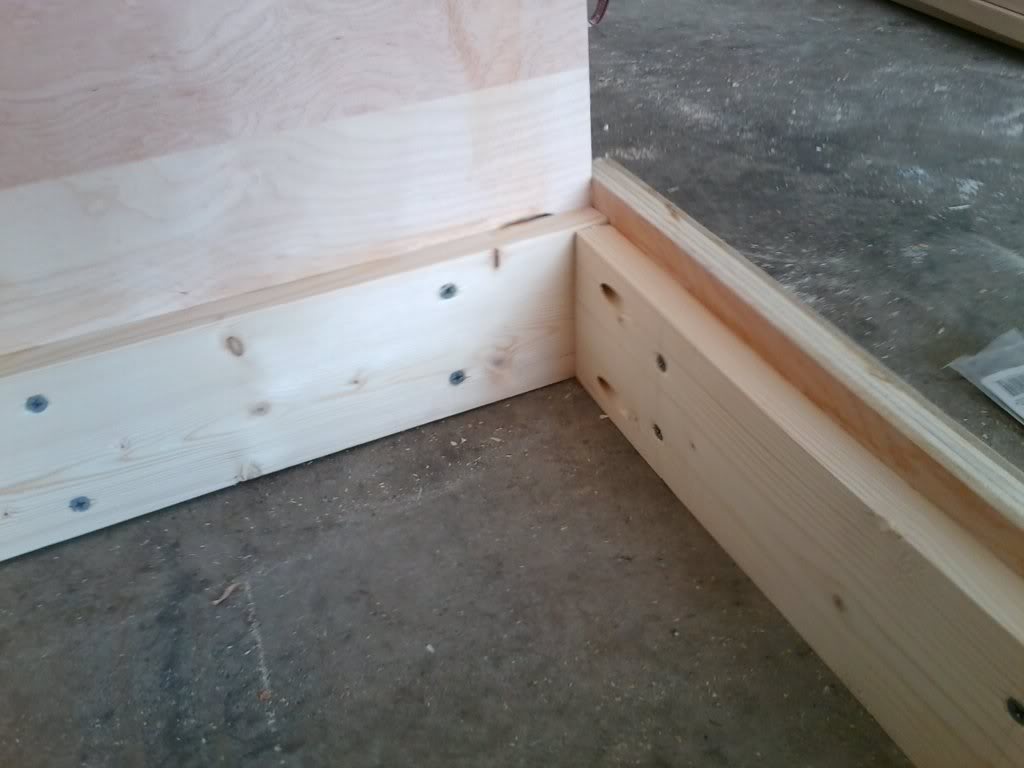
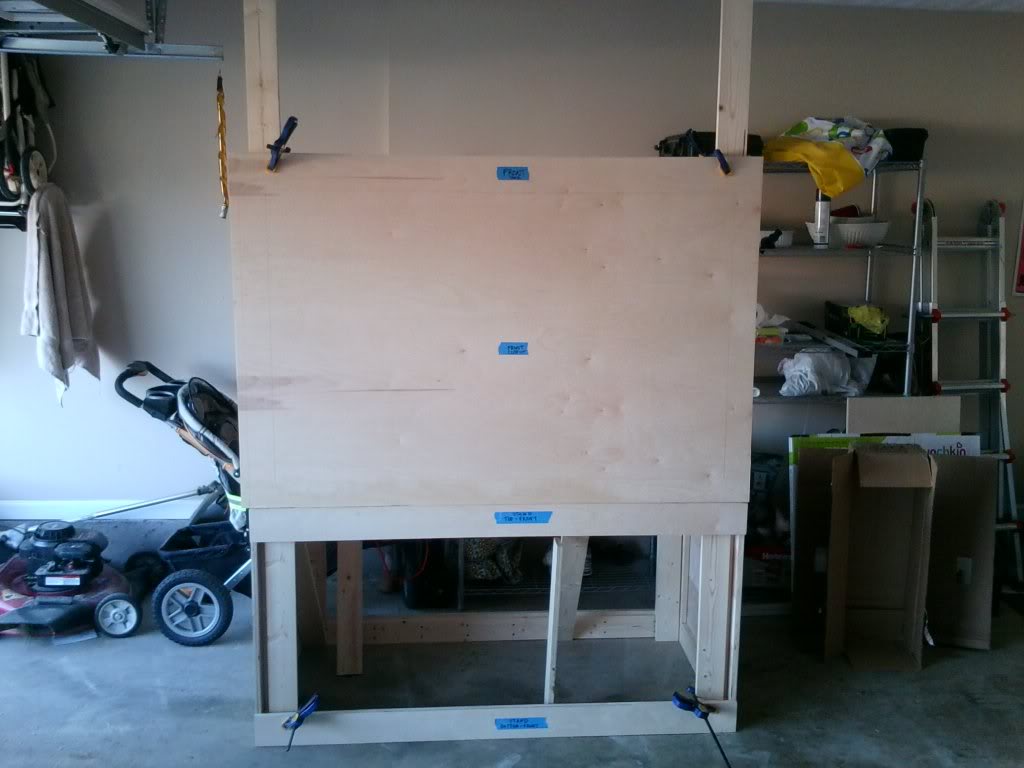
Here is what has been happening for the past...while. Still loads more to do.
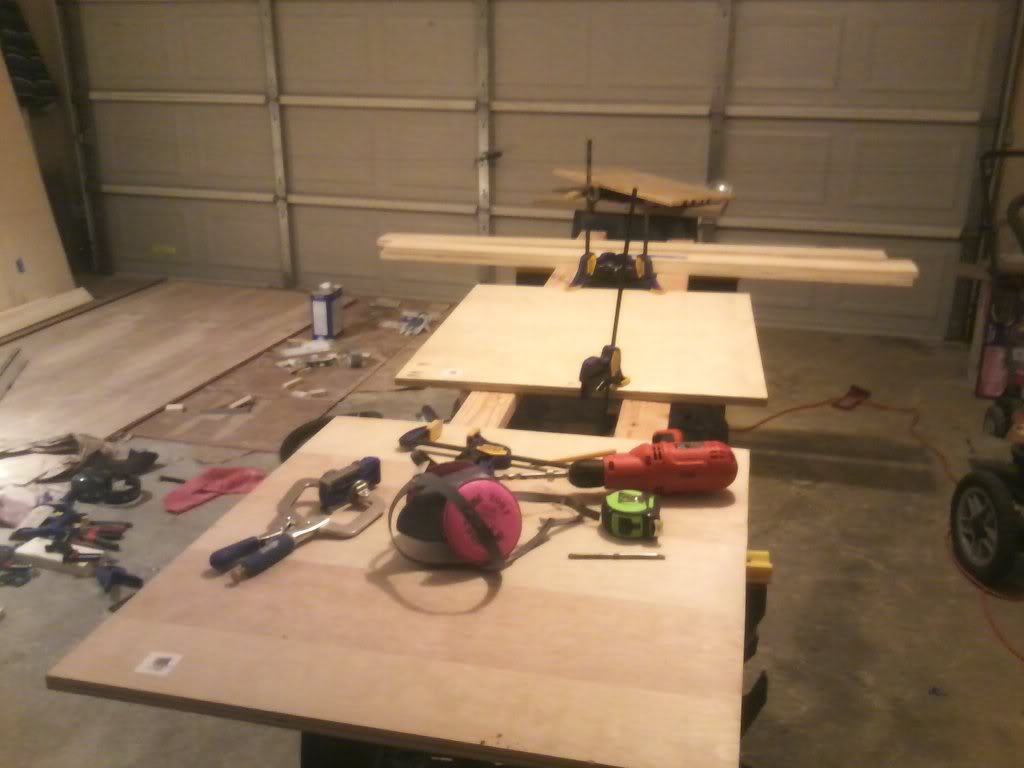
Workbench etc. while testing the epoxy and fiberglass

The epoxy & hardener

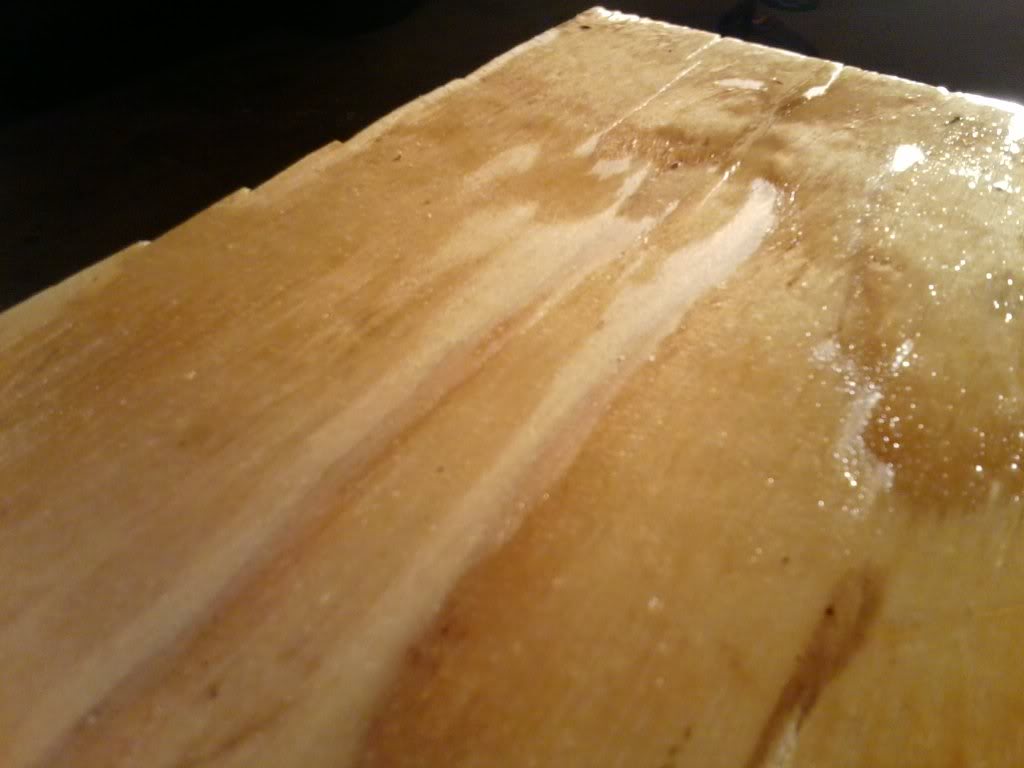
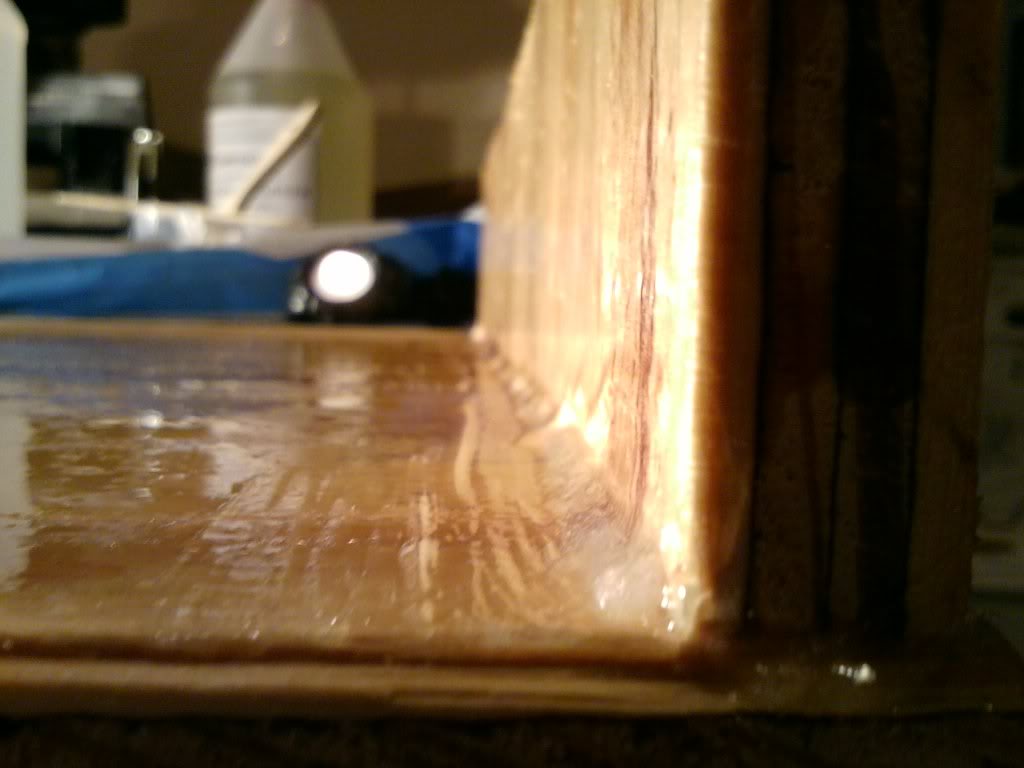
The cheap plywood I was using to test sucked up a lot of epoxy in knotholes and along certain rougher areas. You can see the dry spot and the shiny epoxy.
Here is a shot of some epoxy thickened with cabosil that I tried using along the corner as a fileting material.
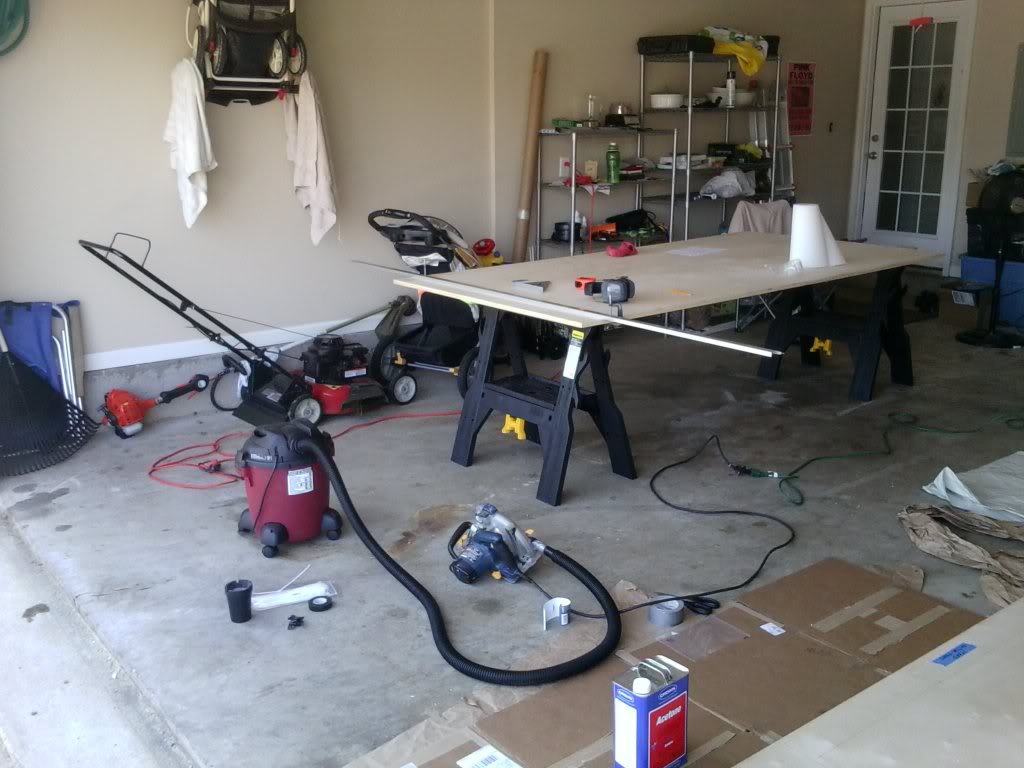
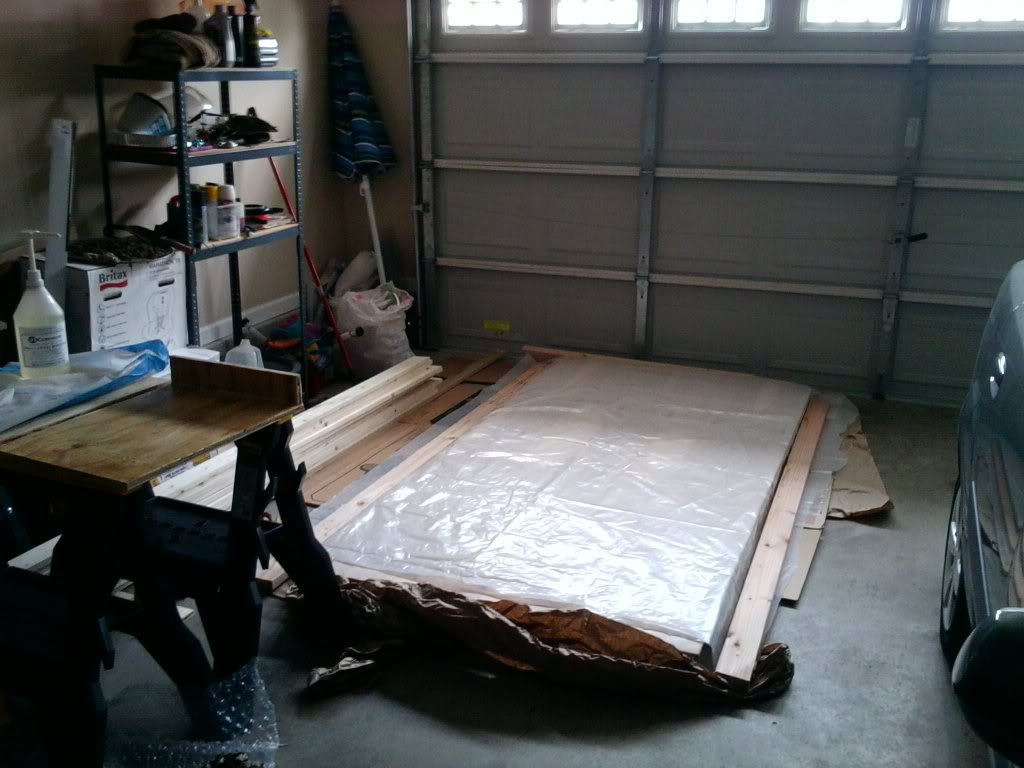
I rented a truck from Home Depot and loaded up the wood and raced home ahead of the rain. Here is a nice shot of 300 some odd pounds of wood I got to load and unload myself - whee!
I'm not sure what the post length limit is, but I'm gonna go ahead and split it here.
A lot of this text is going to be copied/pasted from another forum so if any of it doesn't make sense feel free to ask away.
Now that my other tank which was not doorway friendly is gone, I finally get to start on something I've been planning for the past several months.
This tank will be roughly the same dimensions (60 x 28 x 41). The water area will only be about 8-10 in high and be in the form of a stream from the right viewing window to the left. Typical egg crate false bottom setup which will be hidden by hand carved foam/drylok rocks. As well as a large rock/tree background.
The inside of the tank will be fiberglassed and then coated in WetSuit Liquid Rubber (which they use to waterproof Koi ponds). The double coating is to help prevent microcracks in the epoxy/fiberglass from leaking which may form when the tank is moved a couple of times over the next few years. The stand/tank/canopy will be covered in grey formica/laminate akin to an ADA style stand.
Lighting will be DIY LED's controlled by my ReefAngel. The tank will drain into a sump (to facilitate water changes) and the return will be split 3 ways (circulate water under the FB, waterfall/trickle, and main return under the waterfall). I'm throttling down the waterfall because my wife said she would kill me if it sounded like running water all the time.
I may or may not be able to add some Dwarf Pencilfish (Nannostomus marginatus) to the water feature, I have a few concerns about adding WC fish in with frogs. I'm hoping to add my group of A. pepperi to the tank and maybe another frog (thinking about H. azureiventris) depending on how well it all comes together. I was thinking about Gonatodes humeralis as a tankmate, but I realized that this was something better left in fantasy land rather than reality.
Enough yapping and now some cruddy pictures of a test rock a did a while ago.
Here is a bad picture of one of the future inhabitants (A. pepperi 'rood/orangehead'):
------
Got LED's today and I had to buy a bunch of tools and clamps etc. because my friendly neighbor who was going to help cut everything is now moving on the 1st of next month.
For lighting I'm running 48 3w Bridgelux LED's. Two Meanwell ELN-60-48P drivers which will run 24 LED's each in 2 parallel strings of 12. I'll be making a heatsink and mounting hardware out of aluminum U channel and angle.
Here is a quick shot of some LED's while I was testing them.
Thankfully I did a test batch of epoxy... either I didn't get my ratios right, didn't mix thoroughly enough, or I should've shaken the hardener. 24hrs later and my test piece is still not cured.
------
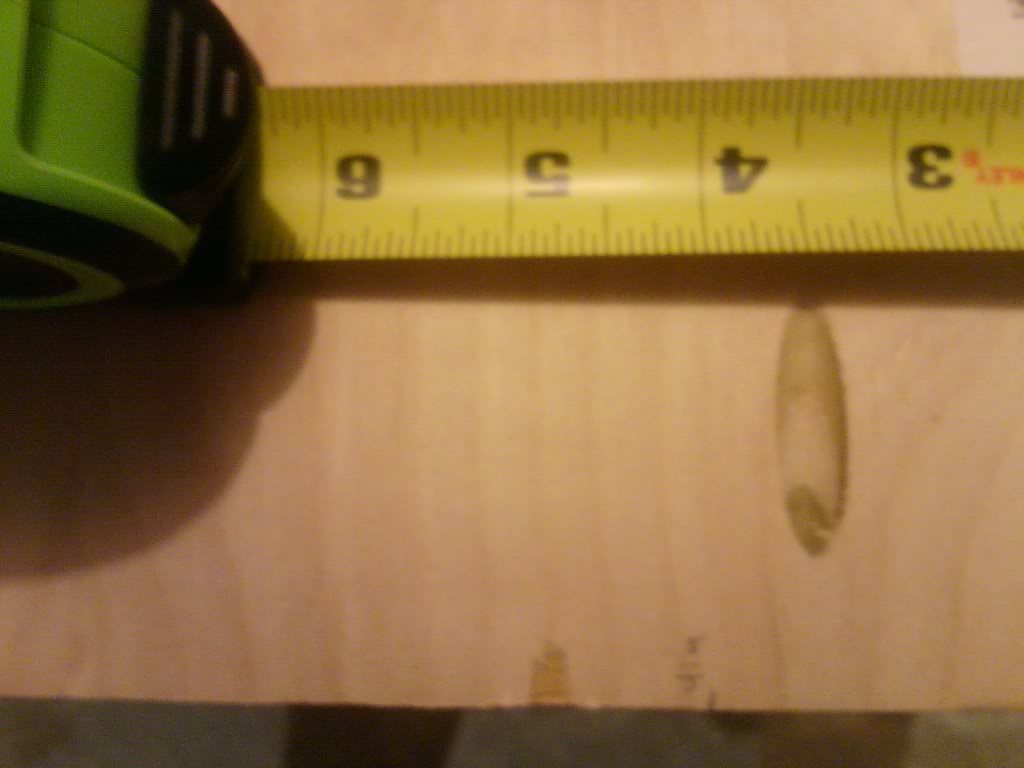
Got most of the wood cut for the stand today.
Ran into quite a bit of trouble. The factory 0 (or 90 deg) setting on my circular saw was really more like 87-88 degrees so all my first cuts have a noticeable...deficit. Also, the guide I was using turned wonky in the middle of cutting and would bow out about 1/16th of an inch. Lots and lots of sanding and triple checking to do tomorrow
------
Here is what has been happening for the past...while. Still loads more to do.
Workbench etc. while testing the epoxy and fiberglass
The epoxy & hardener
The cheap plywood I was using to test sucked up a lot of epoxy in knotholes and along certain rougher areas. You can see the dry spot and the shiny epoxy.
Here is a shot of some epoxy thickened with cabosil that I tried using along the corner as a fileting material.
I rented a truck from Home Depot and loaded up the wood and raced home ahead of the rain. Here is a nice shot of 300 some odd pounds of wood I got to load and unload myself - whee!
I'm not sure what the post length limit is, but I'm gonna go ahead and split it here.