
Navigation
Install the app
How to install the app on iOS
Follow along with the video below to see how to install our site as a web app on your home screen.
Note: This feature may not be available in some browsers.
More options
You are using an out of date browser. It may not display this or other websites correctly.
You should upgrade or use an alternative browser.
You should upgrade or use an alternative browser.
305 Gallon Peninsula Tank build
- Large Build
- Thread starter lazidog
- Start date
- Tagged users None


OP
OP
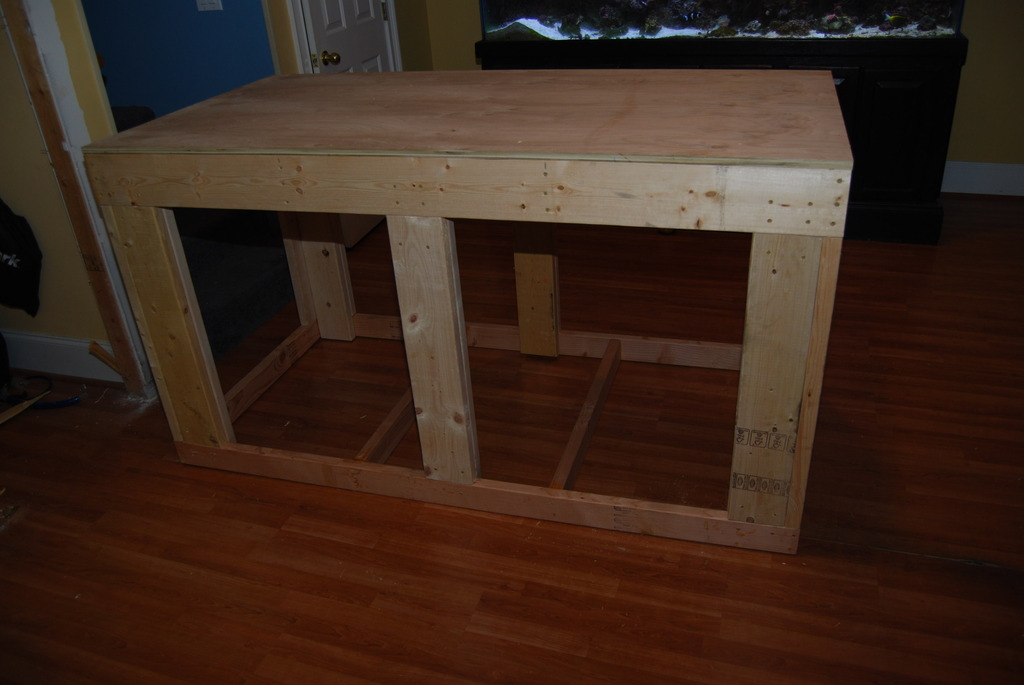
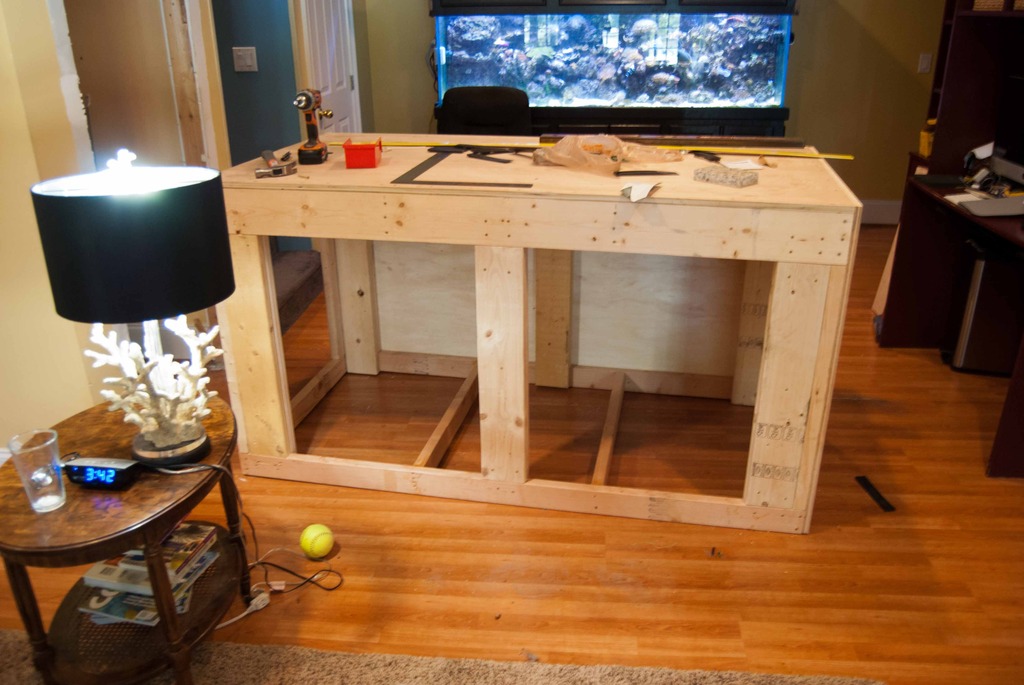
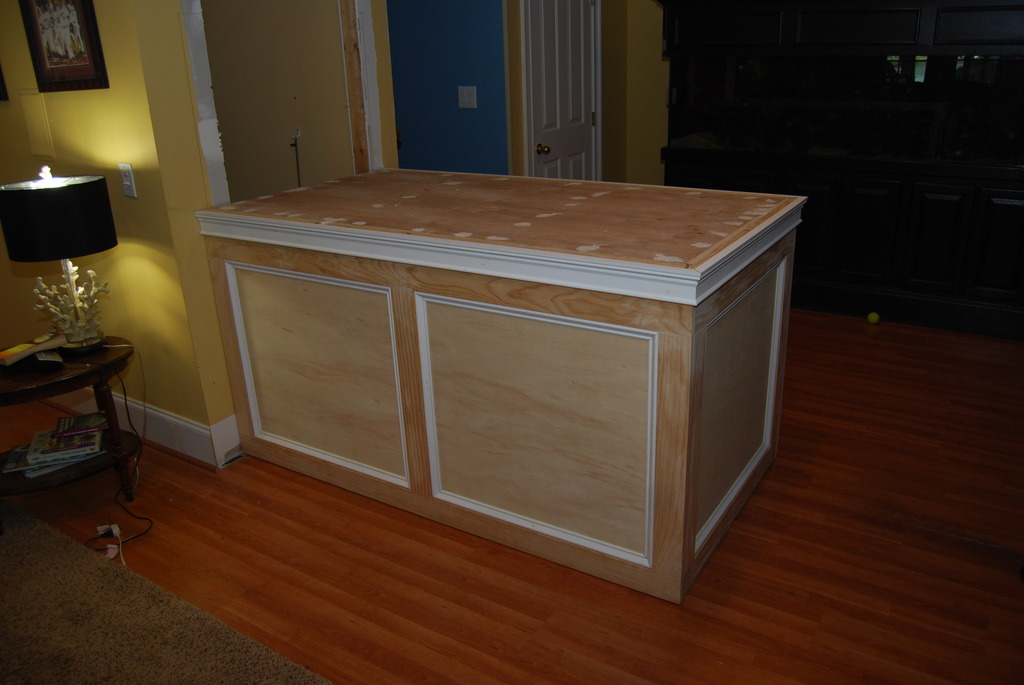
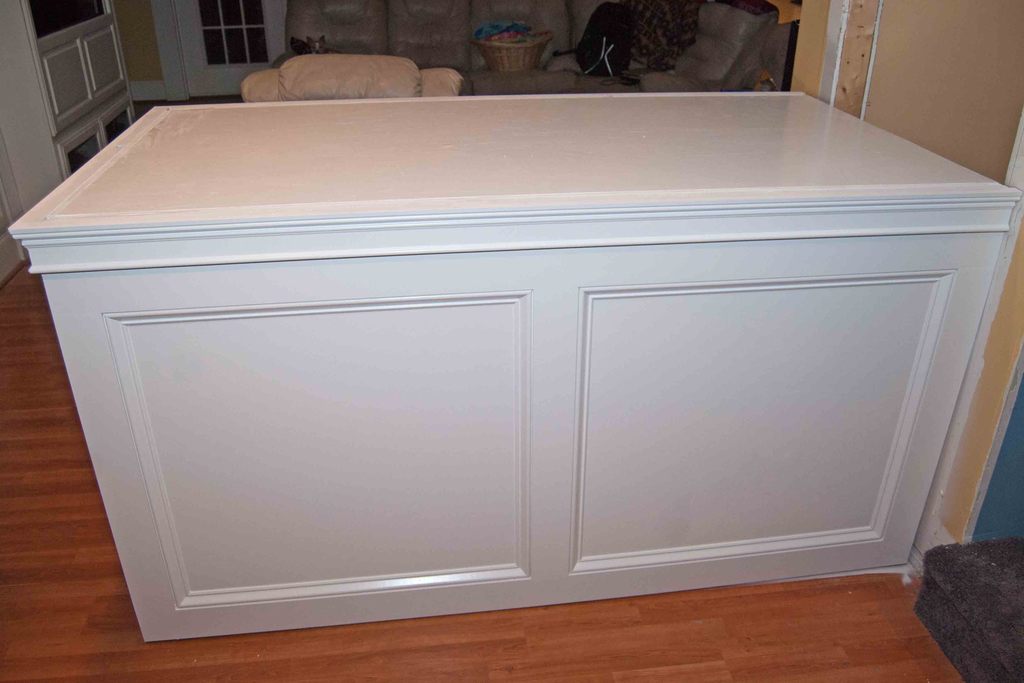
I love it when a stand comes together
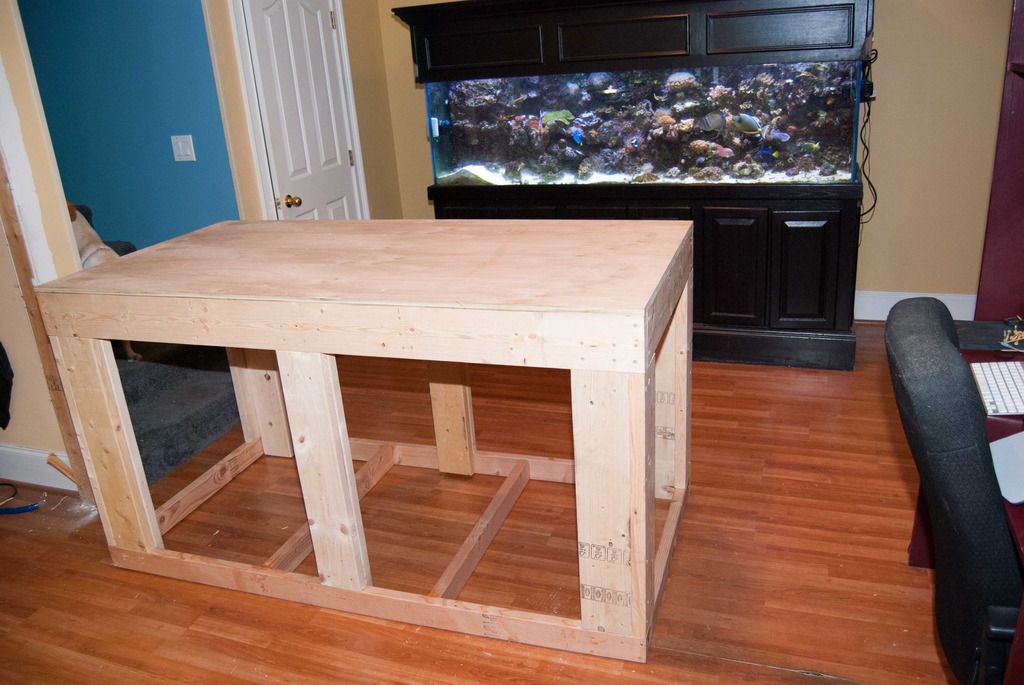
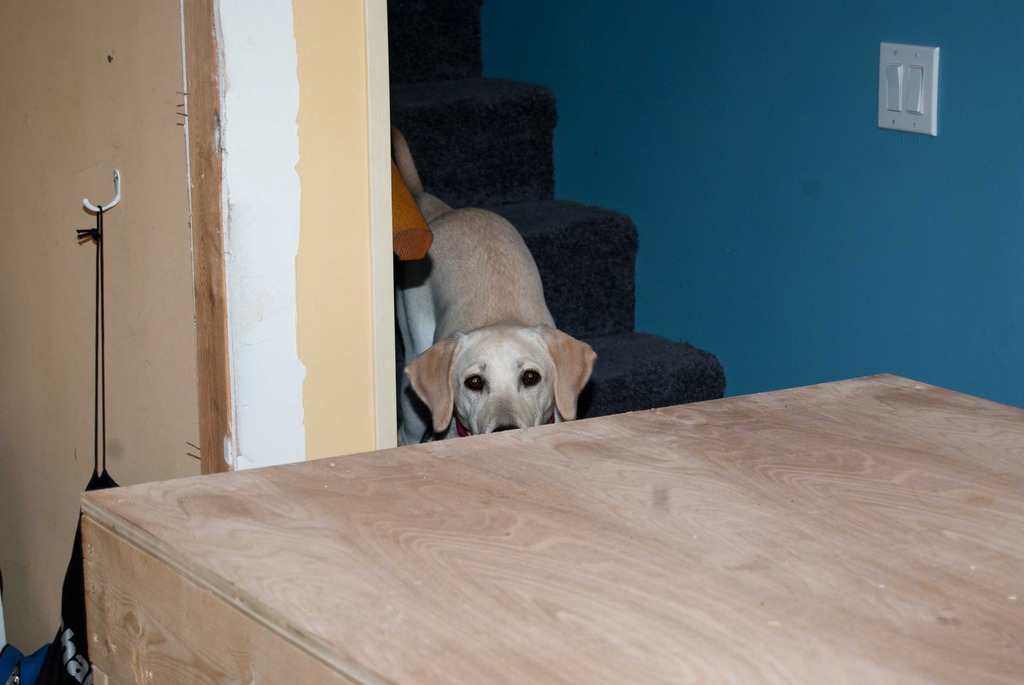
What in the world is the Food Guy doing?

 c
c
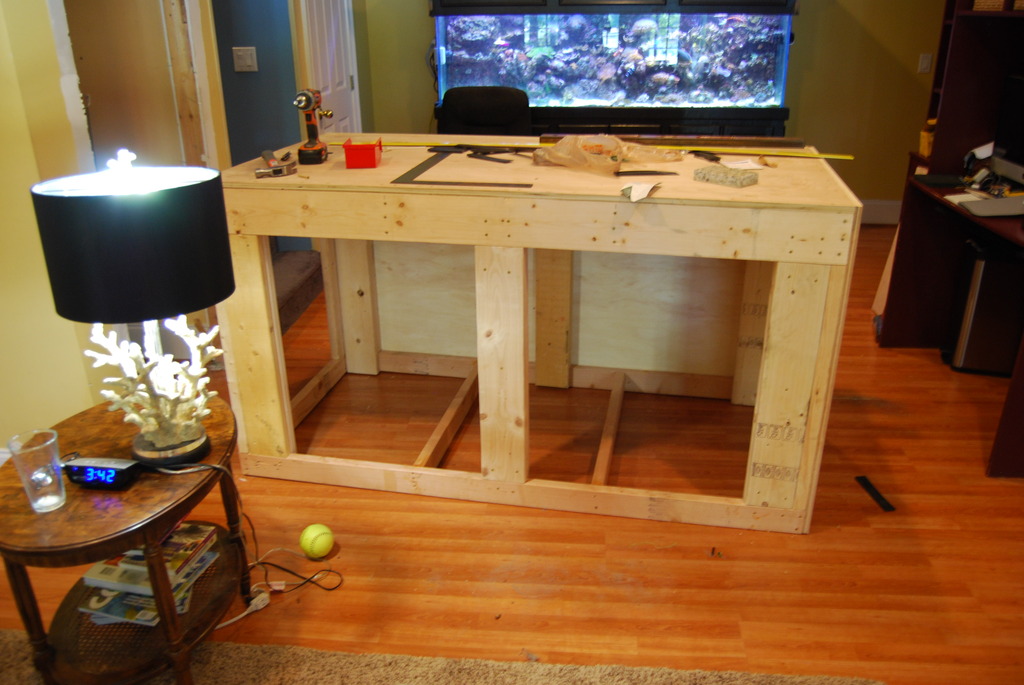
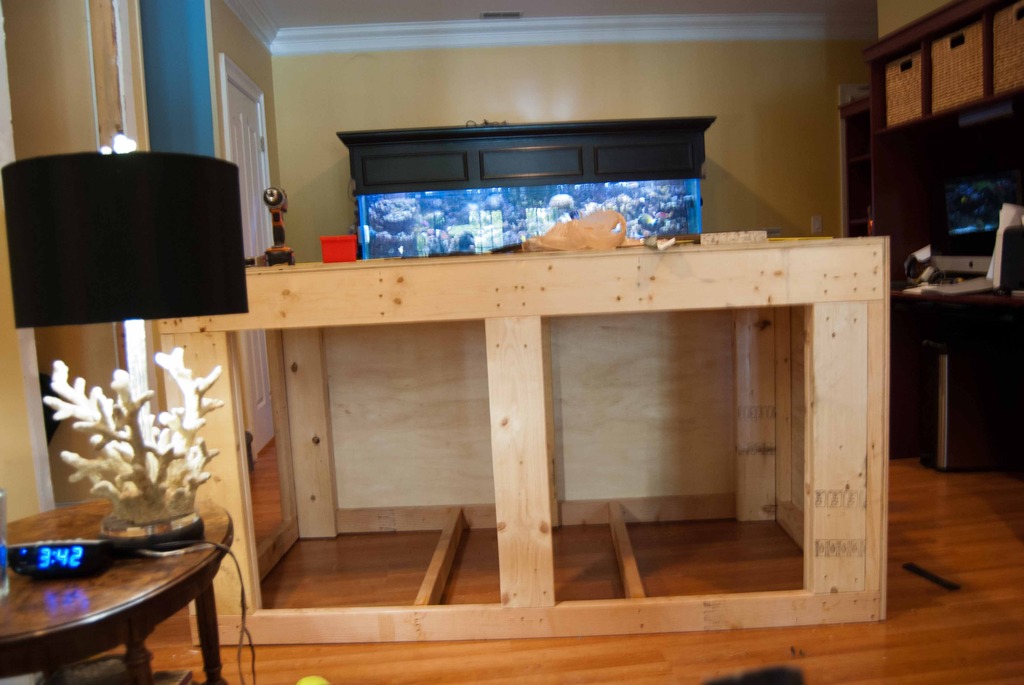
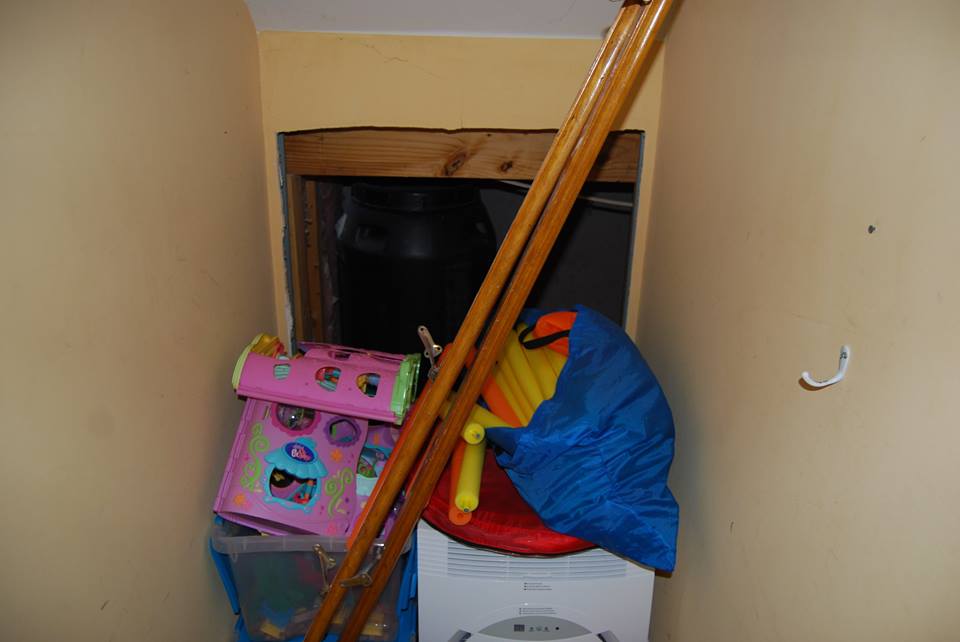
Can see old 200 Oceanic in the Background
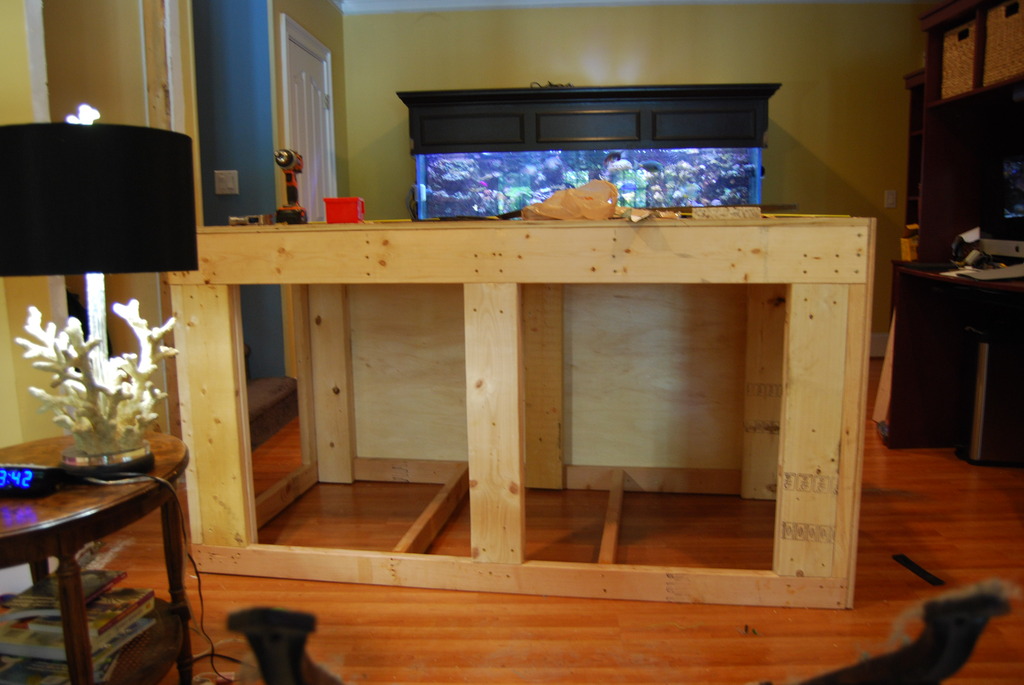
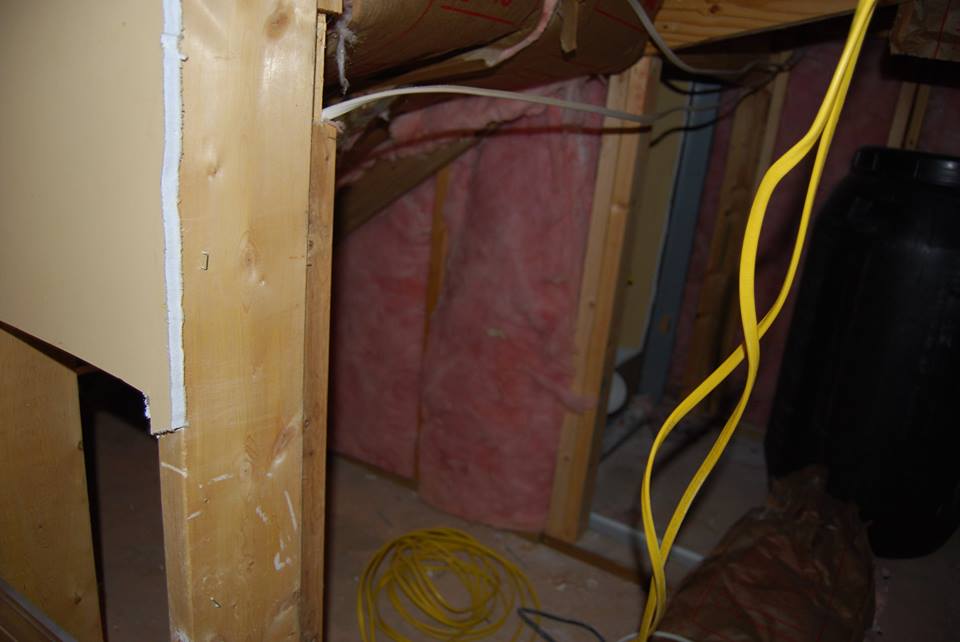
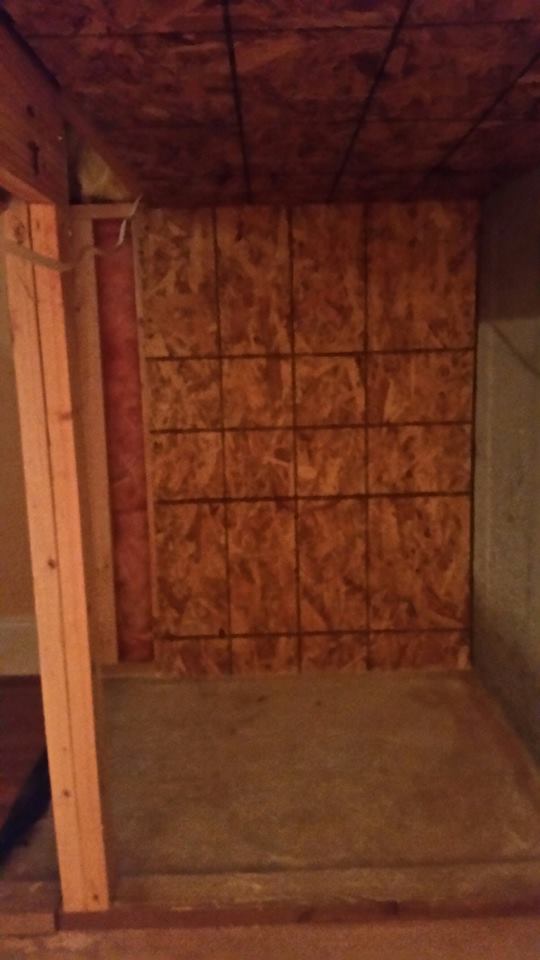
Closet door framing all removed, had to shim and plumb right side as it was out of plumb
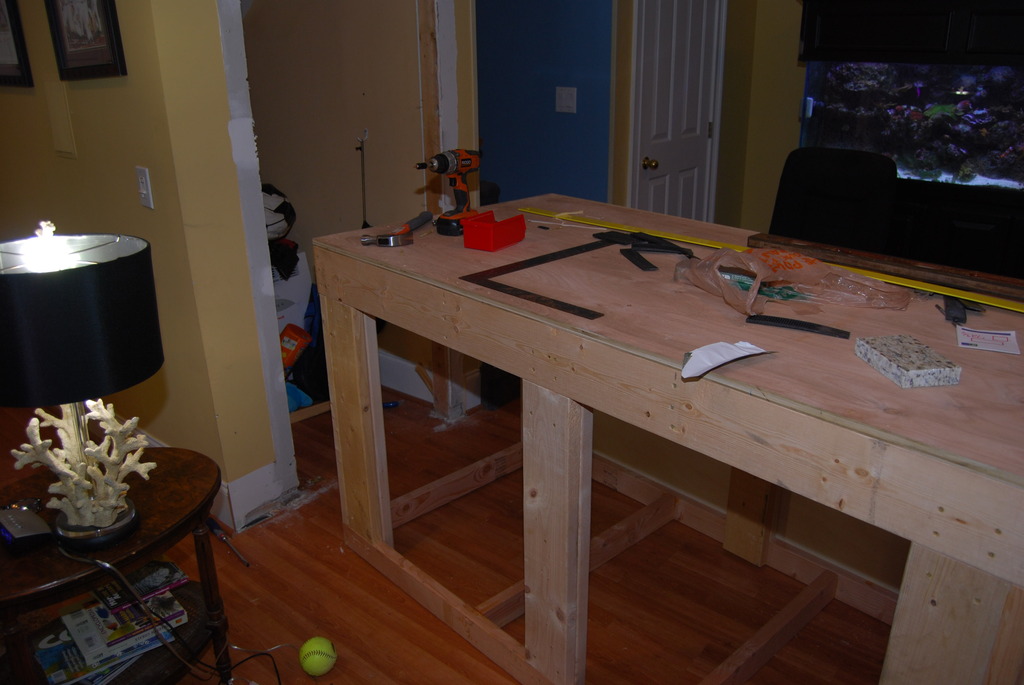
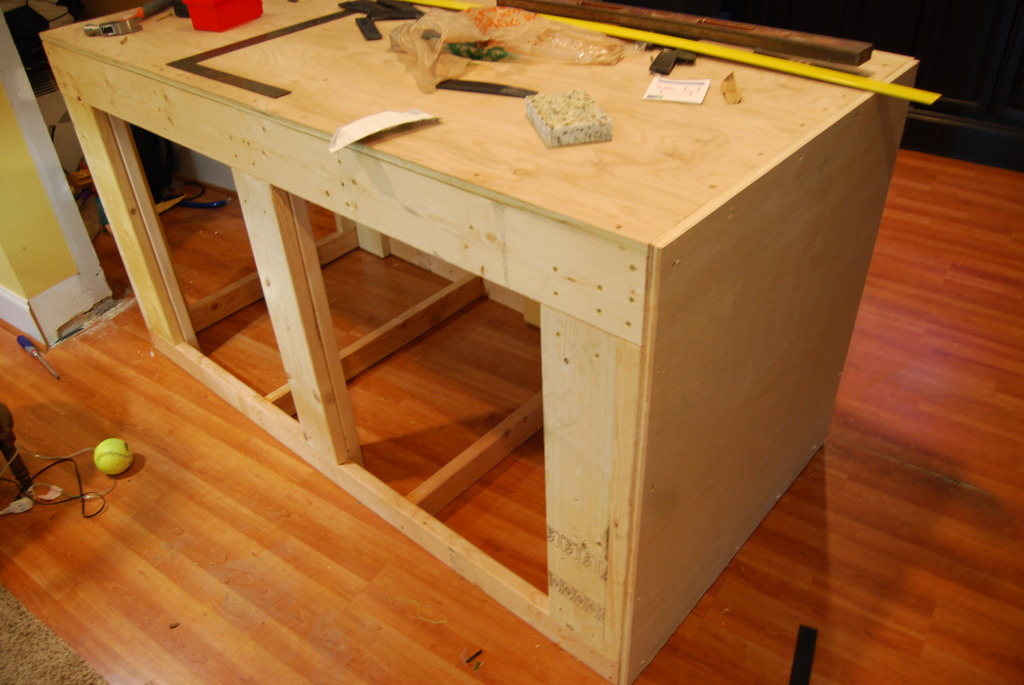
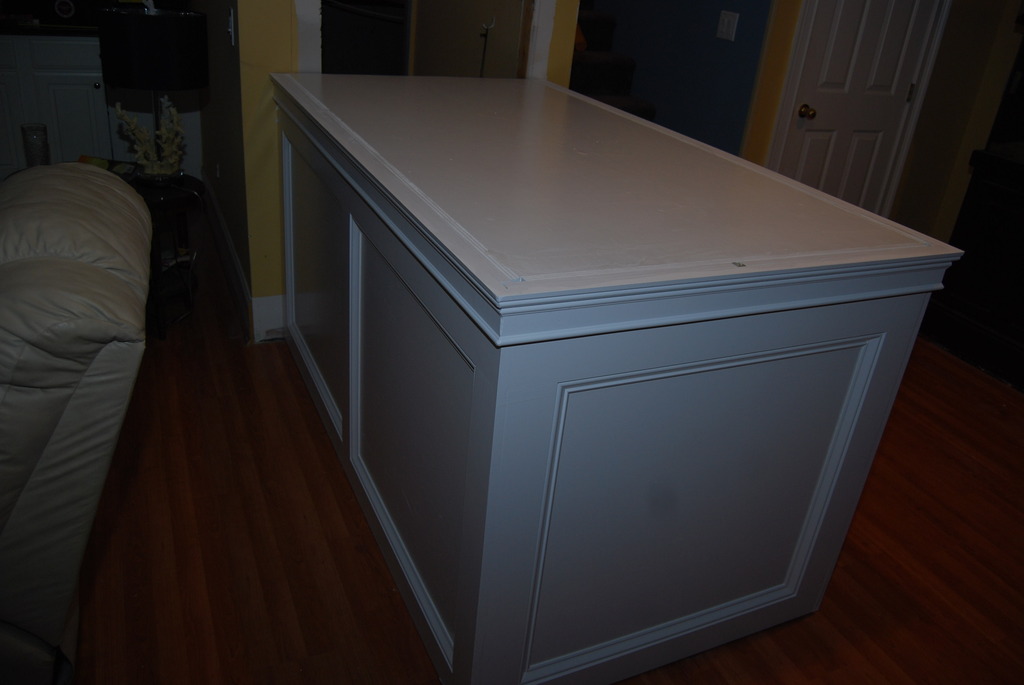
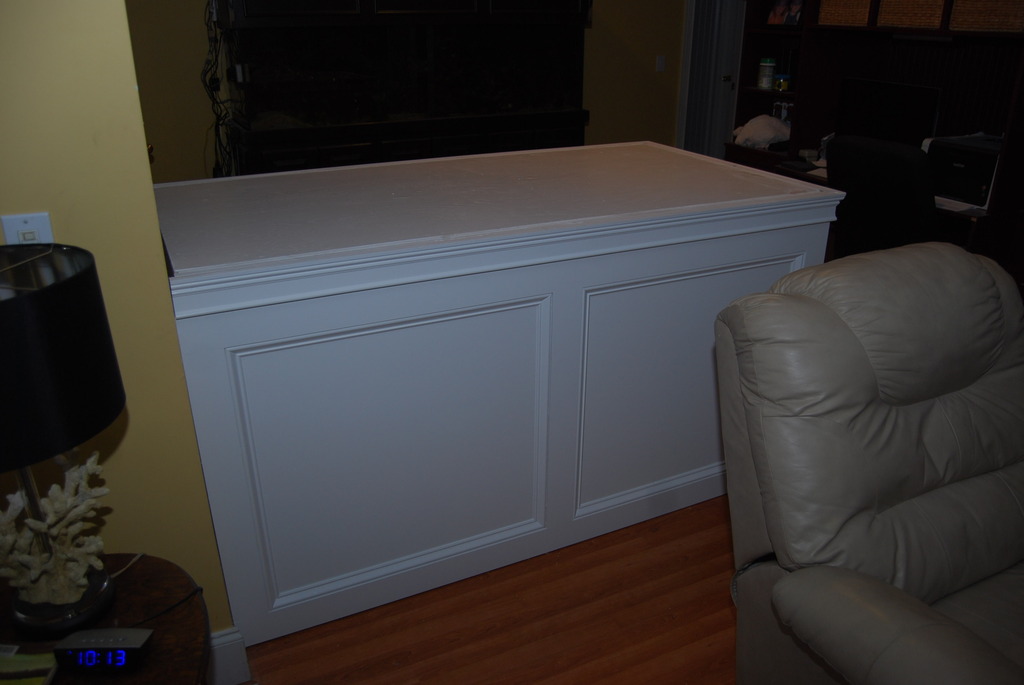
Solid 3/4 Maple plywood skin and top with 2x6 reinforced with 2x4 spacers, all glued and screwed
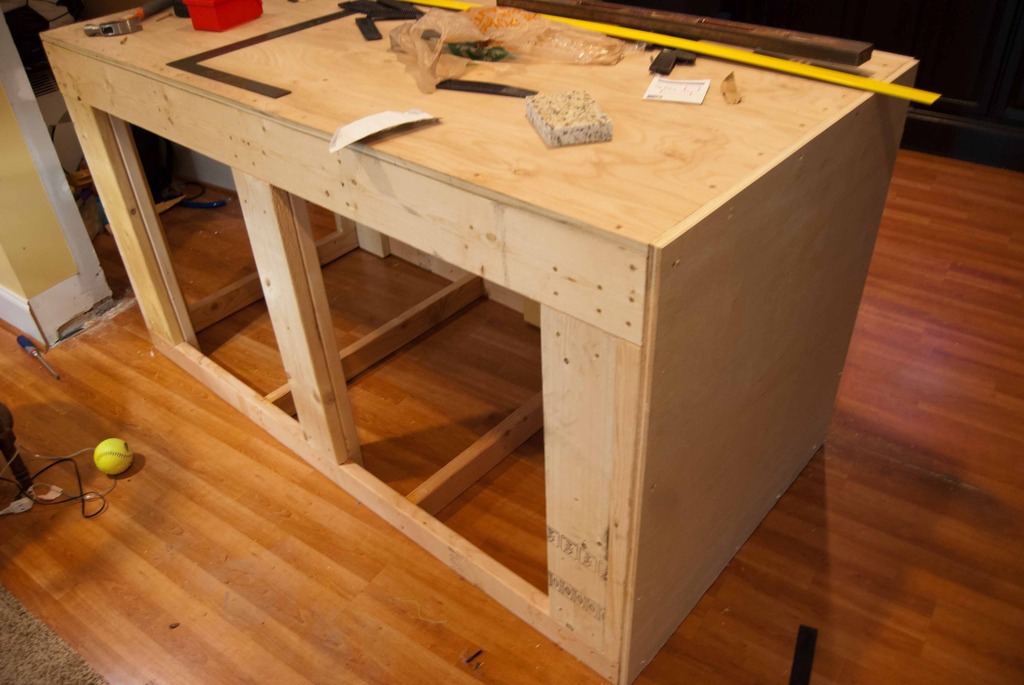
Hardwood 1x4s with picture frame moulding, RB3 Door Jam on top edge. Everything nailed and glued.
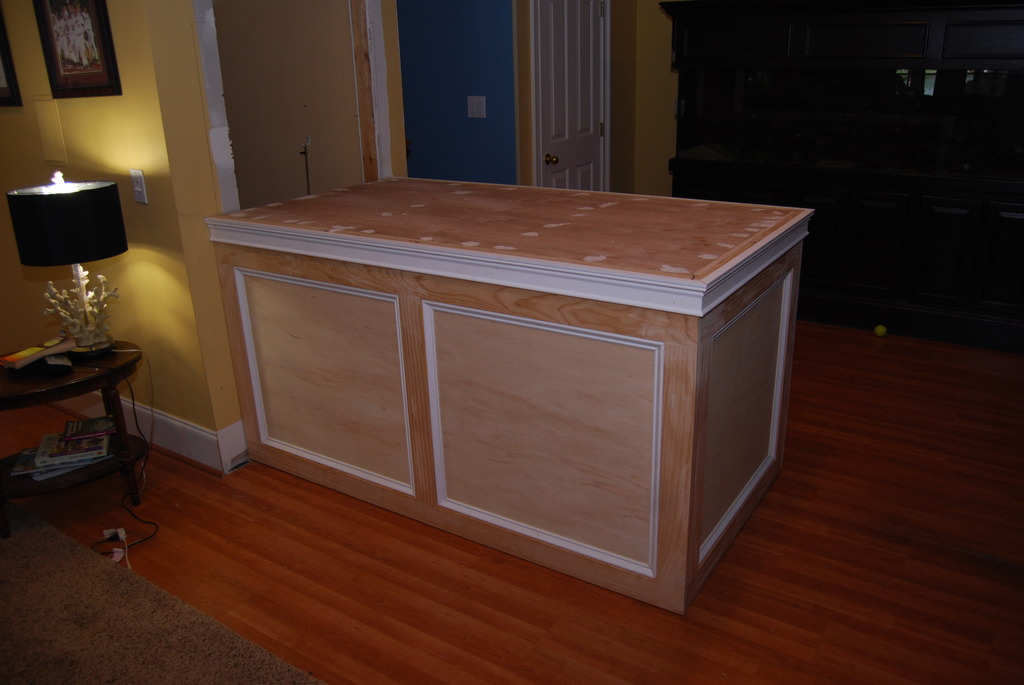
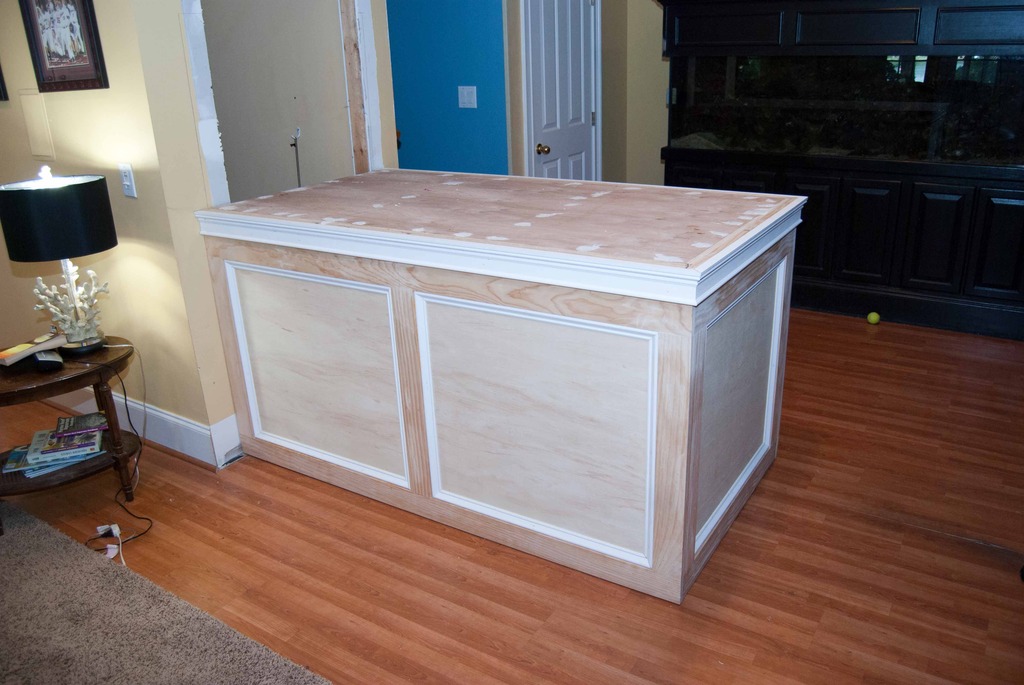
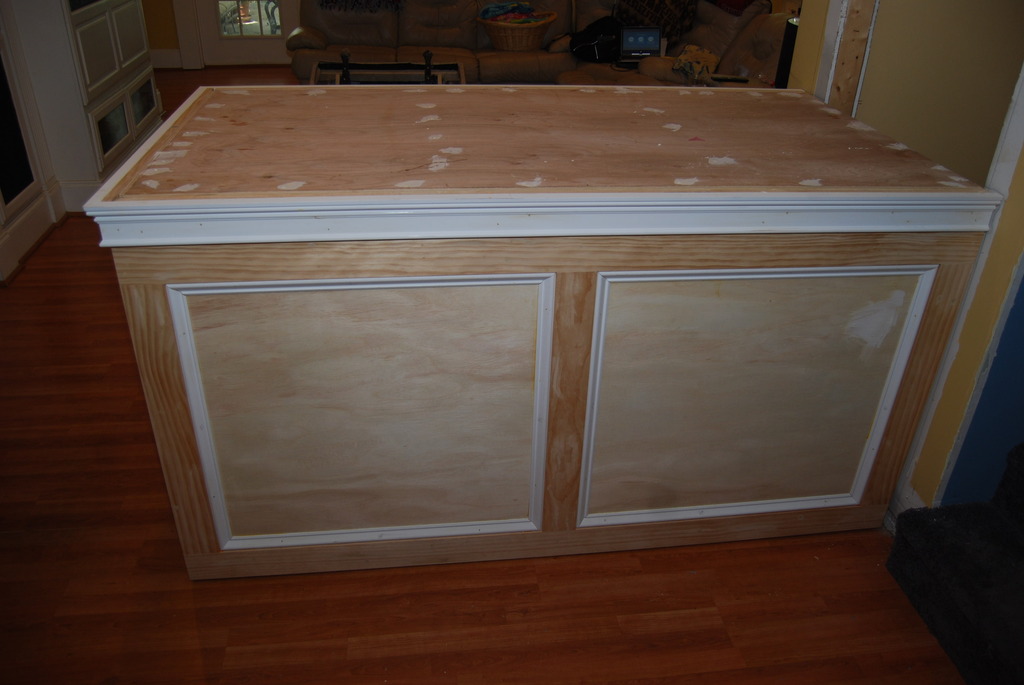
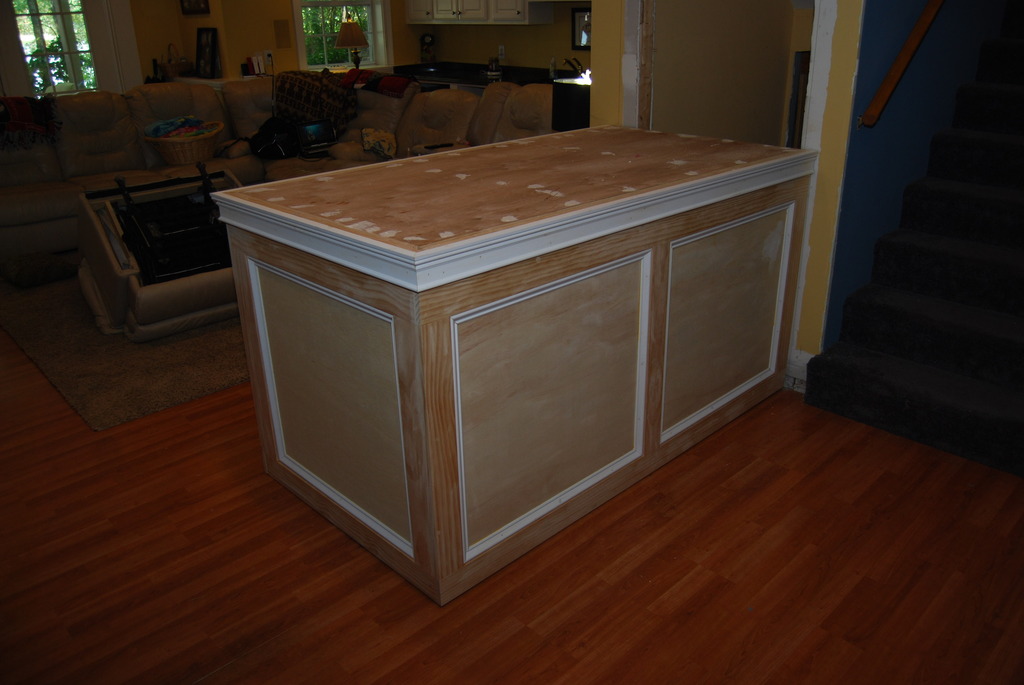
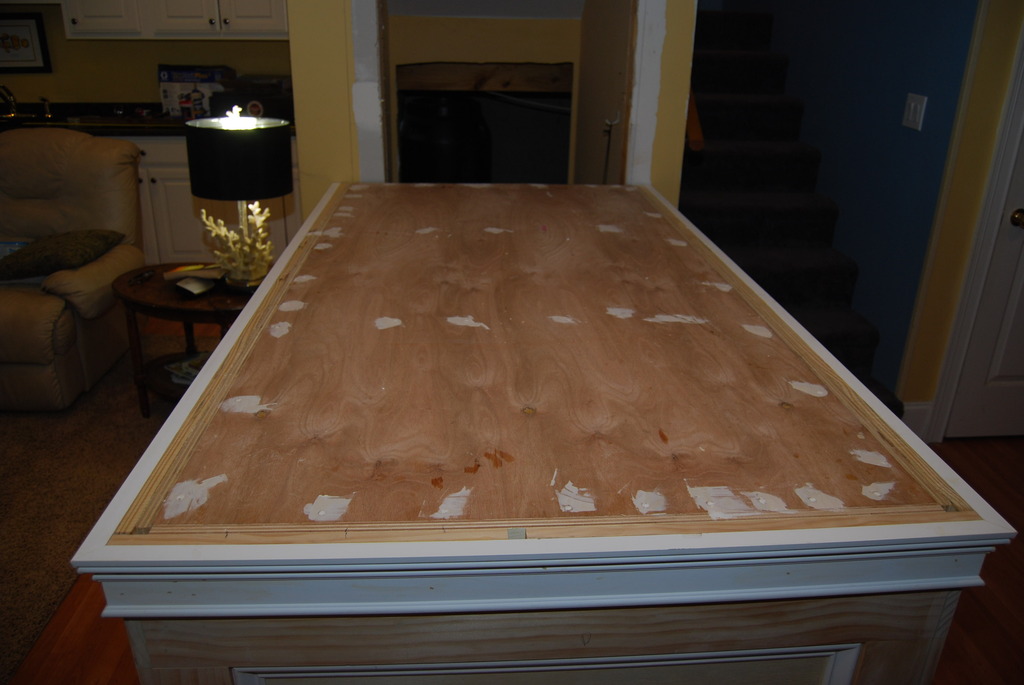
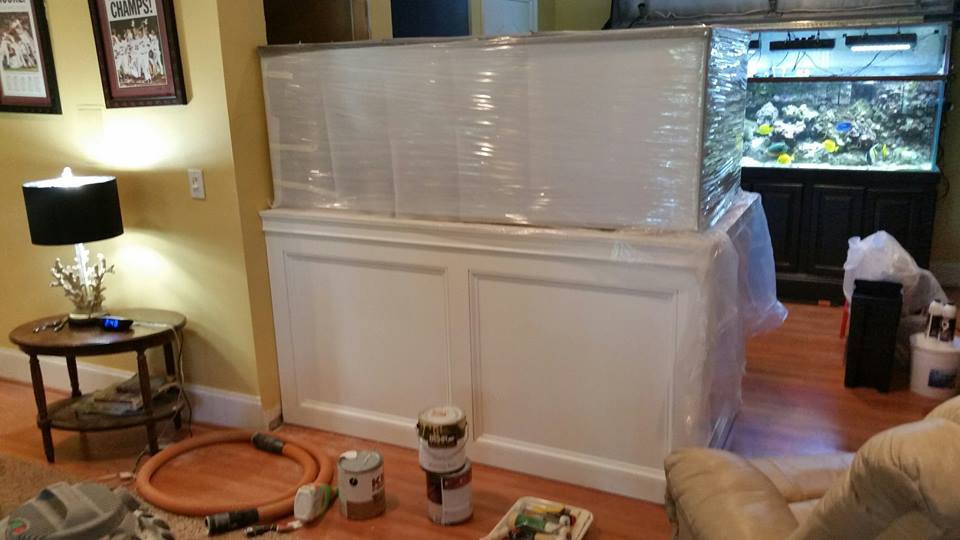
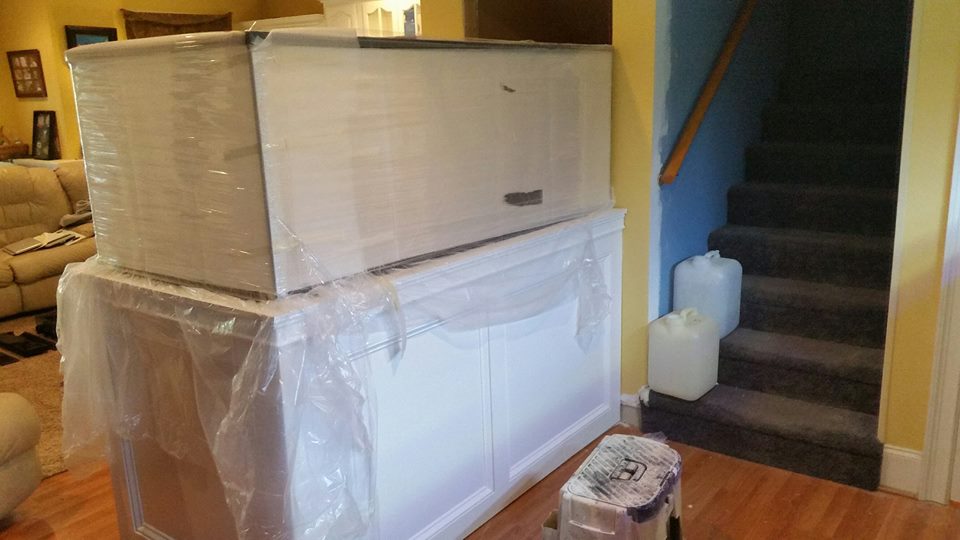
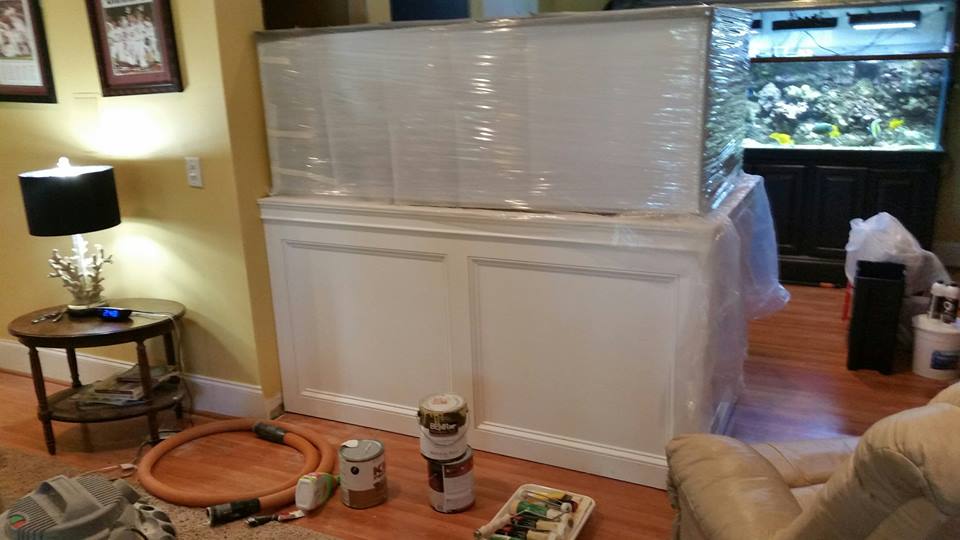
Final resting place or so I thought.
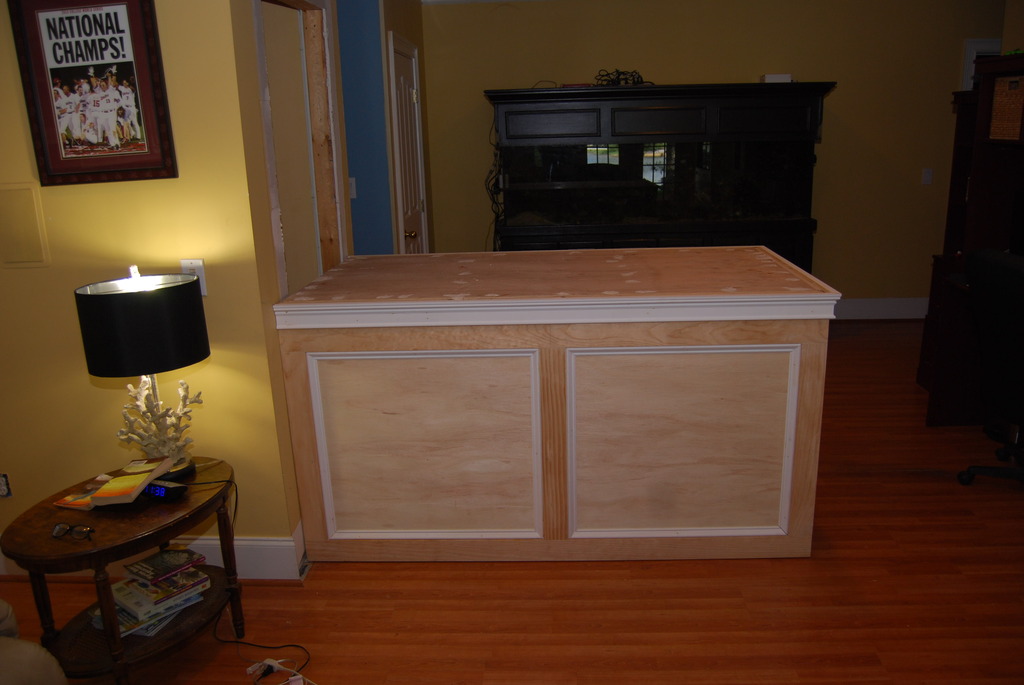
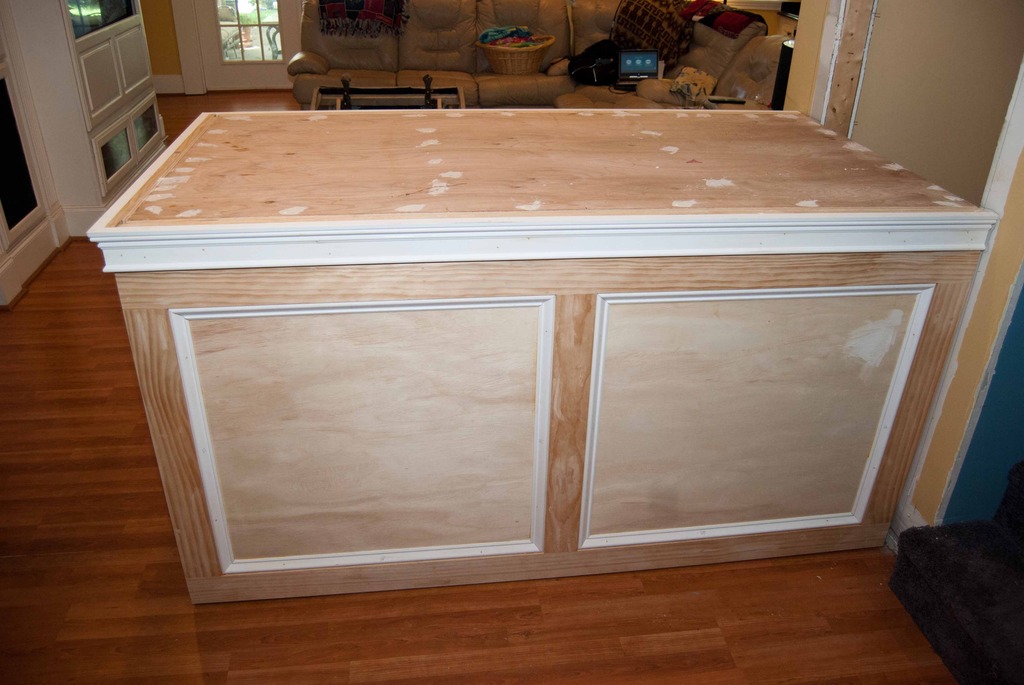
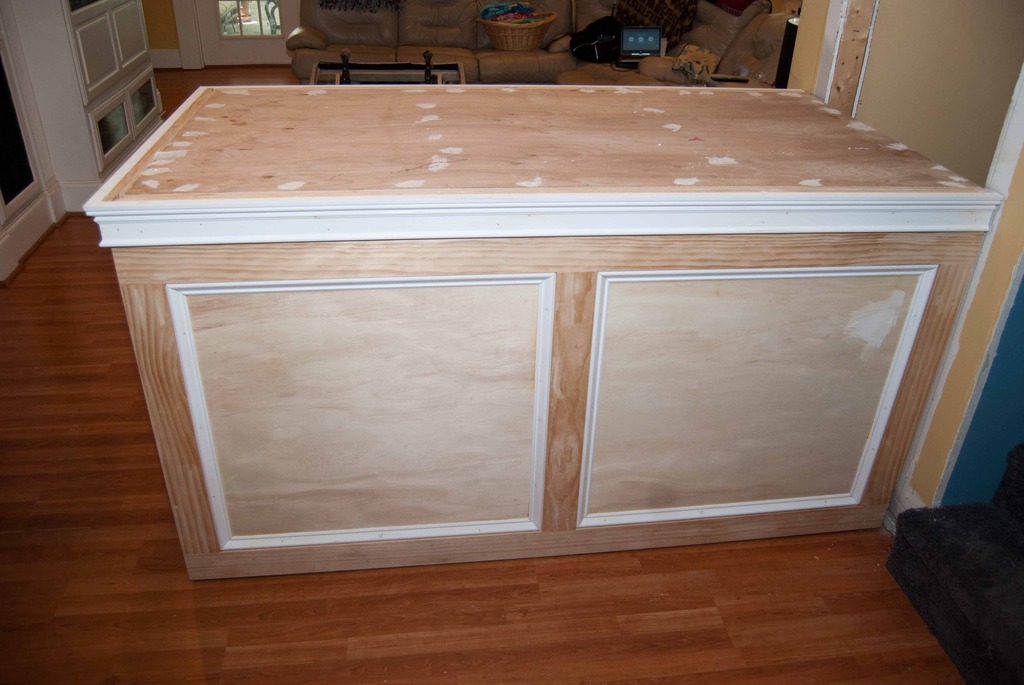
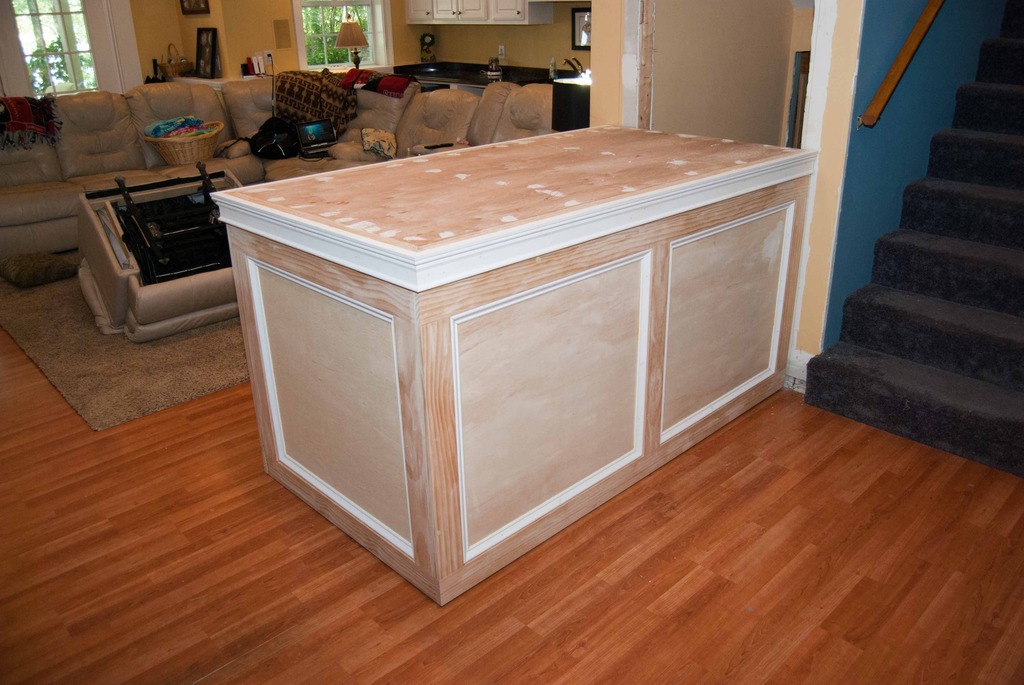
Four coats of primer, with sanding in between, followed by 3 coats of quality Acrylic pain. All sprayed on with HVLP. Lots of plastic required.
What in the world is the Food Guy doing?
Can see old 200 Oceanic in the Background
Closet door framing all removed, had to shim and plumb right side as it was out of plumb
Solid 3/4 Maple plywood skin and top with 2x6 reinforced with 2x4 spacers, all glued and screwed
Hardwood 1x4s with picture frame moulding, RB3 Door Jam on top edge. Everything nailed and glued.
Final resting place or so I thought.
Four coats of primer, with sanding in between, followed by 3 coats of quality Acrylic pain. All sprayed on with HVLP. Lots of plastic required.

OP
OP
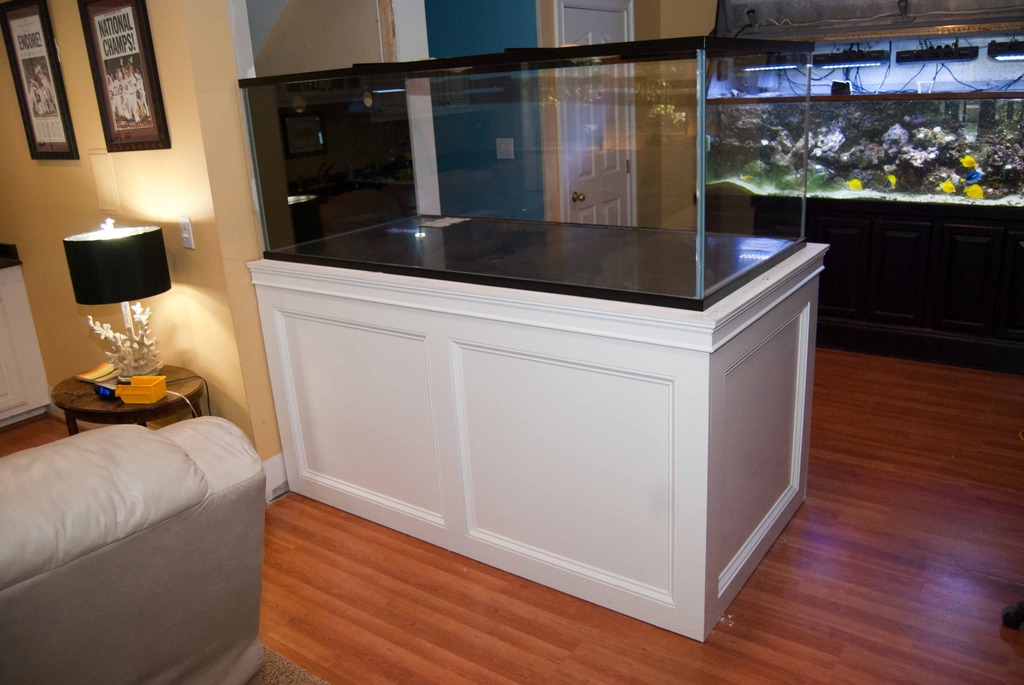
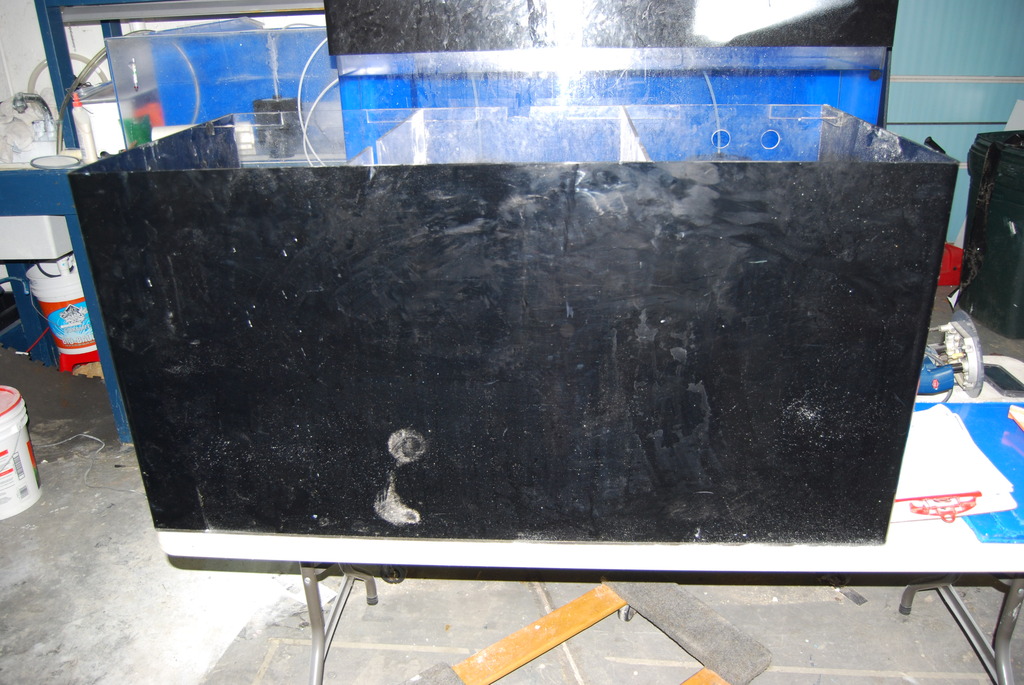
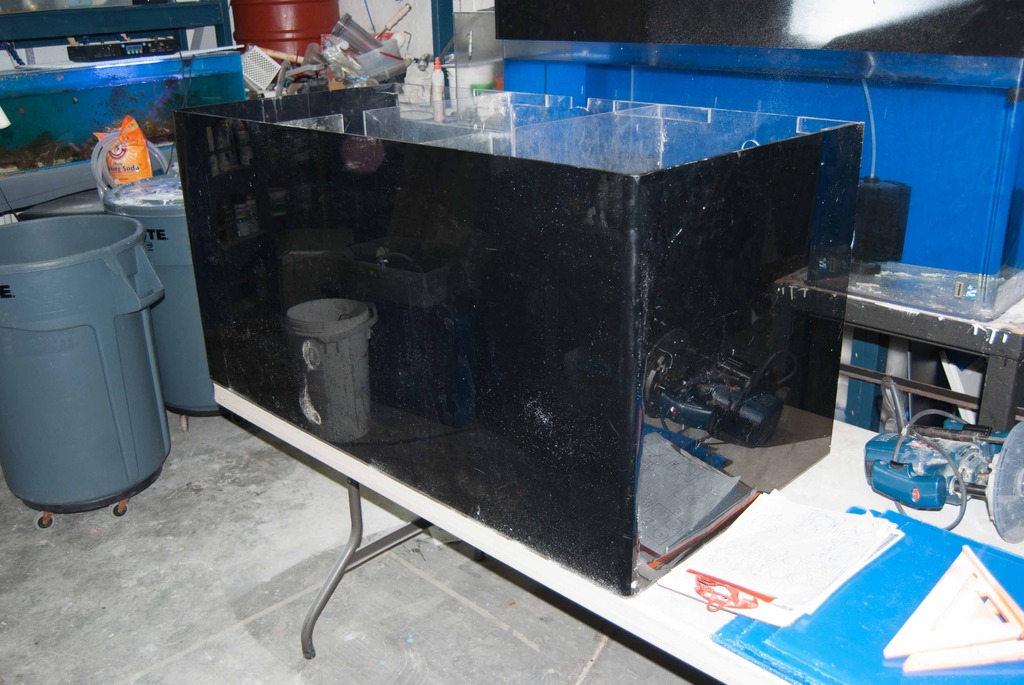
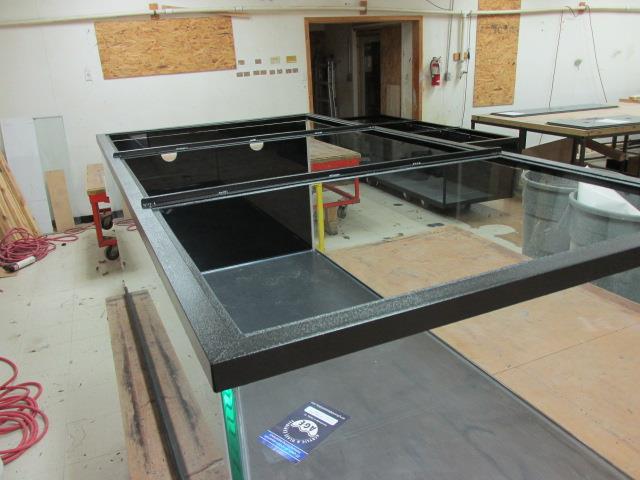
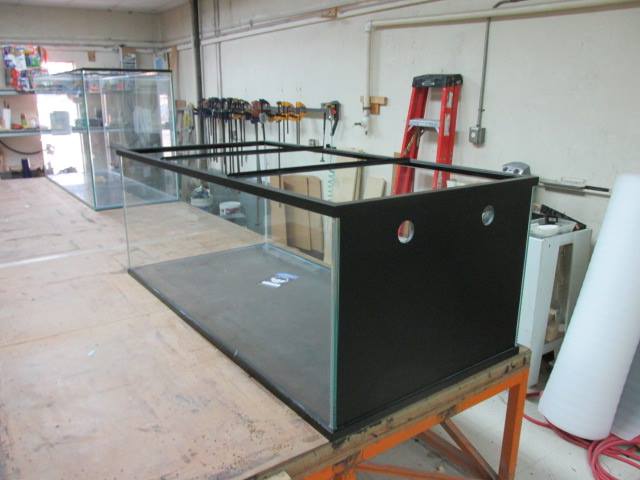
Tank arrives from A.G.E.
Packaged extremely well, 500 lb tank over 200 lbs of shipping container
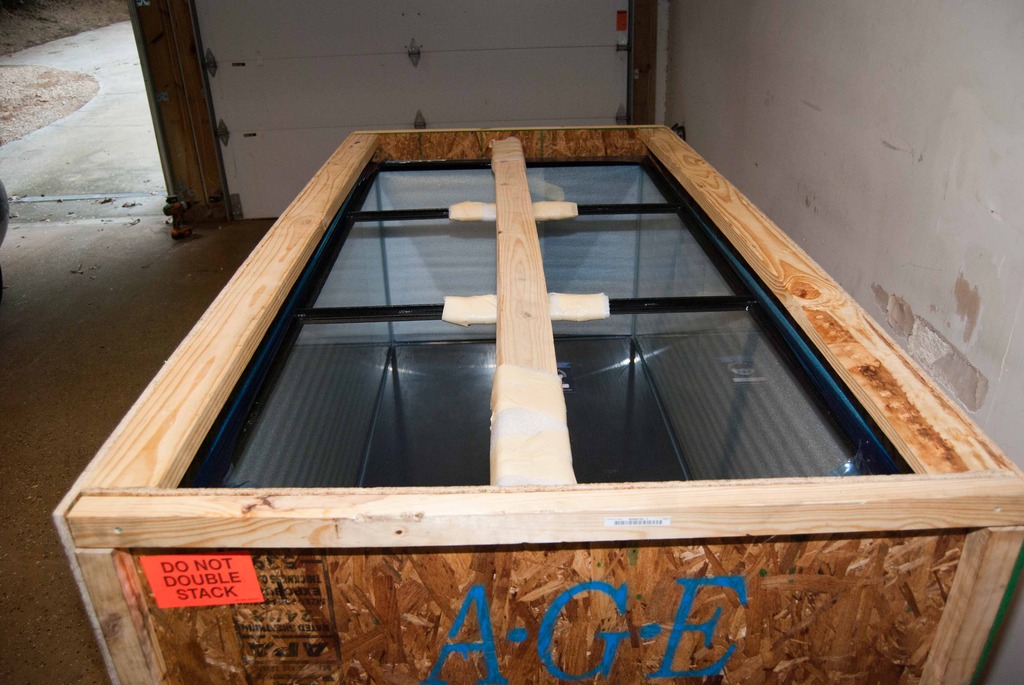
Powder Coated Stainless Steel Frame
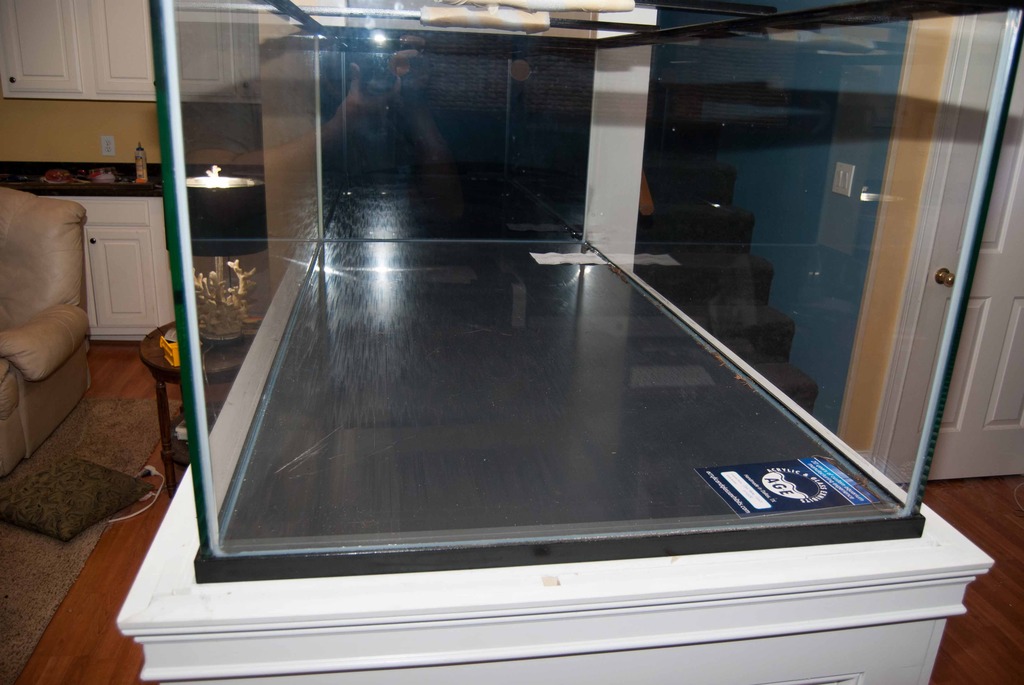
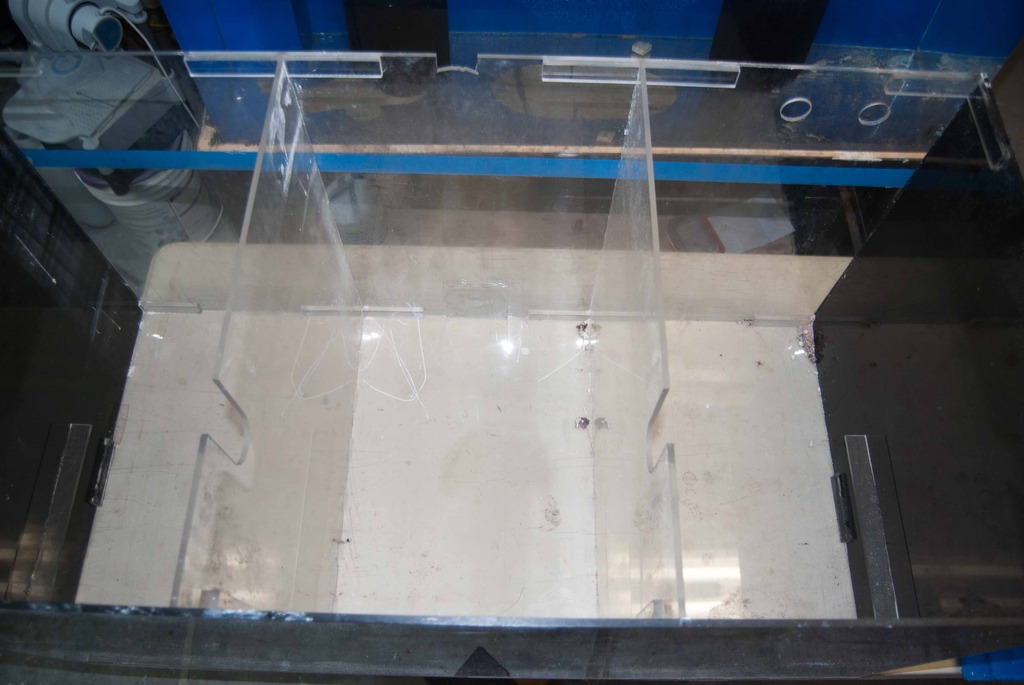
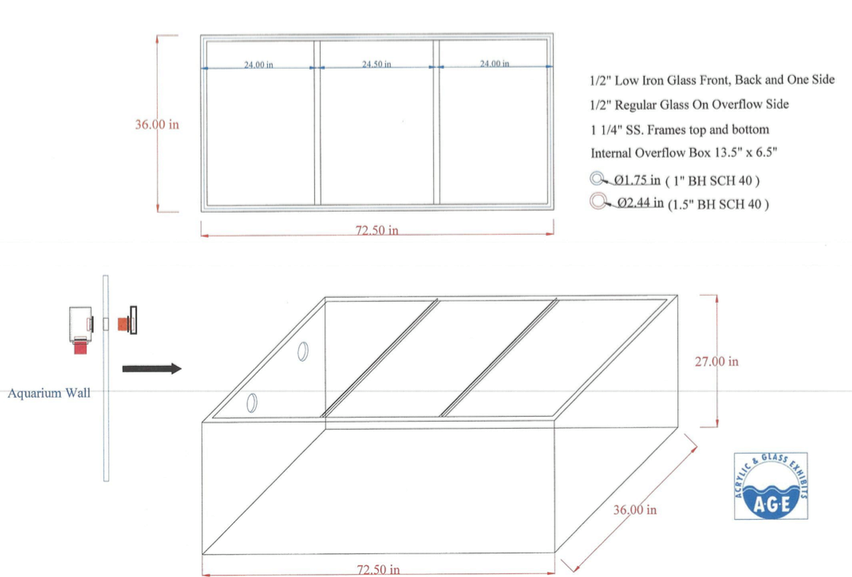
1/2 in Starfire Glass
One inch thick SOLID PVC Bottom
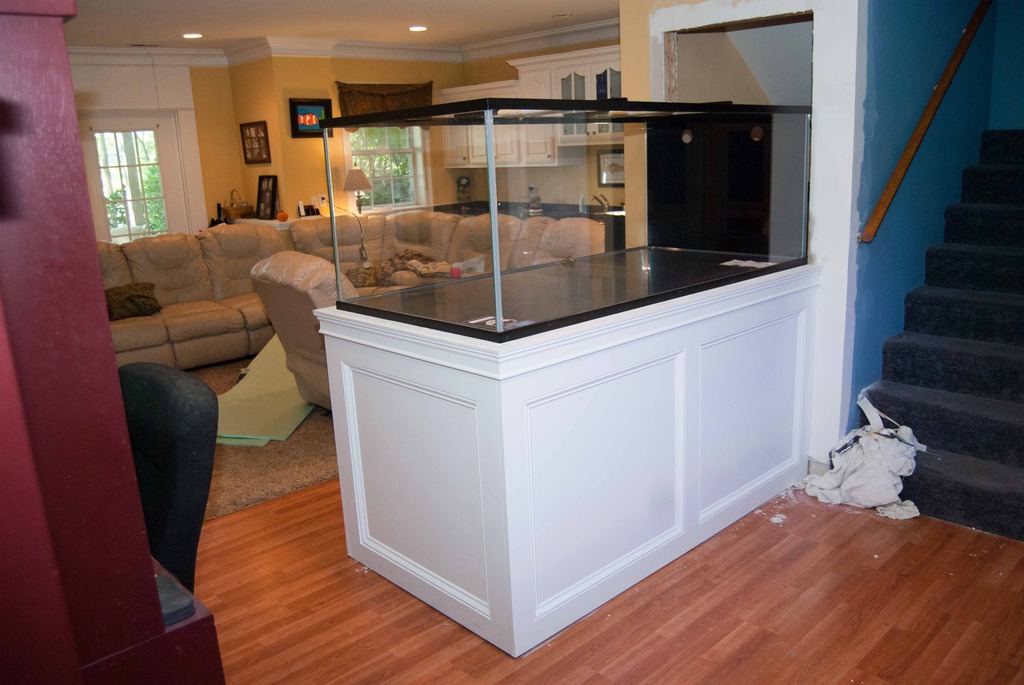
So far so good
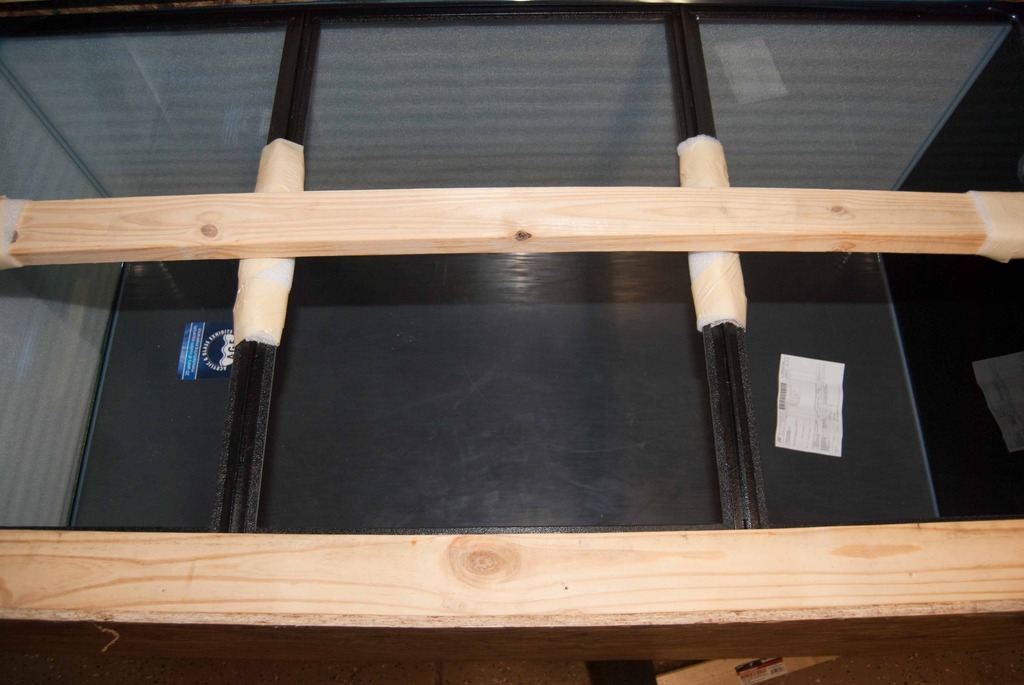
Centering tank was biggest problem for me and my 6helpers as Granite Rim will be installed later, finally screwed on wood stops to help center tank over supports
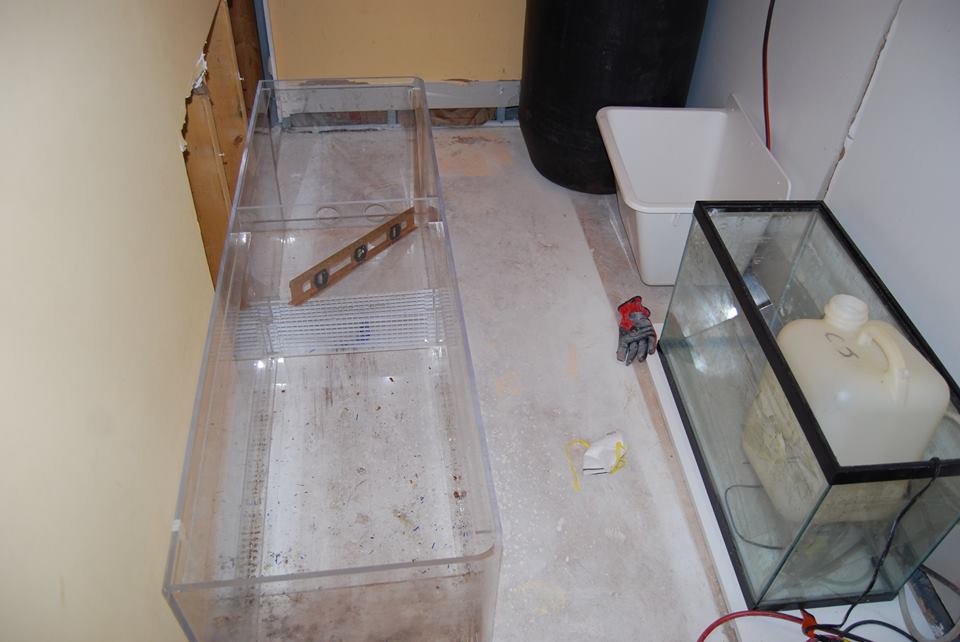
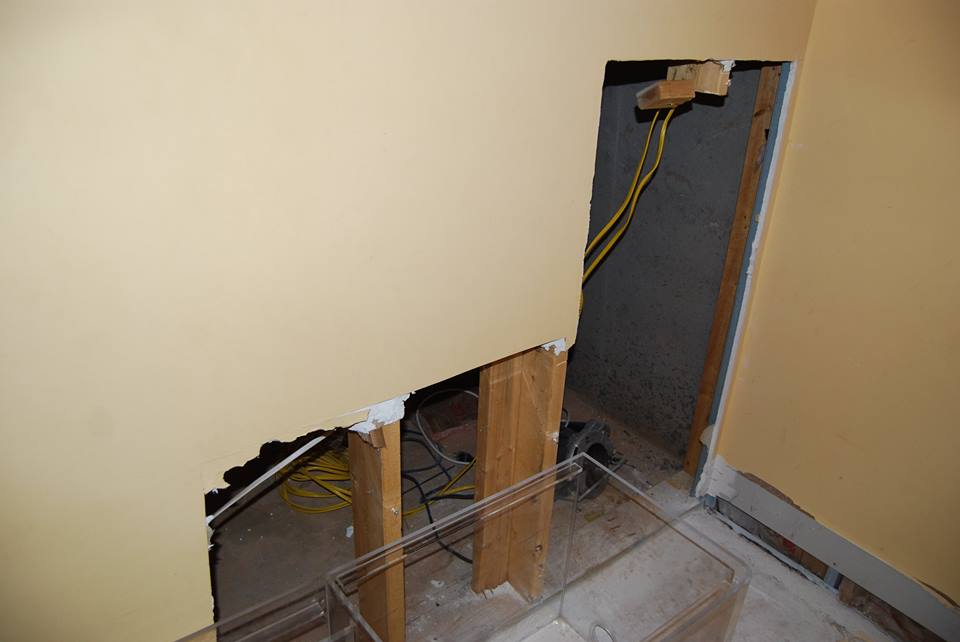
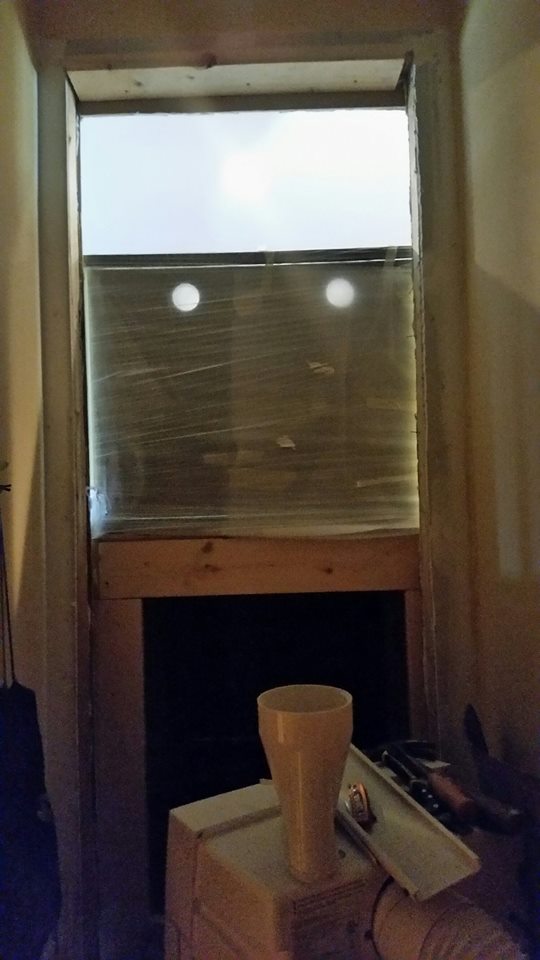
Did not anticipate drywall work
Packaged extremely well, 500 lb tank over 200 lbs of shipping container
Powder Coated Stainless Steel Frame
1/2 in Starfire Glass
One inch thick SOLID PVC Bottom
So far so good
Centering tank was biggest problem for me and my 6helpers as Granite Rim will be installed later, finally screwed on wood stops to help center tank over supports
Did not anticipate drywall work
OP
OP
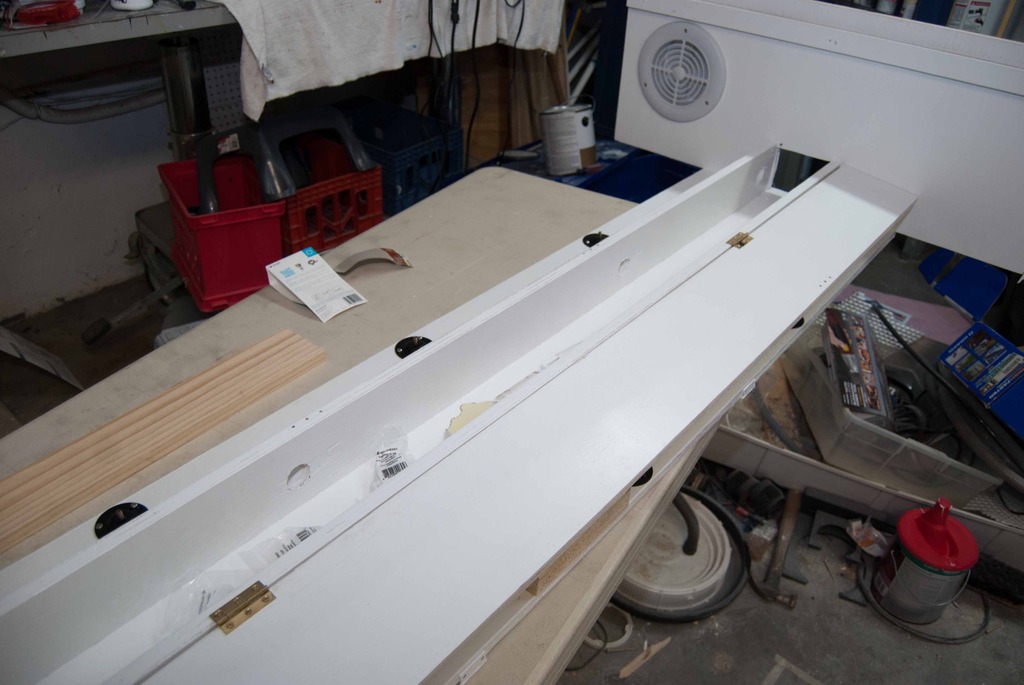
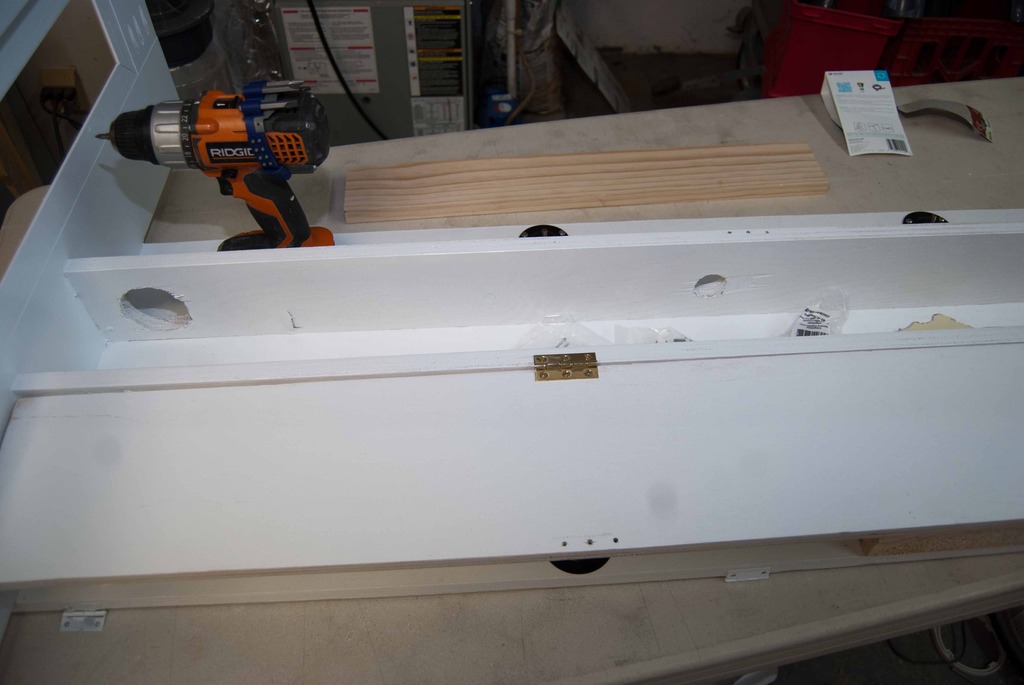
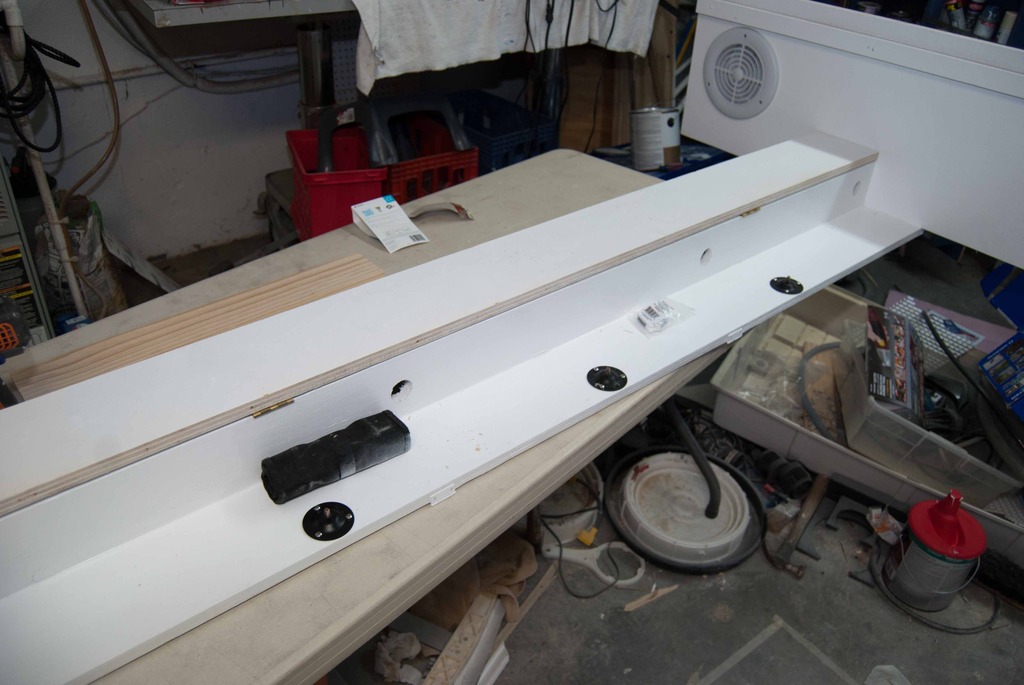
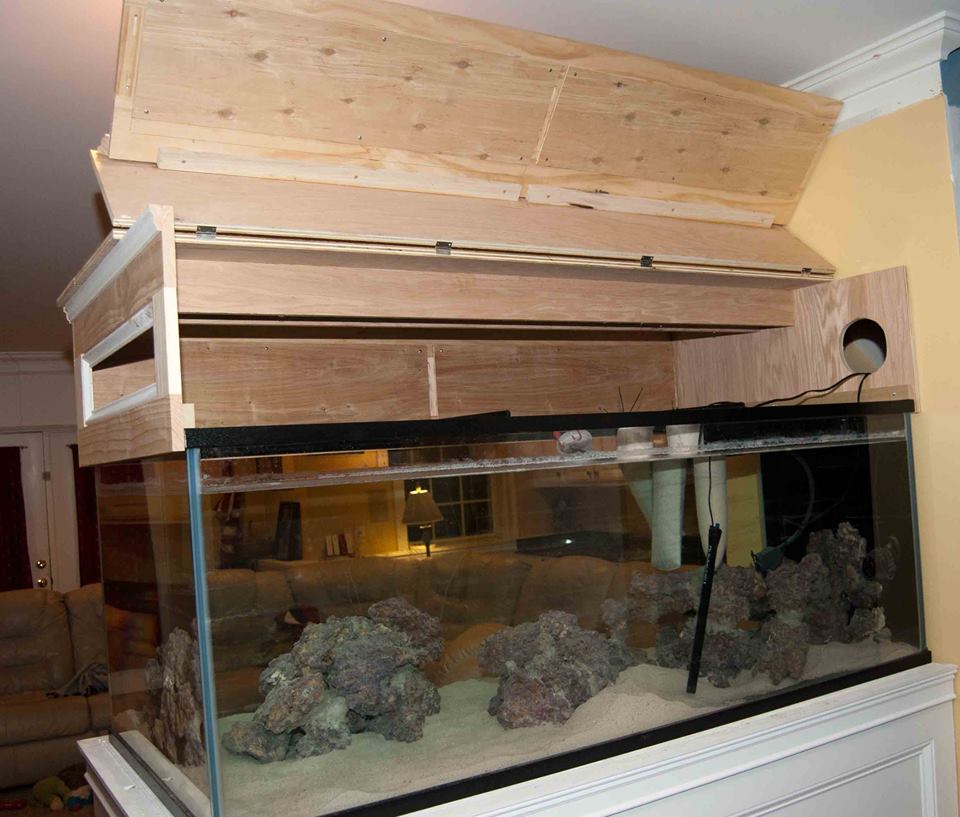
Canopy Build( I have more photos before painting but I am not sure where they are)
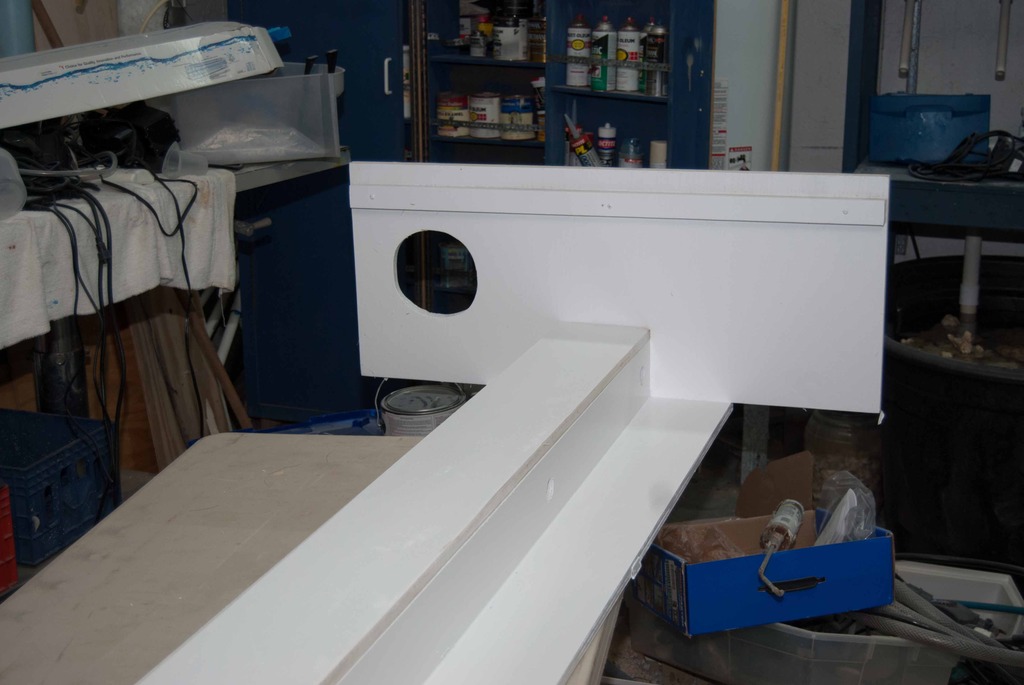
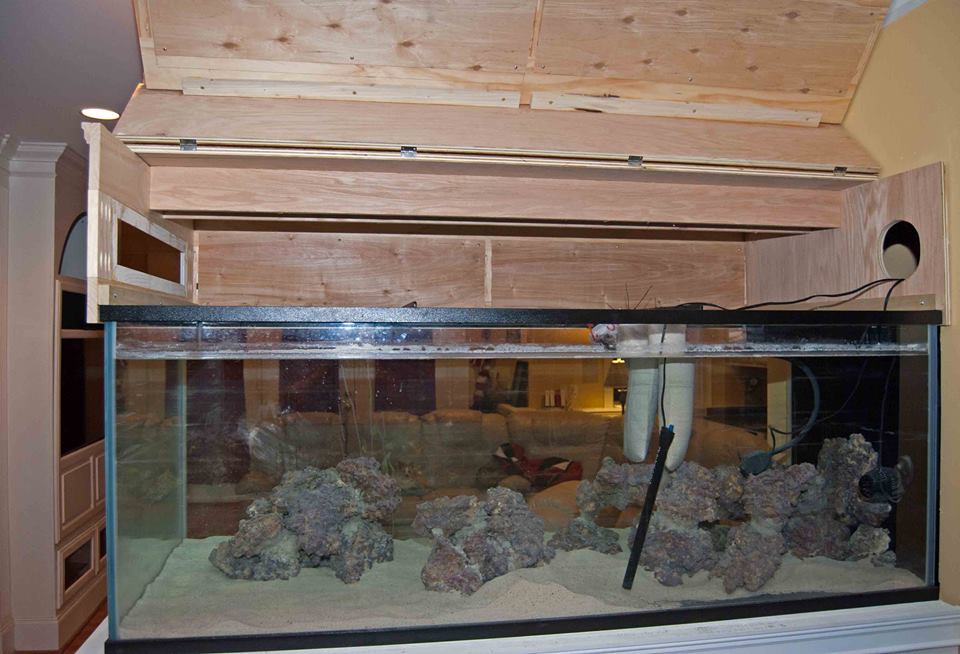
Built the Carcass and fit it to the tank
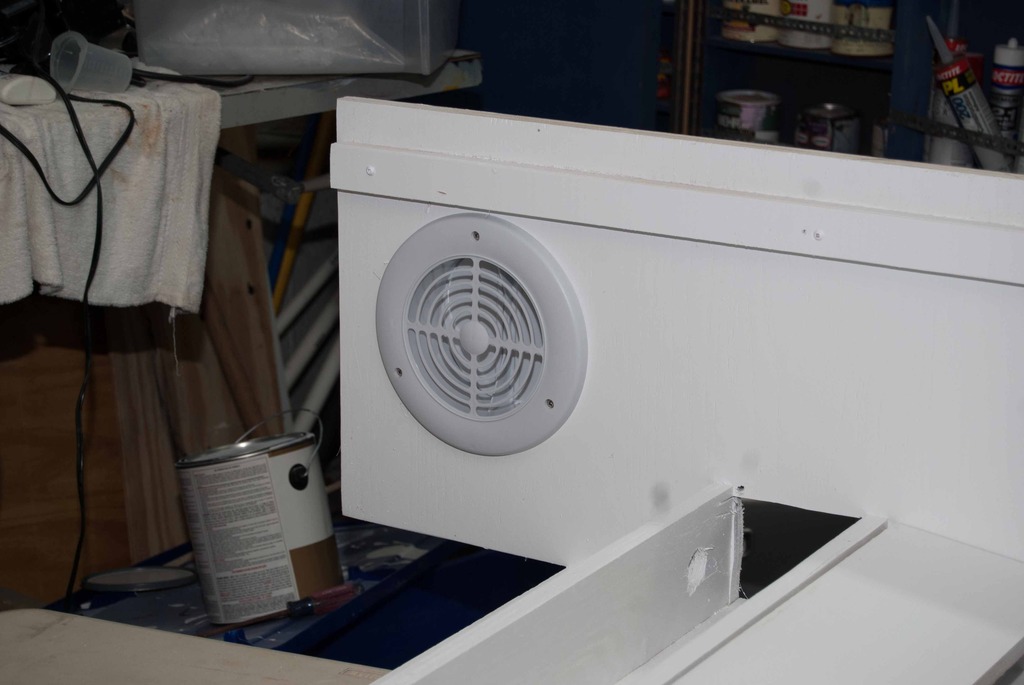
Hole for ventilation
The support box down the middle will contain the return line and wiring for lighting and etc
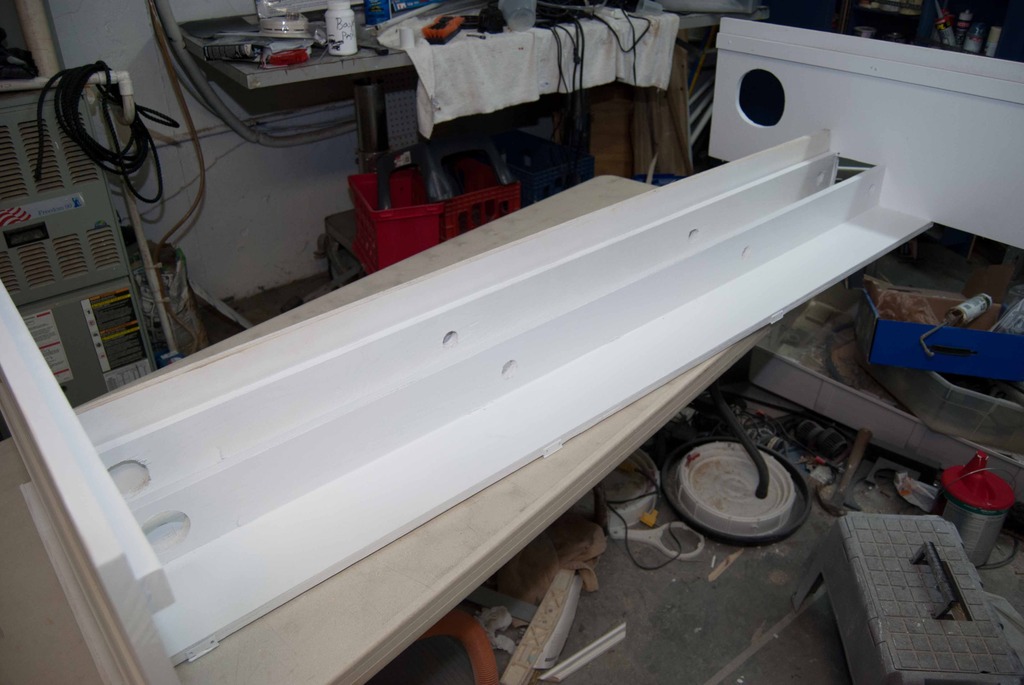
Cut all the holes for wiring and return pipe at end
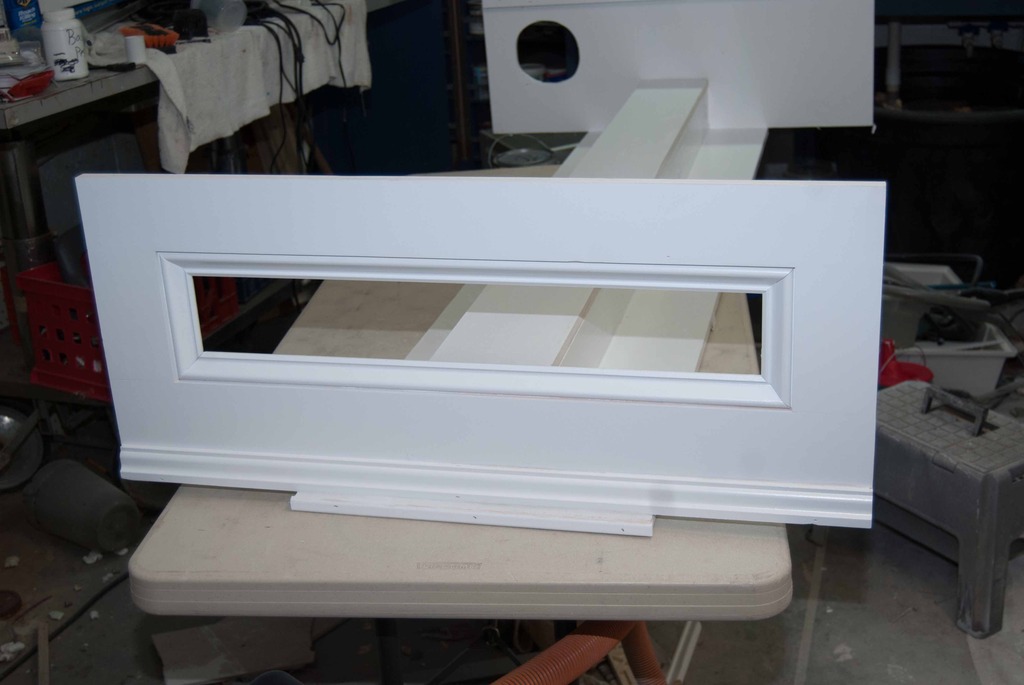
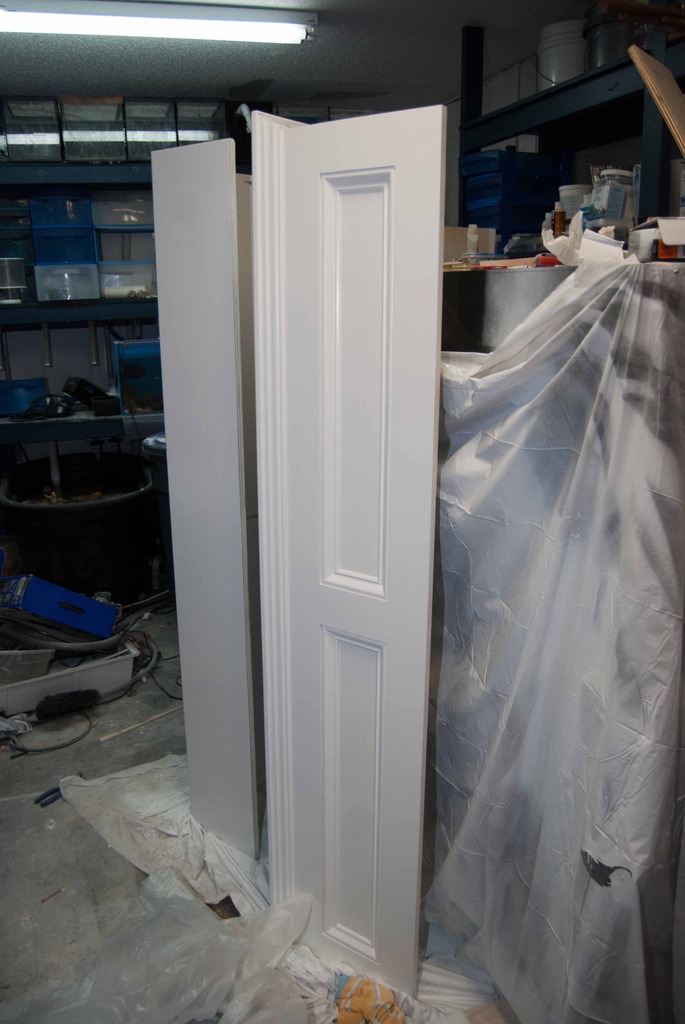
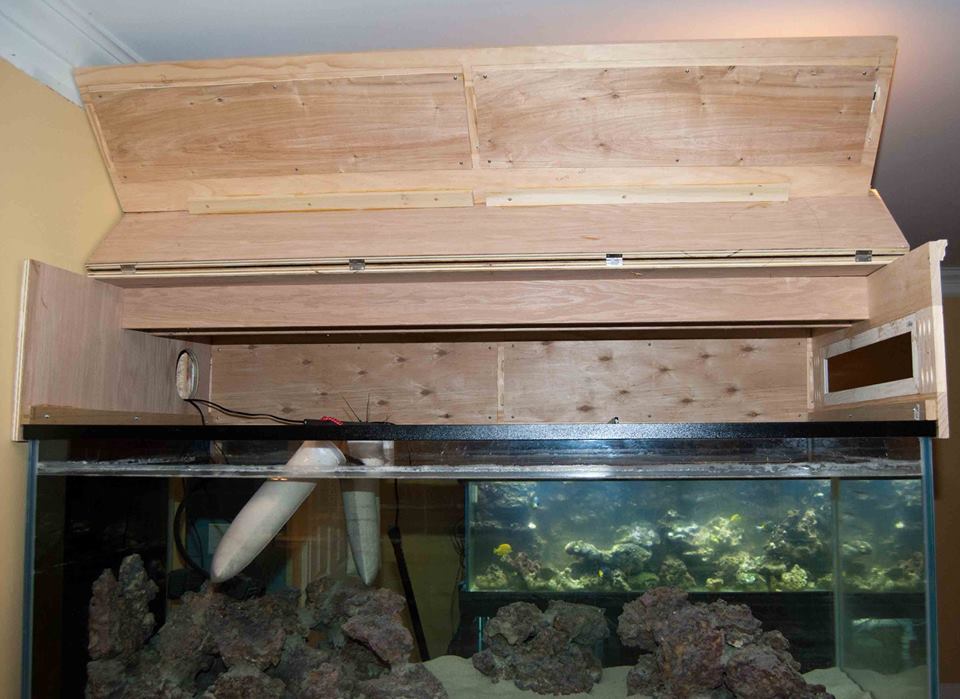
Painting the Canopy doors

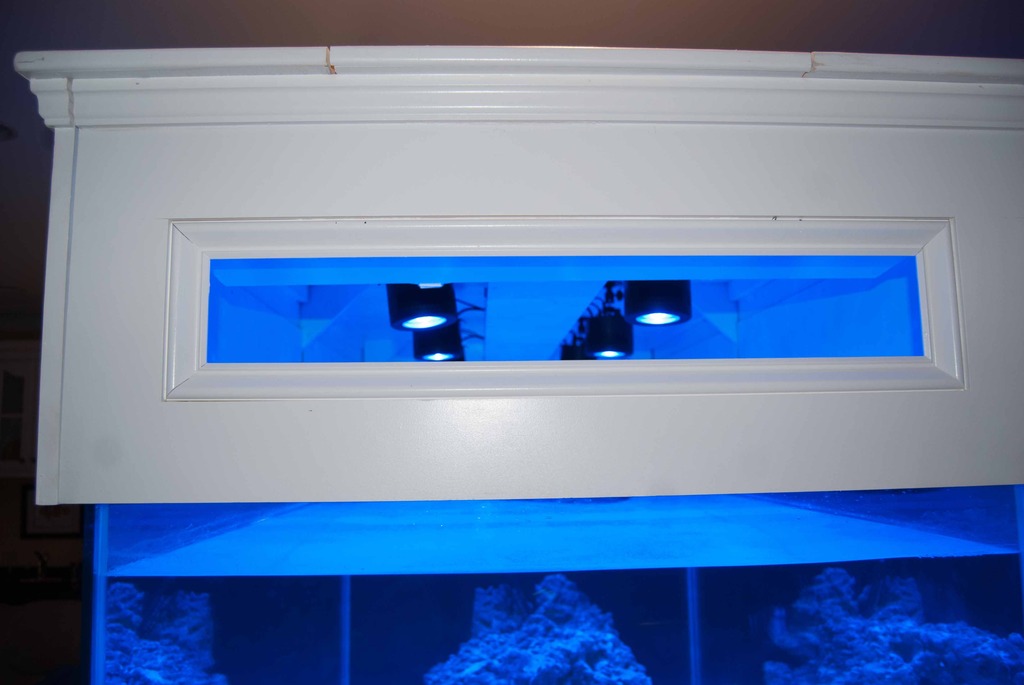
Installed magnets to hold electric/plumbing box in closed position
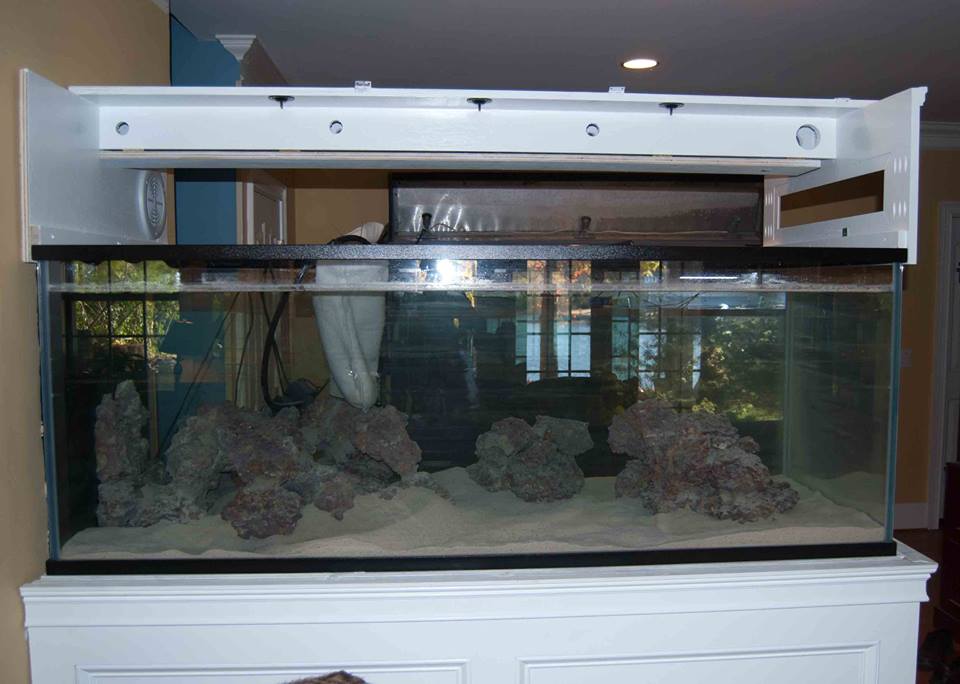
and DIY mounts for Kessils made from security camera mounts, 6 Kessils installed, have 2 more on hand if I need them

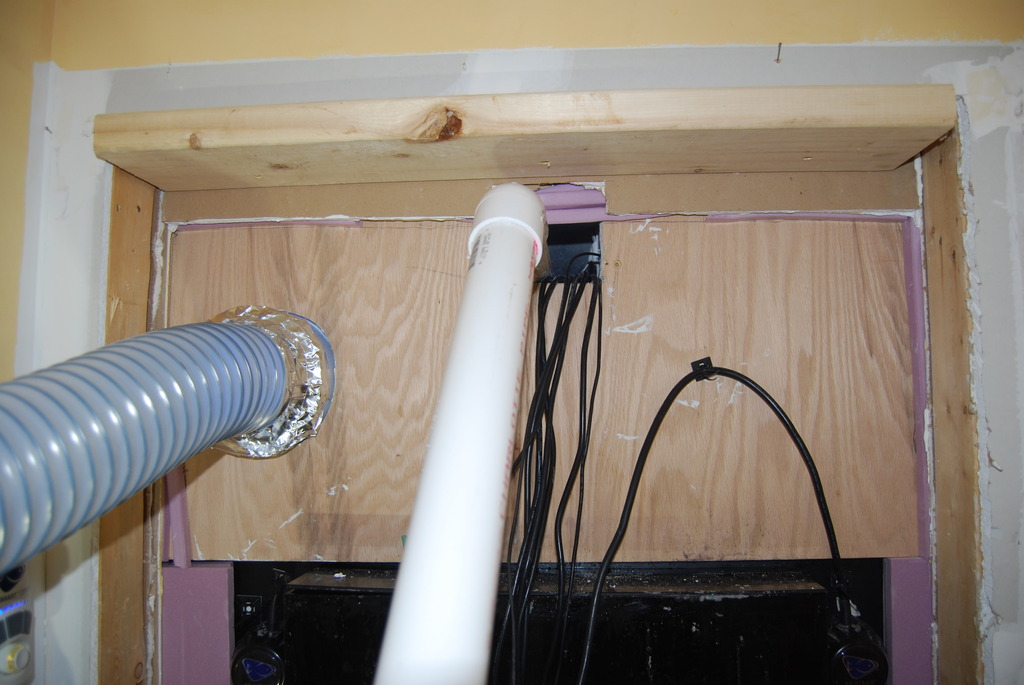
Air vent and cutout for wiring and return 1.5 inch pipe
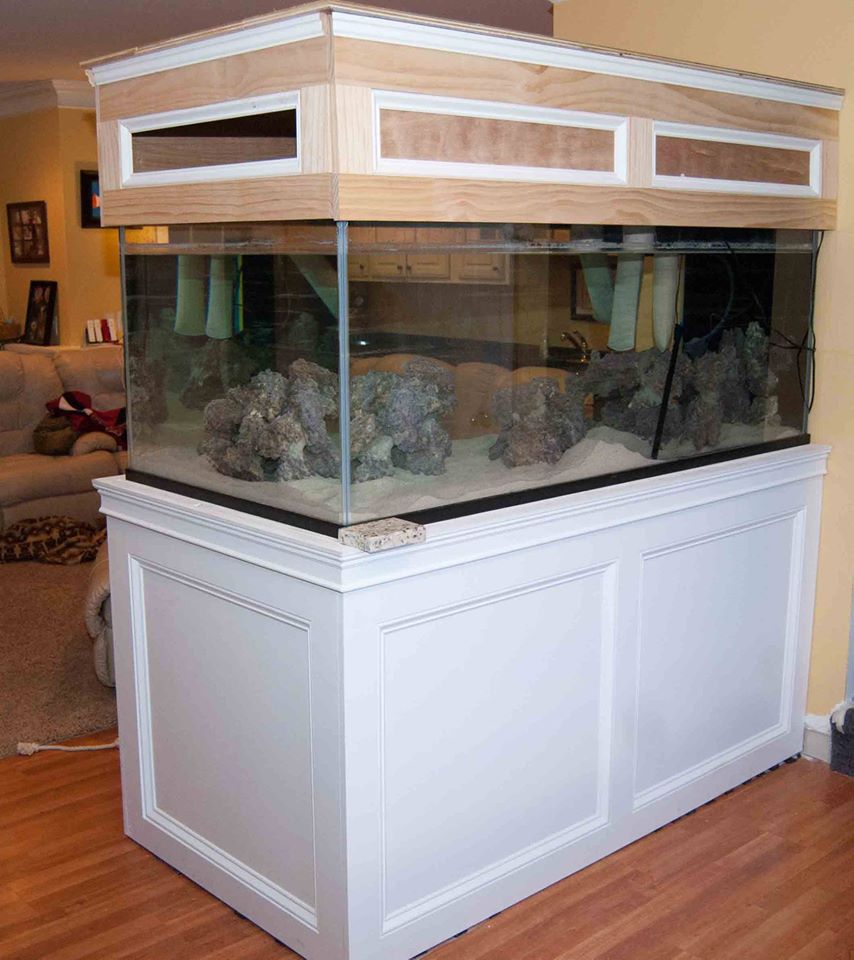
Canopy installed
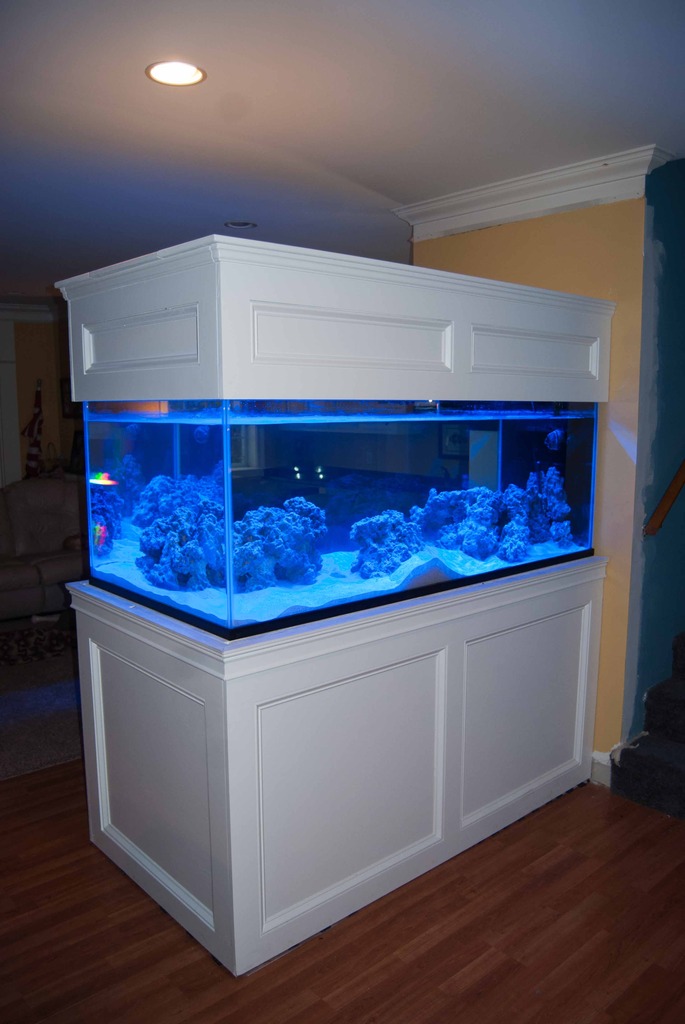
Opening remains for flip up feeding hole, closed and held open with magnets
Kessils visible in background
Built the Carcass and fit it to the tank
Hole for ventilation
The support box down the middle will contain the return line and wiring for lighting and etc
Cut all the holes for wiring and return pipe at end
Painting the Canopy doors
Installed magnets to hold electric/plumbing box in closed position
and DIY mounts for Kessils made from security camera mounts, 6 Kessils installed, have 2 more on hand if I need them
Air vent and cutout for wiring and return 1.5 inch pipe
Canopy installed
Opening remains for flip up feeding hole, closed and held open with magnets
Kessils visible in background
Last edited:

OP
OP
Tank arrives from A.G.E.
Packaged extremely well, 500 lb tank over 200 lbs of shipping container
Powder Coated Stainless Steel Frame
1/2 in Starfire Glass
One inch thick SOLID PVC Bottom
So far so good
Centering tank was biggest problem for me and my 6helpers as Granite Rim will be installed later, finally screwed on wood stops to help center tank over supports
Did not anticipate drywall work
Last edited:
OP
OP
I love it when a stand comes together
What in the world is the Food Guy doing?
c
Can see old 200 Oceanic in the Background
Closet door framing all removed, had to shim and plumb right side as it was out of plumb
Solid 3/4 Maple plywood skin and top with 2x6 reinforced with 2x4 spacers, all glued and screwed
Hardwood 1x4s with picture frame moulding, RB3 Door Jam on top edge. Everything nailed and glued.
Final resting place or so I thought.
Four coats of primer, with sanding in between, followed by 3 coats of quality Acrylic pain. All sprayed on with HVLP. Lots of plastic required.

Daniel@R2R
Living the Reef Life
View Badges
Staff member
Super Moderator
Reef Squad
Partner Member 2024
Excellence Award
Photo of the Month
Article Contributor
Hospitality Award
Article Administrator
Reef Pumpkin Carver
R2R Secret Santa 2023
My Tank Thread
This is shaping into an amazing build!
OP
OP
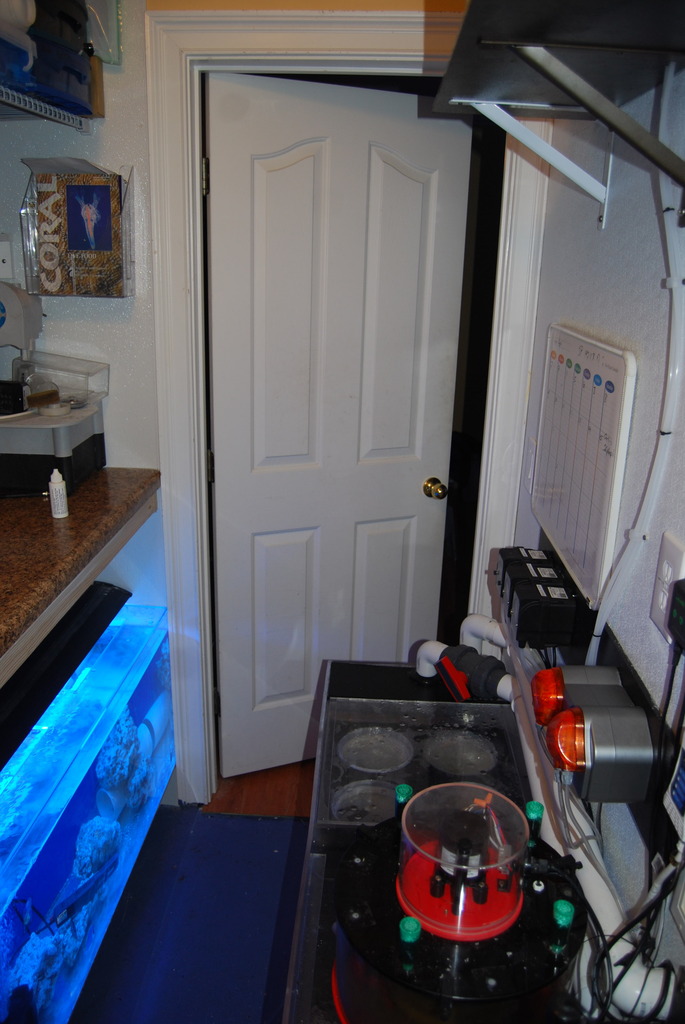
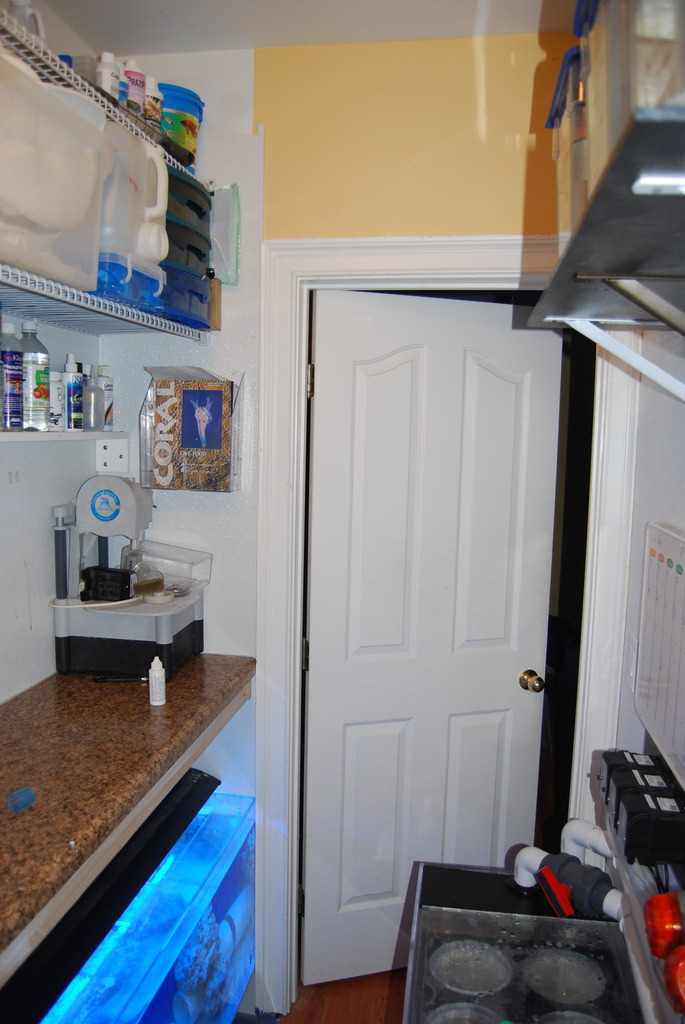
Straight shot into Fish/Sump Room
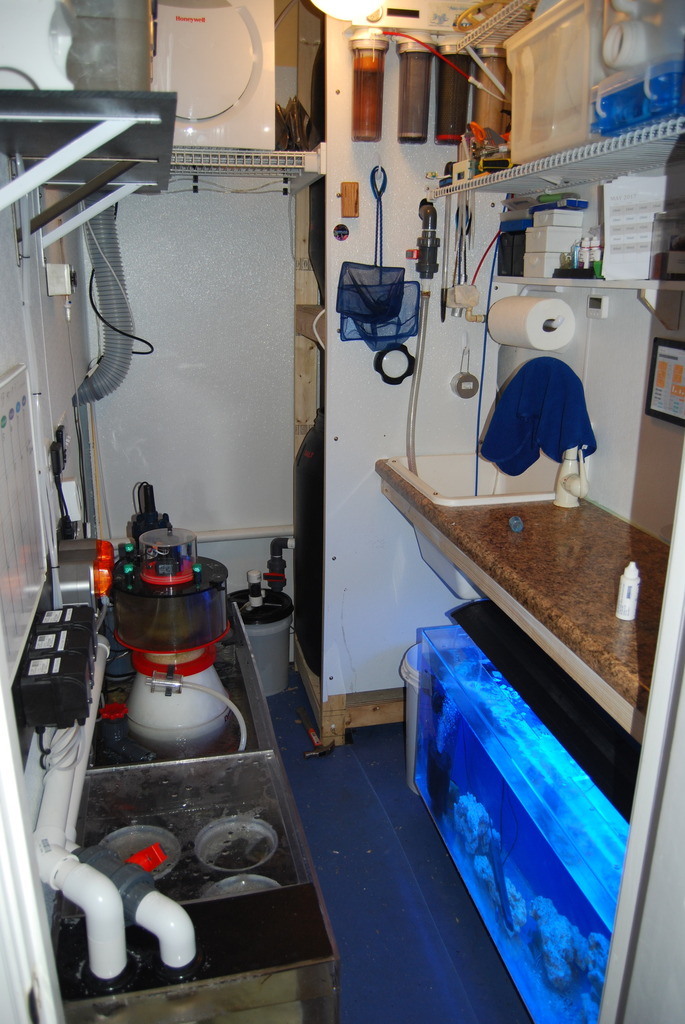
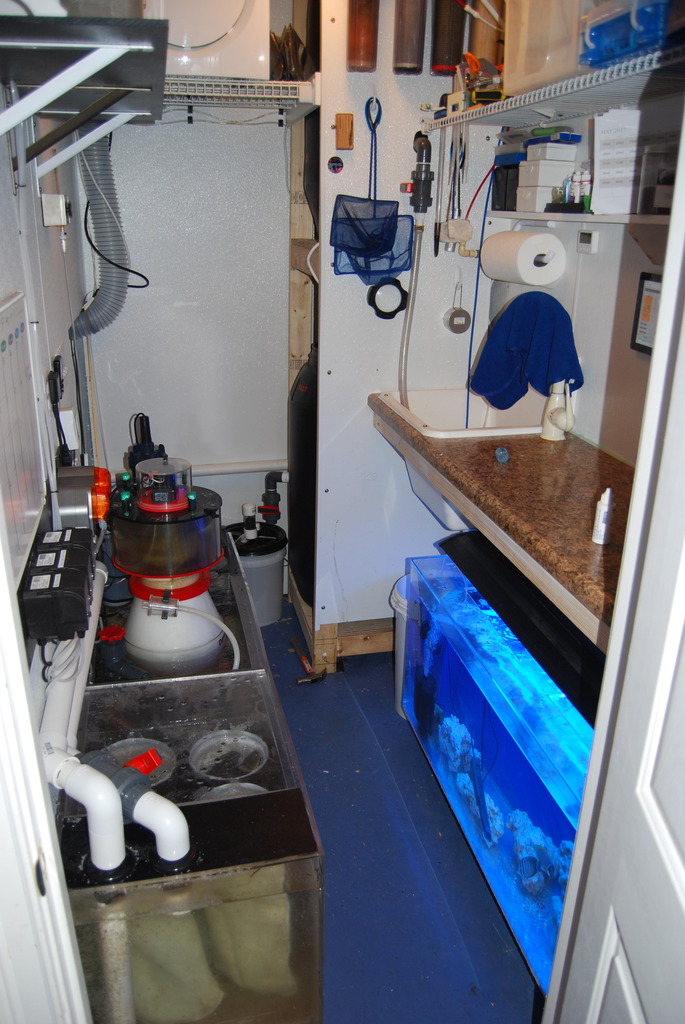
90 Gallon Quarantine Tank under countertop
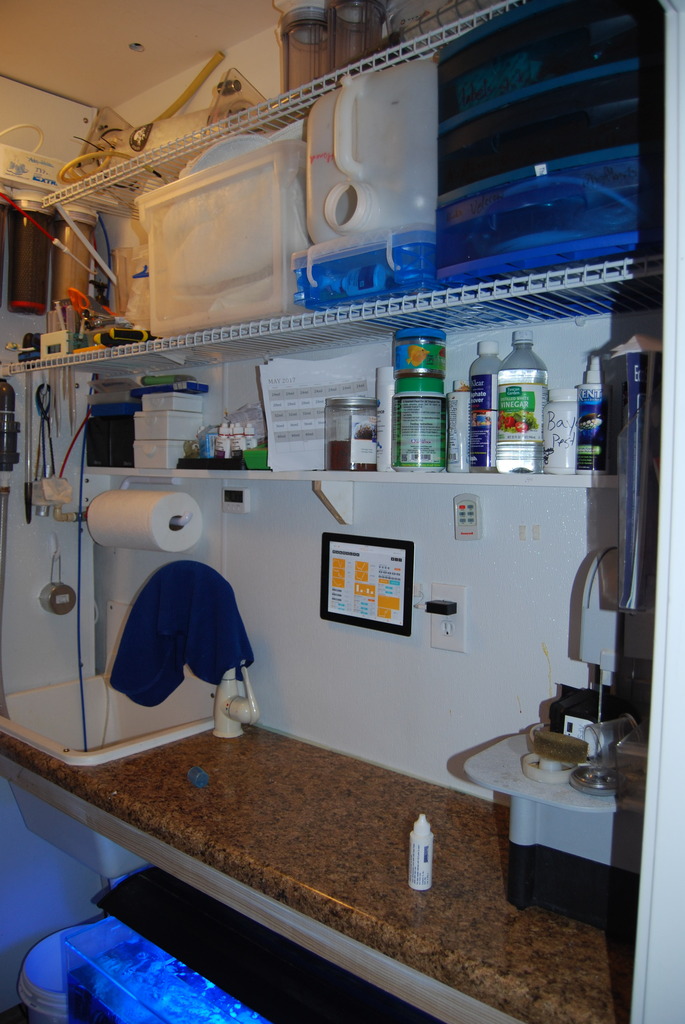
Love my AC/Dehumidifier Combo unit, I know the light is hanging
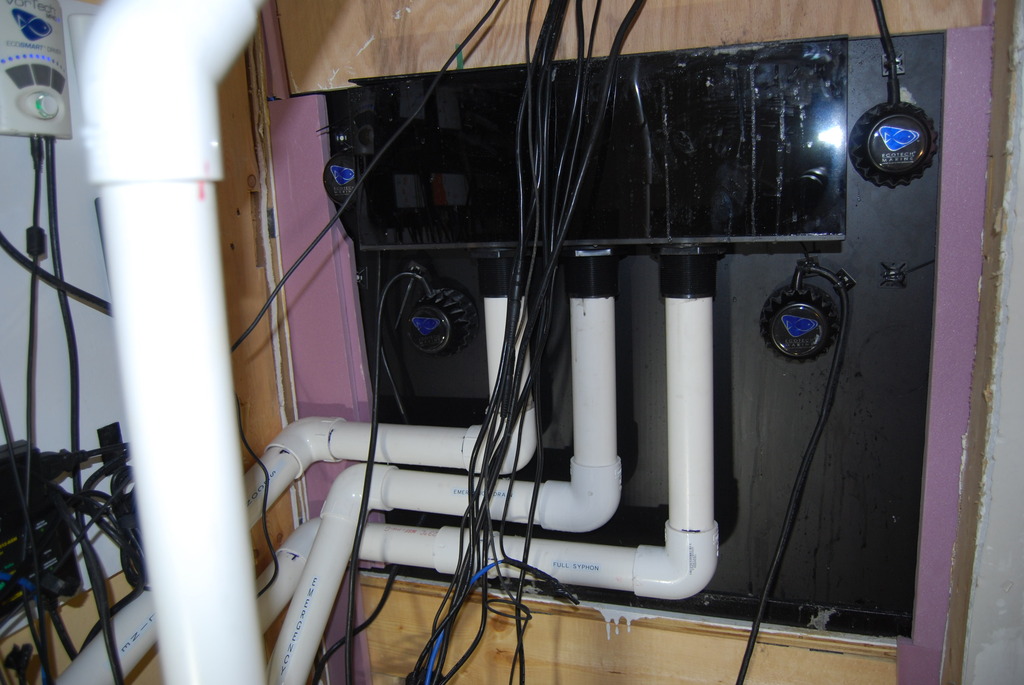
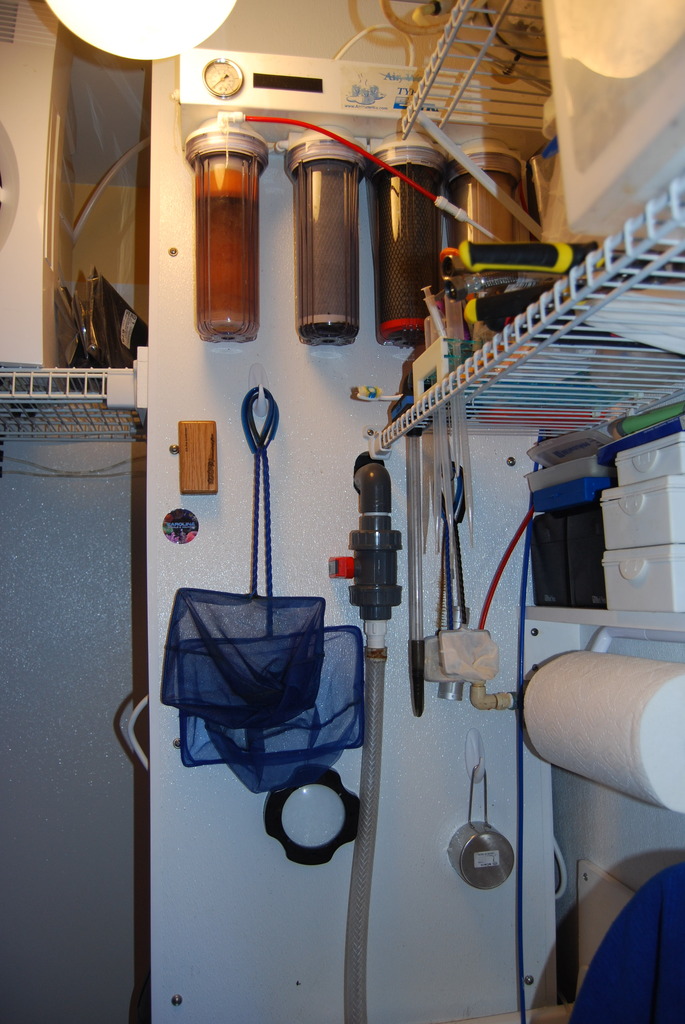
Full Siphon Valve and Filter socks
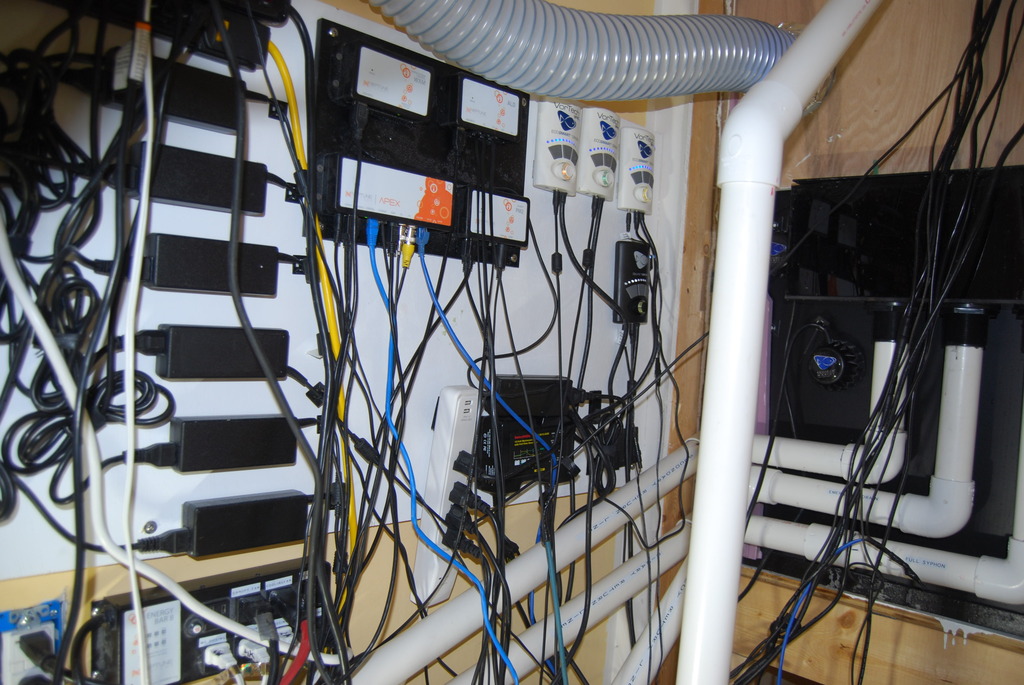
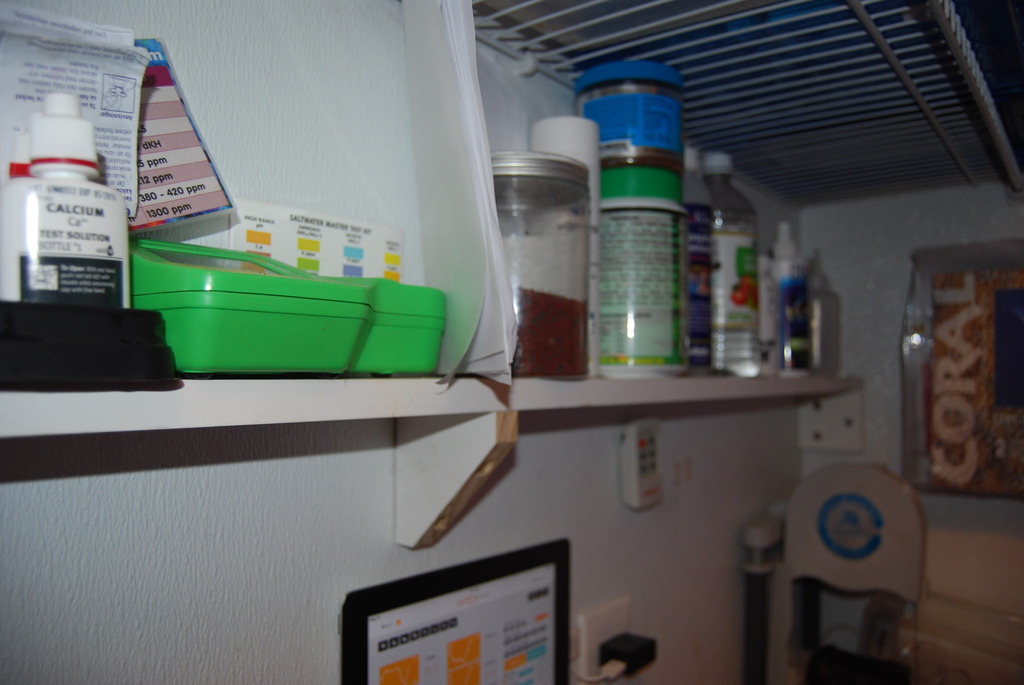
BRS dosers and APEX DOS for daily water changes
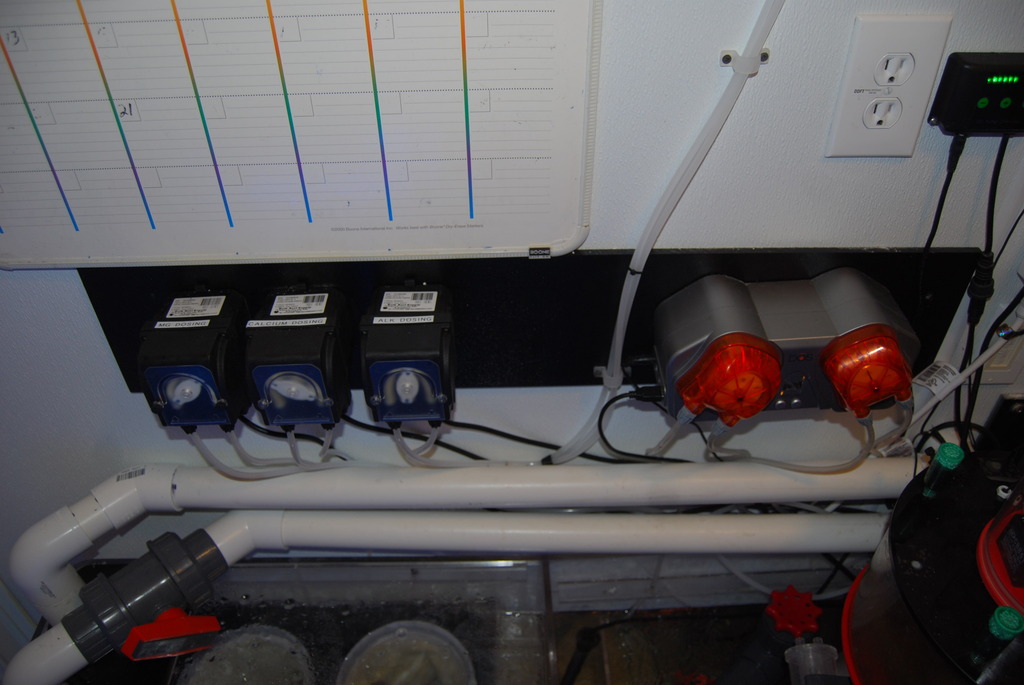
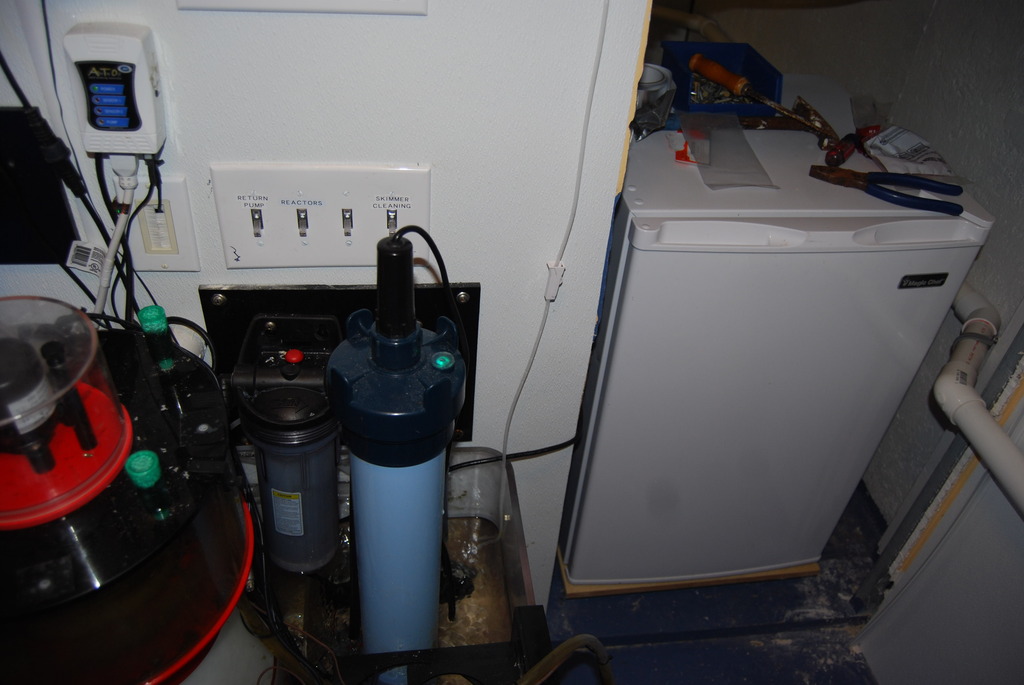
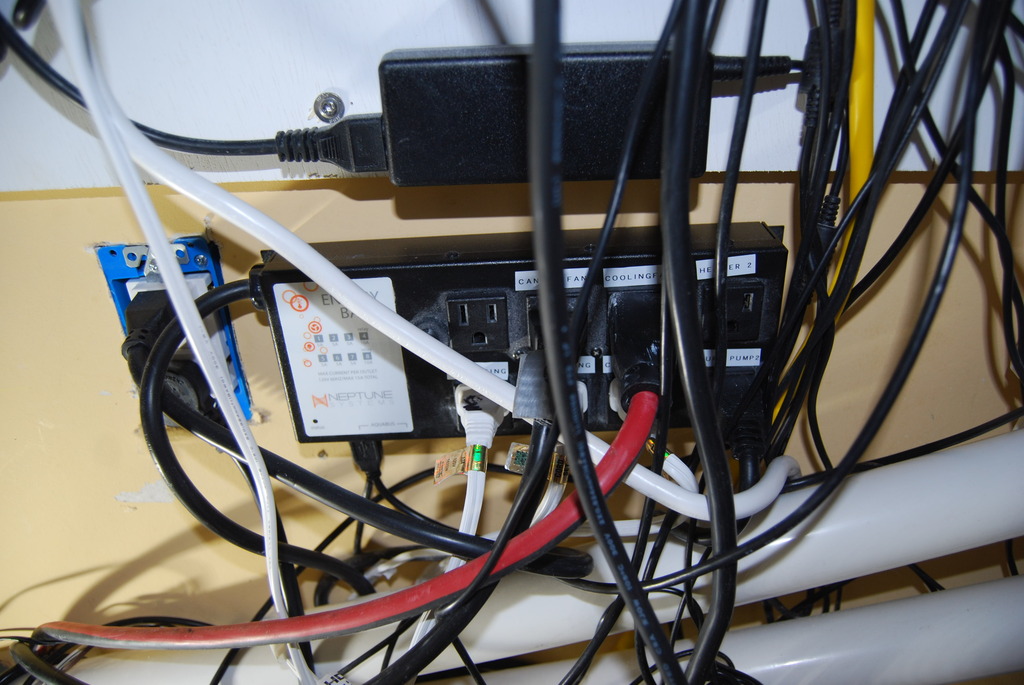
Head unit, ATO ( I use APEX as redundancy), switches that interrupt power from APEX to 8 of my most common devices, very handy, they light up also when unpowered
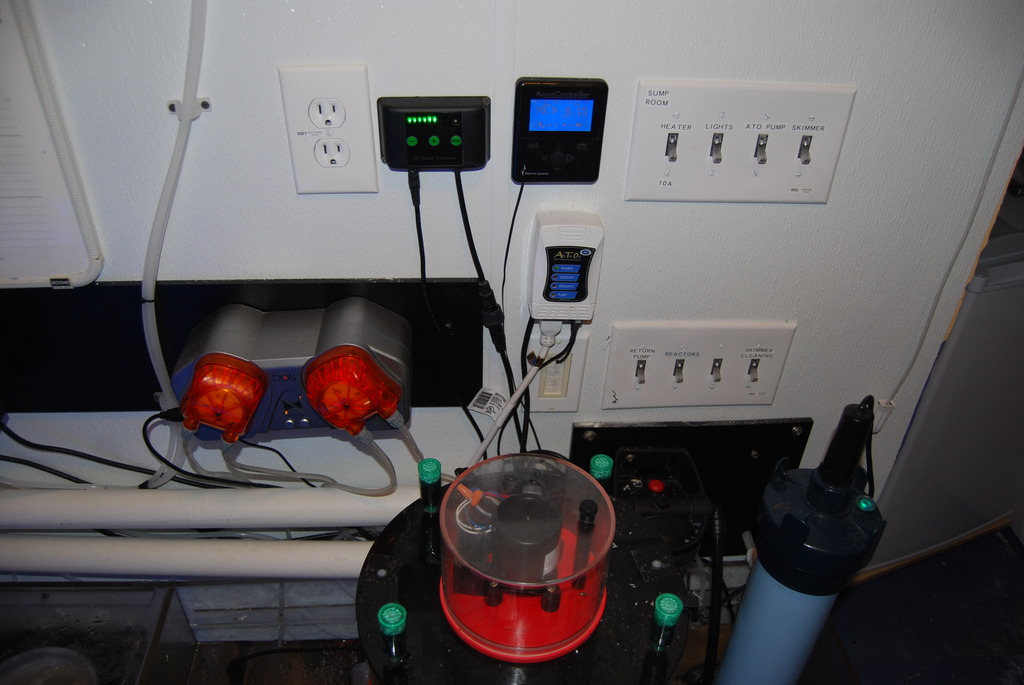
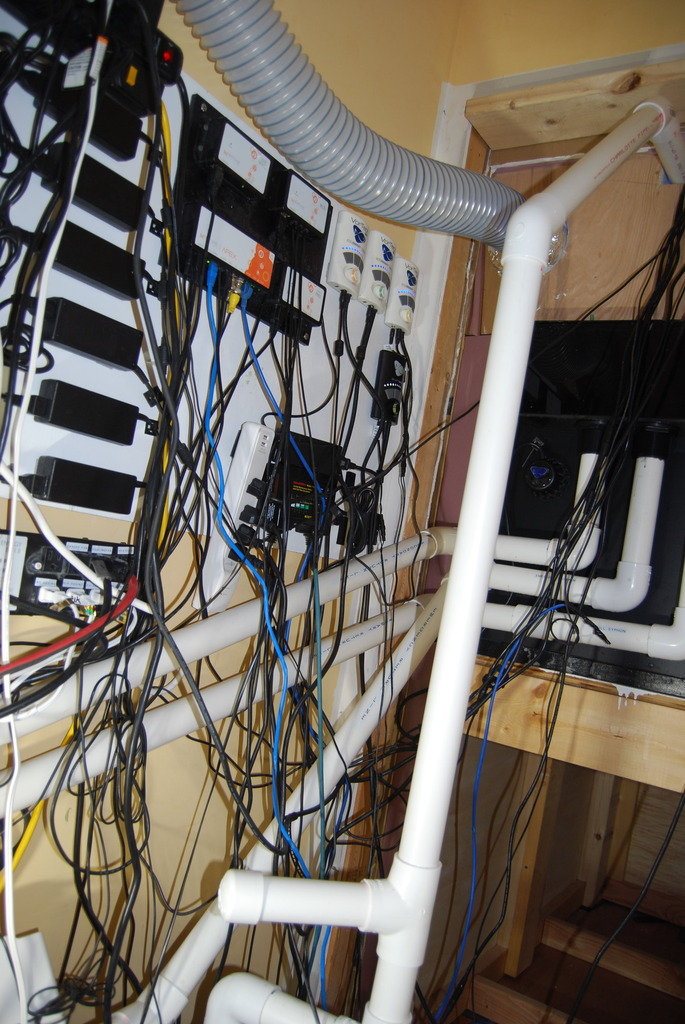
DIY carbon odor control for skimmer, automatic neck cleaner connected to APEX, cleans neck hourly. UV
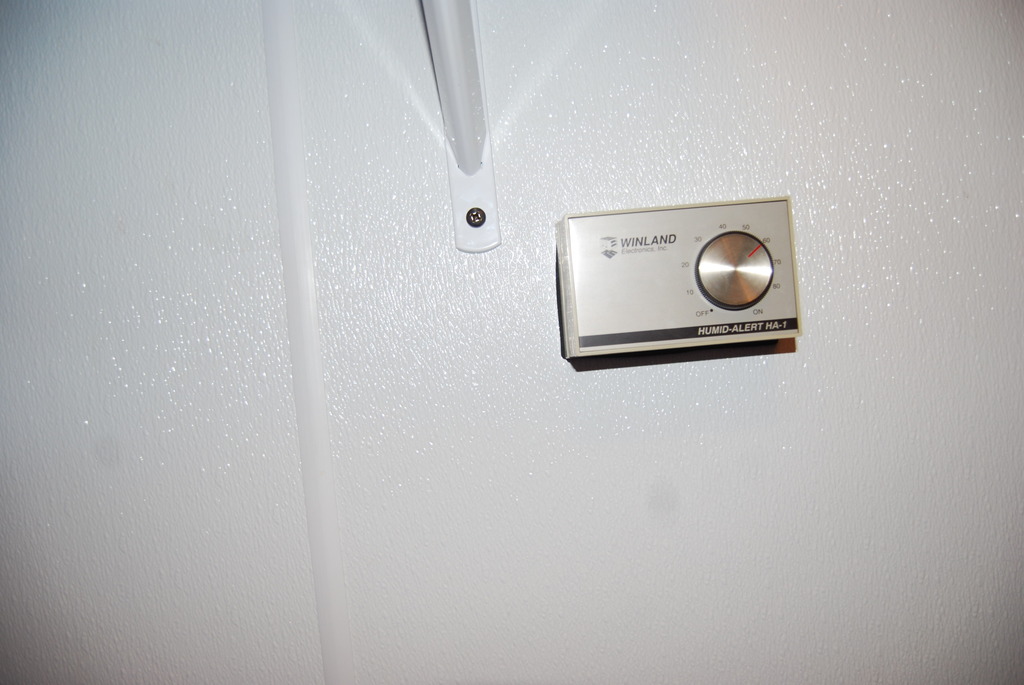
Thermostat for Dehumidifier
Food freezer to keep wife happy, no fish smell in home freezer
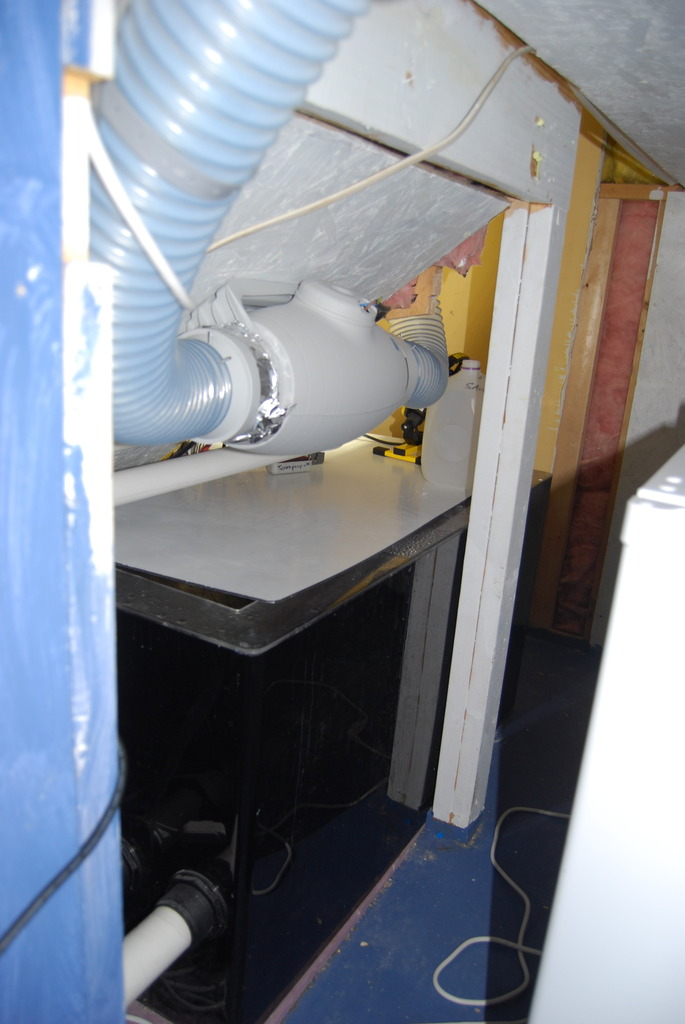
Super quiet canopy vent fan, 5 min each hour and Apex controlled for water and canopy air temp
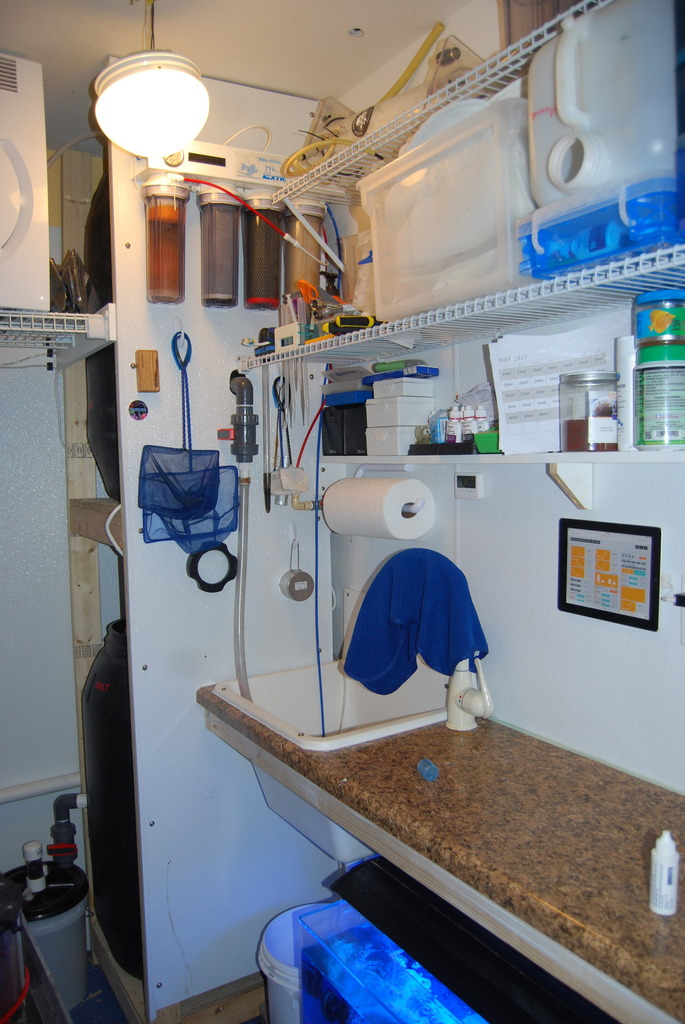
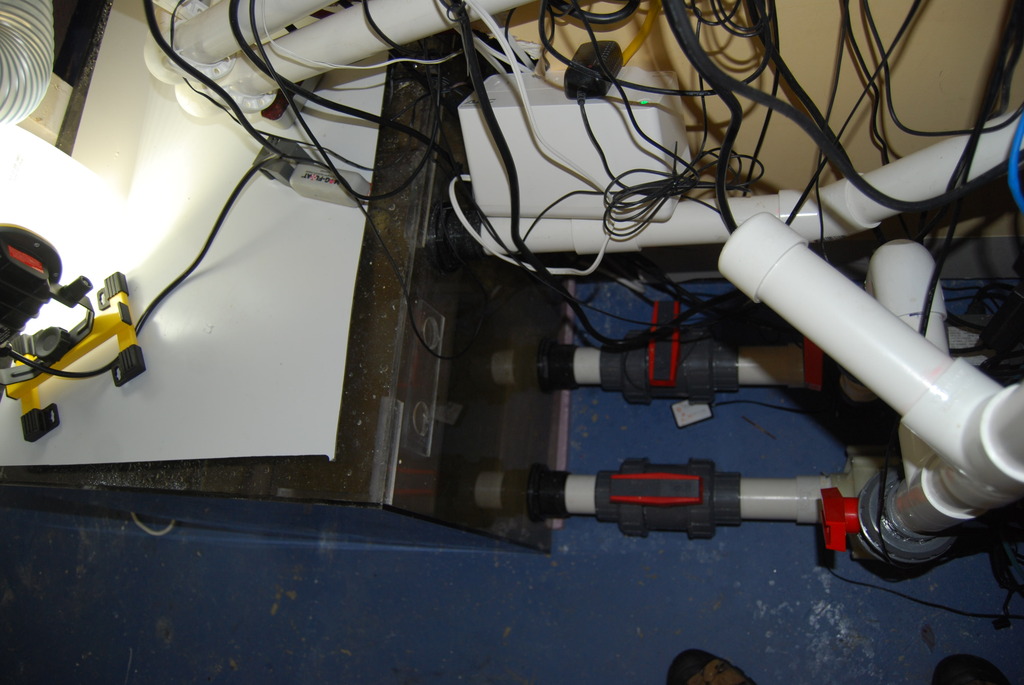
Behind Main Sump, electrical and plumbing
3 in pipes x 2 joining 2nd 100 gallon sump to system
Filled with liverock, probes, misc.
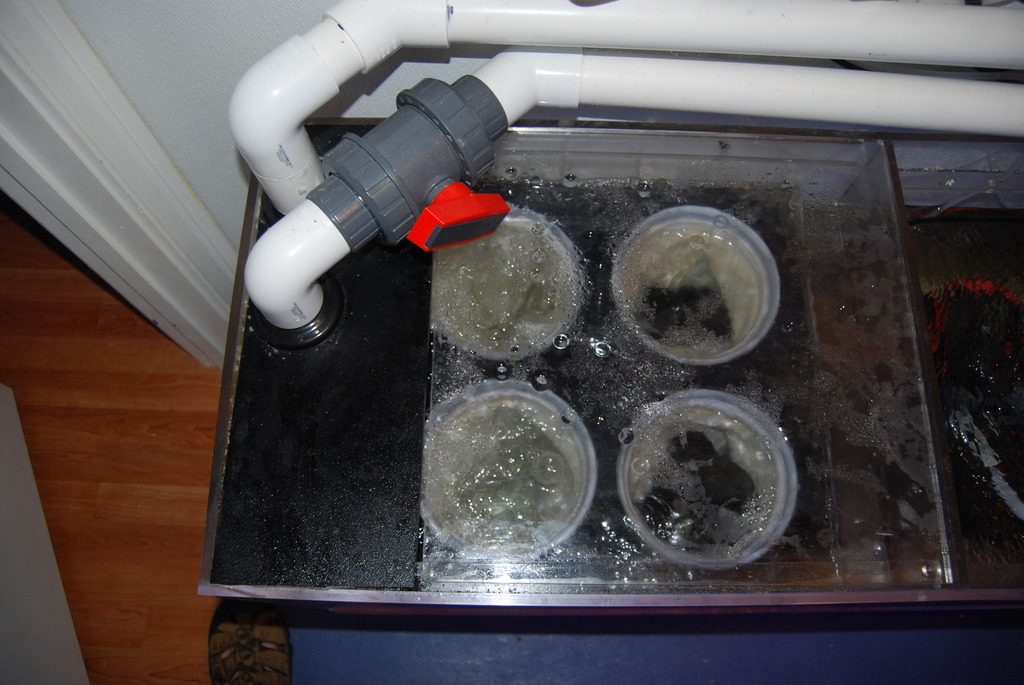
The valve here is for drain number 2 which is higher in the overflow but currently at 100% if needed, not a full siphon
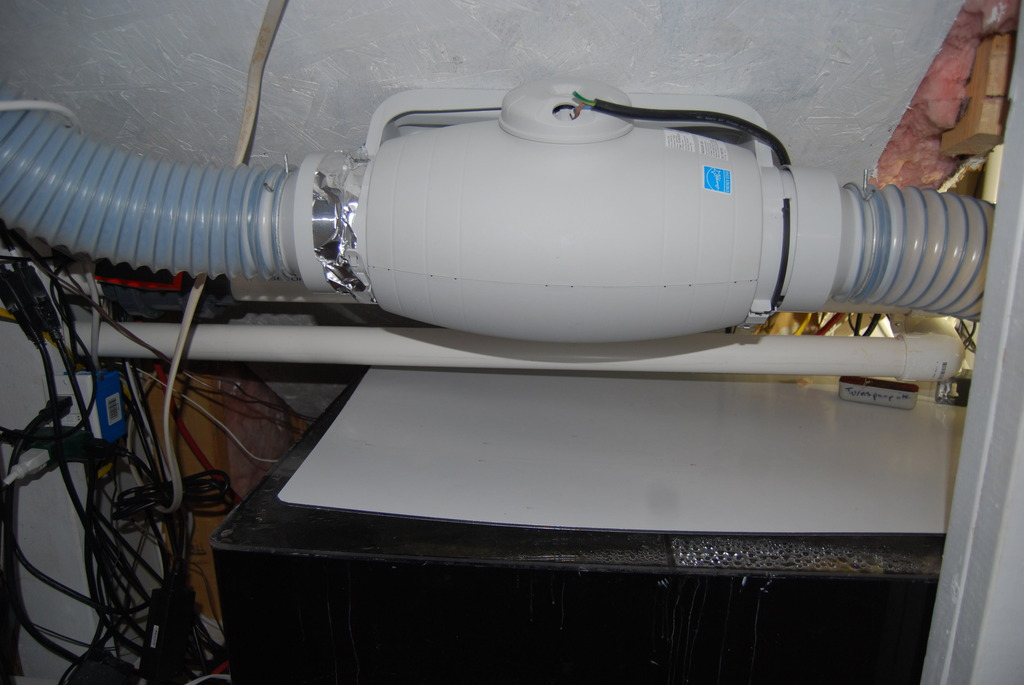
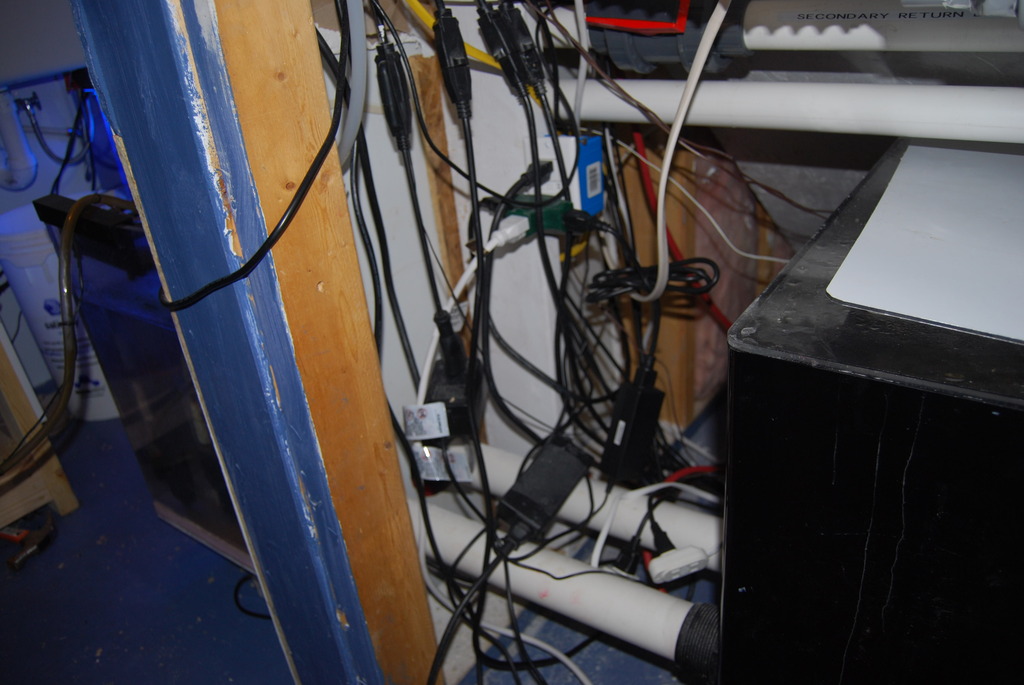
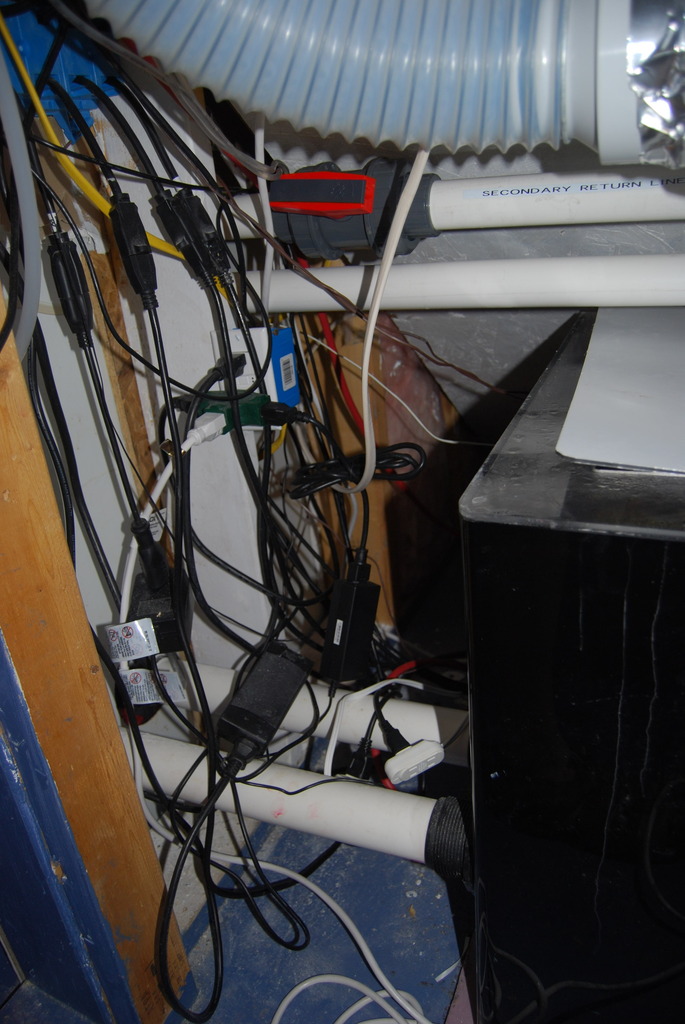
The wires need some organizing

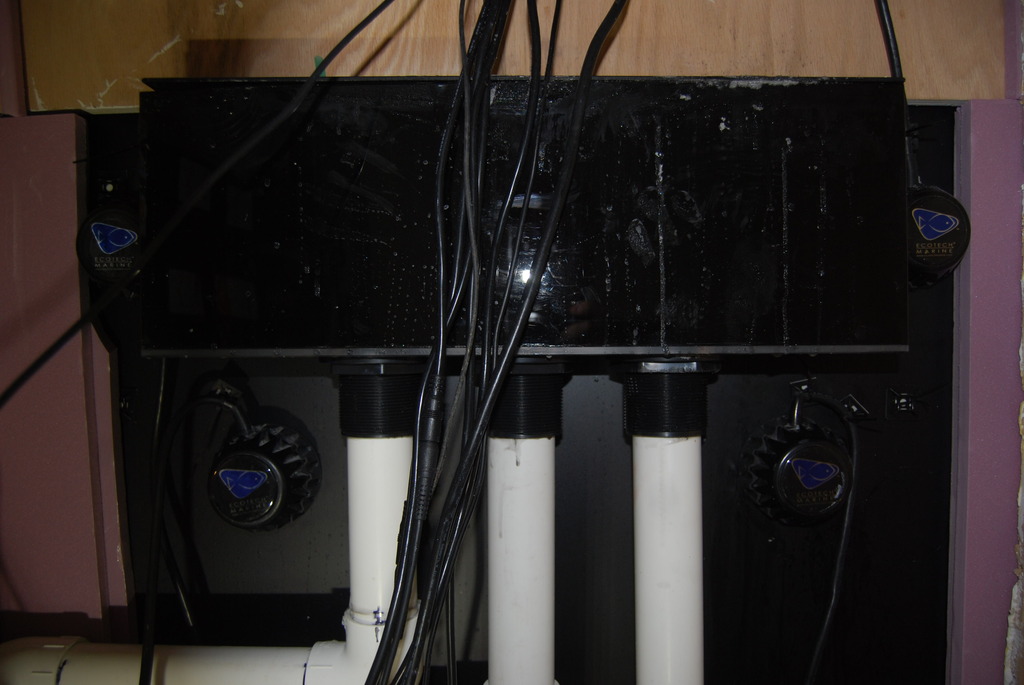
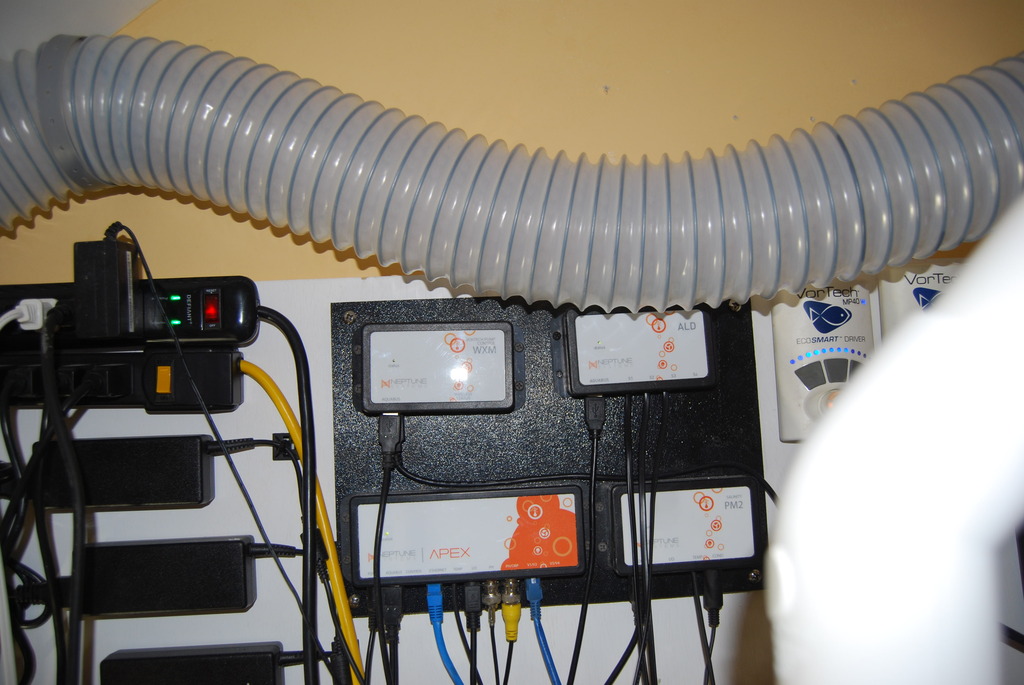
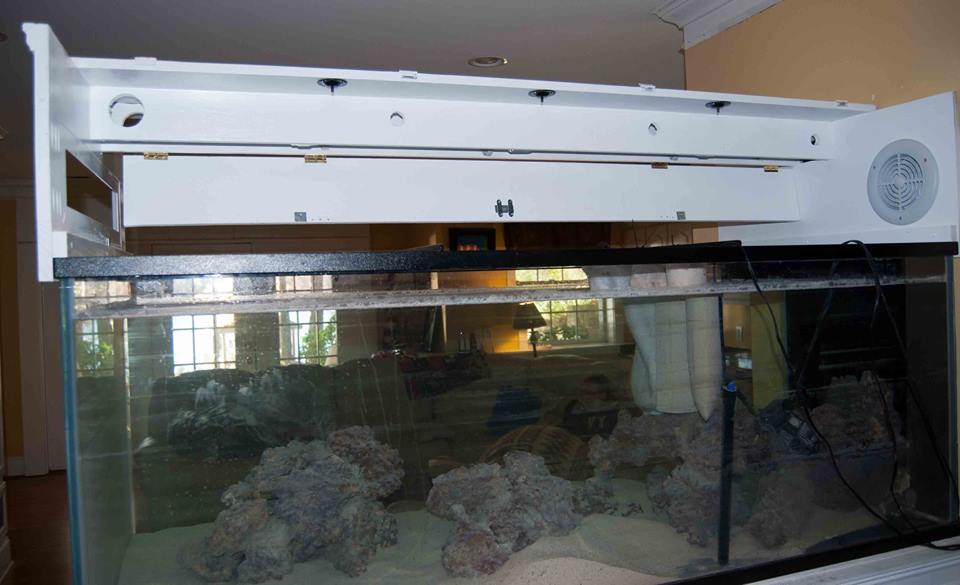
Back side of Canopy
Hole for 1.5 in return, vent hose and lighting
20in Synergy Reef Overflow with full Siphon, back up and emergency Drains
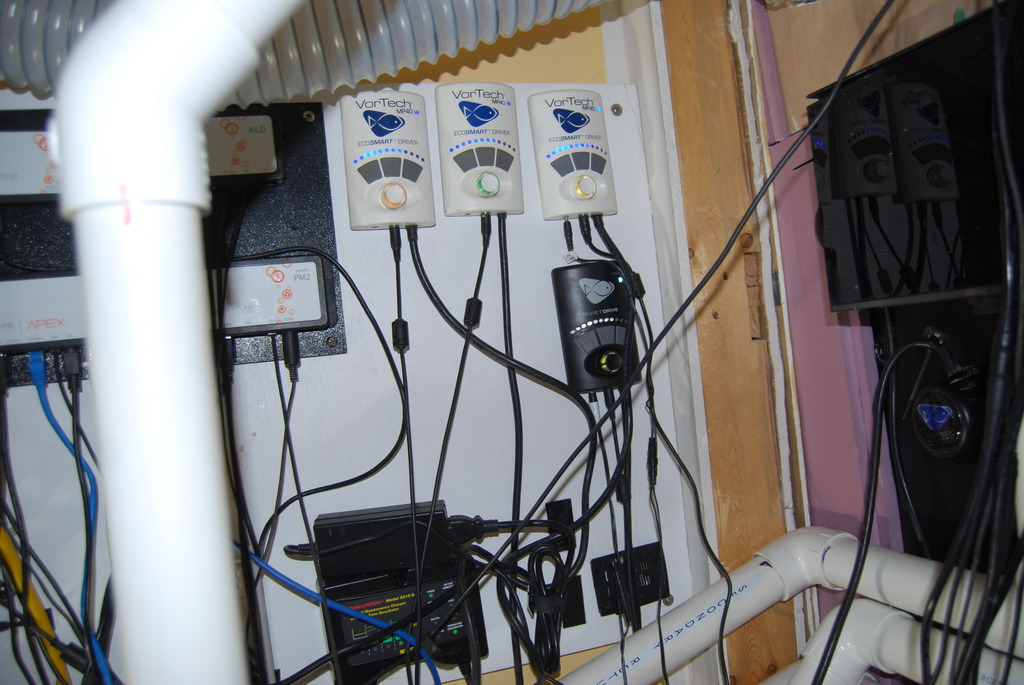
4 Vortech MP 40s
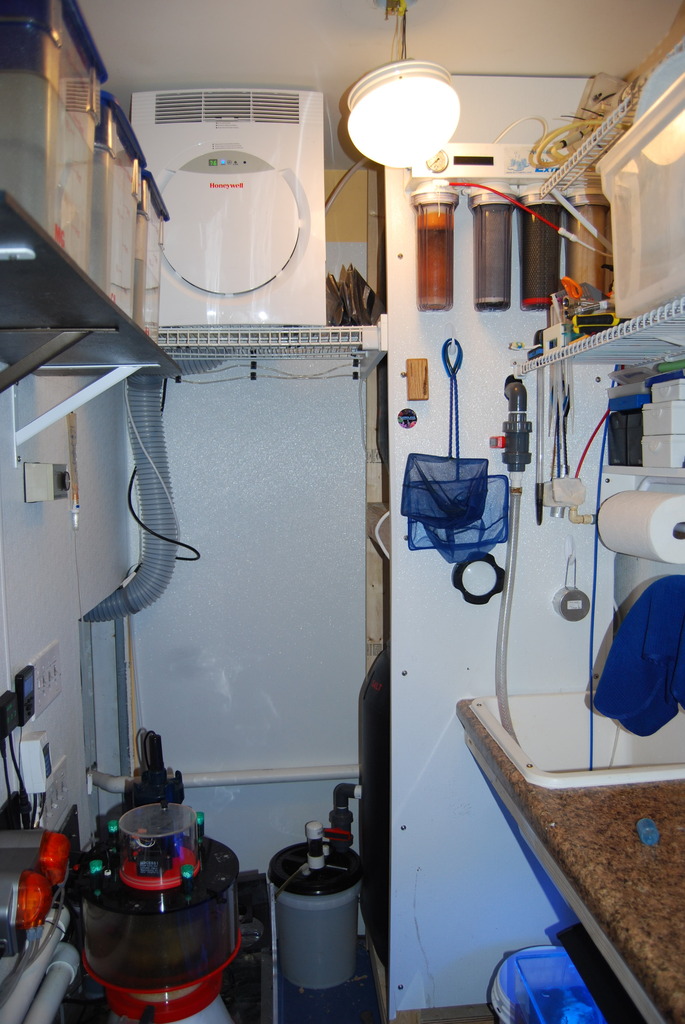
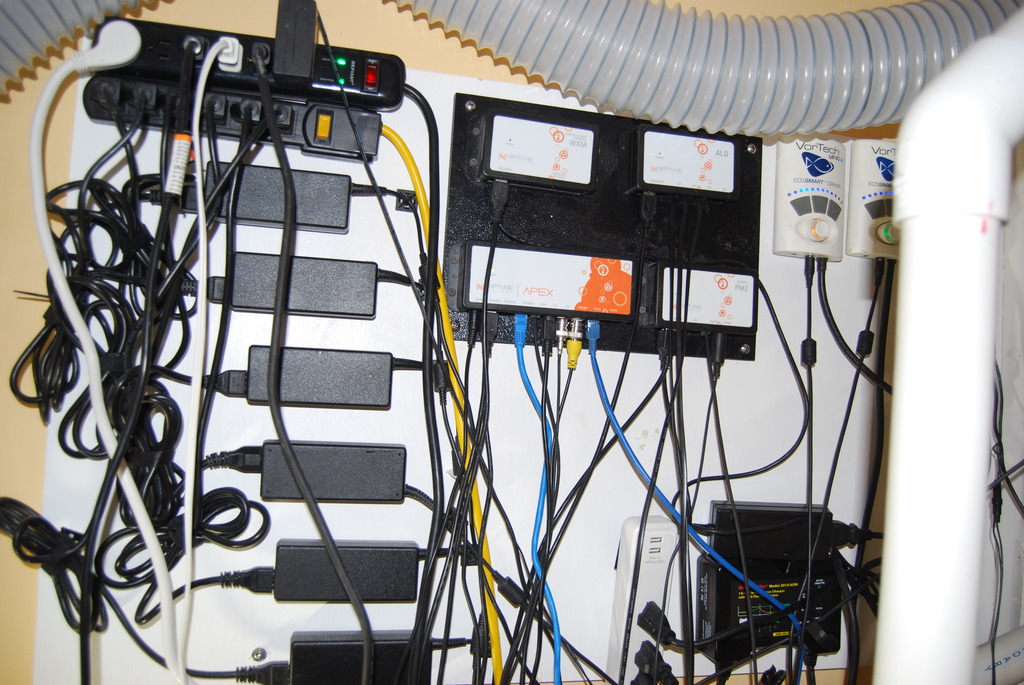
Apex modules, vortech controls, battery charger, Kessil and Vortech power converters

Battery back up for Apex, 2 Reeflow Pumps, one is active the other is plumbed and is for backup
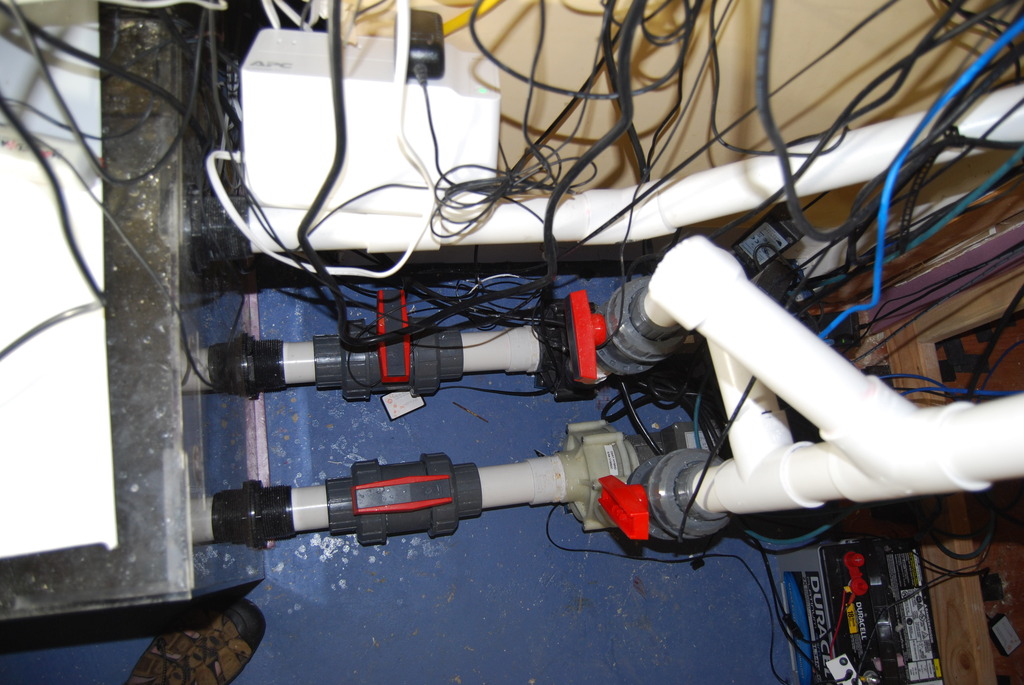
One of 3 Apex leak detectors below valves, low spot on floor
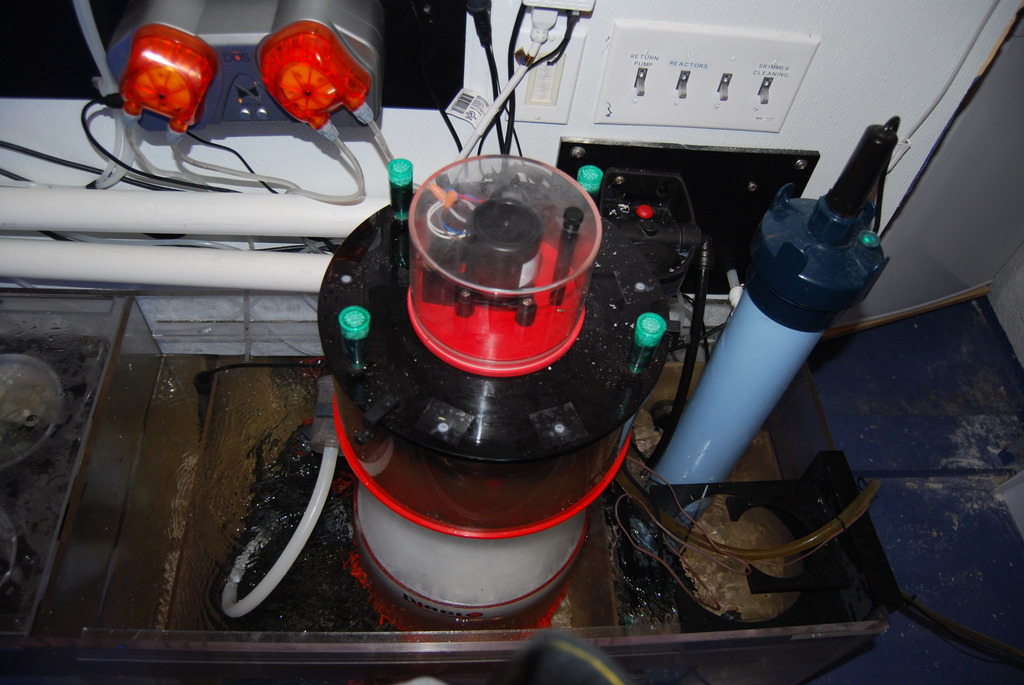
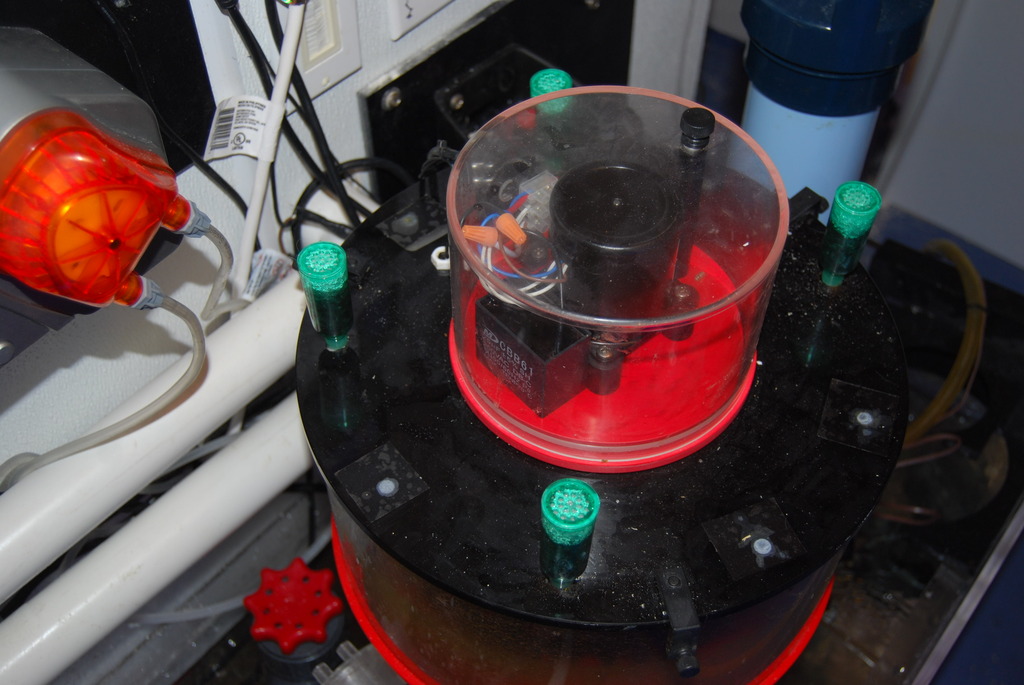
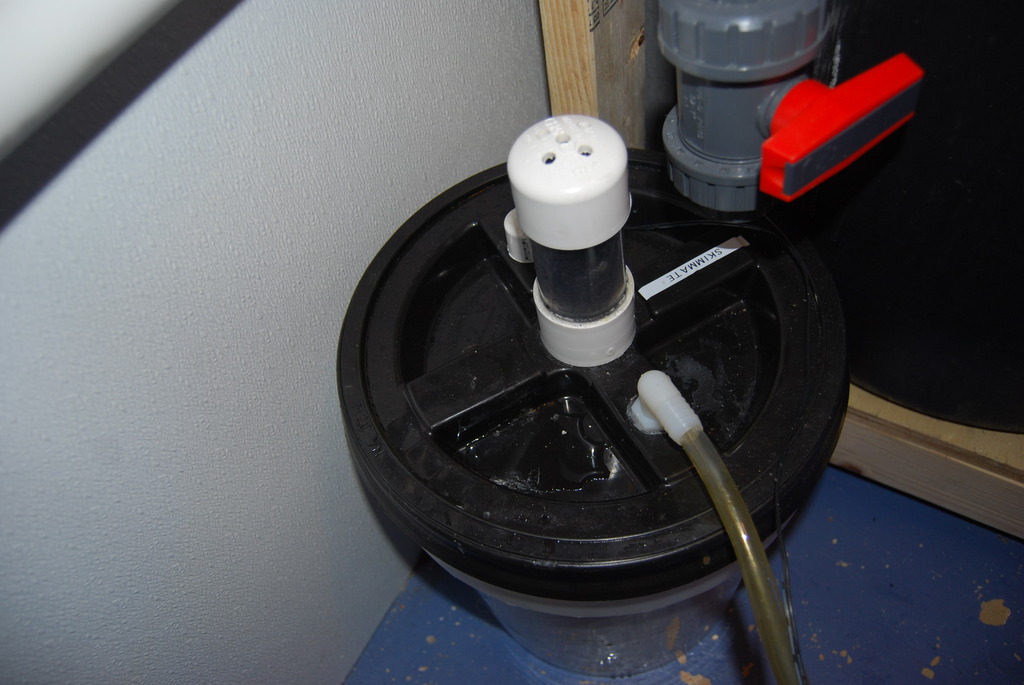
DIY 5 gallon Skimmate Collector with Apex controlled skimmer shut down float and carbon air vent filter
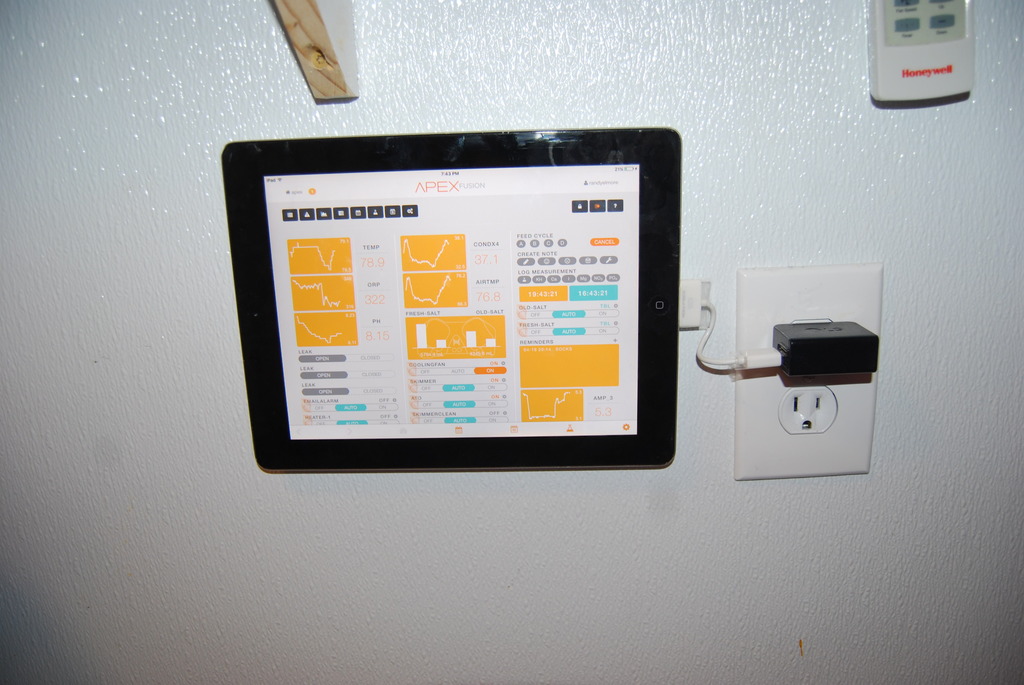
Apex Control, old Ipad 2

AC/Dehumidifier remote
90 Gallon Quarantine Tank under countertop
Love my AC/Dehumidifier Combo unit, I know the light is hanging
Full Siphon Valve and Filter socks
BRS dosers and APEX DOS for daily water changes
Head unit, ATO ( I use APEX as redundancy), switches that interrupt power from APEX to 8 of my most common devices, very handy, they light up also when unpowered
DIY carbon odor control for skimmer, automatic neck cleaner connected to APEX, cleans neck hourly. UV
Thermostat for Dehumidifier
Food freezer to keep wife happy, no fish smell in home freezer
Super quiet canopy vent fan, 5 min each hour and Apex controlled for water and canopy air temp
Behind Main Sump, electrical and plumbing
3 in pipes x 2 joining 2nd 100 gallon sump to system
Filled with liverock, probes, misc.
The valve here is for drain number 2 which is higher in the overflow but currently at 100% if needed, not a full siphon
The wires need some organizing
Back side of Canopy
Hole for 1.5 in return, vent hose and lighting
20in Synergy Reef Overflow with full Siphon, back up and emergency Drains
4 Vortech MP 40s
Apex modules, vortech controls, battery charger, Kessil and Vortech power converters
Battery back up for Apex, 2 Reeflow Pumps, one is active the other is plumbed and is for backup
One of 3 Apex leak detectors below valves, low spot on floor
DIY 5 gallon Skimmate Collector with Apex controlled skimmer shut down float and carbon air vent filter
Apex Control, old Ipad 2
AC/Dehumidifier remote

OP
OP
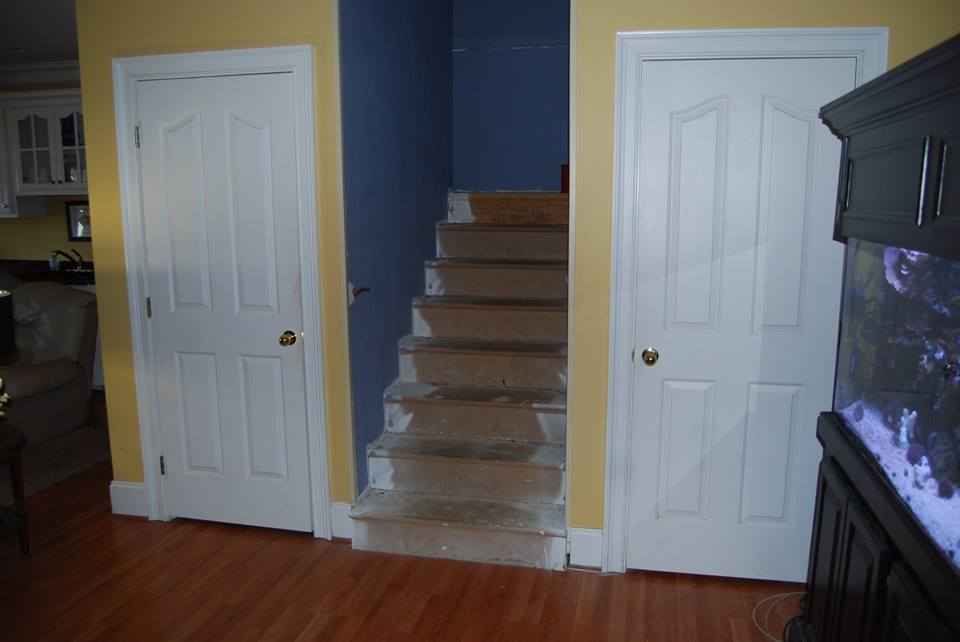
Doorway on L becomes back of tank, door on R Sump room, area between and under the stairs house wiring, plumbing, a freezer, 100 gallon sump. Old 200g is on R
View before tank
Best invention on system, just plug in between apex power bar and item controlled

Sump room after demo of shelves, dry fitting for spacing
How the area behind the tank used to look
Strategizing
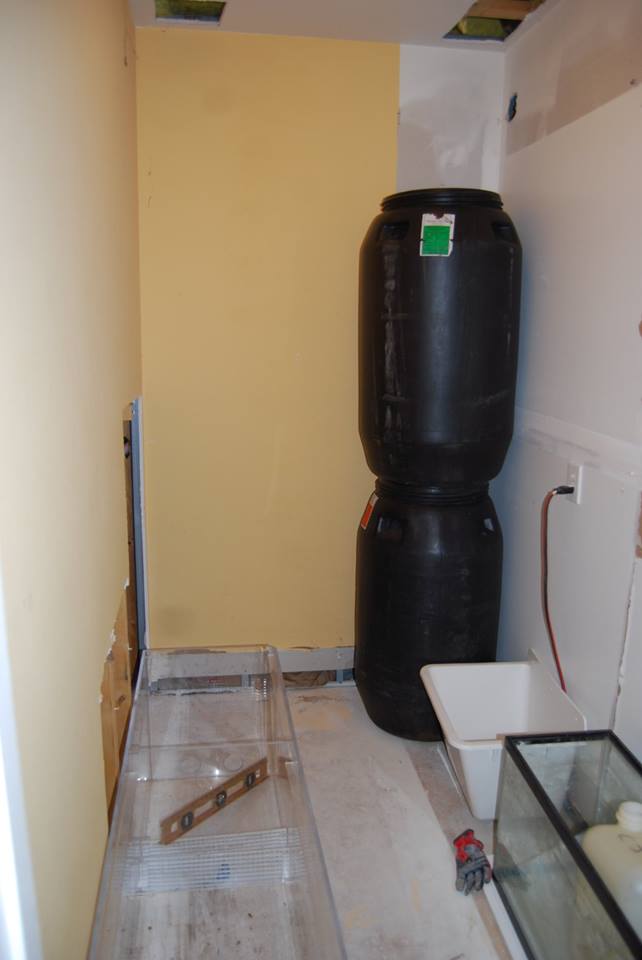
Under the stairs landing
Sump number 2 before modification
Tank shots from factory
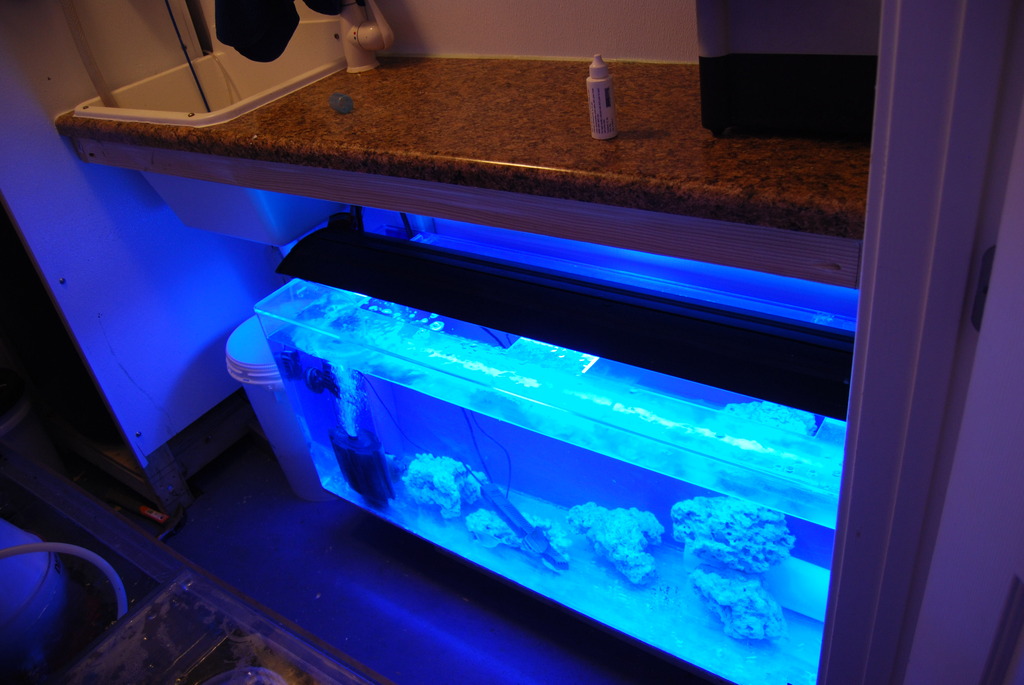
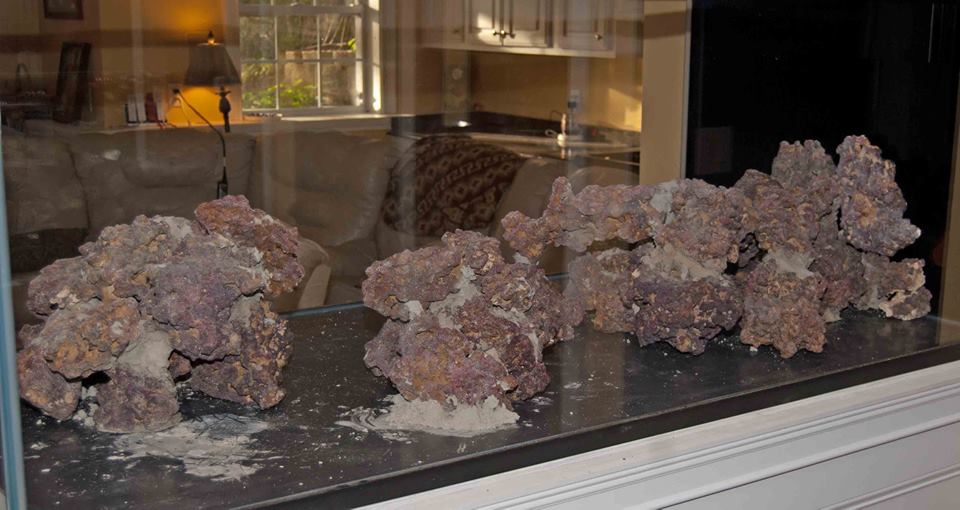
CarribSea Dry Rock cemented together and no gaps left underneath thanks to Marcos Reef safe Mix


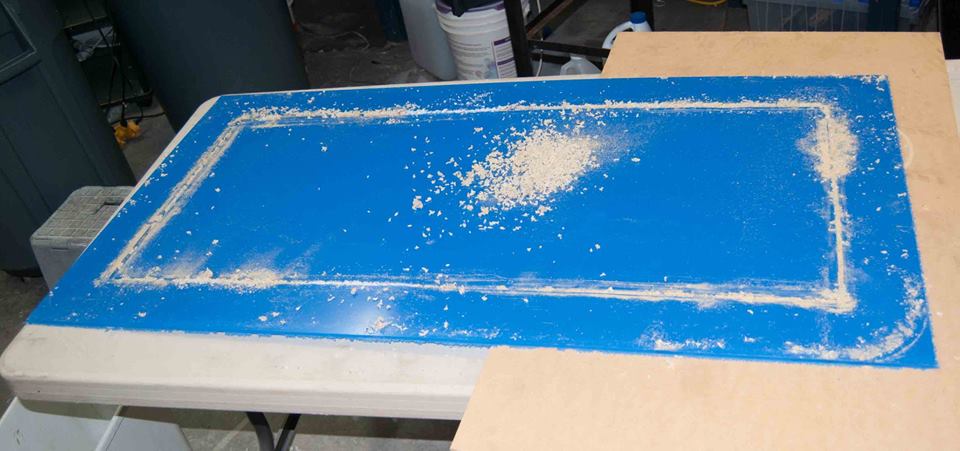
Fit twice, paint once

Each side lifts completely up allowing full access from both sides, I love it

Granite sample
Wiring /plumbing door open, had to buy stronger magnet
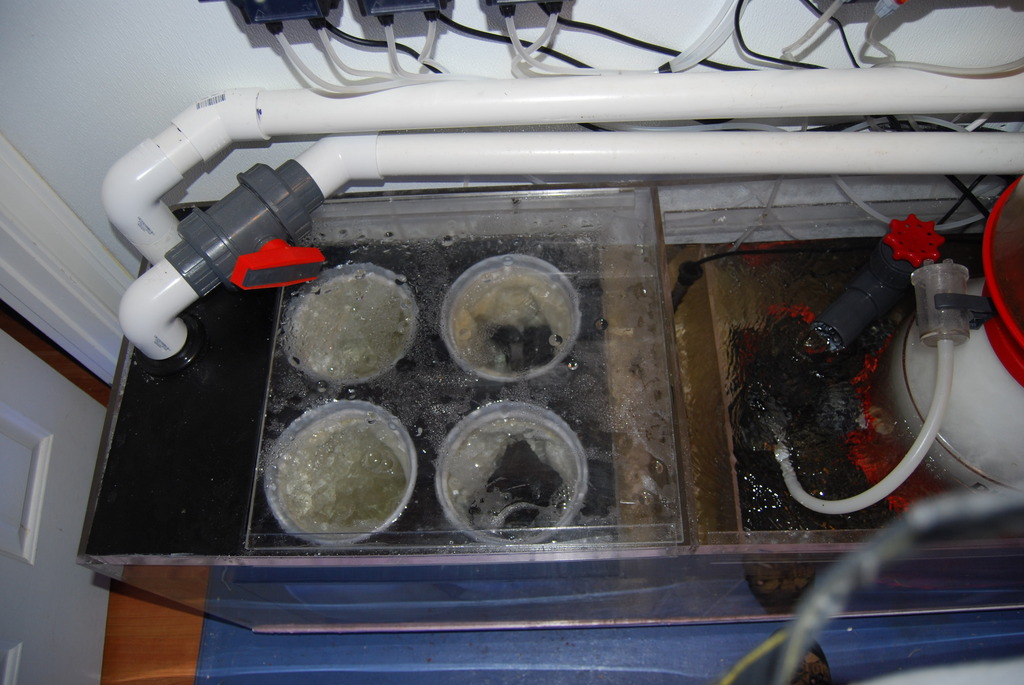
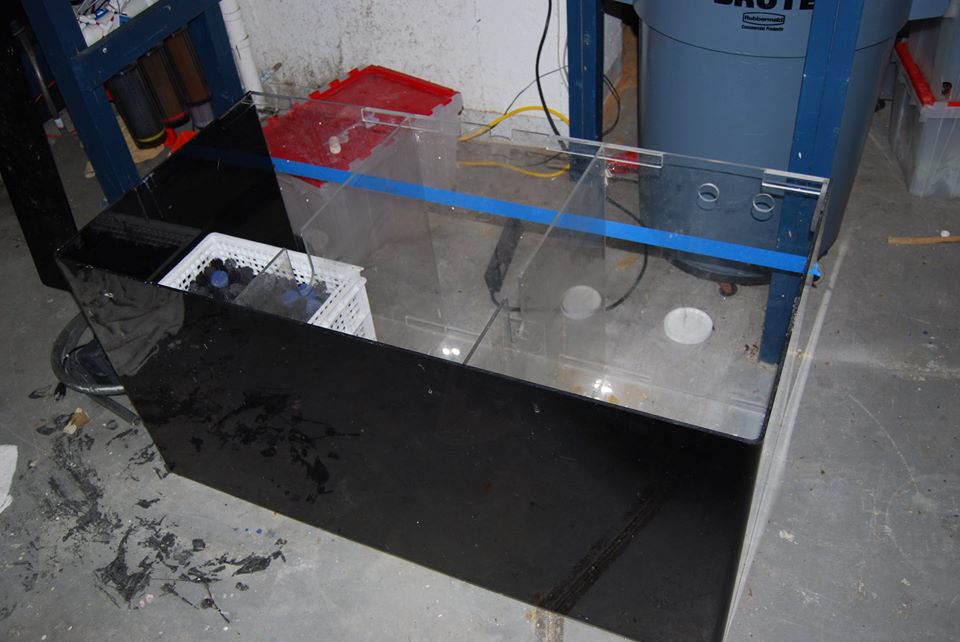
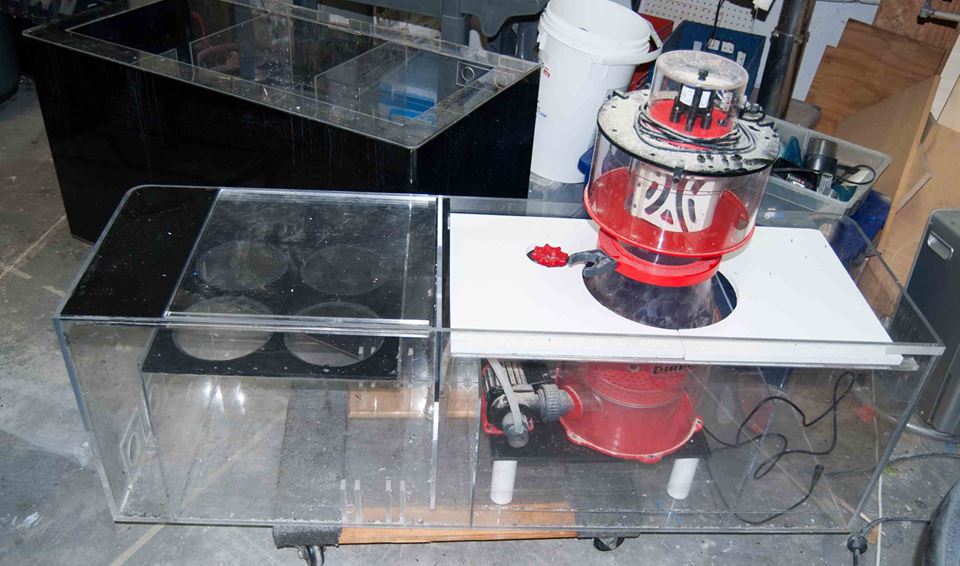
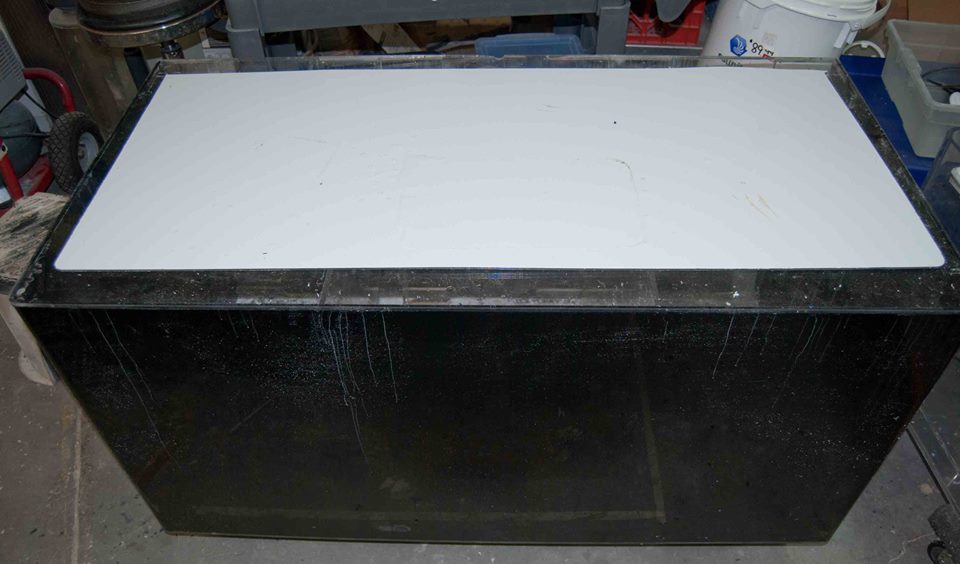
Top for sump number 2
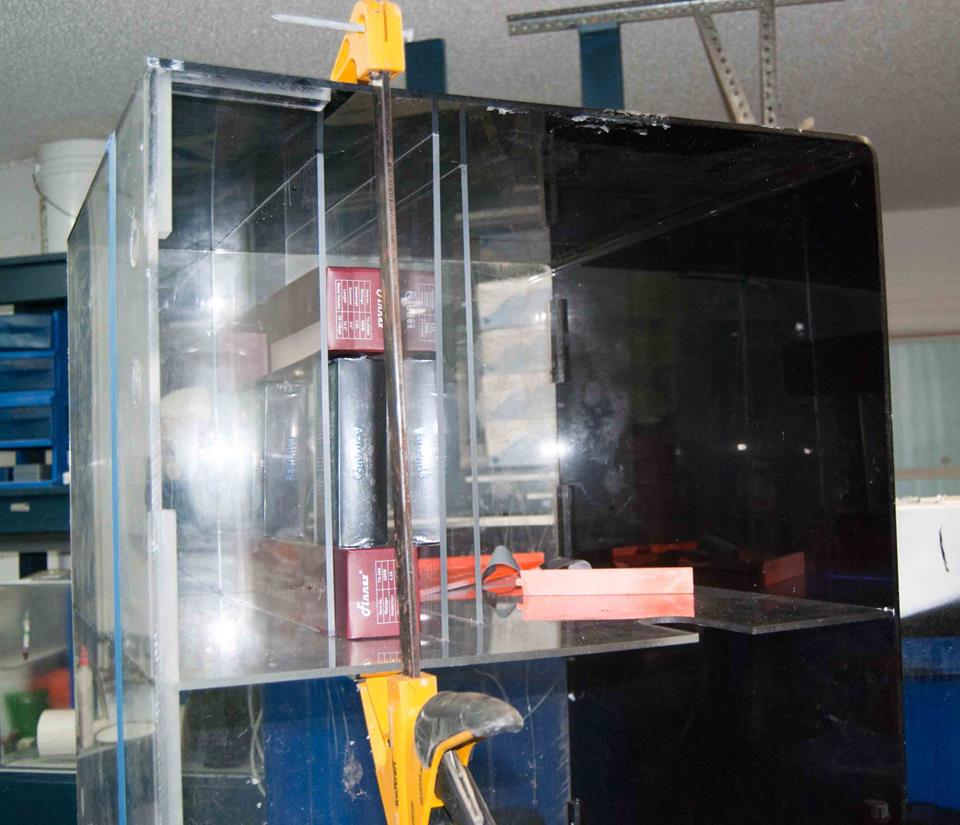
Completed Sump number one
View before tank
Best invention on system, just plug in between apex power bar and item controlled
Sump room after demo of shelves, dry fitting for spacing
How the area behind the tank used to look
Strategizing
Under the stairs landing
Sump number 2 before modification
Tank shots from factory
CarribSea Dry Rock cemented together and no gaps left underneath thanks to Marcos Reef safe Mix
Fit twice, paint once
Each side lifts completely up allowing full access from both sides, I love it
Granite sample
Wiring /plumbing door open, had to buy stronger magnet
Top for sump number 2
Completed Sump number one
Daniel@R2R
Living the Reef Life
View Badges
Staff member
Super Moderator
Reef Squad
Partner Member 2024
Excellence Award
Photo of the Month
Article Contributor
Hospitality Award
Article Administrator
Reef Pumpkin Carver
R2R Secret Santa 2023
My Tank Thread
Wow!! Incredible build!

Cant wait

OP
OP
Yes, it was my inspiration, love Pure Reef and the two fantastic tanks up front, his are 8 ft tanks which were not practical for me and Jorge said the extra length caused him some flow issues initiallygreat build.is that Jorge's tank in your profile pic?
Similar threads

- Replies
- 13
- Views
- 239


