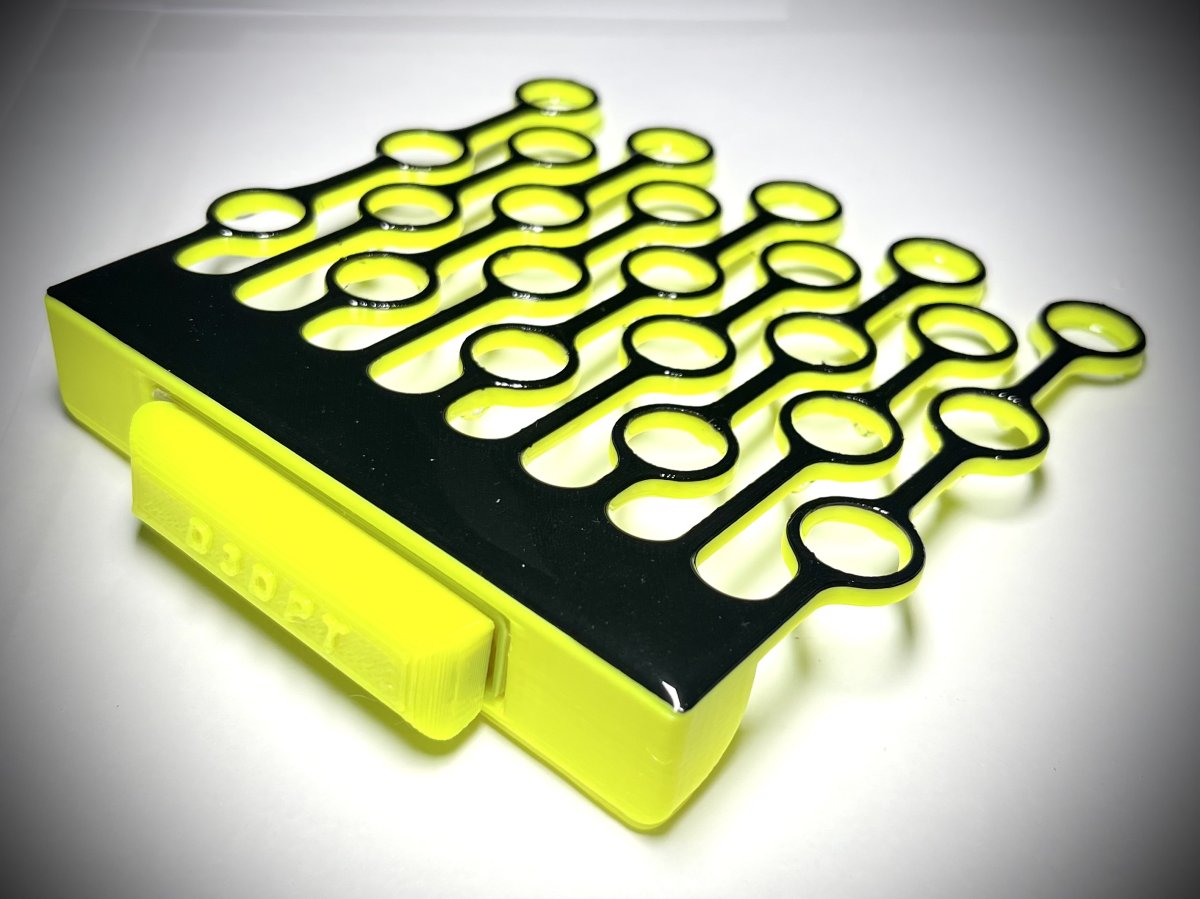
A little elbow grease required , but I do like how these turned out. Very little shading underneath the frag rack , and you can get the last frag pretty far away from the glass.
Follow along with the video below to see how to install our site as a web app on your home screen.
Note: This feature may not be available in some browsers.
I actually just mix some 2 part and let it set for 5-10 minutes , theres a window where the epoxy will form and hold its teardrop shape that I try to catch. I tried the dumping method but it was not enough epoxy on the surface to give it the smooth finish. It is such a small amount of epoxy I try to make them in batches of 5-10 at a time , but if more than that I waste the epoxy because it gets too dry before I am done. I have seen 'UV resin' on the YouTube , but I have not messed with it very much.That is interesting - are you dipping the print in epoxy resin, or do you have some sort of mold you create to set the rack in to encase the arms in resin?
We have been playing around with the 2-part rising for use as custom VCA keychains. Its easy enough to work with, but you're right - there's a small window in between too runny or to thick.I actually just mix some 2 part and let it set for 5-10 minutes , theres a window where the epoxy will form and hold its teardrop shape that I try to catch. I tried the dumping method but it was not enough epoxy on the surface to give it the smooth finish. It is such a small amount of epoxy I try to make them in batches of 5-10 at a time , but if more than that I waste the epoxy because it gets too dry before I am done. I have seen 'UV resin' on the YouTube , but I have not messed with it very much.