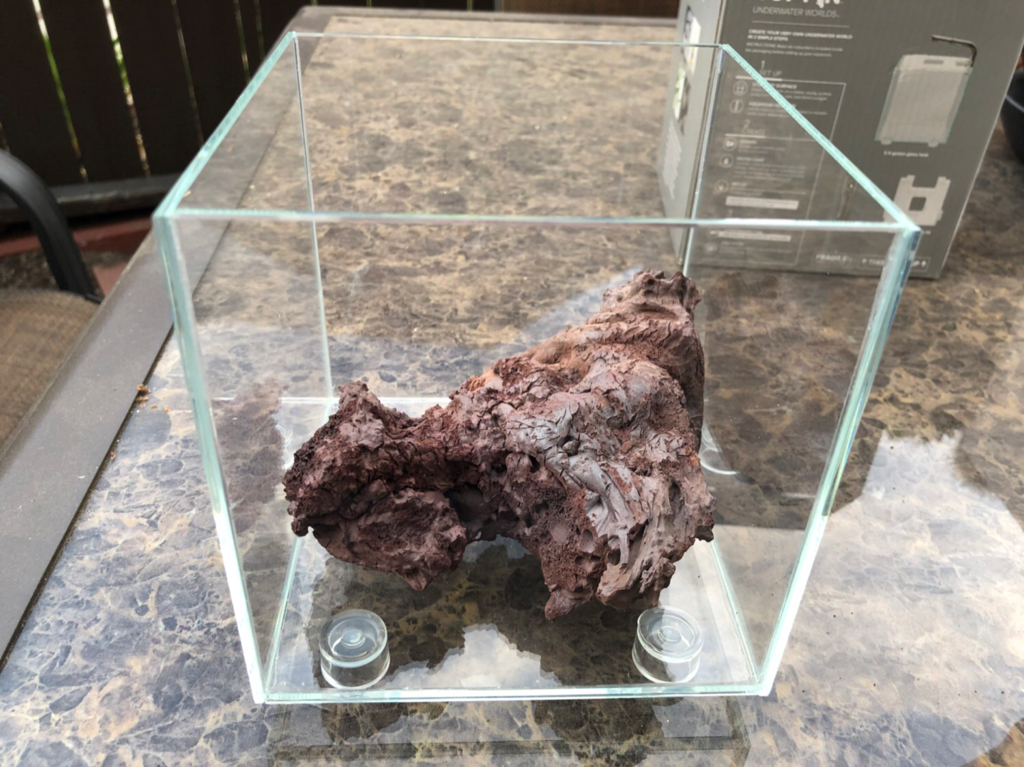
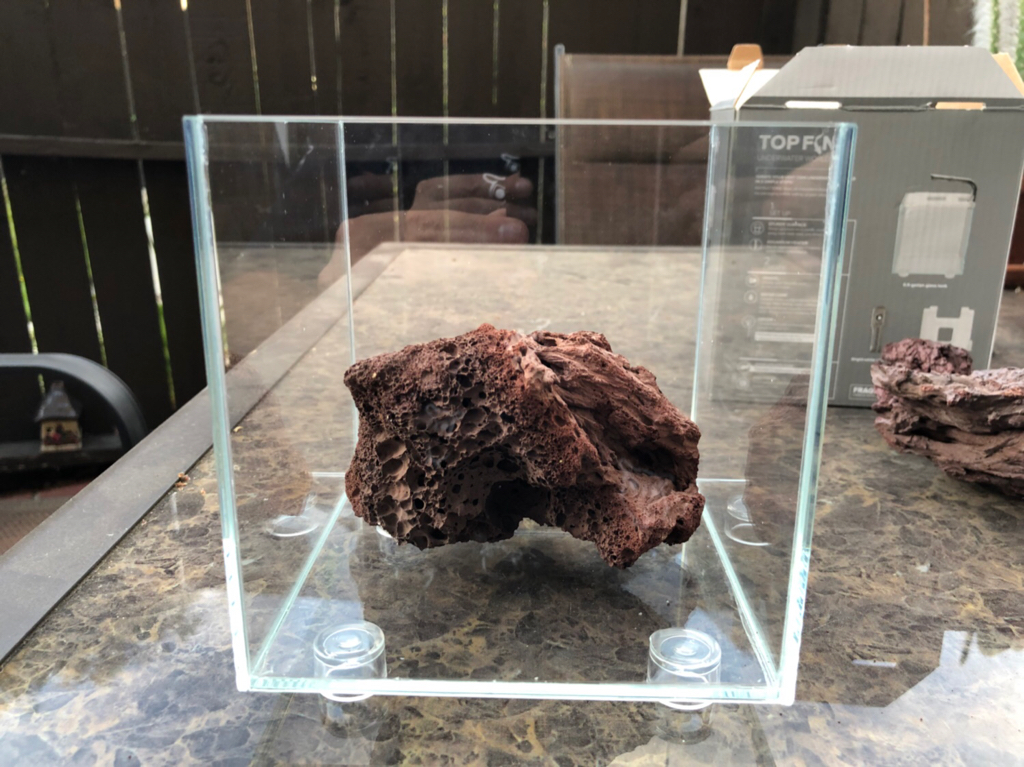
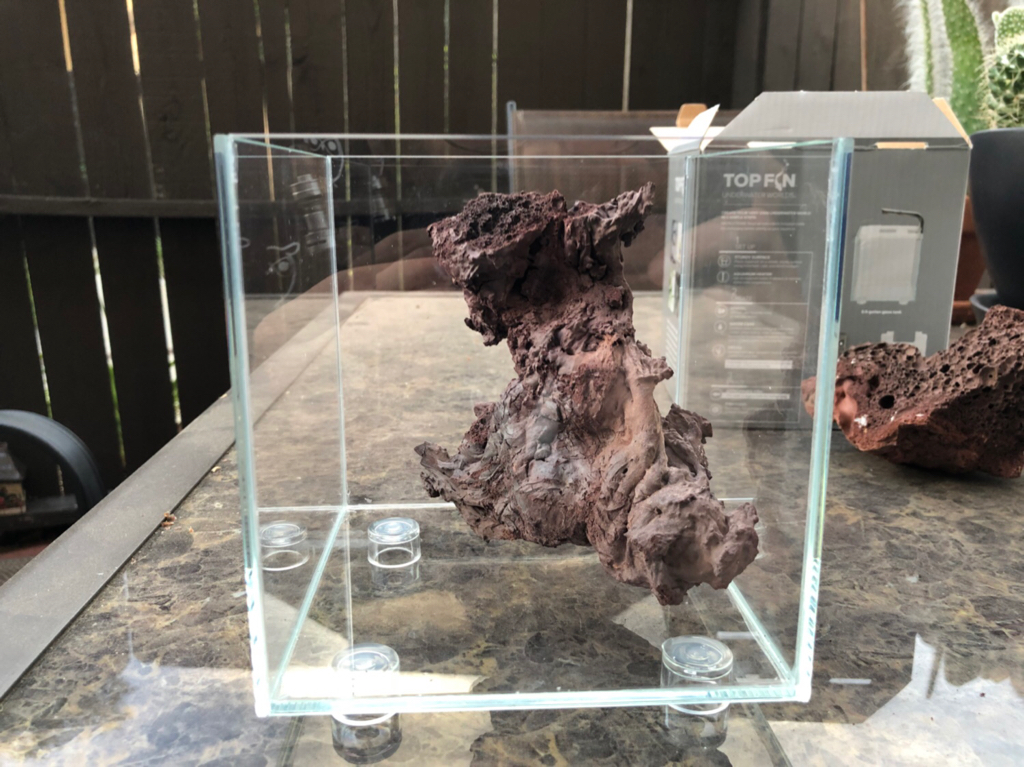
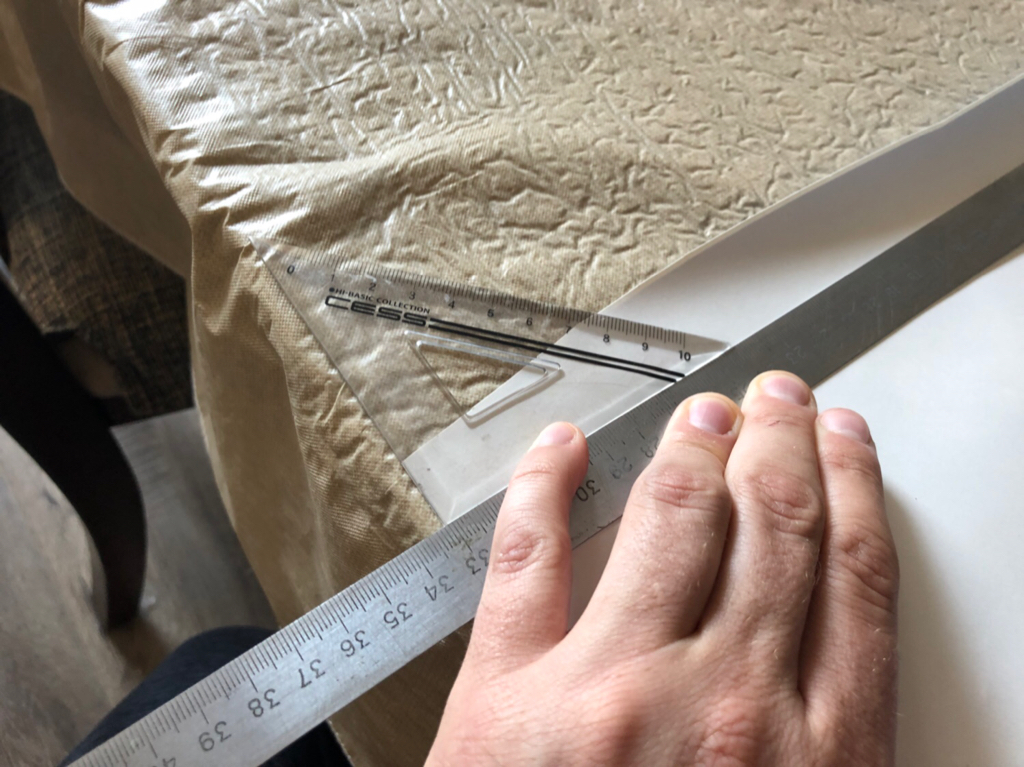
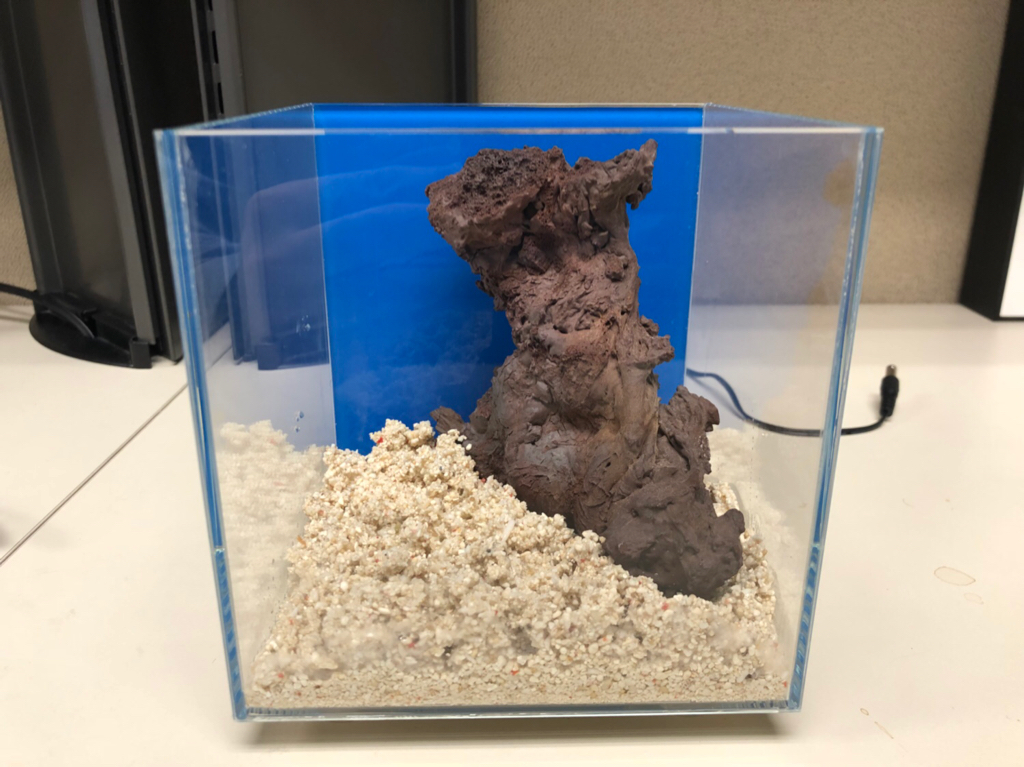
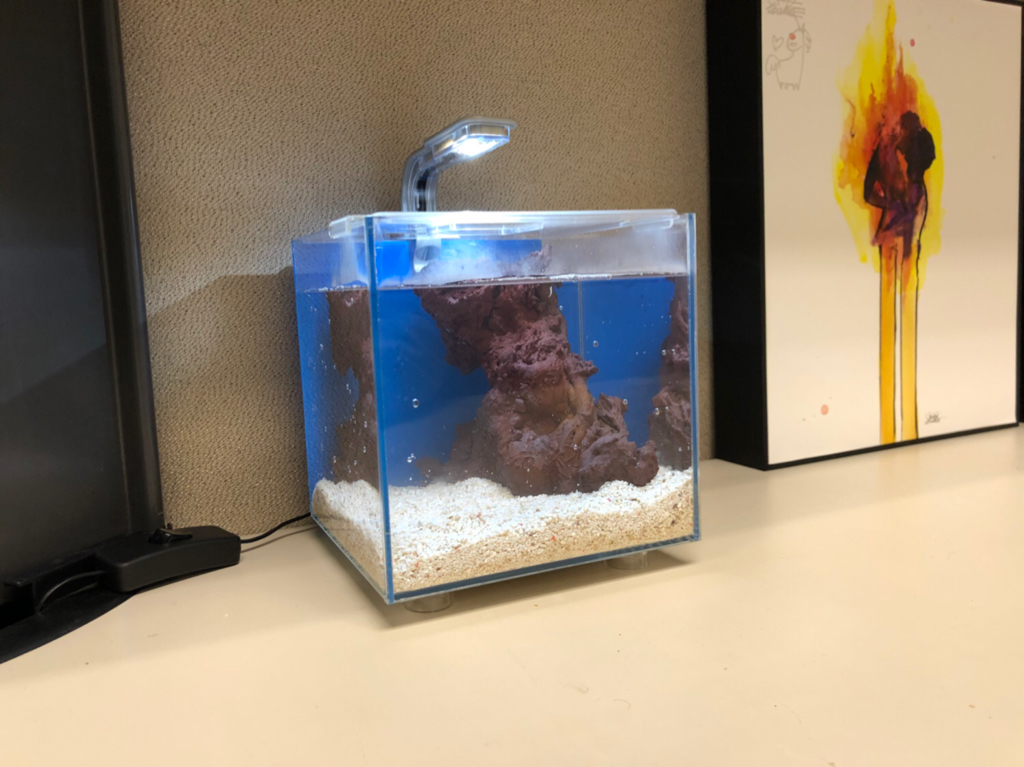
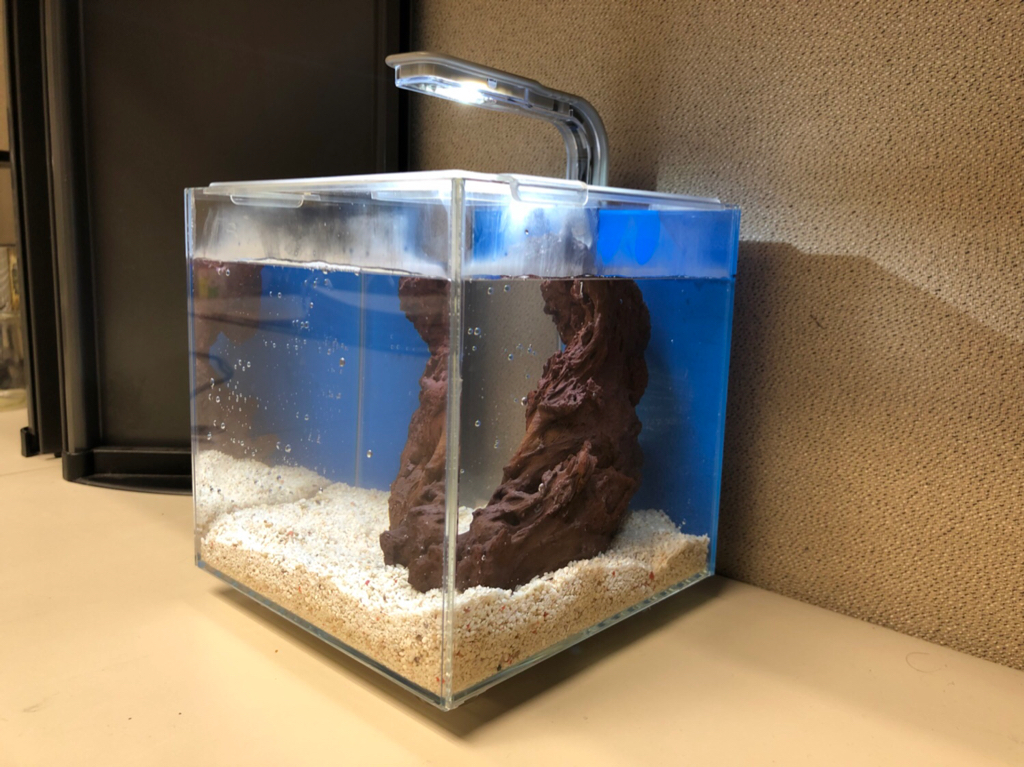
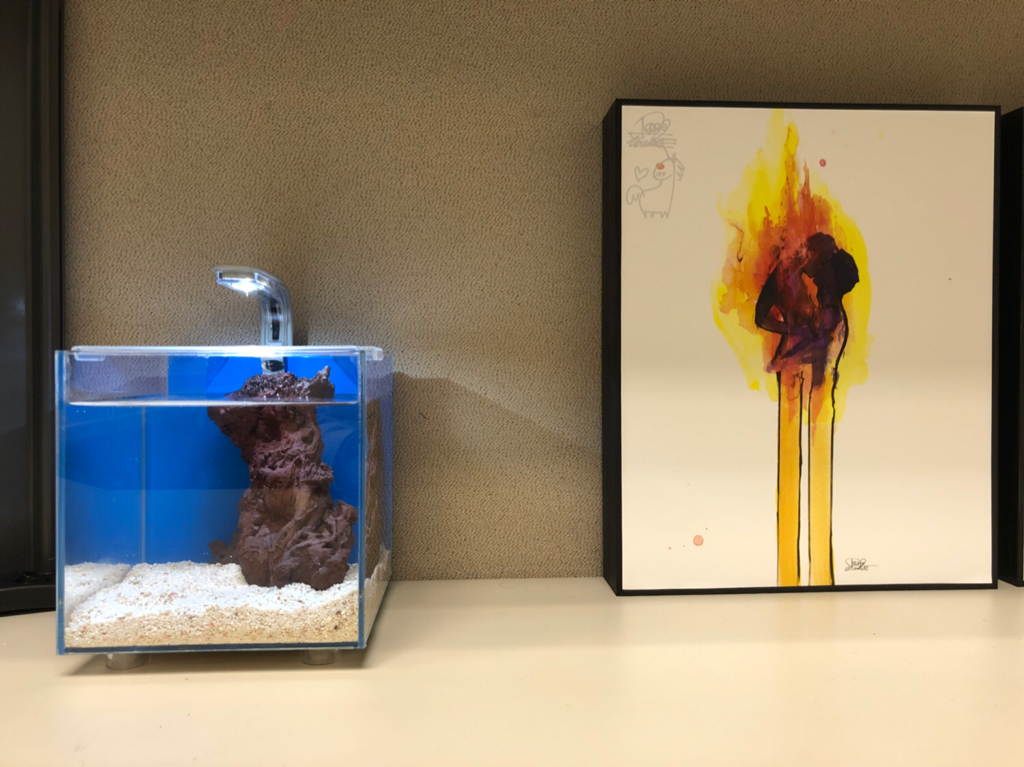
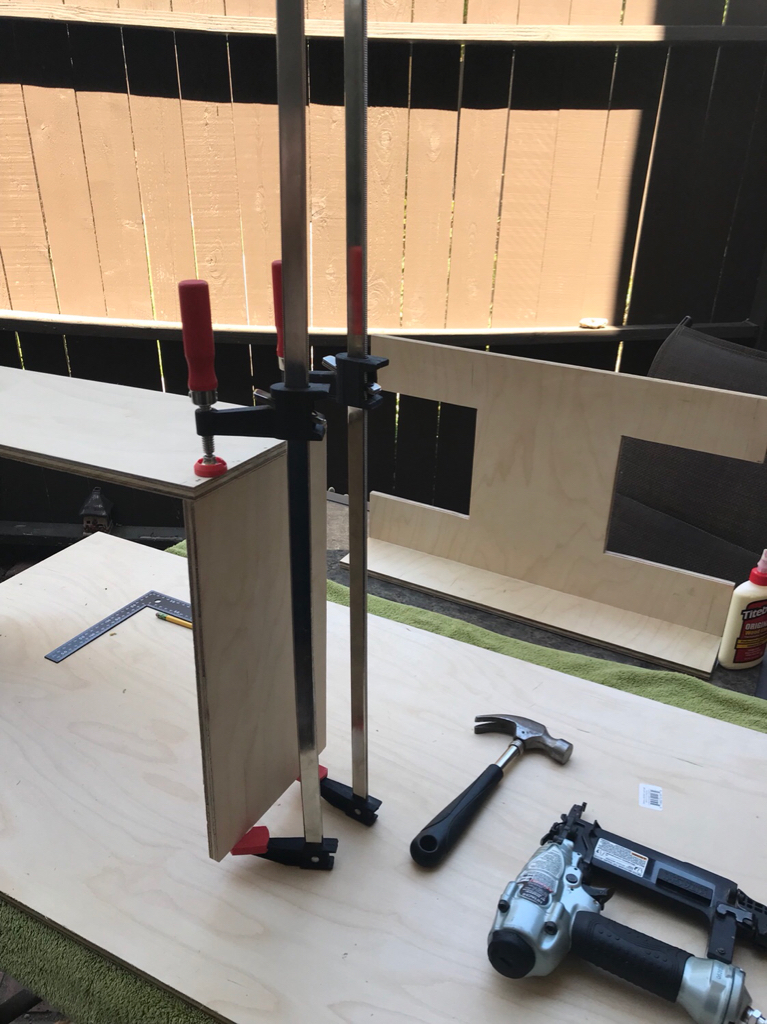
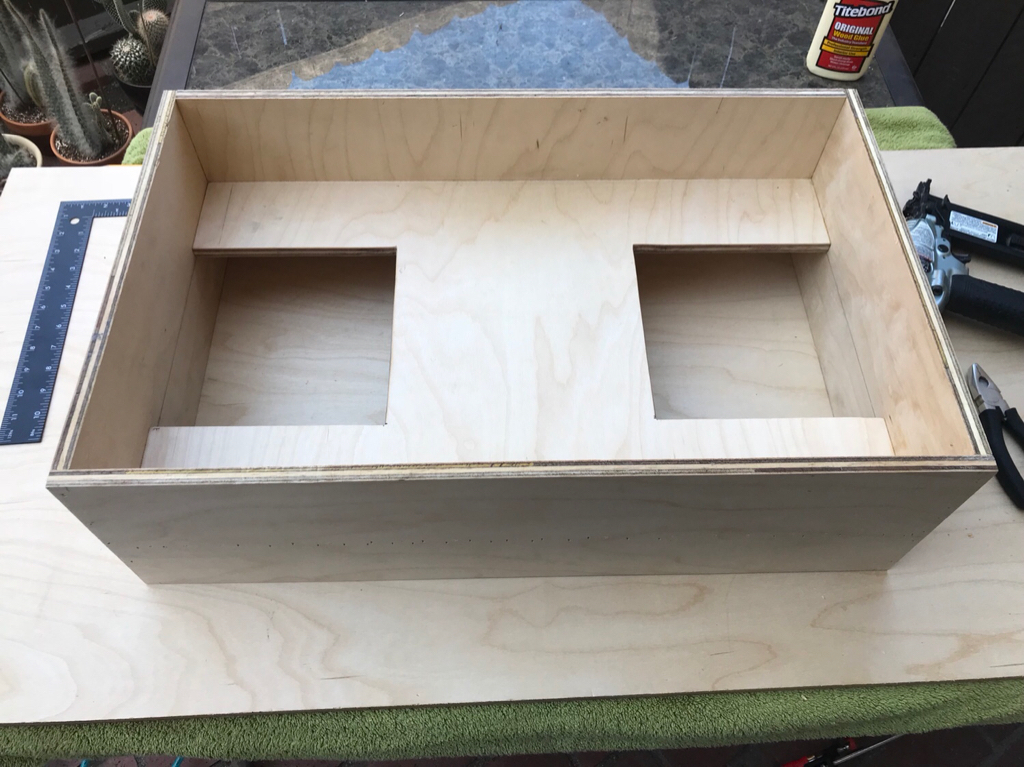
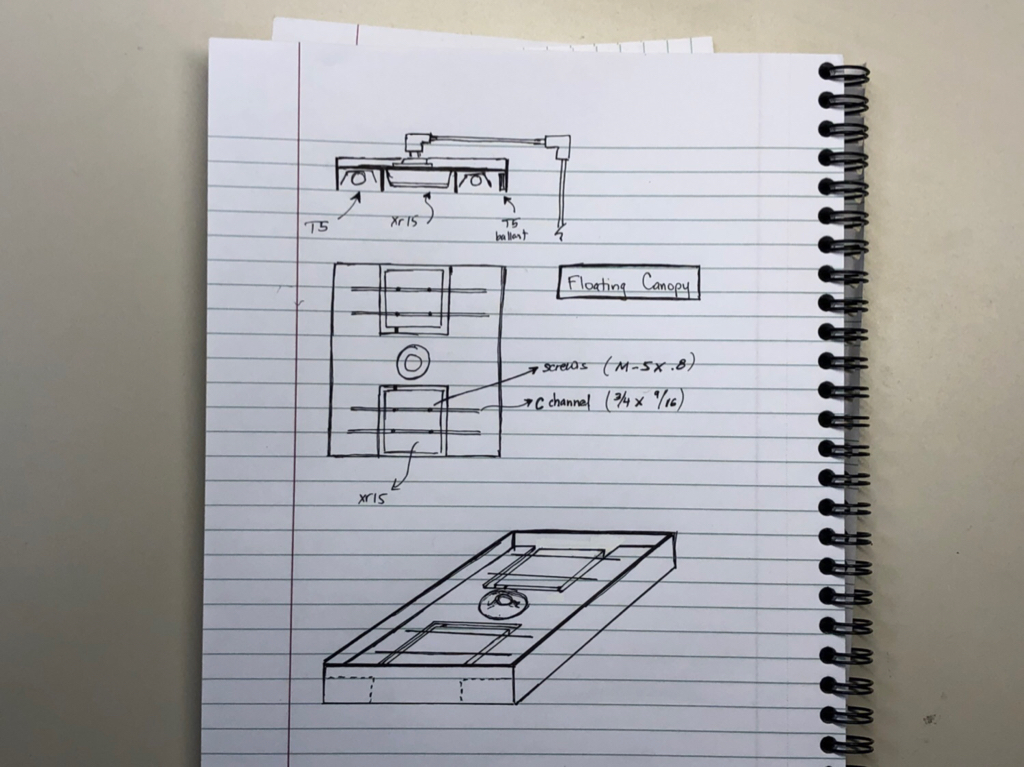
OP
OP
Looks great!
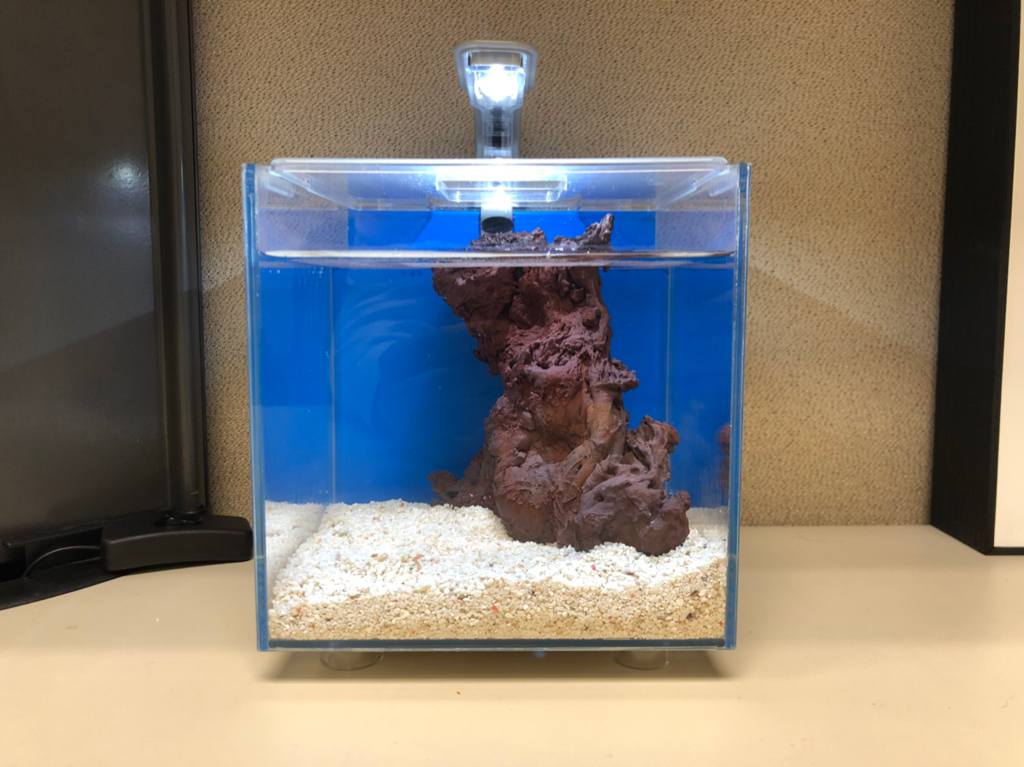
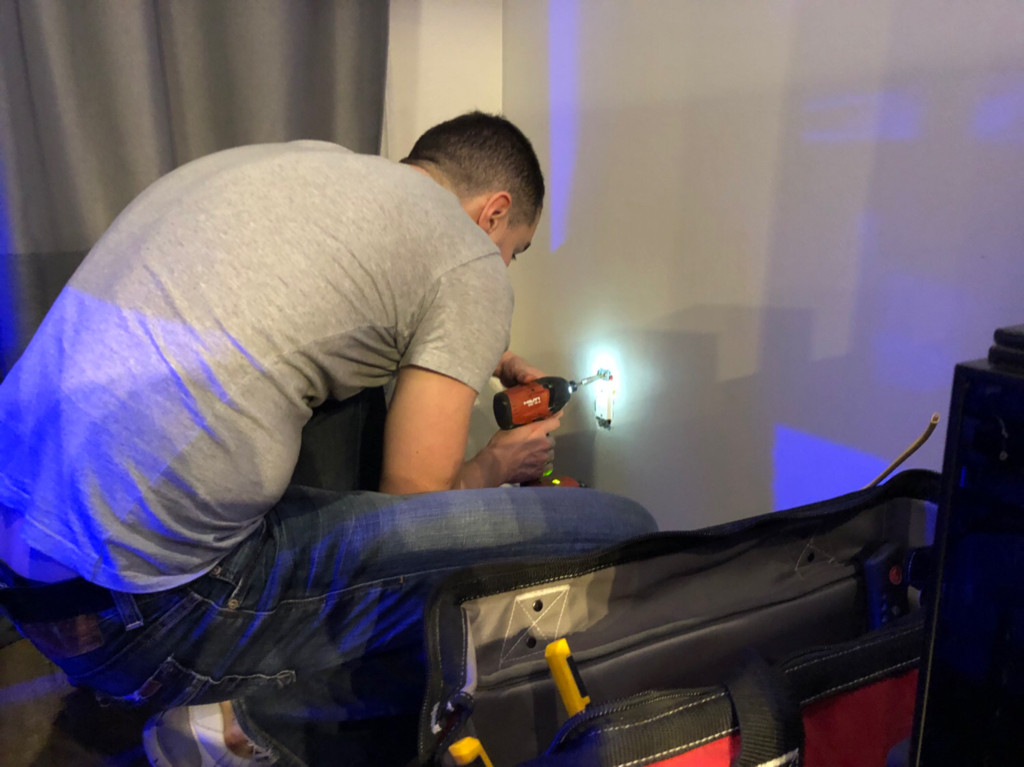
Thanks Rakie, I see that Mike helped you drill your tank. He helped me drill my nano and helped me build the sump too!
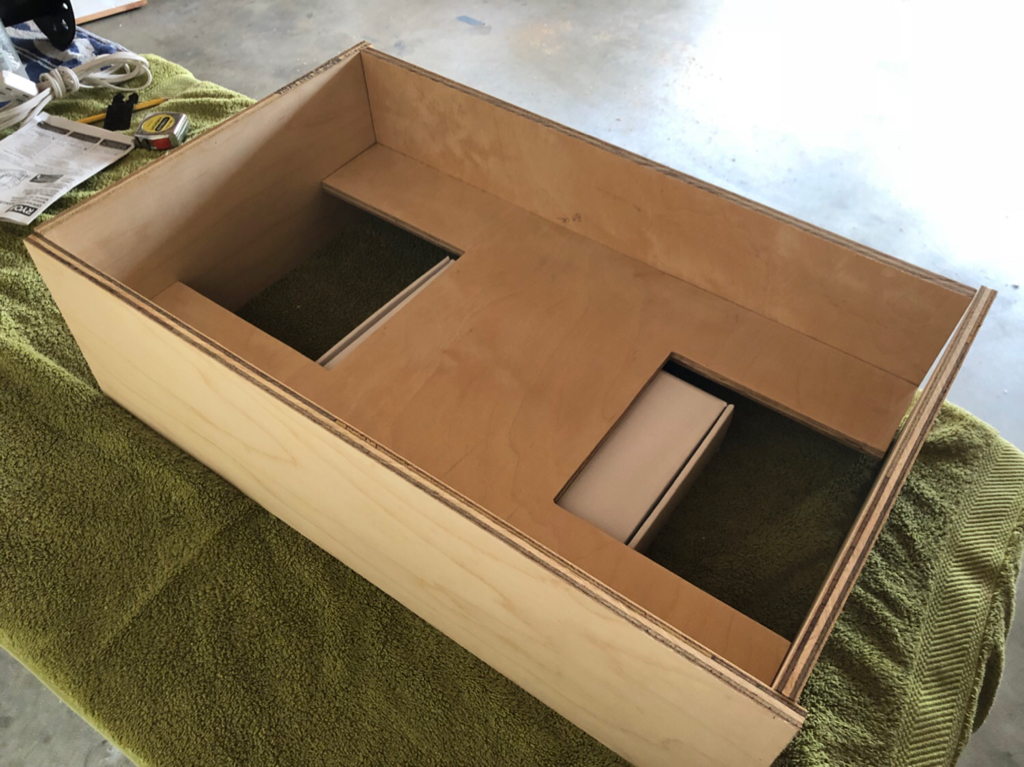
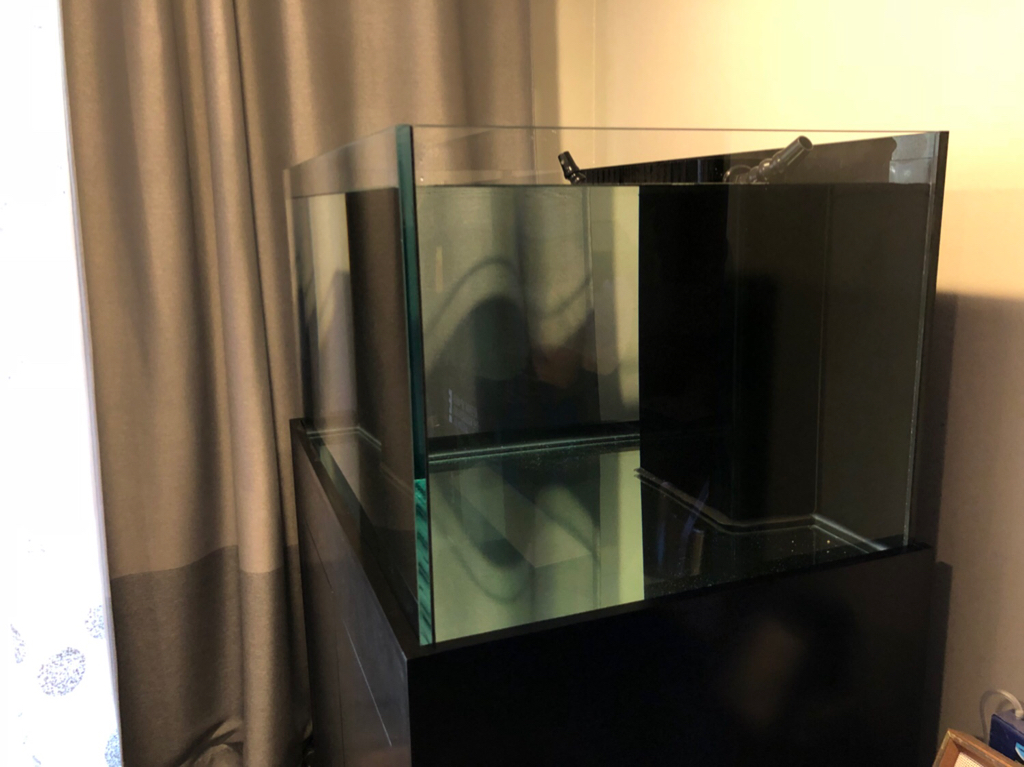
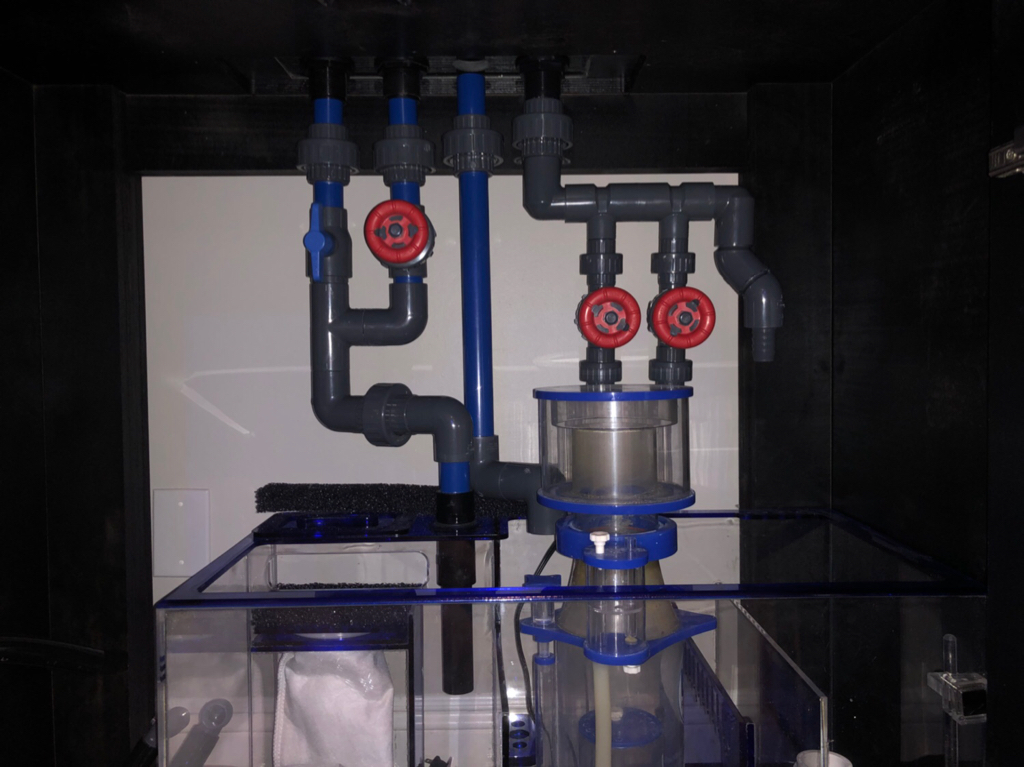
Wow, nice take build! Can't wait to see how it all turns out.
Thanks! Hopefully it'll be up and running sooner than later.
following
Thanks for following!


")