75 Gallon technology heavy tank with DIY

OP
OP
ilyad

ilyad

Active Member
View Badges
Joined
Dec 19, 2011
Messages
490
Reaction score
610
Location
North Hollywood, CA
Rating - 0%
0   0   0
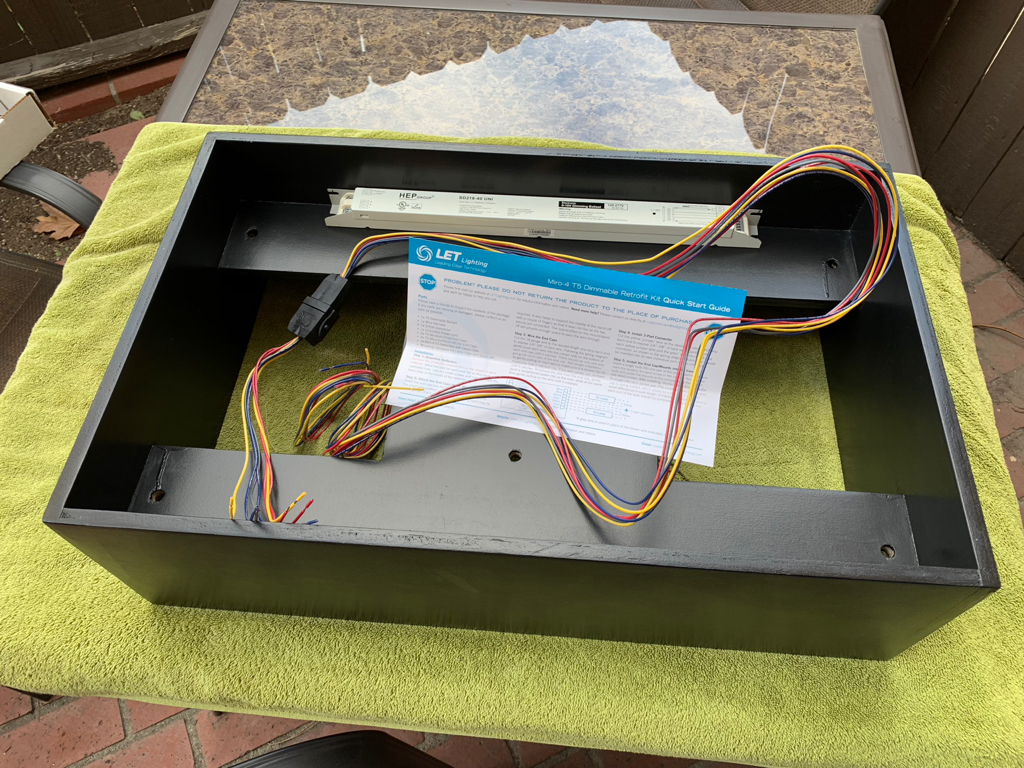
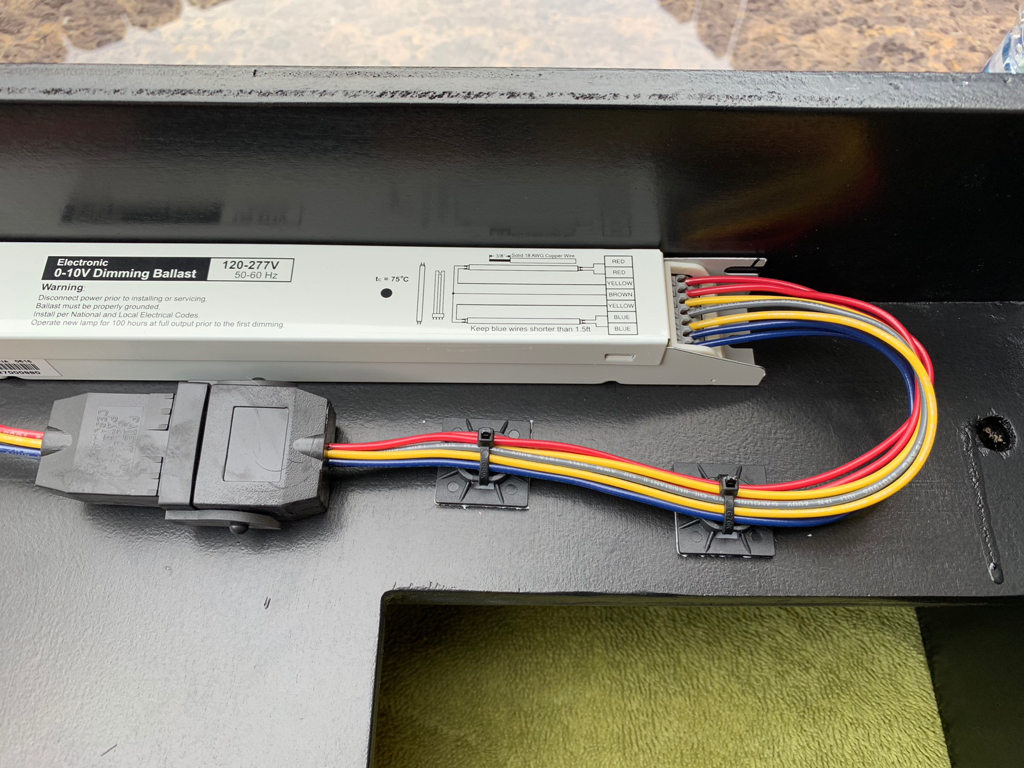
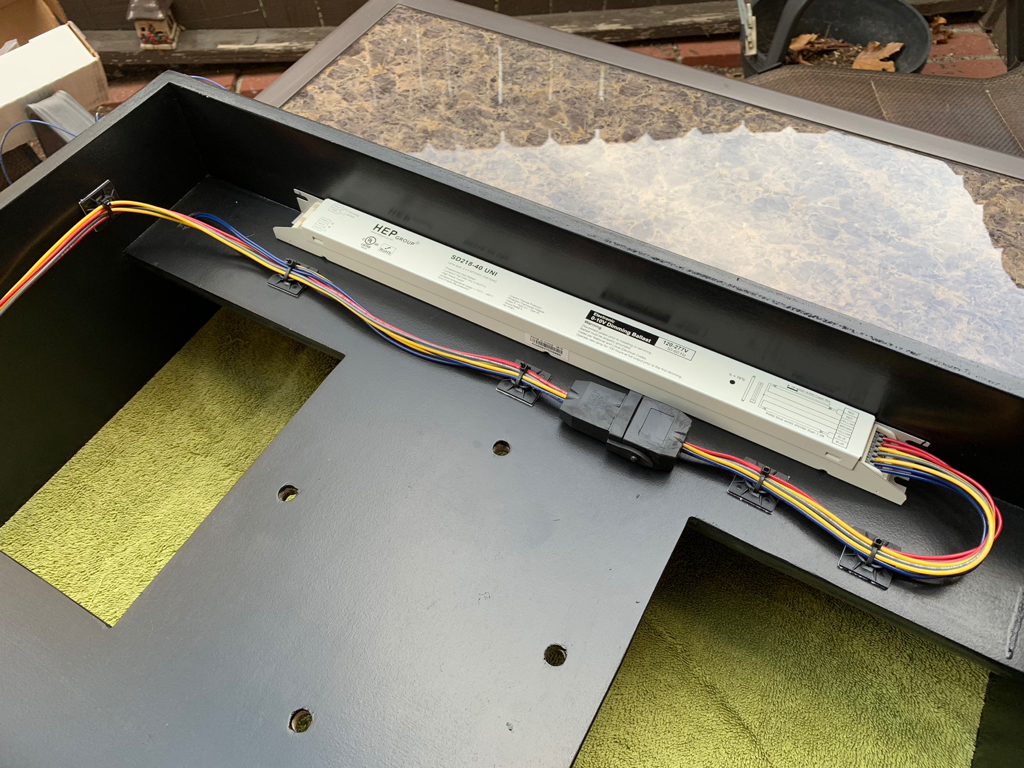
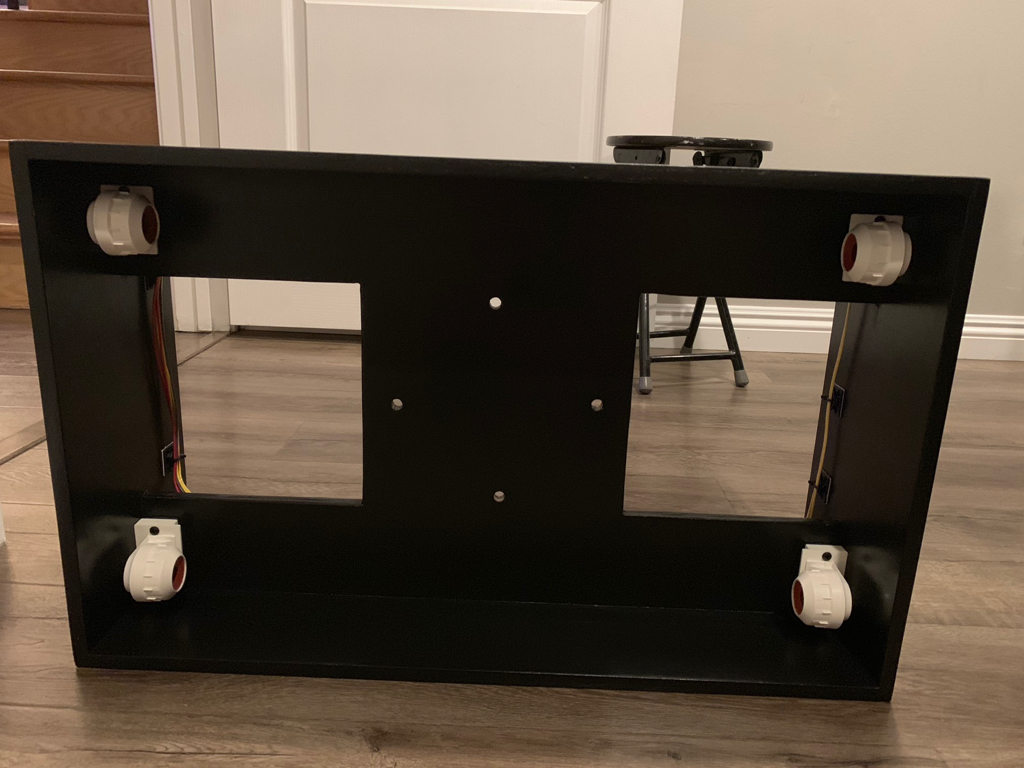
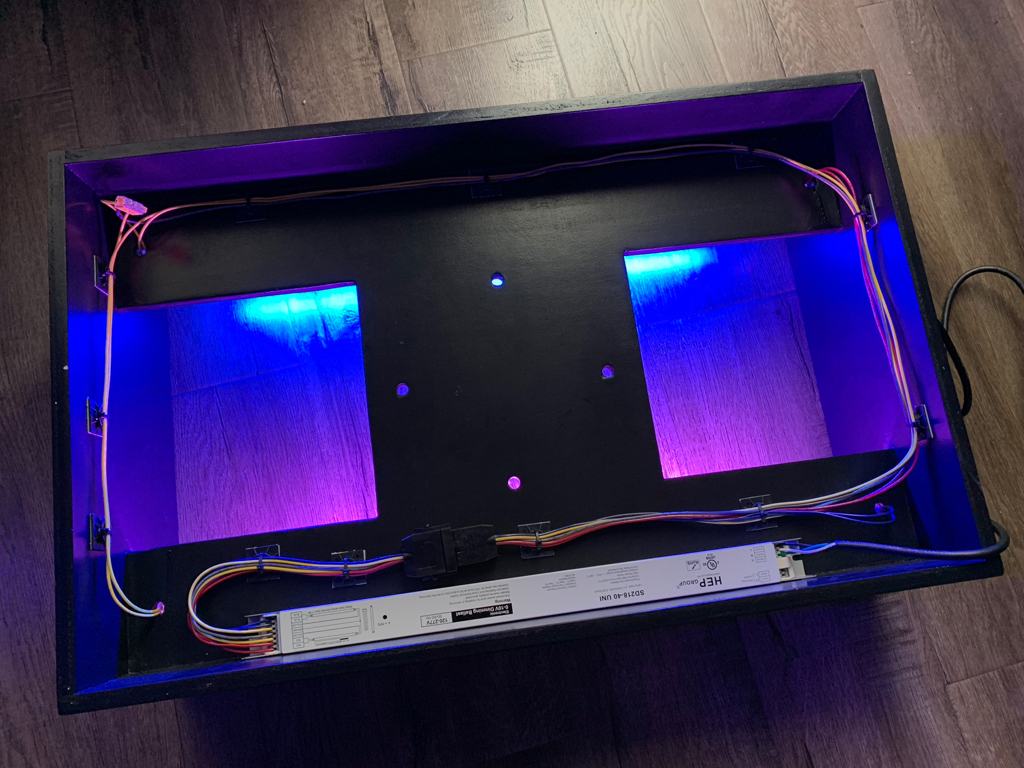
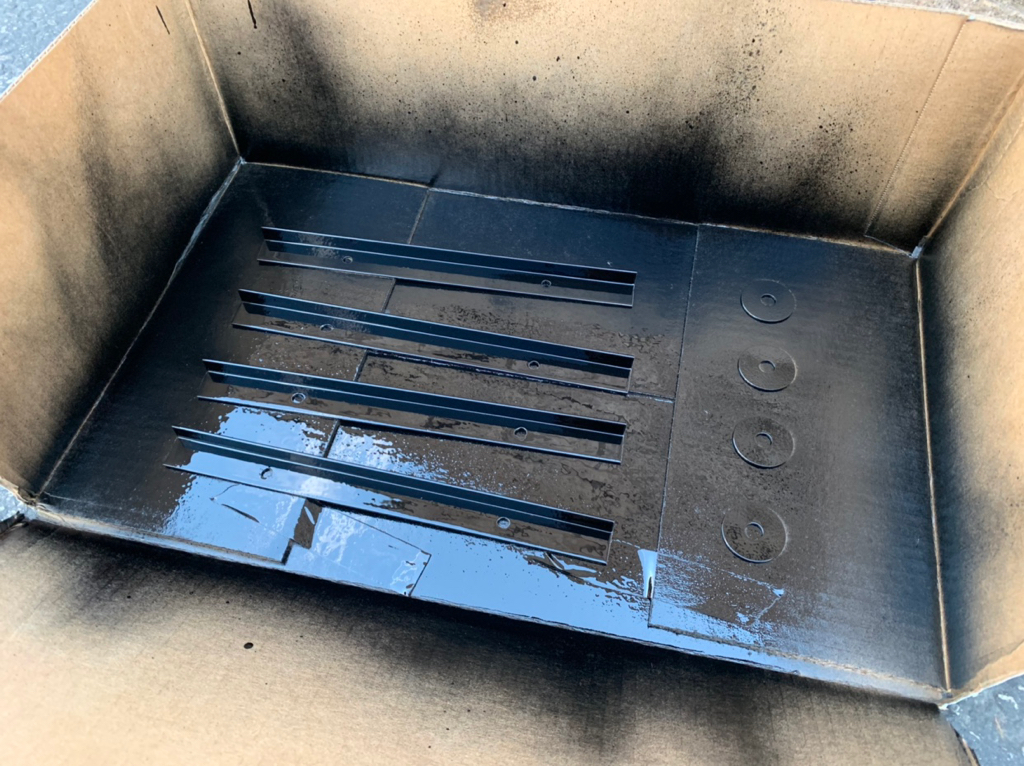
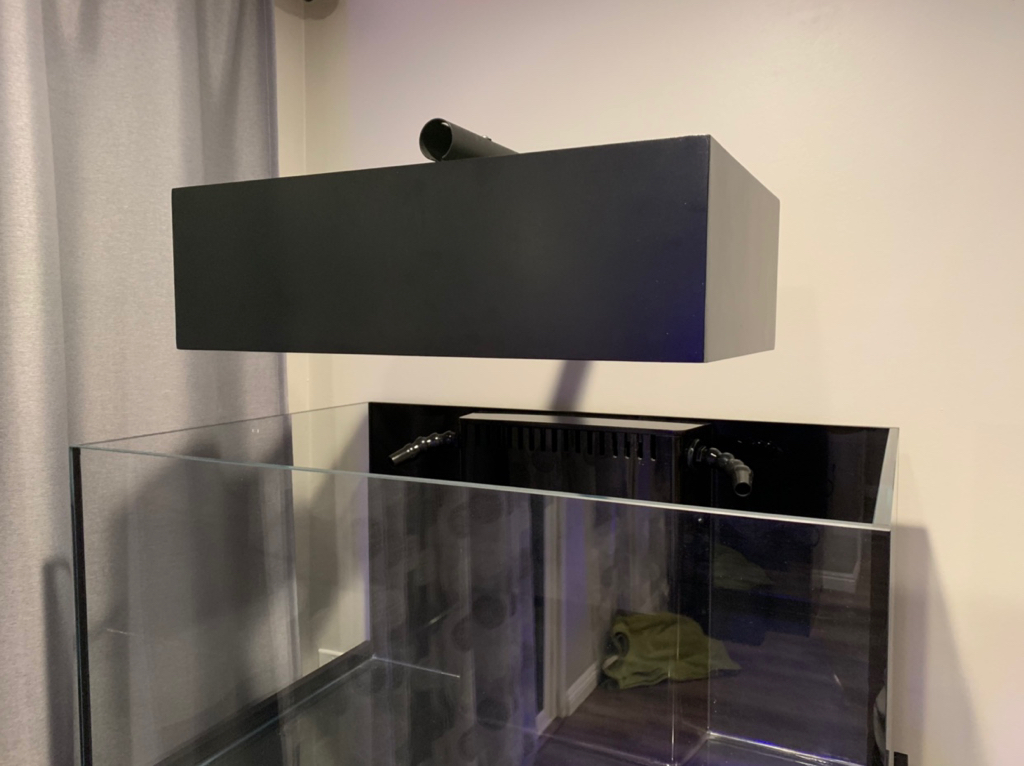
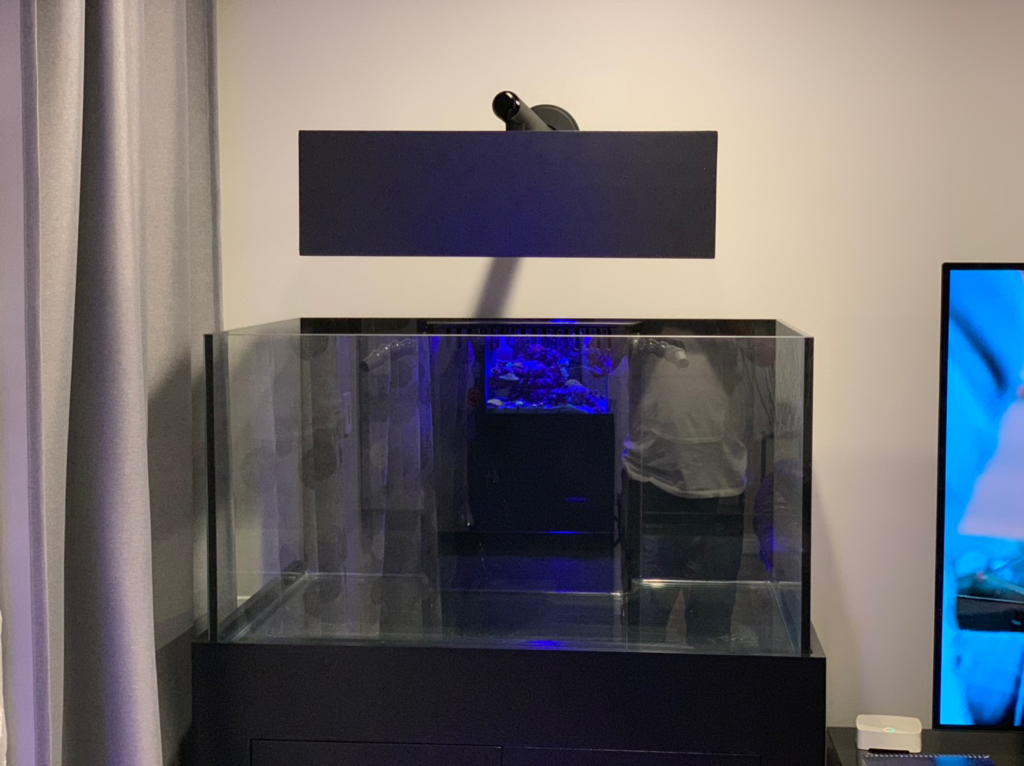
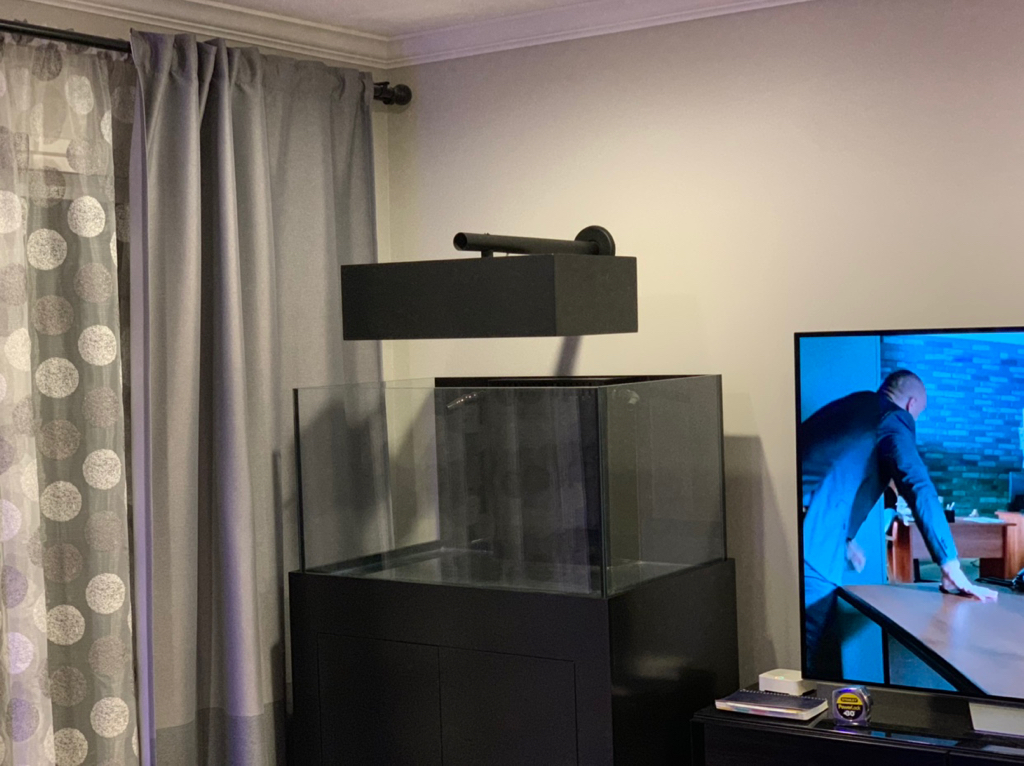
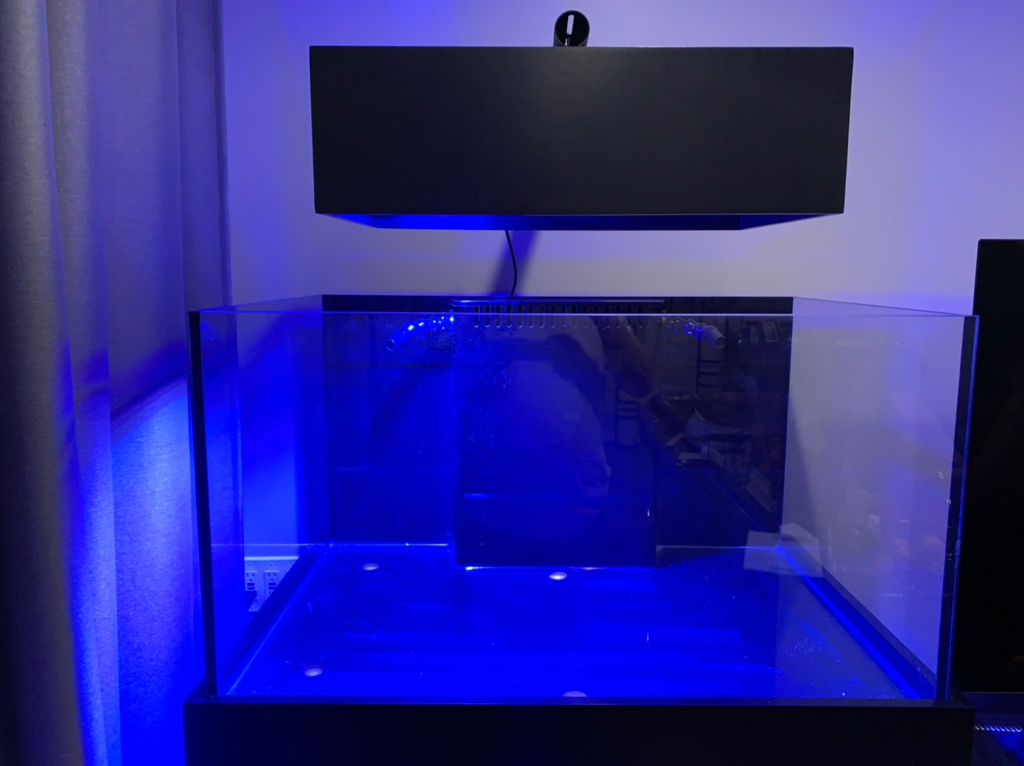
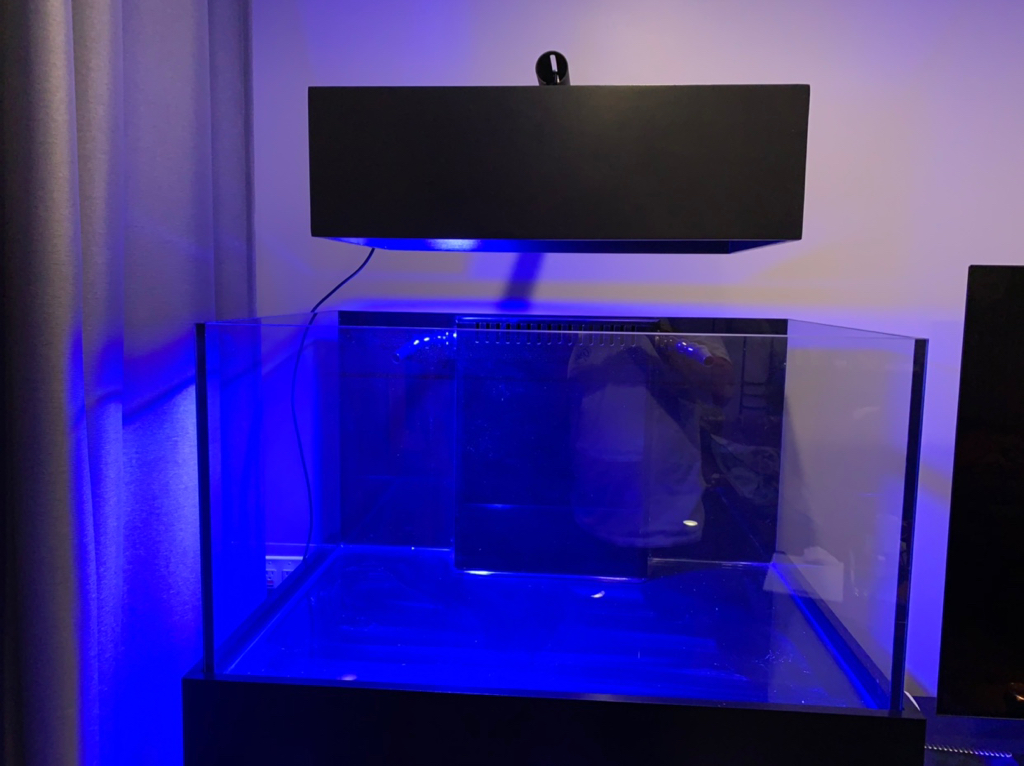
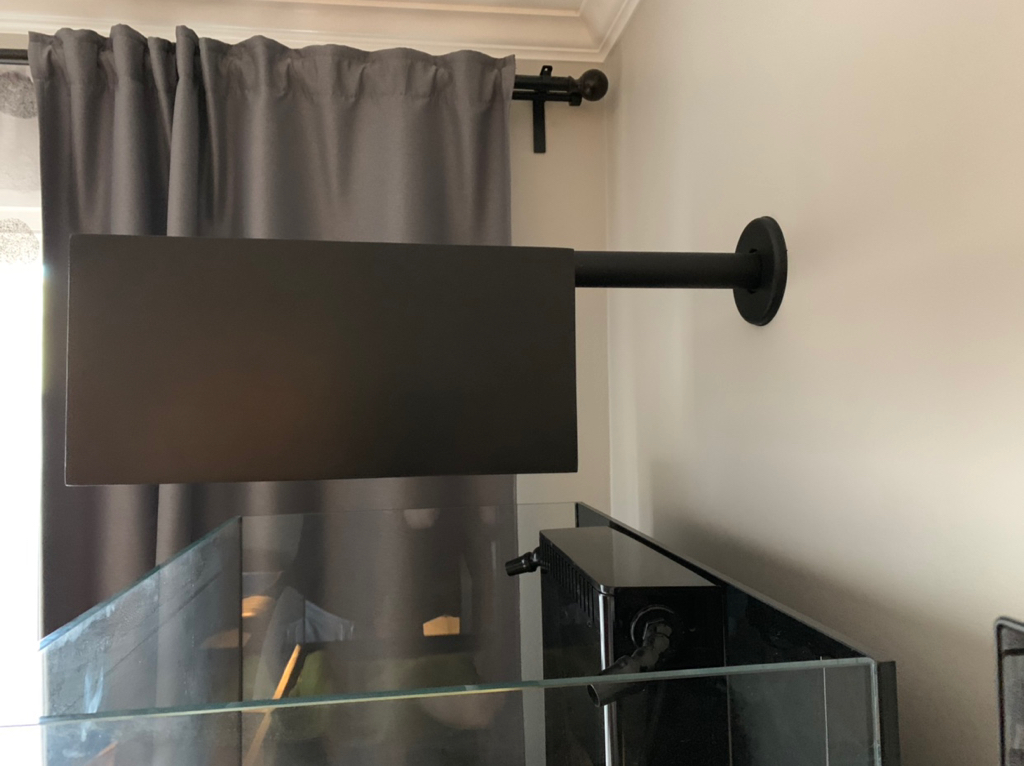
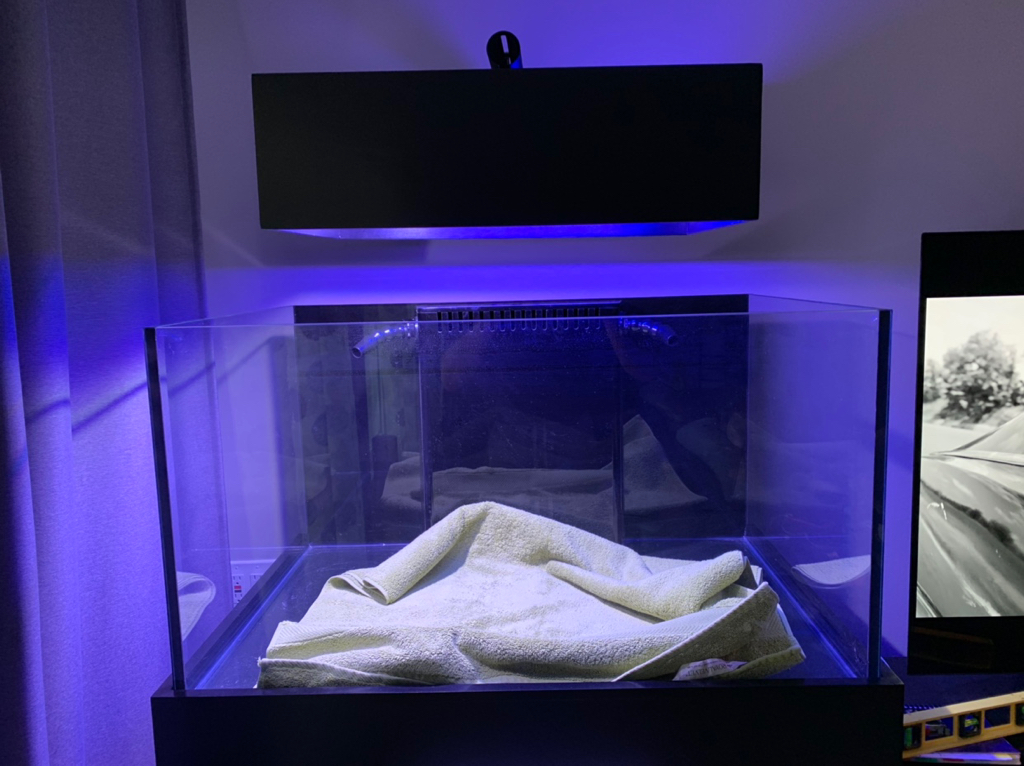
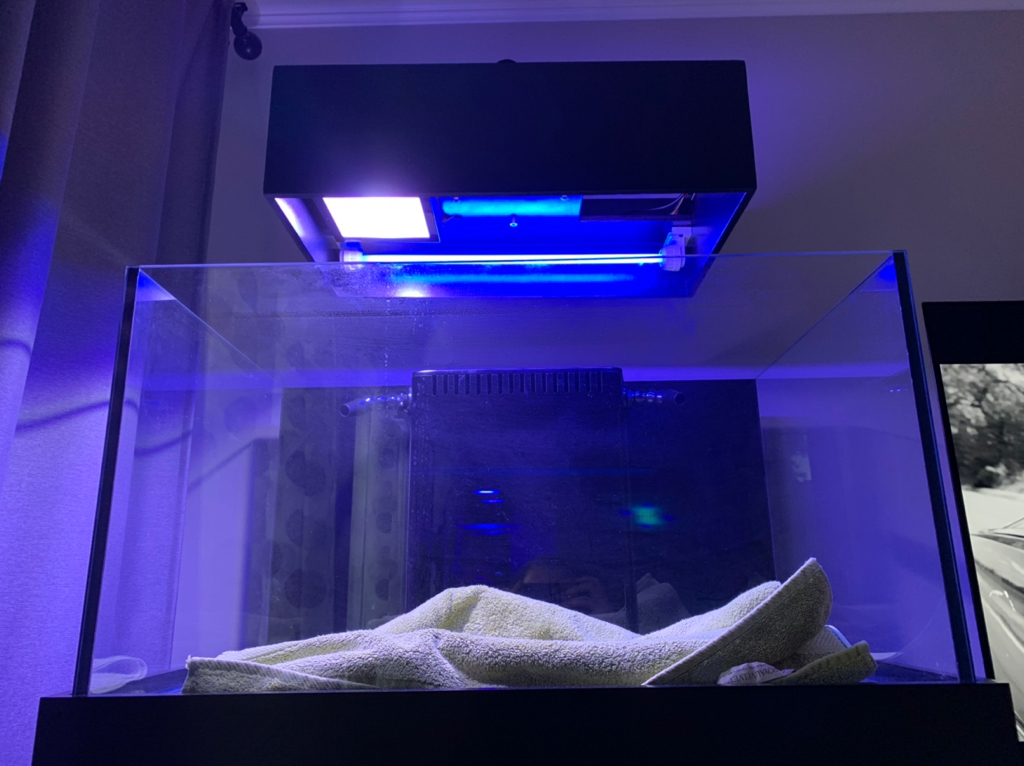
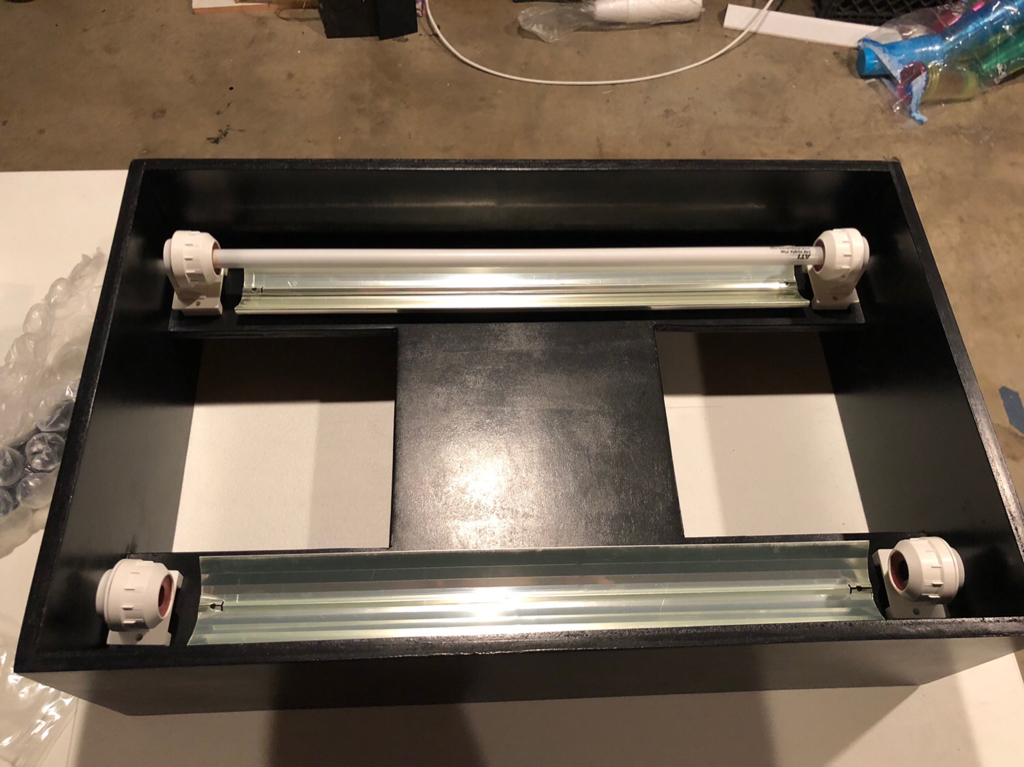
More update on the canopy build. No picture of the painting process, but the canopy was painted black using the same paint that the tank stand maker used.

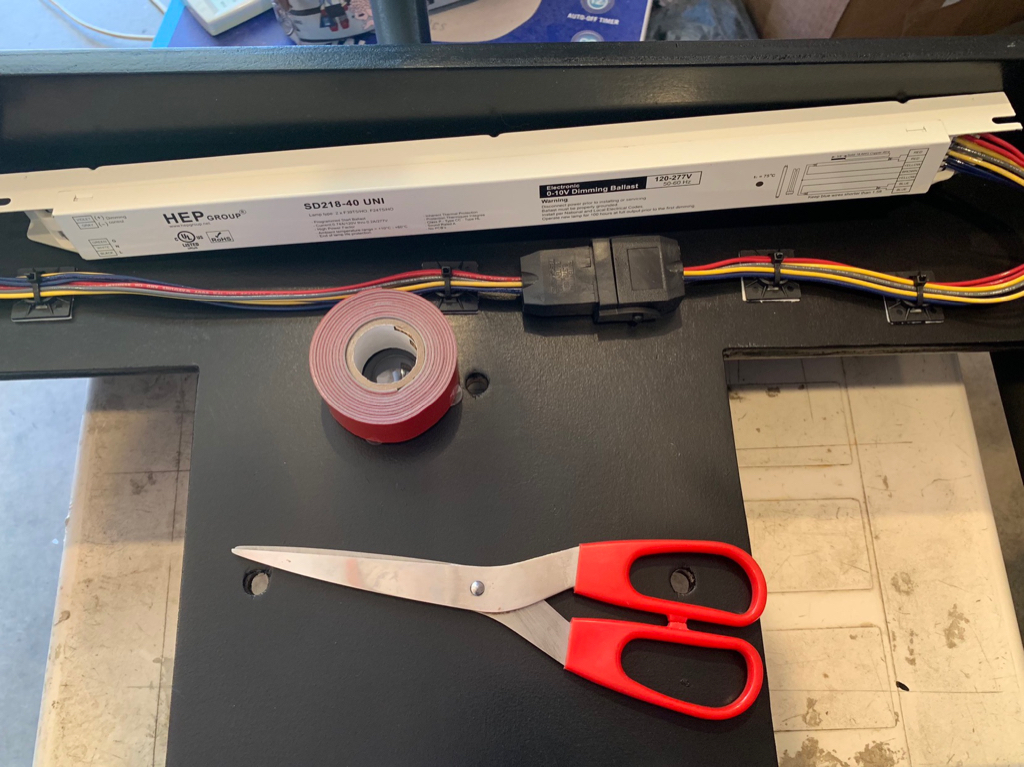
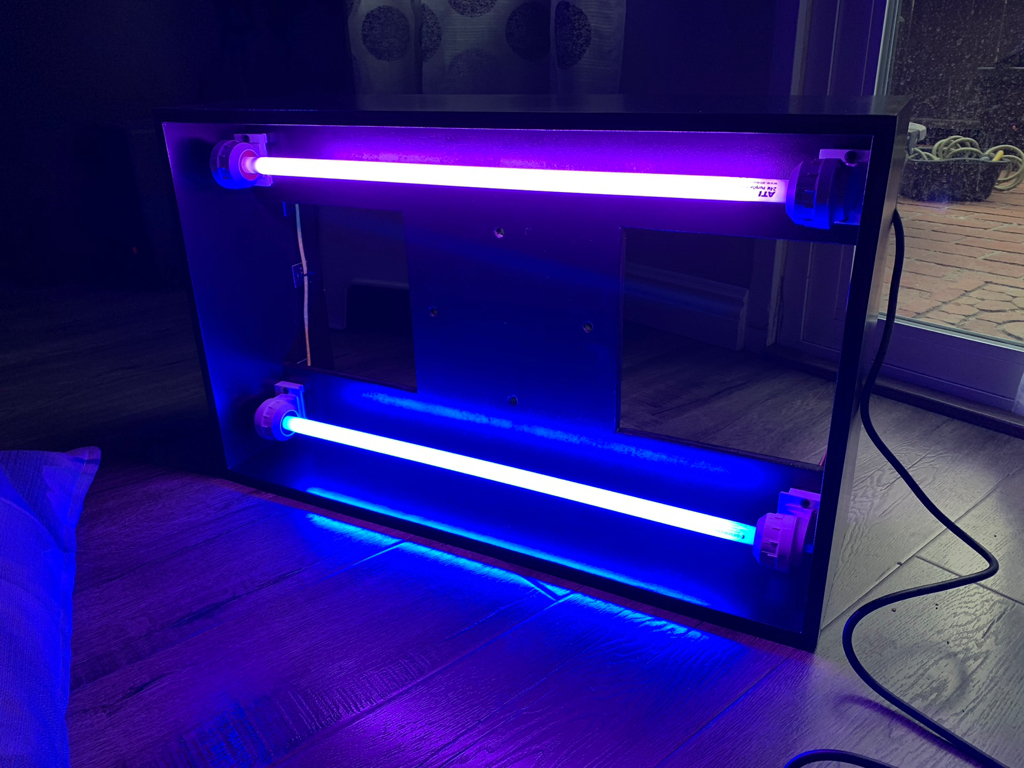
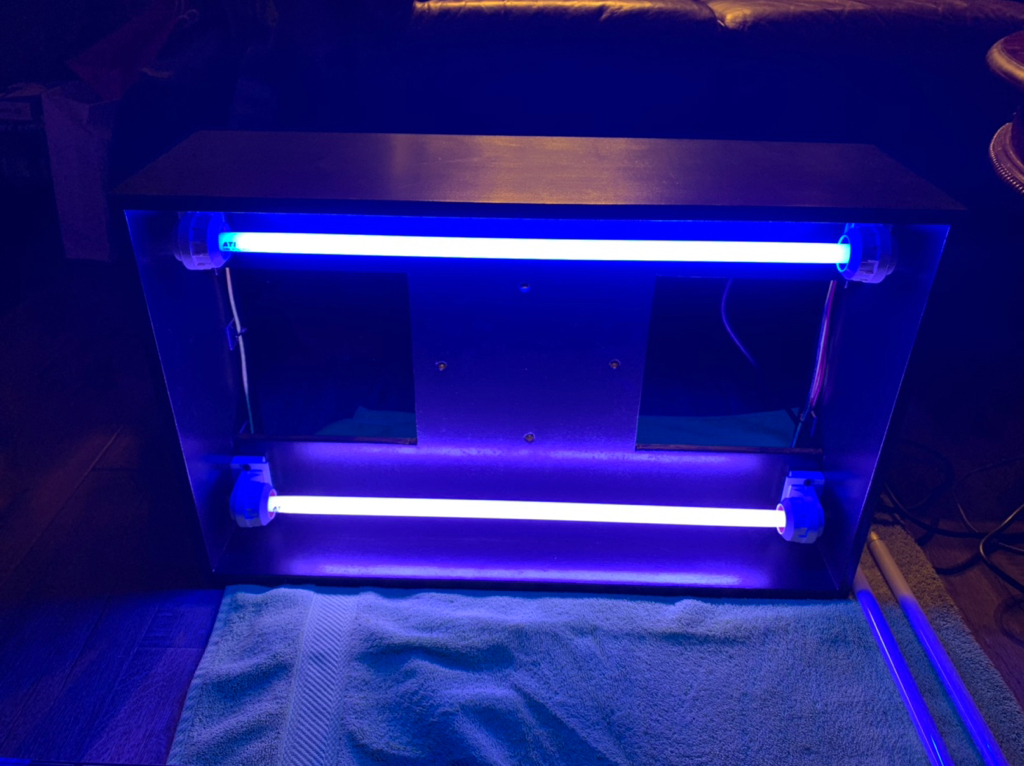
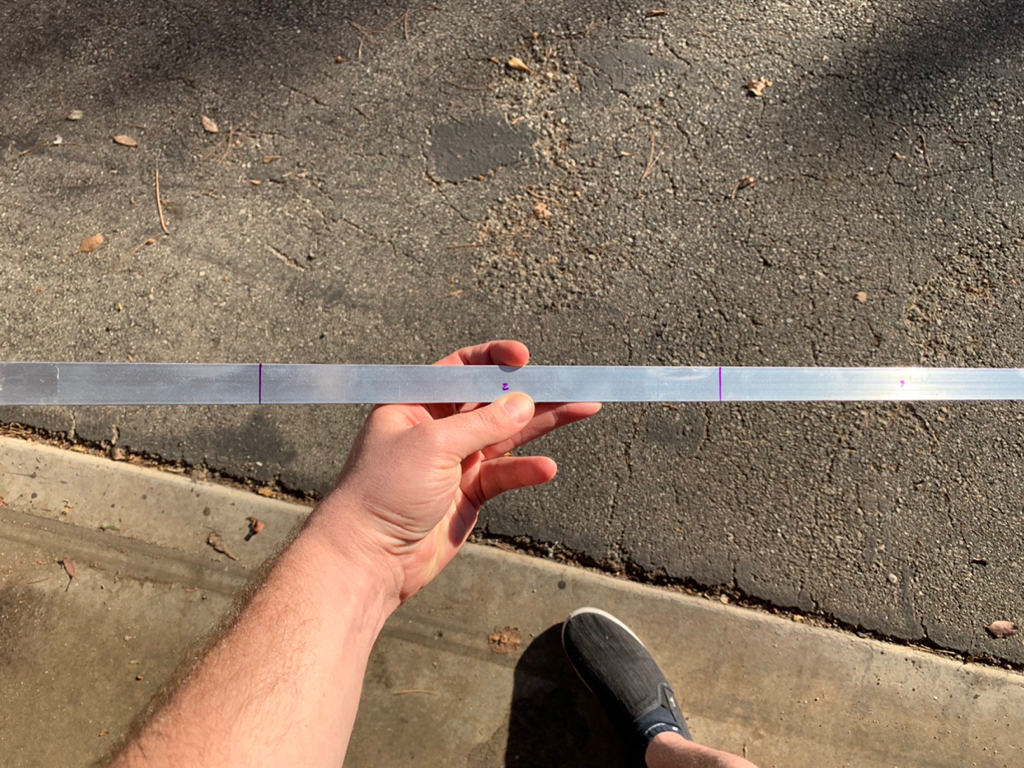
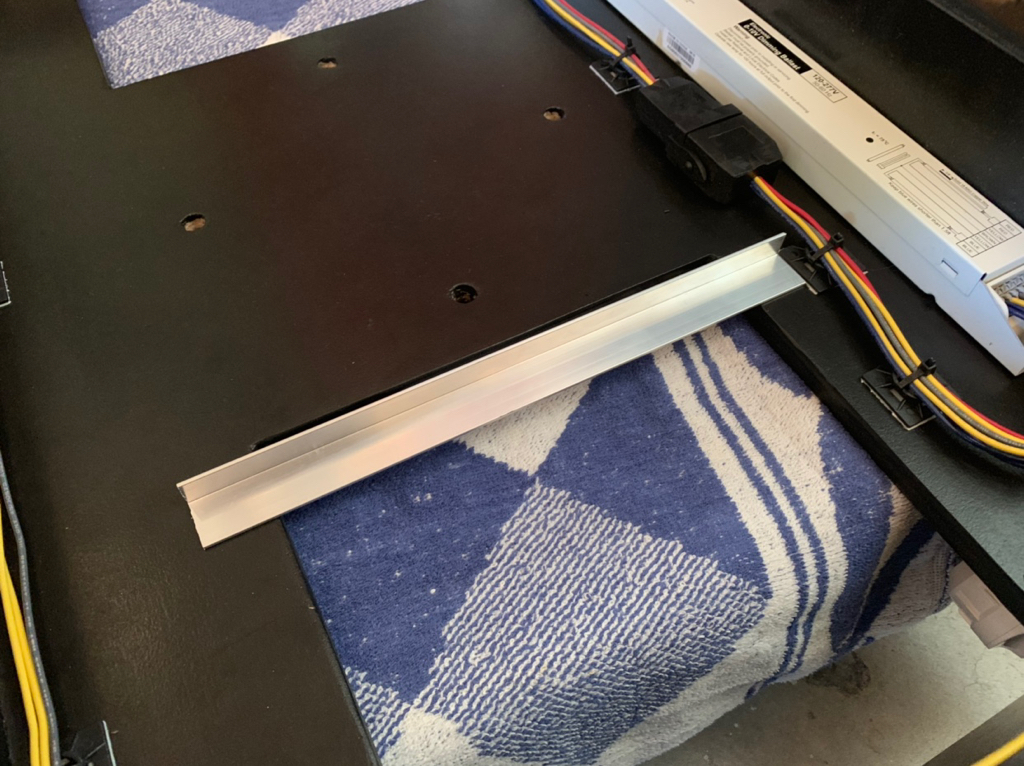
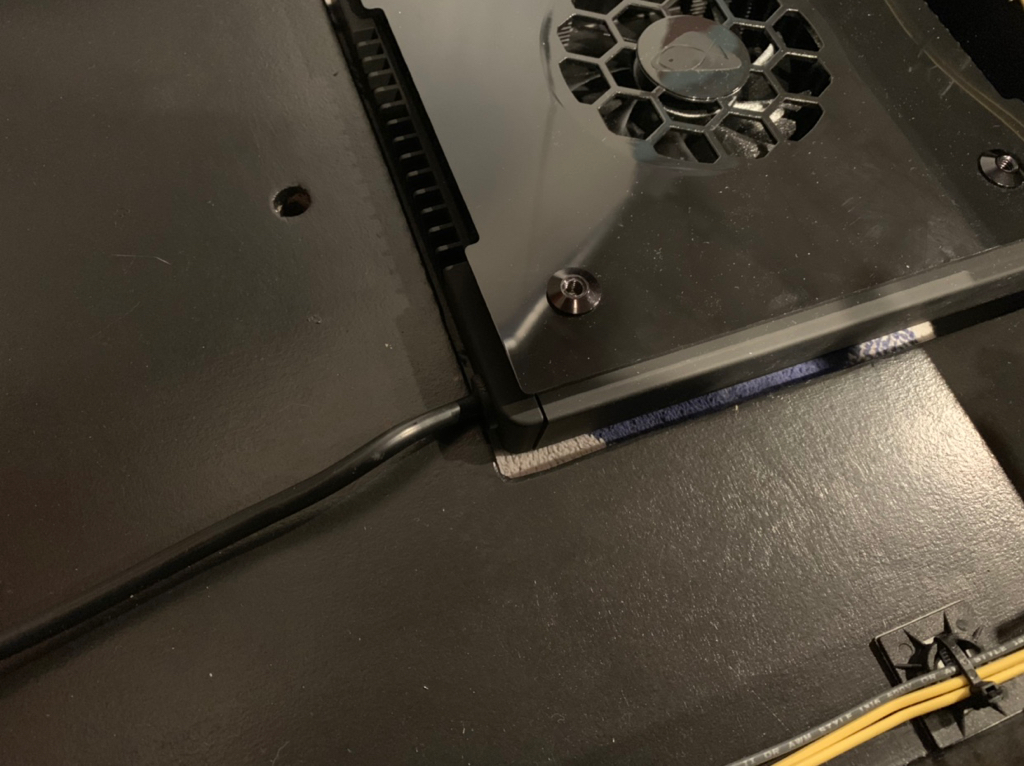
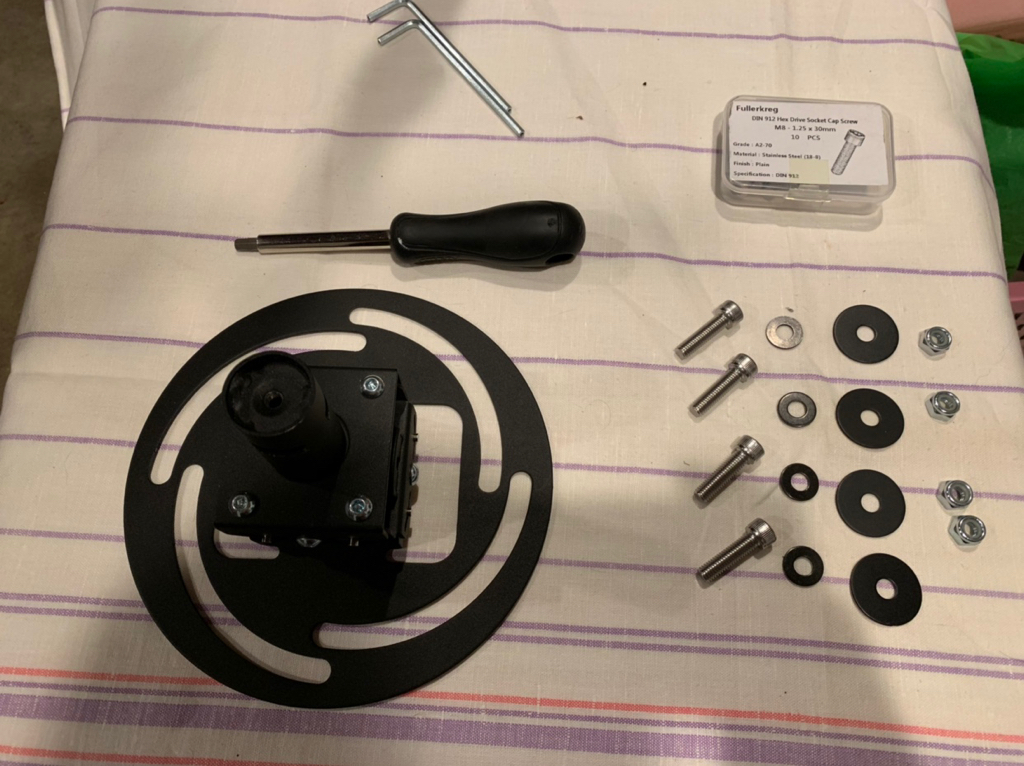
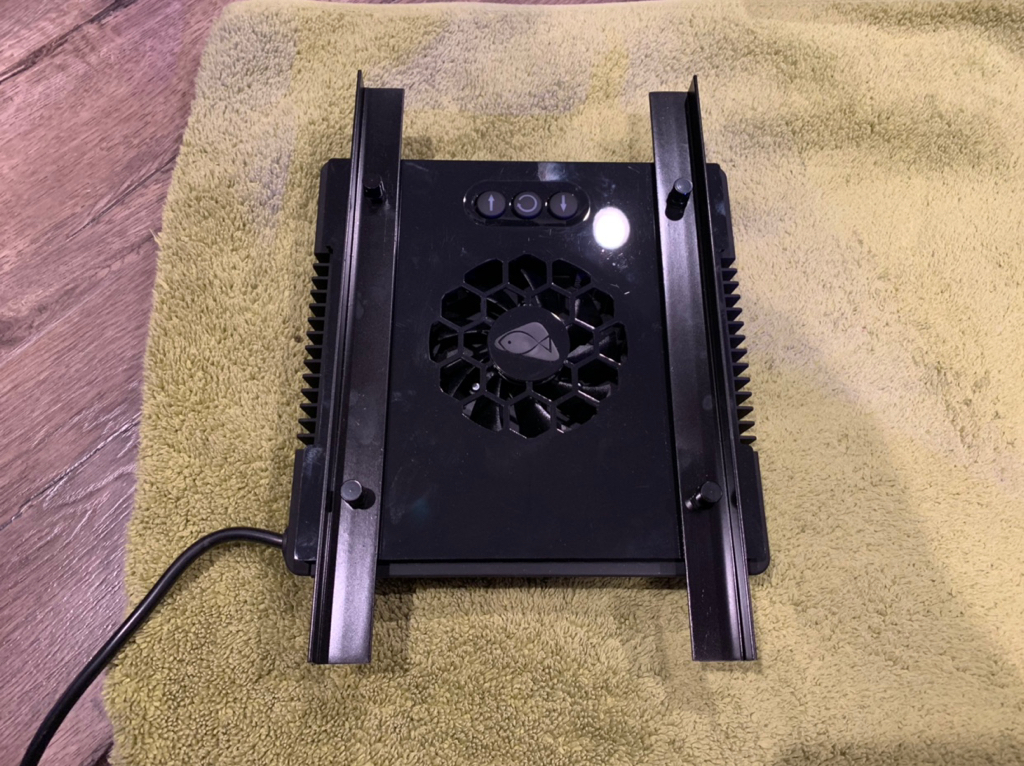
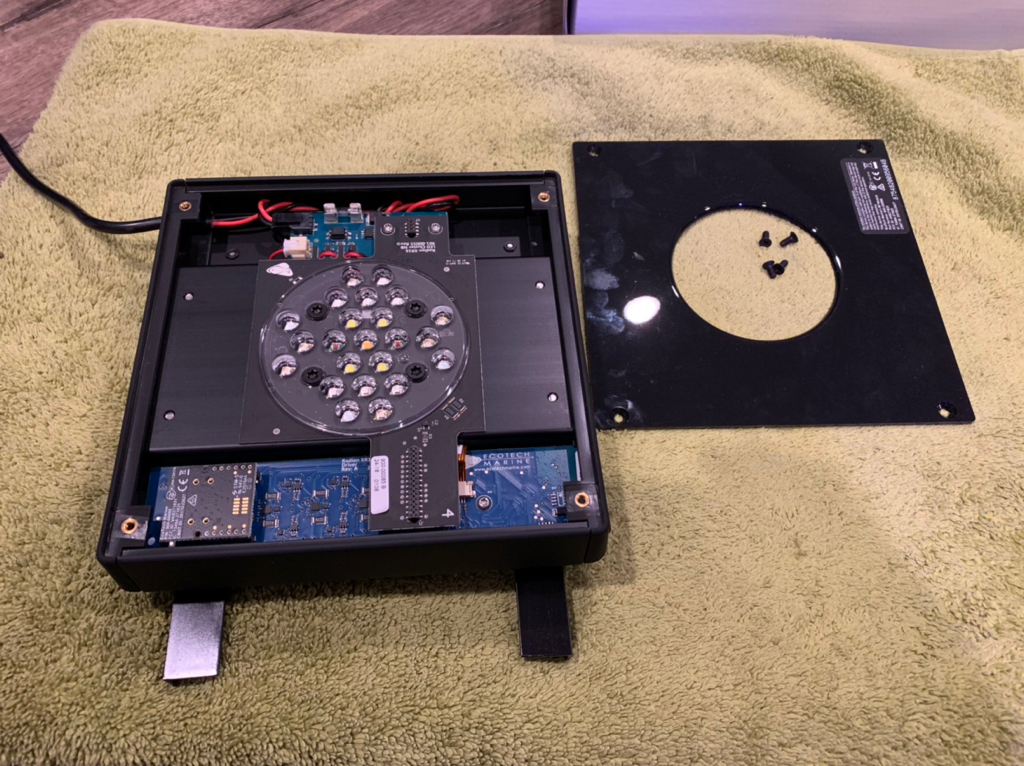
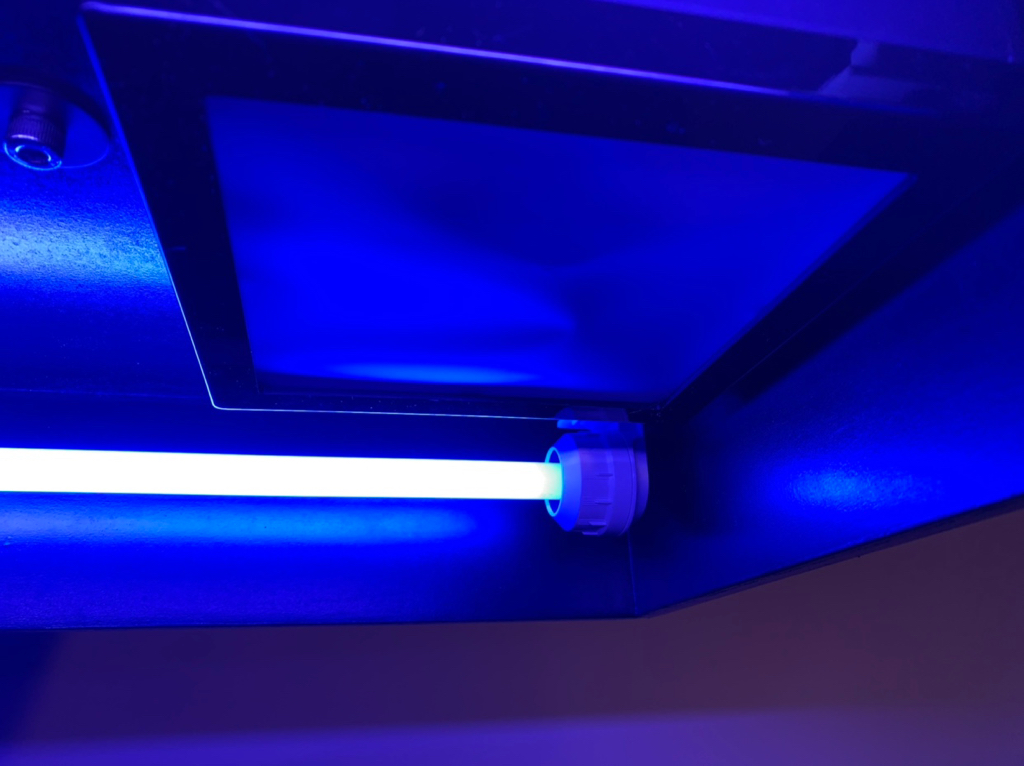
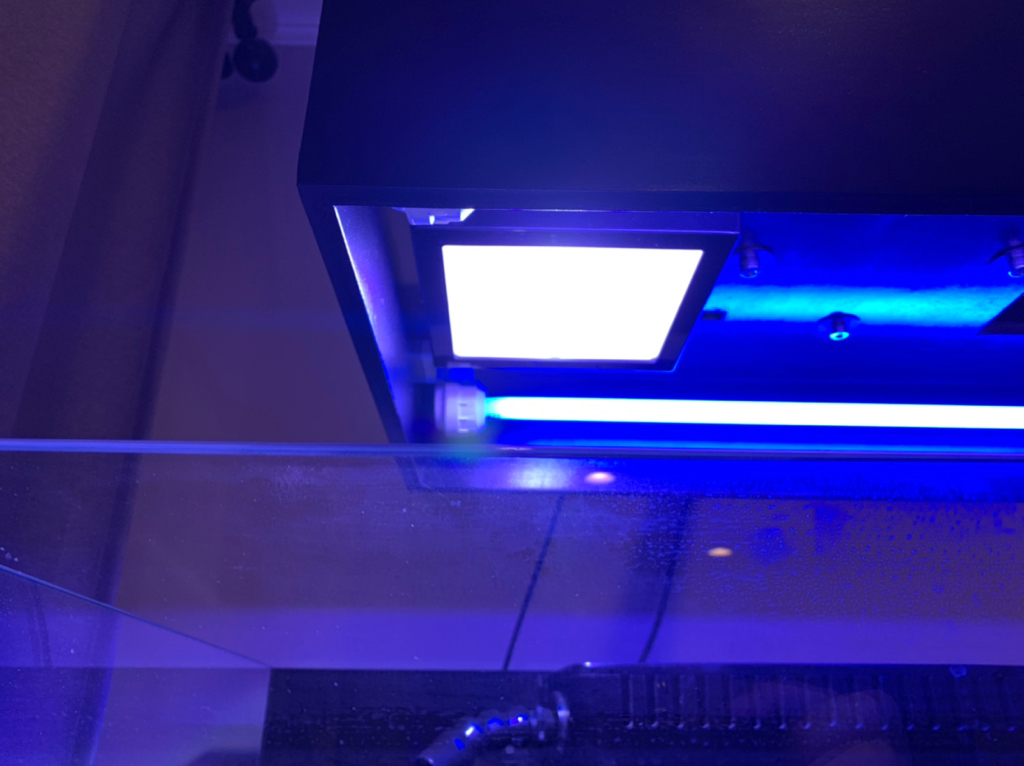
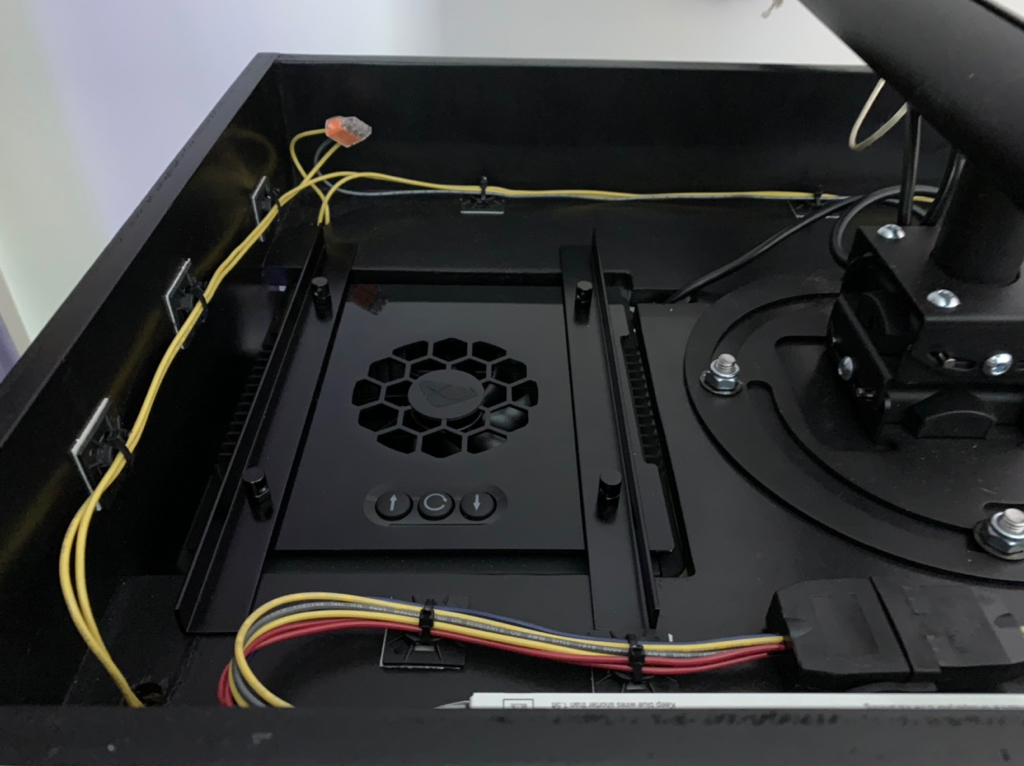
First off, I started with using an old T5 bulb I borrowed to mock up the fitting for the end caps.

cb019f74f6fb58d22e09c41327ef49bb.jpg


74fde8c5584b2b5bdf48d0178575b785.jpg


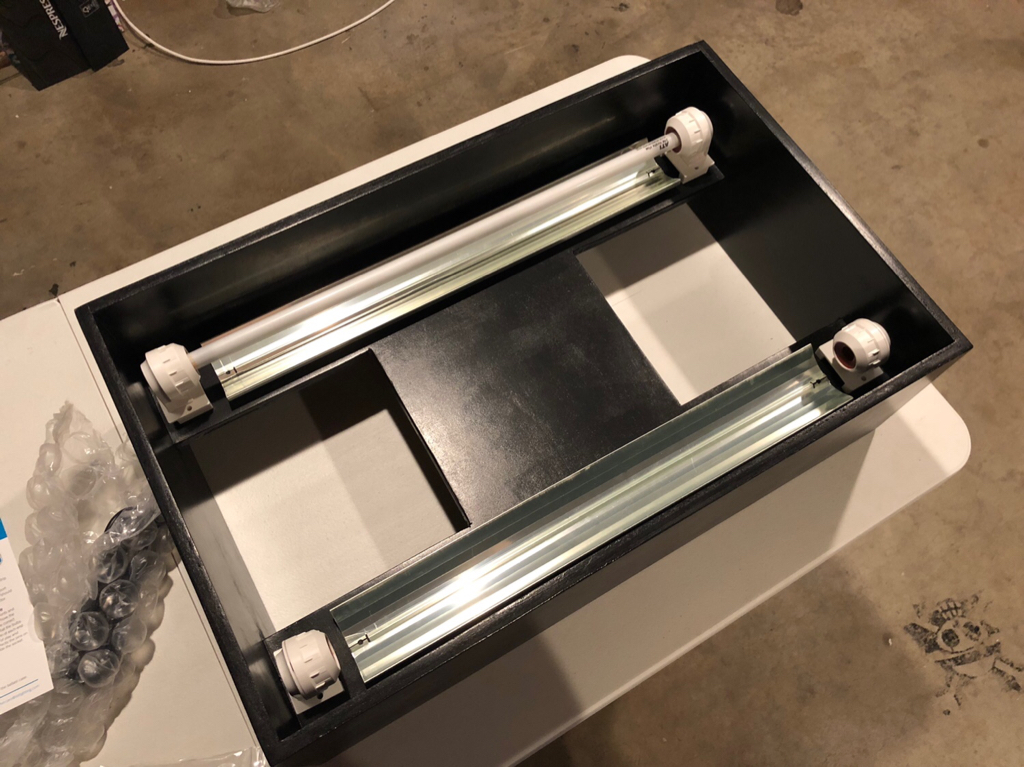
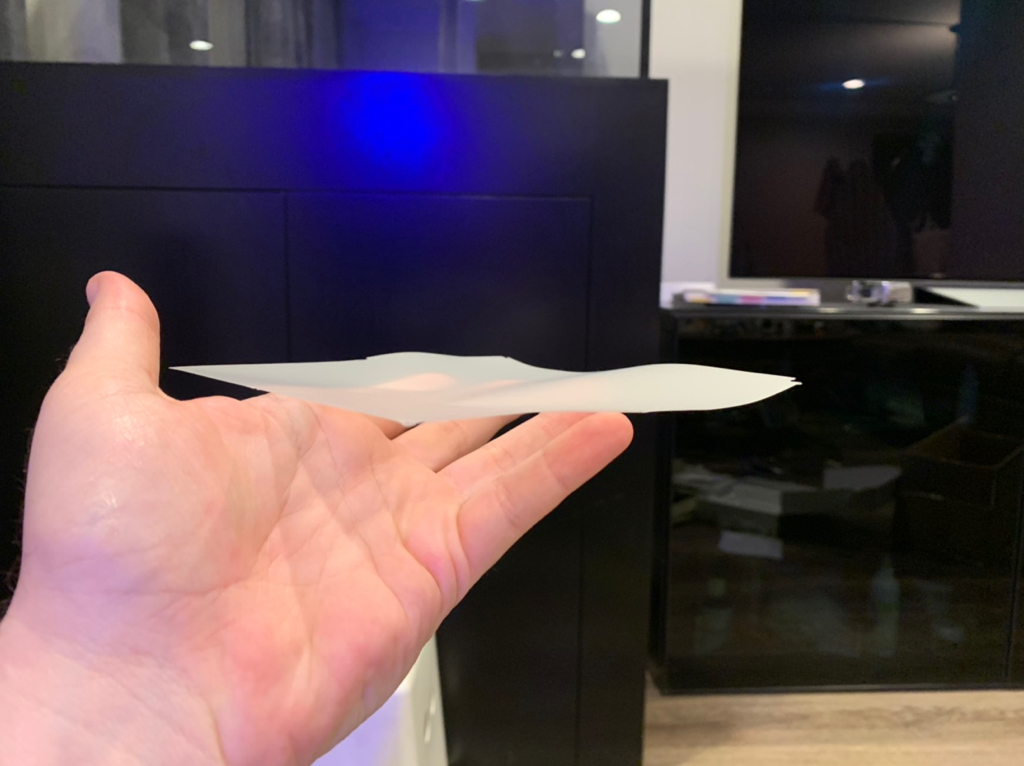
While mocking the bulb, I realized that the screws provided would have been longer than the end caps and the wood combined. Rummaging through my parts bin, I found a rubber padding that would add just enough height.

7b1fafc71ea57c0b8e024d2a9858af45.jpg


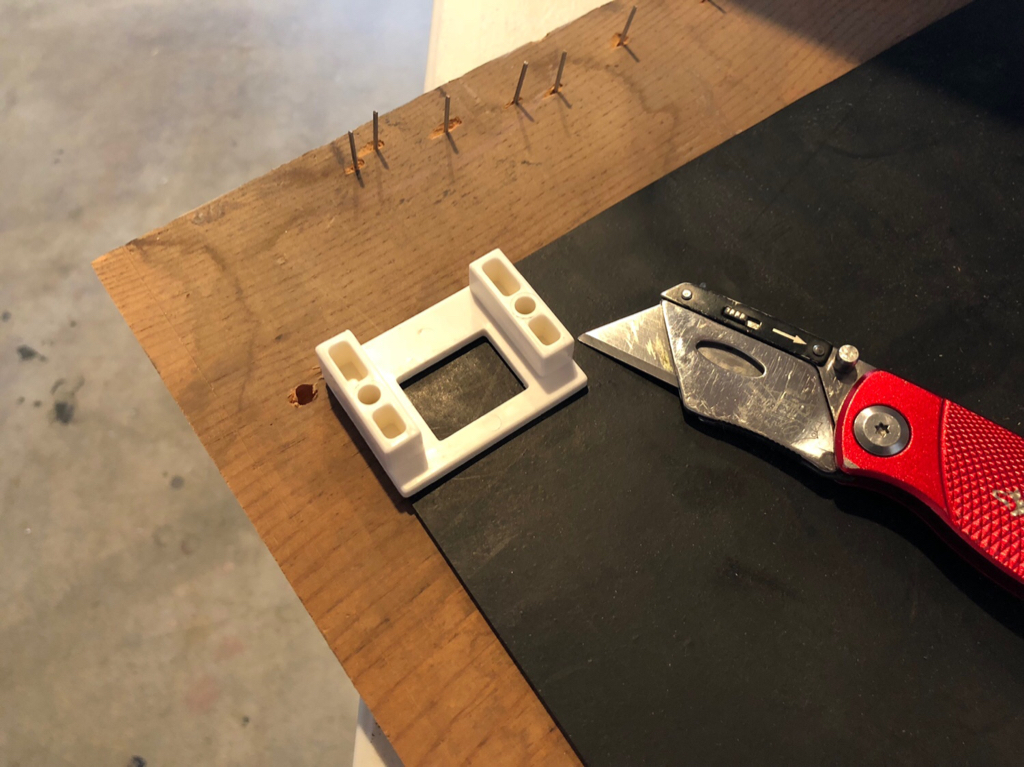
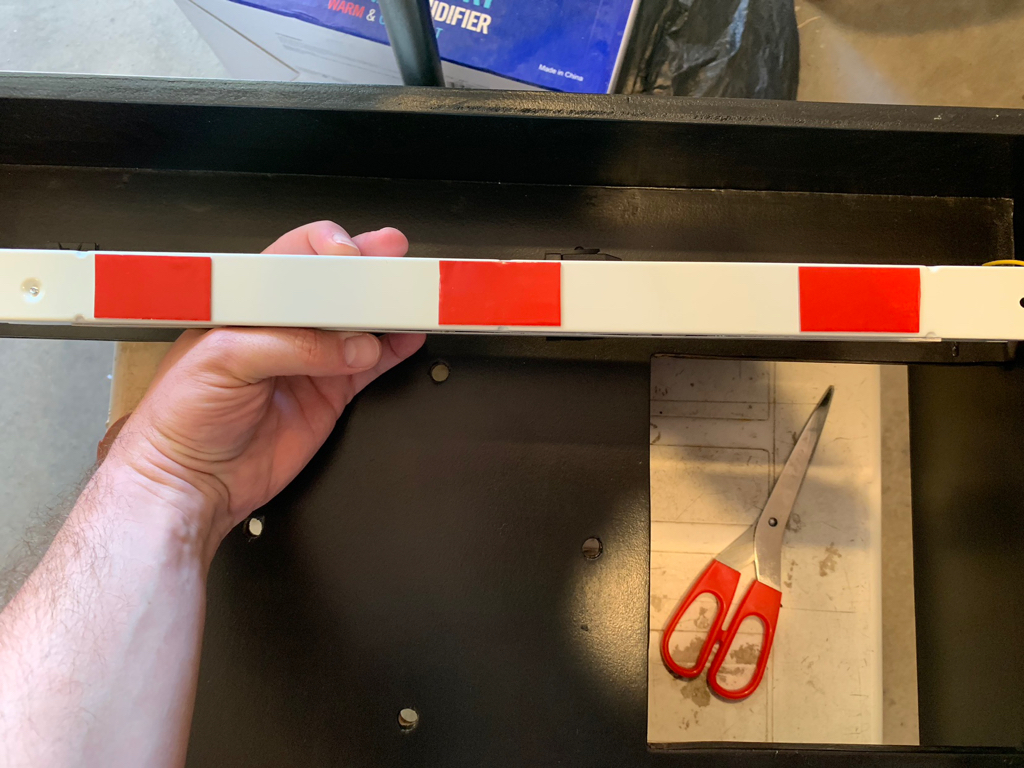
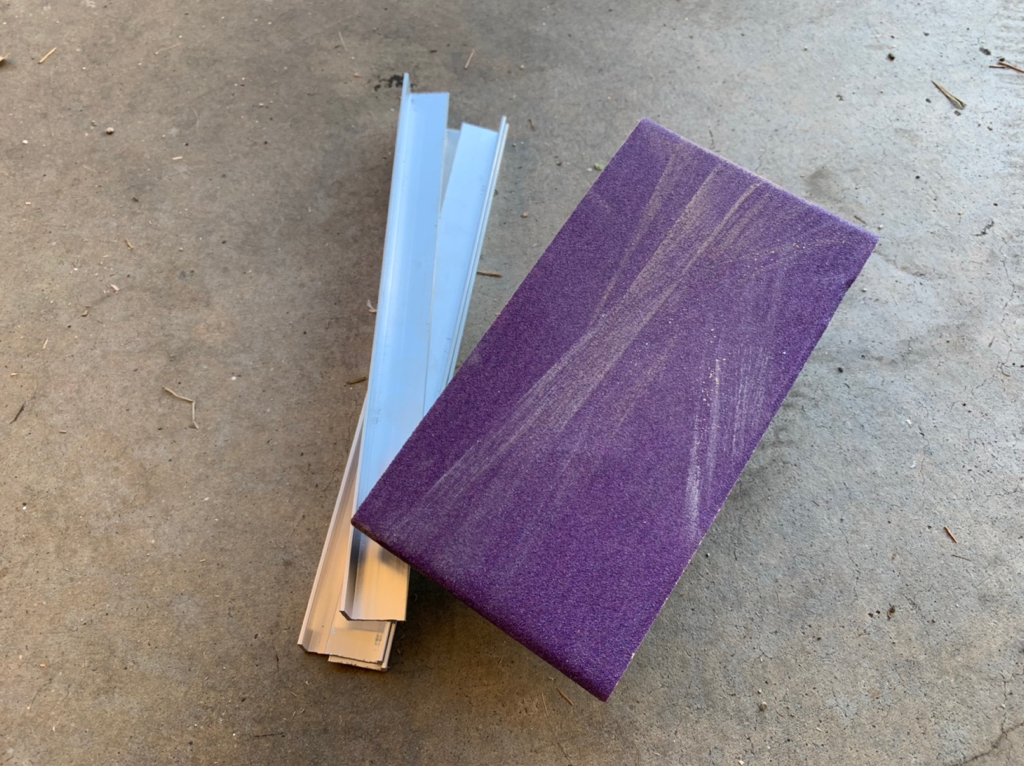
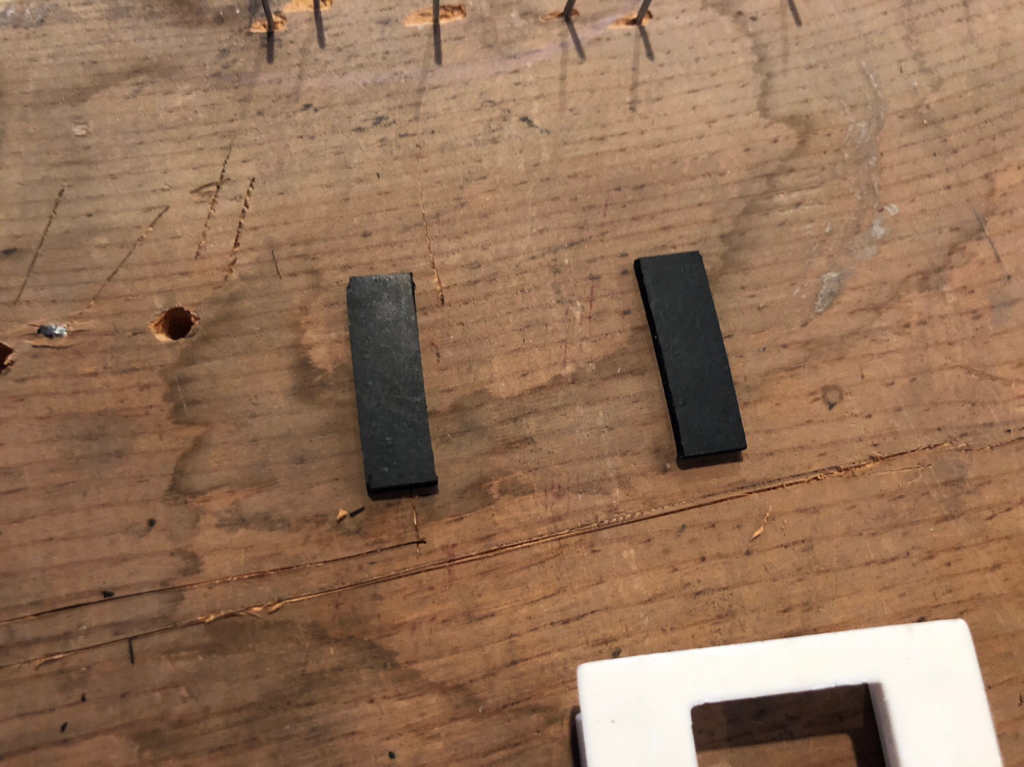
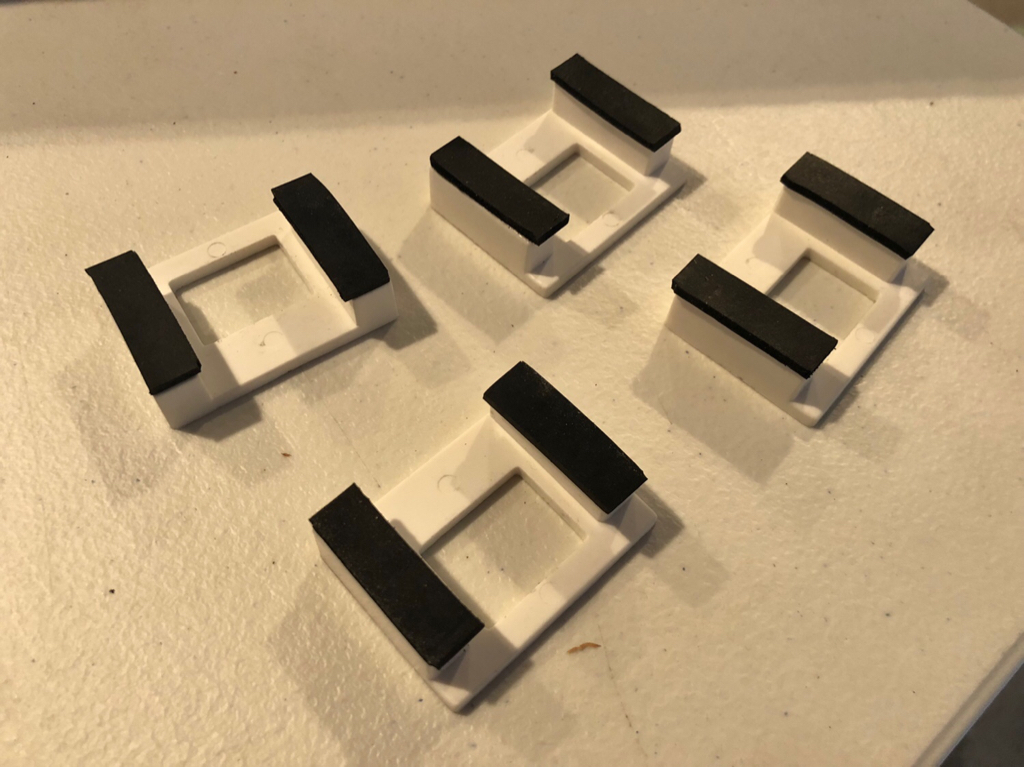
After a bit of racking my head I decided to cut small strips that would only attach to the feet. I used crazy glue to attach that. Once the screw is holding it down, the pieces will never move.

f3f1e9024577273022621b6fabac3149.jpg


d479a60af64d4d578e200202717add53.jpg


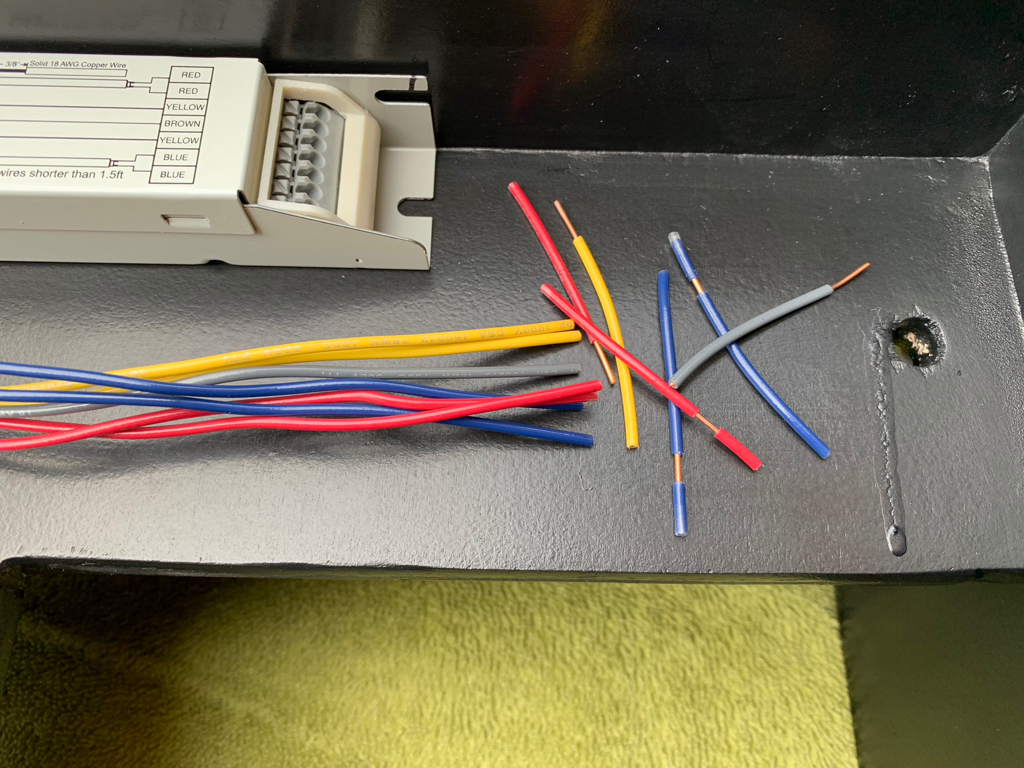
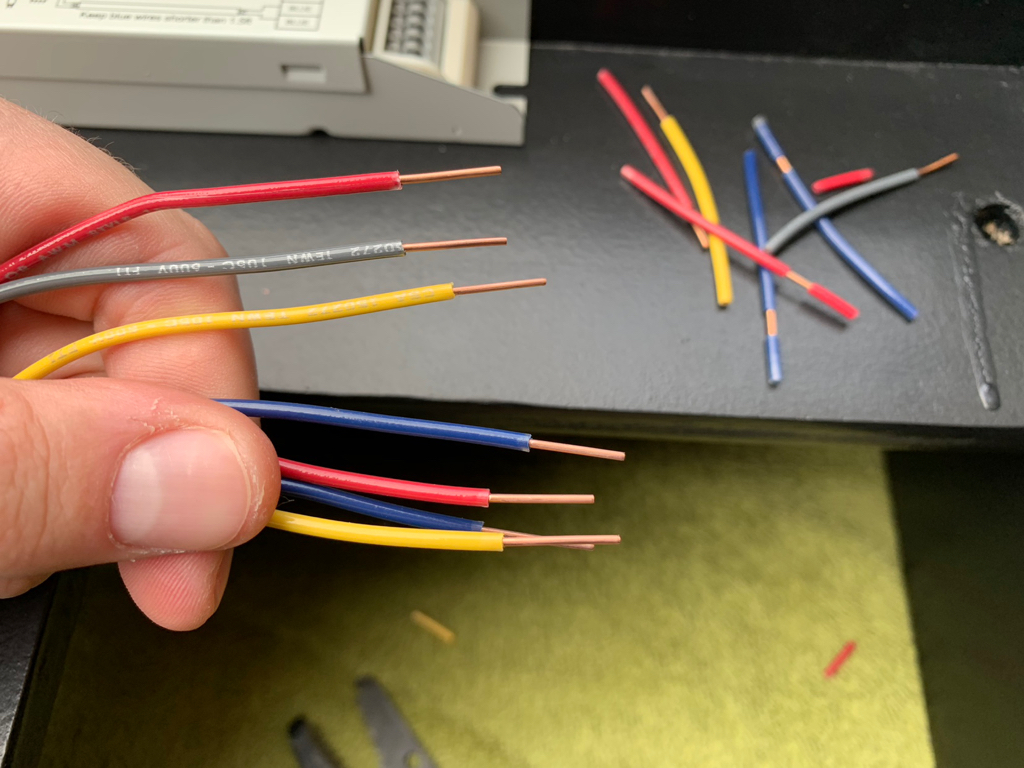
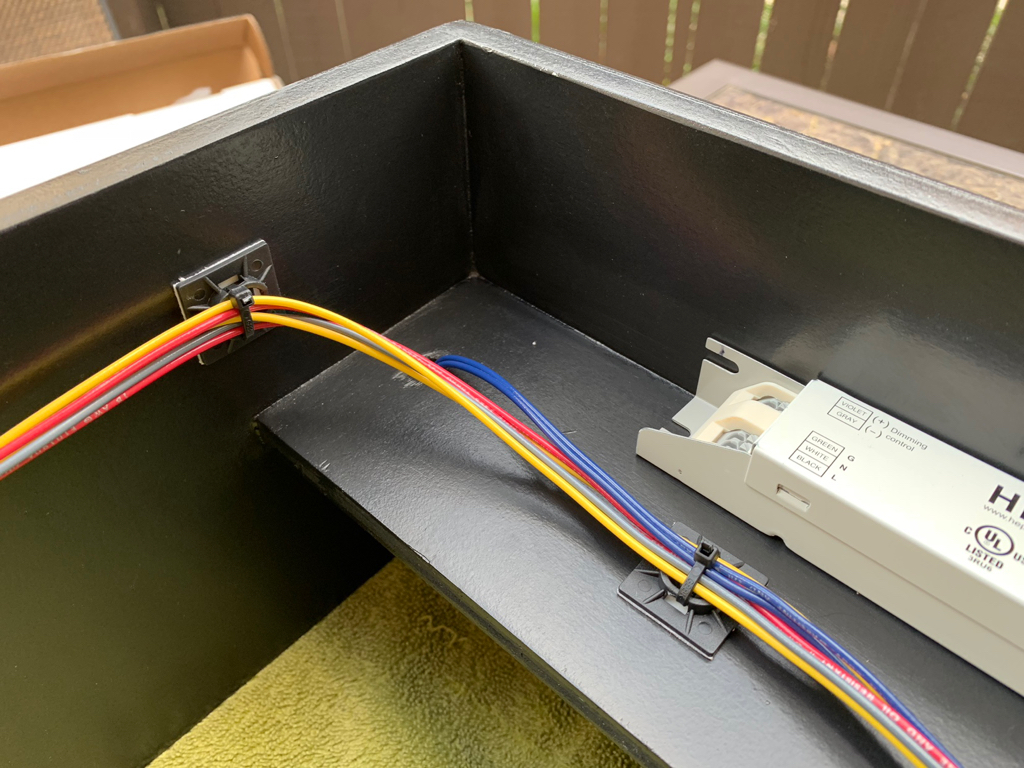
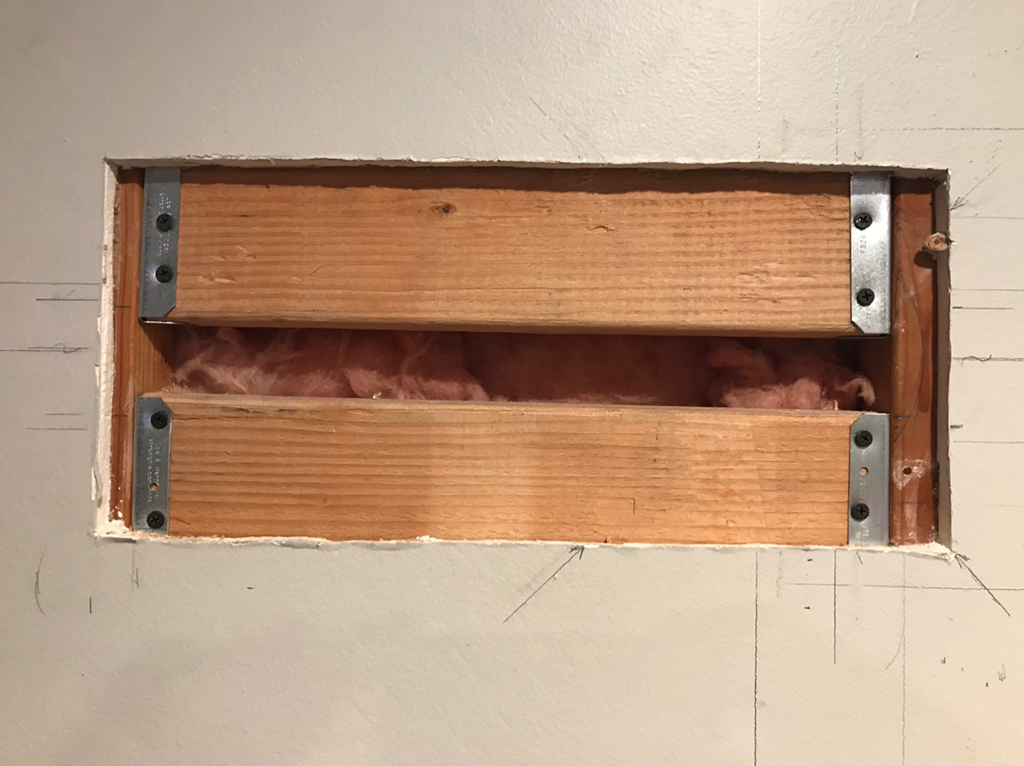
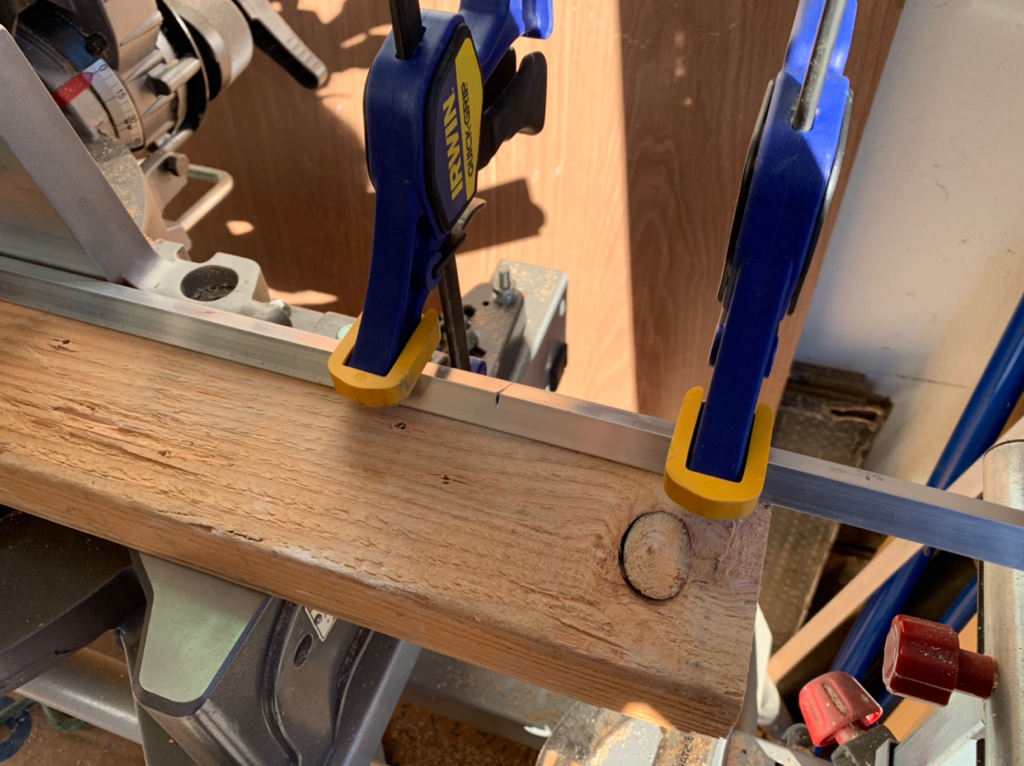
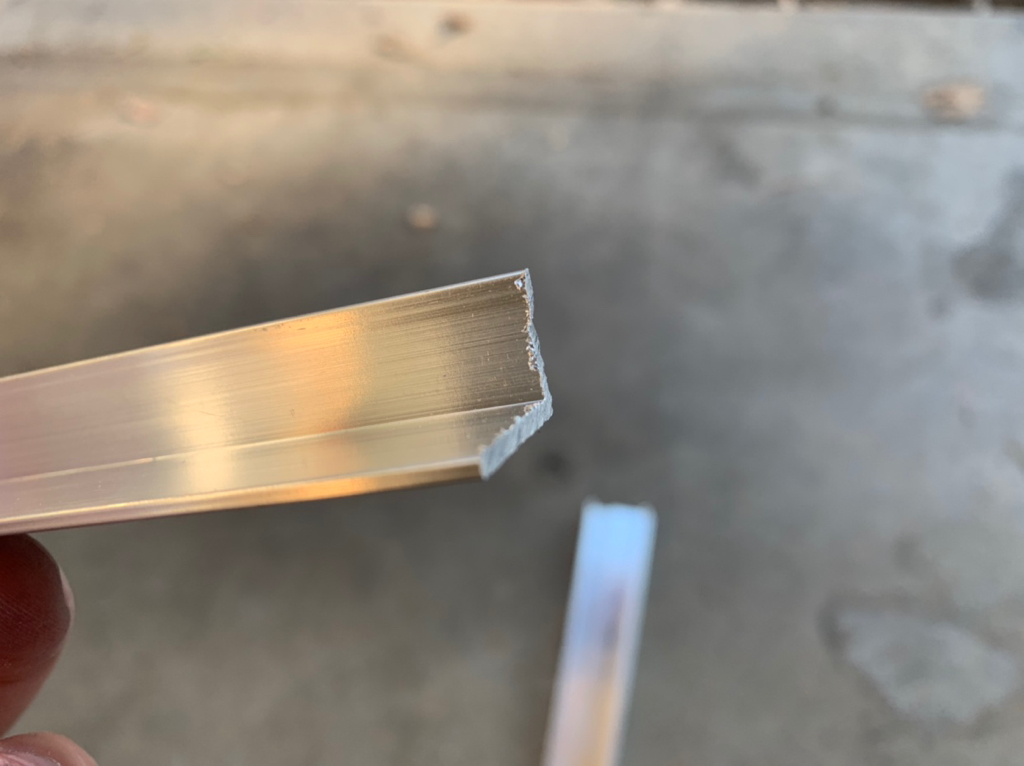
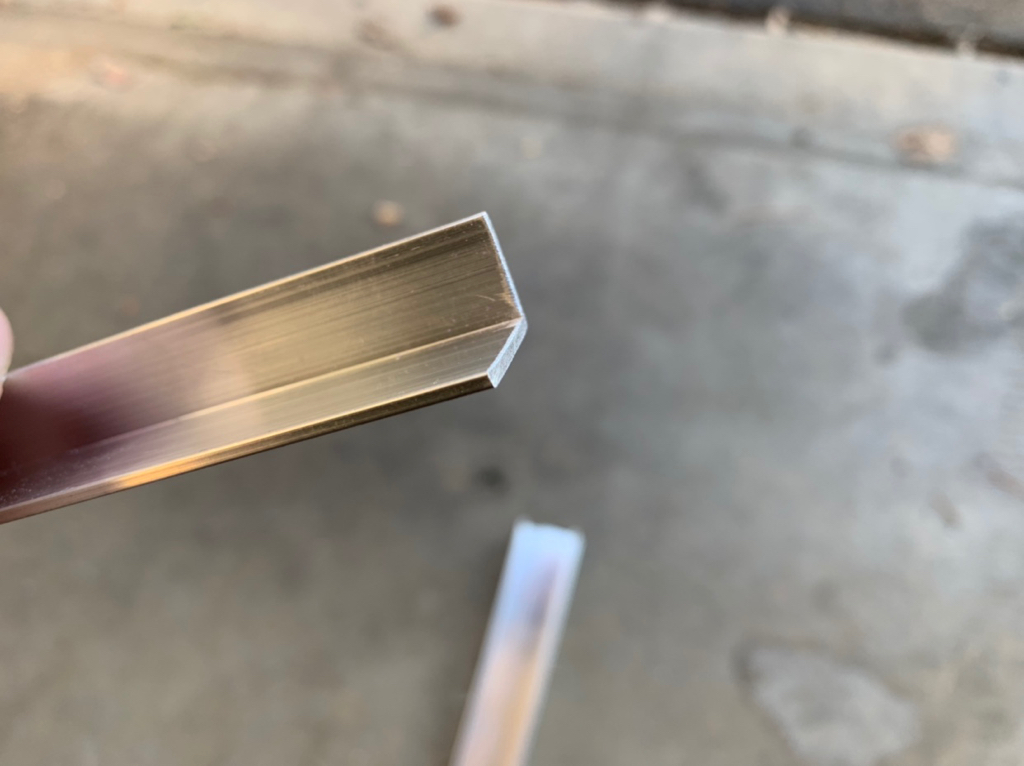
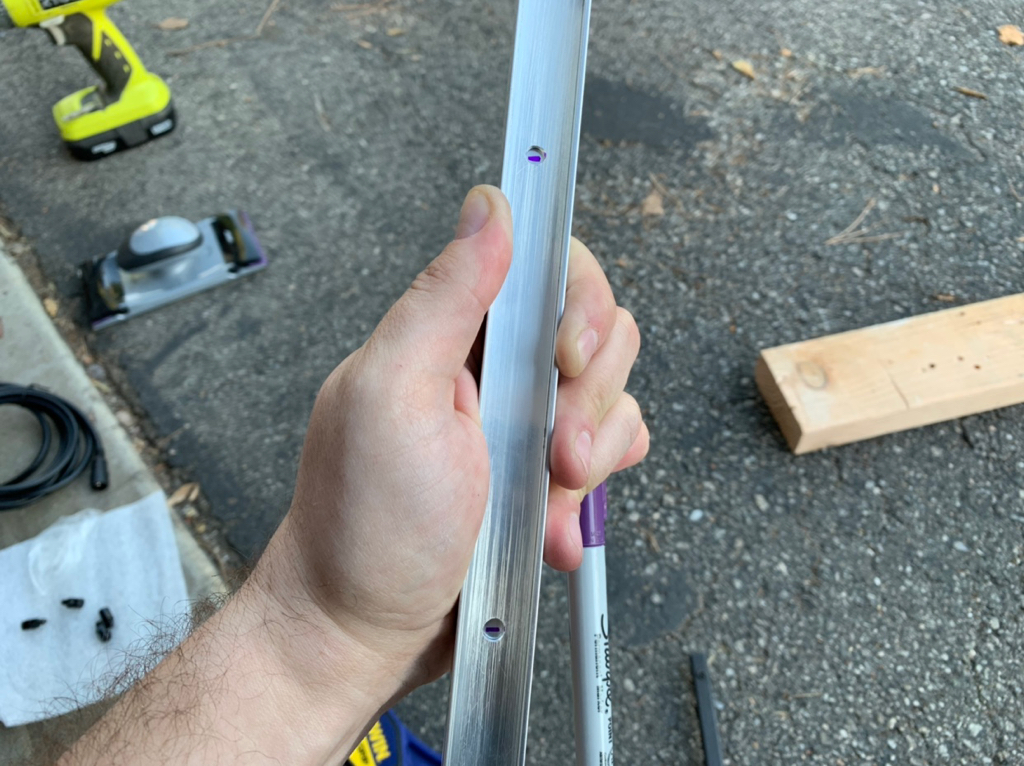
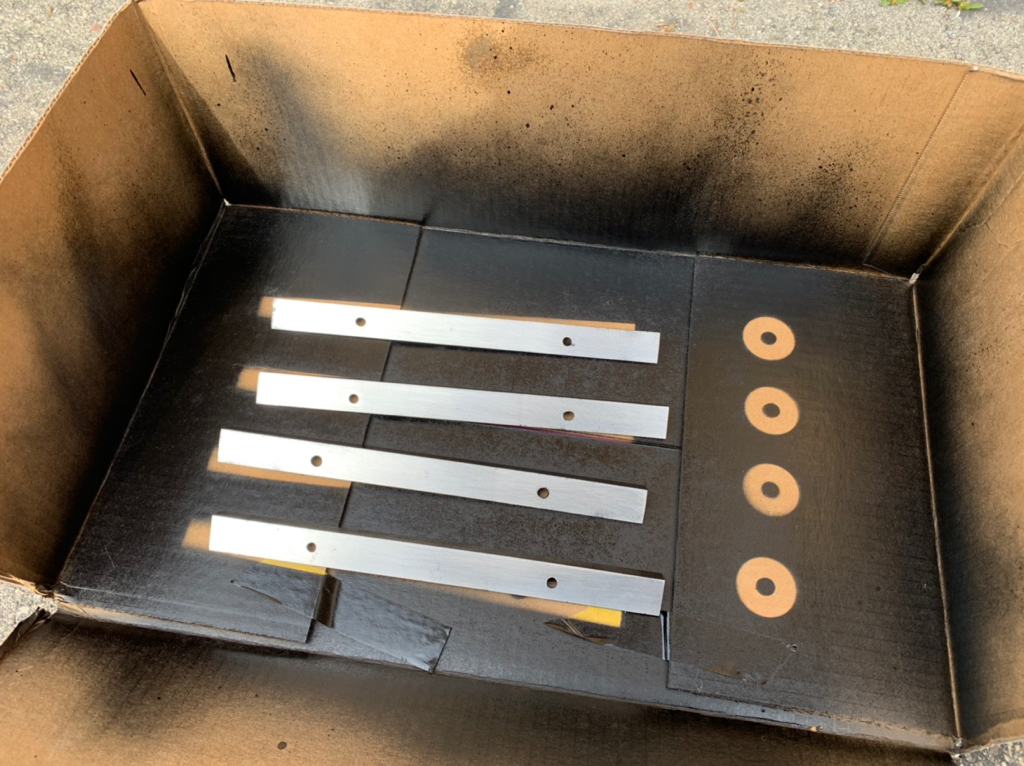
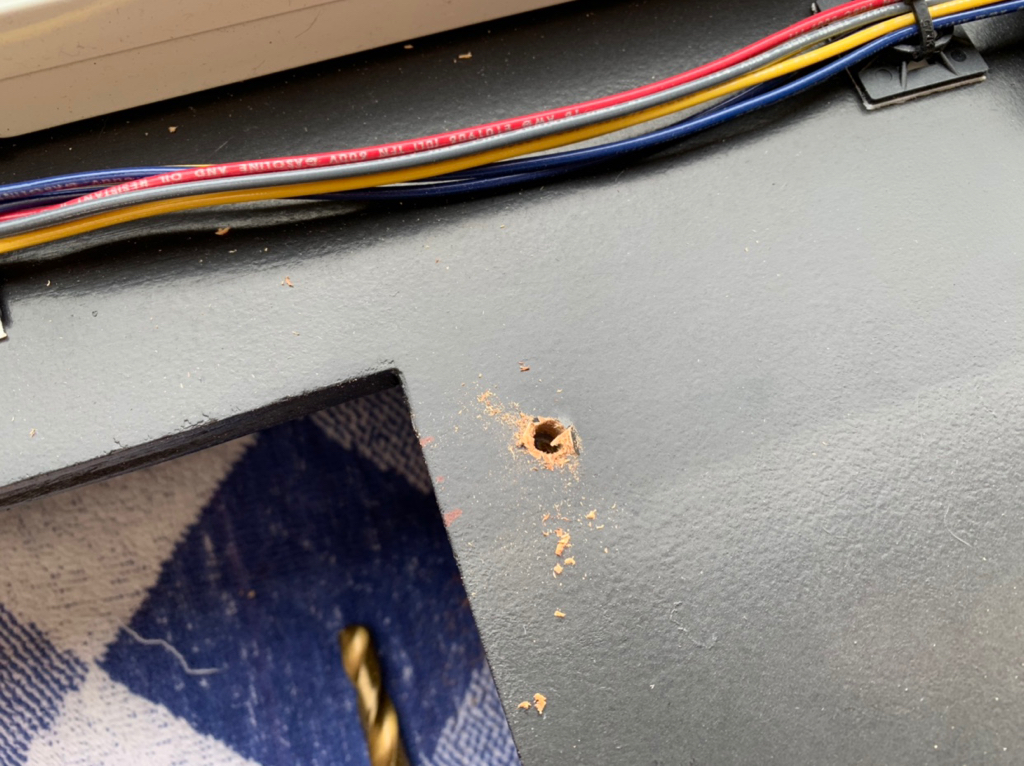
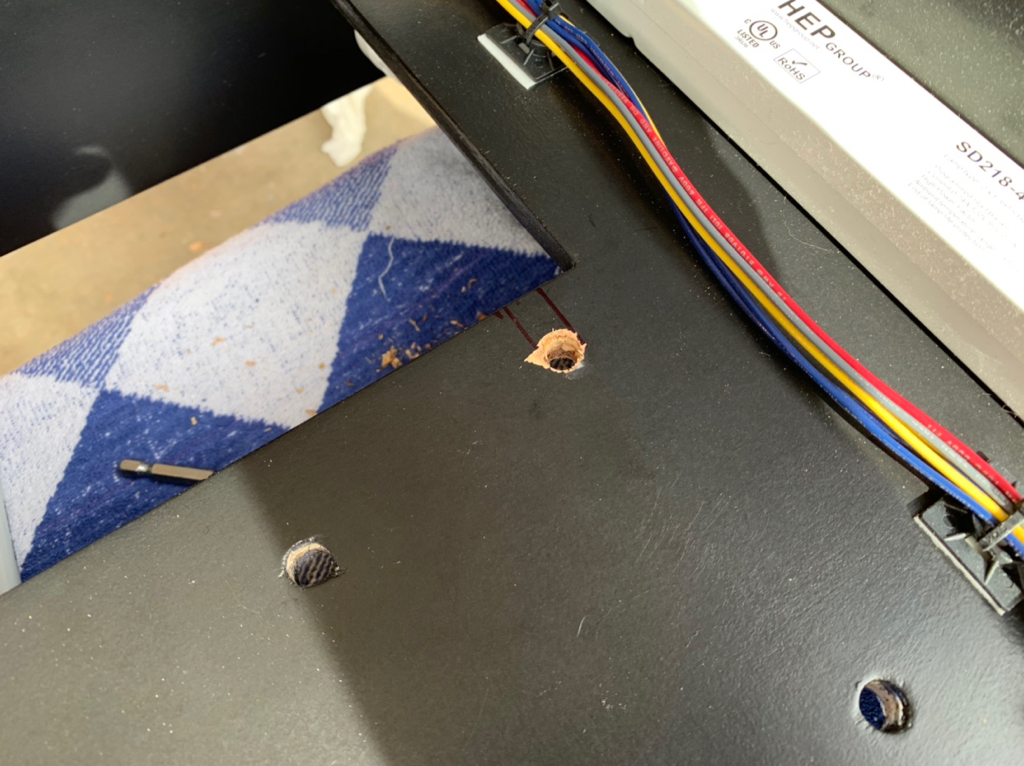
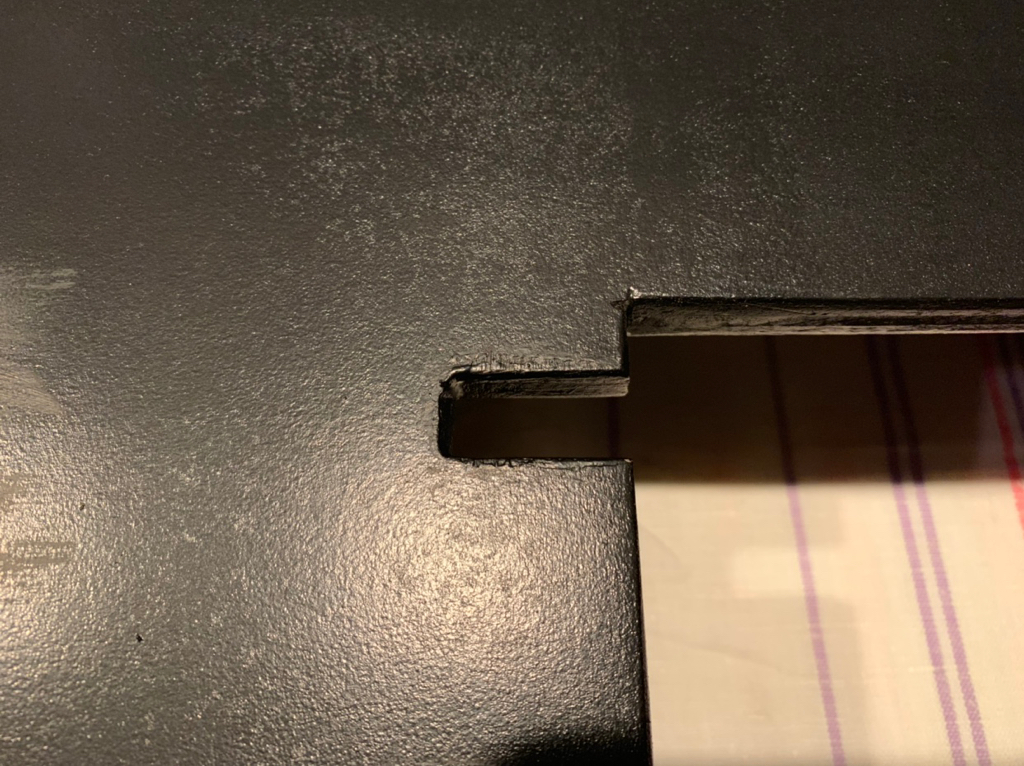
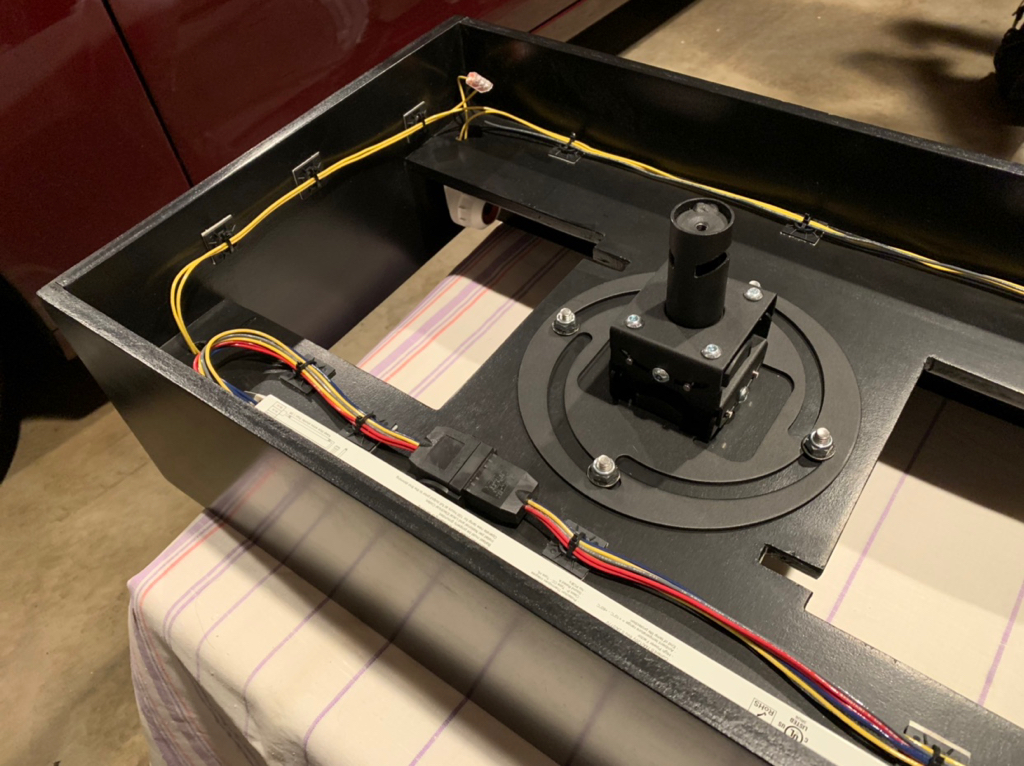
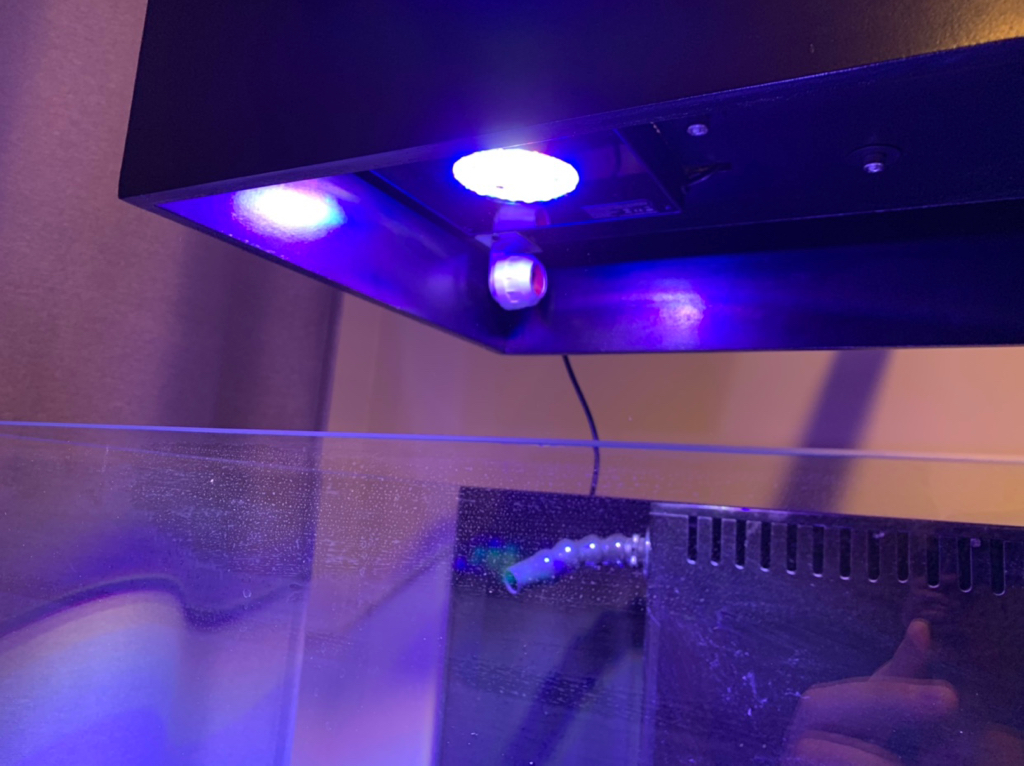
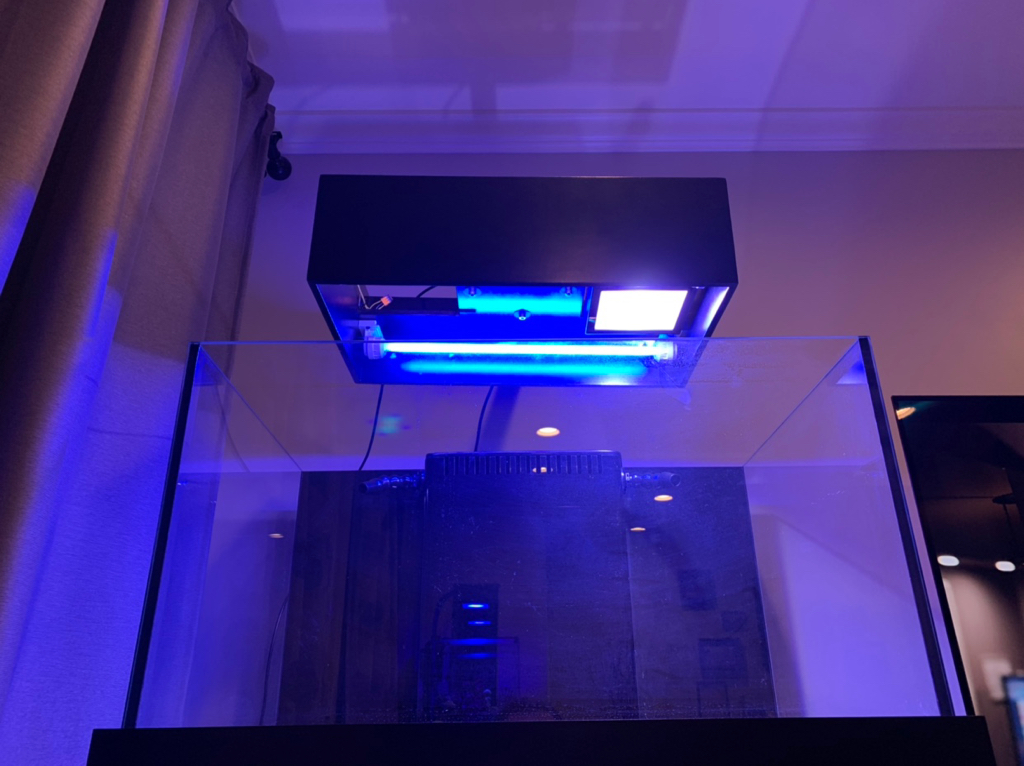
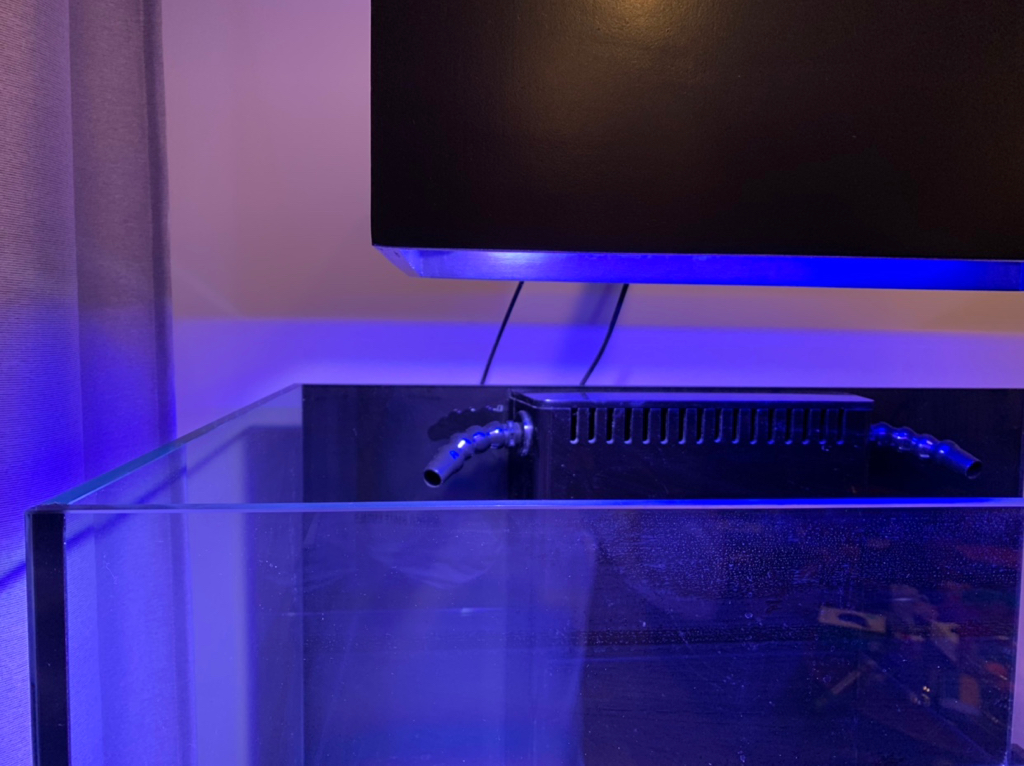
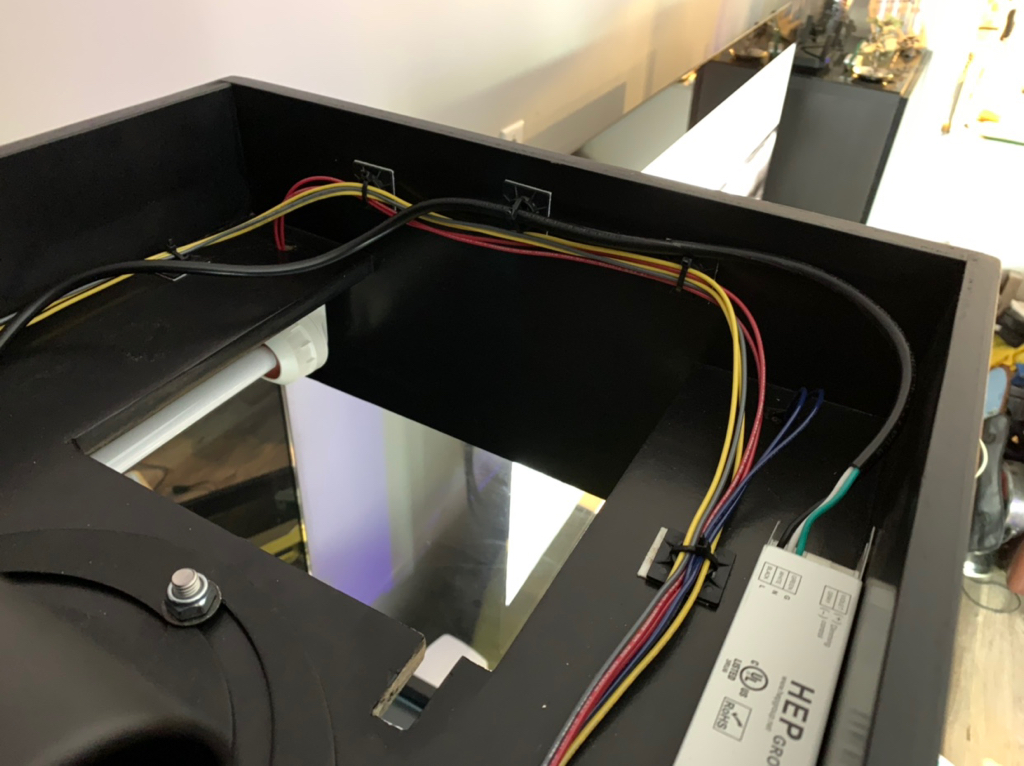
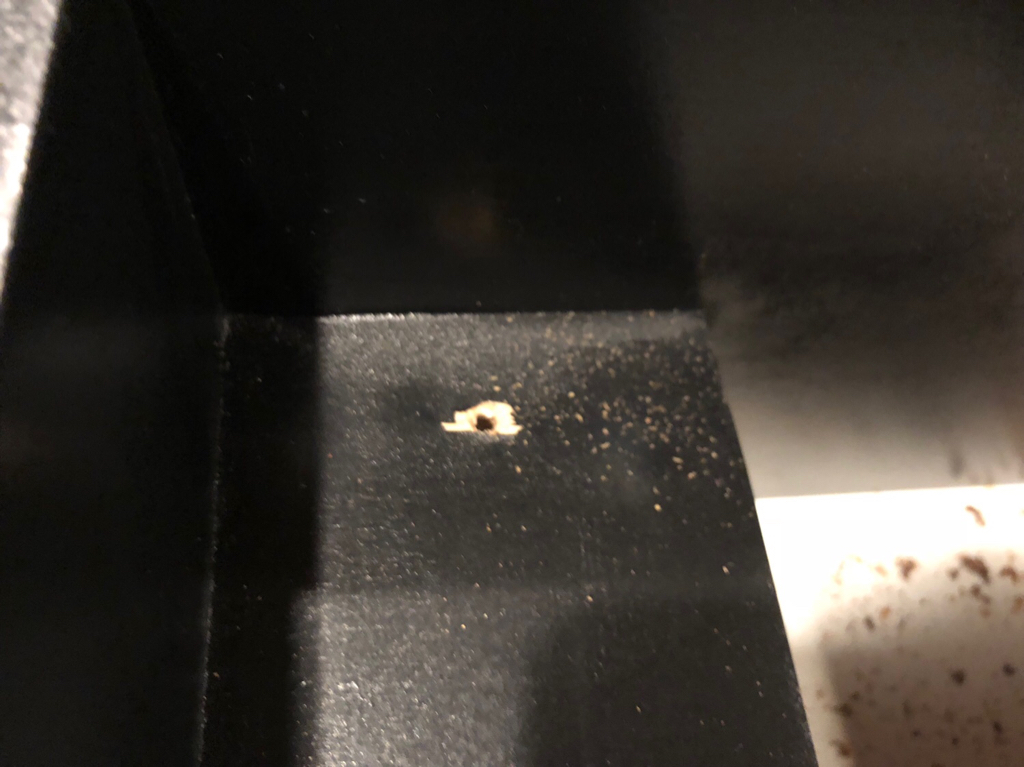
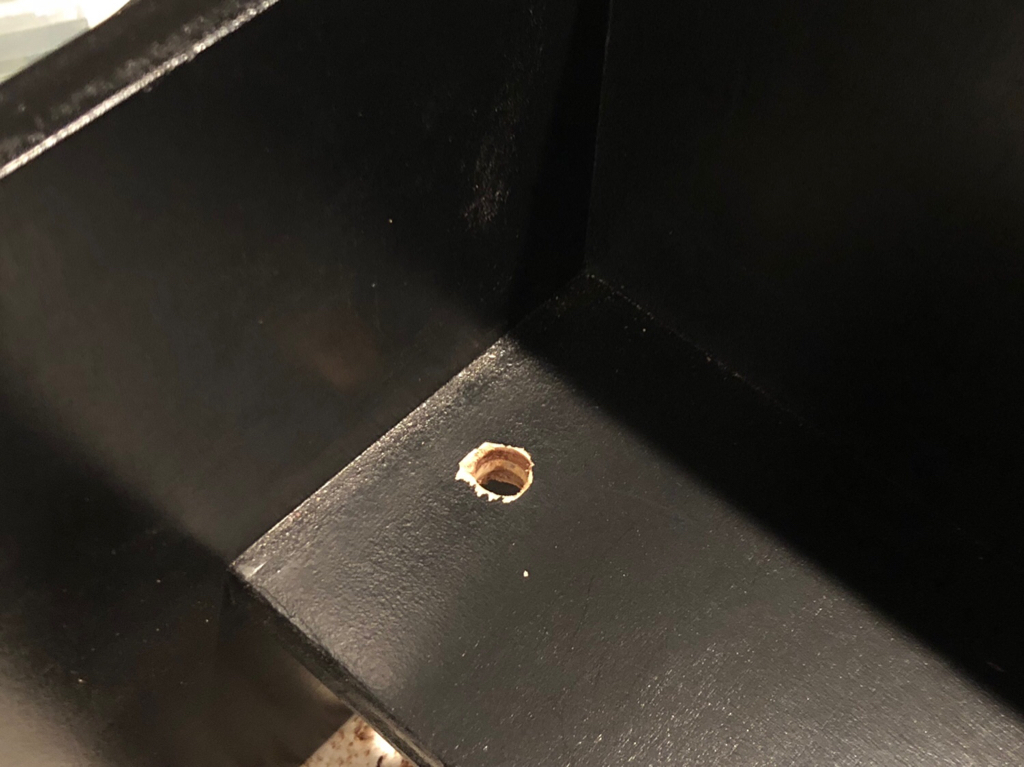
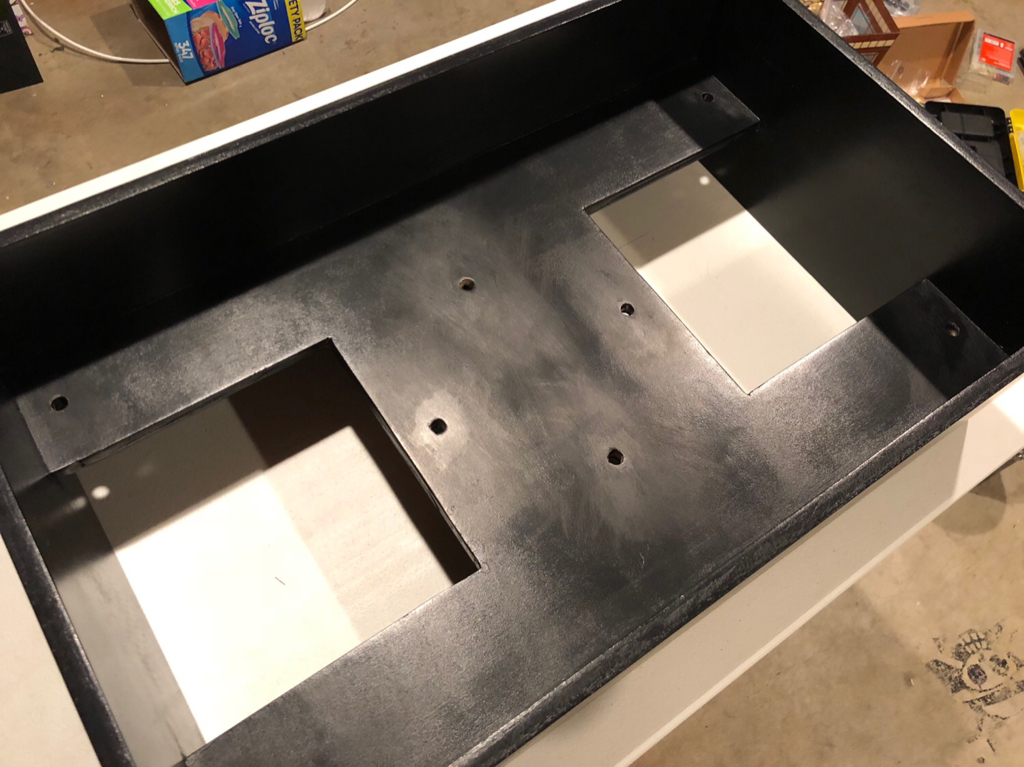
The next step was to add holes in the canopy where the T5 wiring will feed through. I started with a smaller pilot hole before moving to a larger drill bit while minimizing chipping. I then sanded down the openings to clean up the holes.

97590b0f1218c5adfb7786115e1d9d29.jpg


17c824d51bf32d57d7c370cbca1d79b7.jpg


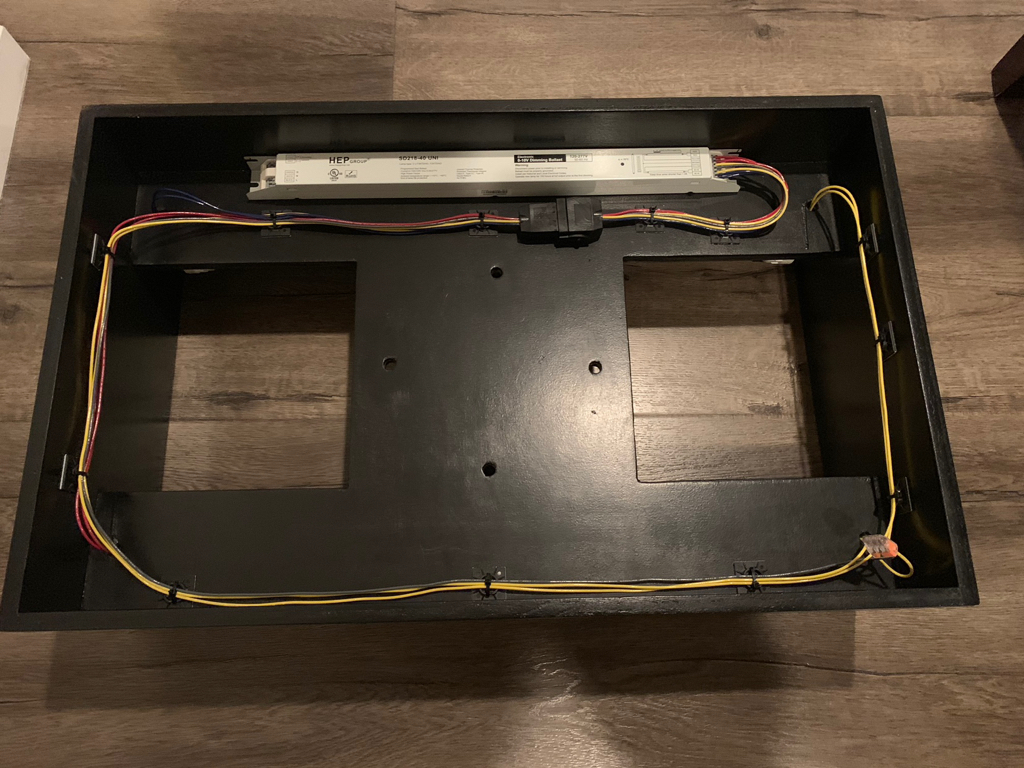
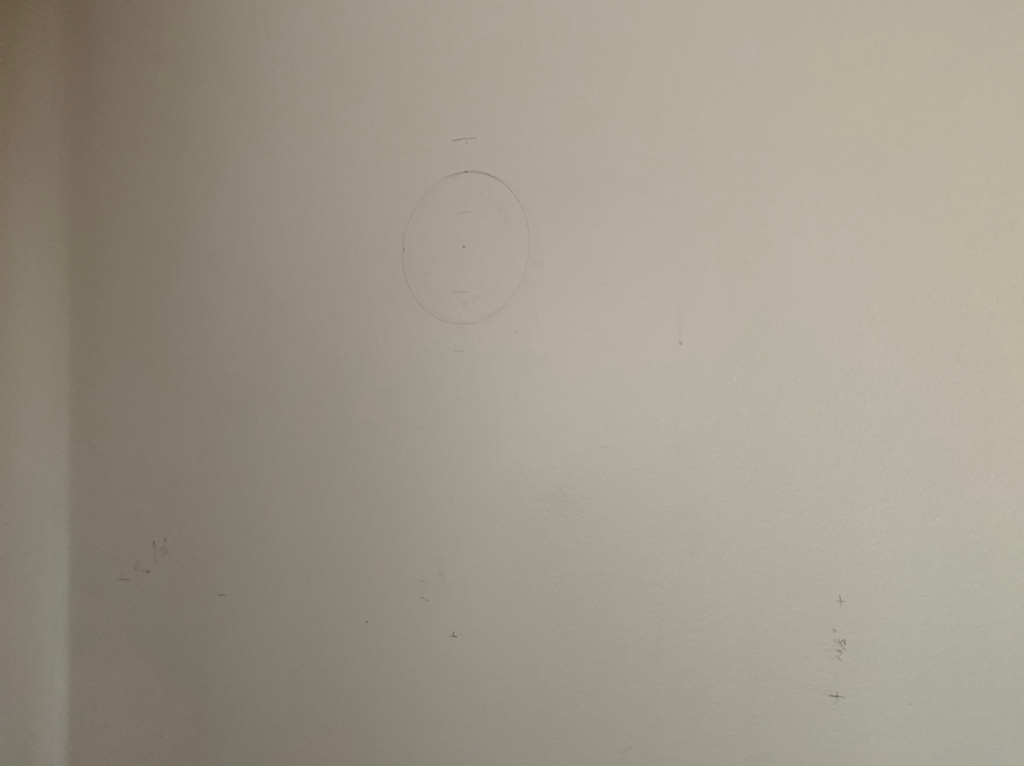
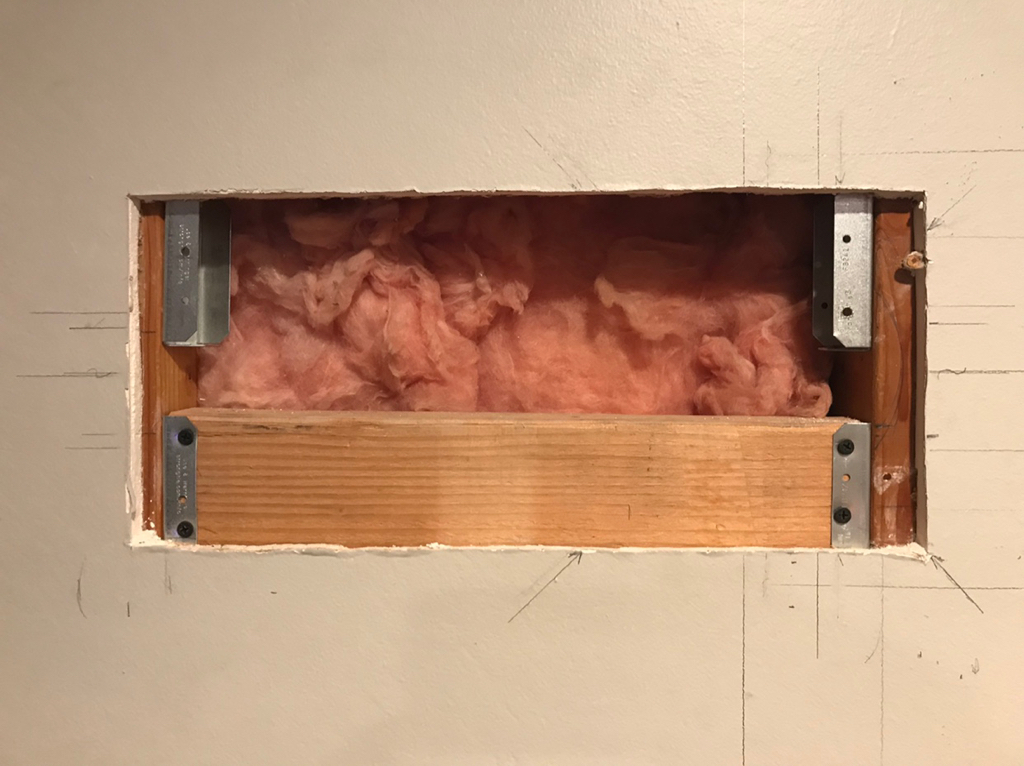
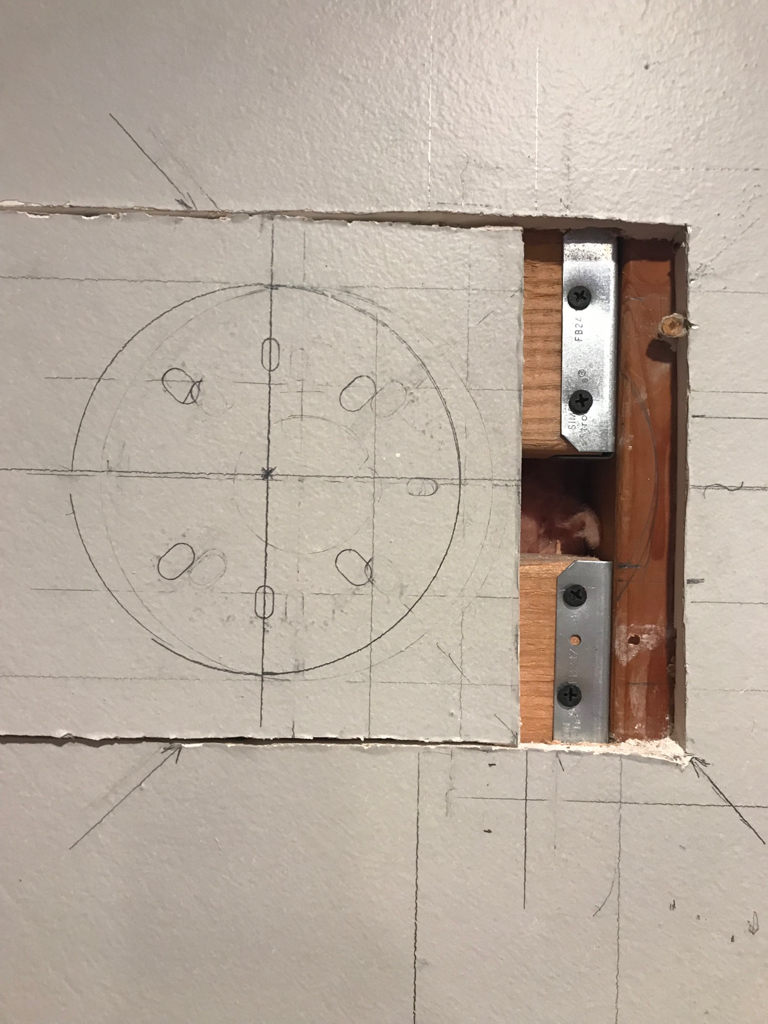
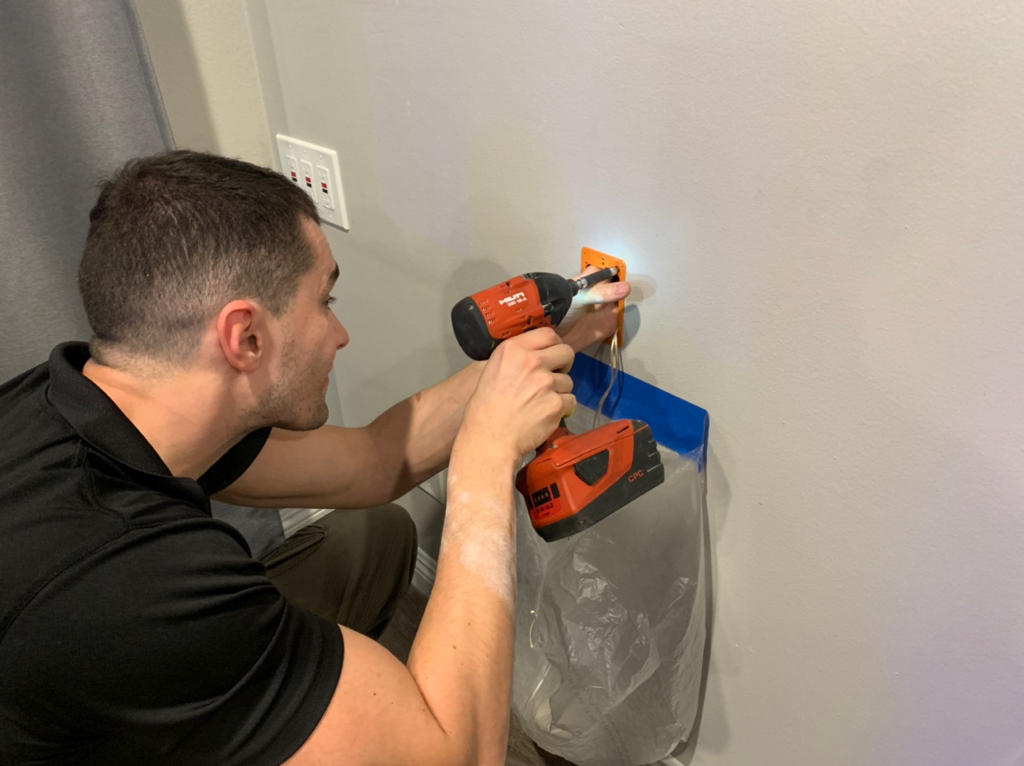
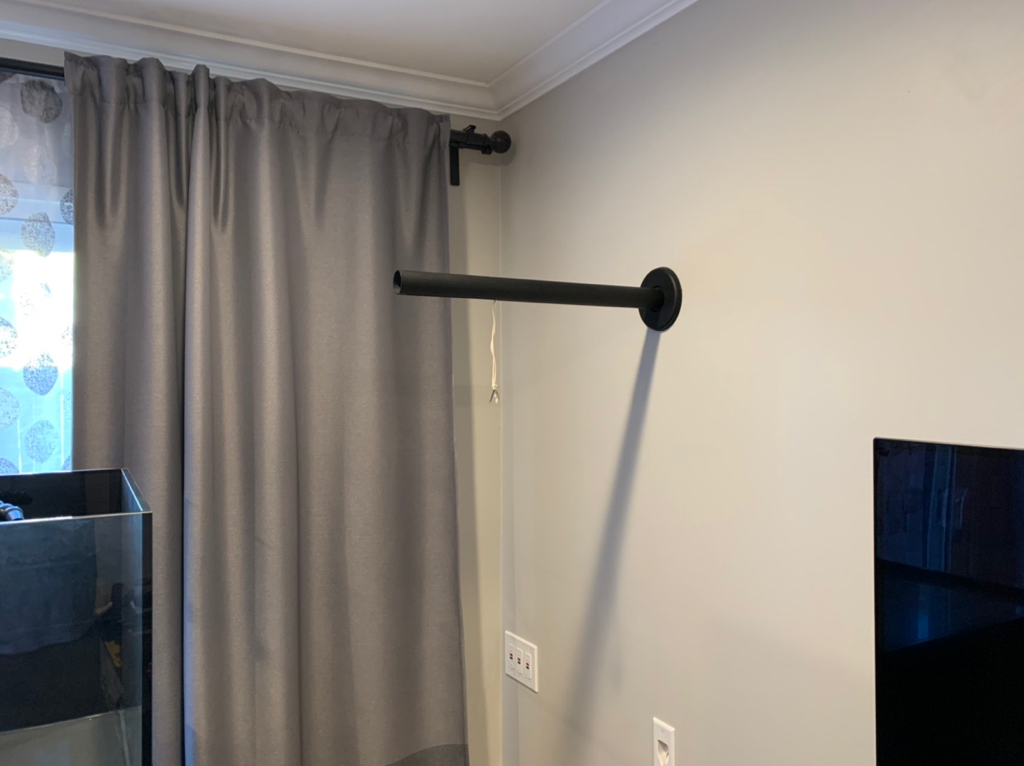
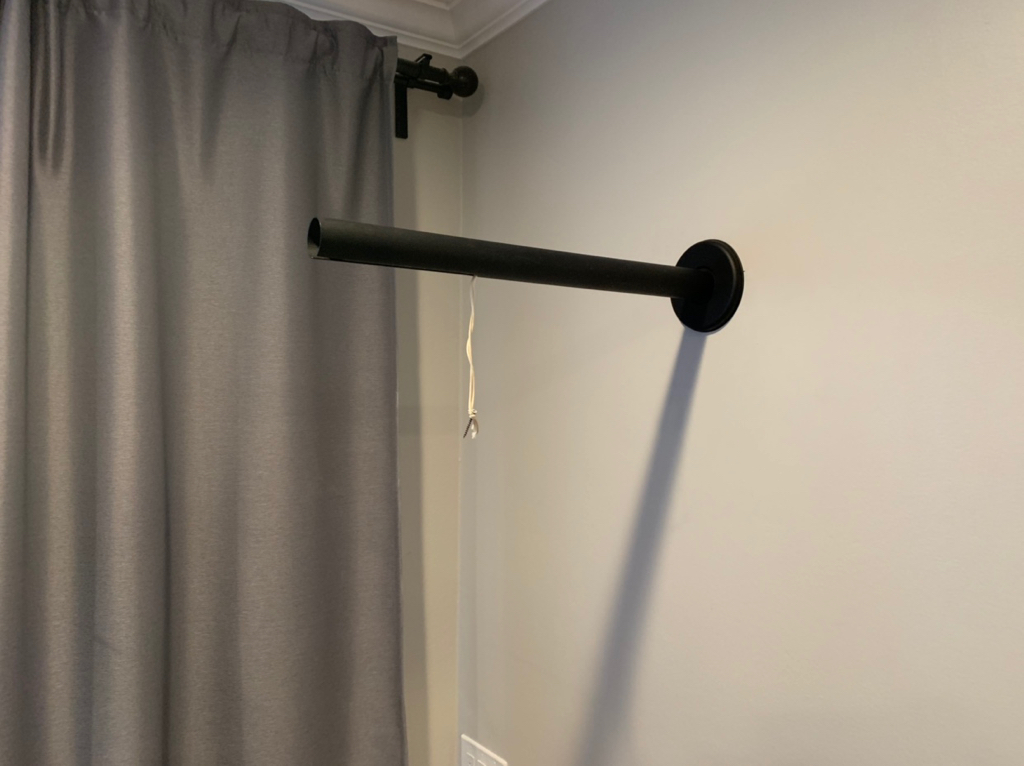
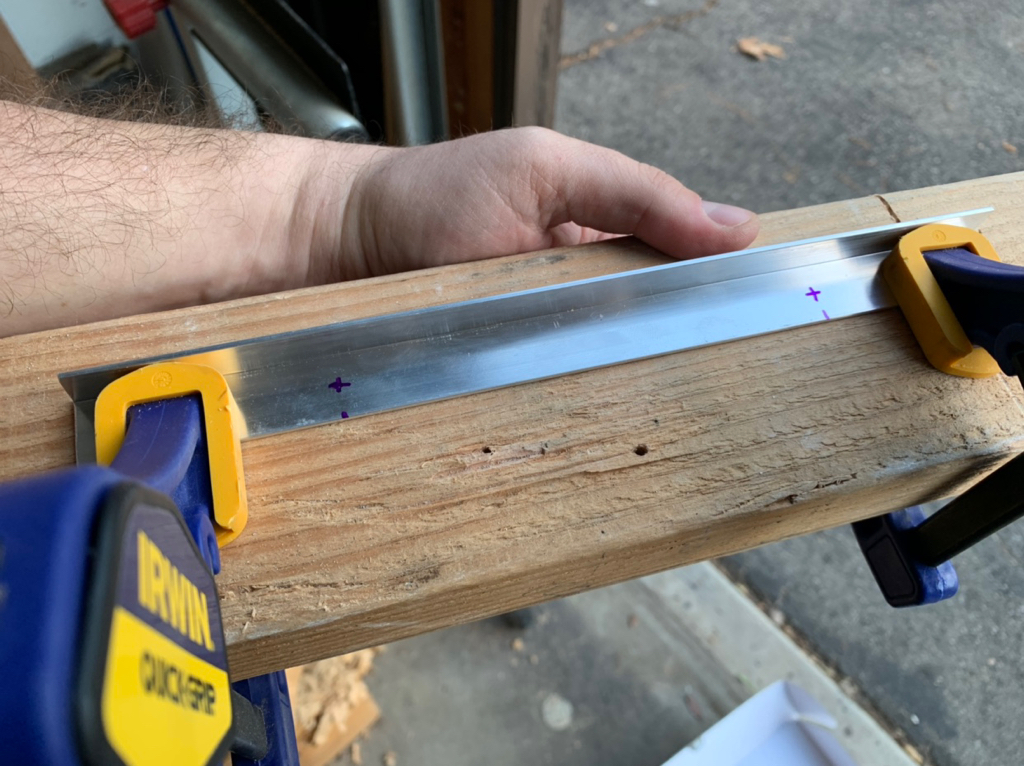
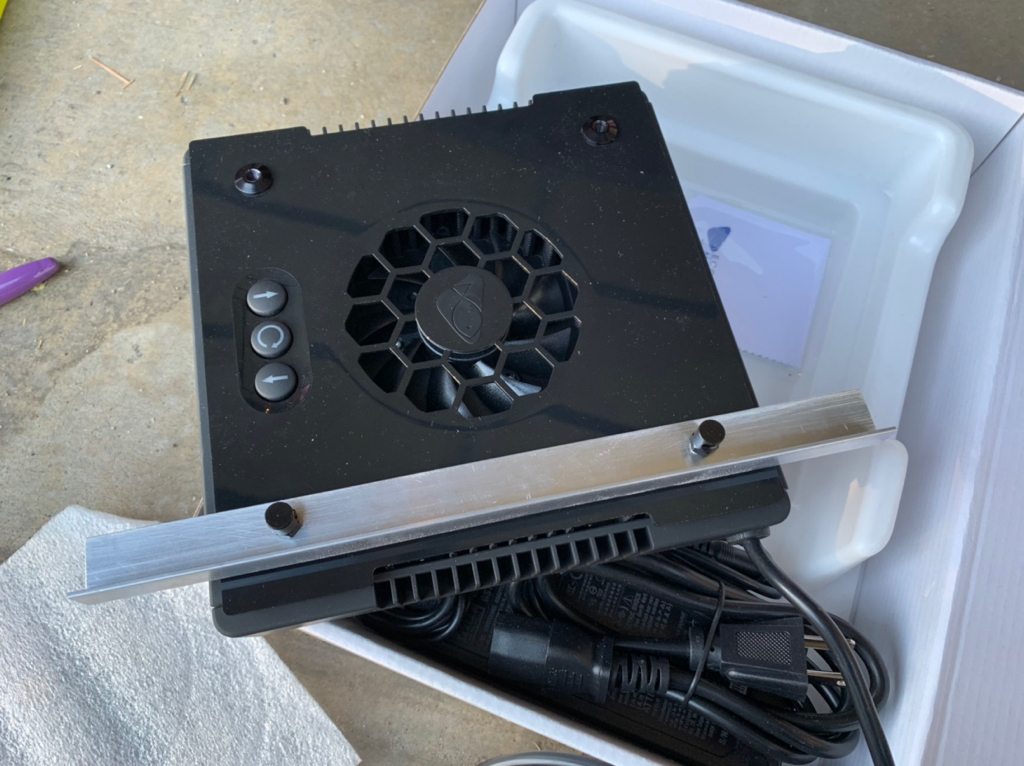
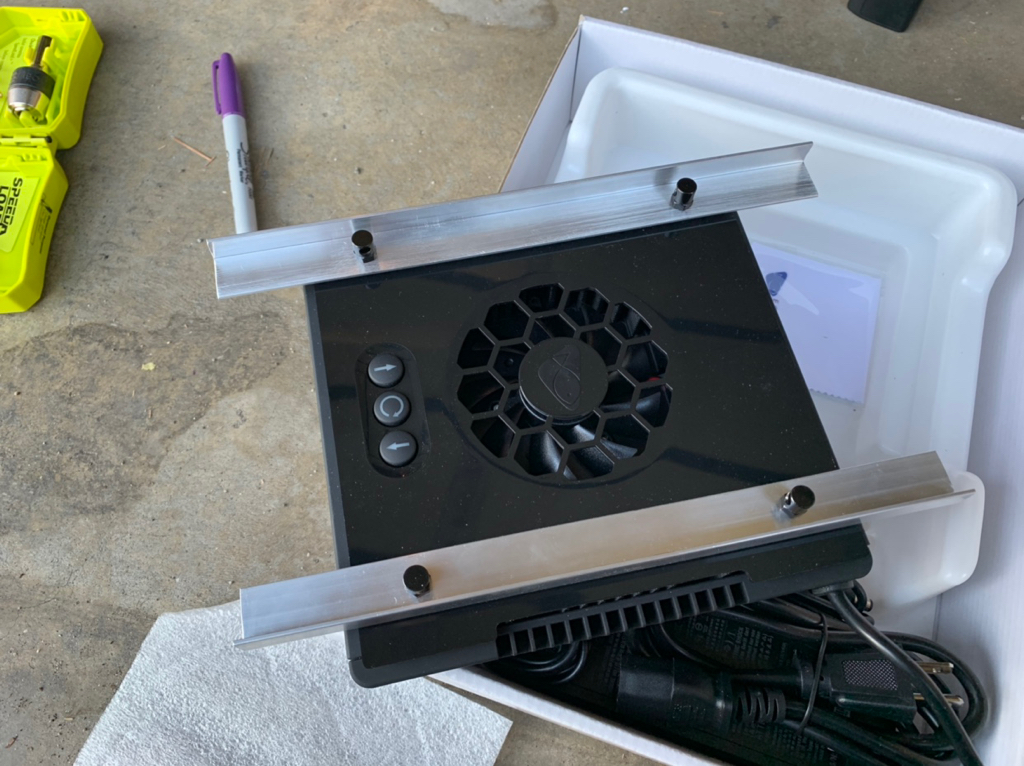
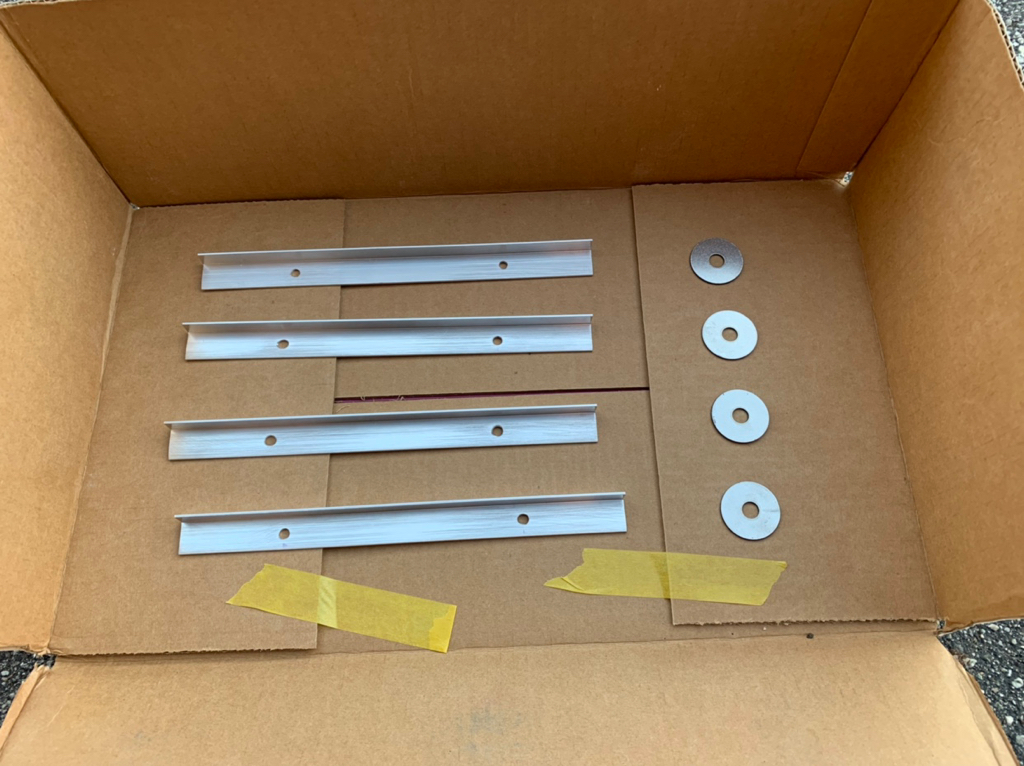
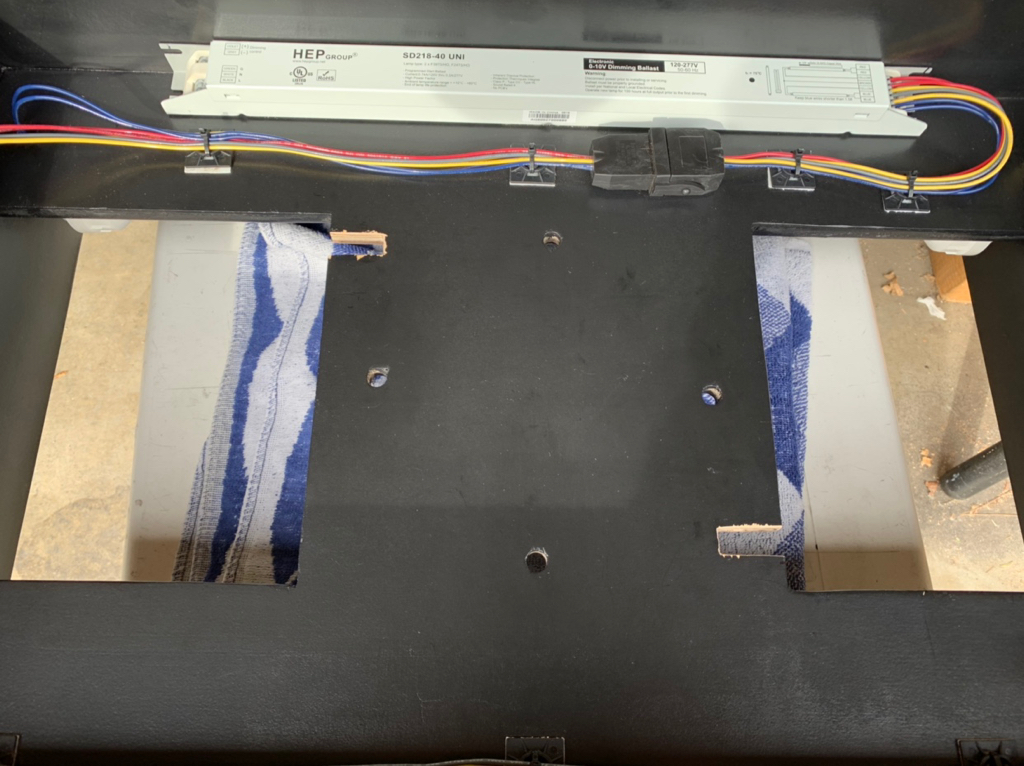
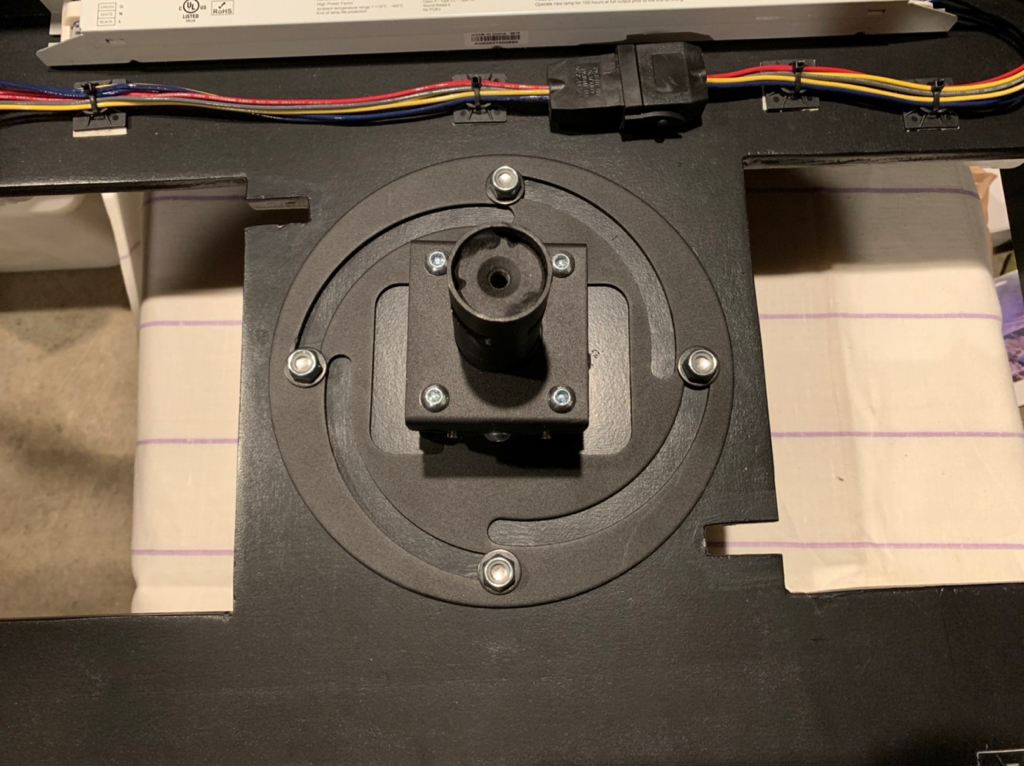
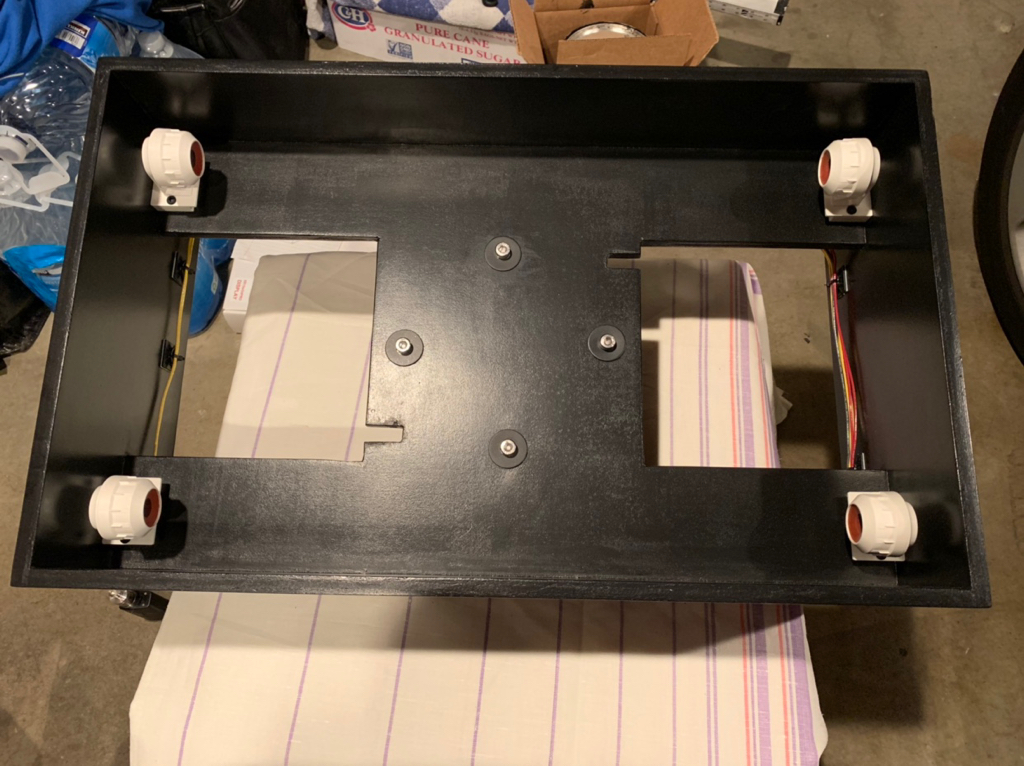
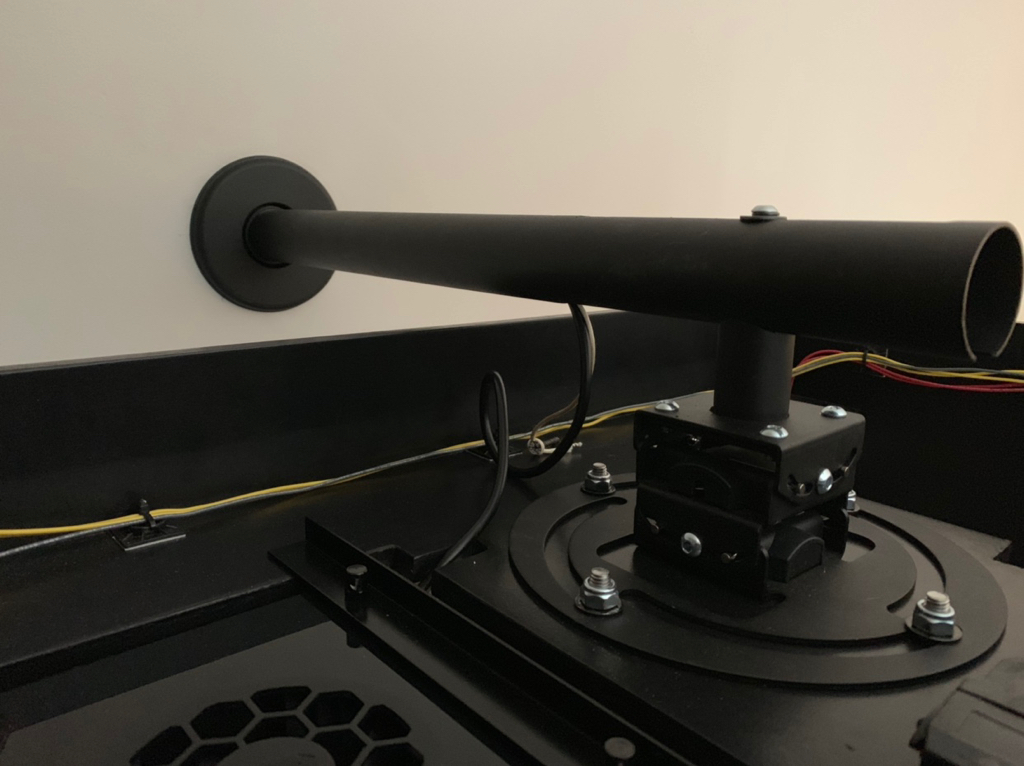
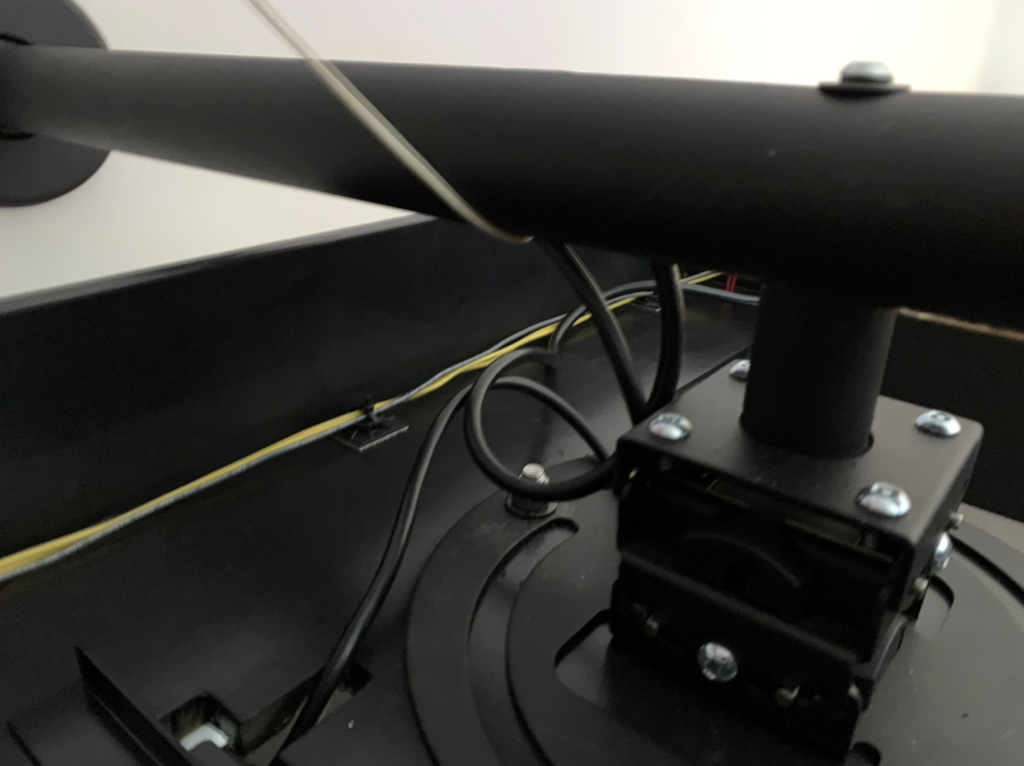
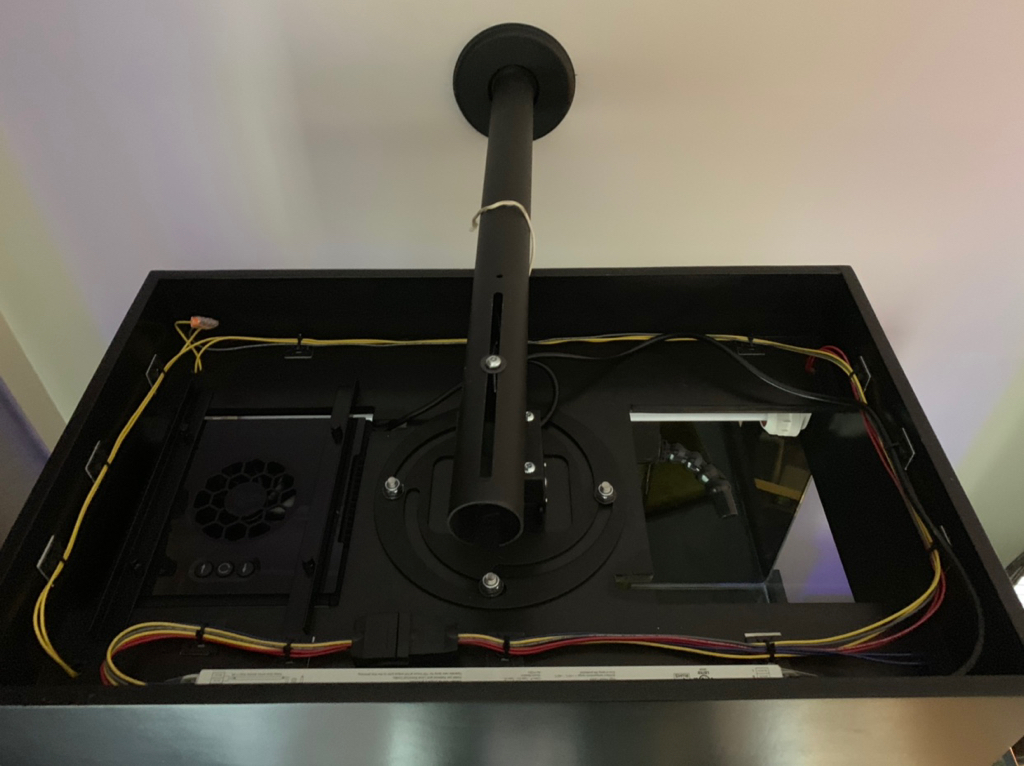
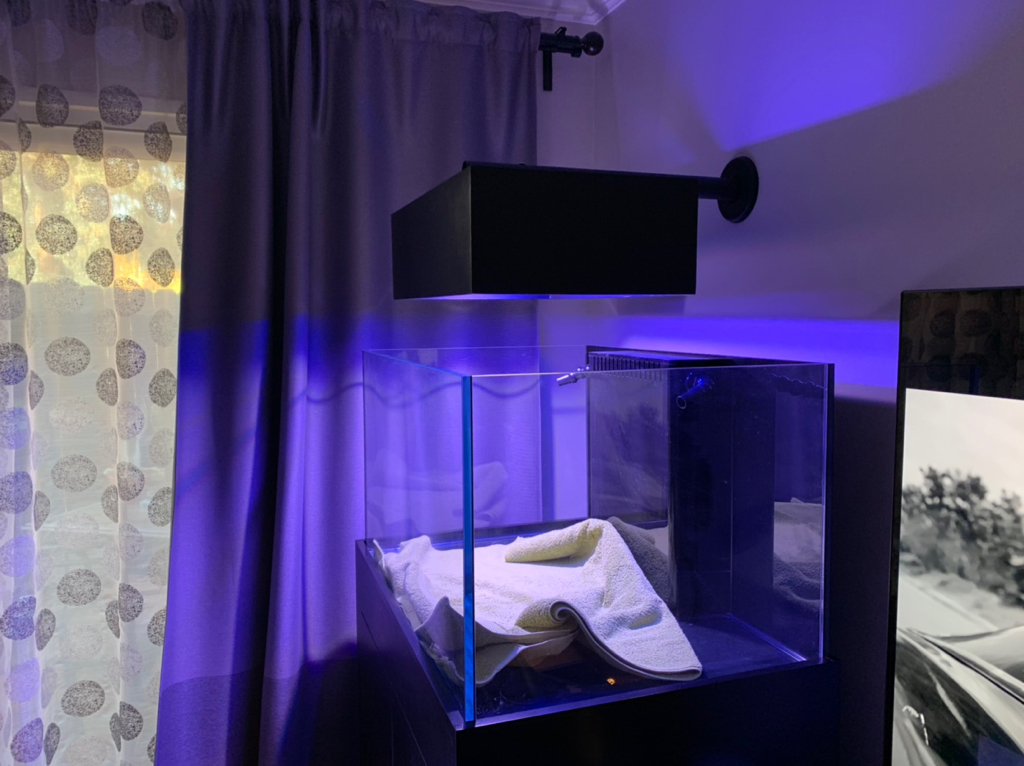
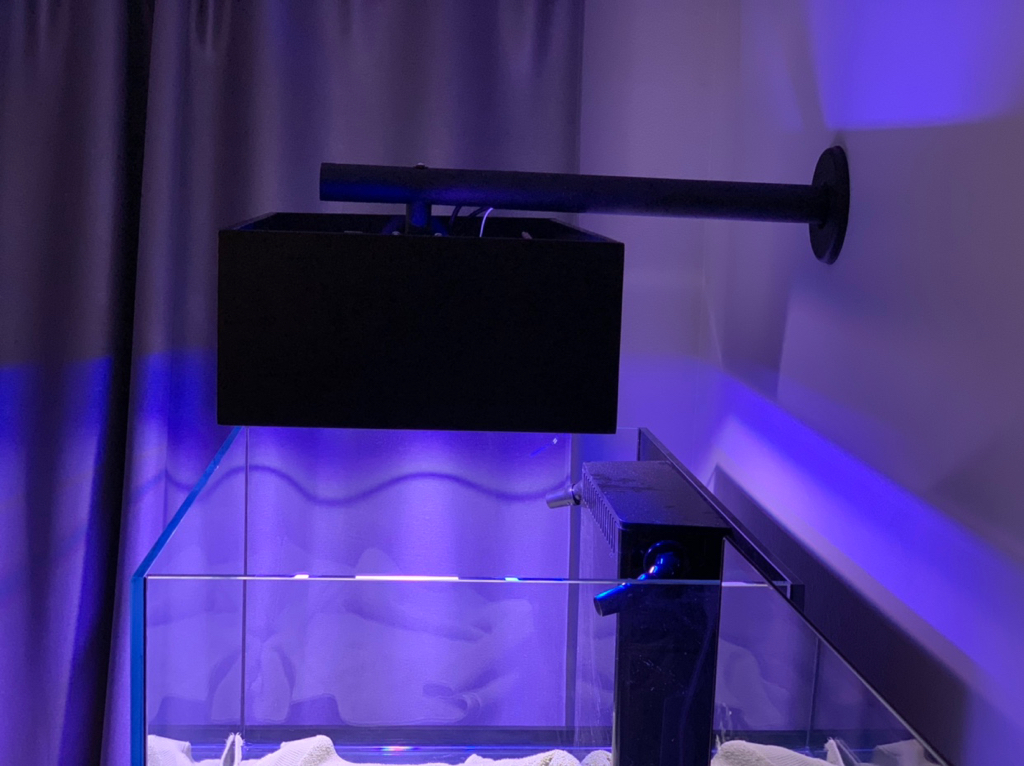
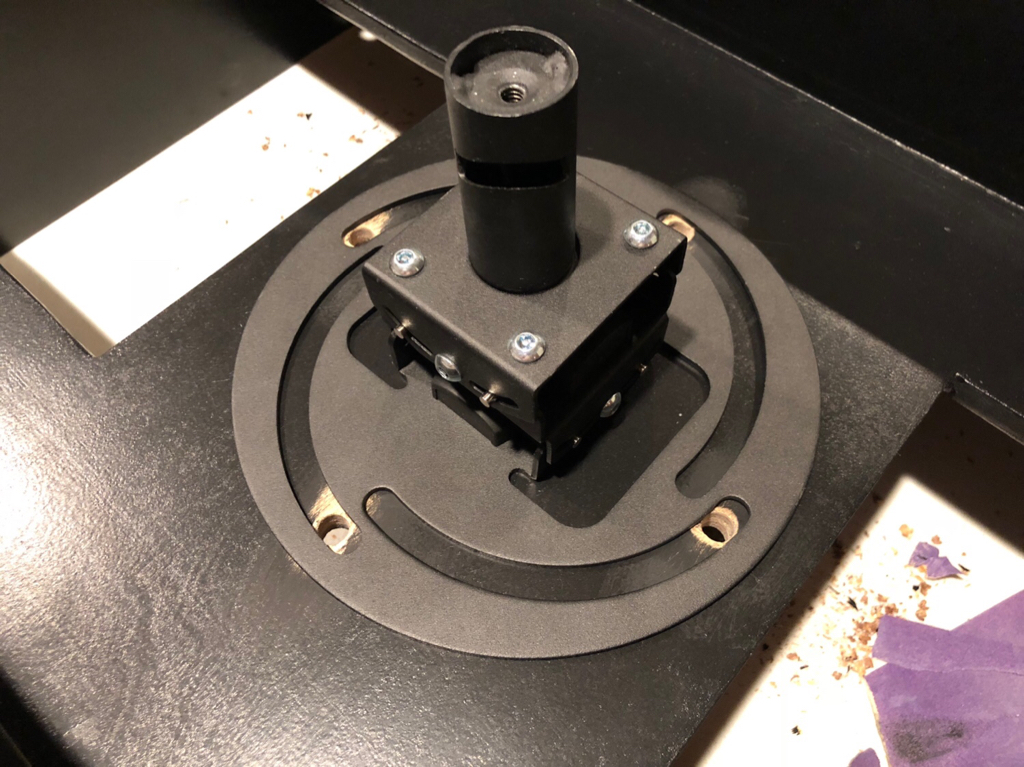
Along with holes for the wiring, I needed to add holes to mount the canopy mount. After marking off the location, I proceeded with drilling the holes in the same manner.

ef9ed0f2b0a3fcfd3153cb8ec8ec76cd.jpg


f98e56cd7949f0b4674ad9aac7884c83.jpg


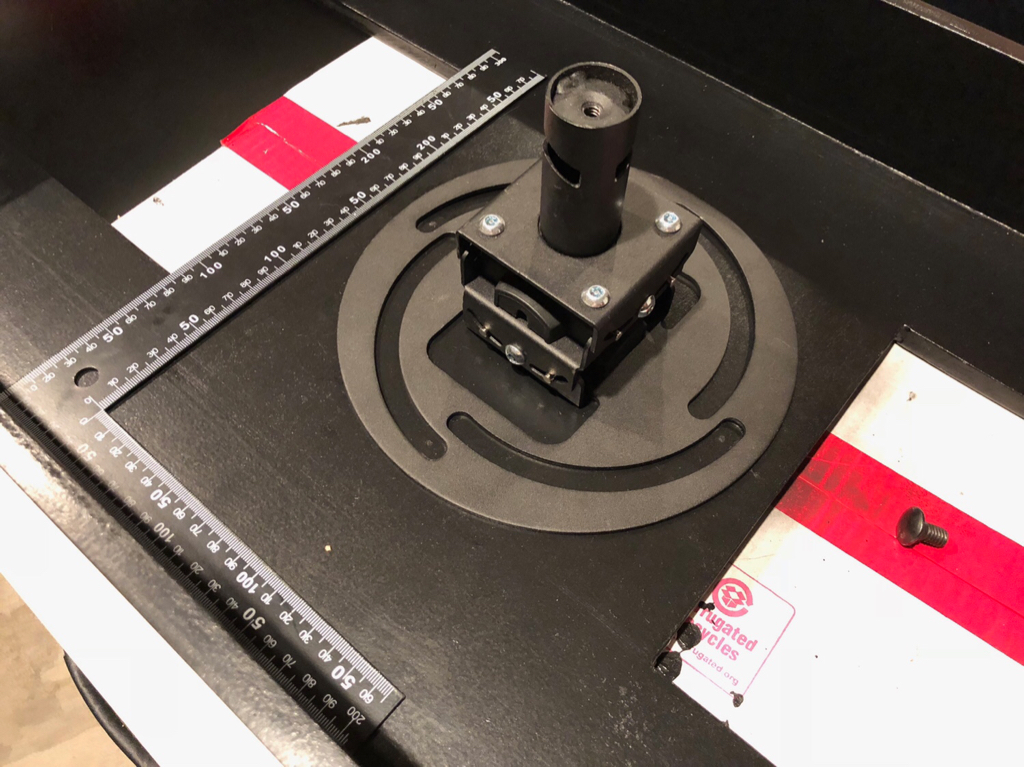
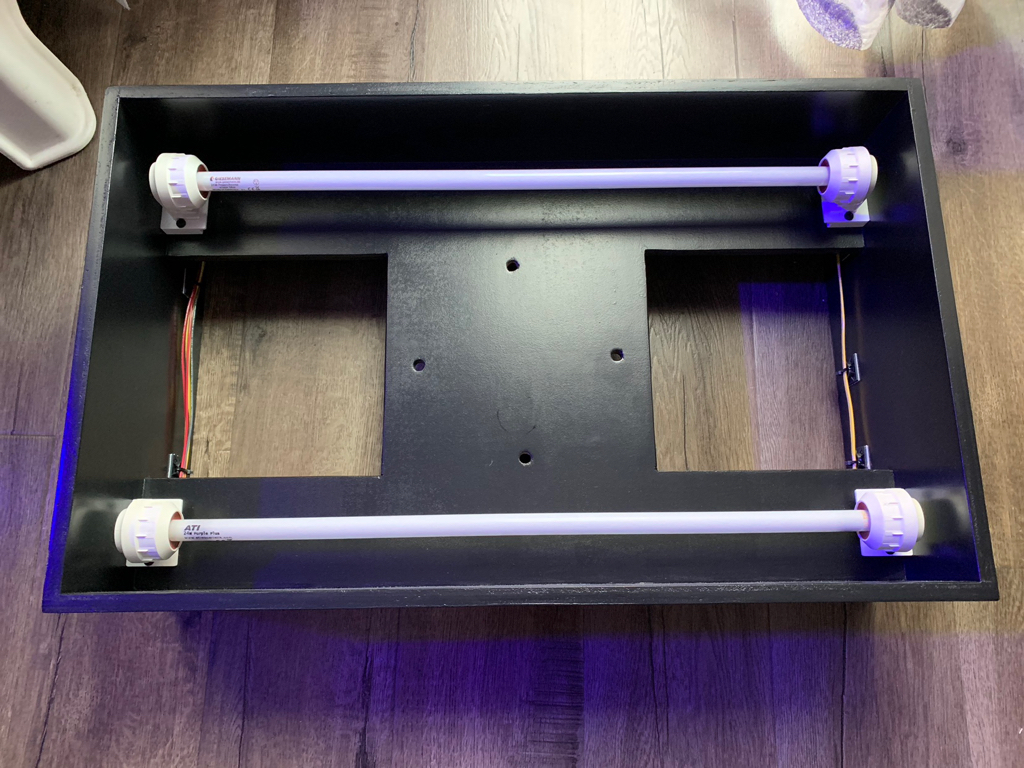
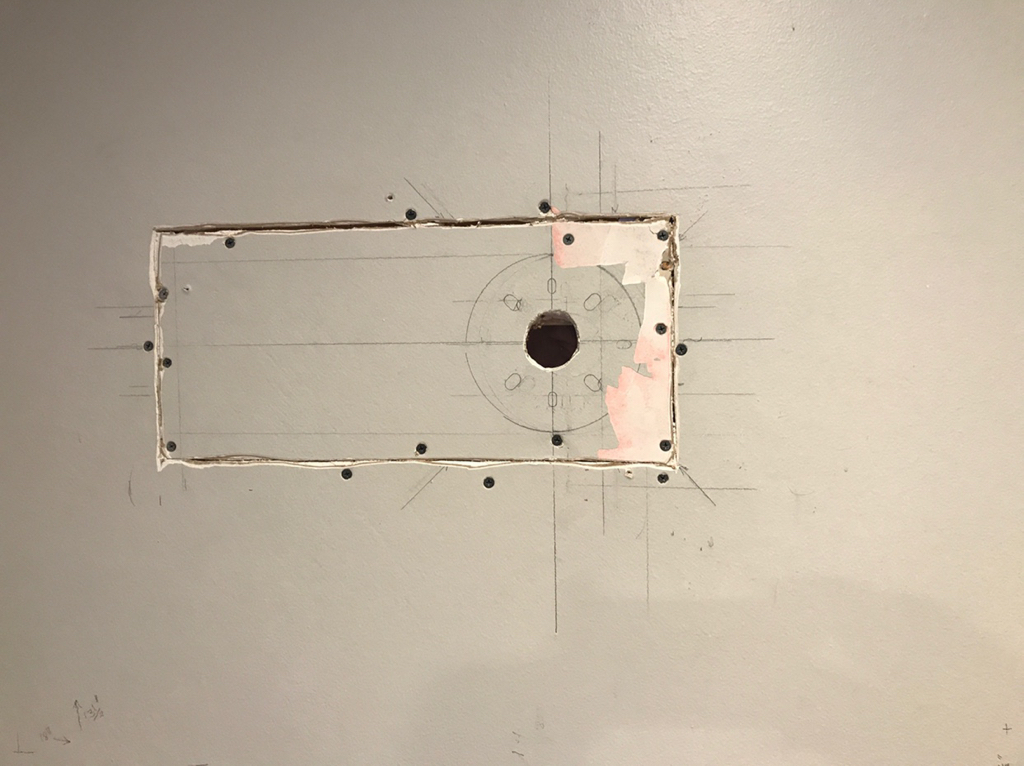
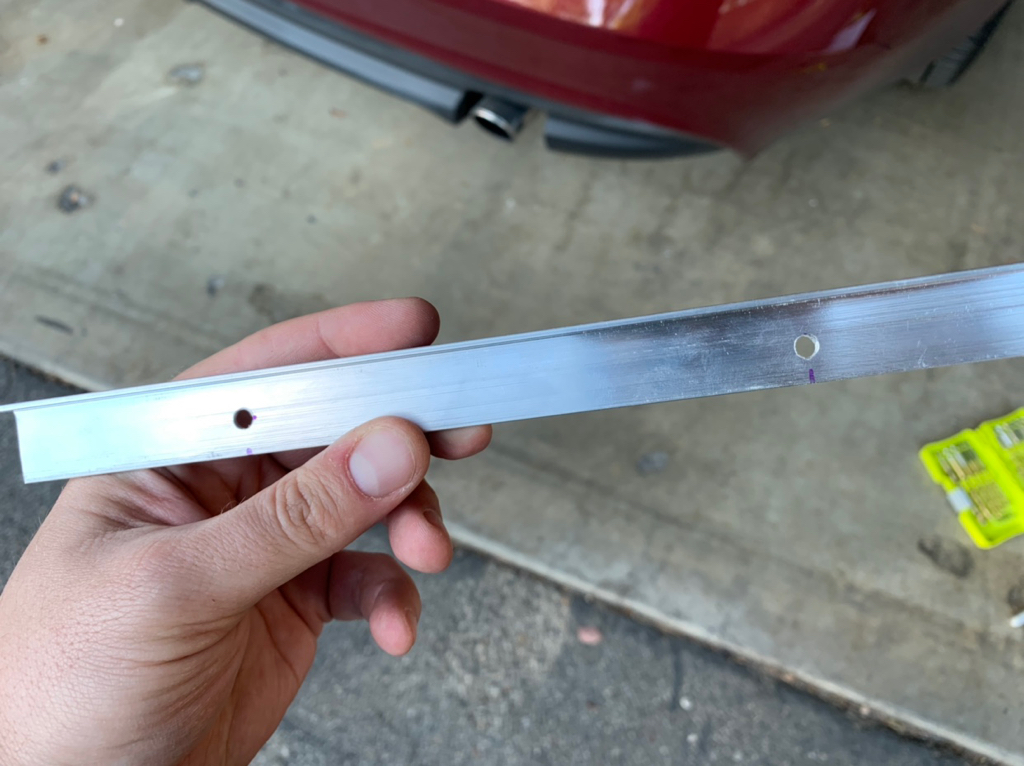
The holes came out perfectly spaced, so that’s a great start.

abd36f0a4eefbdb9e604bda051e98b62.jpg


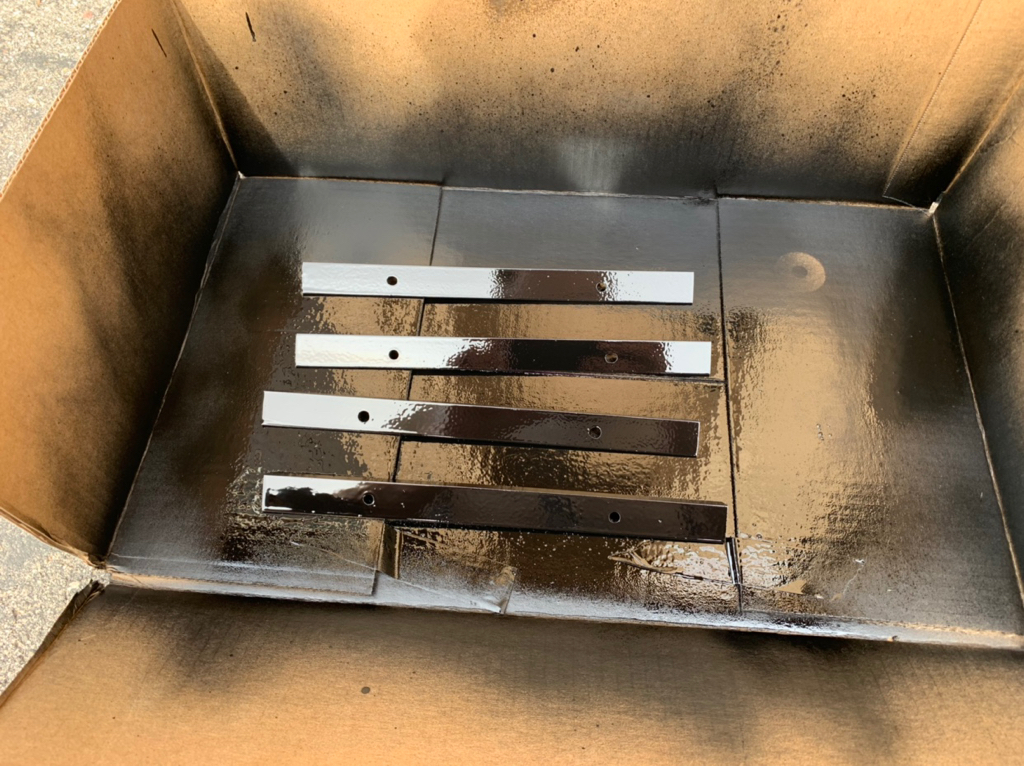
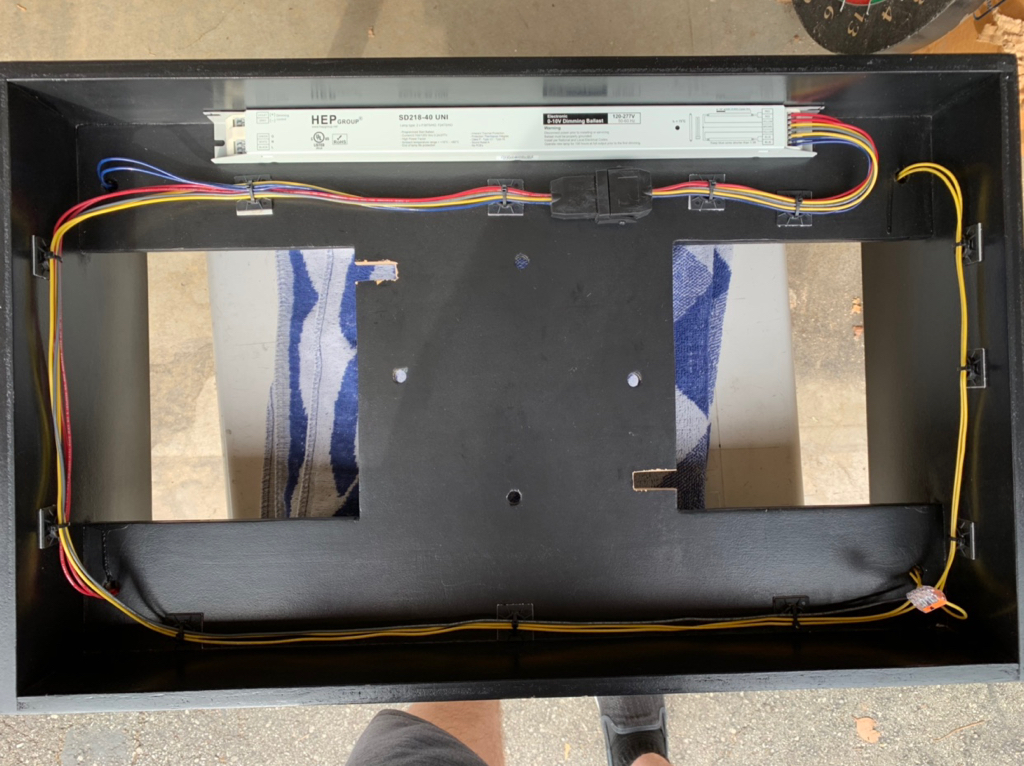
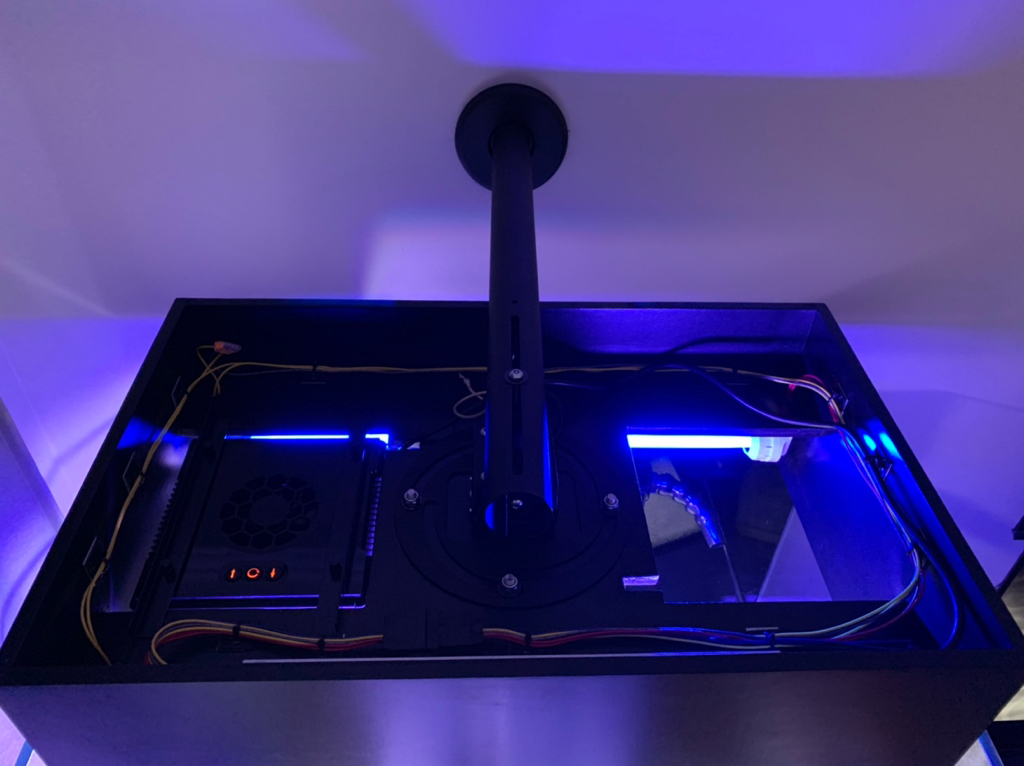
Lastly, I touched up the the holes with some fresh paint.

8e18e71a8dc03f3d99406293ef1069fd.jpg


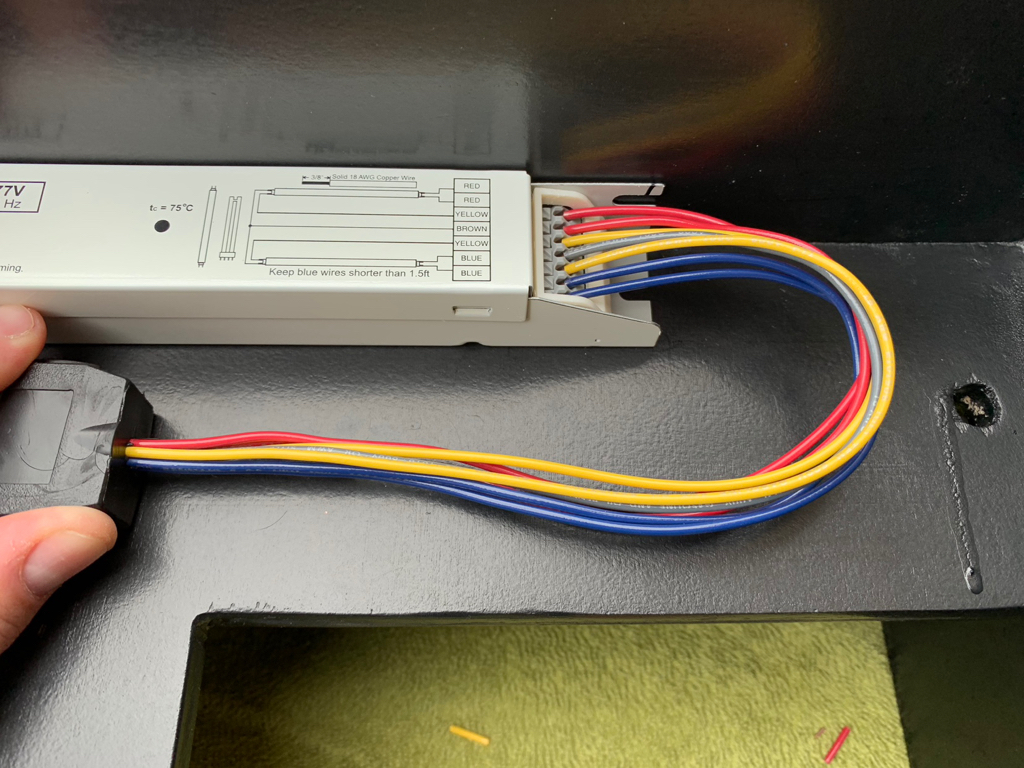
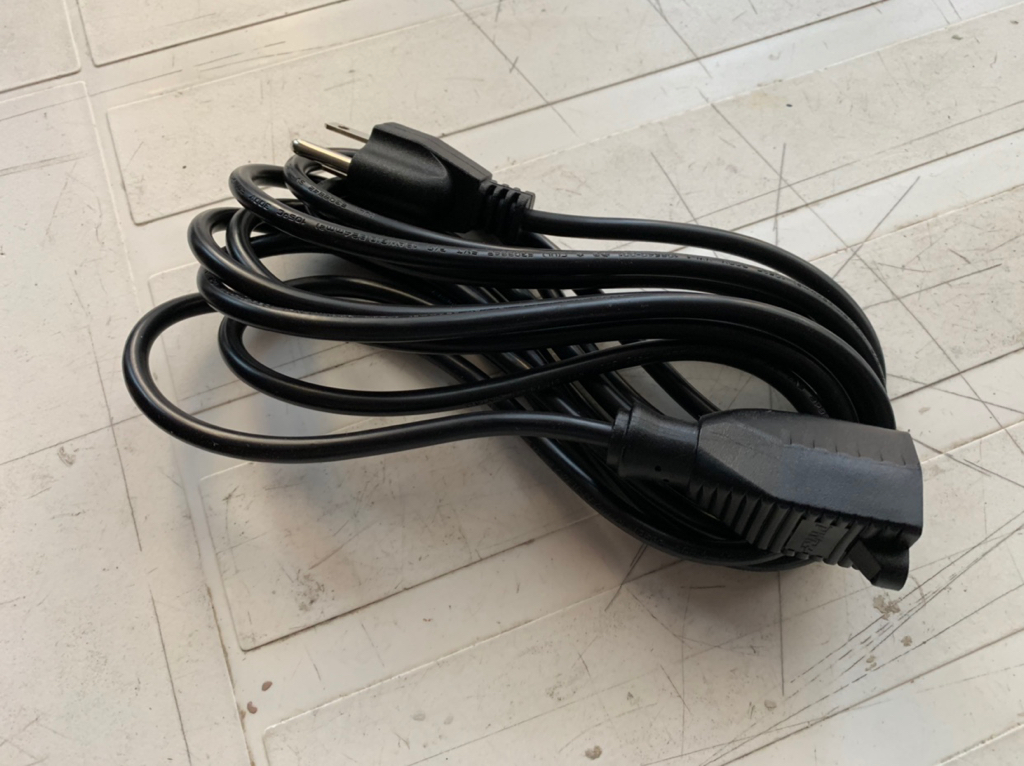
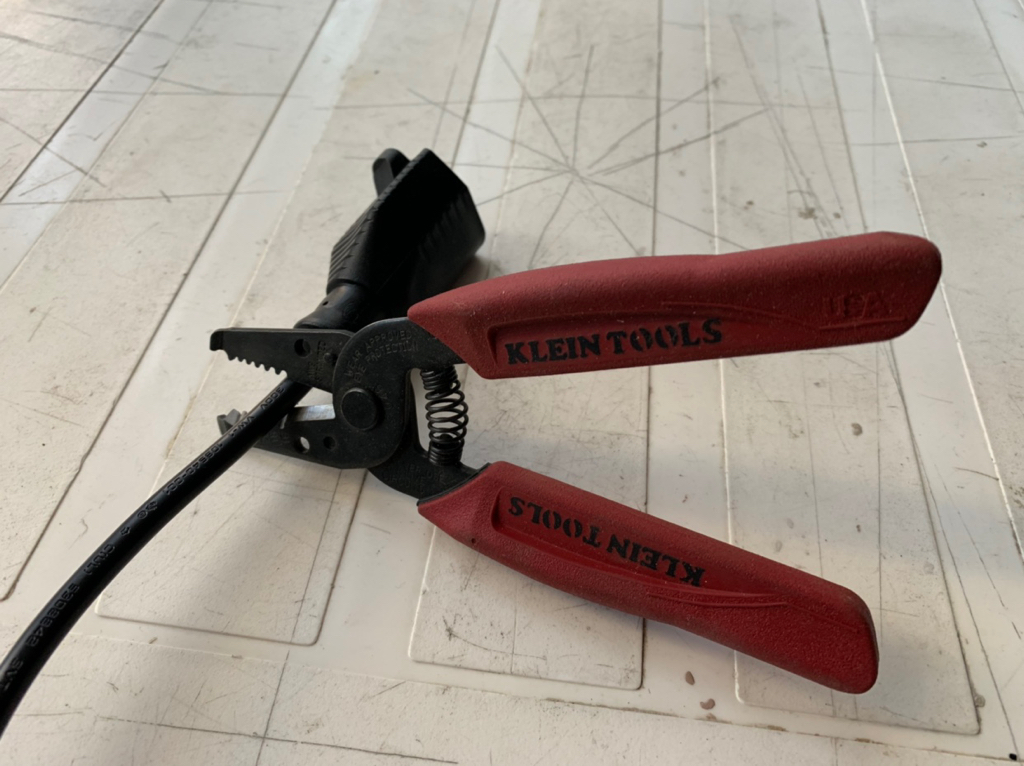
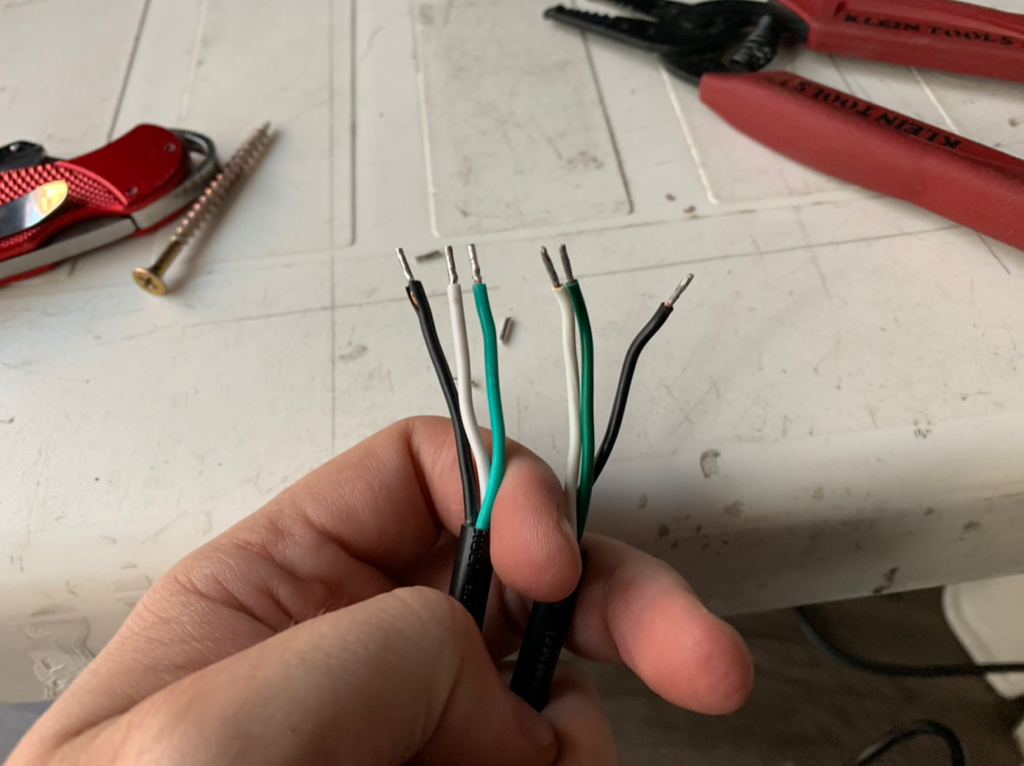
Next I need to run another layer of paint over the canopy to cover up any imperfections from the drilling and sanding, followed by some wiring.
 
OP
OP
ilyad

ilyad

Active Member
View Badges
Joined
Dec 19, 2011
Messages
490
Reaction score
610
Location
North Hollywood, CA
Rating - 0%
0   0   0
The canopy build is pretty much completed. I have run an additional layer of paint on the canopy to take care of any of the remaining blemishes after the drilling.

Next step is to wire in the LET Lighting T-5 kit.

df8f8097fd57fa7421200047736e59c1.jpg


I had to cut down the length of the wiring harness and strip the wires new to make sure the bend fits well within the space allowed.

7ef2496a0635aaaaca814be3a9253fa2.jpg


28741803b9e47f89208fa99a93de3f81.jpg


2a3496d8ee5382c083ed74b069d4faed.jpg


Using zip tie and these sticky wire holders, I routed the wires.

51eb80bccdd892692301f30ec41ee7ee.jpg


9af1d4ecebbbf2137755dec3279c36c1.jpg


As I reached the opening for each of the end caps, a set of wires was fed through that opening. The remaining wires continued to be routed along the path.

fedcfe2388e3b0401a5d22279c81156e.jpg


All of the wiring has been run completely

1ee92af72f49527aa89e251e928e729e.jpg


View of the canopy from the underside. All you would see are the end caps and the Radions (which will go into the openings)

e5348092ef73192be0b3bb3edd2b4071.jpg


Finally, I attached the ballast to the canopy using heavy duty double sided tape.

8a1be1cdfdca2ba6d8b3e0de4cef90f1.jpg


746dcc5bc3c57e0f76eb4db2b4bac225.jpg


View of the bulbs added to test how the bulbs fit, and to test whether I have wired the kit properly .

d296f552f4695cbefe3cc4b1689fe461.jpg


And we have light! lamps fired right up.

e2f3e91584b3fbe649f5193783bb6c3d.jpg


cb4d3861d77c98fa98524f2c407c8499.jpg


I really like how the floating canopy is turning out and I cannot wait to mount it to the wall and see how everything will look in its place.
 
Last edited:
OP
OP
ilyad

ilyad

Active Member
View Badges
Joined
Dec 19, 2011
Messages
490
Reaction score
610
Location
North Hollywood, CA
Rating - 0%
0   0   0
Well, here comes another slow update. It looks likes its only been 3 weeks since the last one :rolleyes:

One of the things I needed to do was to reinforce the wall where the canopy will be mounted. I wanted to be sure that at no point would the fixture have the chance of ripping off the wall and falling into the tank.

First started with measuring out the location where the mount will have to be so that its center above the tank. (Not the best photo, but there are pencil markings on the wall measuring things out).

6aaa03ba8d896c1f2f39d9b4aa75dfbe.jpg


Then the wall was cut out and cross beams were added. Note that I added metal brackets, so the mount will not go anywhere!

25ab8c755c417b907d588551b7c56e73.jpg


There are two crossbeams so that the mount can attach, while still allowing room for wires to pass.

b4d6705fee67cdce0e172029aef61edf.jpg


Template of the mount bracket.

44672264102f11f775ceccaa46ebf30b.jpg


Drywall placed back in its place.

796a2863a7c6622eeaffbcbebf812686.jpg


Patching started.

4c4465c143ce50a779093052fb54ed8c.jpg


On the bottom, I (my cousin) added a wire receptacle so that the wires would feed nicely from the wall.

cf054132c5da8657333fca92caf41ad2.jpg


2ceda3a3afe67f770fa005a72adf9616.jpg


(The strings were fed so that I can use them later to feed the wires through the wall).

Overall view with more patching and repaint needed on the wall.

7919b40b484aa656fcd0ea48cf03f71c.jpg


Next steps: finish touching up the wall, mount the canopy, and build the electronics panel.
 
Last edited:
OP
OP
ilyad

ilyad

Active Member
View Badges
Joined
Dec 19, 2011
Messages
490
Reaction score
610
Location
North Hollywood, CA
Rating - 0%
0   0   0
Nothing too exciting today... but here is a very quick update on the canopy mount actually attached to the wall.

5274a0b6e2222fd1968d5e81404fe527.jpg


7f880f53c6d120cda6cb043b5e5af1c5.jpg


Here is a picture of the bulbs I intend to use. One coral plus and blue plus. Although I do like how coral plus looks and may run both of those.

a16b708aebd40c2902c73efe0fa1e05a.jpg


Also, as a bonus, here is a fun picture I took this weekend at my LFS where a sea star was hugging a fish.

87e8db6a4324170bb887f3980e5ee2c8.jpg
 
Last edited:

Ruben's Reef

Ruben's Reef
View Badges
Joined
Jun 8, 2017
Messages
6,108
Reaction score
42,234
Location
Tampa
Rating - 0%
0   0   0
Awesome build !!! Following>>>
 
OP
OP
ilyad

ilyad

Active Member
View Badges
Joined
Dec 19, 2011
Messages
490
Reaction score
610
Location
North Hollywood, CA
Rating - 0%
0   0   0
OP
OP
ilyad

ilyad

Active Member
View Badges
Joined
Dec 19, 2011
Messages
490
Reaction score
610
Location
North Hollywood, CA
Rating - 0%
0   0   0
Another update ready for post. In this installment, I am still working on the floating canopy.

As previously designed, I needed to create mounting brackets for the XR15s in order to mount them into the cut outs. So we start with some L shaped aluminum which is plenty sturdy to hold a light without flexing. I was initially planning to use C channels but decided against that for ease of access to screws.

03c968f8ef8fefd35a68d19d60fd15c8.jpg


I then went ahead and marked off the bar into 9 inch increments (allowing an inch overhang on each side of the light).

fc16d3f48b6ab85c0ecf2b1554daaa1d.jpg


Then went ahead and clamped the aluminum to a block of wood and slowly cut it with a fine hacksaw.

3510030f2c374b340fad8216c2a6c443.jpg


Finished cut being sized up.

91c311a963b0e001adda74fc10c4271a.jpg


Next to clean up the cut ends with some sandpaper.

83dbda449ae0e5f57fa678072c3d7407.jpg


15211d43547e989d7a4986ca5cca53c8.jpg


294aab1b42b2acc46e47da3b9365c442.jpg


After that I marked off the areas where the holes for mounting screws need to go and drilled them.

2ecb600132fd6db419a43134e8f9e461.jpg


cb171c9cddbd5133075b6b614a31d81f.jpg


After a few minor adjustments, here is the fit on the light.

1ec98067353adb8028aa9e9c03077be5.jpg


71c5737c99c3b1aec1caa87029382532.jpg


I used the already well fit pieces to mark the next ones (taking into account the center being off due to the lip)

07614b774abe855e055b04e21fa63c91.jpg


Here are all 4 pieces (to mount two lights), cut, drilled, and sanded.

800dbf5243fe5bc16e6e95327e5c53d5.jpg


Pieces are then sprayed with black spraypaint. Including the back sides of the washers from earlier in the thread.

f0cfafec25b888e930ae59ba28e9559a.jpg


1a440d40d7d86ab49a546be17b621589.jpg


2fc0d33b2c05afeb91ae2c9c5da26f5e.jpg


59a1e7485a9d0e551a81c1c9f57e85a7.jpg


The next step was to cut out some grooves to allow the light power cable to sit better in the canopy without being bent too much. I didnt like how it would sit otherwise for long term use.

1146636dc4e54d8f4aaa39261da9e975.jpg


I used a drill to cut a hole and then a Dremel to cut it out further

7c58f95b92386c783aca81019cd536a0.jpg


e2836f8c93056c5c79f5e5f100578010.jpg


20424fd4ee8f25efab5a28e14d05de94.jpg


24e69318e6e2f8a92e8f82f0cc3ef0d0.jpg


Then finished it up by painting the cut outs.

e9de6c8fd98c1590c6abef76de5d5cb0.jpg


The canopy construction is actually finally completed. Next day that I have available, I will go ahead and mount it to the wall along with the lights. Stay tuned.
 
Last edited:
OP
OP
ilyad

ilyad

Active Member
View Badges
Joined
Dec 19, 2011
Messages
490
Reaction score
610
Location
North Hollywood, CA
Rating - 0%
0   0   0
I wanted to ask those of you who are following this thread whether the details for this threat are at a right level. Would you like me to continue to include the same amount of pictures in my updates with thorough step-by-step write ups, or would you prefer that I keep it short and sweet and give you a few photos that show the progress much faster?
 

Ruben's Reef

Ruben's Reef
View Badges
Joined
Jun 8, 2017
Messages
6,108
Reaction score
42,234
Location
Tampa
Rating - 0%
0   0   0
You are doing great on your build and the details and pics makes it easy for anyone to build their own.
 
OP
OP
ilyad

ilyad

Active Member
View Badges
Joined
Dec 19, 2011
Messages
490
Reaction score
610
Location
North Hollywood, CA
Rating - 0%
0   0   0
I like the detailed information! Please don’t change your format

You are doing great on your build and the details and pics makes it easy for anyone to build their own.

Thanks for the feedback... I'll keep the posts detailed. And as to your point Spyder, some of these components took quite a lot of brainstorming, trial and error. Hence, I think it is nice to keep a fully detailed process documented for anyone else that may find that they would like to make something similar to mine.
 

Ruben's Reef

Ruben's Reef
View Badges
Joined
Jun 8, 2017
Messages
6,108
Reaction score
42,234
Location
Tampa
Rating - 0%
0   0   0
Thanks for the feedback... I'll keep the posts detailed. And as to your point Spyder, some of these components took quite a lot of brainstorming, trial and error. Hence, I think it is nice to keep a fully detailed process documented for anyone else that may find that they would like to make something similar to mine.
That's great. As a matter of fact, I'm working on my 75g upgrade that will take me a little longer due to some wife projects on the house but I'm cooking your lighting idea for my build. I like how's everything looks clean, the wire holders, etc. Even that my tank will be in-wall but I want everything nicely setup. Keep it coming..
 
OP
OP
ilyad

ilyad

Active Member
View Badges
Joined
Dec 19, 2011
Messages
490
Reaction score
610
Location
North Hollywood, CA
Rating - 0%
0   0   0
That's great. As a matter of fact, I'm working on my 75g upgrade that will take me a little longer due to some wife projects on the house but I'm cooking your lighting idea for my build. I like how's everything looks clean, the wire holders, etc. Even that my tank will be in-wall but I want everything nicely setup. Keep it coming..

Ah, Im glad some of my ideas are of any use to anyone. And I'll have to check out your build too!
 
OP
OP
ilyad

ilyad

Active Member
View Badges
Joined
Dec 19, 2011
Messages
490
Reaction score
610
Location
North Hollywood, CA
Rating - 0%
0   0   0
I can finally say that one major component of the tank build is completed - I finished the floating canopy.

Picking up where I left off, I had to attach the pivoting mount mechanism to the canopy itself. Its being held in place with washers, stainless bolts, and stainless self locking nuts.

847408068508a5682ec9f4a2d4d5400b.jpg


Mocking up the mount to the canopy.

7703d853bb66e06f88ecfd2aa2034a7a.jpg


Nuts and bolts tightened down.

49017a0cdf2aa8e0b1324cb3f6972909.jpg


1b7095135ec49baed67184de4ac45a8b.jpg


This is a test fit of the canopy over the tank. So far the power cables and actual lights not attached to the canopy.

2423f75352e23274f6503d3dee45c905.jpg


61665cd7d438358c6f48cce8ce4d5c20.jpg


a577beddff822b55c091a167d7807074.jpg


View of the Radion from above.

e712724ba2772b8ed00bbc0f64a8220f.jpg


I was a little worried that I may have built the canopy so the light sits too close to the edge and that it would create some shadowing. Luckily, it seems that the puck sits far enough inside not to create an issue.

19c1895c262f4fc32e072ab948a3780a.jpg


b7d2542c43fd6e0b054ab630c39df1c2.jpg


View of the painted brackets on the Radion.

77e0f08732105de000ba288481226d14.jpg


Attaching the diffuser to see if that has any impact on shadowing with the canopy.

ab620c7e0fe413d28ea1349bb5d6d234.jpg


Unfortunately, the insert that came from EcoTech was a bit crumbled in the bag. (I'll be contacting the company for a replacement because I suspect that may effect the blending of the spectrums.)

315d1290a32878fdef28060391e3b7d2.jpg


View with the Radion on with the diffuser - doesn't seem too bad.

0b75ba0d6b20e5d96be21d64273d903e.jpg


Testing T5 to see if it works.

685a8464d9e6b4eef5a8518b400fb085.jpg


Moved the Radion to the right side to see if the light spillover effects the TV. From what I can tell, there is very little noticeable light on the TV. The only issue is a bit of the T5s are visible from the couch, but it shouldn't be an issue with those running only for a few hours during the day.

b68a46bed9937b2e9fe50c5983c1b7e7.jpg


Moved the Radion back to the left side where it'll sit.

d4a3ef235d2ed5e5c471f7329aa410f4.jpg


View of the Radion and T5s on.

f2119eacee5e97c5468cf742fccb6870.jpg


And a bonus picture of the cat wanting to be the center of attention and falling asleep on the towel where I was changing the diffuser.

cbfd08fdaf5c18443a2e4556eef32462.jpg
 
Last edited:
OP
OP
ilyad

ilyad

Active Member
View Badges
Joined
Dec 19, 2011
Messages
490
Reaction score
610
Location
North Hollywood, CA
Rating - 0%
0   0   0
Still a bit worried about the effect of the shadowing caused by the edges of the canopy, I decided to borrow a PAR meter from my LFS to test the PAR levels at the edge of the tank as well as at the estimated water line. If there is little to no shadowing there, the effect would be reduced even further deeper in the tank.

I used some masking tape to tape out some grid points to test the PAR output right below the light and equal distances from the light moving left and right. Since the right side of the Radion doesn't have a wall, if the par levels are similar, I knew that the edge was not causing much issue. And as I suspected, the par levels were right about the same with the edge or without, which is great news for me!

9cf336f4767b6c552074f3f6561f2ce9.jpg


Now that I knew that I am happy with the canopy/lights and how it lights the tank, I went ahead and fed the Radion power cable through the canopy and the wall. I left some slack on the wire because the canopy is designed to rotate around to give more room if I need to access things in the tank. I used the strings that I inserted earlier to help me feed the cables by taping the wire to the rope and pulling it through the wall.

7d5c6a1697938d5f3ff52bec22b00b11.jpg


No wires visible from the outside.

3fc18ba3a13056f642a8f4e6744e2c80.jpg


And this is where they would come out behind the stand.

853cc3760cc828454cfa4cc58d4afc30.jpg


The next step was to get the T5 ballast power cable longer since the one that comes in the kit was too short to be routed around the canopy and through the wall. I found a 15 foot extension cord with the same specs as the one that came with the kit. Prior to doing this, I contacted the company and they confirmed that doing so is their recommended step. It turns out that these are the same cables used in computer power supplies.

0ac582c7b45a58cbc2c93ef34e9ecf0b.jpg


Went ahead and cut off one of the ends.

f9659c899d6cff79e9ed9039f4a83f07.jpg


254eeb00b8c6886f1393261c40bf5b49.jpg


I then used a box cutter to strip the outside rubber coating.

625e779cb3c5563fb42159bd2781e99e.jpg


73f9189ec20177fdef39483b64b8fda7.jpg


Then used my tool to strip the actual cables.

bbdbf7534721b7c260d3477a21cf9236.jpg


Clean it up by twisting it "with the grain."

be7ceba06ef7012e8ecd3440e6076605.jpg


Since the ballast has holes where the cables need to plug in, I needed to add solder to make it a stiffer connection.

9576b42e27cd25504b60dfb21d5ac582.jpg


I have never soldered before, but I think this came out pretty decent.

7e196e893bad5ef274caa6533eda4c74.jpg


Cut it down in size to match the original. Left side is my work, right side is the original cable.

c2ab157c8496a044dedf978de711b714.jpg


9a1a9e60894d74a311e4a1da040c9ac7.jpg


Tested to make sure my handiwork is to par. Since the lights turn on, I think thats a win.

292dc1c3c5aa92ae8285fa0757c7fdc2.jpg


Like the Radion cable, I routed the T5 cable with a bit of slack and fed it through the wall.

b40cbfeb34beaf33f4c93060867e9e23.jpg


9ff05003478884eac04ab2d1a9cbc724.jpg


Another shot of the Radion fit into the canopy. I just like how this turned out so well with the space for cable and the brackets, that I had to add another pic of that.

0a85d3fc1ac00eb7f178a090b876b56c.jpg


Entire canopy view from above. Note the empty spot for the second Radion which will be added once all livestock is transferred from the old tank to this one.

1fb09ccd149bfeffb13ab88767729e57.jpg


NOW FOR THE BEST PART.... ALL WIRES RUN THROUGH THE WALL AND ALL LIGHTS TURNED ON. VIEWS FROM VARIOUS ANGLES.

32a4ef1d6afb87c3c5a81c5b4f5cfcc8.jpg


a6ed9b61be1eb855a721a73543eb8d40.jpg


9eeae994f82e657761a307782d241481.jpg


c285c9754197045e284b6a65ffefc575.jpg


45d0b2175bb5d4341cb9ff053611911d.jpg


Note: that if I was redoing this light canopy again, I think I would add an inch or two on each side of the canopy to ensure 100% that there was no issue with shadows. Likewise, I think I would raise the canopy a few inches to allow easier access into the tank. However, as is, I am very happy with the outcome, and don't see any reason to redo what is currently in place.
 
Last edited:
OP
OP
ilyad

ilyad

Active Member
View Badges
Joined
Dec 19, 2011
Messages
490
Reaction score
610
Location
North Hollywood, CA
Rating - 0%
0   0   0
Not a lot of work got done since the last update... but we can all thank the holidays for that. But I did do some small miscellaneous things.

First, I completed the manifold by attaching the corner 90 degree elbows and barbs to the two outputs, so that they can be rotated in any direction.

10e1849933e08597390ce78b97ad8356.jpg


Then I went to work planning out the electrical panel inside the stand by laying out some of the items.

97677b9282cbaf9eea66b67328c9e7bf.jpg


bbfc126a1843b854b368145f8775cd43.jpg


Finally, I marked off where those things will go for the next step when I actually carry over that to the wood.

59447cfcfe5b007e7486878f81fd46cd.jpg


2ededb06fa610910bb2d28e8a29effb9.jpg
 

LaraLouM

Active Member
View Badges
Joined
Dec 29, 2018
Messages
366
Reaction score
669
Location
Knoxville
Rating - 0%
0   0   0
I'm super impressed! I would not even be able to begin to create any of this! can't wait to see more updates.
 
OP
OP
ilyad

ilyad

Active Member
View Badges
Joined
Dec 19, 2011
Messages
490
Reaction score
610
Location
North Hollywood, CA
Rating - 0%
0   0   0
I'm super impressed! I would not even be able to begin to create any of this! can't wait to see more updates.

Thank you! I appreciate the kind words. I cannot wait for the build to be done as well. ;Blackeye Hopefully that'll be sooner than later.
 

count krunk

Valuable Member
View Badges
Joined
Jul 17, 2017
Messages
2,316
Reaction score
4,243
Location
ATL, GA
Rating - 0%
0   0   0
this is a great build thread. Keep up the documentation. I think I am going to use your same idea with the projector mount on my build.

Thank you!
 

When to mix up fish meal: When was the last time you tried a different brand of food for your reef?

  • I regularly change the food that I feed to the tank.

    Votes: 17 29.3%
  • I occasionally change the food that I feed to the tank.

    Votes: 20 34.5%
  • I rarely change the food that I feed to the tank.

    Votes: 16 27.6%
  • I never change the food that I feed to the tank.

    Votes: 4 6.9%
  • Other.

    Votes: 1 1.7%
Back
Top