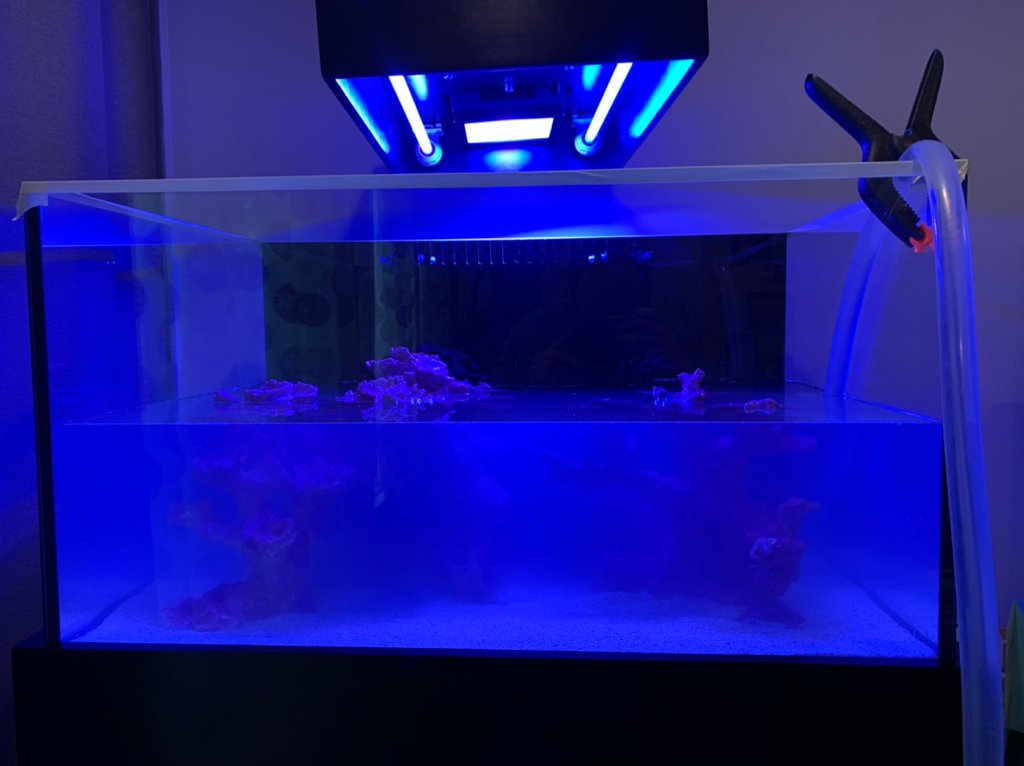
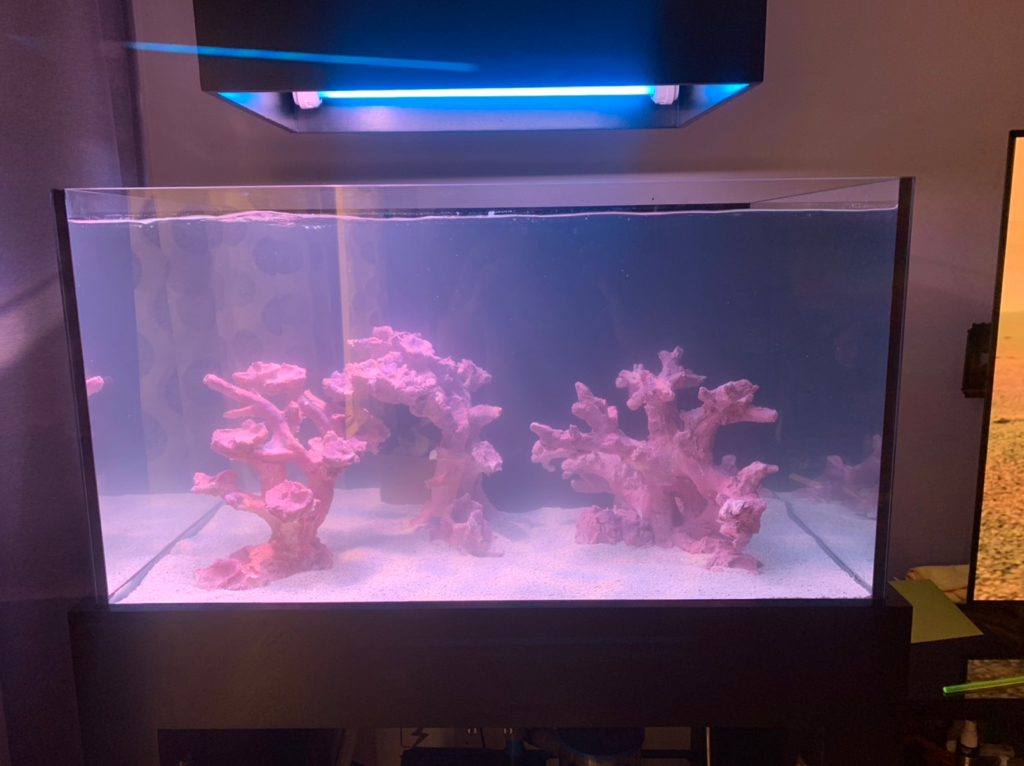
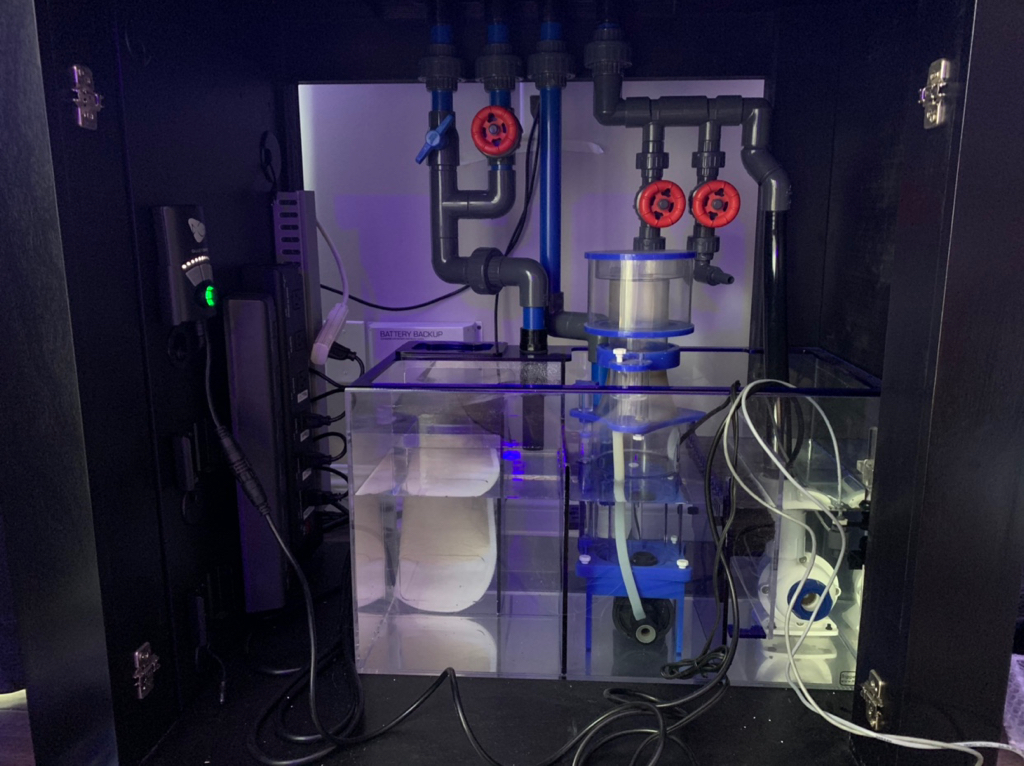
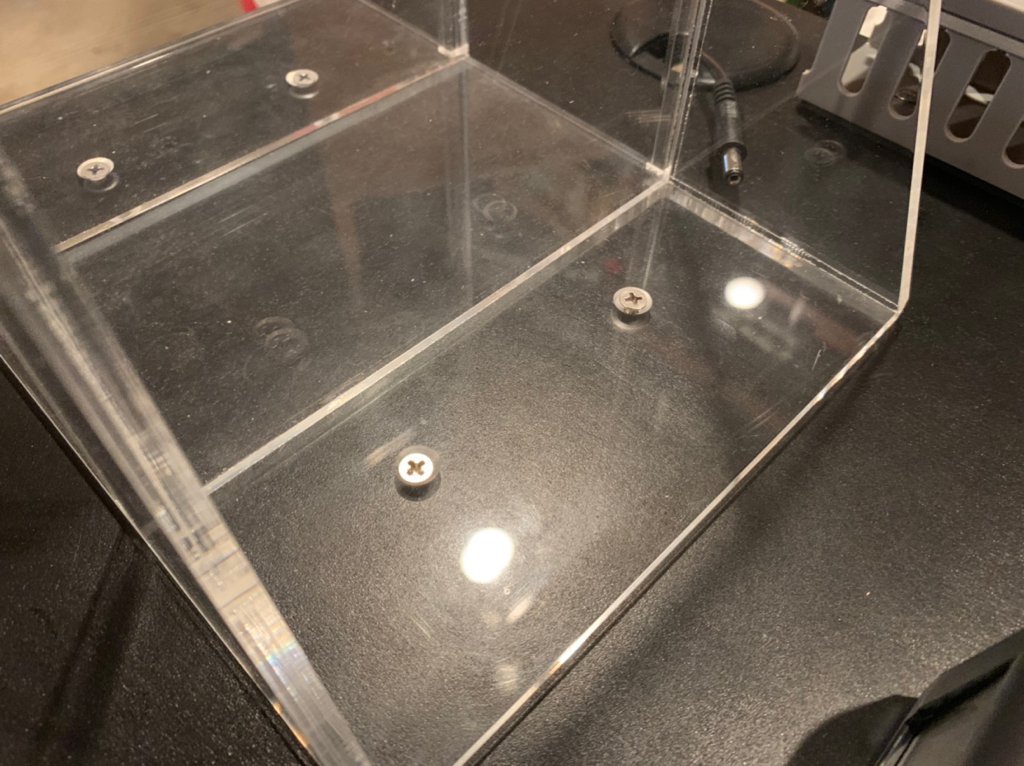
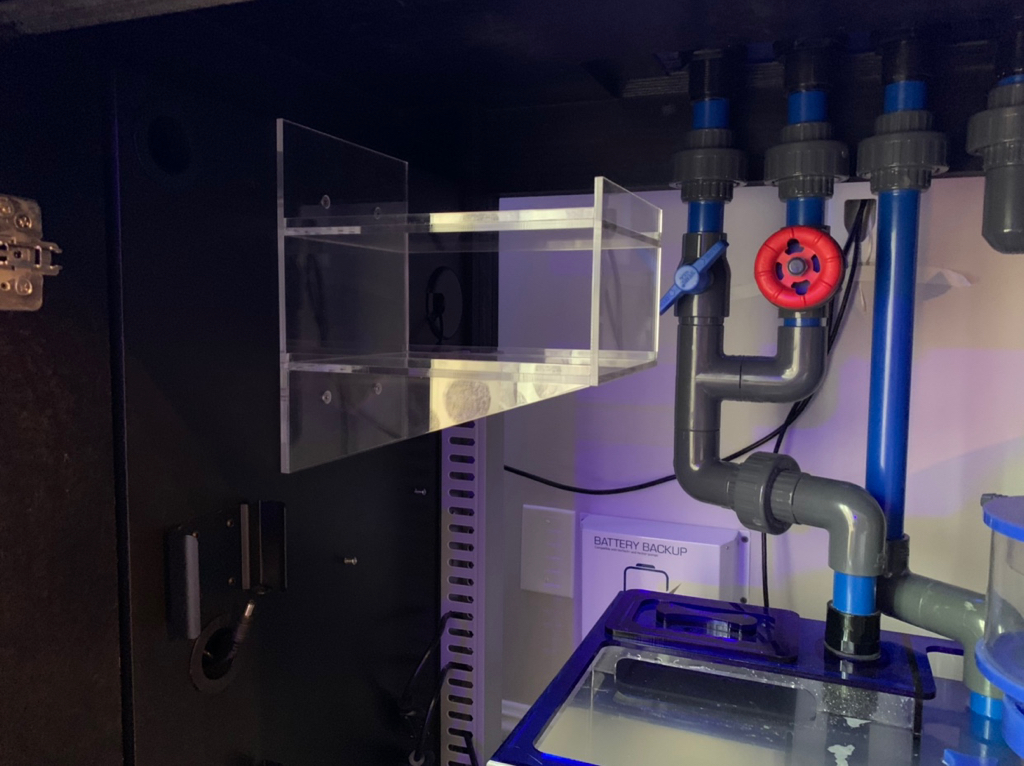
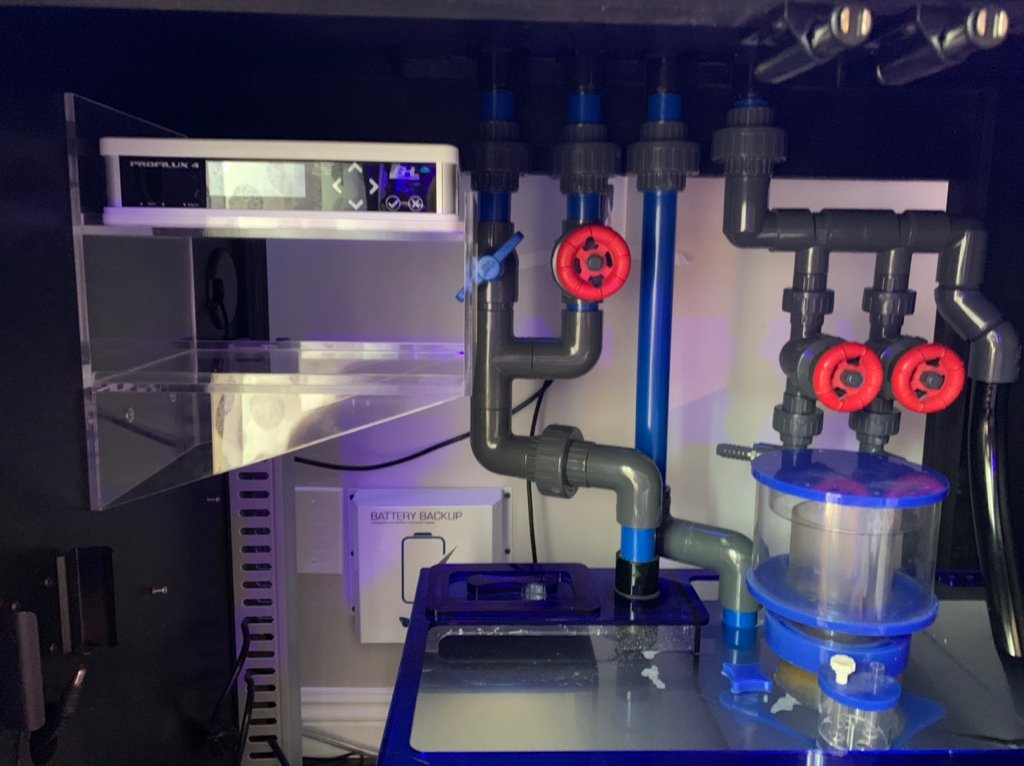
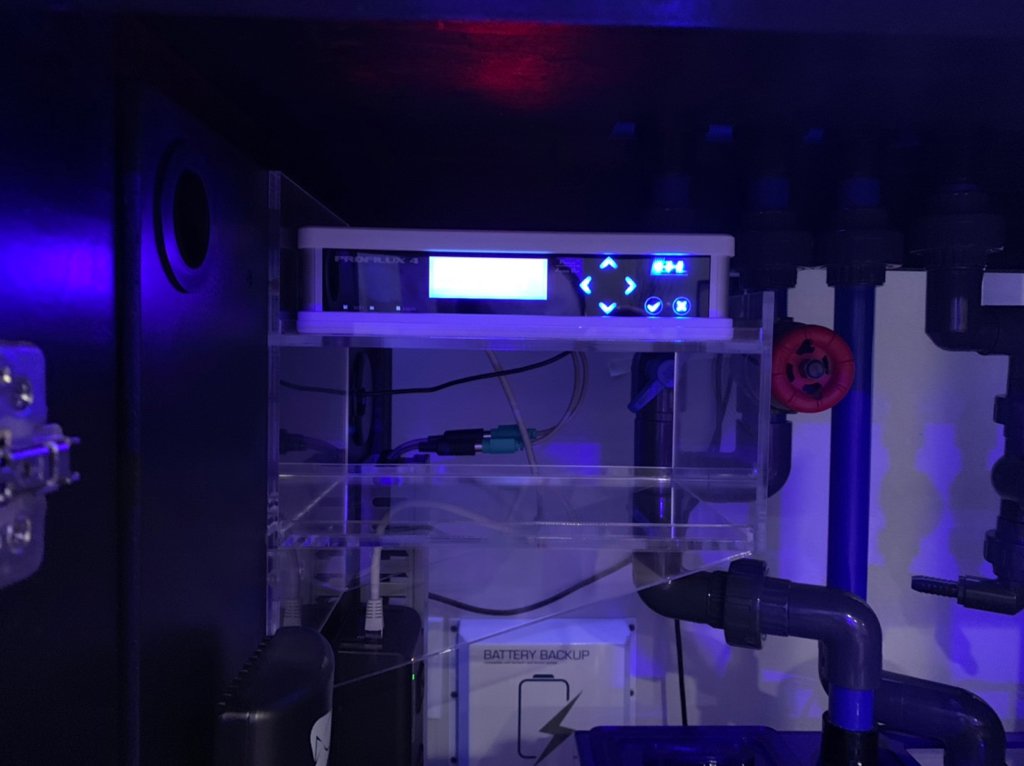
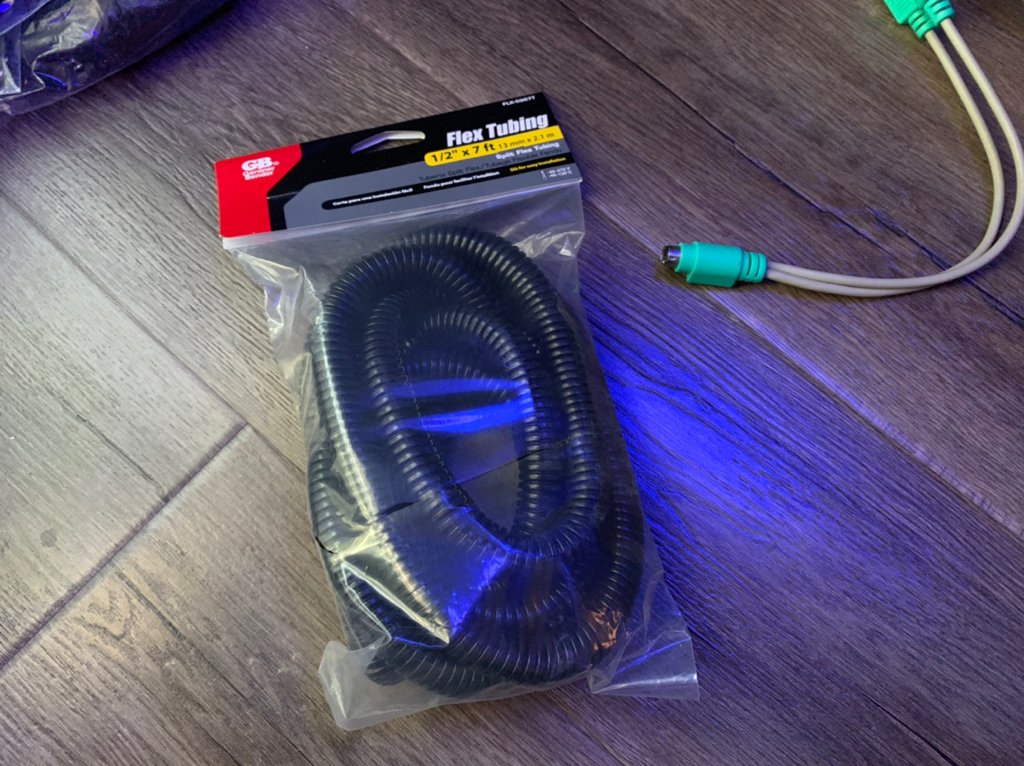
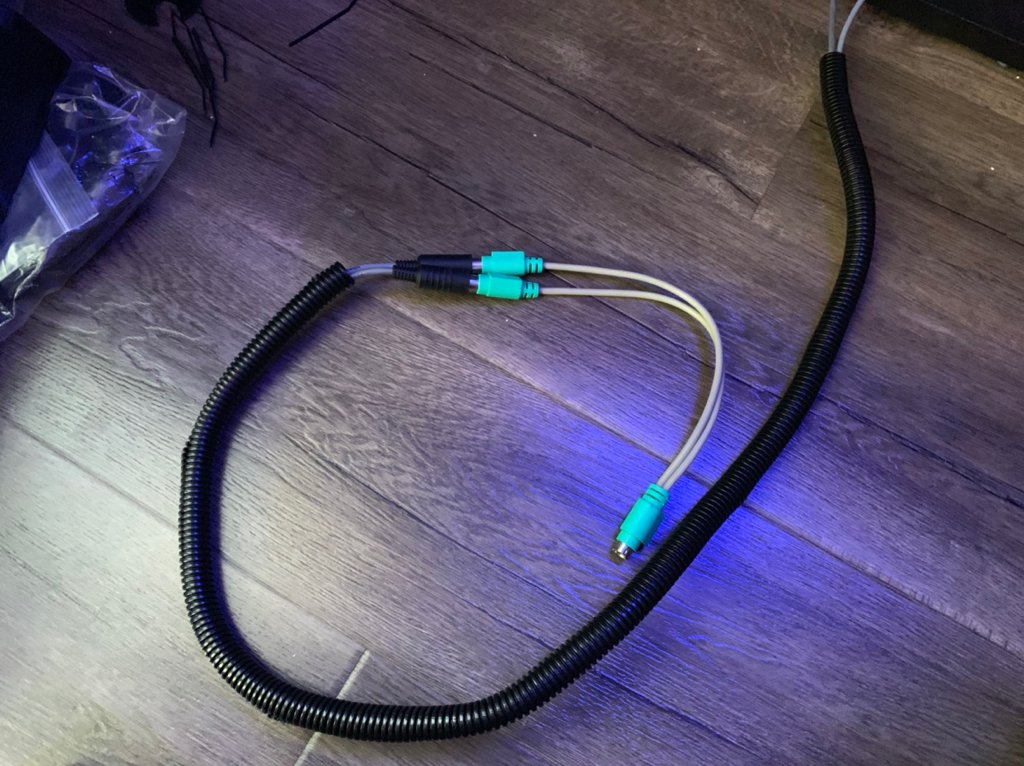
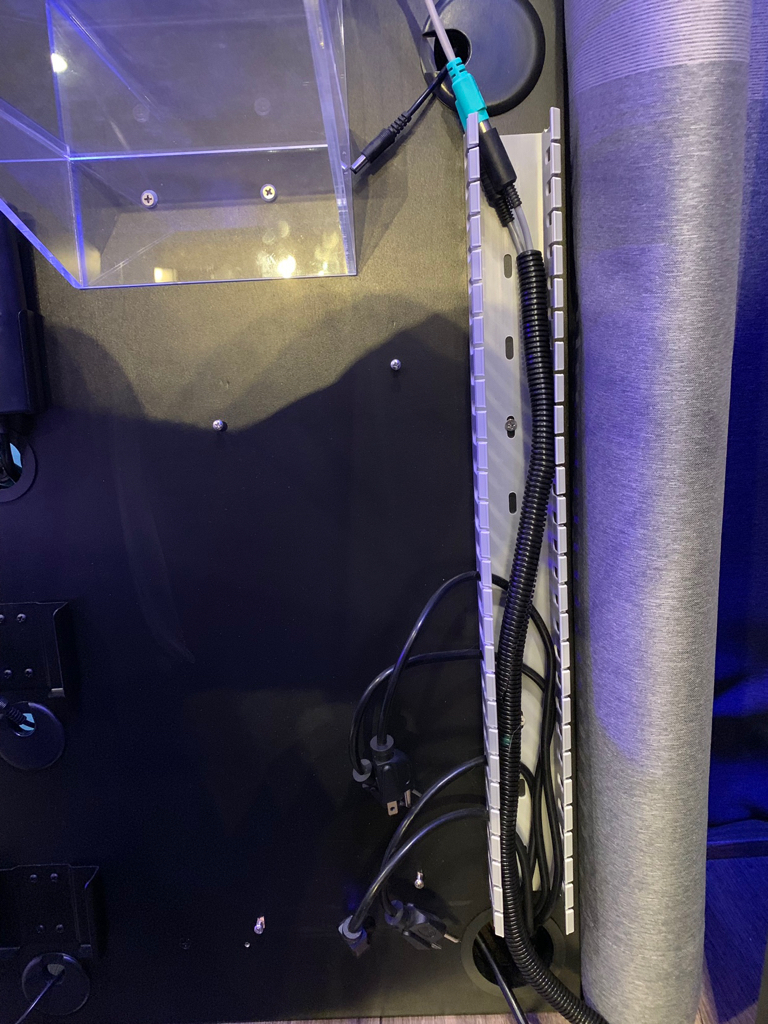
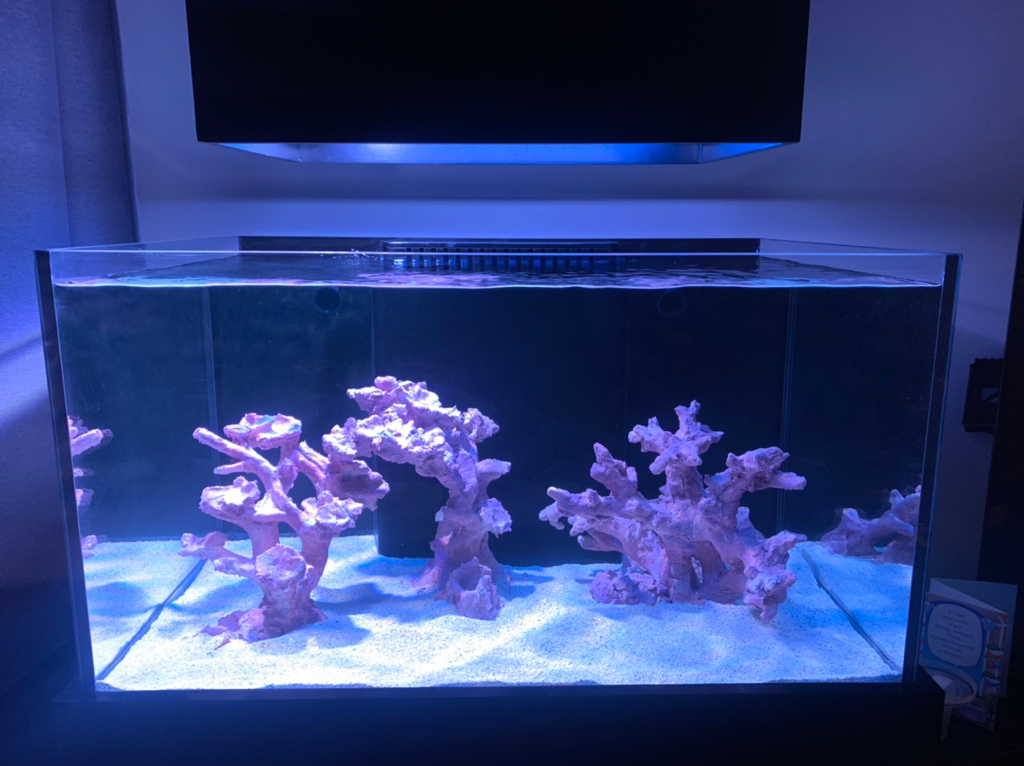
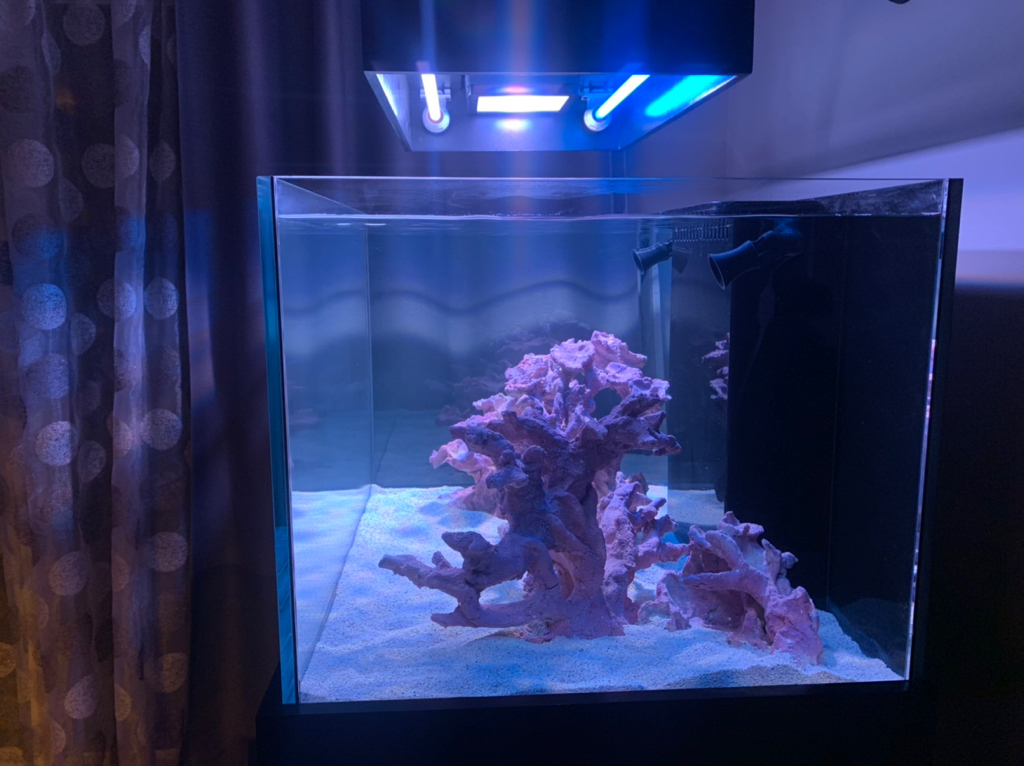
75 Gallon technology heavy tank with DIY

kamla

Active Member
View Badges
Joined
Feb 20, 2019
Messages
309
Reaction score
335
Rating - 0%
0   0   0
nice work....

lots of planning and follow through....

Please keep the updates coming...
 
OP
OP
ilyad

ilyad

Active Member
View Badges
Joined
Dec 19, 2011
Messages
490
Reaction score
610
Location
North Hollywood, CA
Rating - 0%
0   0   0
Just a super fast update this time around. In this installment, I wall mounted the EcoTech battery back up to be used in the future with the MP40's or the return pump.

I first moved the tank out of the way and located a stud. After marking off the 6 holes, I drilled pilot holes into the stud and the drywall anchors.

a8c734fcb3203e0570de950545ef618a.jpg


The drywall anchor holes are wider so that the anchor could fit

9b8e982b47569b951e5b73f5edc50d34.jpg


bce3a2328e11c6eea73eeff1d861c7a1.jpg


Here are all the holes preppared

8af35ace4fa0fa4250f3fa955a5dfa78.jpg


And the battery pack mounted.

c78b8bafc2b4ca3b3e5a4da1cbaea09b.jpg


d5ad071546453db65c977ac9e7501b7e.jpg


View from inside the stand.

58354f2643528eeba1442aec09c5abef.jpg


Then preparing for the next step, I taped off the top of the tank with masking tape (to prevent scratches) and used a large level to see with what I would be dealing with.

e529c7b25ba6a5dc11fc0bd47f0dfd5b.jpg


Side to side is pretty level, so much so that I dont need to worry about that.

f4177fa9614cf2c03841c23eac4d81c4.jpg


The front to back level does need adjustment as its about 1/4 inch off.

c234228649f6dfddd1f6fe73979a141d.jpg


55c68823d6764b9d2acf0013ddd9fe5f.jpg


It is quite common for floors to slope down towards the center of the room. This will be fixed easily with some composite shims. The fact that I only need to fix one direction, is a ton easier than if I had to level front and back along with the side to side.
 
Last edited:
OP
OP
ilyad

ilyad

Active Member
View Badges
Joined
Dec 19, 2011
Messages
490
Reaction score
610
Location
North Hollywood, CA
Rating - 0%
0   0   0
Whoa guys, I apologize for such a long delay between posts, but to be honest, until recently there was very little to update. So lets pick up where I left off...

First and foremost, I needed to wrap up all the plumbing for the tank as only the down pipes were fixed so far.

f2bbb6d55dce0743a7207dc12b2778b9.jpg


Here is a little view of the overflow section

f2ca72d4d68fede95539ca3fc65859e5.jpg


And here all of the plumbing is attached in.

b4bf13435cd88eabfb500525c3446549.jpg


The plumbing in this set up is a little weird since the tank is drilled to accommodate a bean animal style overflow, but the sump is undersized to allow me to keep a lot of things in there. Later if I am able to relocate the accessories outside the stand, I would be able to upgrade to a bigger sump and hence can utilize bean animal better. For now both of the down pipes are merged into one to fit the sump that comes with the tank.

Quick shot with more of the gear in the stand and then a close up of the plumbing again.

62a09d4d6777255b1c401dcd24641783.jpg


ac9a86cb75f77c00231508c425a513bb.jpg
 
Last edited:
OP
OP
ilyad

ilyad

Active Member
View Badges
Joined
Dec 19, 2011
Messages
490
Reaction score
610
Location
North Hollywood, CA
Rating - 0%
0   0   0
Continuing with the update, the next step had to be to level the tank.

After some extensive research I settled on these EZ-Shim brand shims which are made from composite plastic which can handle loads of weight. Also, unlike wood, they do not get effected by moisture or compression over the years.

16b844caf024a06ee898d83e9c43c5c3.jpg


To make sure the stand is not moved during the shimming process, I have also used painters tape to mark off the corners of the stand on the floor.

32740d93be74cc8aa5c49d36929d0245.jpg


2a8638252aab5c6a17f0b53302626697.jpg


Another small, but very effective upgrade is to silicone the space between the tank and the stand with black silicone. Doing this, makes sure that there is no opening where water can enter and seep under the tank, which can have the potential to rot or warp the wood inside.

dc94d5a77445e7a2ff54cb4fee822089.jpg


Elliot from @GoldenStateCorals assisted me with this step by taping off the tank and stand, filling it with silicone, and smoothing it out. After 24 hours, the silicone cures to create a perfect seal. In some instances, a second round is required to fill any holes that may have popped up once the silicone cured.

4d258d99844a259659fc41f633078341.jpg


ab4c56c683d210bf8f723579c2eb2563.jpg


After the tank was leveled, the next step was to add sand and rock. I went with Special Grade sized grain, which allows for higher flow but at the same time small enough to give a very natural appearance. The rocks are from a much earlier post and sourced from CeramEco. The Vida Rock is extremely light, yet porous, creating a ton of space for nitrifying bacteria while not adding bulk to the scape. All of the rock in the tank totals to roughly 20 lbs.

bd2b2512fe3f96290d34f2e0c8cb39a1.jpg


67bb68ec03a3aff29695f1ad6dd81c47.jpg


Here is the view with the lights on

226b292a0ca03046f060819c191dec7a.jpg


db14f706ffa7c87f08191a3bea0798ab.jpg


And here is the process while the tank was being filled

8d608c555e6ab488e8e690a86769d793.jpg


c178fd8634d06902fbf014cb05d68136.jpg


The tank is filled, still a bit cloudy, but it’s finally started, the cycle was started on 6/15/19.

0b72b4b68aa9bdc2d08ff26fabf87d3d.jpg
 
Last edited:
OP
OP
ilyad

ilyad

Active Member
View Badges
Joined
Dec 19, 2011
Messages
490
Reaction score
610
Location
North Hollywood, CA
Rating - 0%
0   0   0
Moving forward, the tank still needs extensive work organizing and managing wires, all the sensors, and programming the Profilux 4. I will not bore you with all of the process of doing that, but will include some quick tips and such.

Here you can see that the sump area is still a mess with wires everywhere.

c4e621fc71328fe8cbbbab0d4aec45f1.jpg


As I have mentioned previously, the Profilux 4 and Doser 2.1 will be sitting on an acrylic shelf that was custom made hanging from the electrical panel which is removable. After marking and drilling the pilot holes, the shelf was attached using stainless screws.

9698f9a5e3497c2db2e65017a8811ba7.jpg


d2d42aa5b8a53c71aaa8c00cb9e39aba.jpg


Here is the view with the trey in the stand.

f22ce113abc33de981a58678fa0e8a31.jpg


And here is the Profilux 4 in its place. (The doser is currently on the nano and will be moved over, once this tank is cycled and corals are moved from the nano to here).

e5d6940a3da36215950cf1179819619f.jpg


0e3970687d78730949ba5c0baf8290ac.jpg


As for some wire management for various sensors, I used small zipties to connect grouped sensors together and cover them in flex tubing, and then feeding through the wire channel. This method will allow me to grab bunches of wires for the sensors that need to be serviced, if such an event arises.

40ffa4ece767f00a1c15b379ebeee264.jpg


592eec9cb994ac5e107e2b38f4d30dee.jpg


c402b61ff475b653680f26808471b538.jpg


e740debc2eb39a61537f4d2c97b89c7f.jpg


Another quick shout out to @GoldenStateCorals for helping me order this tank, and assist with the final steps of getting it up and running.

e0d9f0a5d2f6ec2990769fef597be48d.jpg
 
Last edited:
OP
OP
ilyad

ilyad

Active Member
View Badges
Joined
Dec 19, 2011
Messages
490
Reaction score
610
Location
North Hollywood, CA
Rating - 0%
0   0   0
Last but not least, I have decided to do a separate post for the pictures of the tank as it sits now, about a week after the cycle has started (and water cleared up).

6b98411f57040b812dfe896d4dbd6782.jpg


673f46267158cb0ebf3ed812bfa84ef9.jpg


564622e715dacdca89575a2e988837c6.jpg


There will probably not be much updating in the next few weeks as I continue to wait for the cycle to do its thing, and doing more work on all the wires and sensors in the stand.
 
OP
OP
ilyad

ilyad

Active Member
View Badges
Joined
Dec 19, 2011
Messages
490
Reaction score
610
Location
North Hollywood, CA
Rating - 0%
0   0   0
The tank continues to cycle (just passed the 8 week mark yesterday) and should be ready for some fish and easy coral shortly. I am going on a short vacation next week, so I plan to make the move after I am back. However, while the tank has been cycling, I have done some additional changes and work that isnt particularly fun or photo worthy. I'll just highlight some here for now.

First, I set up the GHL optical and float sensors for the ATO. These will be used in conjunction with the Doser to top off the water. In the short term, I am using a small Sicce pump to do the topping off (while the doser is on the small tank).

Cant really see the sensors, but the wires were ran along the side of the sump and back towards the electrical board.

5DD7C103-4EF7-4CA8-A8D3-F772E06C5263.jpeg


Likewise, I connected the Finnex 300 watt titanium heater.

FD533F7A-C2EE-4E99-B66B-D49F85A2BA1C.jpeg


And connected the Temp probe. I've yet to figure out the other GHL probes that came with the kit and which I plan to use, but temp one was useful right away.

B3704CD4-3094-44E6-BE3D-83460ACD7152.jpeg


All the wires neatly tuck behind the sump and run to the panel.

F4A2A639-A894-4676-B6E6-504C31001DD1.jpeg


In the previous design for the electrical panel, I had to remove the entire thing to put the wire channel cover on and off. This was a little annoying to deal with, especially early when I was adding and removing wires constantly. Luckily, I noticed that I had enough room in the stand that if I cut the cover in half, I can remove the pieces individually without removing the panel. A bit of luck and changes, made this tank a million times easier.

CFD2F23B-21EE-47B1-AAF1-B7F3A964CE29.jpeg


BB3937CD-57BF-4B3D-9DAD-5B37FB4500C8.jpeg


8DE80AAD-3911-4843-B5AF-719B96A1C47F.jpeg


Some shots of the sump area with all the wires tucked away (the ones mentioned earlier).

D8928D83-93D6-44B0-A5C9-48D7ABBF1C54.jpeg


164778FD-788F-43AD-96C5-CDF941EFBAD5.jpeg


And a shot of the whole tank

784A3B1C-42E8-4418-96AB-27891DEF706E.jpeg
 
Last edited:
OP
OP
ilyad

ilyad

Active Member
View Badges
Joined
Dec 19, 2011
Messages
490
Reaction score
610
Location
North Hollywood, CA
Rating - 0%
0   0   0
Ok, continuing with some more random build steps during the cycle.

After running some of the lighting cables and plugging them in, I realized that the power blocks for the XR15s would be sitting on the ground, which I wanted to avoid in case of leakage. I purchased 2 more power block holders and attached them to the wall.

41B45D28-AEBF-415C-A8E2-3D1DB39AC79B.jpeg


1319B807-DEB1-4E03-A6F7-B1F99B9750B9.jpeg


Likewise, I purchased another ATO container that will sit just to the side of the aquarium (previously planned to go there and the tank was measured to sit just to the right of it. (Don't worry about the large window, as a curtain is covering that area 99.99% of the time).

5F12AD63-0DD2-4B9A-B25D-D0C1D4F12C31.jpeg


And how it sits with the curtain back in its place.

85C731E5-ABAE-4027-B183-D74F270E004C.jpeg


Next, I needed to attach the reflectors to the T5 bulbs. These reflectors were part of the T5 kit.

4176F35A-DA92-4129-B0F6-9E16A317342C.jpeg


8256DDF6-9D77-44F9-B27C-93162706A344.jpeg


Lights on with the reflectors. (still only has one of the Radions).

9405988C-96D5-40B0-B8EE-D22EEE6A4E29.jpeg


Finally, I hooked up the second PAB power bar and ran some additional equipment to it (one being the temp ATO pump).

76E5EC11-CC00-4688-AD21-B407FDED6ACA.jpeg


Also, I ran the cables and connected the touch screen for the Pofilux, but got too lazy that day and havent mounted to the wall yet.

C68C9574-A505-4561-B014-59AB3597C118.jpeg


Not included in the picture build, I also hooked up both of the MP40s and programmed them. Here is the close up of the tank as it looked this weekend

80E69BA1-AF21-4608-81E3-FA1EAA73FCC6.jpeg


And here is the living room shot at night showing the blue glow from both tanks

E094C65C-5086-4478-BCA8-3FBEA3A97BC3.jpeg


As the tank sits now, here are the thing that are hooked up, programmed and working:
- 1 Radion XR15
- 2 MP40's
- 1 Vectra M
- 2 bulb T5
- ATO pump controlled by optical and float sensor
- Finnex heater controlled by temp probe
- External touch screen display for Profilx.

Things that are still pending, and need to be hooked up:
- second XR15 (will be moved once a replacement AI Prime HD is acquired to go on the nano).
- attach BRS media reactor
- attach BRS CO2 scrubber (if needed)
- program skimmer (potentially replace with a better one)
- acquire and attach fuge light
- figure out which additional probes to connect for monitoring
- move doser, once corals migrated to new tank
 
Last edited:

Katrina71

Learn, Laugh, Love
View Badges
Joined
Mar 26, 2017
Messages
37,322
Reaction score
210,572
Rating - 100%
1   0   0
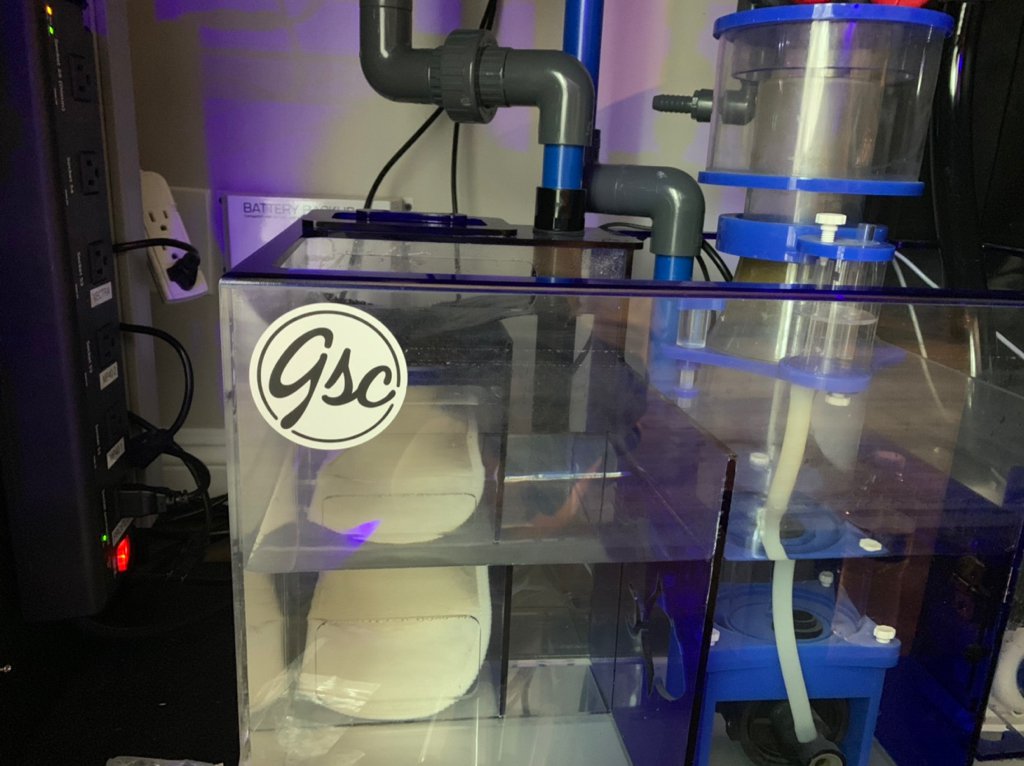
What a beautiful build!
 

Vahanyos

Valuable Member
View Badges
Joined
Nov 11, 2016
Messages
1,195
Reaction score
849
Location
Los Angeles
Rating - 0%
0   0   0
It's coming along very nicely brother. Can't wait to see it with some livestock in there.

Also, I have a Chetomaxx Fuge light I won't be using since I won't be keeping a fuge with this new setup... You can have it if you'd like. It actually did fairly well with growing chaeto
 
OP
OP
ilyad

ilyad

Active Member
View Badges
Joined
Dec 19, 2011
Messages
490
Reaction score
610
Location
North Hollywood, CA
Rating - 0%
0   0   0
Just noticed that the last two updates lost all of the pictures that were uploaded. Must have been due to the Tapatalk move as those were done through there. Have just reattached the photos through the mobile browser and everything should be working now.
 
OP
OP
ilyad

ilyad

Active Member
View Badges
Joined
Dec 19, 2011
Messages
490
Reaction score
610
Location
North Hollywood, CA
Rating - 0%
0   0   0
Just a very quick update today. On Friday I was able to get the deal of a lifetime when I bought a GHL Doser 2.1 with 4 pumps for only $150. I plan to use this doser to dose the 3 core elements (Alk, Ca, and Mag) and the 4th pump for my ATO. The 3 pump Stand alone will be paired up with a KH director down the line.

So the price was great, but the only downside was that the doser was a white versus while my Profilux and other doser is black.

3A889B74-8B20-4698-BFB1-A6AFC1675C4E.jpeg


Well, no biggie, I’ll just swap the lids so the one on the tank stand will be matching. That is the only difference visually (well, besides the back wall with the connectors, but whose gonna see that ;))

First step is to remove the top cover and disconnect the light from the board.

CB6D7066-4DB1-412C-928A-014C94A192D8.jpeg


4732EB9C-0393-4744-A22B-D6385064A5E5.jpeg


157F4EFD-05FC-45D8-9536-13623FC71C2B.jpeg


Next, carefully remove the screws to the doser that is currently hooked up (power off!).

F367D28C-EB53-4679-9B7A-836DC79D0556.jpeg


Next, spend 20 minutes trying to fish out a screw that fell into the tightly packed sump. Dry thoroughly.

Here is the old black lid removed.

38A87467-1F08-4933-AED4-DA58E8E9B571.jpeg


White lid put on the old doser and the black one on to the new one (after a quick wipe down).

383A11DE-1D80-44AB-89D2-312A0FFFE7D2.jpeg


436D92DB-8B69-4558-8DF2-4063948E9F89.jpeg


Old doser back in its place (now with a shiny white lid).

FB06706F-A8B9-4016-8090-DFBC4A3D06D0.jpeg


And the new doser up on the acrylic shelf on the big tank, now with matching top.

038F8D49-06DA-4B78-863D-B6DA41AB1FB1.jpeg


Later, the KH director and all the goodies needed for that will be placed in a remote shelving unit and so the color difference will not be visible there.
 
OP
OP
ilyad

ilyad

Active Member
View Badges
Joined
Dec 19, 2011
Messages
490
Reaction score
610
Location
North Hollywood, CA
Rating - 0%
0   0   0
I have a Chetomaxx Fuge light I won't be using since I won't be keeping a fuge with this new setup... You can have it if you'd like. It actually did fairly well with growing chaeto

Special shoutout to this guy for hooking it up worth the light. It looks to be the right size that would work for the sump space I’ll be working with. Now just have to figure out a way I’ll mount it.

3732ECCA-5380-4F60-9DE0-7F3077953504.jpeg
 

Vahanyos

Valuable Member
View Badges
Joined
Nov 11, 2016
Messages
1,195
Reaction score
849
Location
Los Angeles
Rating - 0%
0   0   0
Sweet! Love the color it puts out too...

You can use some double sided tape and strap it to the side of the sump (or in front of it facing into your fuge). It should work since the original packaging included a velctro style strap if you didn't want to use the mount. Just a thought
 
OP
OP
ilyad

ilyad

Active Member
View Badges
Joined
Dec 19, 2011
Messages
490
Reaction score
610
Location
North Hollywood, CA
Rating - 0%
0   0   0
Well, a quick little post today, and then more later. A friend of mine came over with a nice camera and took some pictures of the tank as it finished the cycle but before anything was added.

36A73755-6B94-4D8A-80D4-2D20449AE53F.jpeg


0BA7B997-9860-49F7-B7CD-DE87AF7A6EFC.jpeg
 
Last edited:
OP
OP
ilyad

ilyad

Active Member
View Badges
Joined
Dec 19, 2011
Messages
490
Reaction score
610
Location
North Hollywood, CA
Rating - 0%
0   0   0
Lets see... I guess it's time to do another update. Still not much going on, but continuing to do slow additions to the GHL system.

First and foremost, added the GHL doser to the custom made shelf. Rand the cables and the power supply to the back of the electronics panel. As designed, I was able to pull the panel out and add the cables in fairly easily.

1AF39DCE-B249-4F32-A179-2DD35813F790.jpeg


08338567-2C5A-47DF-9BF5-41DBE2B40DE3.jpeg


Here it is in place, the doser and controller fit the shelf perfectly! Sorry for the dark picture, but still no light inside the stand.

714B1DFB-E257-4ACC-896B-C691F58CEB00.jpeg


While in the stand, I also re-routed the ATO sensor. The wire guides kept un-sticking from the stand (since its a bit of a rough surface). Now its attached to the lip of the sump which has good adhesion.

6AF59CCC-C5B0-465A-A904-6E882CAE1D12.jpeg


I also pulled out the sock and switched it to sheets of filter floss... these allow me to switch the filter a lot easier and quicker... who wants to mess with washing socks. The sump is slighly louder than with a sock in this way, but not enough to be an issue.

010109EB-AAF8-4106-9BFA-5EF848BA57AC.jpeg


Prepping for the transfer of fish, I did a water change. You can see the canopy in action where it was super easy to turn it out of the way and access the tank.

B2B3810C-89E1-4BEA-A2DB-F8AAC1A3BDC3.jpeg


D13AAAE5-315F-4EBD-8D67-9EF0D7D4A891.jpeg


Next was to introduce the first fish from the nano to the big tank, so I borrowed a small fish trap from my LFS.

6BC50A01-A8AA-424A-9967-4F169ED4470E.jpeg


Added the trap into the nano and left the tank alone to allow the fish to get used to the trap... the Cherry Wrasse was so curious it instantly went in without any food.

415E4C6D-3E85-45E5-B3E4-FB4BAFB87BD6.jpeg


DA64E0EF-0B19-46CB-ACC5-29C3F11CB31D.jpeg


So I swooped him up and into the new tank he went. My parameters are almost identical in both tanks so a quick scoop and drop was enough. No acclimation needed.

78F4234E-B0C1-4628-ACAE-F6EC2B81B5CA.jpeg
 
Last edited:

Keeping it clean: Have you used a filter roller?

  • I currently use a filter roller.

    Votes: 75 35.0%
  • I don’t currently use a filter roller, but I have in the past.

    Votes: 7 3.3%
  • I have never used a filter roller, but I plan to in the future.

    Votes: 58 27.1%
  • I have never used a filter roller and have no plans to in the future.

    Votes: 66 30.8%
  • Other.

    Votes: 8 3.7%
Back
Top