

- Joined
- Dec 9, 2015
- Messages
- 140
- Reaction score
- 65
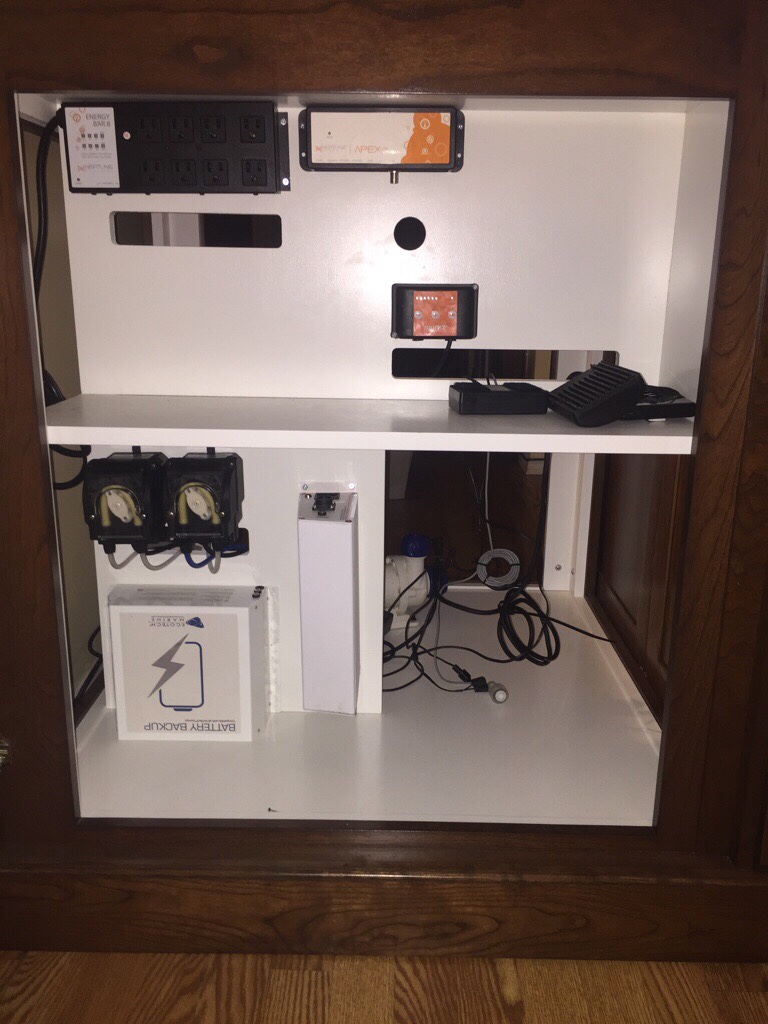
I've always been attracted to cube tanks and have hours viewing hundreds of 93gal tank builds and setups. To me, 93g dimensions seemed to offer the best bang-for-buck as far as aquascaping and future coral growth, as well as being able to stash a decent amount of equipment underneath within the stand.
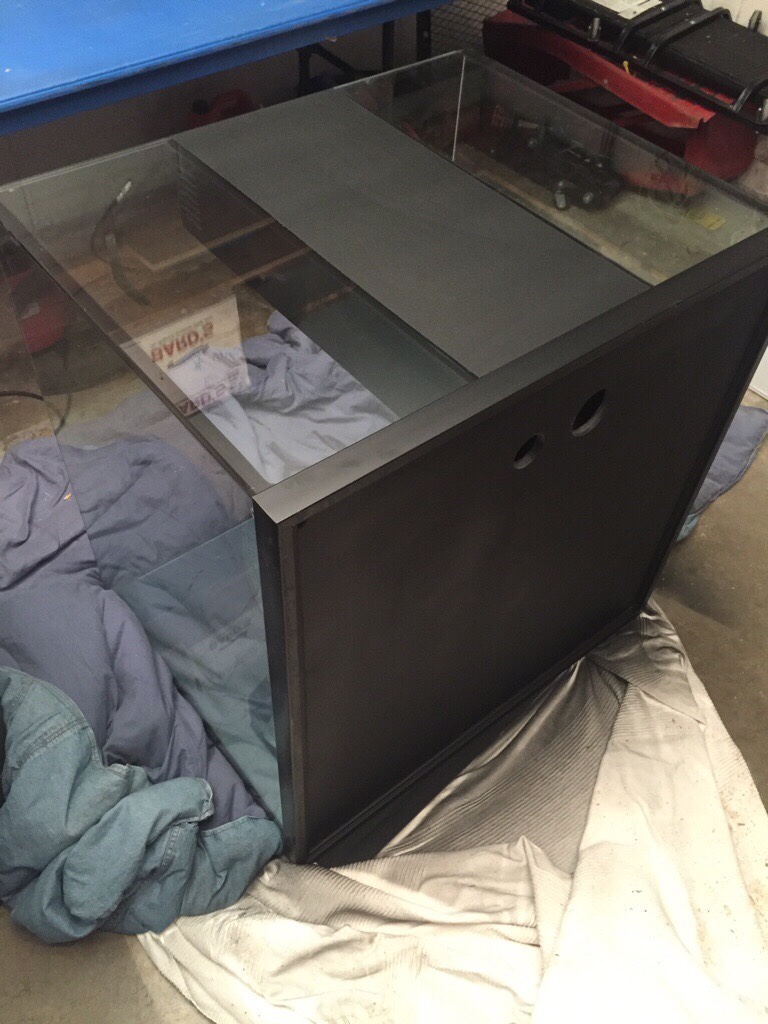
Earlier this year I was fortunate enough to order my dream cube tank through a local Kansas City LFS, for a bit of store credit and a few bucks. I knew I wanted three viewing sides, so corner overflows were a NO-GO. I also wanted to go rimless because, well come on, its rimless! [emoji23]
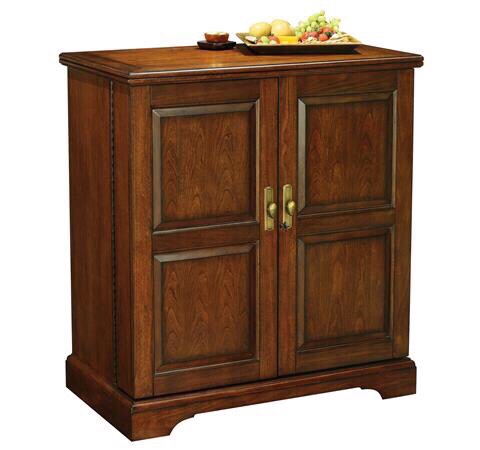
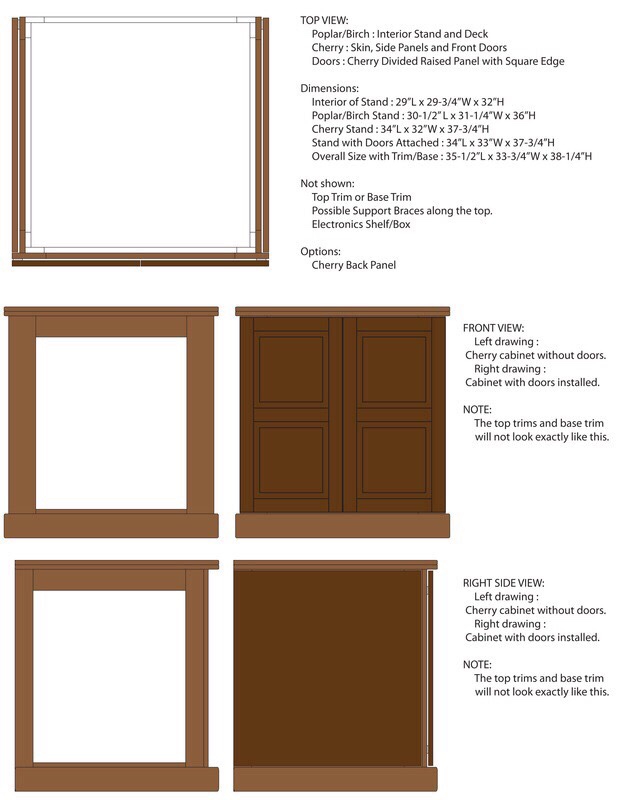
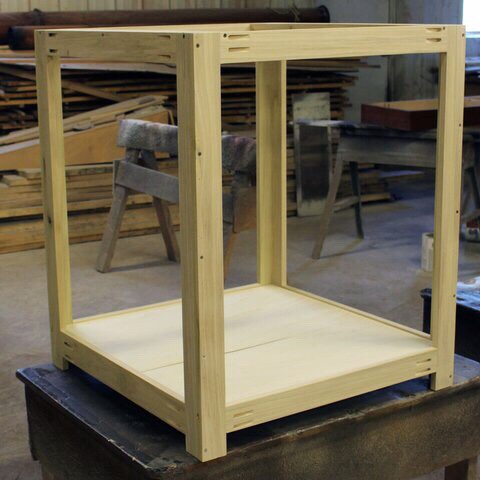
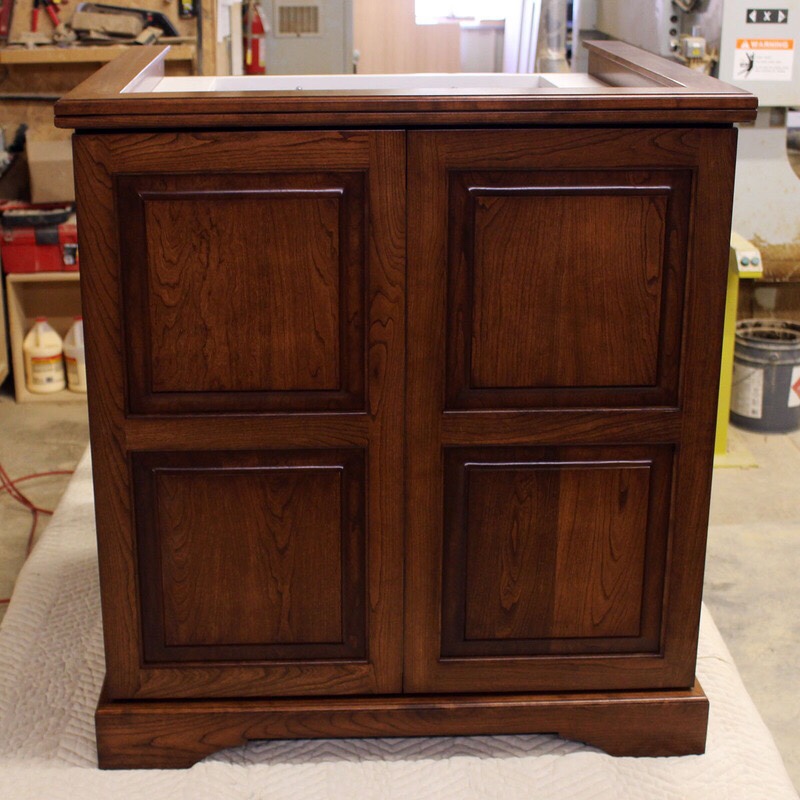
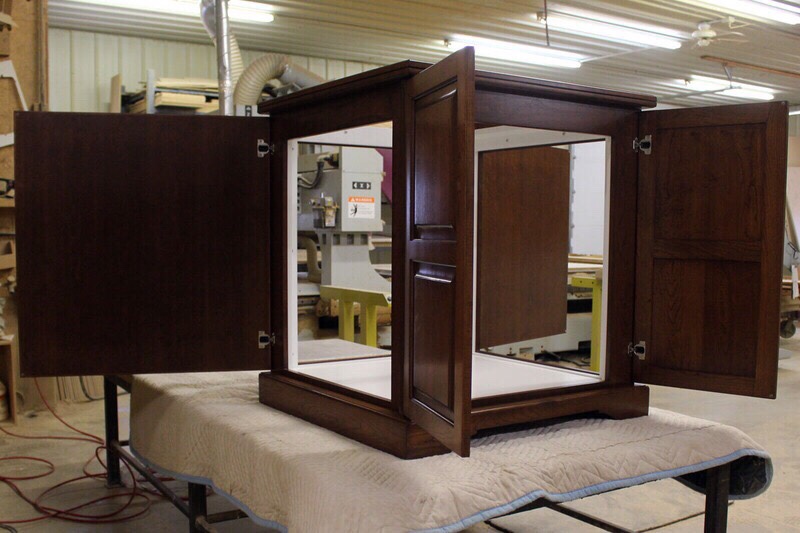
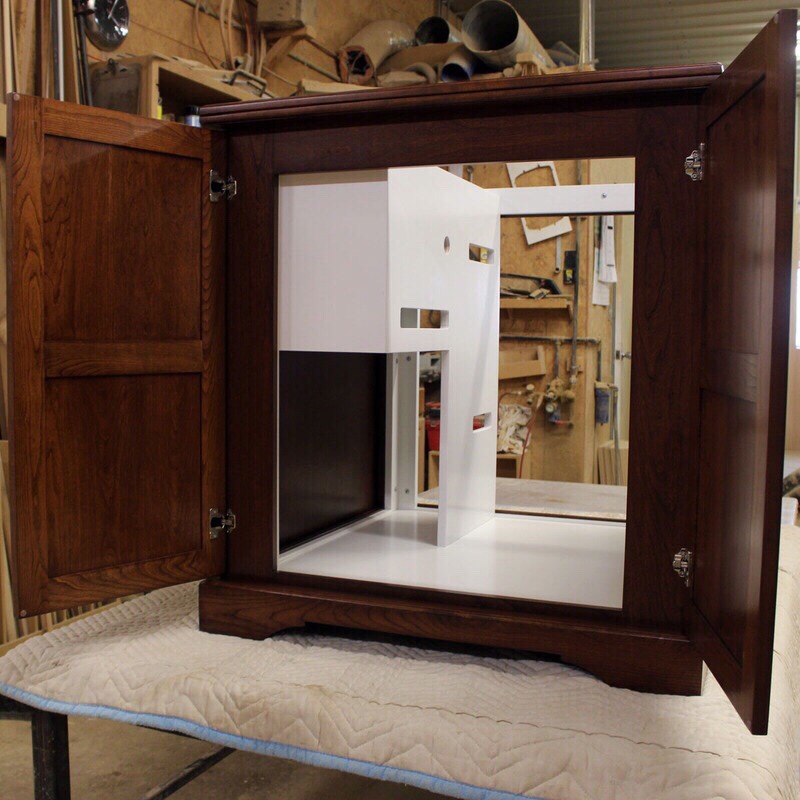
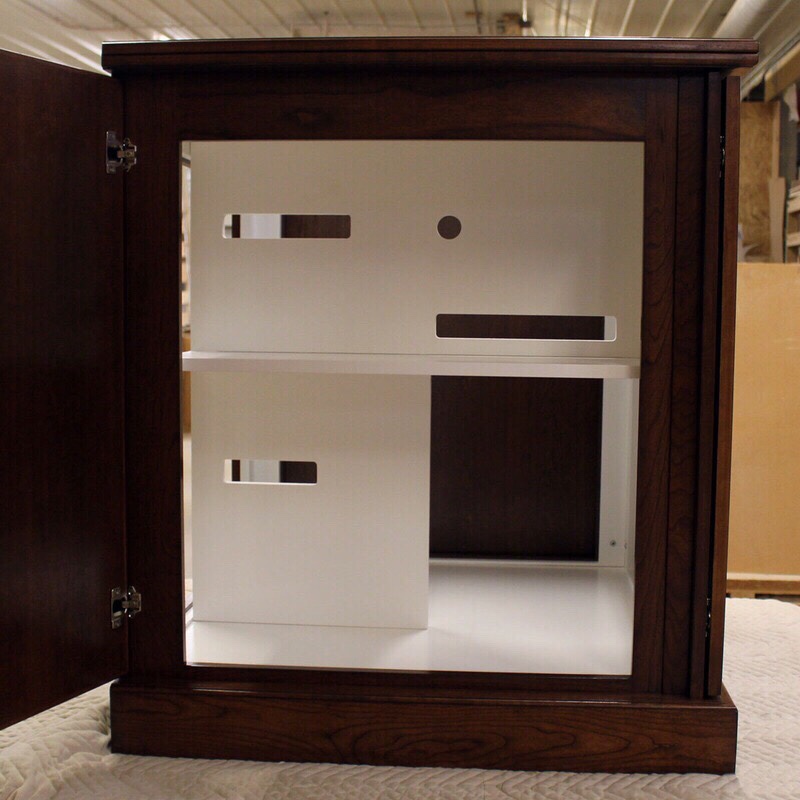
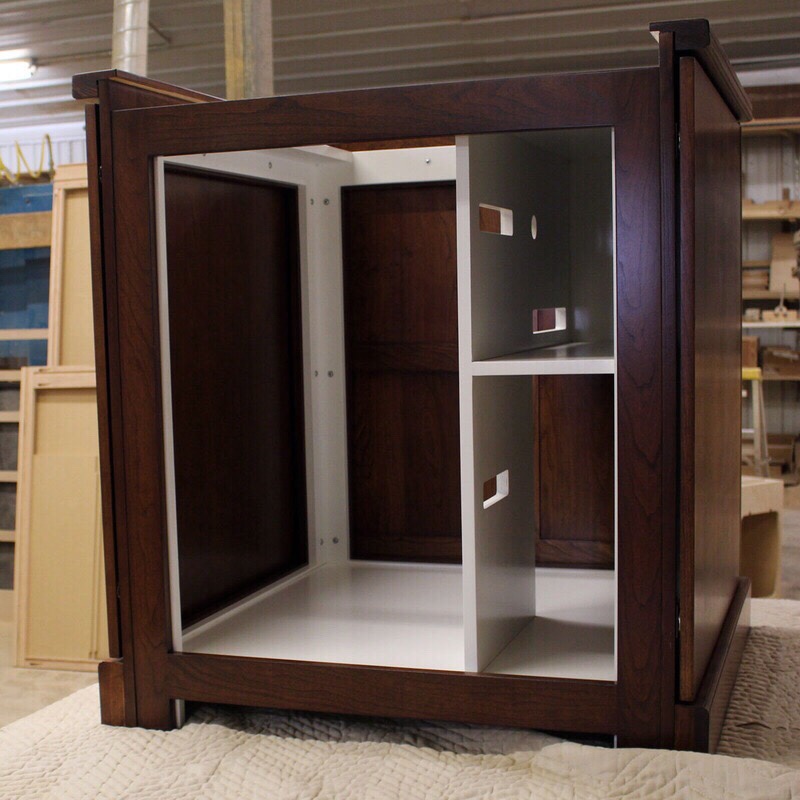
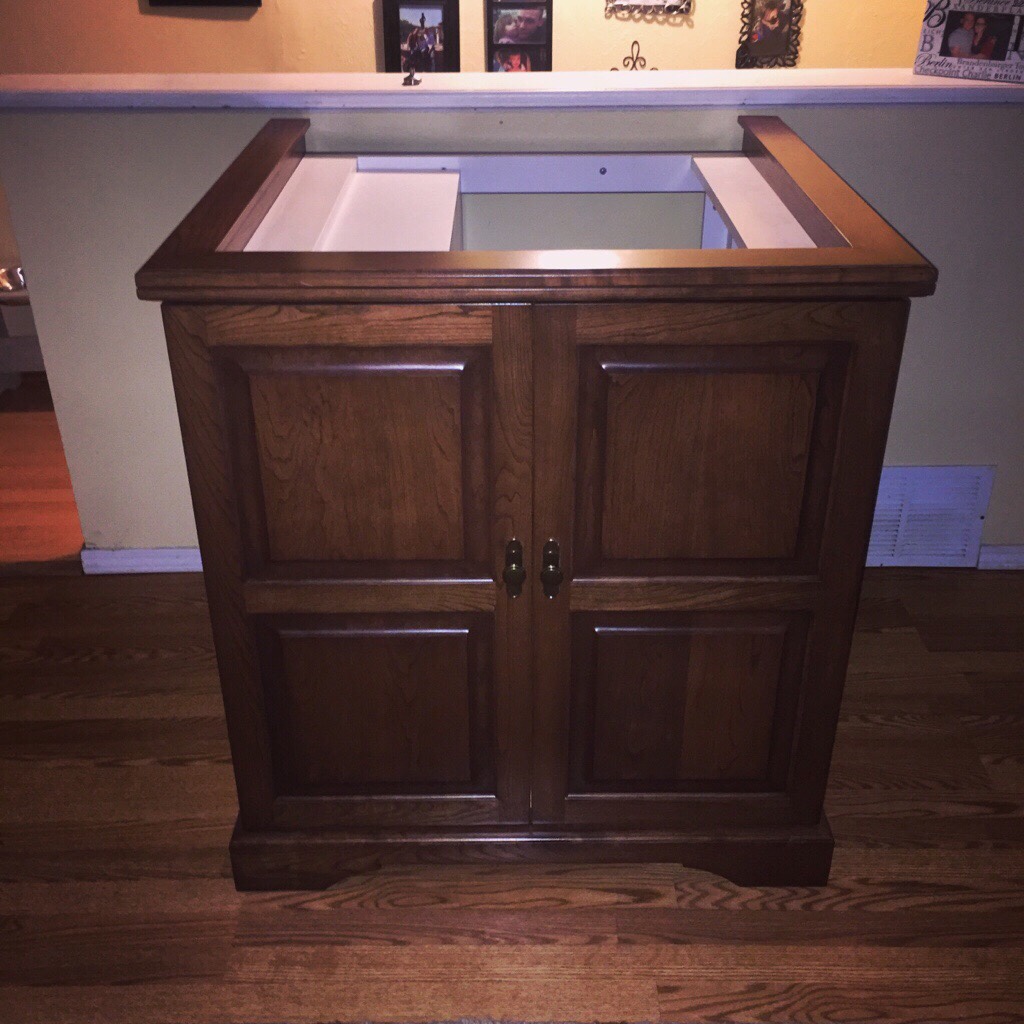
After a recent relocation and getting settled, I sought out a stand builder and was happily surprised to learn that @jlanger has had a successful history in that field! (Bonus points for him being a hobbyist with a rock solid understanding of reef aquarium needs. ) [emoji106]
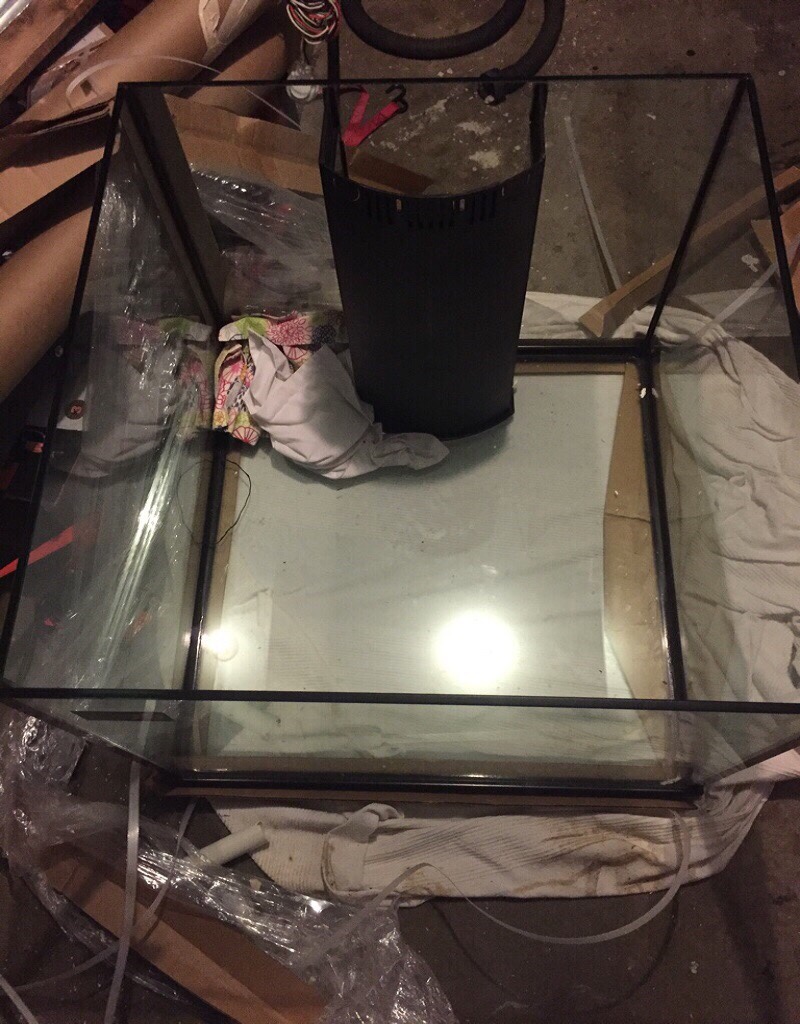
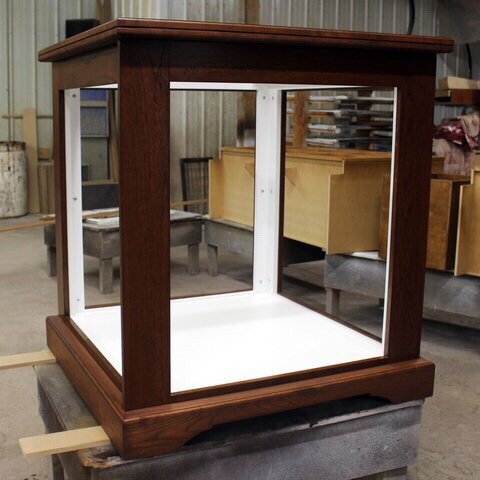
With that... Pictures.
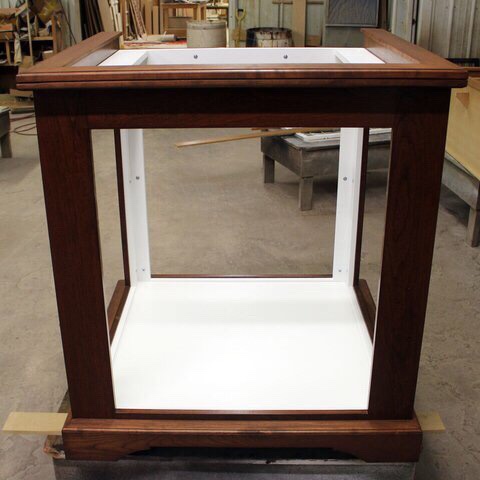
Tank Topdown
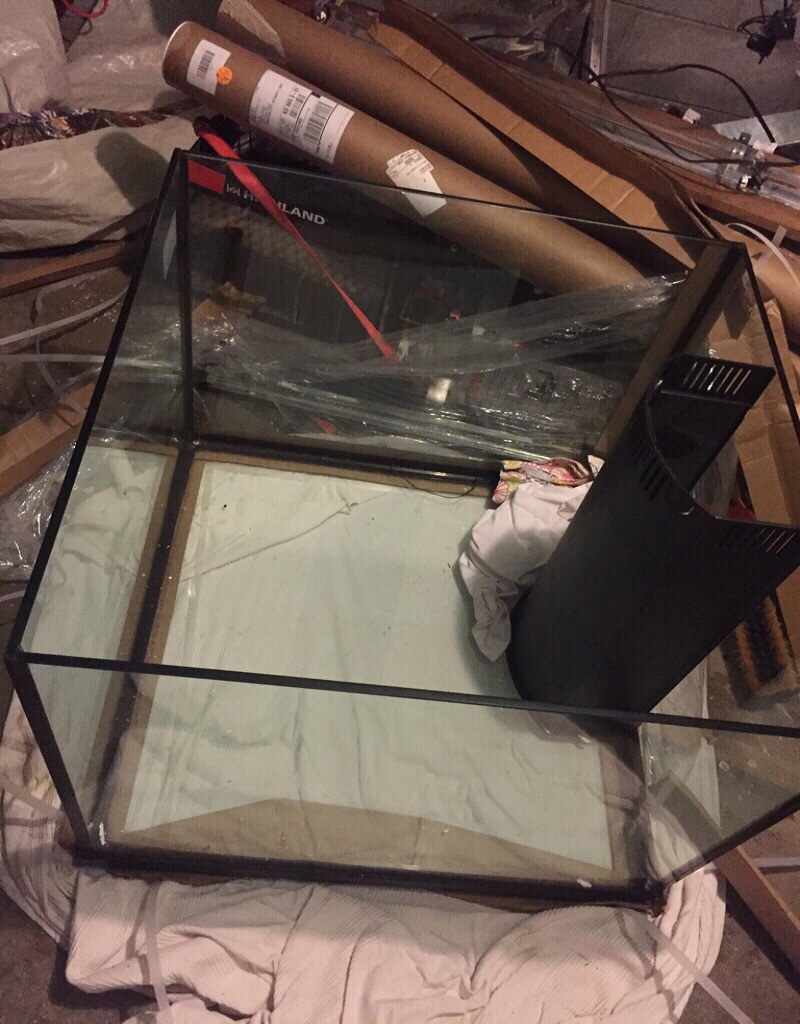
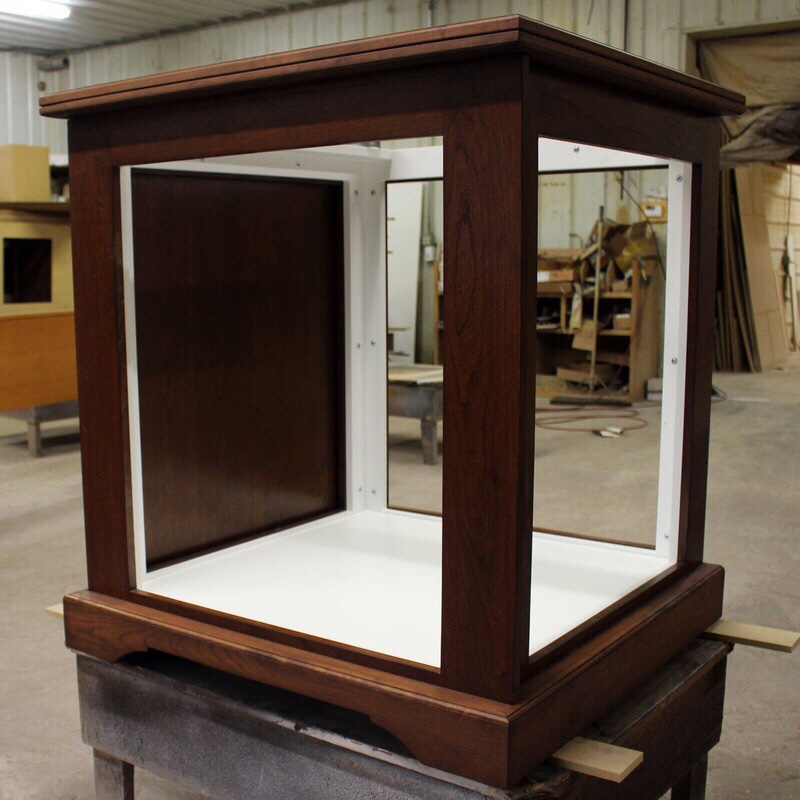
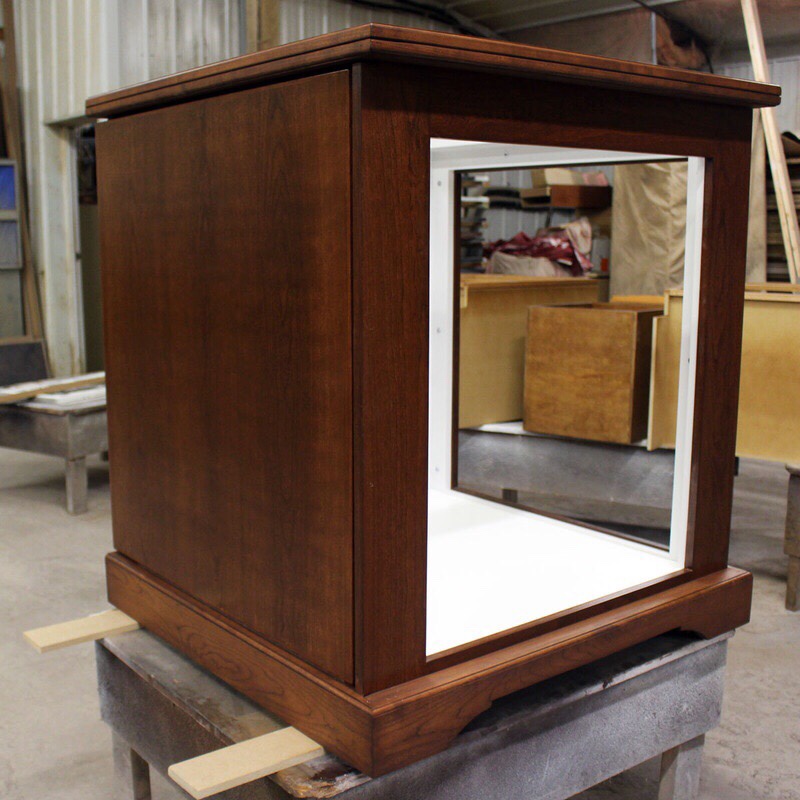
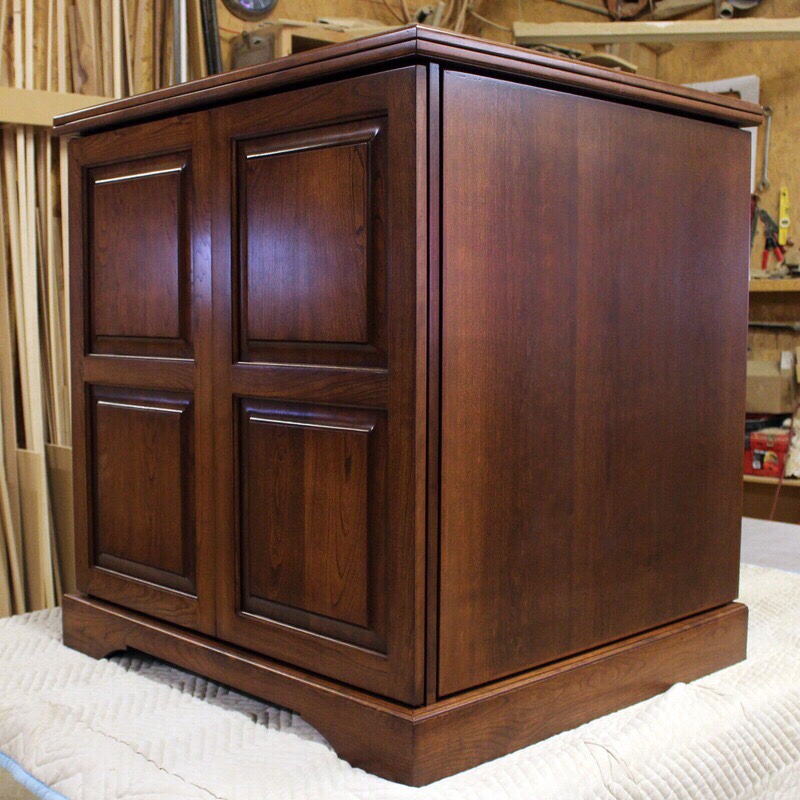
Tank Side
Earlier this year I was fortunate enough to order my dream cube tank through a local Kansas City LFS, for a bit of store credit and a few bucks. I knew I wanted three viewing sides, so corner overflows were a NO-GO. I also wanted to go rimless because, well come on, its rimless! [emoji23]
After a recent relocation and getting settled, I sought out a stand builder and was happily surprised to learn that @jlanger has had a successful history in that field! (Bonus points for him being a hobbyist with a rock solid understanding of reef aquarium needs. ) [emoji106]
With that... Pictures.
Tank Topdown
Tank Side


")


