Why another cabinet? There are several reasons why one would need one. For me just a couple reasons are messy cords and I'm out of room underneath the tank stand. Another reason someone would need another cabinet is to stop lol from getting the look from your other half that the messy cords out in the open just don’t compliment the decor in the room. That in itself a reason to build one.
I currently run a 180 gallon reef. The reef inhabitants consists mainly of sps but I do have several lps and a couple of soft corals.
Some may not agree but as the tank continues to mature the need for more equipment to run the tank multiplies. Many of us aquarists love to geek-out on our tank equipment so a place to have this equipment is supposed to make our lives much easier.
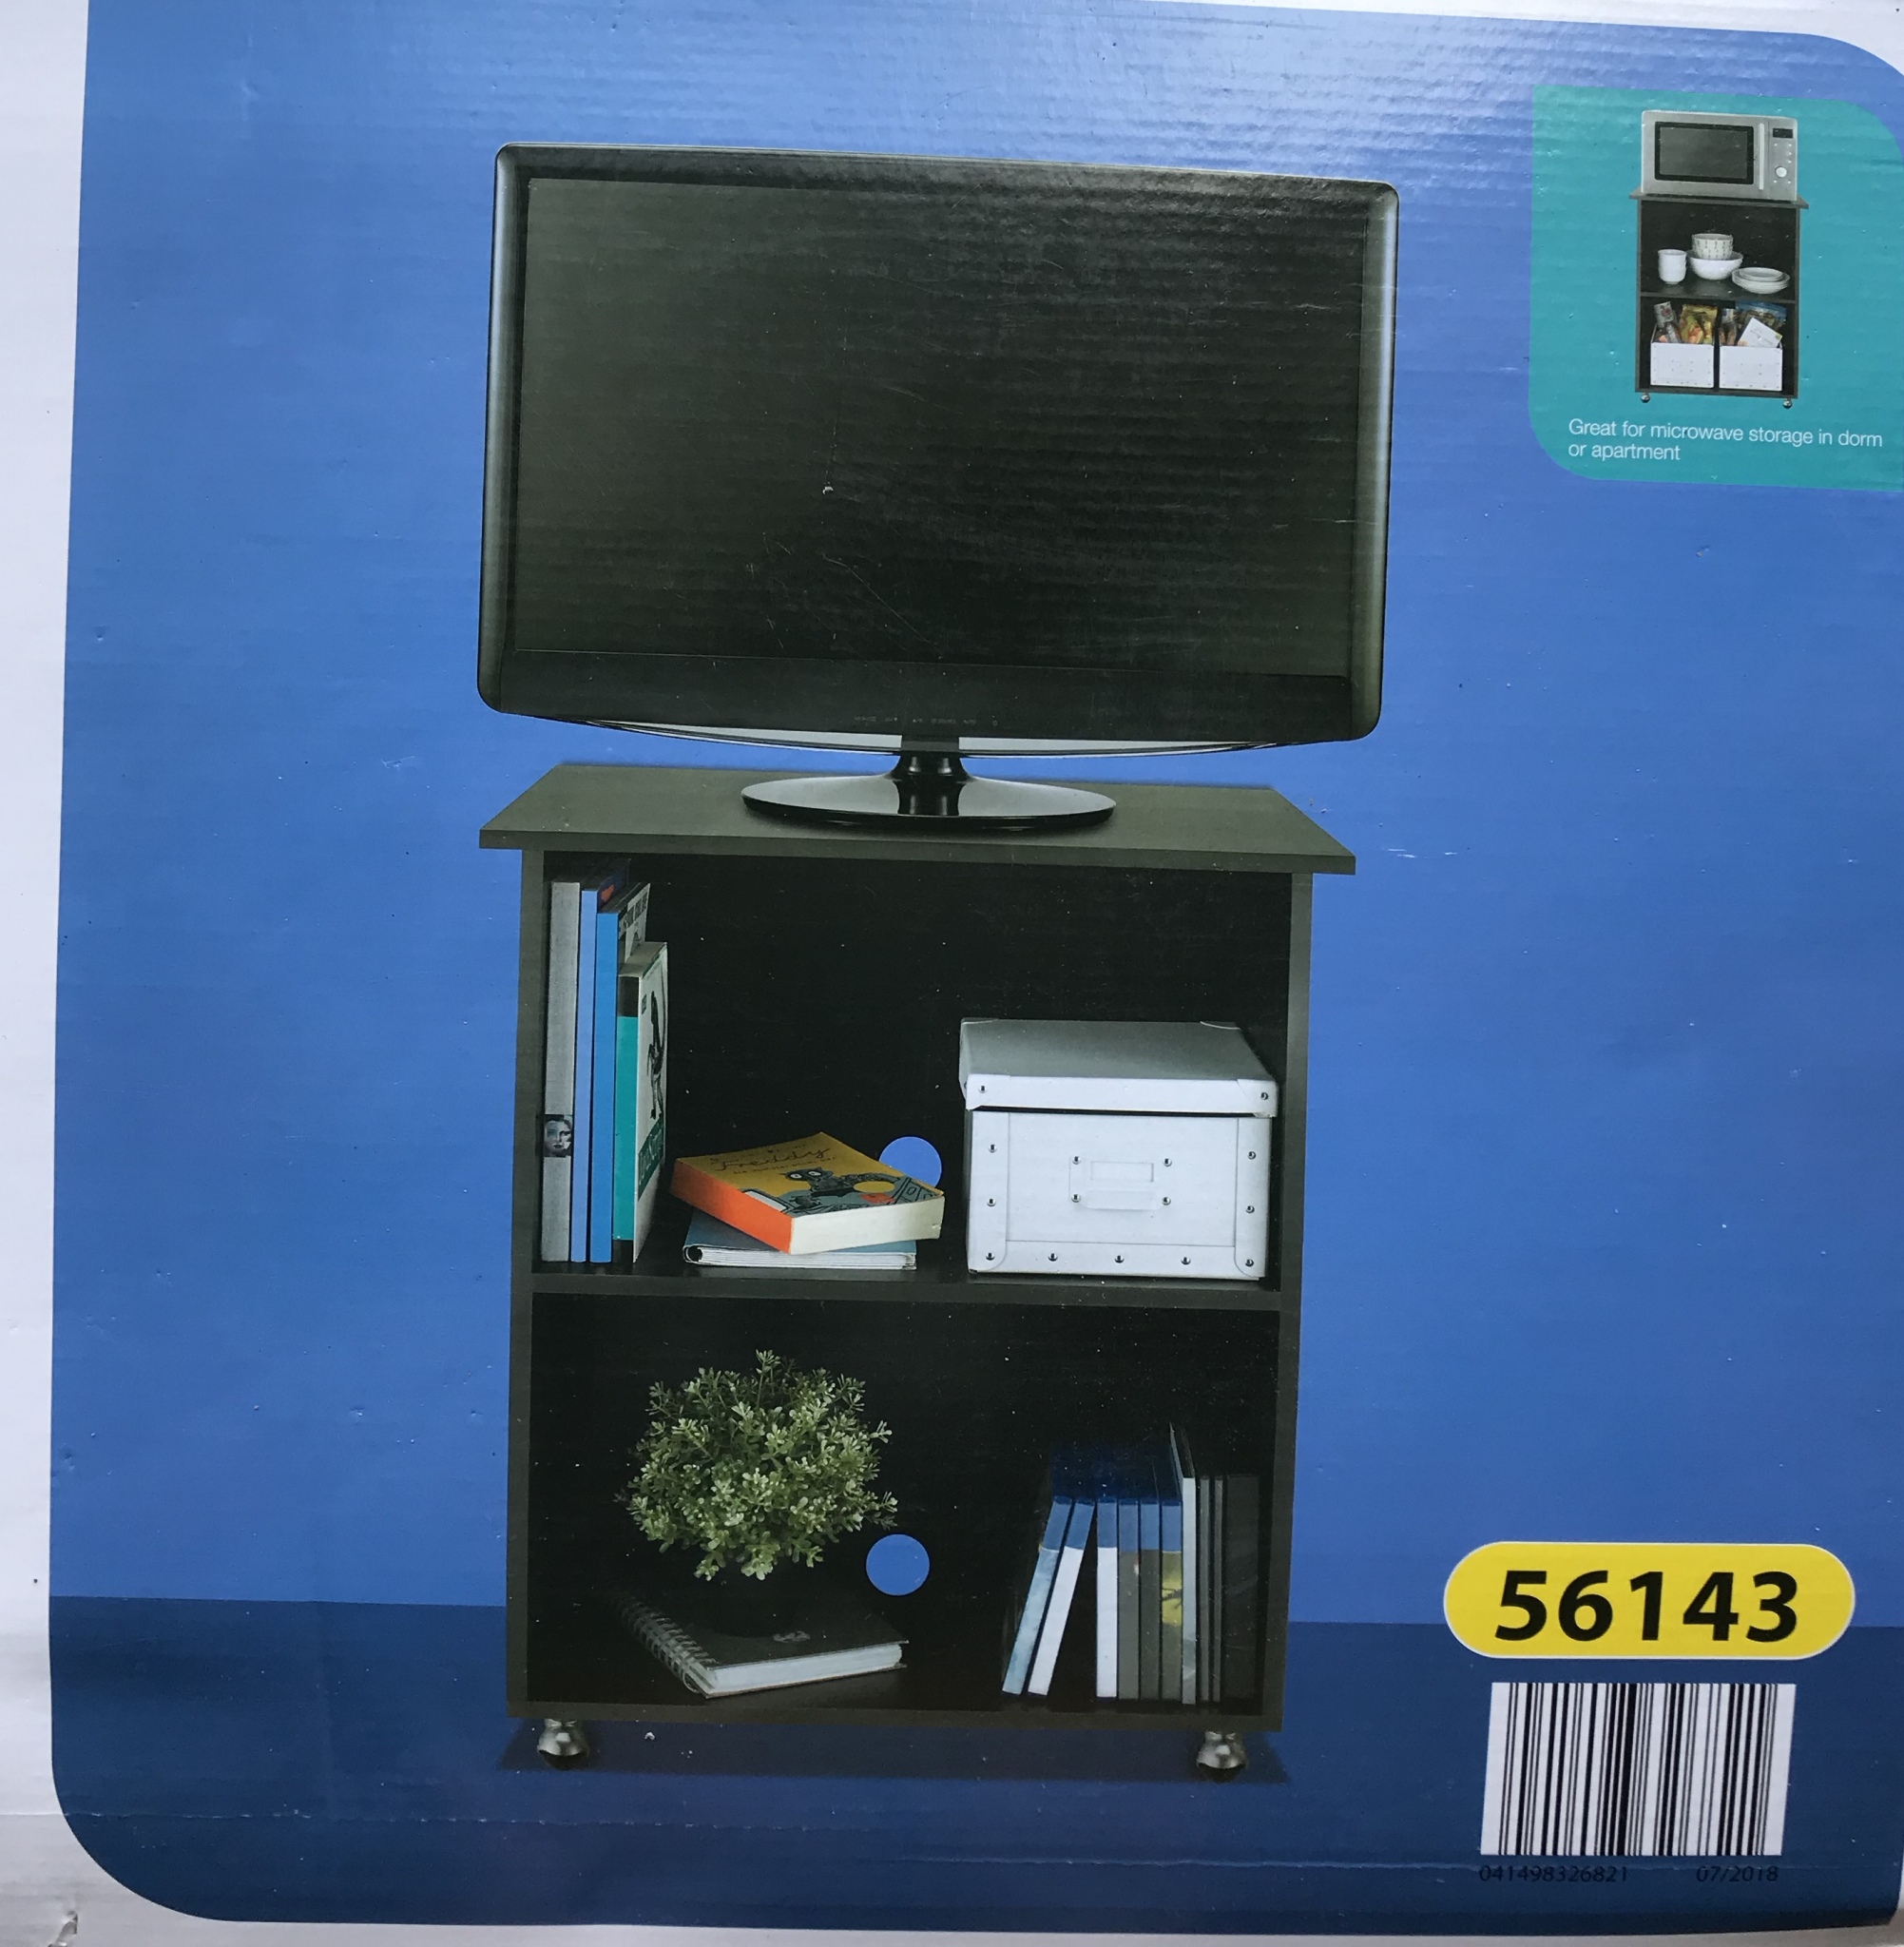
My research and plans took several months to plan. I kept changing my mind from a build up from scratch to just buying some kind of cabinet. The scratch build out would have been ideal but I am not super handy when it comes to building furniture. Also a budget kind of keeps ya in check since one spends so much more on equipment, live stock, additives etc, etc. So by chance while out food shopping I bought a TV/Microwave cabinet from Aldi’s and it was only $9.99.
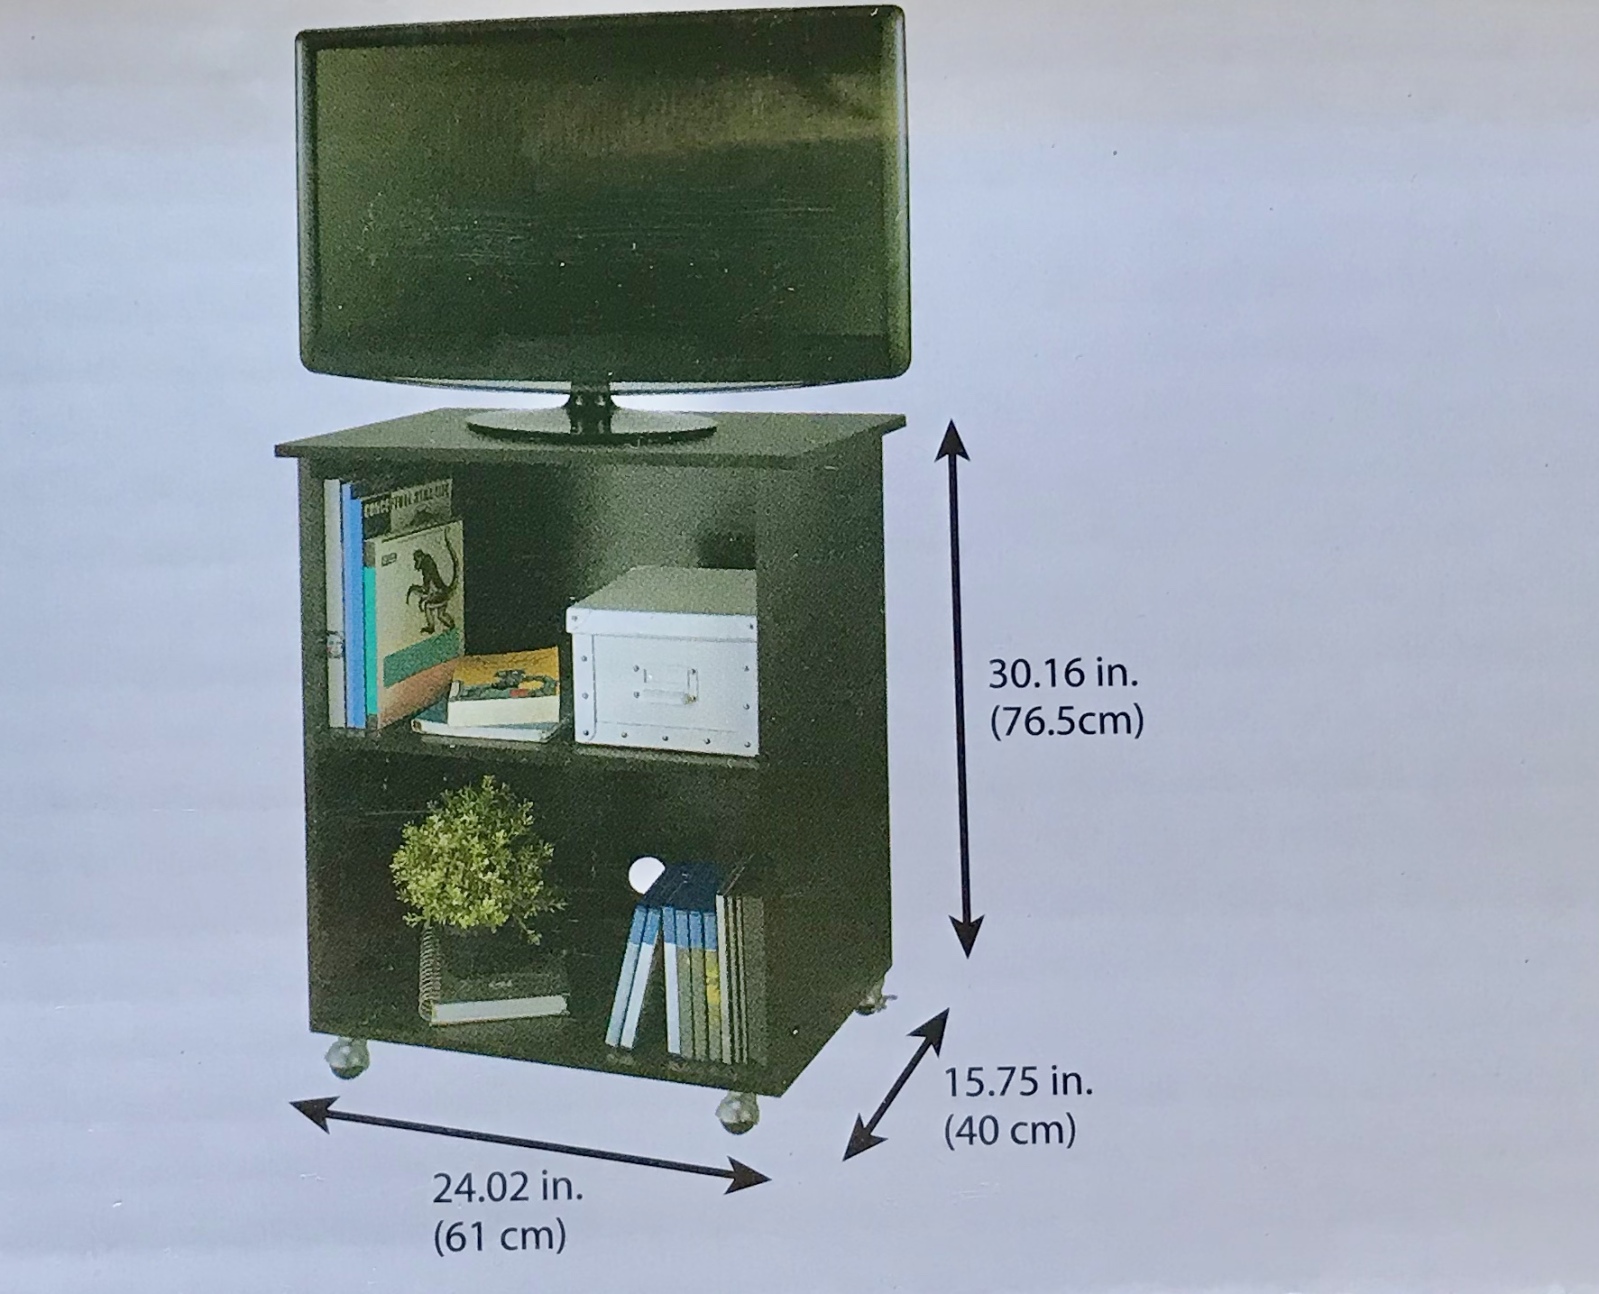
Woohoo!! Cabinet was cheap and was on wheels and it looked as though it would be perfect. Well lol perfect if you retrofit it to meet your needs. With planning and some basic tools it can be done.
What equipment would be housed in the front part of the cabinet?
Top of cabinet:
Ipad on stand
Top tier of cabinet:
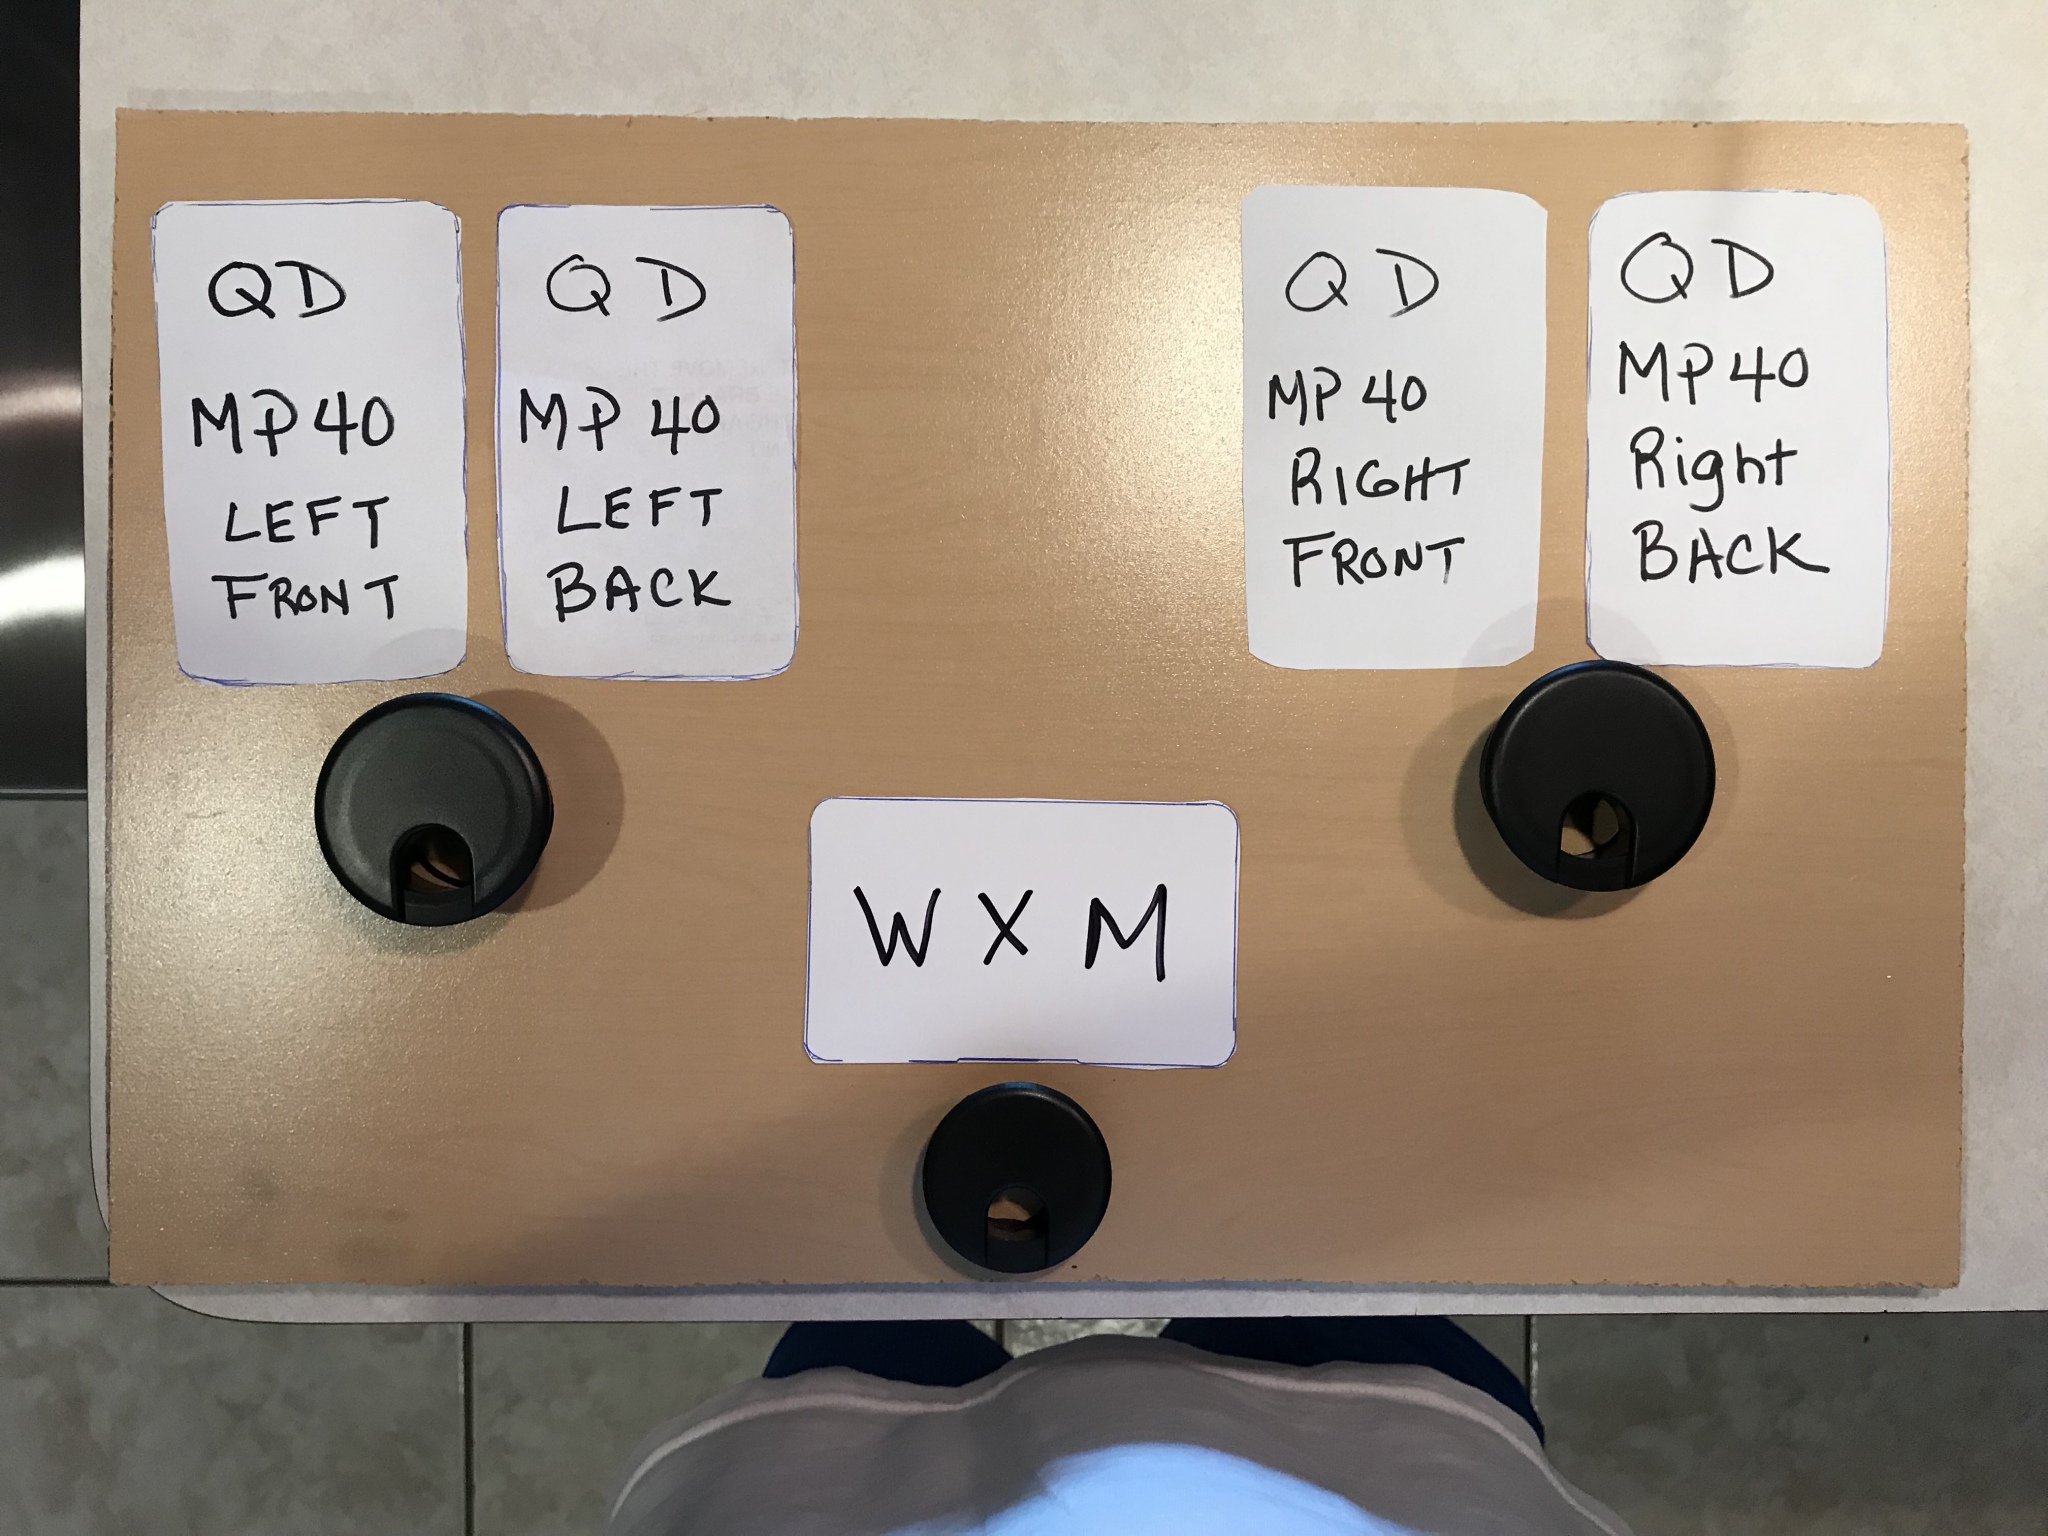
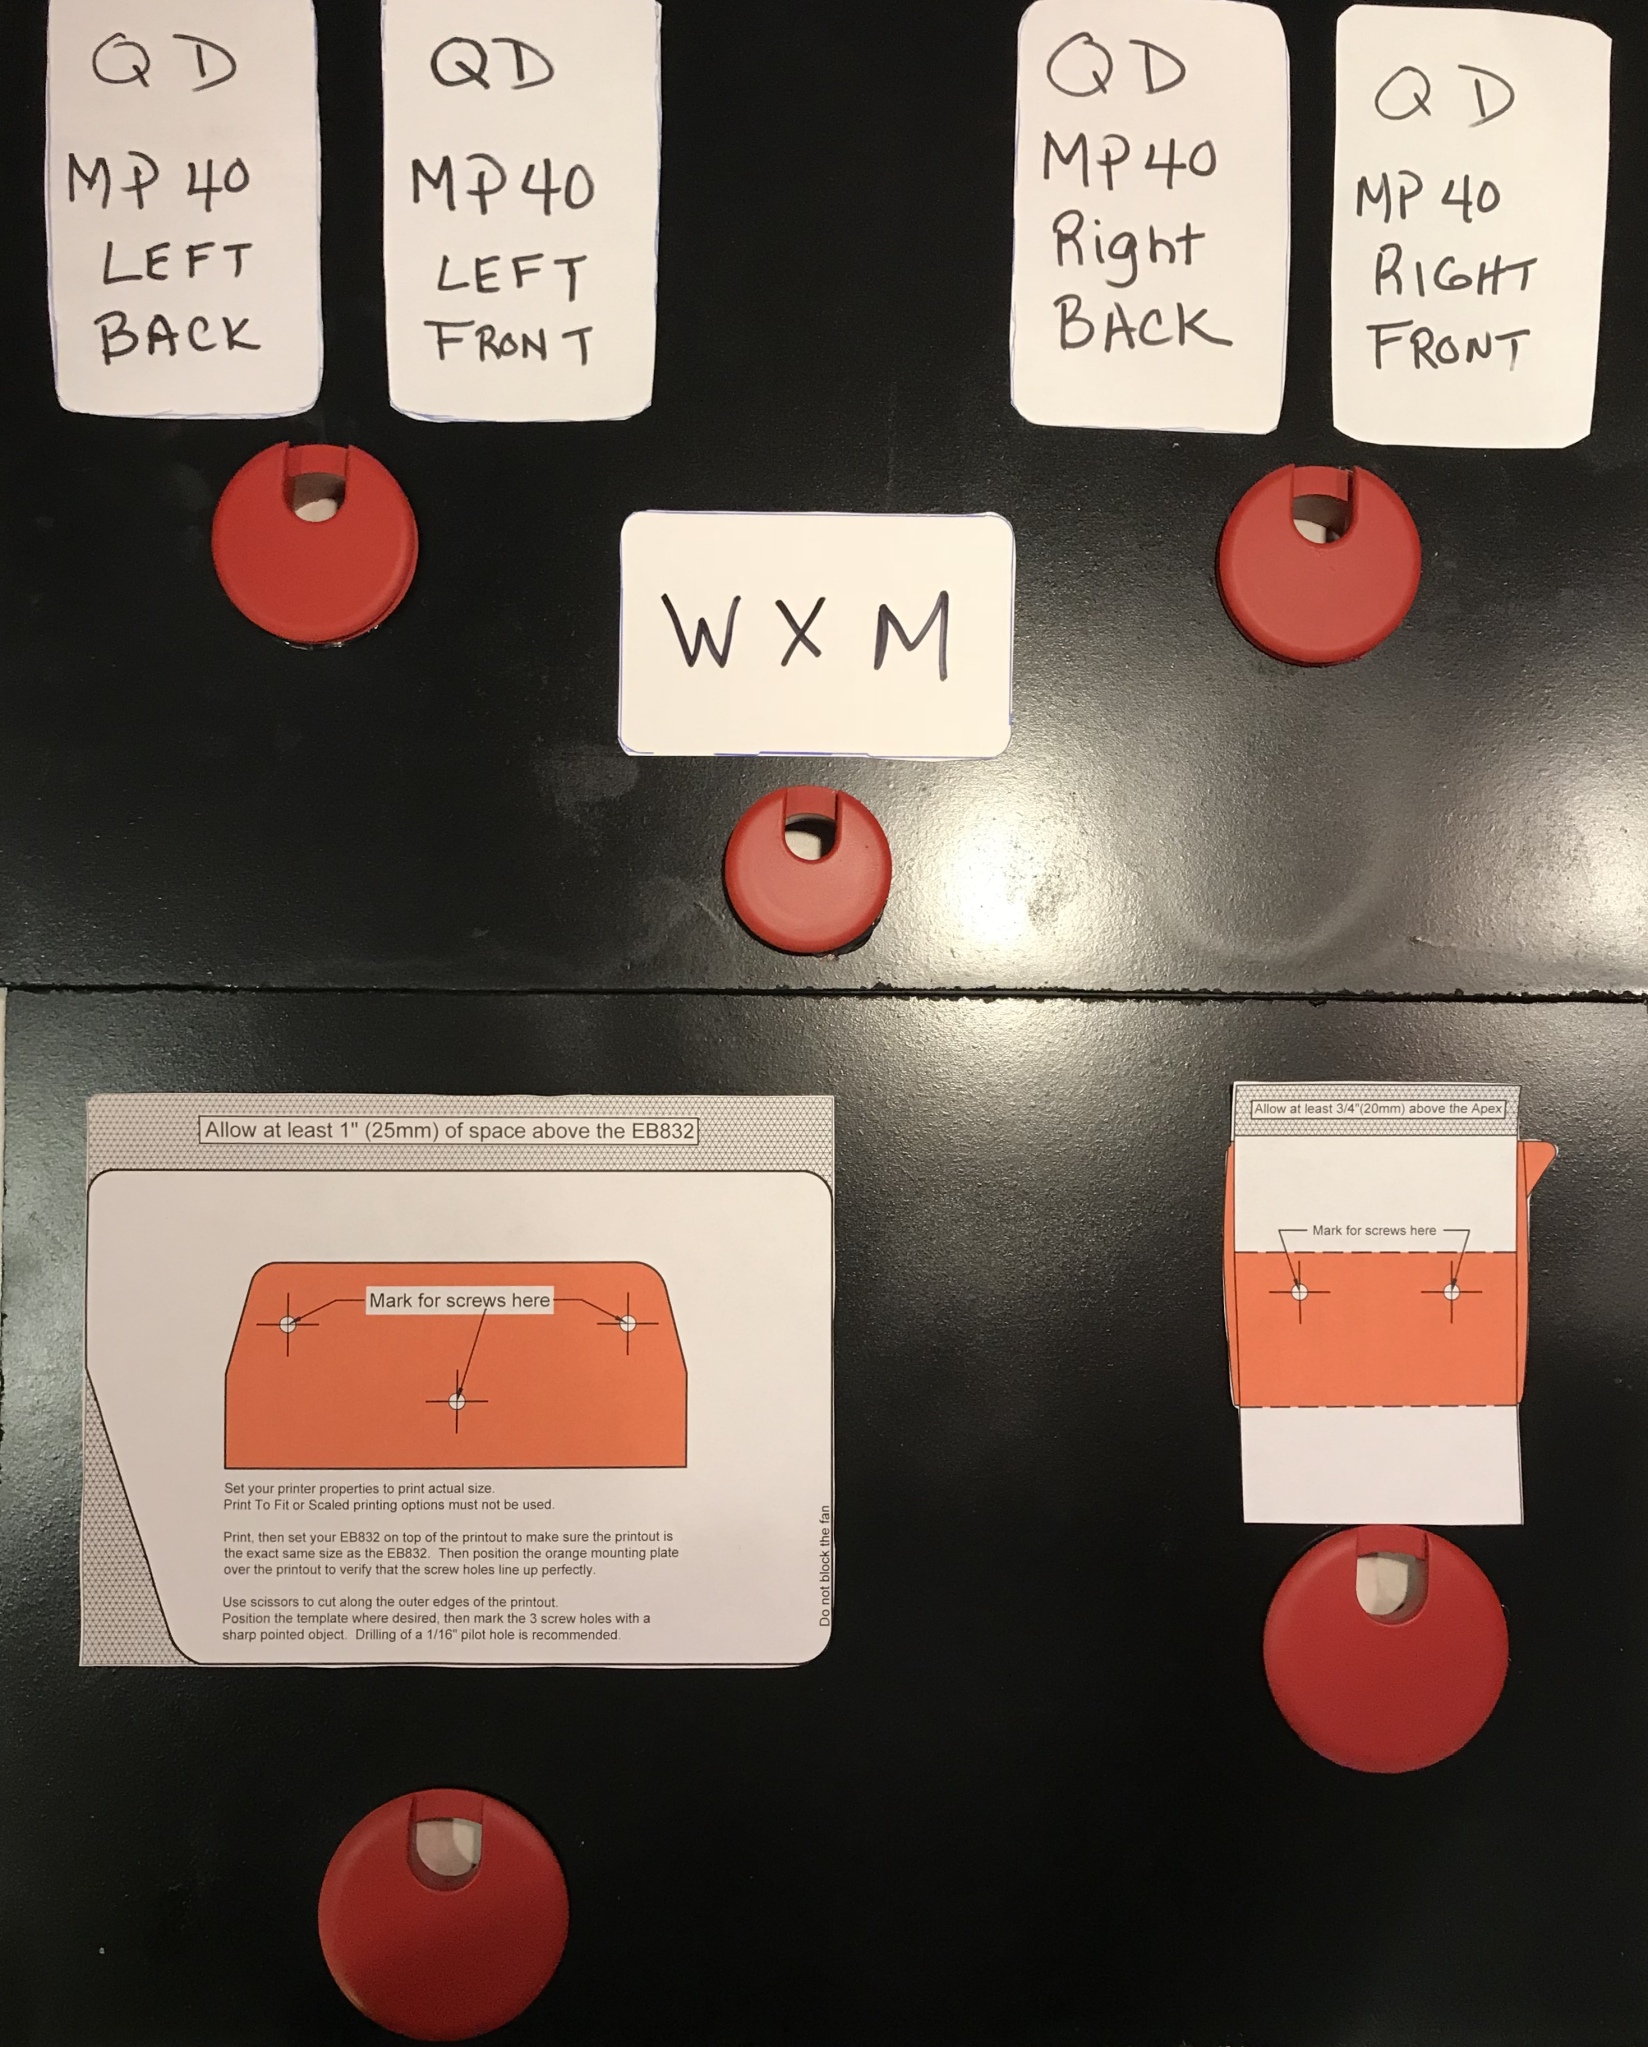
2 QD MP40’s - left back, left side of tank
WXM module
FMM module added a month after install
2 QD MP40’s - right back, right side of tank
Lower tier of cabinet:
EB832
Apex Main Hub
Rear of cabinet:
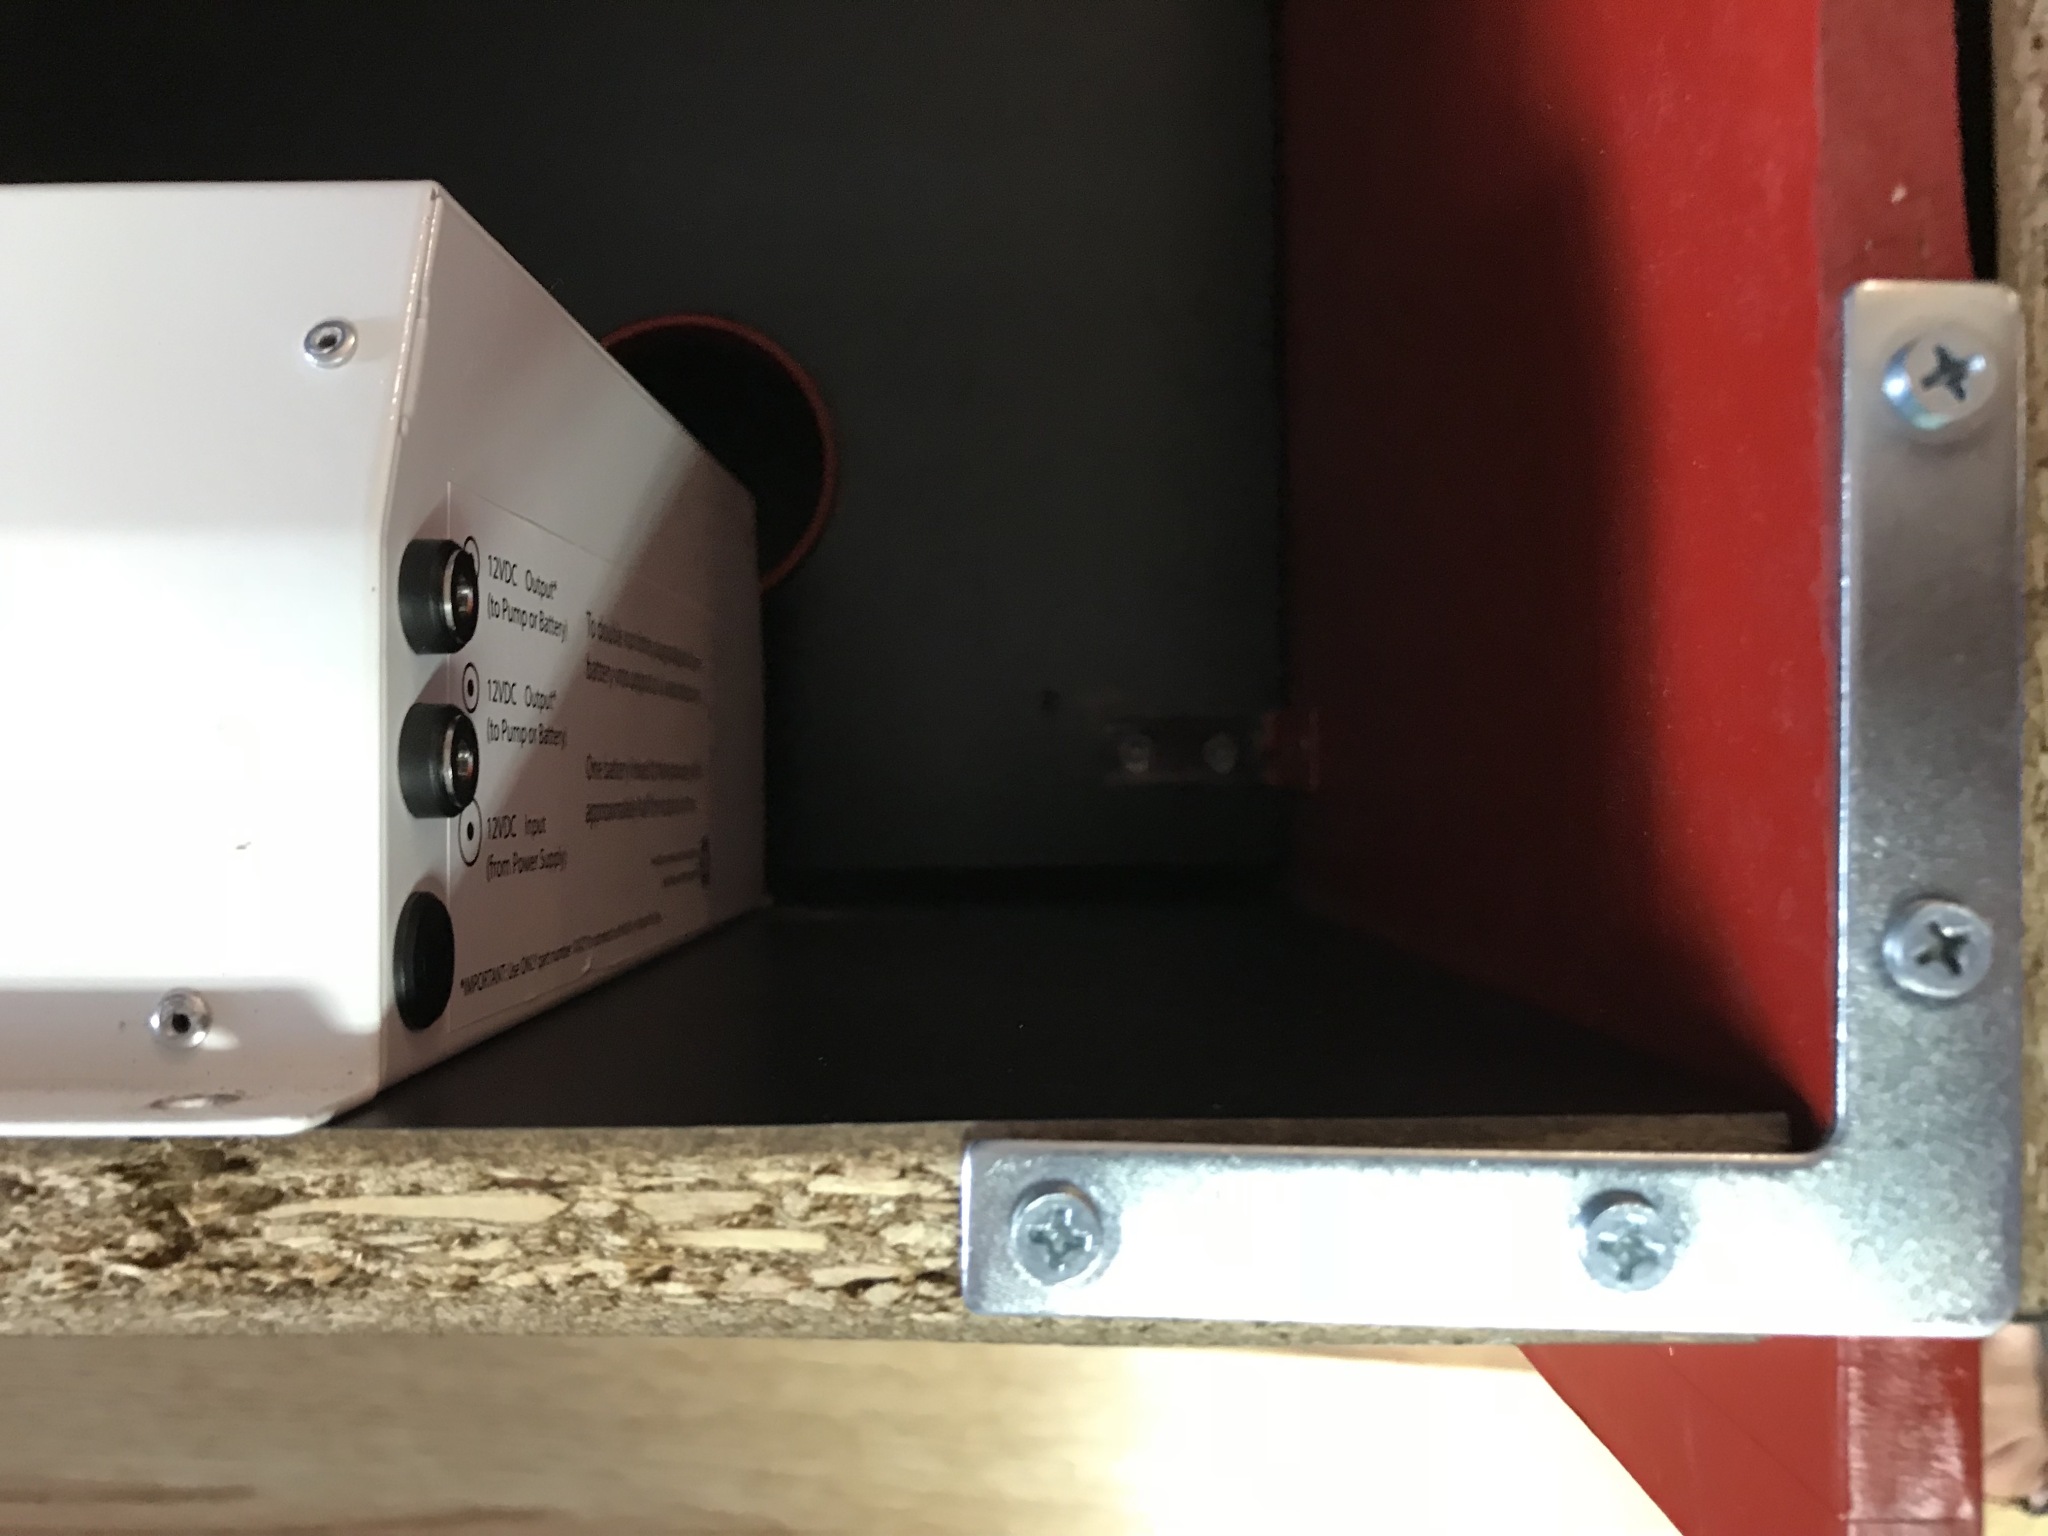
2 Eco Tech battery back ups
In order for this cabinet to work for my application I needed to build a couple of interior walls. These walls would be installed halfway onto each level on the inside of cabinet. These walls would provide support for the equipment I wanted to install.
Keeping this build as cheap as possible makes the other half happy to not see me spend money. My neighbor was renovating a bathroom. His trash was my treasure. I took the sides of the cabinet and cut the material into 3 pieces. One wall for the lower part of the cabinet 20.5"x13.25", one for the upper part of the cabinet 20.5"x13.25"and a larger piece for the bottom in order to support a glass door 16"x24".
With the help from youtube videos and reading other aquarists cabinet build outs it became apparent that I needed more stuff. Brackets, braces, paint color, furniture hole covers and drill bits. Plans for a color scheme that would allow the cabinet to blend in with the existing furniture and decor in the room.
I purchased a:
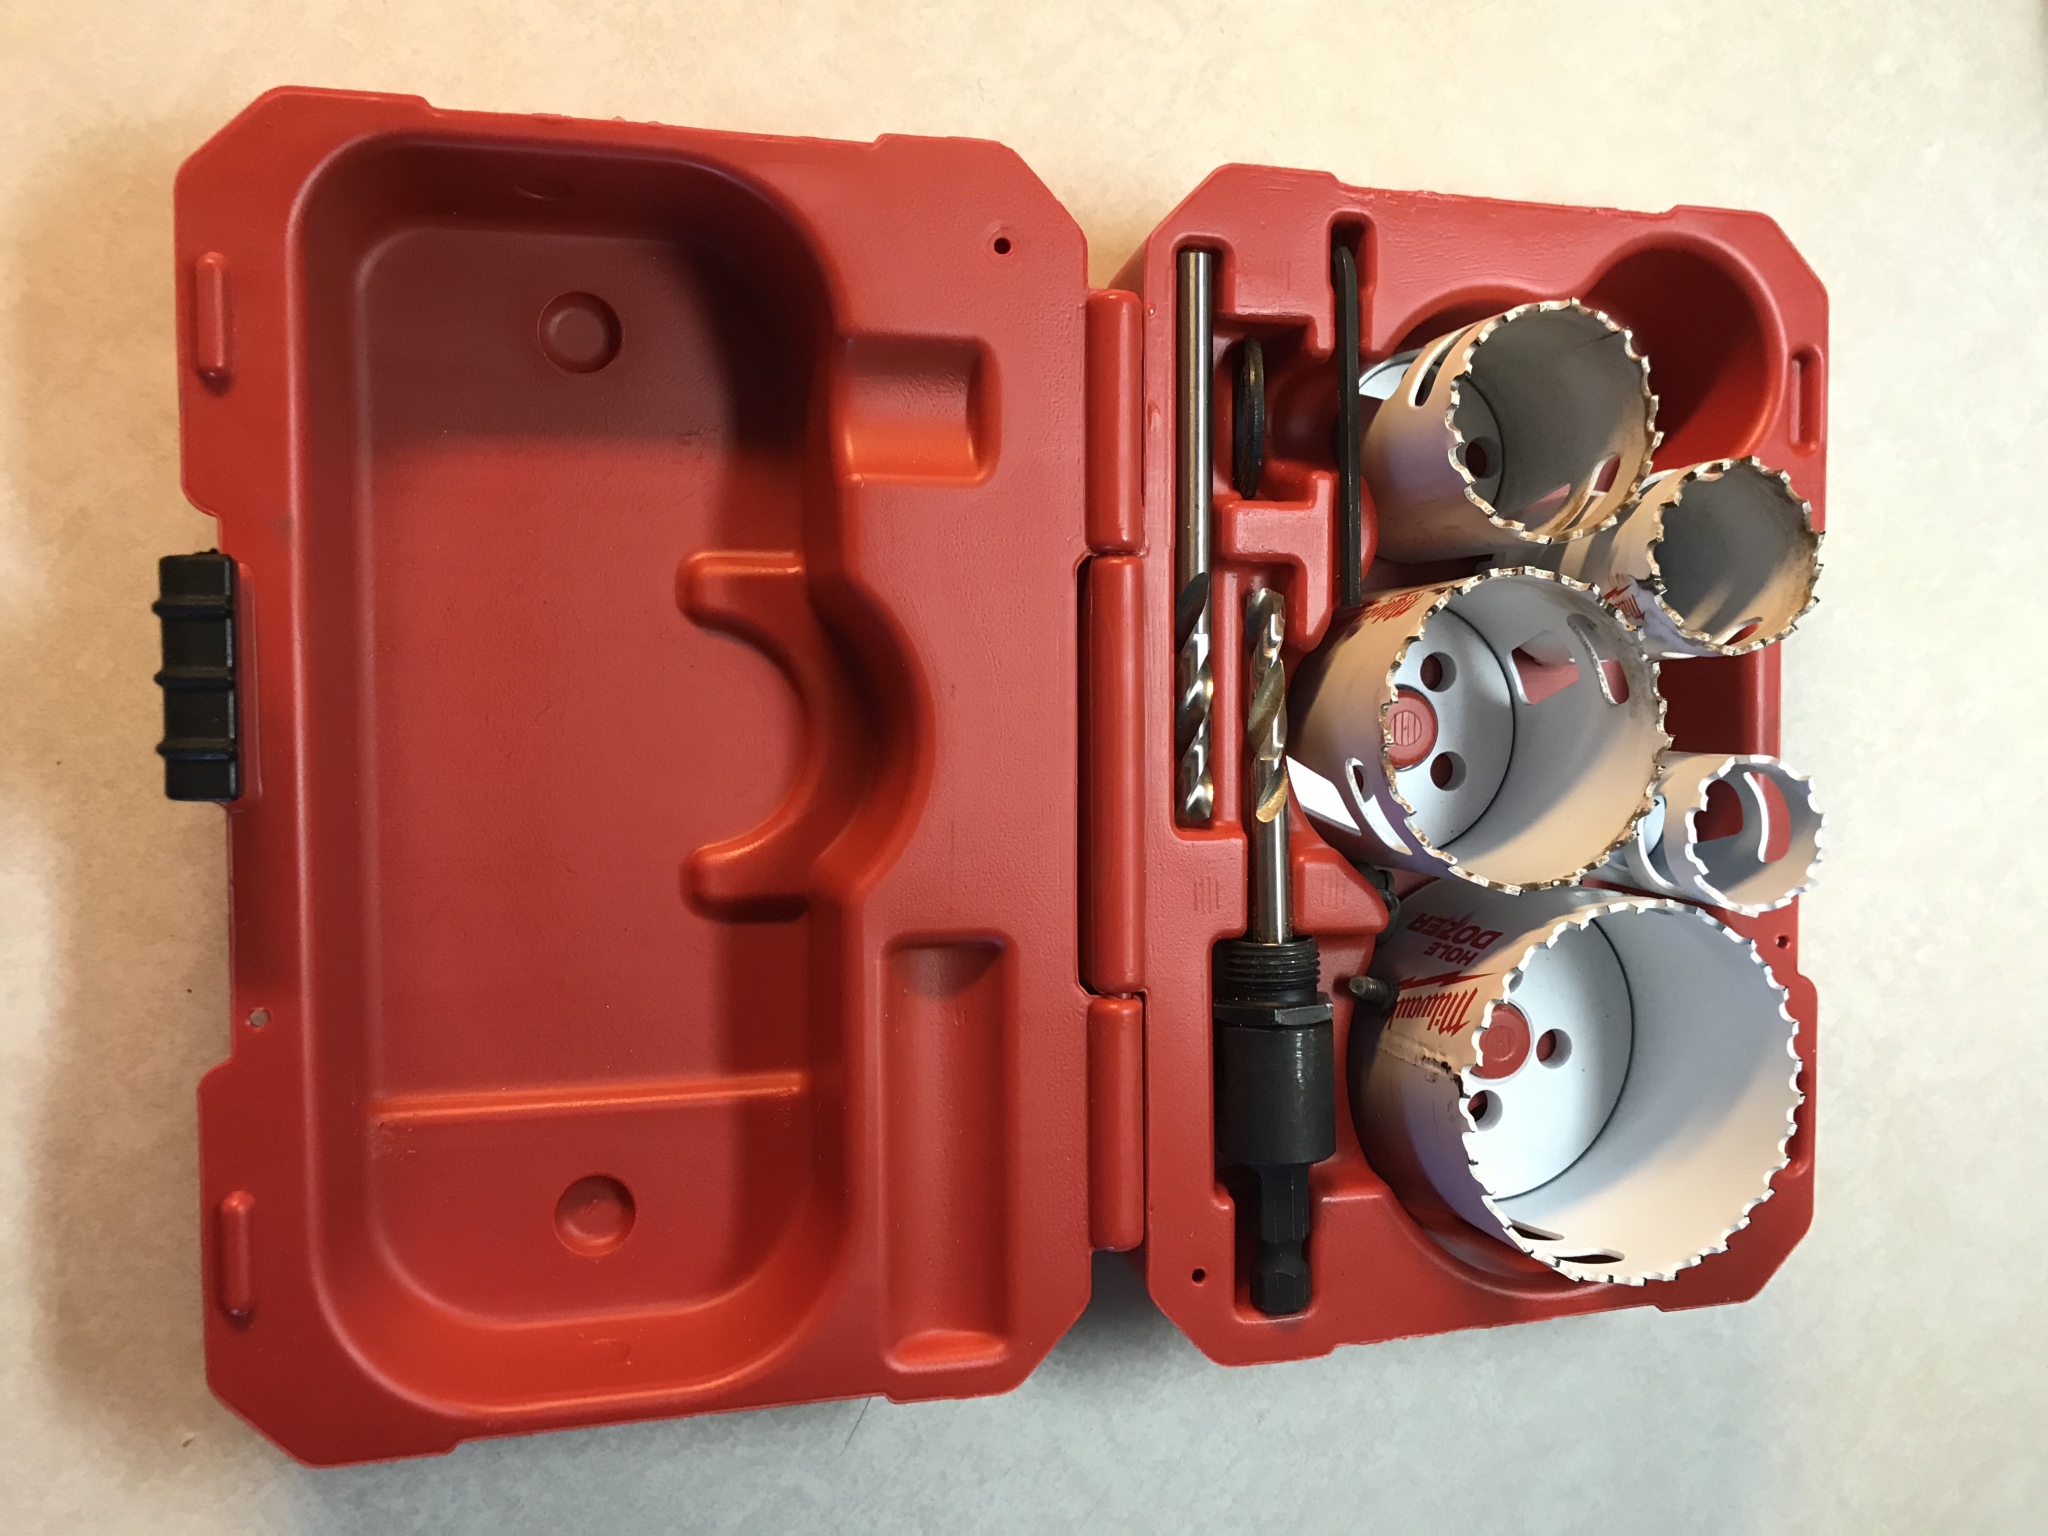
Milwaukee 9 piece Bi-Metal Hole saw kit
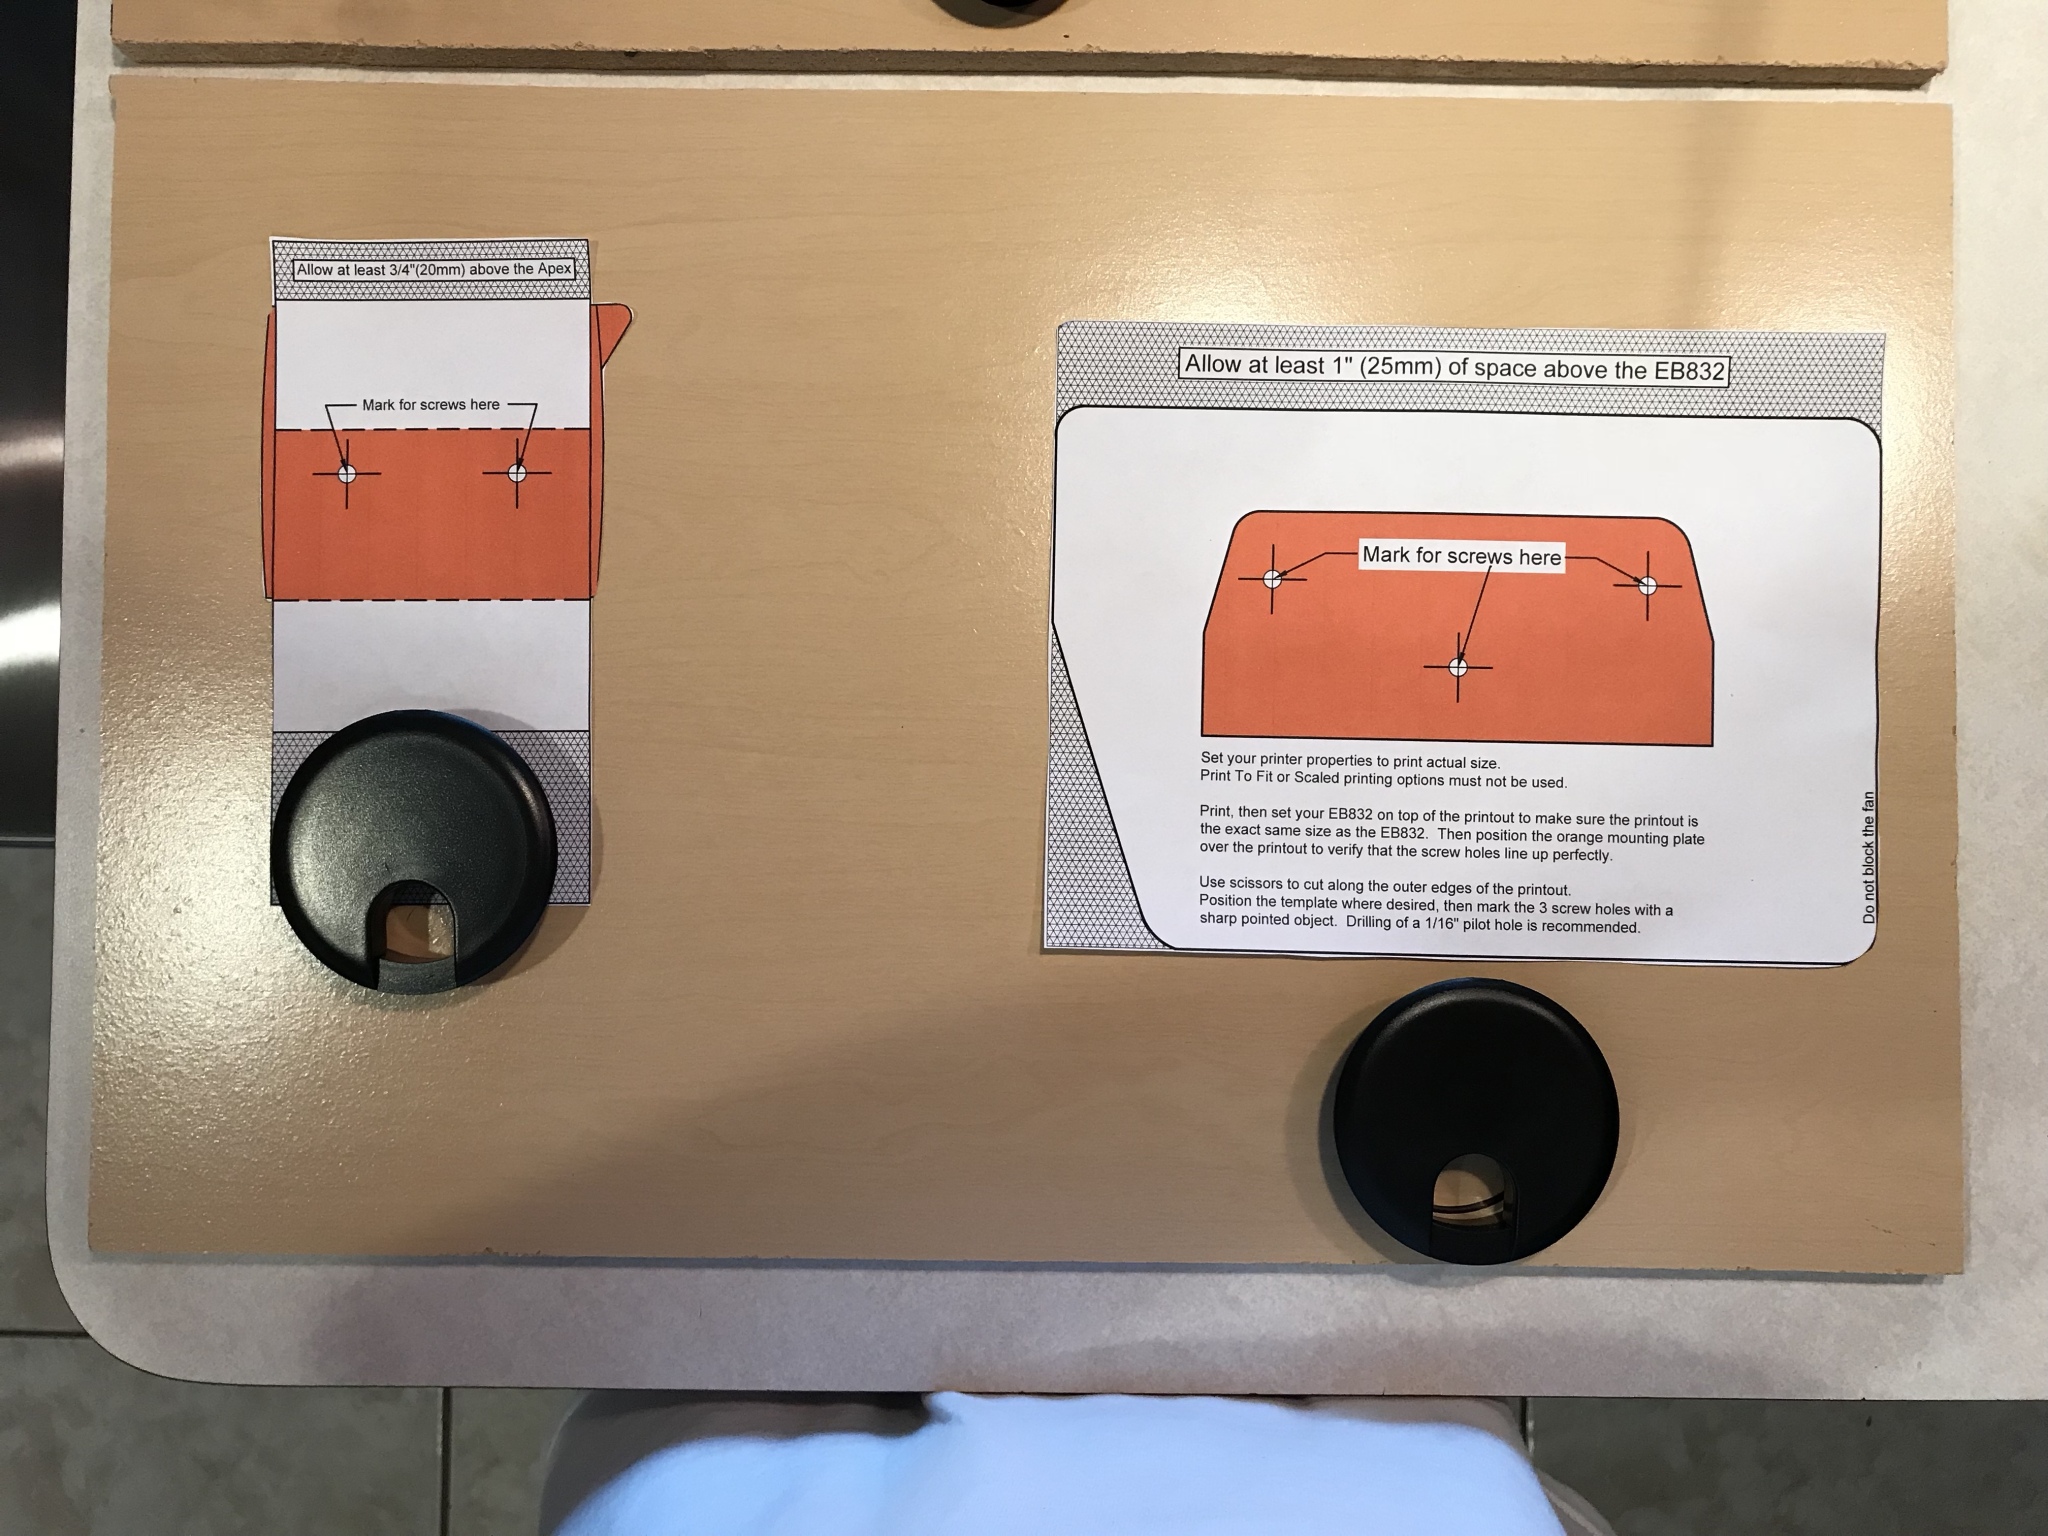
Measurements were done, the walls were cut from the neighbors old cabinet. Went on Neptune’s website for templets. They had templets for the Apex and Eb832 but not the modules nor the MP 40’s. Thats ok I learned how to trace objects lol back in school.
Planned top half of cabinet
Planned lower half of cabinet
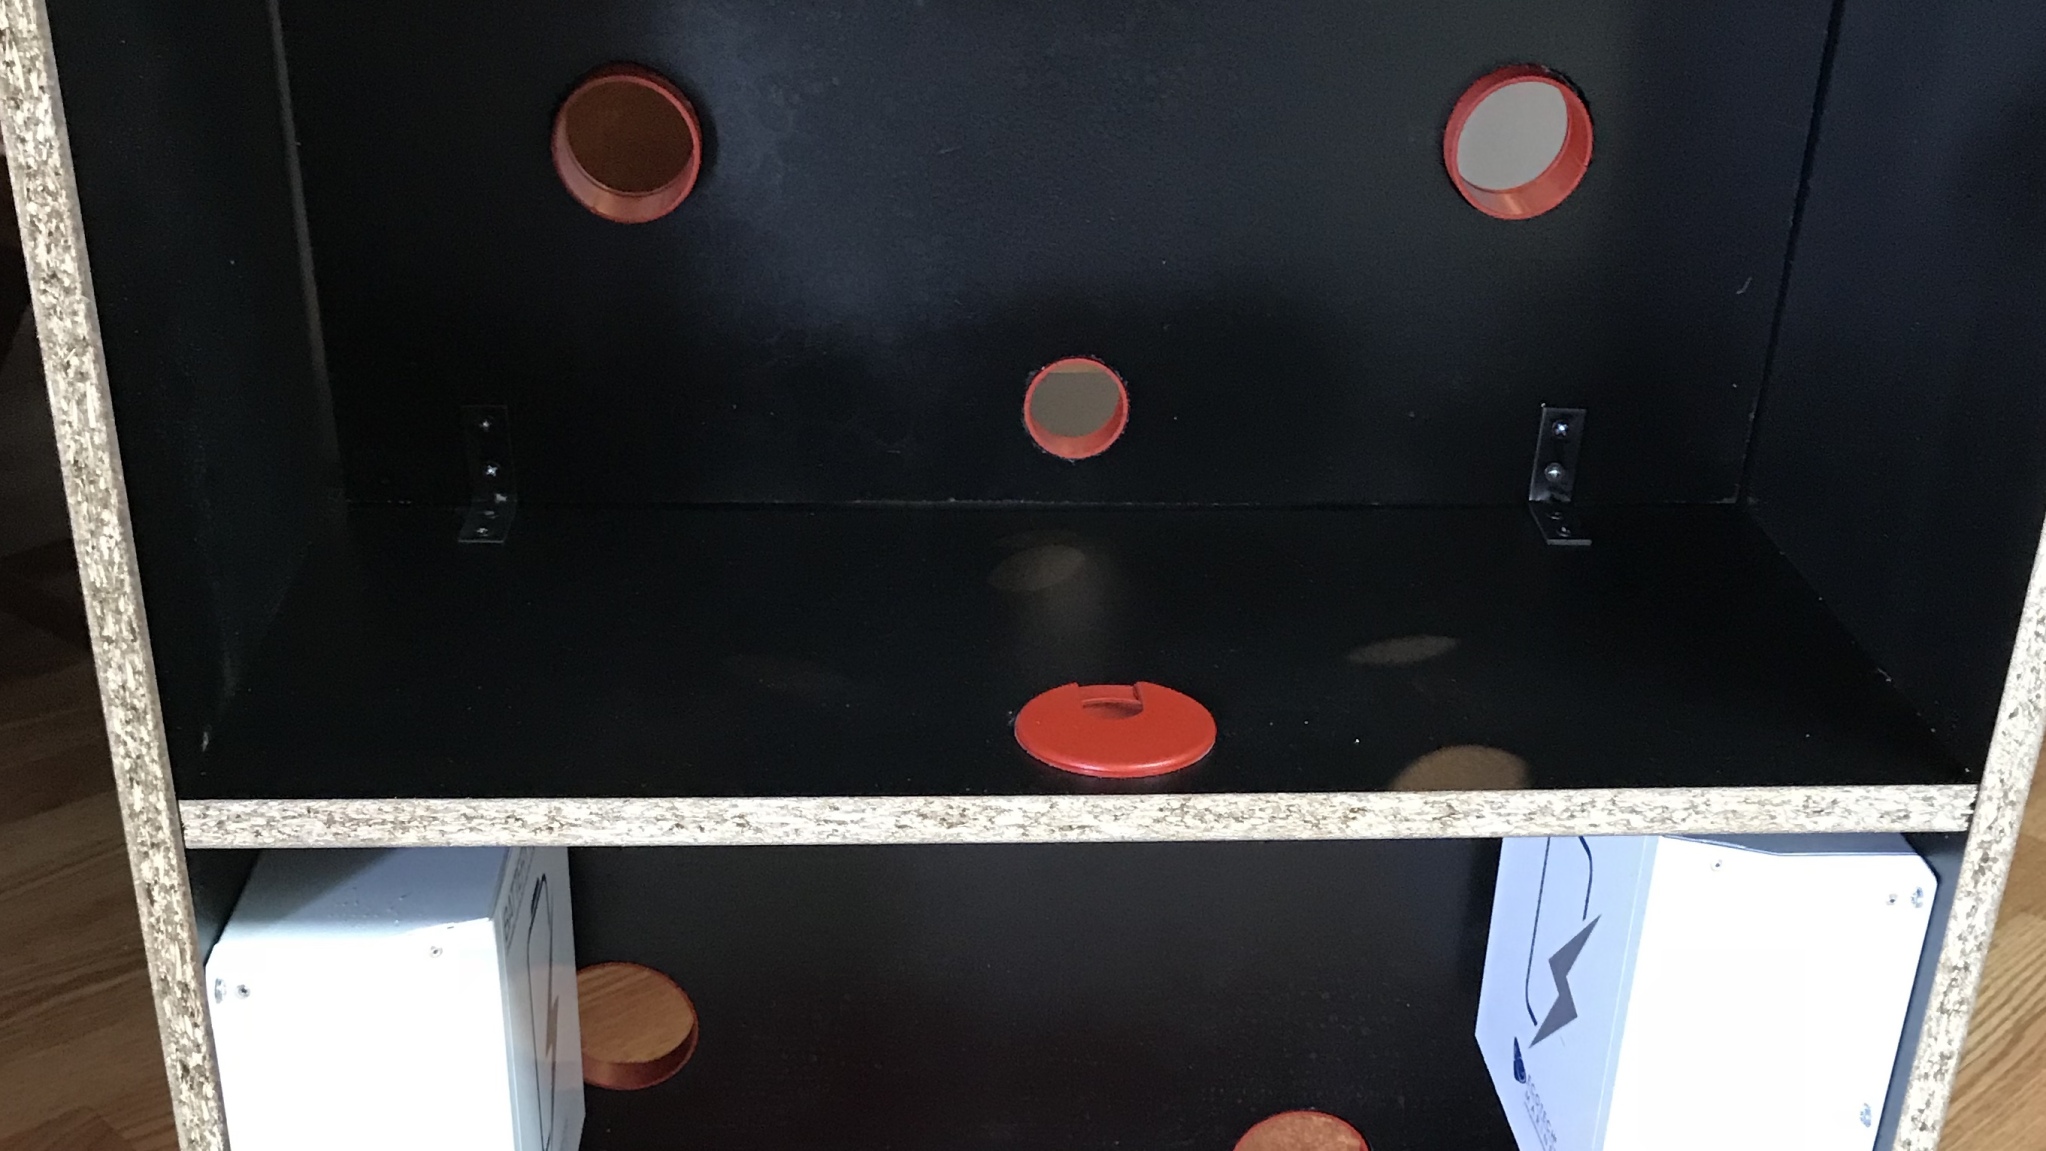
The furniture hole covers I used and drilled were 2.5", 1.5" and 1". These holes would allow me to run the wiring thru to the back and keep them out of sight as you see in most cabinet/wall builds.
Pretty satisfied with my plans I went into paint mode. Spray painting from a can is quick and easy. Got those at Lowes. The walls were painted in a black satin finish to match the finish of the cabinet. The furniture hole covers were painted in fire engine red. Each wall and hole covers took two coats and I allowed 24 hrs to dry in between.
Painted boards, painted hole covers
Well any planned project needs a backup plan in case you mess up. Which I did! The lower wall was flipped when hot gluing the hole covers. But no biggie! Plans to switch the Eb832 and APEX was totally ok. Thank goodness lol!!
Marching onwards........
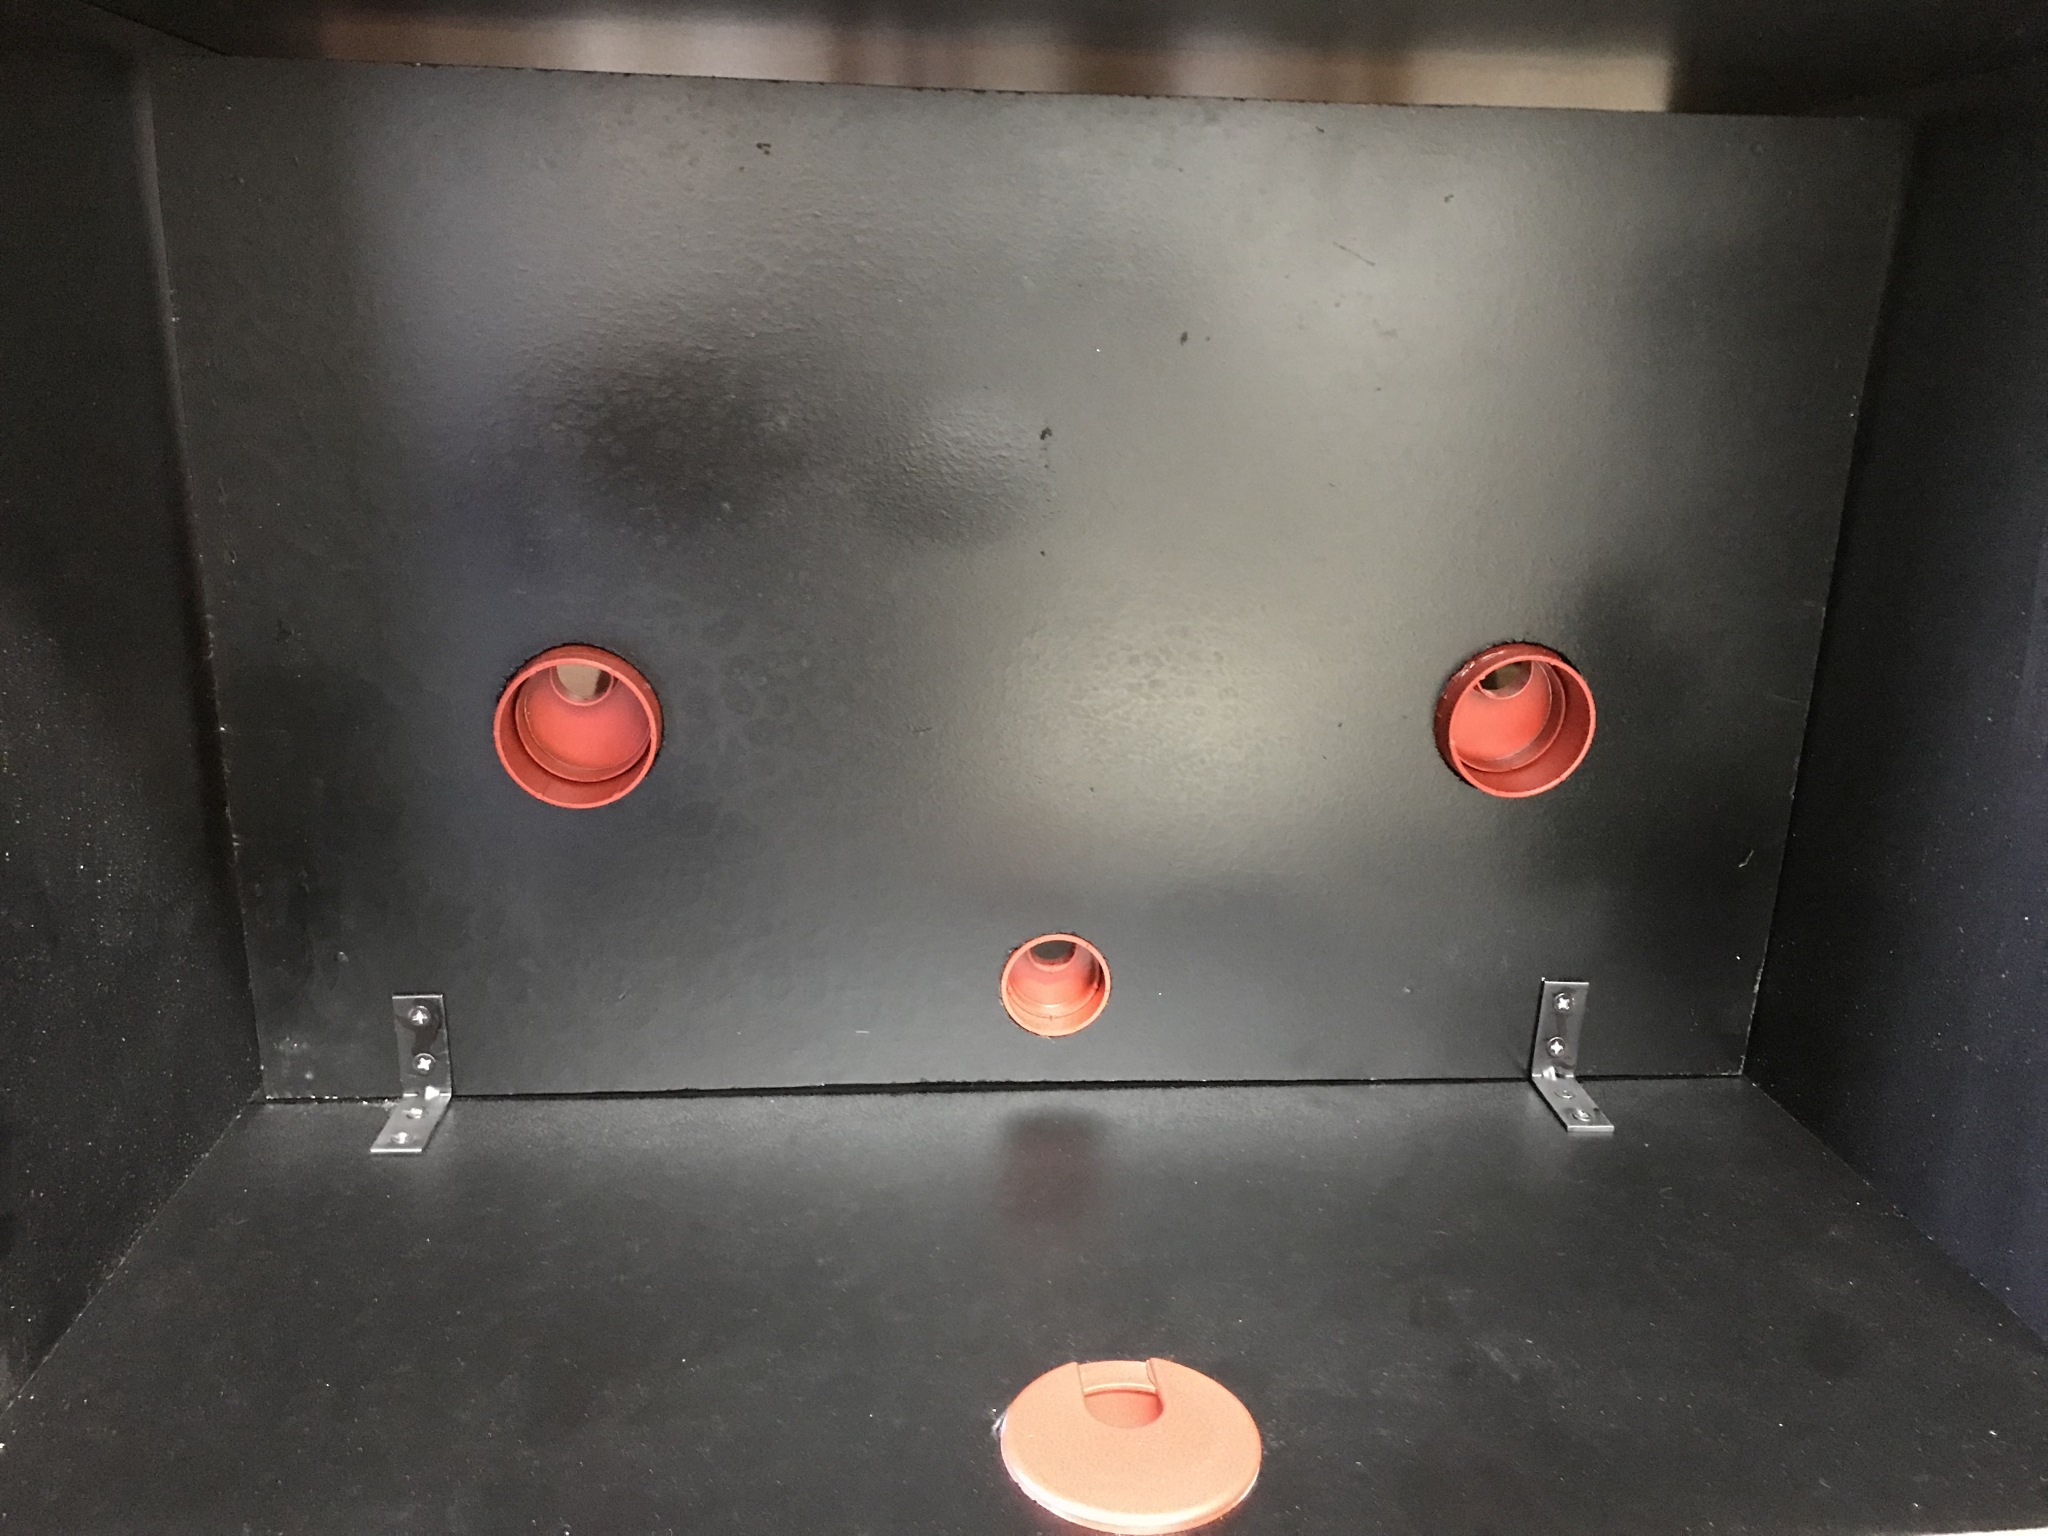
For a little contrast the 3rd cut out material was painted red. This cut out measured 16” x 24” the same as the top counter part. The the lower part of the cabinet in red tied in with the red hole covers.
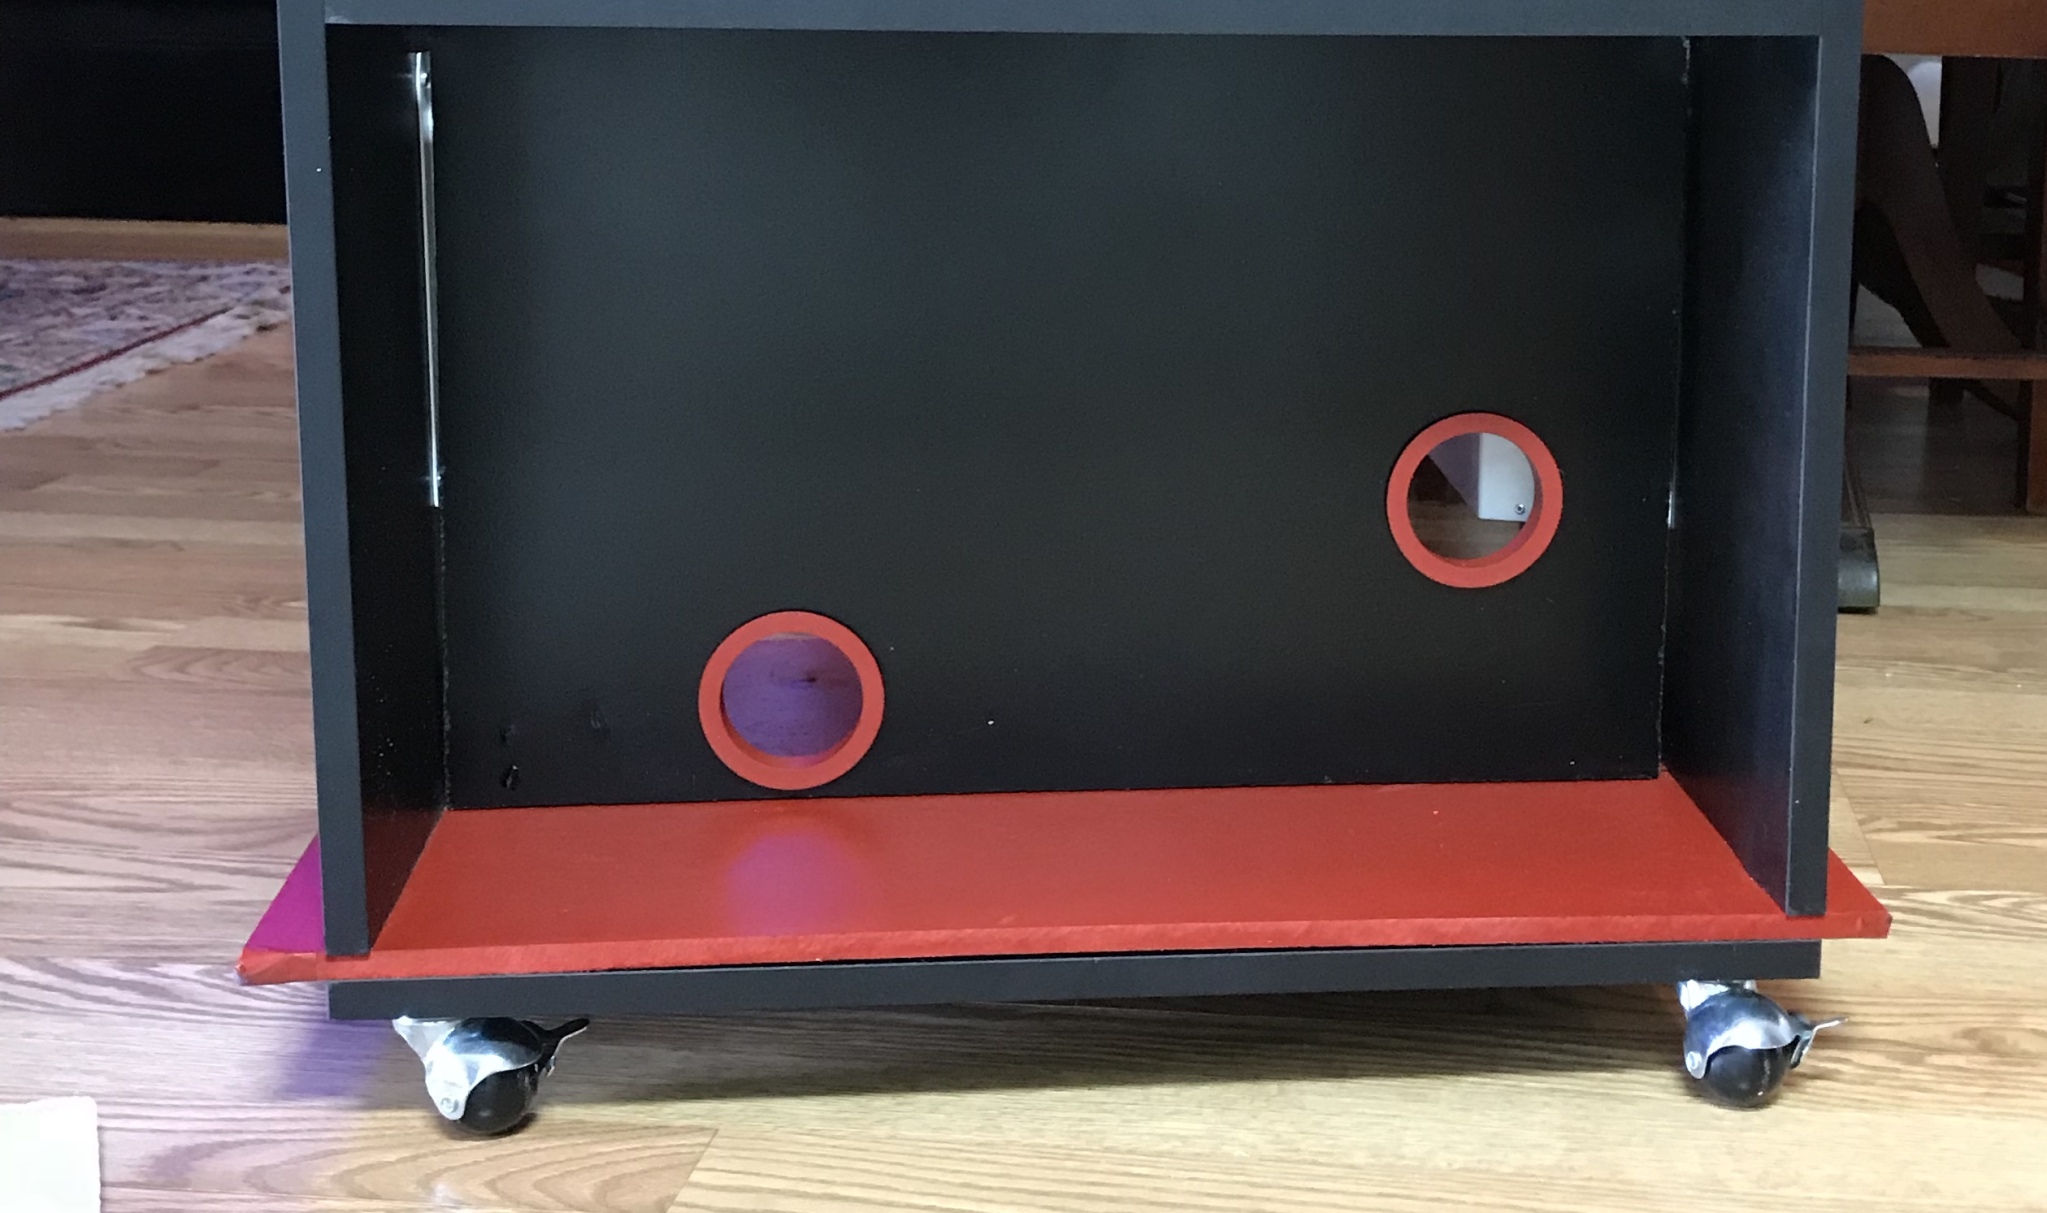
Back interior view
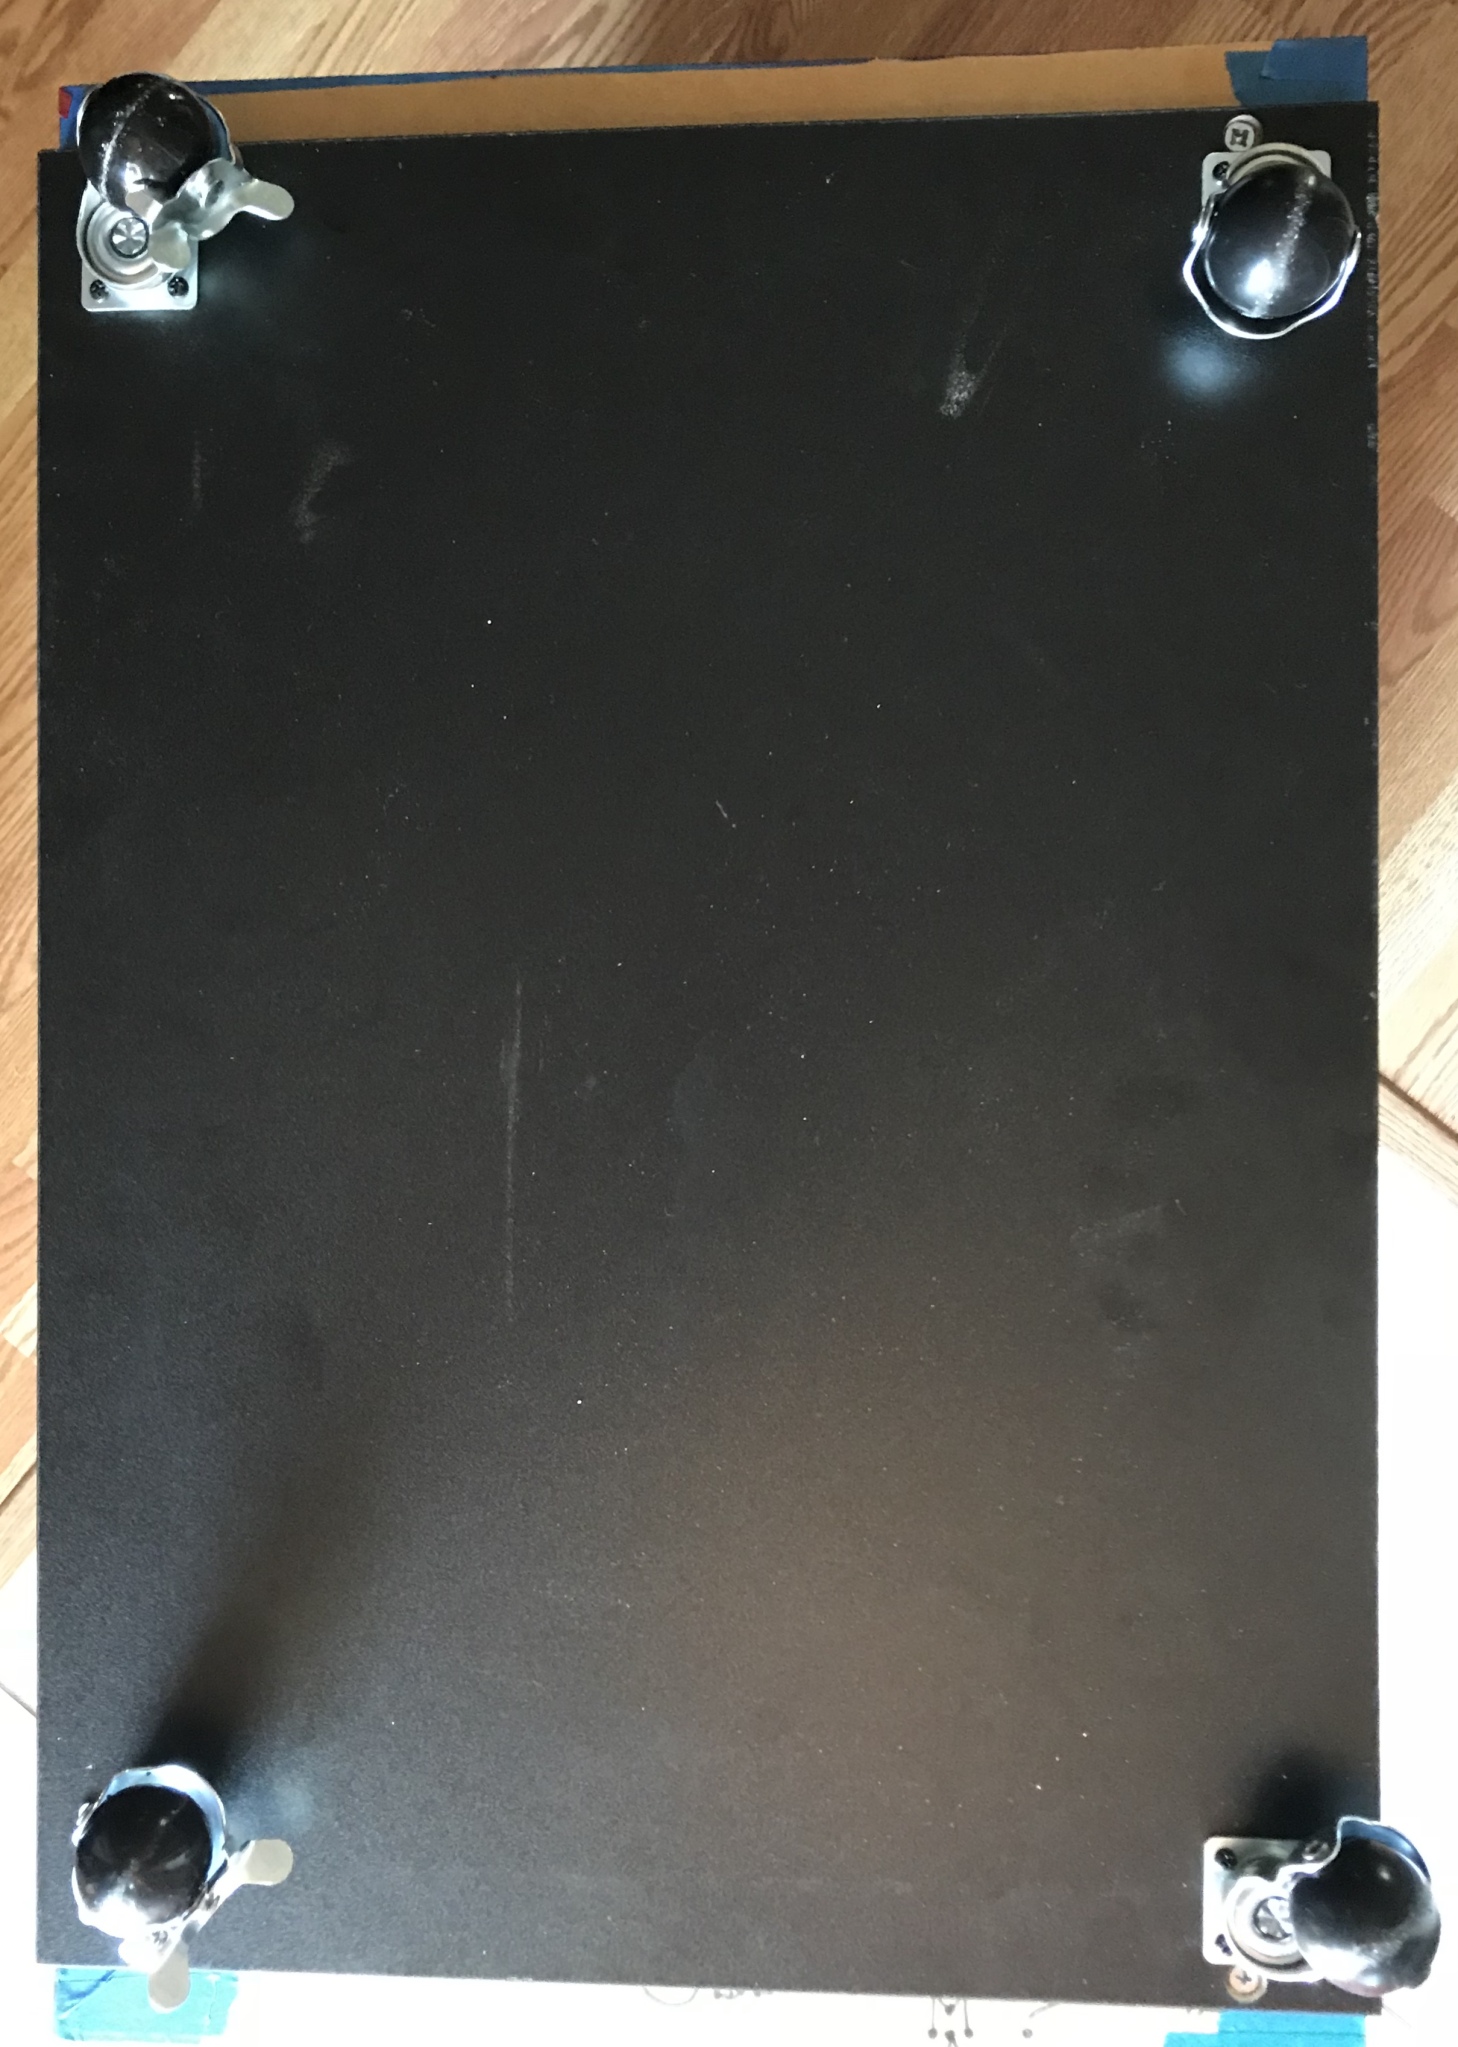
The original base measured 20.75” x 15.75”. This part of the cabinet has 4 locking wheels for easy mobility of the cabinet. I took the original base and attached it to the 16x24 red piece cut out.
If you look at the pic you will see that the top and bottom portion have a lip that extends further than the side walls of the cabinet. This upper and lower lip is for a swinging glass door.
Box Pic showing length of upper stand
Pic of wheel base
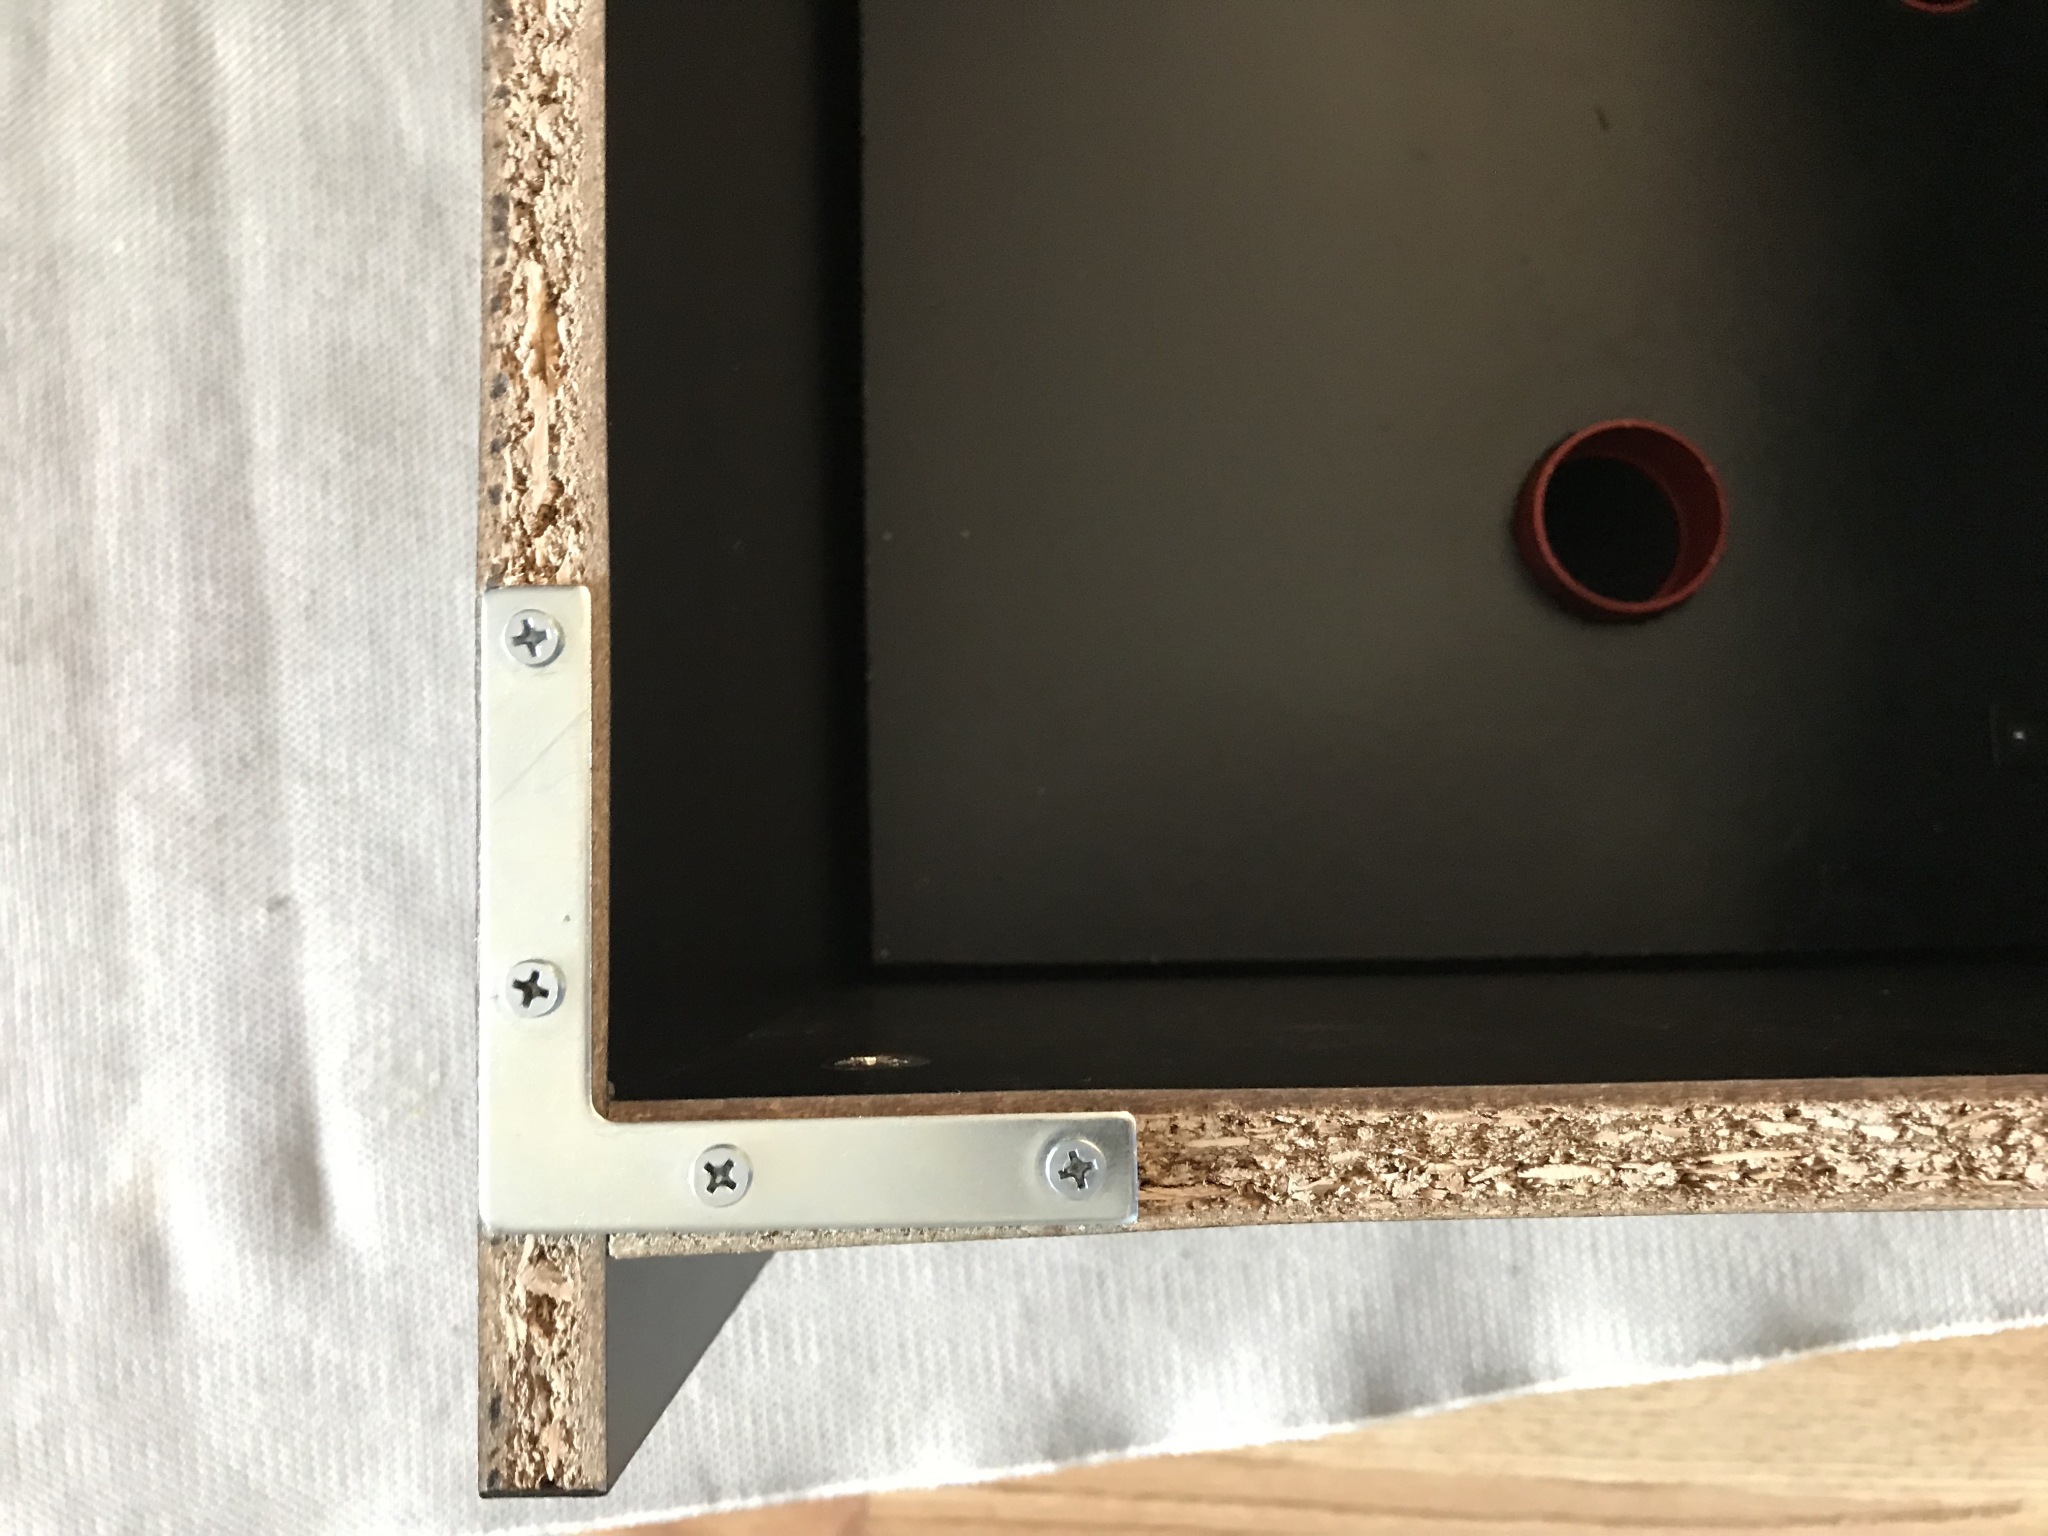
For those who may be thinking of getting this cabinet the unit itself is not as sturdy as one would think. Once built the cabinet wobbled sideways in a major way. I added 90 degree braces on each corner of the cabinet. These braces made a huge difference and cut down the wobbles substantially. Once the batteries were installed the cabinet felt super sturdy.
Next on the TO/DO list were the two interior walls. These are held by two “L” brackets on the top and bottom. Original plan was to only have two brackets on bottom. But when I added the WXM module I needed more stability for the wall. I found this out as I was screwing the holding plates for the modules. The wall kept moving!
Interior wall
The cabinet was getting to the point of being ready for the controlling equipment. Each phase of this build out brought on another idea like adding a strip of LED lights. Not fully sold on those lights yet but at least the cabinet was looking good IMO.
Unfinished cabinet
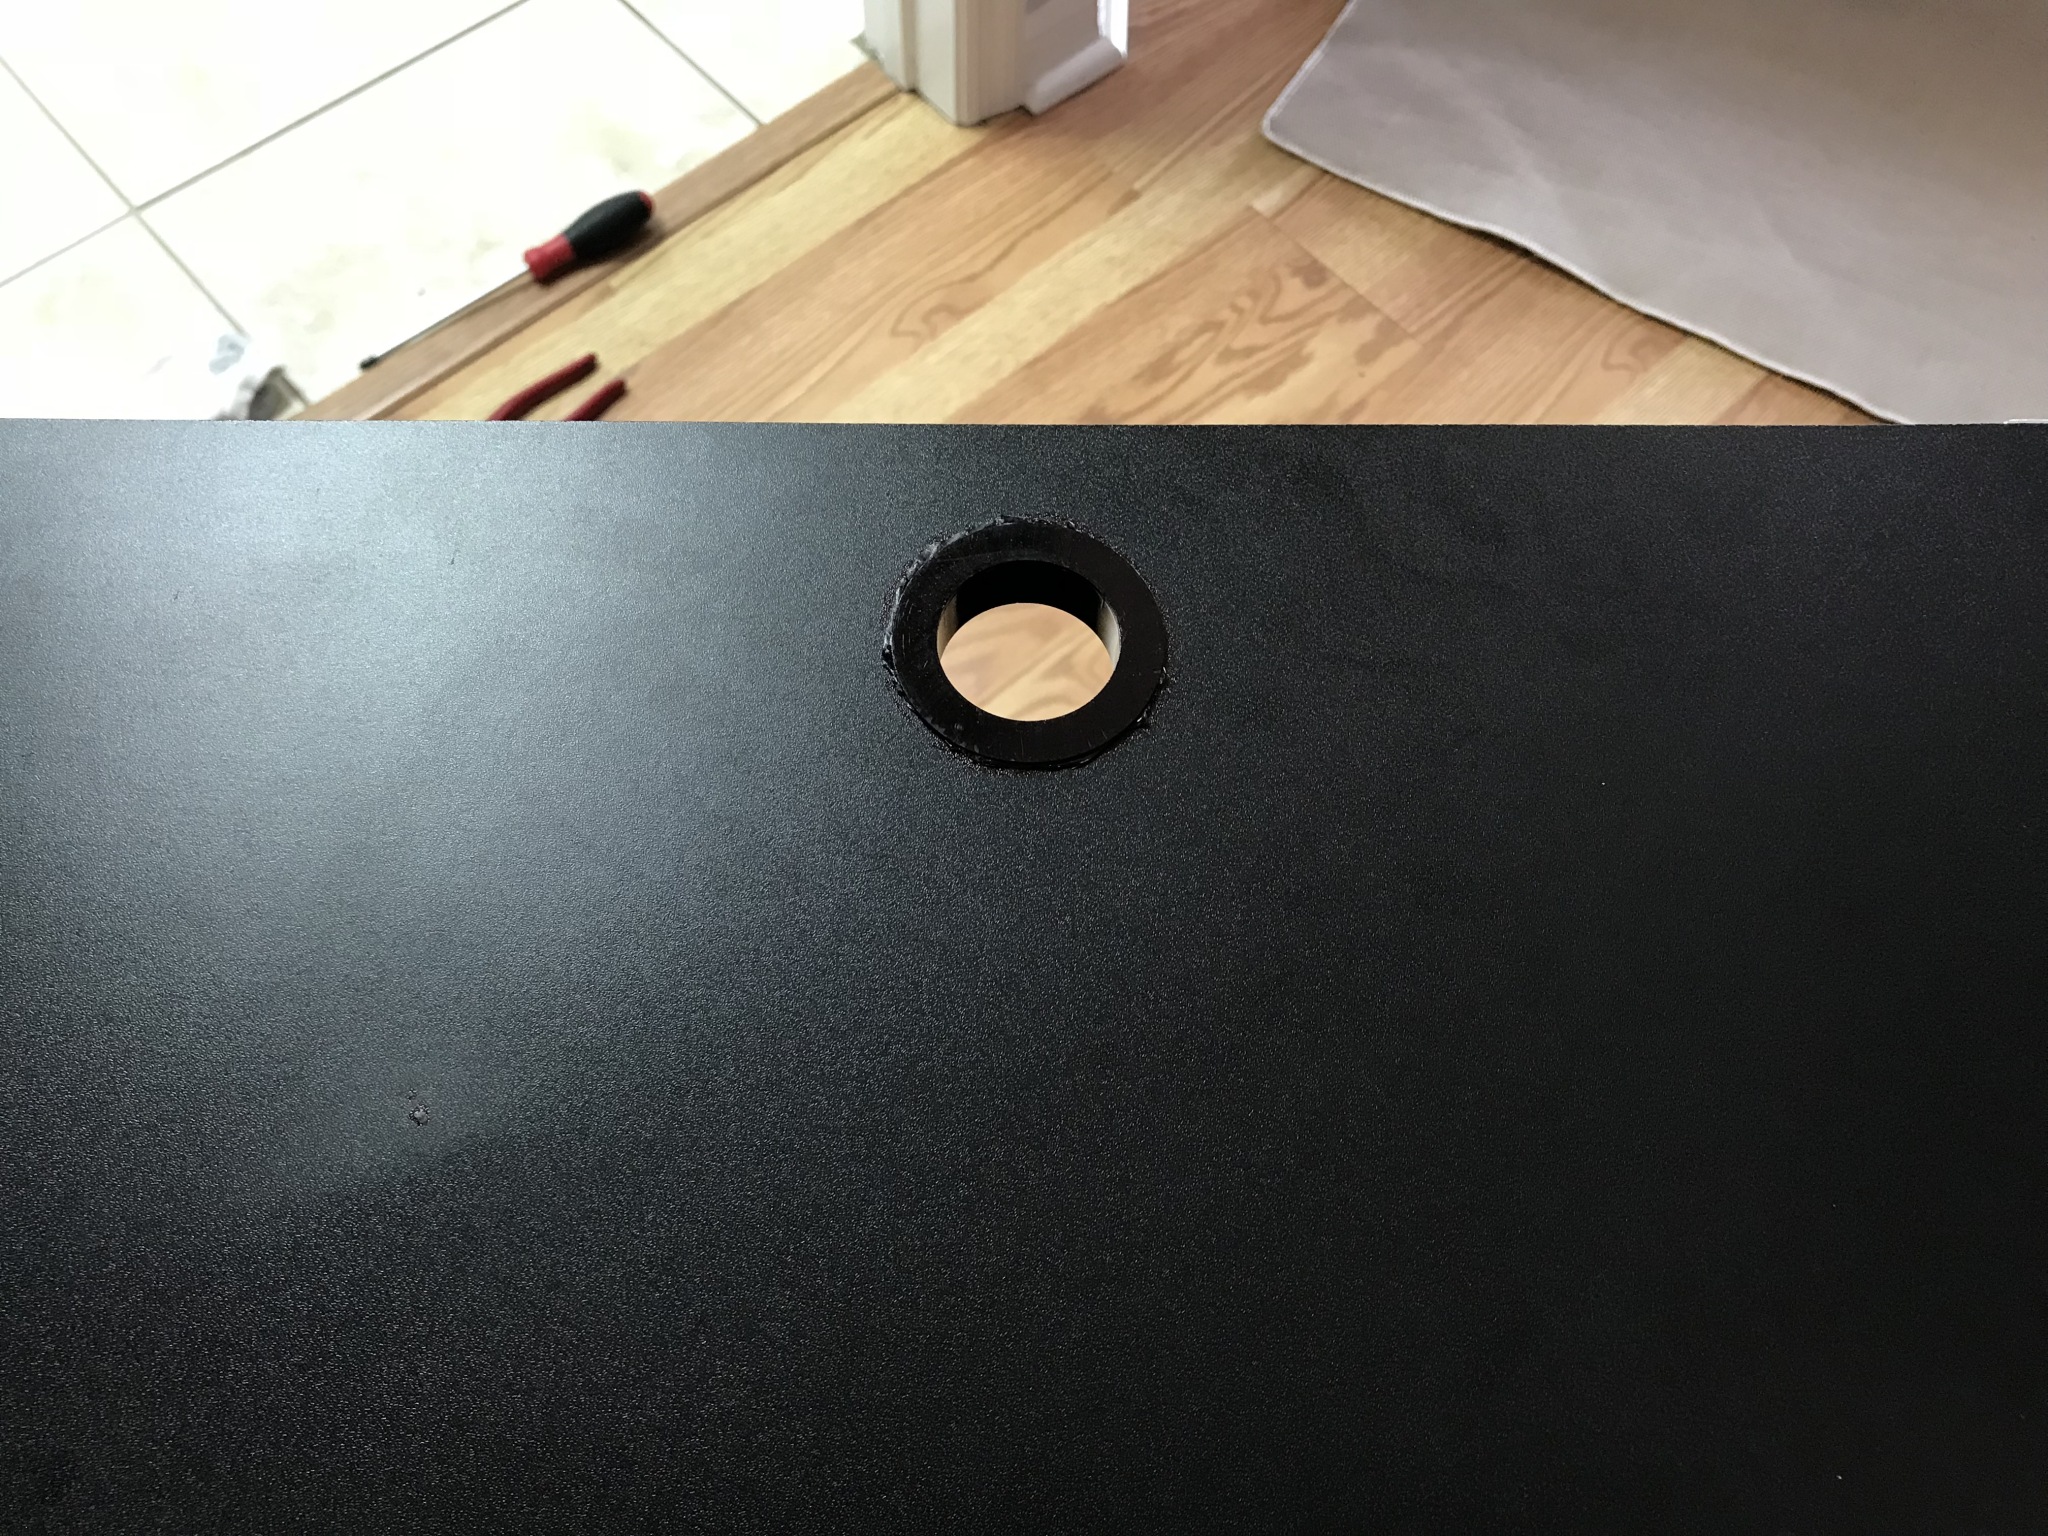
I wanted to use a 2nd generation iPad that was laying around the house not being used. I decided that this would be the best application for this iPad. On the very top panel I drilled a hole for wiring and bought a cheap tablet grip type holder for the iPad. Glued the hole cover for a place to run the wire for connection purposes.
Top panel with hole cut out drilled
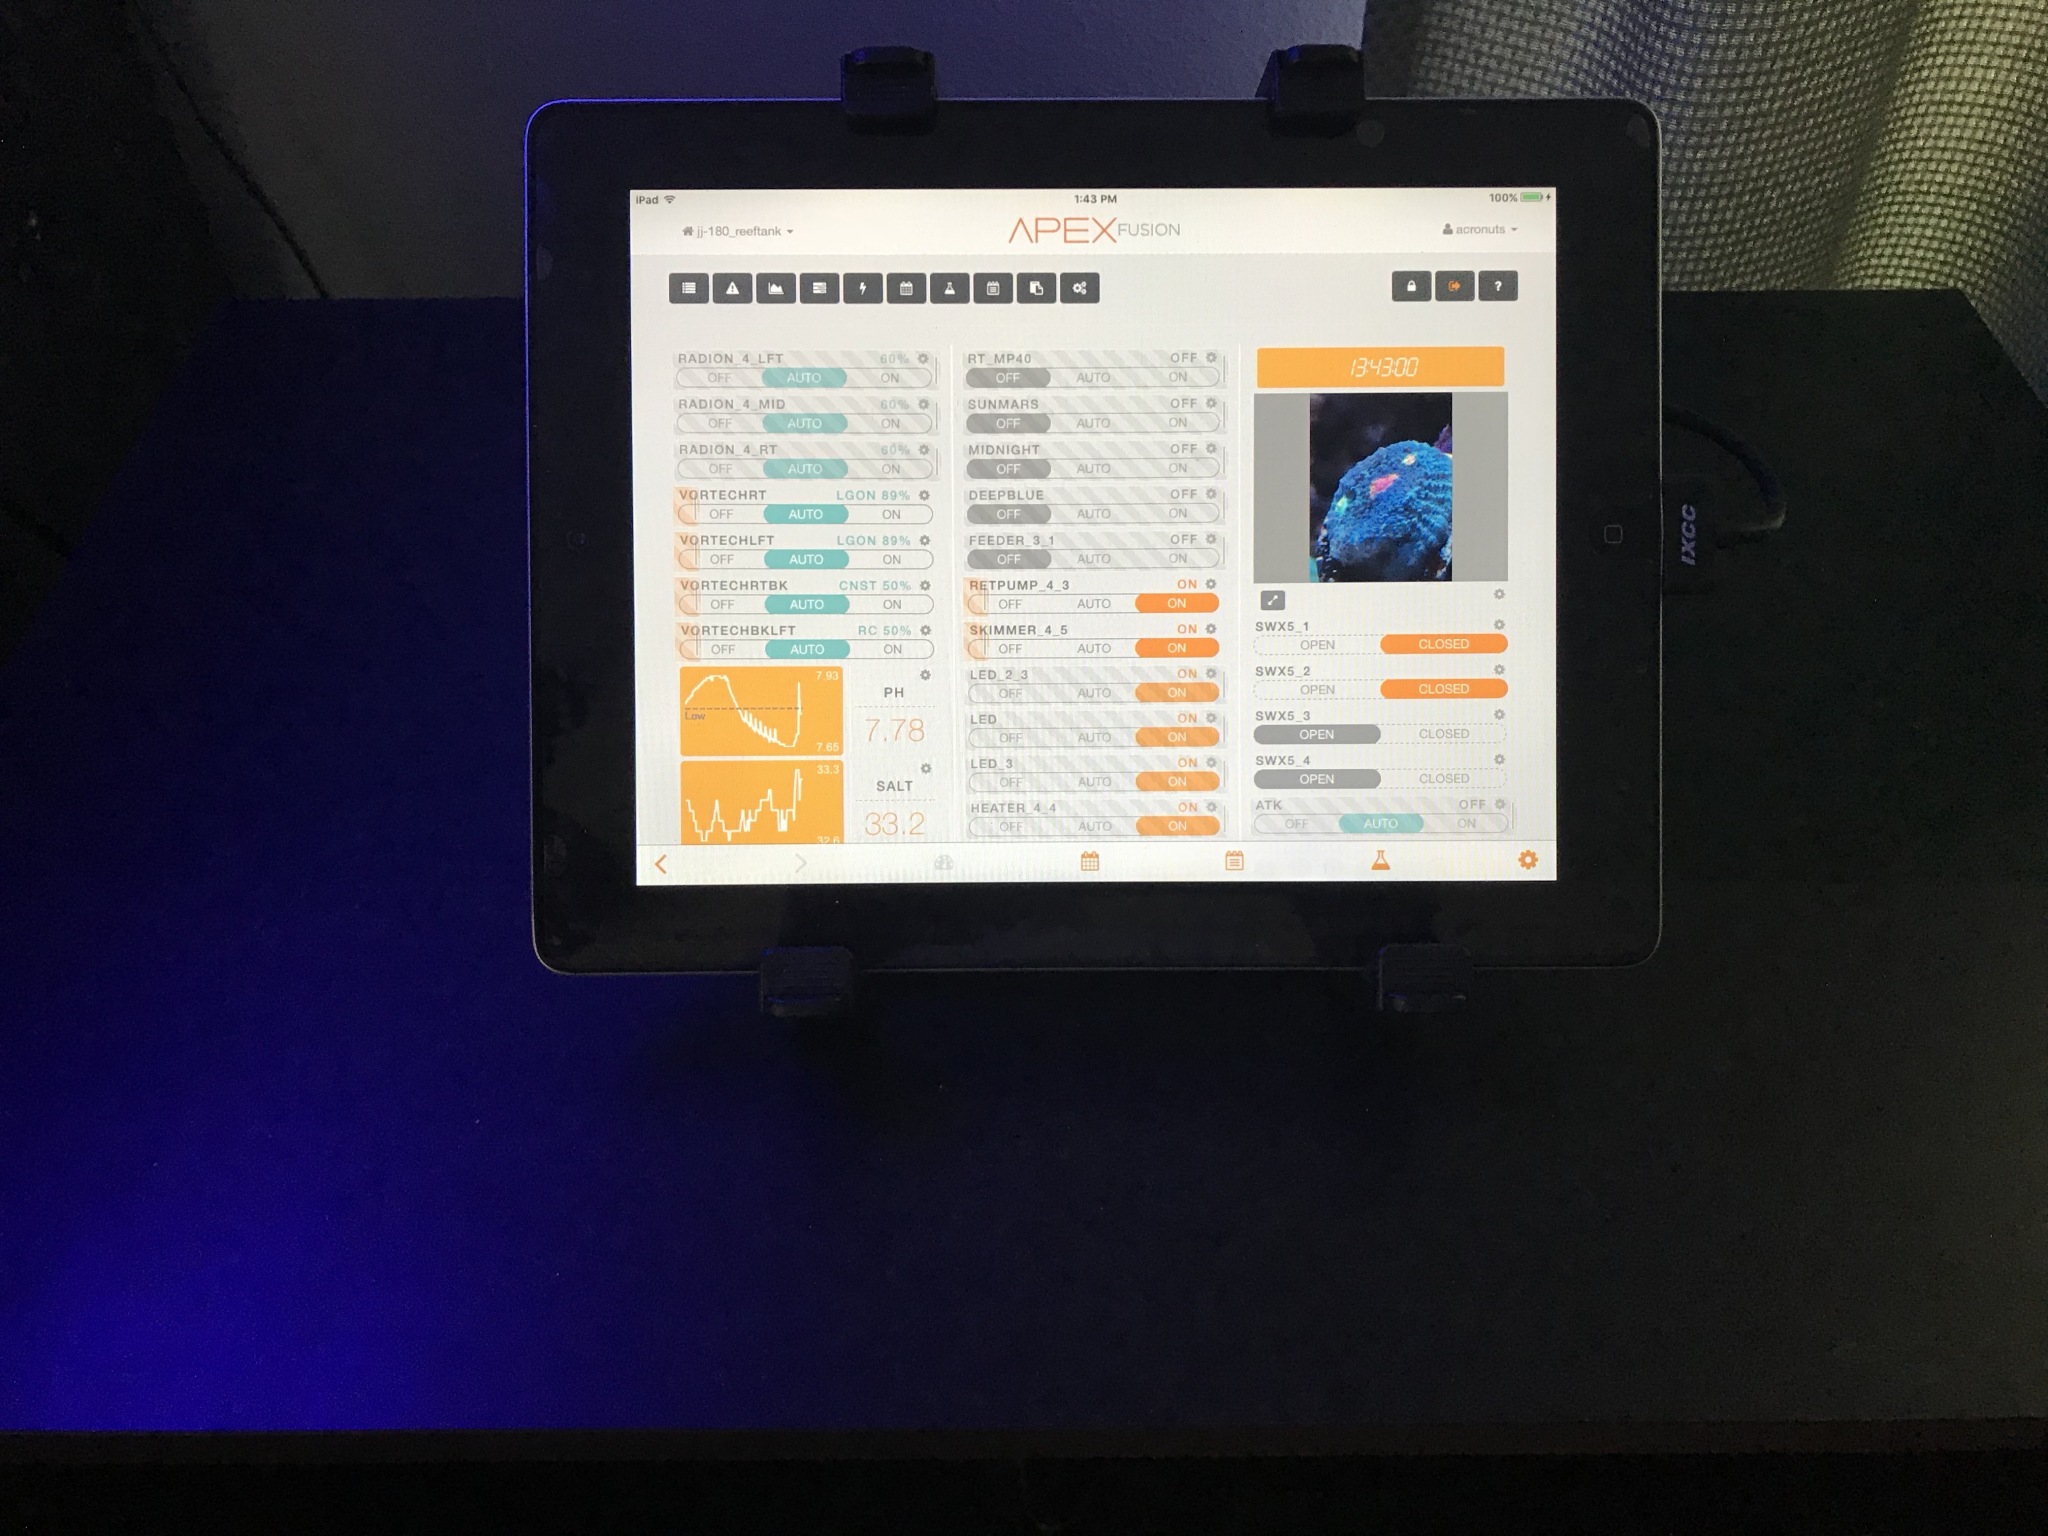
2nd gen iPad fully docked and plugged in
Now finally the exciting and fun part would start! Adding the equipment!! Woohoo !!! As I start to look all those cords wires and the Vortech QD’s I realized that I better label things so that once I disconnect stuff and I can put stuff back together. Disclosure* I hated this part lol
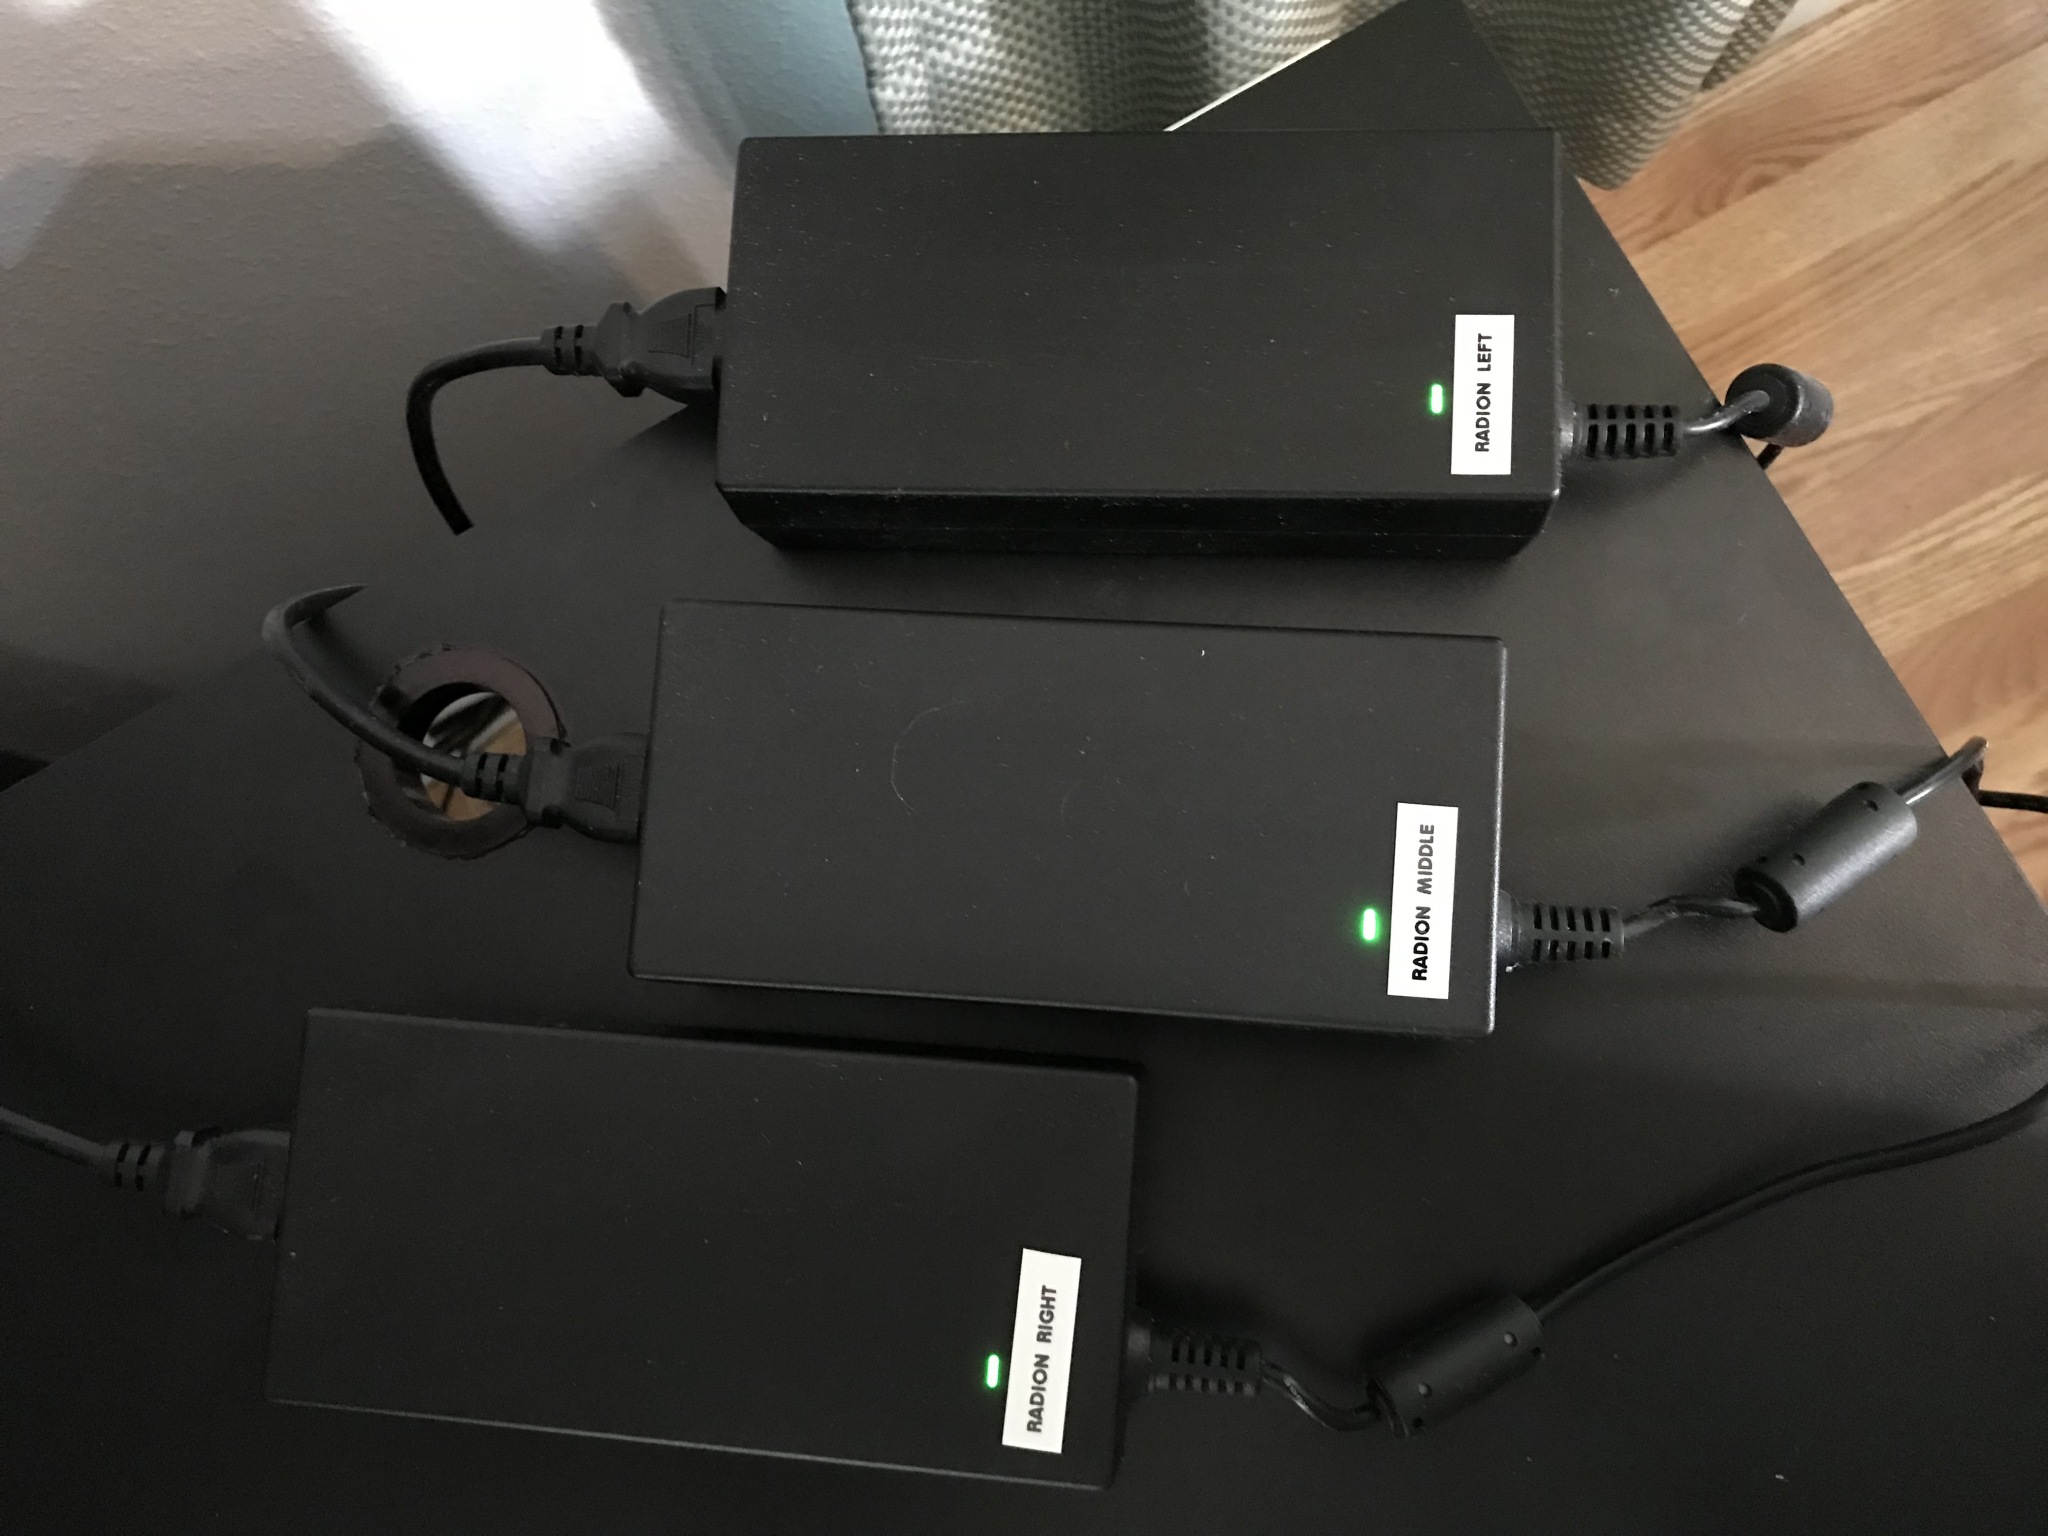
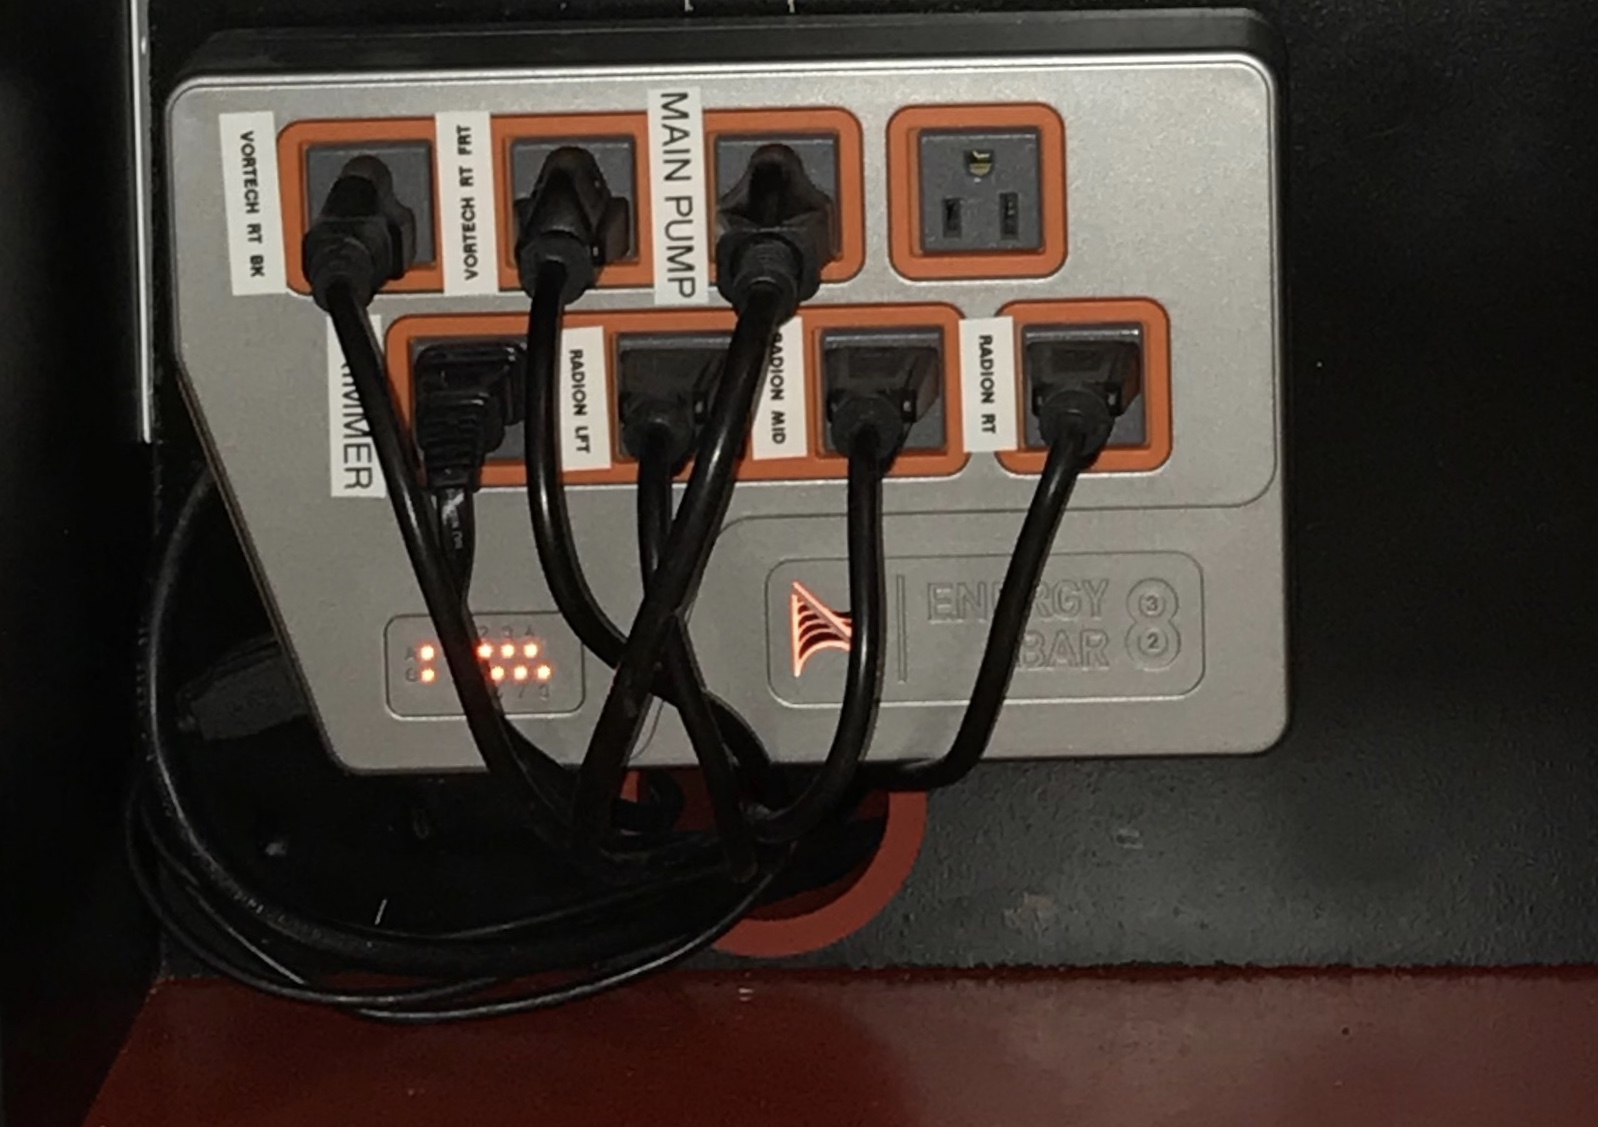
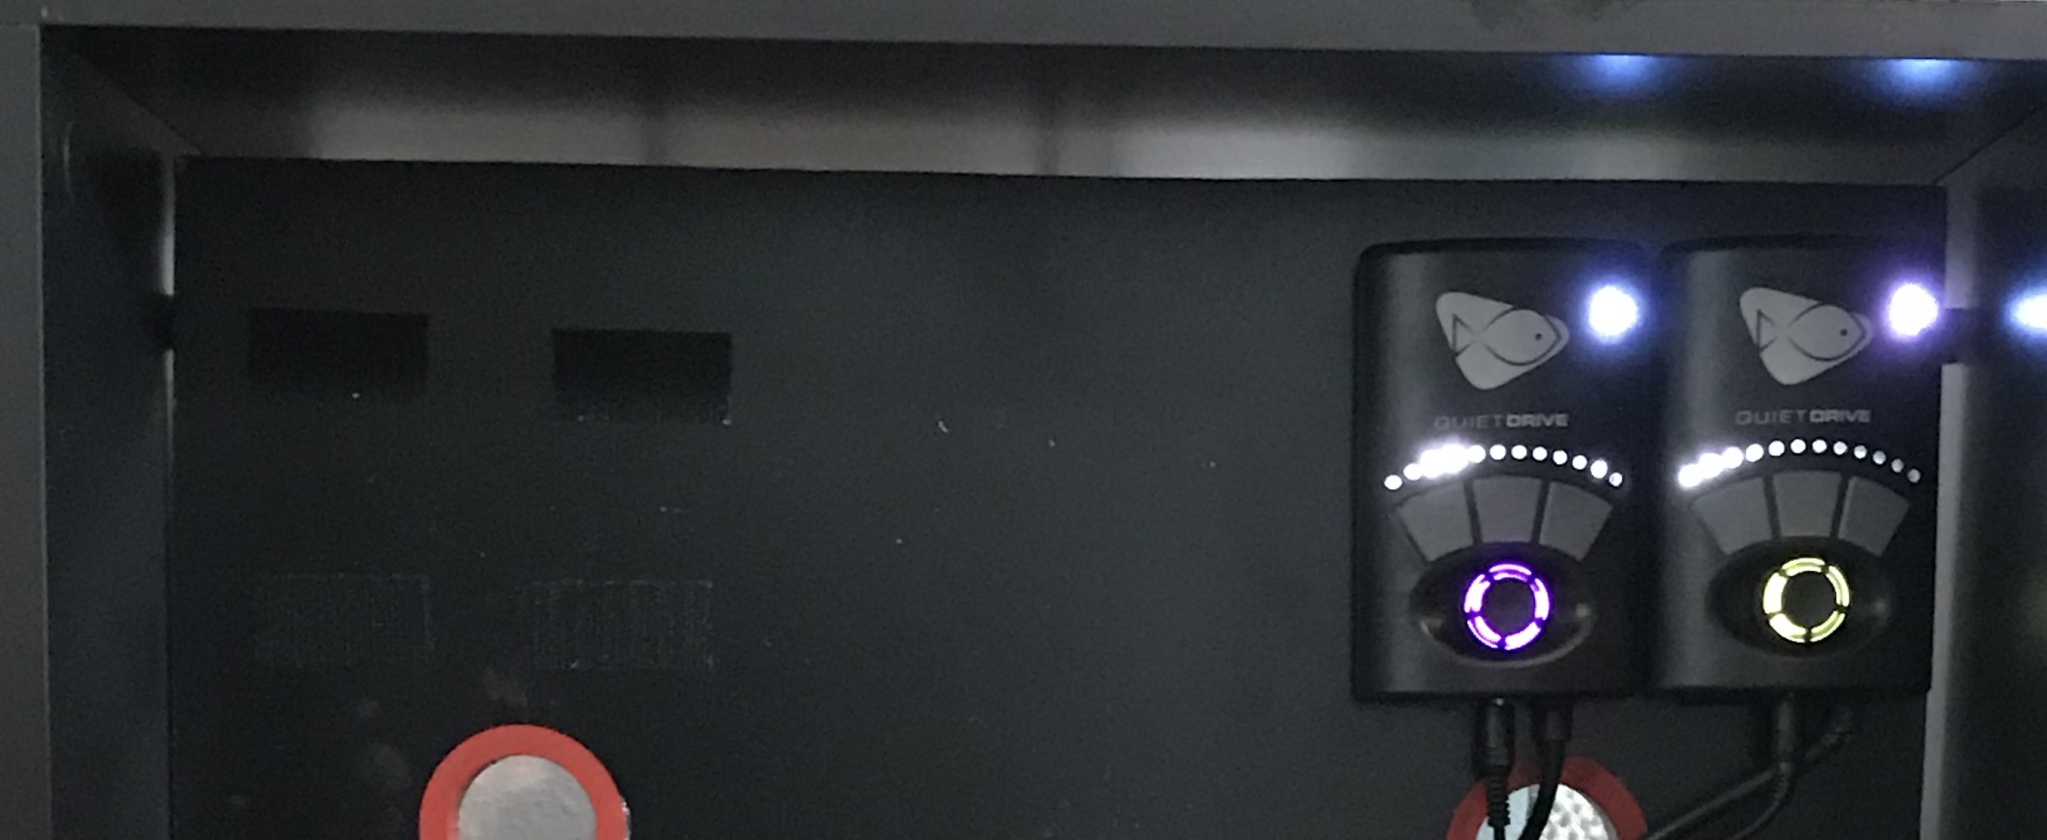
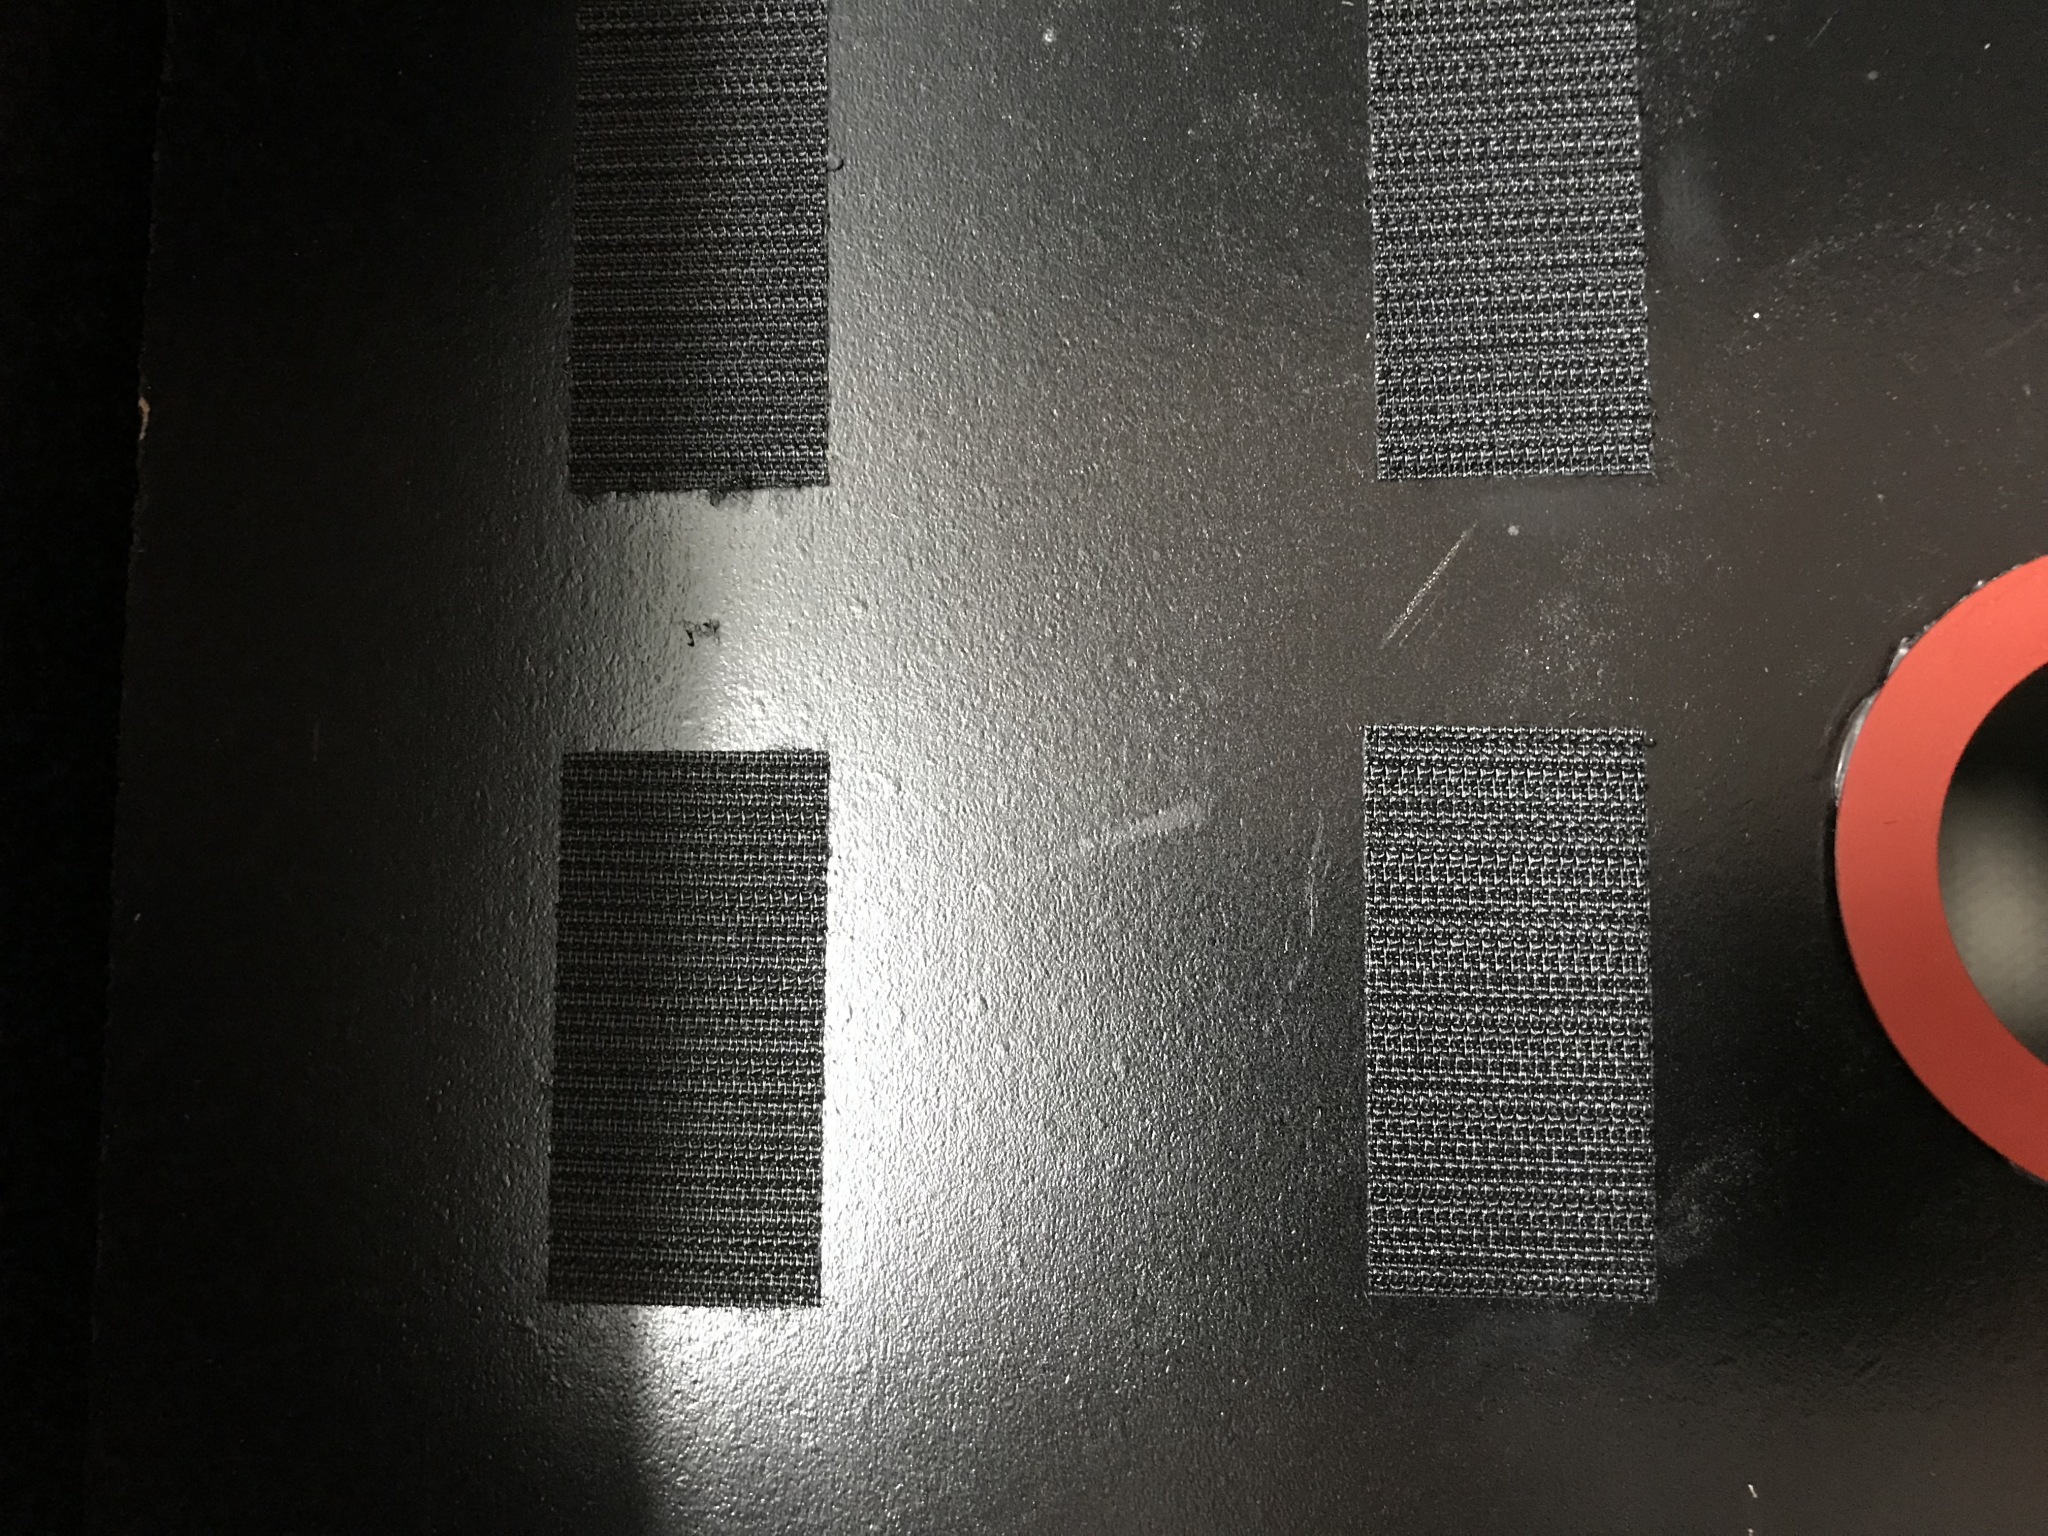
Started with the Gen 4 Radion Led’s. I have 3 of those over the 6 foot long tank. Labeled each power supply with which Radion it controlled. Then I labeled where things would be plugged into on the EB832. Next came the Mp 40’s. Here I hit a snag in my plans. For the tanks left back and left side mp 40’s they would not reach the new cabinet. I found out that I will need to send dry sides of the pumps to Ecotech pay I believe $50 to get the pumps wires extended. For the moment I have not sent them and they are laying inside the stand. I will send them off soon. The right side of tank mp 40’s were installed. In the front of the cabinet I used the velcro tape that came with pump and carefully placed them so that both pumps could sit side by side. Ecotech has pump holders but for now the velcro seems to hold and work beautifully. They also have power supply holders but I used velcro as well.
Mess of wires

Radion controllers
EB832
MP40’s on left
I painted the interior brackets to match the wall so that they would blend in and make even the back section look clean. In the middle panel in order to add a power strip for additional devices and to drop cords in either direction another hole was drilled.
Middle panel furniture hole cover added for cords
Back panel velcro tape
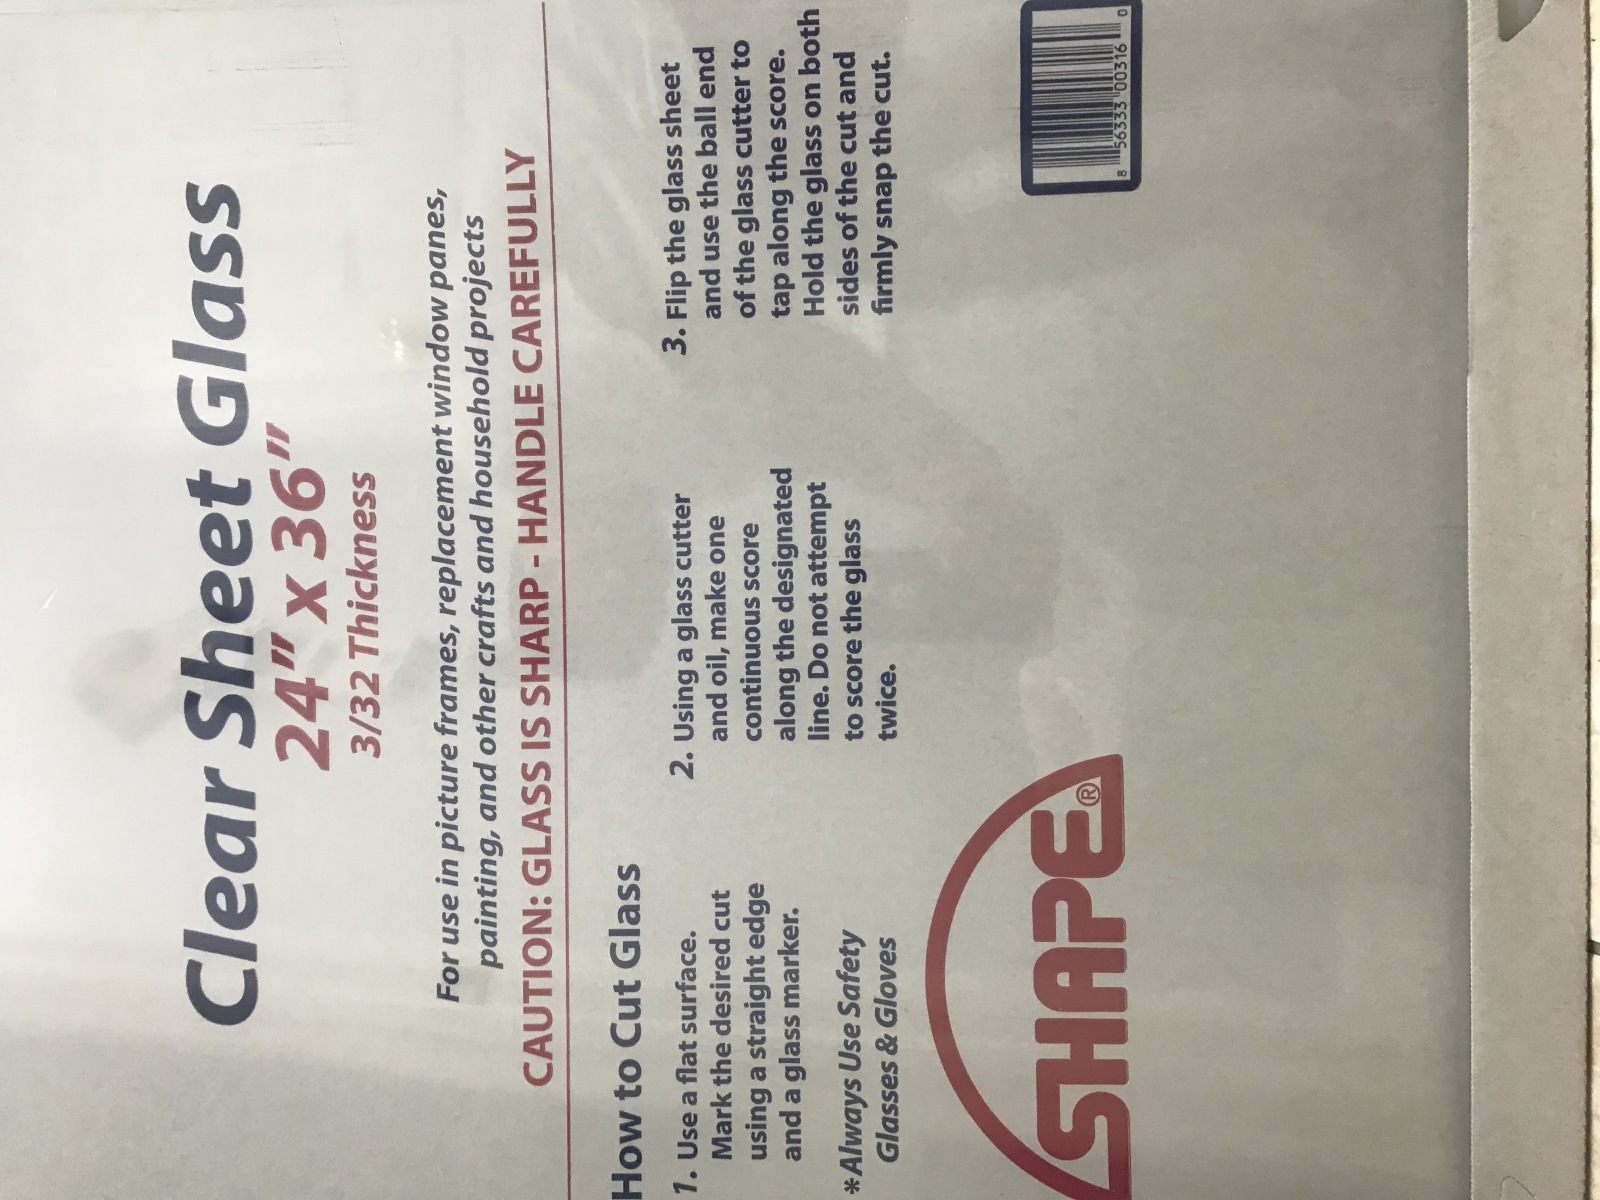
I bought a glass panel and hardware that will be used to place a door in the front. At this point I have not added the glass door yet as work has been super busy but I will get to it. Once most devices were identified, labeled, plugged, and probes recalibrated I worked on getting the iPad powered up. Now each time I wake the iPad up APEX Fusion shows up. Wow that part is so worth it because now if I want to turn devices on or off I don’t have to go to get my iPhone to control those devices.
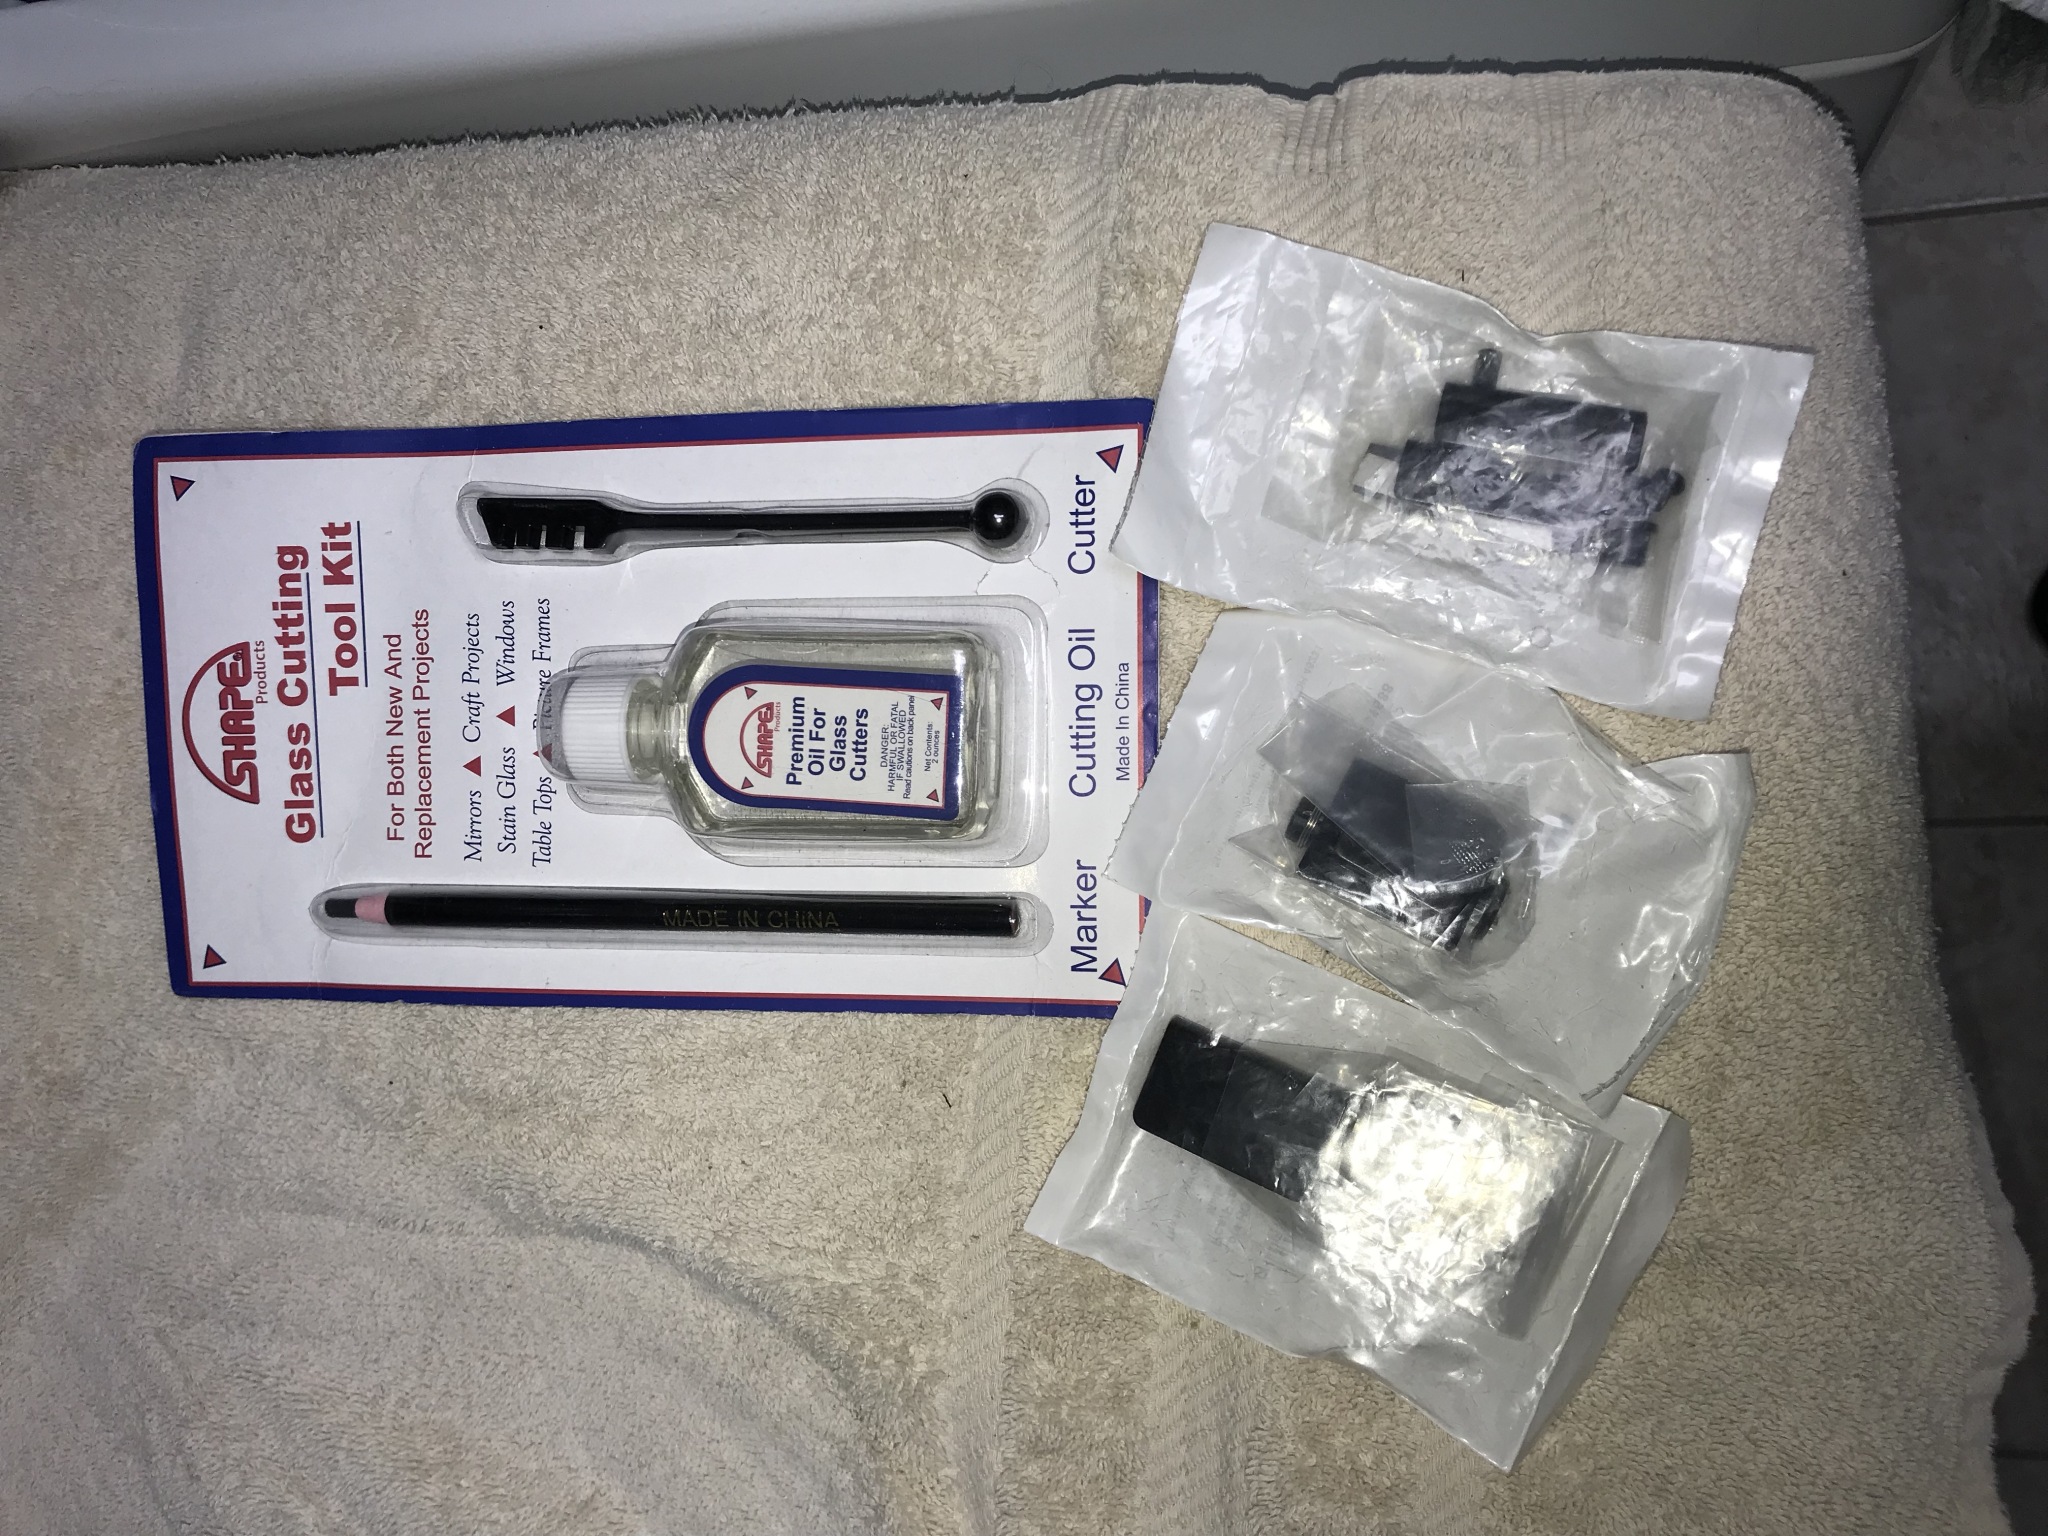
Glass panel - Home Depot
Glass cutting, hinges hardware - Lowes
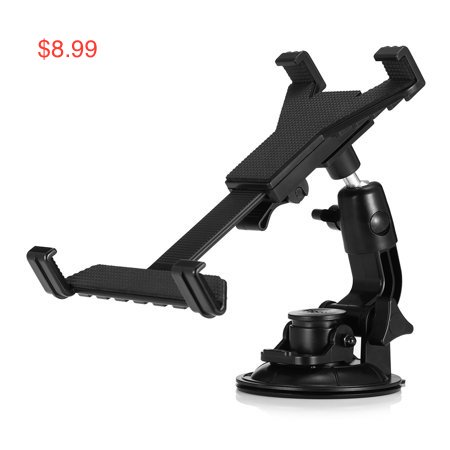
iPad stand/holder bought on Walmart.com
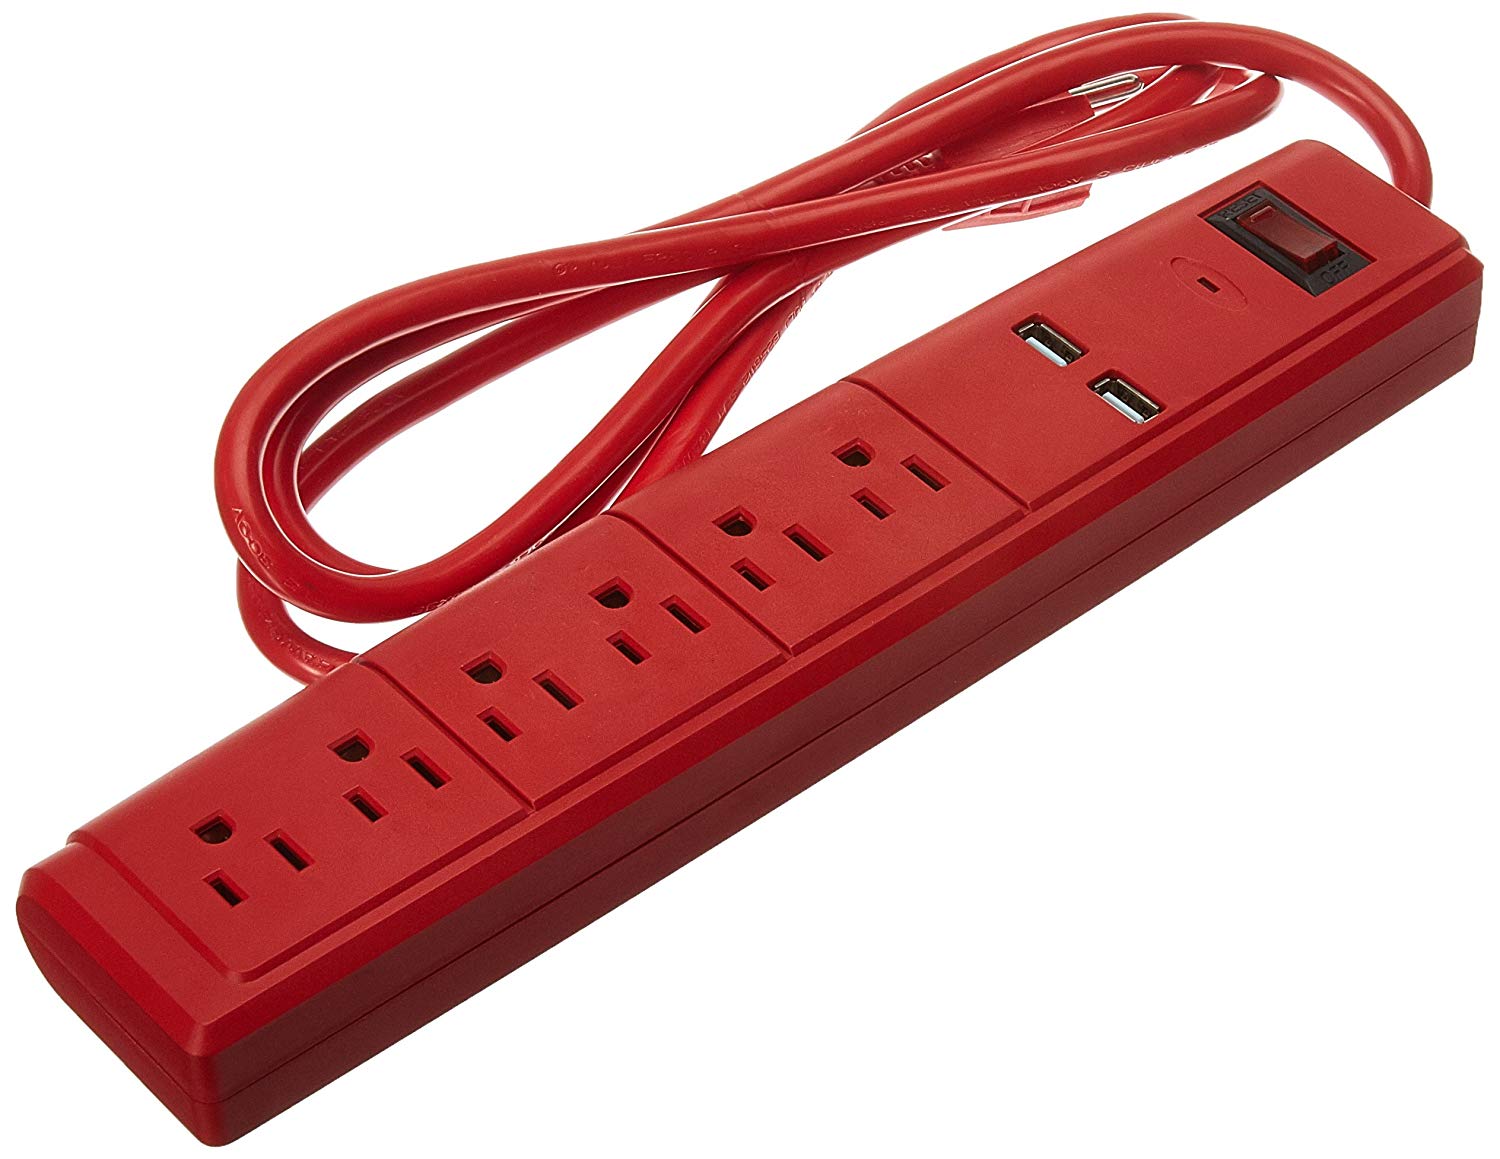
Red Power strip bought on Amazon.com $20
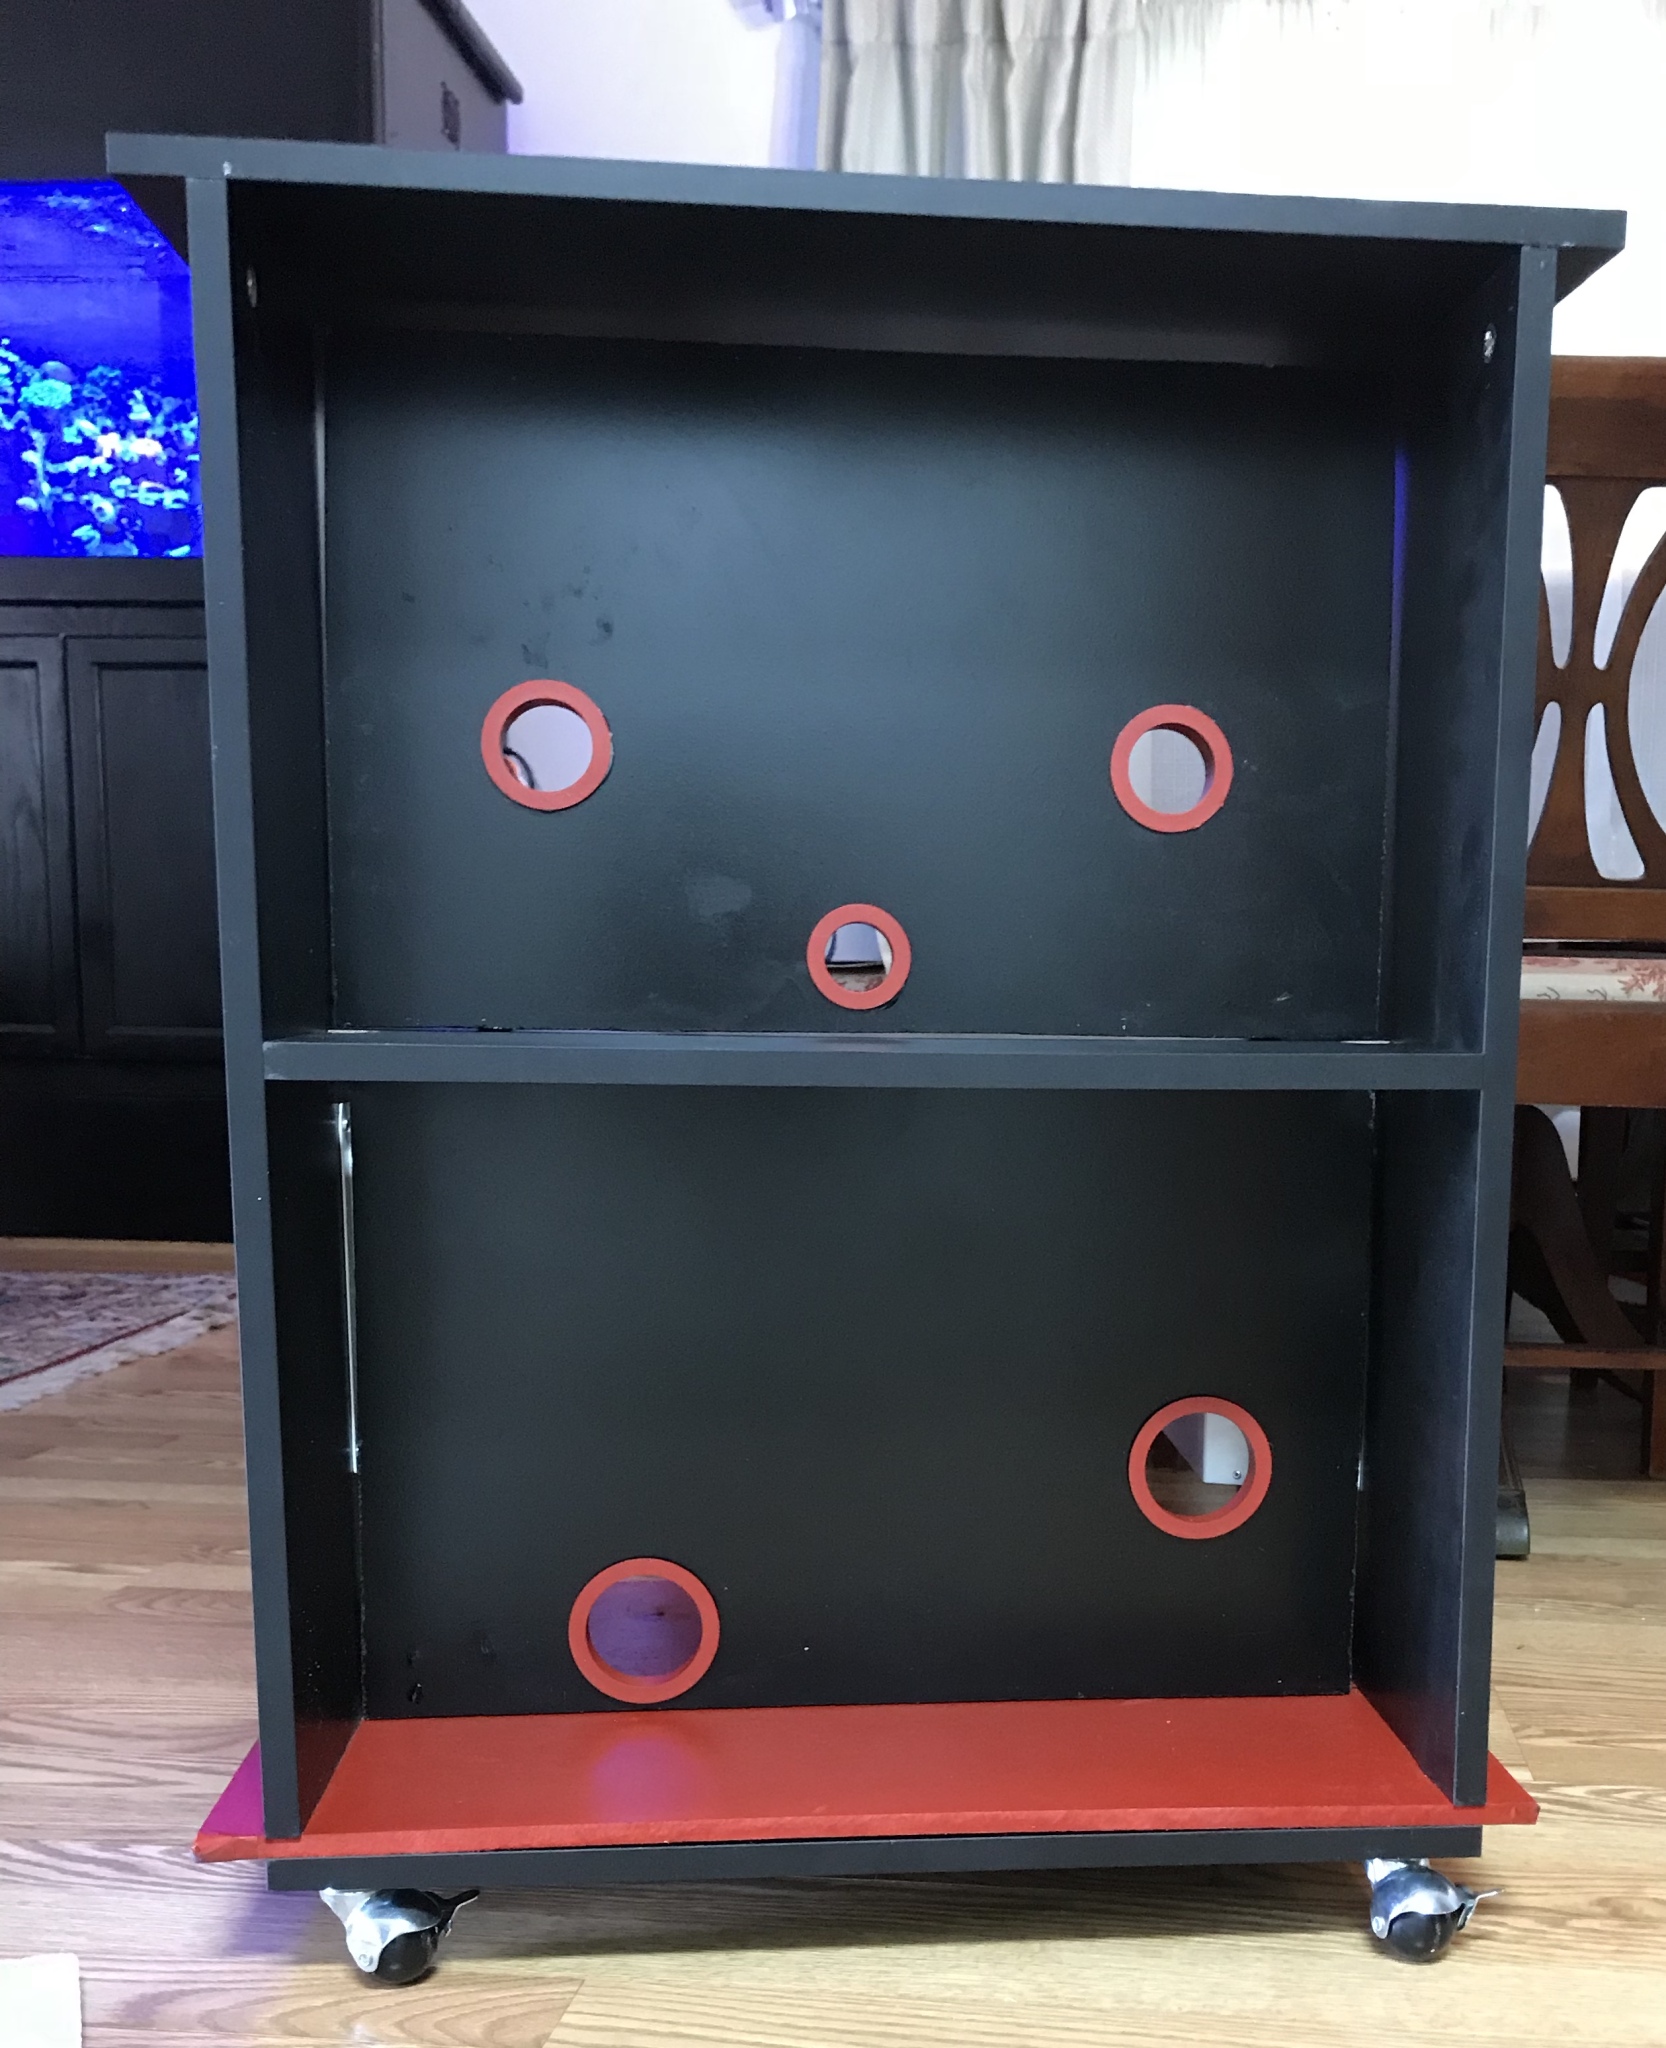
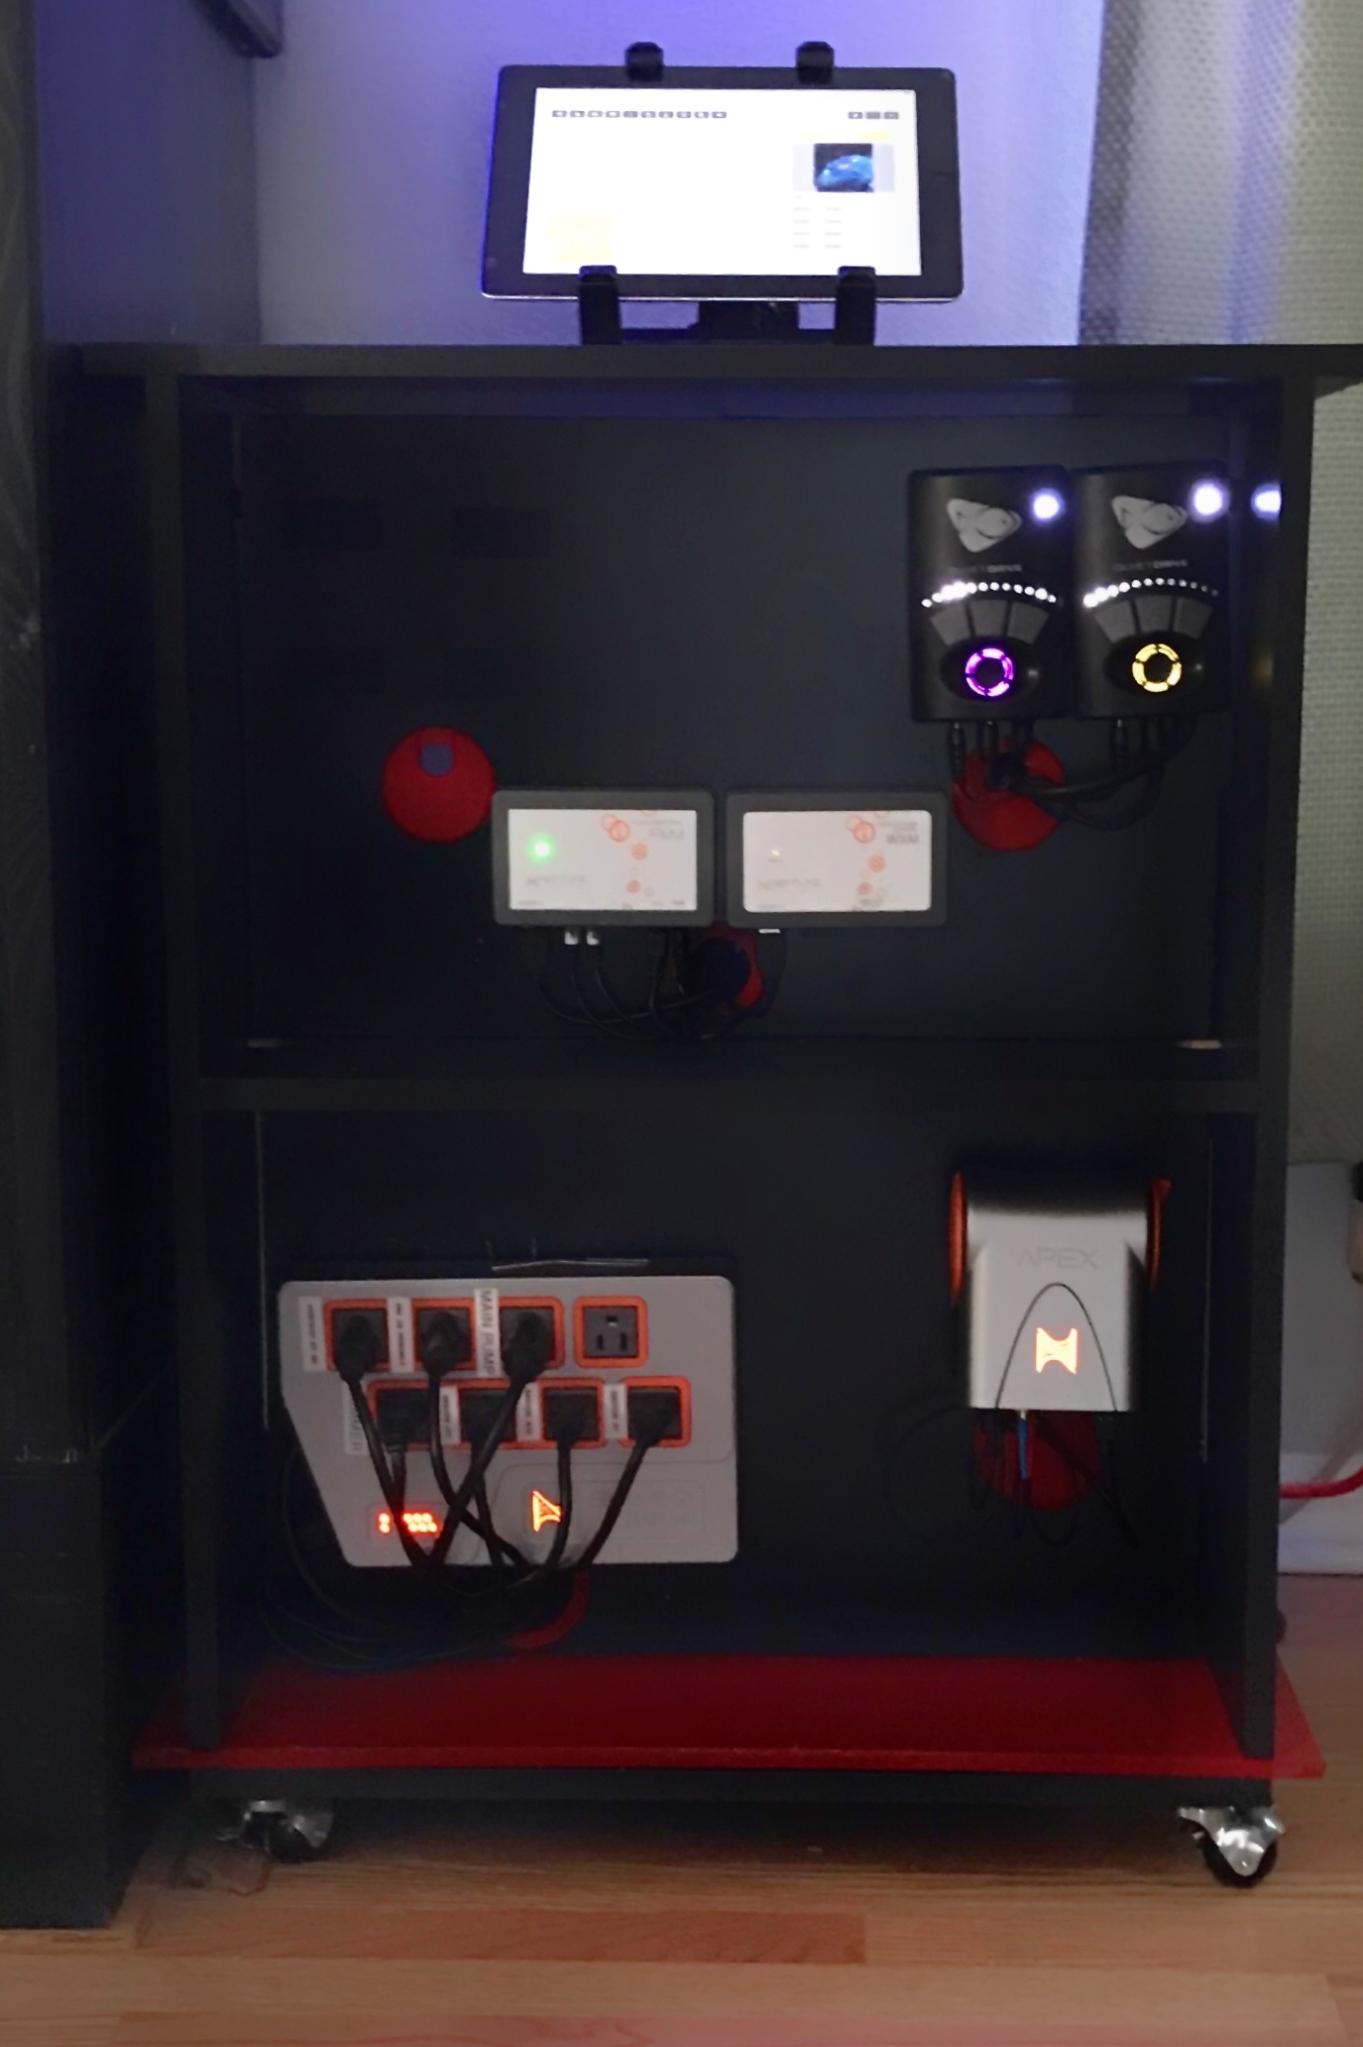
The last picture shows the almost completed cabinet. Very proud of how the project has come out so far. My other half has said nothing about the messy cords anymore, they are hidden behind the cabinet.
However, the project is still not complete! I’m thinking of adding LED’s on the interior as I’ve seen on some other cabinets. Not sold on it yet but I’m sure it will look pretty cool.
Besides cutting and installing the glass door I still need to work on cord management in the back.
Cord management…..Thats gonna be a load of fun!
Almost completed cabinet


I currently run a 180 gallon reef. The reef inhabitants consists mainly of sps but I do have several lps and a couple of soft corals.
Some may not agree but as the tank continues to mature the need for more equipment to run the tank multiplies. Many of us aquarists love to geek-out on our tank equipment so a place to have this equipment is supposed to make our lives much easier.
My research and plans took several months to plan. I kept changing my mind from a build up from scratch to just buying some kind of cabinet. The scratch build out would have been ideal but I am not super handy when it comes to building furniture. Also a budget kind of keeps ya in check since one spends so much more on equipment, live stock, additives etc, etc. So by chance while out food shopping I bought a TV/Microwave cabinet from Aldi’s and it was only $9.99.
Woohoo!! Cabinet was cheap and was on wheels and it looked as though it would be perfect. Well lol perfect if you retrofit it to meet your needs. With planning and some basic tools it can be done.
What equipment would be housed in the front part of the cabinet?
Top of cabinet:
Ipad on stand
Top tier of cabinet:
2 QD MP40’s - left back, left side of tank
WXM module
FMM module added a month after install
2 QD MP40’s - right back, right side of tank
Lower tier of cabinet:
EB832
Apex Main Hub
Rear of cabinet:
2 Eco Tech battery back ups
In order for this cabinet to work for my application I needed to build a couple of interior walls. These walls would be installed halfway onto each level on the inside of cabinet. These walls would provide support for the equipment I wanted to install.
Keeping this build as cheap as possible makes the other half happy to not see me spend money. My neighbor was renovating a bathroom. His trash was my treasure. I took the sides of the cabinet and cut the material into 3 pieces. One wall for the lower part of the cabinet 20.5"x13.25", one for the upper part of the cabinet 20.5"x13.25"and a larger piece for the bottom in order to support a glass door 16"x24".
With the help from youtube videos and reading other aquarists cabinet build outs it became apparent that I needed more stuff. Brackets, braces, paint color, furniture hole covers and drill bits. Plans for a color scheme that would allow the cabinet to blend in with the existing furniture and decor in the room.
I purchased a:
Milwaukee 9 piece Bi-Metal Hole saw kit
Measurements were done, the walls were cut from the neighbors old cabinet. Went on Neptune’s website for templets. They had templets for the Apex and Eb832 but not the modules nor the MP 40’s. Thats ok I learned how to trace objects lol back in school.
Planned top half of cabinet
Planned lower half of cabinet
The furniture hole covers I used and drilled were 2.5", 1.5" and 1". These holes would allow me to run the wiring thru to the back and keep them out of sight as you see in most cabinet/wall builds.
Pretty satisfied with my plans I went into paint mode. Spray painting from a can is quick and easy. Got those at Lowes. The walls were painted in a black satin finish to match the finish of the cabinet. The furniture hole covers were painted in fire engine red. Each wall and hole covers took two coats and I allowed 24 hrs to dry in between.
Painted boards, painted hole covers
Well any planned project needs a backup plan in case you mess up. Which I did! The lower wall was flipped when hot gluing the hole covers. But no biggie! Plans to switch the Eb832 and APEX was totally ok. Thank goodness lol!!
Marching onwards........
For a little contrast the 3rd cut out material was painted red. This cut out measured 16” x 24” the same as the top counter part. The the lower part of the cabinet in red tied in with the red hole covers.
Back interior view
The original base measured 20.75” x 15.75”. This part of the cabinet has 4 locking wheels for easy mobility of the cabinet. I took the original base and attached it to the 16x24 red piece cut out.
If you look at the pic you will see that the top and bottom portion have a lip that extends further than the side walls of the cabinet. This upper and lower lip is for a swinging glass door.
Box Pic showing length of upper stand
Pic of wheel base
For those who may be thinking of getting this cabinet the unit itself is not as sturdy as one would think. Once built the cabinet wobbled sideways in a major way. I added 90 degree braces on each corner of the cabinet. These braces made a huge difference and cut down the wobbles substantially. Once the batteries were installed the cabinet felt super sturdy.
Next on the TO/DO list were the two interior walls. These are held by two “L” brackets on the top and bottom. Original plan was to only have two brackets on bottom. But when I added the WXM module I needed more stability for the wall. I found this out as I was screwing the holding plates for the modules. The wall kept moving!
Interior wall
The cabinet was getting to the point of being ready for the controlling equipment. Each phase of this build out brought on another idea like adding a strip of LED lights. Not fully sold on those lights yet but at least the cabinet was looking good IMO.
Unfinished cabinet
I wanted to use a 2nd generation iPad that was laying around the house not being used. I decided that this would be the best application for this iPad. On the very top panel I drilled a hole for wiring and bought a cheap tablet grip type holder for the iPad. Glued the hole cover for a place to run the wire for connection purposes.
Top panel with hole cut out drilled
2nd gen iPad fully docked and plugged in
Now finally the exciting and fun part would start! Adding the equipment!! Woohoo !!! As I start to look all those cords wires and the Vortech QD’s I realized that I better label things so that once I disconnect stuff and I can put stuff back together. Disclosure* I hated this part lol
Started with the Gen 4 Radion Led’s. I have 3 of those over the 6 foot long tank. Labeled each power supply with which Radion it controlled. Then I labeled where things would be plugged into on the EB832. Next came the Mp 40’s. Here I hit a snag in my plans. For the tanks left back and left side mp 40’s they would not reach the new cabinet. I found out that I will need to send dry sides of the pumps to Ecotech pay I believe $50 to get the pumps wires extended. For the moment I have not sent them and they are laying inside the stand. I will send them off soon. The right side of tank mp 40’s were installed. In the front of the cabinet I used the velcro tape that came with pump and carefully placed them so that both pumps could sit side by side. Ecotech has pump holders but for now the velcro seems to hold and work beautifully. They also have power supply holders but I used velcro as well.
Mess of wires
Radion controllers
EB832
MP40’s on left
I painted the interior brackets to match the wall so that they would blend in and make even the back section look clean. In the middle panel in order to add a power strip for additional devices and to drop cords in either direction another hole was drilled.
Middle panel furniture hole cover added for cords
Back panel velcro tape
I bought a glass panel and hardware that will be used to place a door in the front. At this point I have not added the glass door yet as work has been super busy but I will get to it. Once most devices were identified, labeled, plugged, and probes recalibrated I worked on getting the iPad powered up. Now each time I wake the iPad up APEX Fusion shows up. Wow that part is so worth it because now if I want to turn devices on or off I don’t have to go to get my iPhone to control those devices.
Glass panel - Home Depot
Glass cutting, hinges hardware - Lowes
iPad stand/holder bought on Walmart.com
Red Power strip bought on Amazon.com $20
The last picture shows the almost completed cabinet. Very proud of how the project has come out so far. My other half has said nothing about the messy cords anymore, they are hidden behind the cabinet.
However, the project is still not complete! I’m thinking of adding LED’s on the interior as I’ve seen on some other cabinets. Not sold on it yet but I’m sure it will look pretty cool.
Besides cutting and installing the glass door I still need to work on cord management in the back.
Cord management…..Thats gonna be a load of fun!
Almost completed cabinet


