
OP
OP
Broadfield
Red Sea Reefer Consultant... Non Affiliated
View BadgesExcellence Award
Reef Of The Month
Photo of the Month
Reef Squad Emeritus
Midwest Reefer
I can't wait for your updates ,following your build and a few others on here and your reefer set ups are sick.when is the best time to buy all this equipment?e.g. black friday or cyber monday? I'm set on reefer 425 xl .do you prefer the ecotech mp40 or th.e neptune wav ,if you have an opinion on that matter .i am also following clarksski build as well. you guys rock
I sent you a PM!


 IMG_7493


 IMG_7508
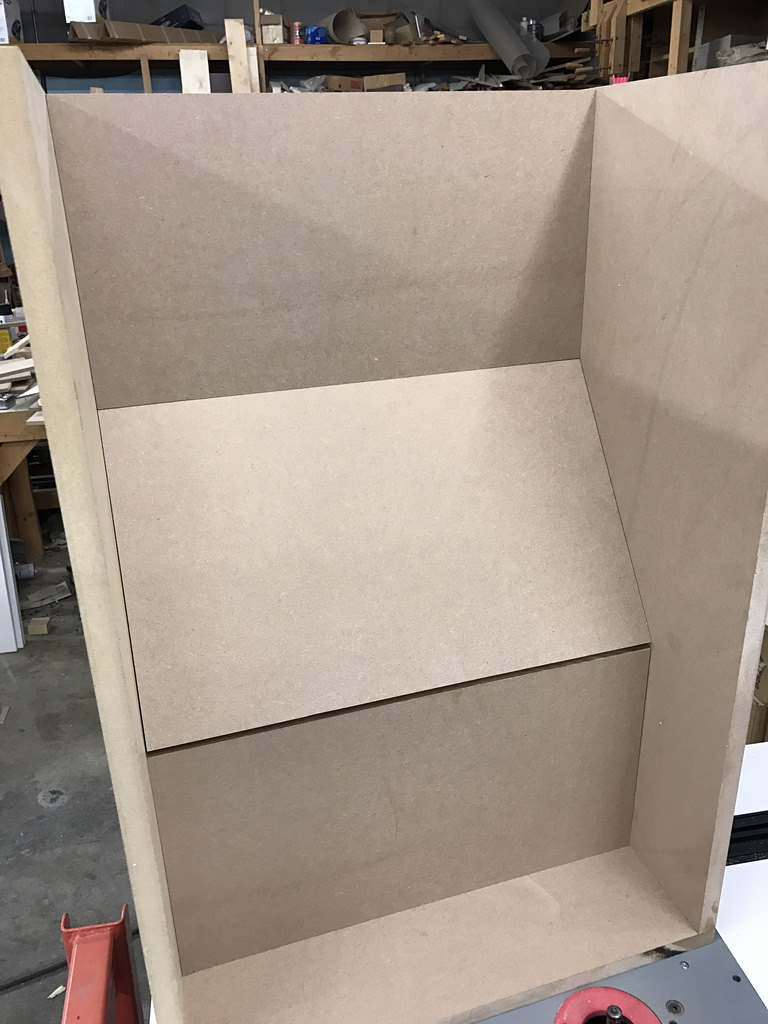 IMG_7509
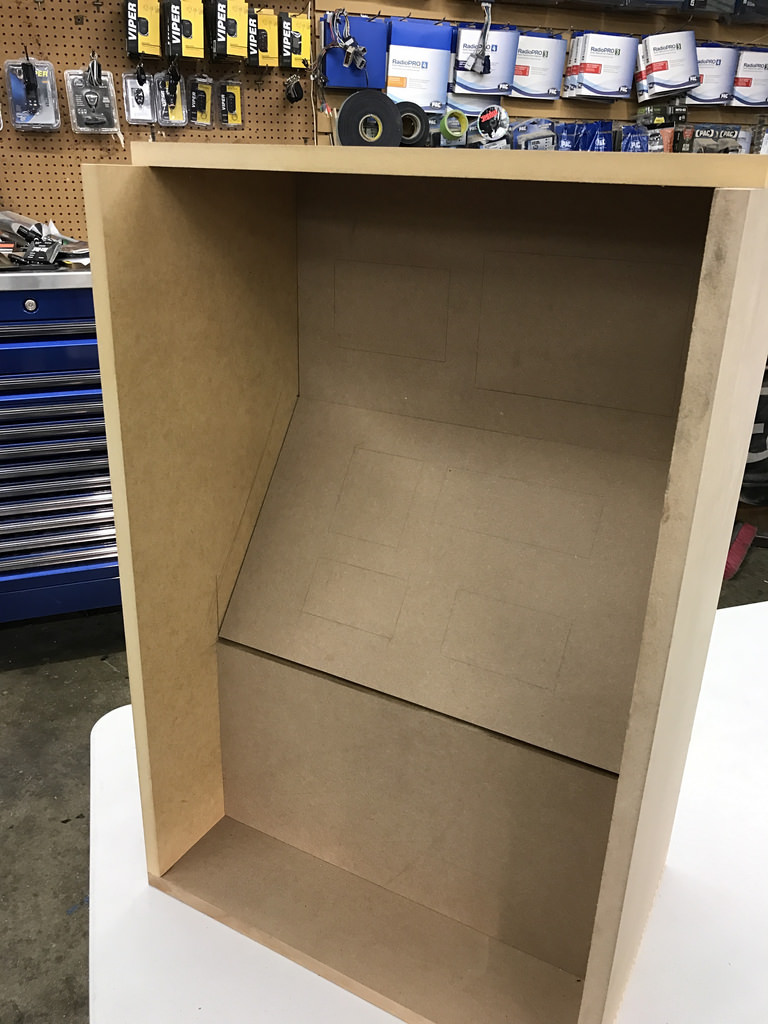 IMG_7515
 IMG_7517
 IMG_7516
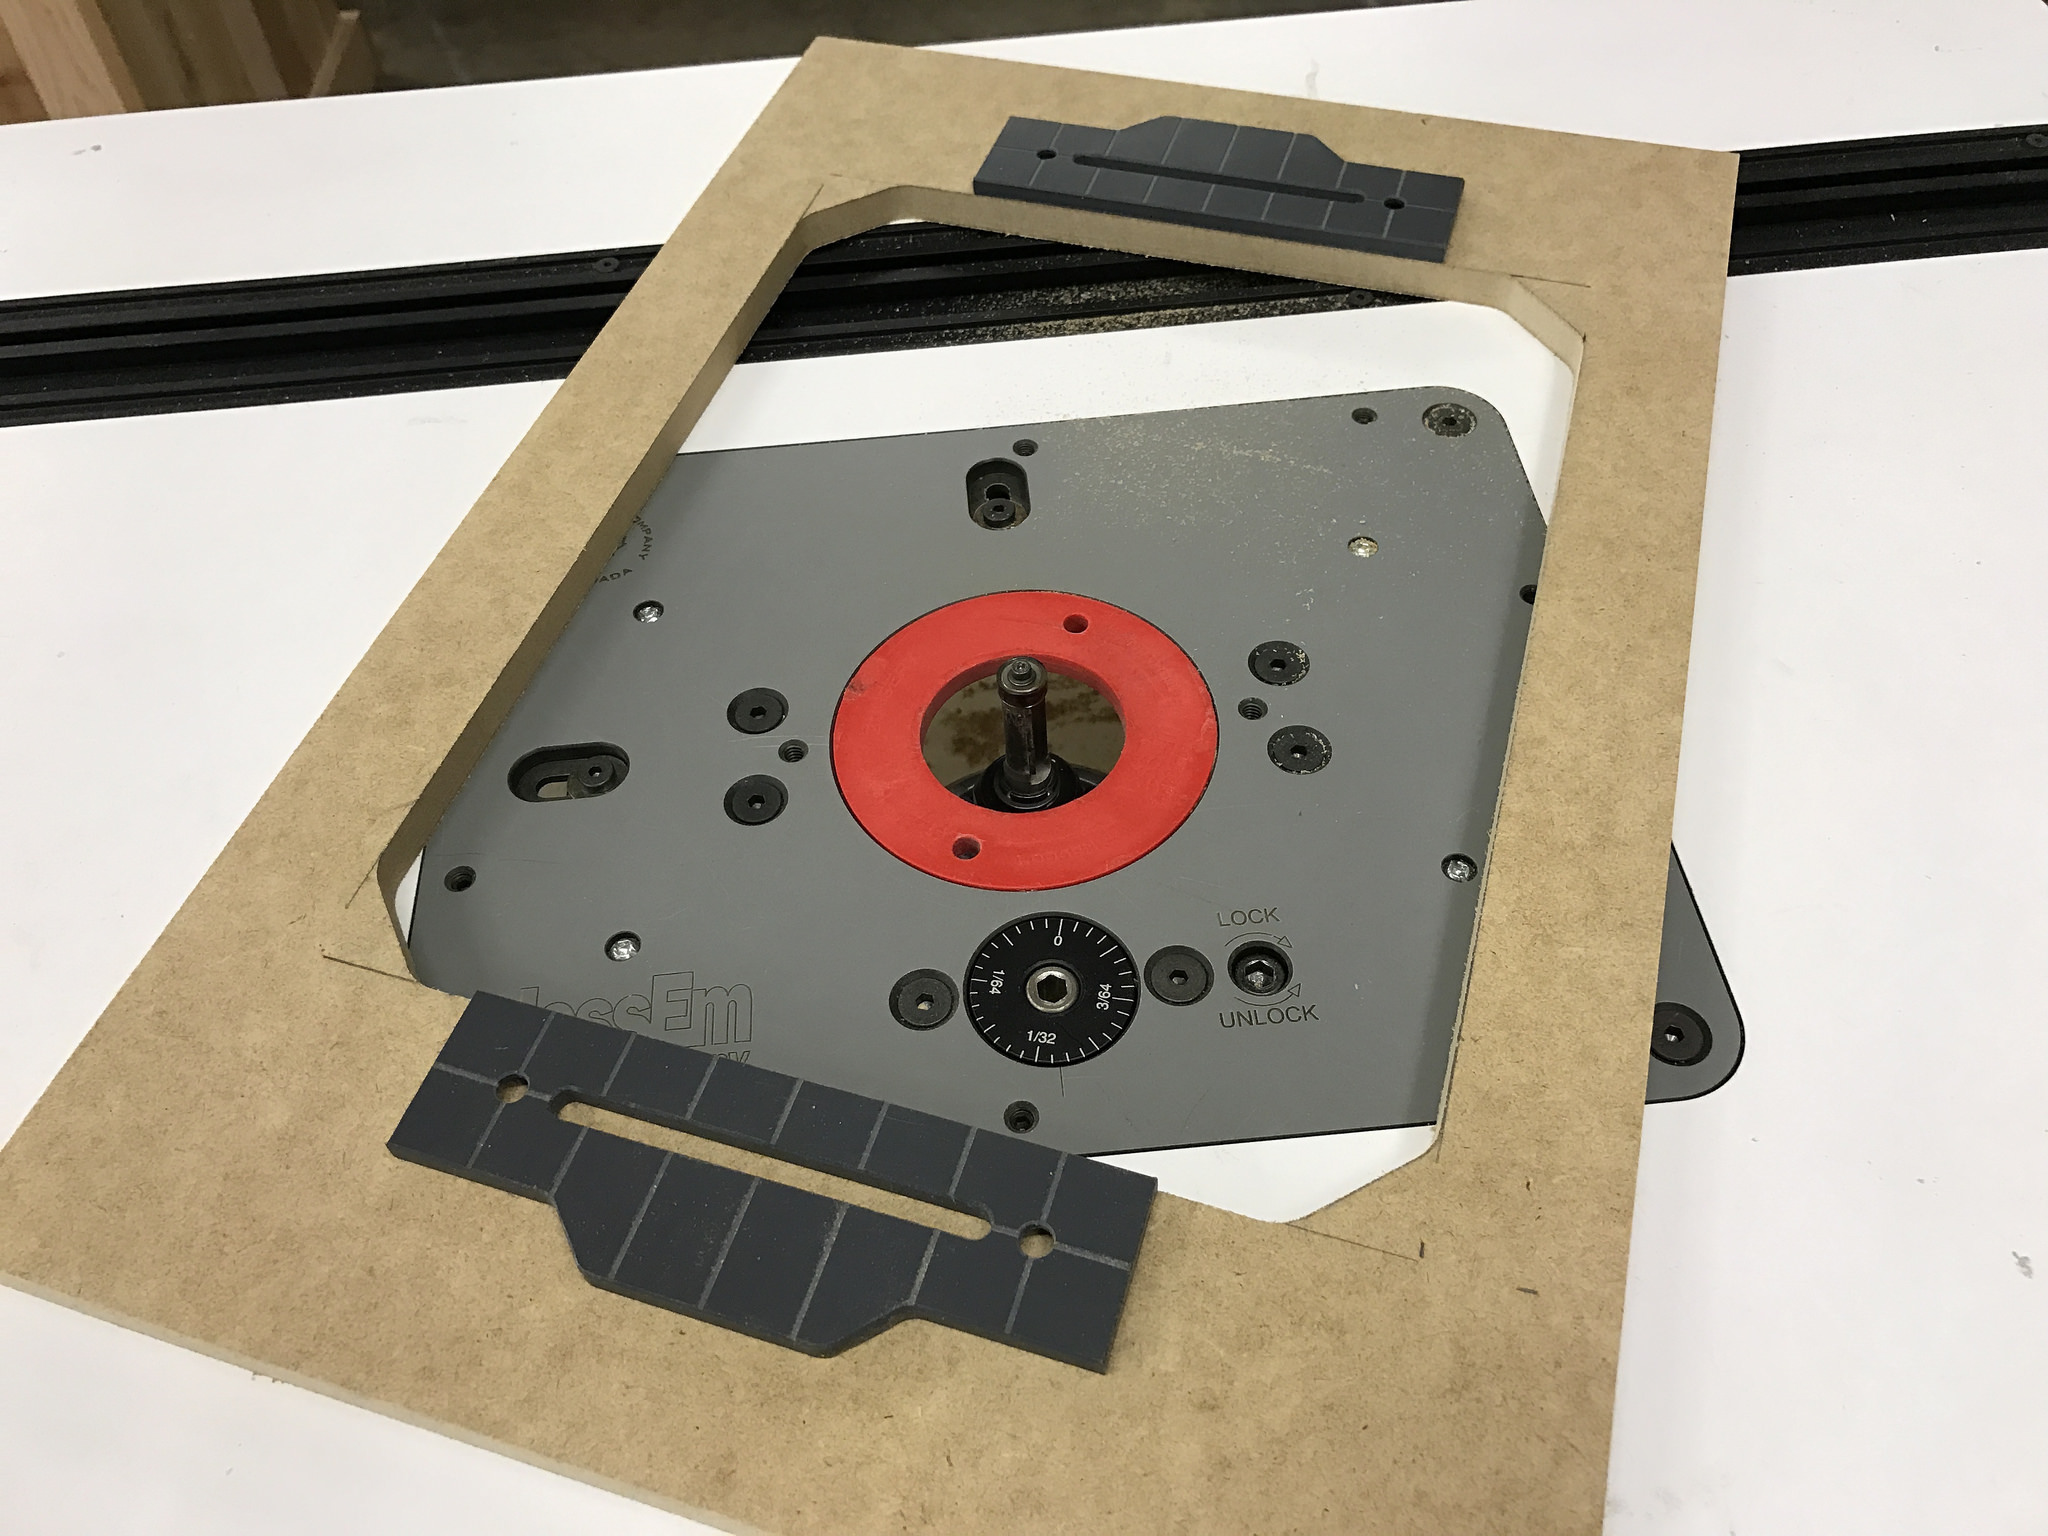 IMG_7518
 IMG_7519
 IMG_7521
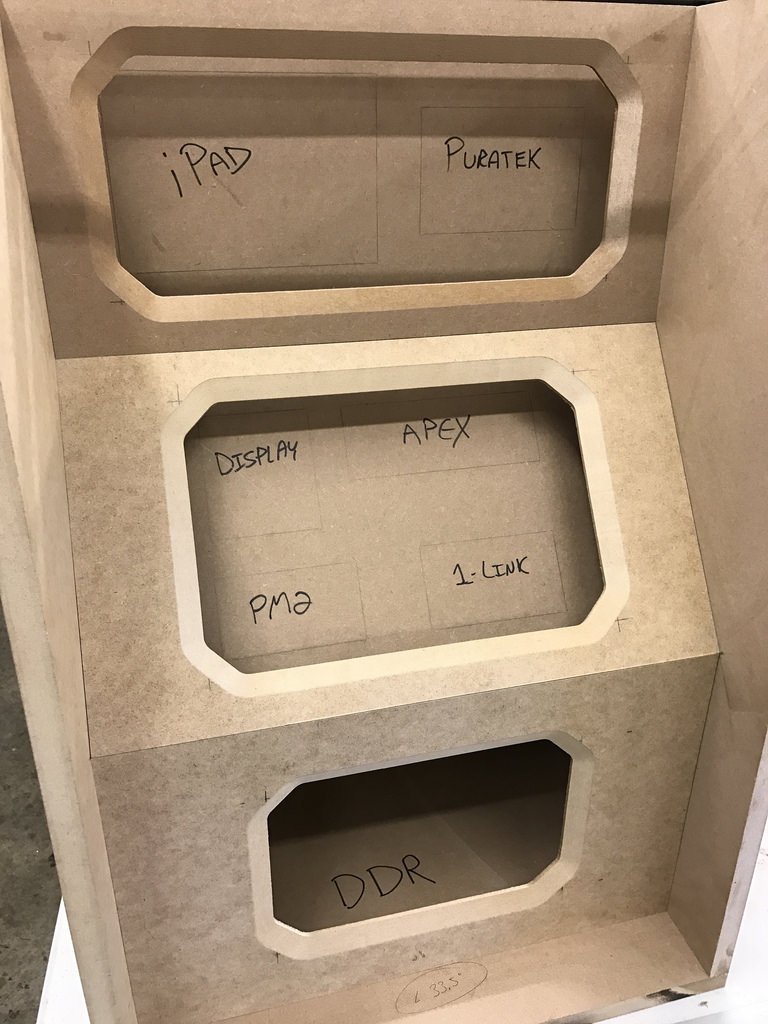 IMG_7557
 IMG_7558
 IMG_7559
 IMG_7566
")


