Full disclosure: I copied this design from a couple others online, but I was unable to find a good parts list or instructions so I’m writing some here.
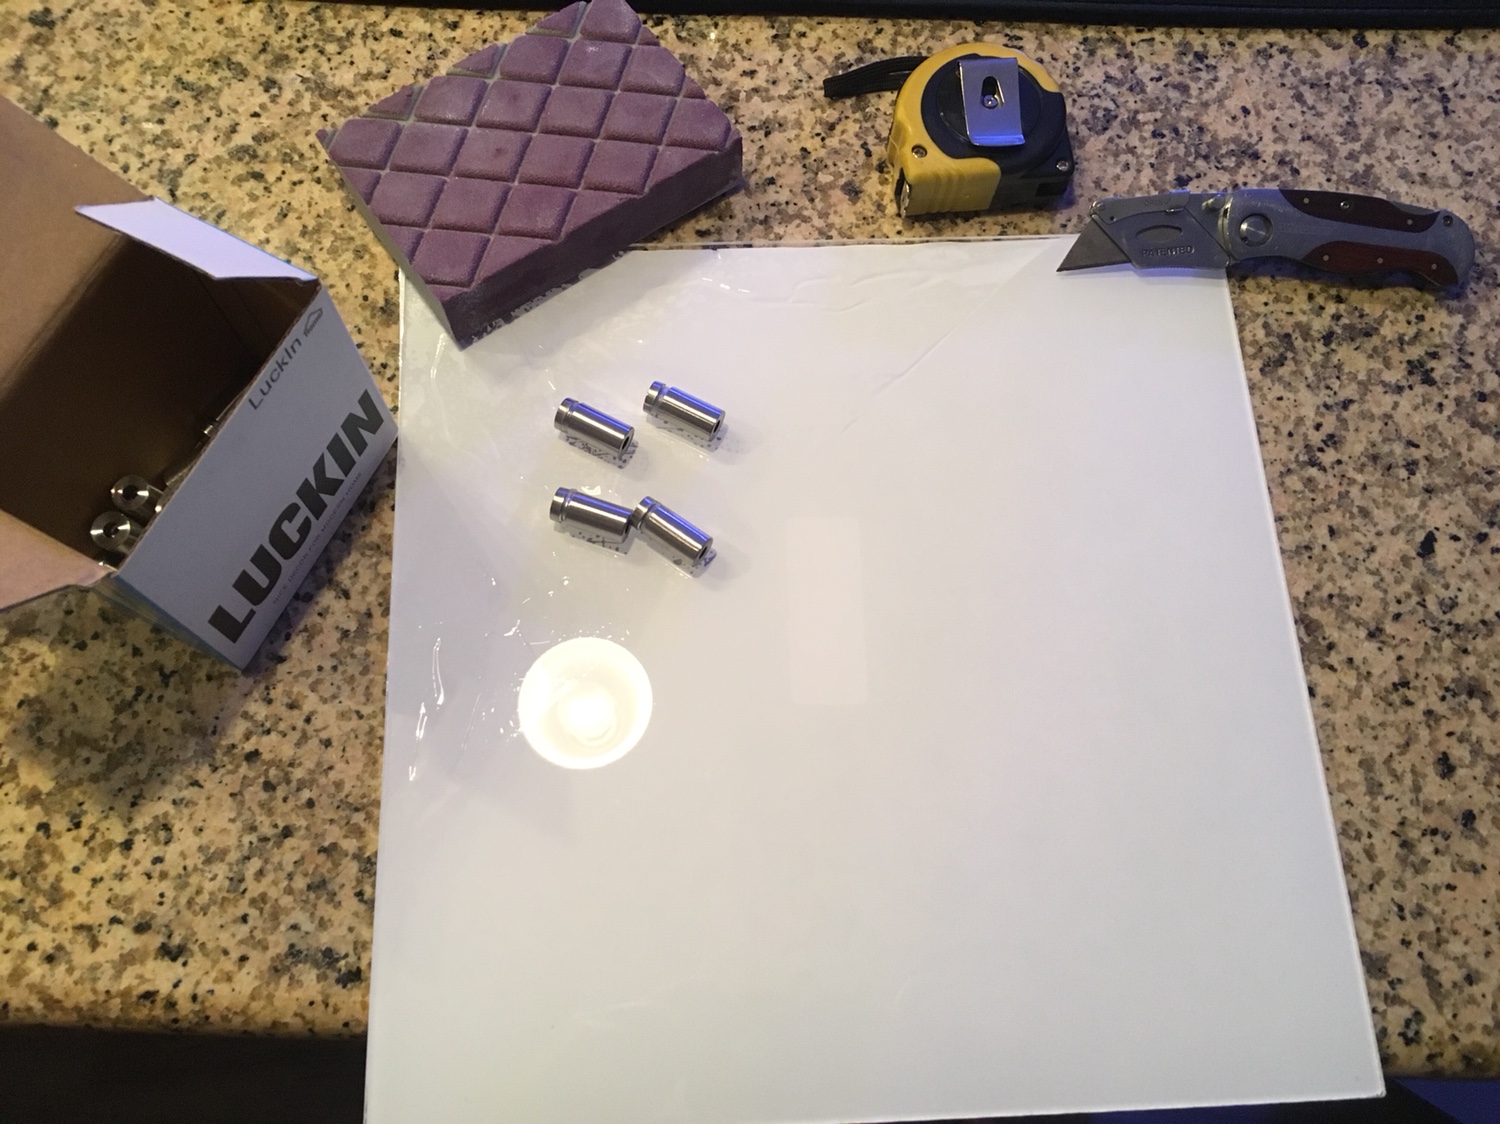
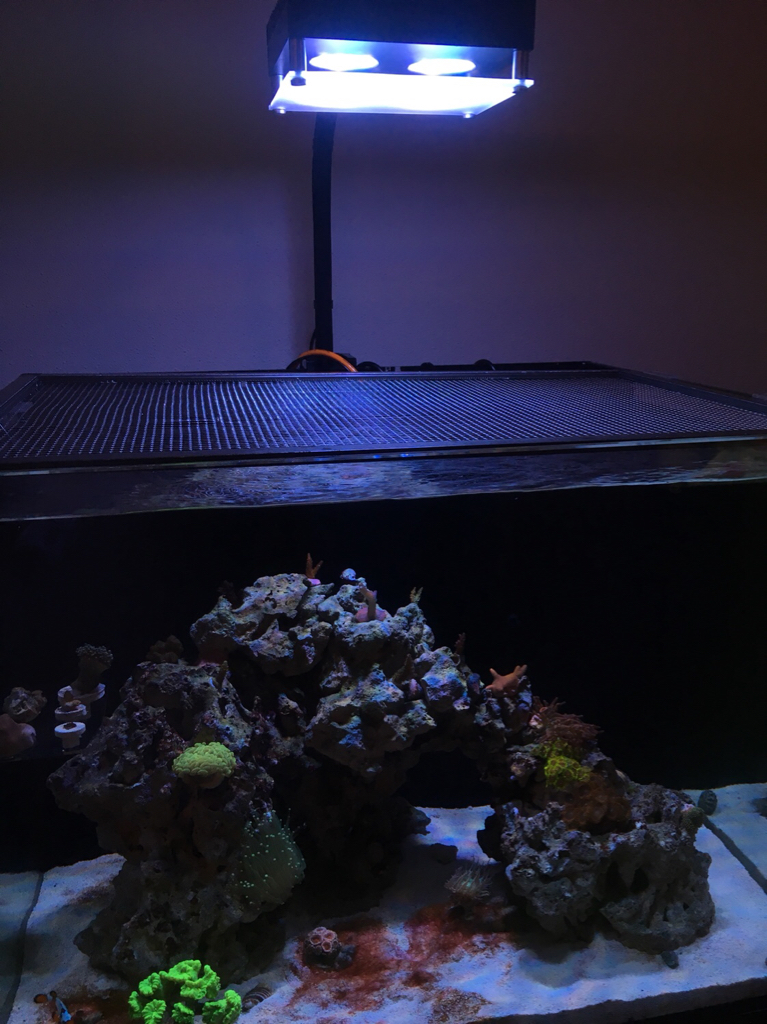
First some pictures:
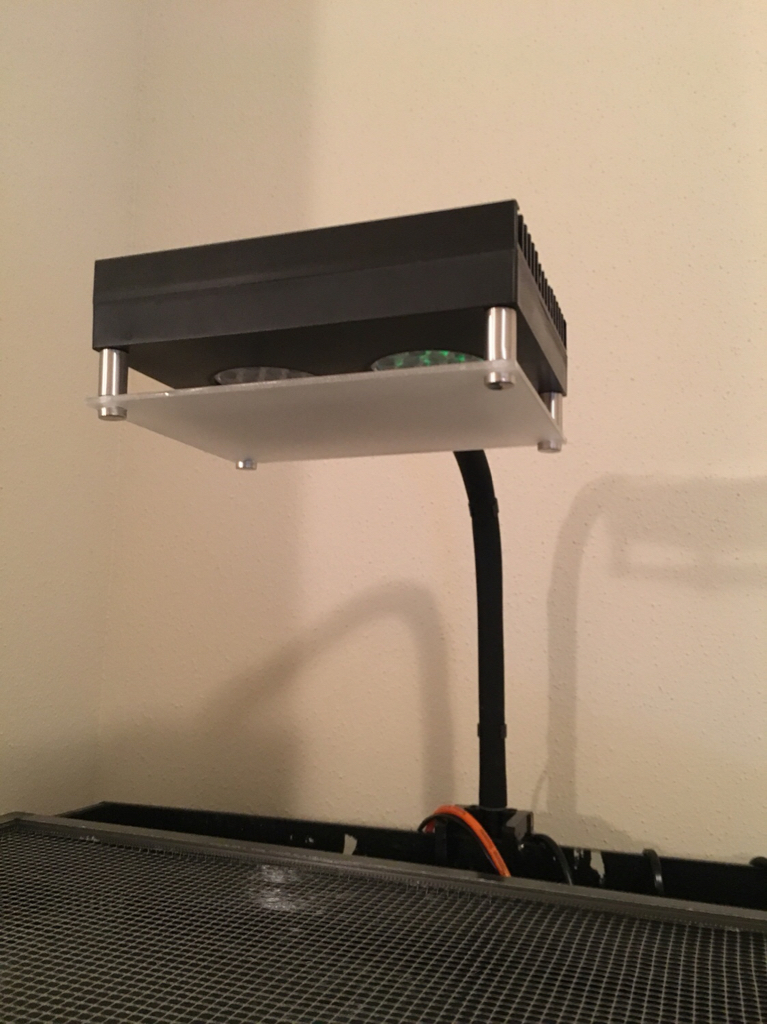
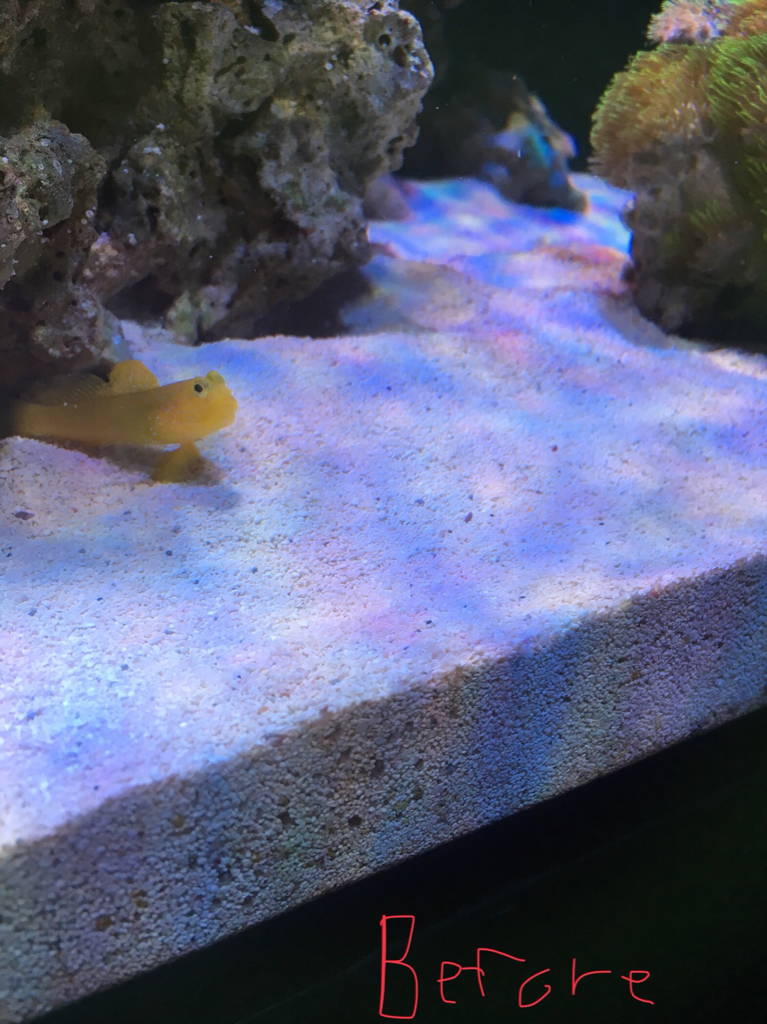
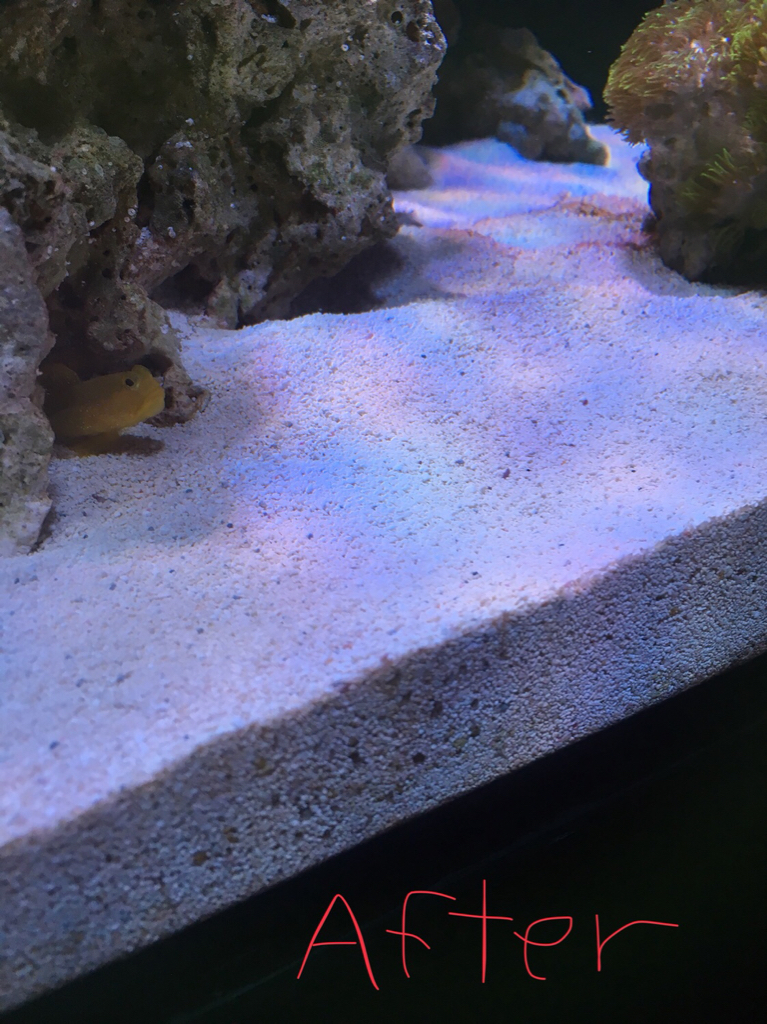
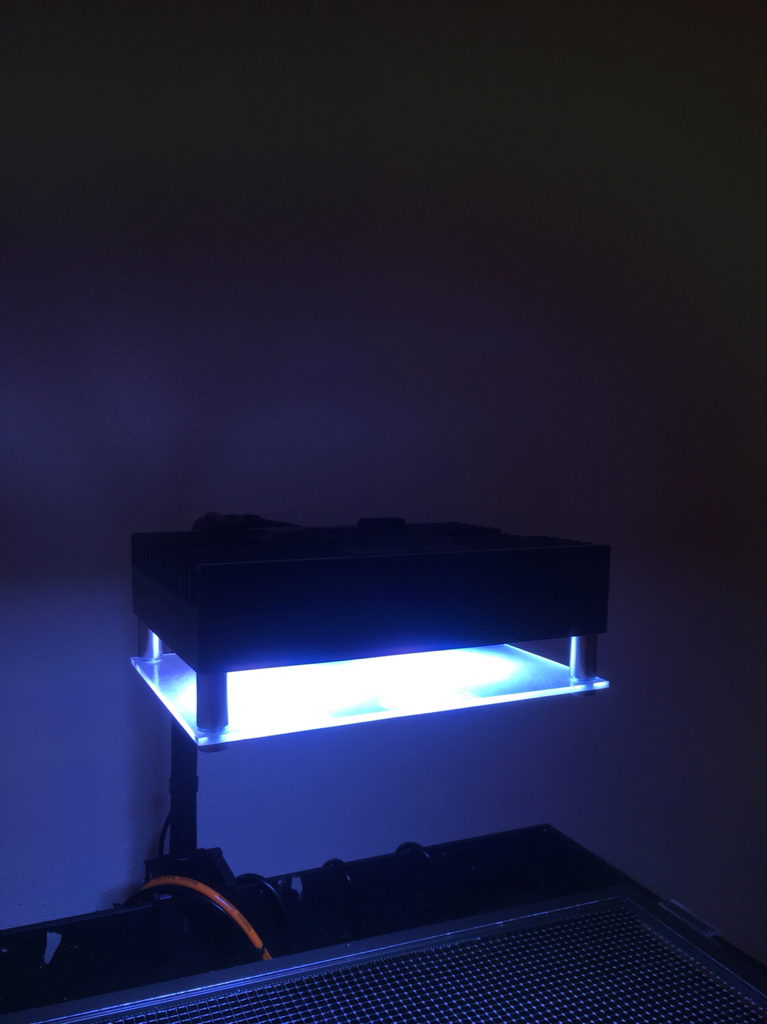
This diffuser was super easy to make. It’s just a piece of sanded acrylic and some panel standoffs. The difference it makes really is night and day but hard to capture with phone camera. The disco ball effect is almost completely gone and I’m sure I’m getting much better spread and blending of the light.
I think I spent around $20, with enough parts left to make a second if I wanted. I wish the panel standoffs were black to match the light, and maybe slightly taller to increase diffusion. I think this same method should work for the hydra 52.
PARTS LIST:
*1/8” Acrylic panel https://www.amazon.com/dp/B004DYW31I/ref=cm_sw_r_cp_api_i_KrigBbPPWCG0A
*(4) 1/2” x 1” Panel standoffs https://www.amazon.com/dp/B079FNSBBR?ref=yo_pop_ma_swf
*(4) 6-32 x 1” machine screw.
TOOLS LIST:
*Drill & drill bits. (Drill bits meant for use on plastic/acrylic would probably make life easier)
*Sand paper. (I used 120, 150, 180 grit, in that order)
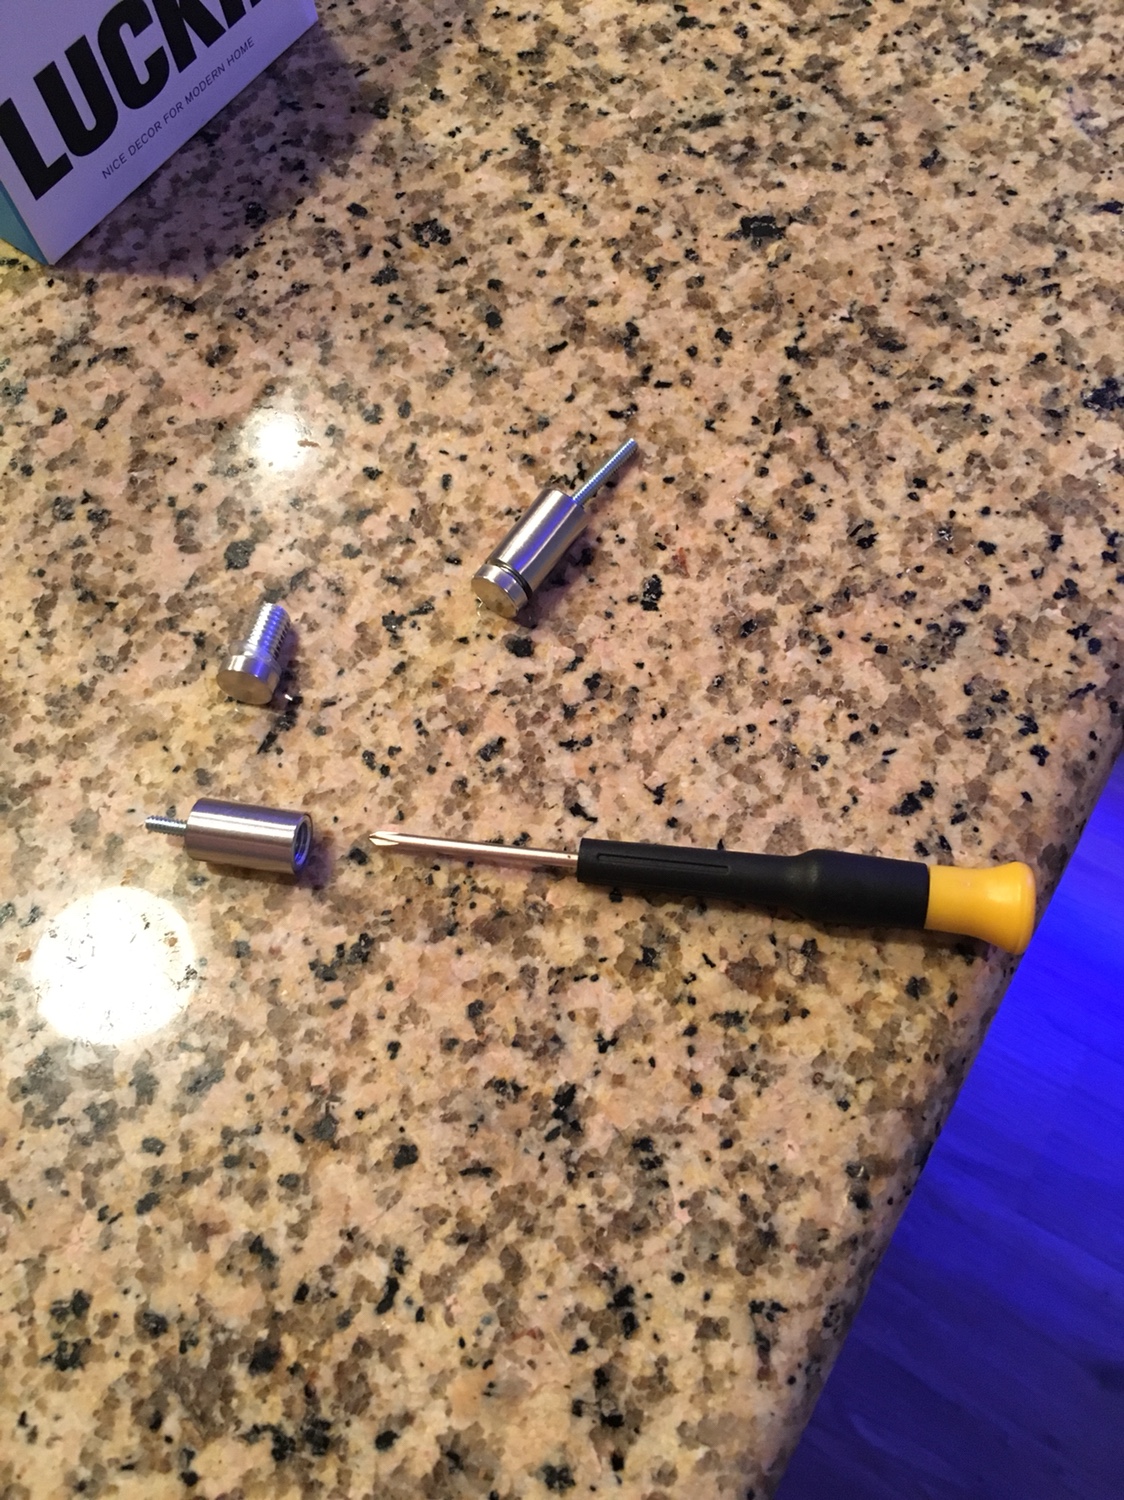
*Precision screwdriver. (It must be narrow enough to go through the threaded hole in your standoff, see pic below)
*Razor blade
*Tape measure
INSTRUCTIONS:
Using score & snap (or your own method), cut your acrylic to the size of your light. For the hydra 26 I ended up at 7 1/4” x 5 3/8”. Score and snap just means to use your razor blade to cut a line in (or score) your acrylic sheet. Then place the sheet on a table score side up with the score lined up with the edge of the table (meaning part of your sheet is hanging off). While holding the sheet on the counter/table, downward karate chop the side hanging off. The result should be a perfect cut along your score line. You should probably wear gloves and safety glasses I suppose. Be sure to do this one cut at a time. This method worked perfectly with my 12x12 sheet.
Next sand one side of your acrylic as much as you’d like, I used 120,150,180 grit. I’m not sure if sanding both sides would be necessary or useful.
Next measure and mark your acrylic for drilling holes. We’re going to use the existing screw holes that are on the light for mounting the standoffs, the screws that come with the light are too short however. I believe I measured and marked my holes at 6 5/8” x 4 3/4”.
Next VERY CAREFULLY drill your holes. This was the most tedious part to me. Definitely practice on a scrap piece of acrylic as this stuff likes to chip and crack. I’m told using drill bits meant for acrylic makes this much easier. What I did to prevent cracking was start with a 3mm bit and work up to 8.5mm. It was a huge pain but got me where I wanted. I made the holes a little big because my measurements were rough.
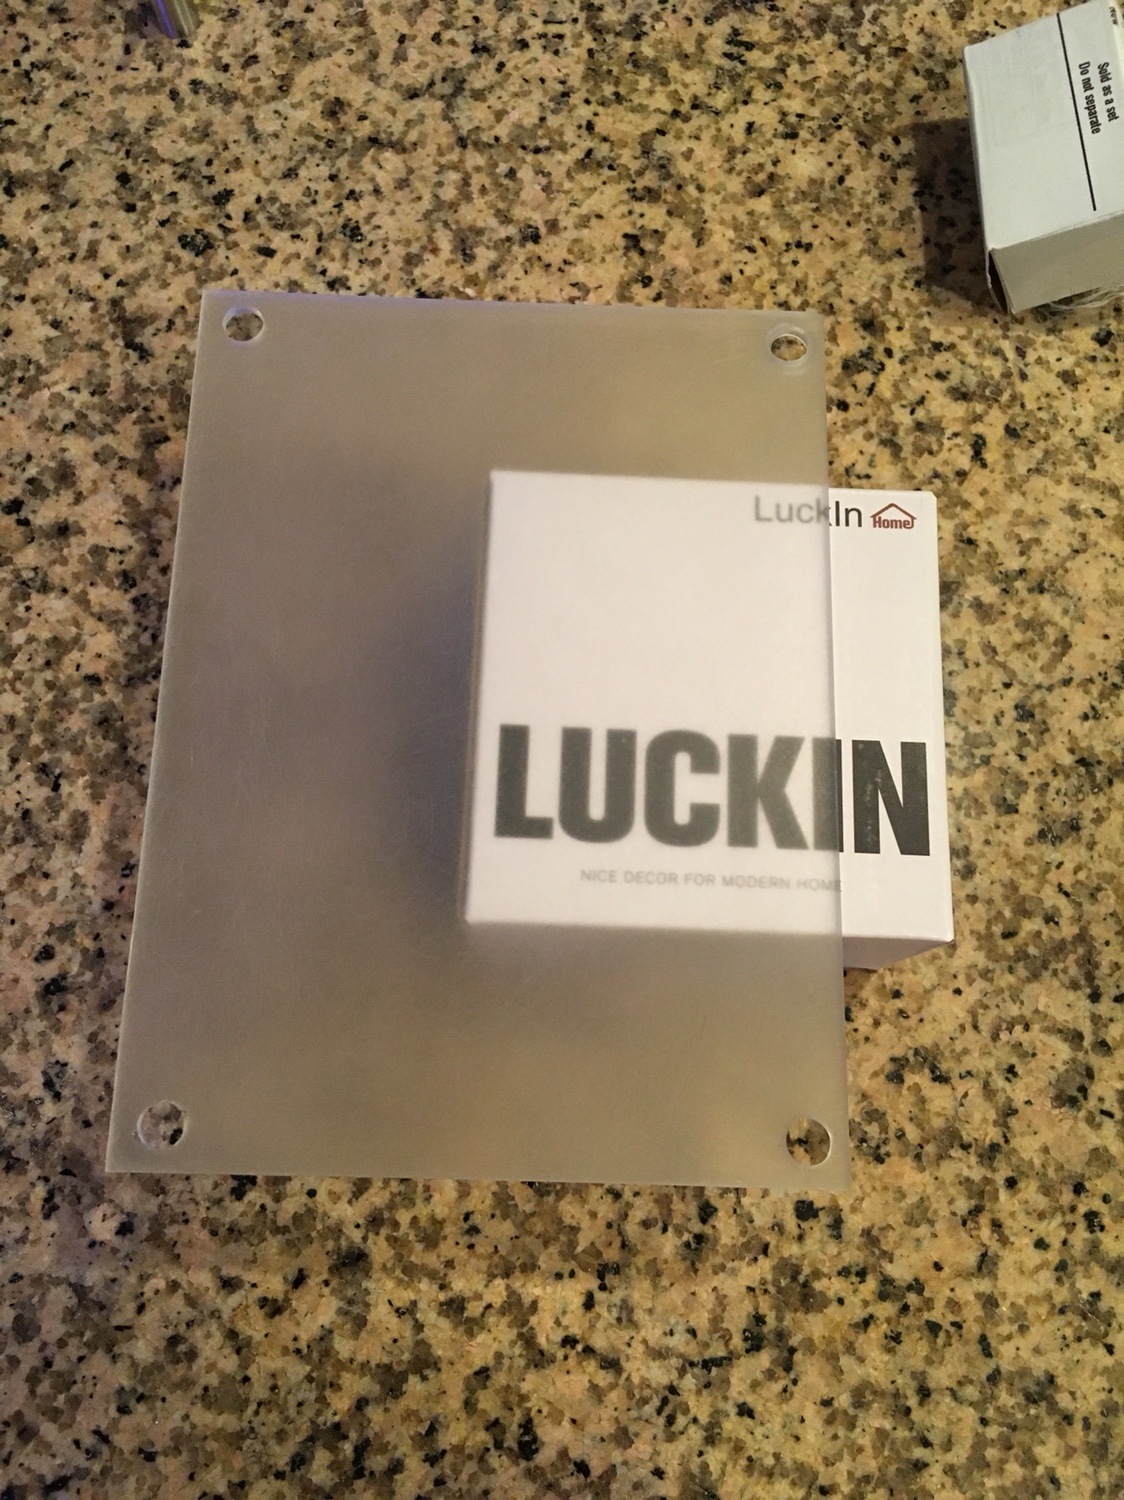
Here’s mine just before mounting.
Mounting the diffuser is straight forward. Remove the old screws from your light fixture and use the new ones to mount the base of the standoffs, next place your diffuser and screw in the tops to the standoffs and you’re good to go.
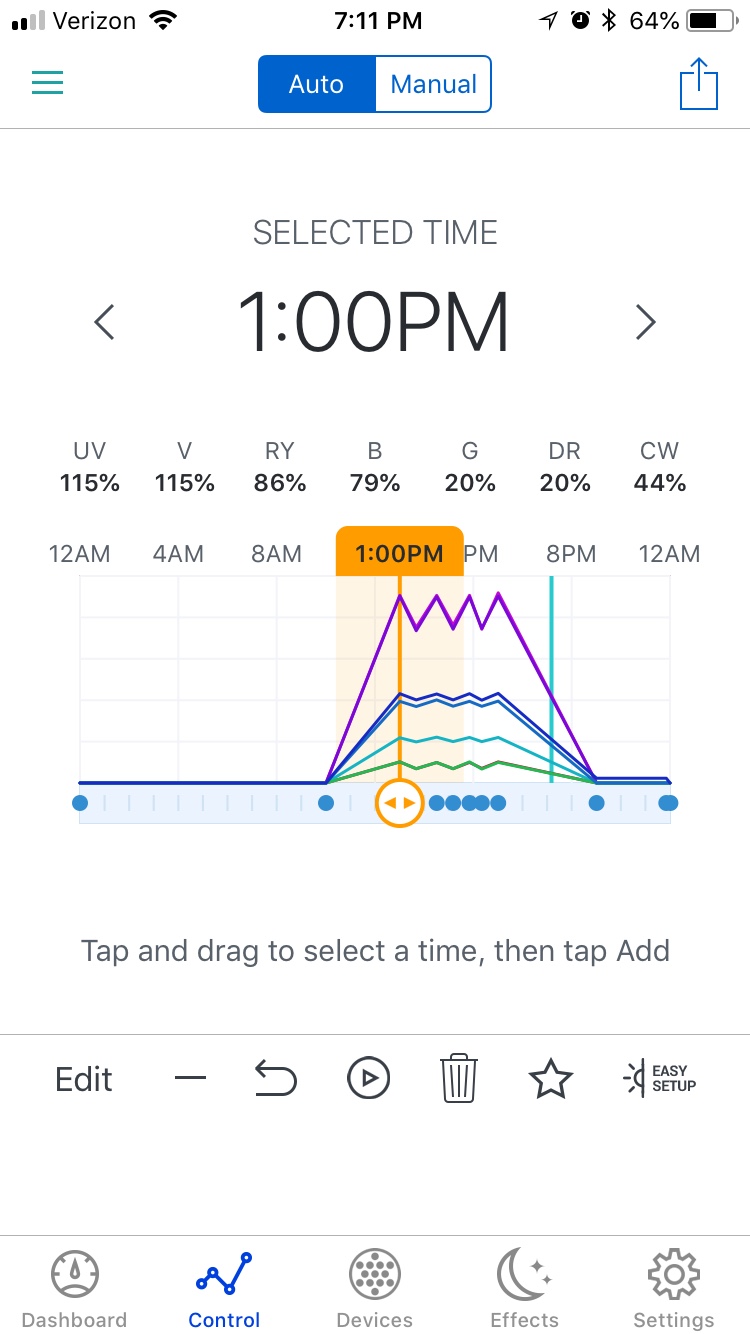
Lastly I increased my light settings by 15% (e.g. 75 became 87%).
Hope this was useful!
(Excuse my cyano)
First some pictures:
This diffuser was super easy to make. It’s just a piece of sanded acrylic and some panel standoffs. The difference it makes really is night and day but hard to capture with phone camera. The disco ball effect is almost completely gone and I’m sure I’m getting much better spread and blending of the light.
I think I spent around $20, with enough parts left to make a second if I wanted. I wish the panel standoffs were black to match the light, and maybe slightly taller to increase diffusion. I think this same method should work for the hydra 52.
PARTS LIST:
*1/8” Acrylic panel https://www.amazon.com/dp/B004DYW31I/ref=cm_sw_r_cp_api_i_KrigBbPPWCG0A
*(4) 1/2” x 1” Panel standoffs https://www.amazon.com/dp/B079FNSBBR?ref=yo_pop_ma_swf
*(4) 6-32 x 1” machine screw.
TOOLS LIST:
*Drill & drill bits. (Drill bits meant for use on plastic/acrylic would probably make life easier)
*Sand paper. (I used 120, 150, 180 grit, in that order)
*Precision screwdriver. (It must be narrow enough to go through the threaded hole in your standoff, see pic below)
*Razor blade
*Tape measure
INSTRUCTIONS:
Using score & snap (or your own method), cut your acrylic to the size of your light. For the hydra 26 I ended up at 7 1/4” x 5 3/8”. Score and snap just means to use your razor blade to cut a line in (or score) your acrylic sheet. Then place the sheet on a table score side up with the score lined up with the edge of the table (meaning part of your sheet is hanging off). While holding the sheet on the counter/table, downward karate chop the side hanging off. The result should be a perfect cut along your score line. You should probably wear gloves and safety glasses I suppose. Be sure to do this one cut at a time. This method worked perfectly with my 12x12 sheet.
Next sand one side of your acrylic as much as you’d like, I used 120,150,180 grit. I’m not sure if sanding both sides would be necessary or useful.
Next measure and mark your acrylic for drilling holes. We’re going to use the existing screw holes that are on the light for mounting the standoffs, the screws that come with the light are too short however. I believe I measured and marked my holes at 6 5/8” x 4 3/4”.
Next VERY CAREFULLY drill your holes. This was the most tedious part to me. Definitely practice on a scrap piece of acrylic as this stuff likes to chip and crack. I’m told using drill bits meant for acrylic makes this much easier. What I did to prevent cracking was start with a 3mm bit and work up to 8.5mm. It was a huge pain but got me where I wanted. I made the holes a little big because my measurements were rough.
Here’s mine just before mounting.
Mounting the diffuser is straight forward. Remove the old screws from your light fixture and use the new ones to mount the base of the standoffs, next place your diffuser and screw in the tops to the standoffs and you’re good to go.
Lastly I increased my light settings by 15% (e.g. 75 became 87%).
Hope this was useful!
(Excuse my cyano)
As an Amazon Associate we earn from qualifying purchases.