If you've never run one or maybe never even heard of one, check out this thread:
https://www.reef2reef.com/threads/diatom-filter-for-treating-external-parasites.212429/
These have been around forever. They produce sparkling clear water, remove free parasites, and don't interfere with water chemistry or medications.
You can still find some of the old vortex filters online - many of those who know of them swear by them (and at them at times) If your in a pinch - sick fish - velvet or ich - this is the only in-tank treatment that is proven to work. (Ok - if you don't believe it - read up on the other thread.)
What you will need:
A salinity sant bucket with the screw on lid and the gasket in place.
A high flow submersible pump - the higher the lift the better.
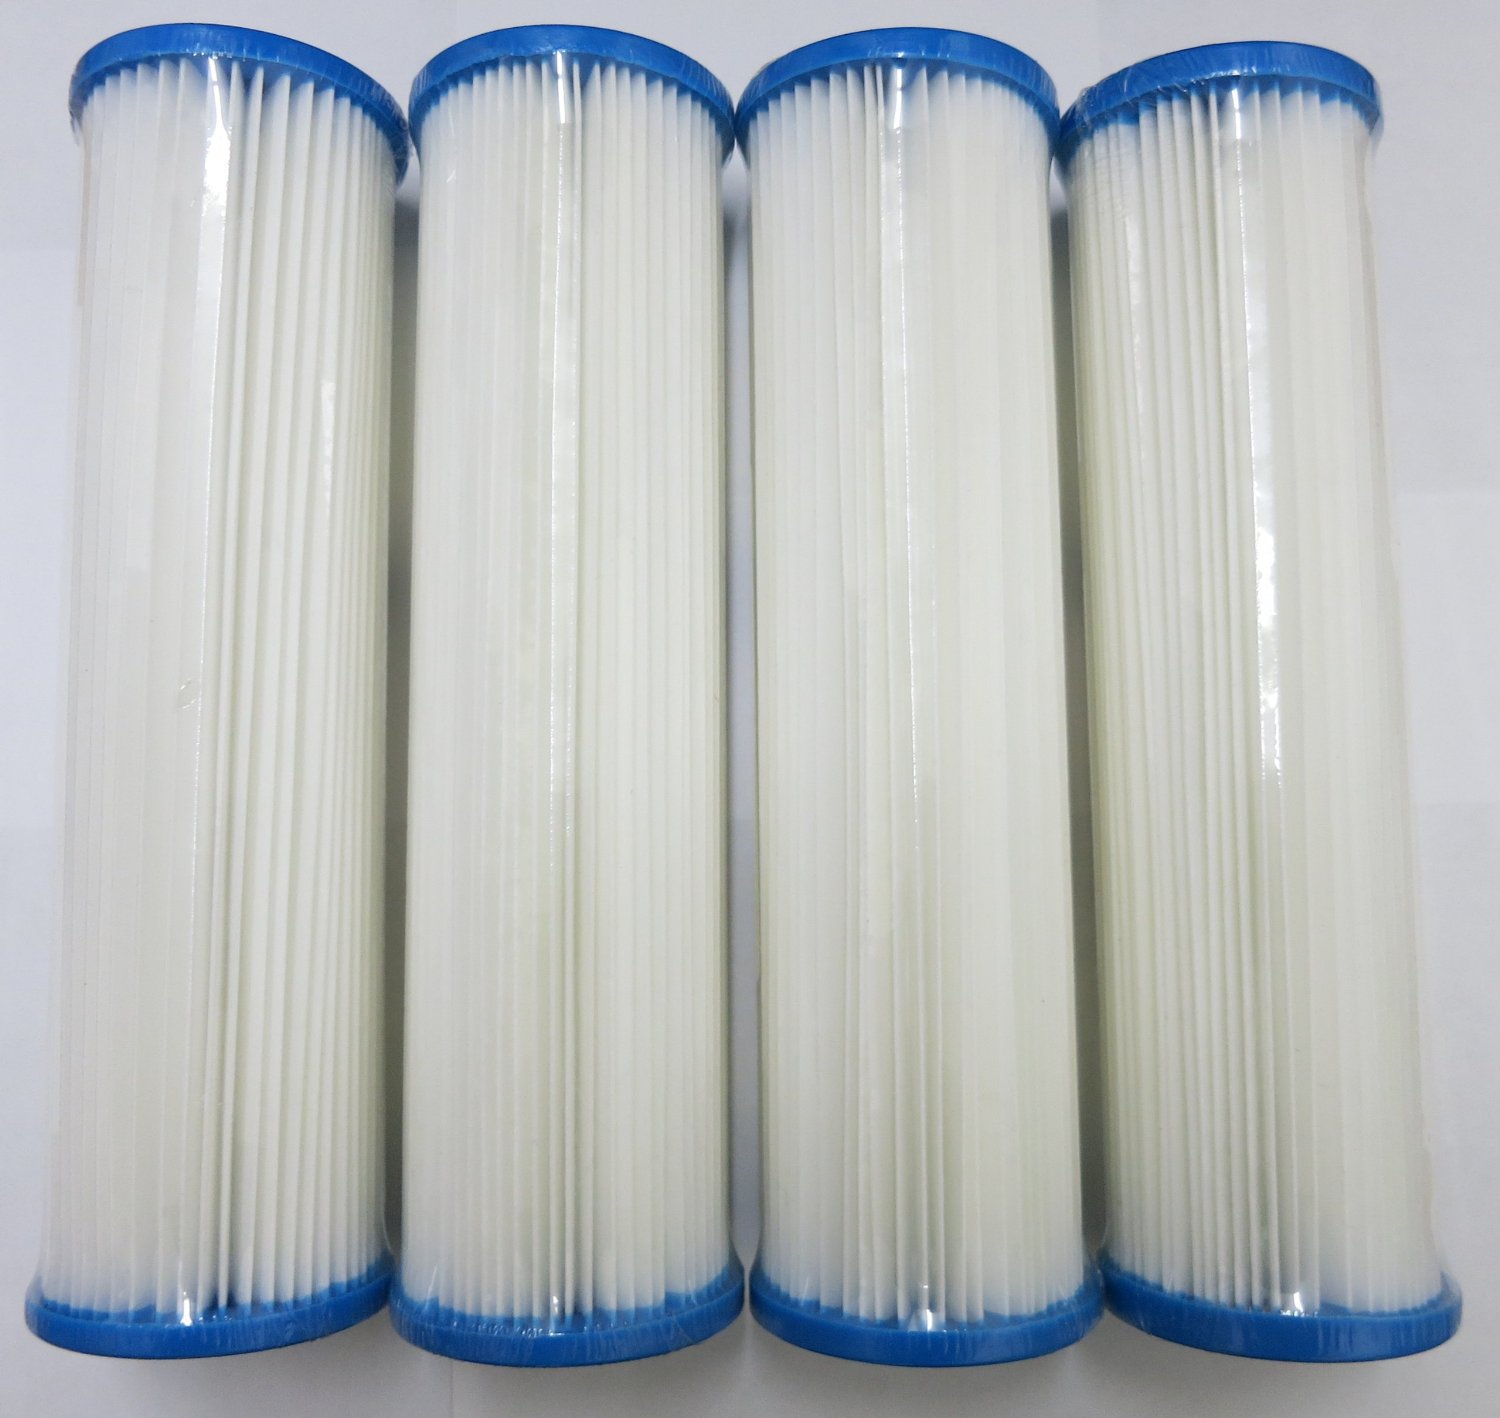
A water filter pleated paper cartridge.
Some fittings, pvc and and three bulkheads.
Some epoxy putty - otay is good.
For this build I hunted around the garage and found what I needed...If you don'h have exactly what I have, don't sweat it - make due with what you have.
The pleated paper filter goes to a water filter or small above ground pool (walmart/home depot) - the only requirement is that if fits easily inside the bucket with the lid on when attached to the submersible pump.
I'm using an old odyssea pump. Its cheap - new ~$28 dollars. Its label says 1325 gph and 4.5 m lift, but I'm skeptical. I figure its closer to 750 gph when plumbed.
The pleated filter has ~1" holes in each end that can be screwed to 3/4" fittings. They are not threaded - but if you need to snug them up - wrap with some silicon tape or teflon tape - whatever you have - works.

Plug one end of the pleated filter with a 3/4" pvc plug.
The other end use a 3/4" thread to slip fitting and a short piece of 3/4" pvc to mate to the fitting screwed into the pump - again tape to make snug.
I'm using a threaded male 3/4" (90 to slip) to come out of the pump - again use what you have to attach the filter to the "INTAKE" of the pump. But just ake sure it will all fit in the bucket with the pleated filter completely submerged - this is important. The pleated filter must remain underwater at all times while running.

Now mate the filter to the intake of the pump.

Ok - no glue is required - this is the intake of the pump so its going to "suck" together as it runs, still stuff needs to be snug. Plug is in the top of the filter.
Now I had an old flex hose that fit 3/4" pvc perfectly - I cut it so that when attached to the pump it extened to the top of the pleated filter cartidge. This slip on flex tube is really what you want here - but again do what you have to...rember this is the outflow so things need to be snug so as to not come apart under pressure.
Finished assembly:

Now the top -

Two 3/4" (internal) bulkheads and one 1" internal bulkhead.
I was being lazy and added the 1" bulhead because the plug went through it without cutting the cord. I didn't have a washer for it so I cut one out of some old neophrene I had.
Sill, you can't have a hole where the cord exits - so I filled around the cord with otay epoxy putty.

Pack it in tight - no gaps and hurry before it sets up...This won't leak...If you don't have the bulkheads you can use only 1 type of glue with any chance of success. See my post here:
https://www.reef2reef.com/threads/how-to-glue-polyethylene-hdpe-ldpe.211986/
Alright, the pump assembly is done - the lid is wired - put them together - you'll need to cut a length of 3/4" pvc to connect the bulkhead to the flex hose on the pump. again - no glue required unless you just want to.
Close it up - tight - when you think its tight twist some more....The sality buckets are great for this as they have that ratcheting seal and thumb release.

Done - Next we will add the plumbing to the top and test it.
Its dark here - so I'll show you how to connect it up and charge it in the morning.
Any questions - chime in - I'll explain what isn't clear (I hope)
https://www.reef2reef.com/threads/diatom-filter-for-treating-external-parasites.212429/
These have been around forever. They produce sparkling clear water, remove free parasites, and don't interfere with water chemistry or medications.
You can still find some of the old vortex filters online - many of those who know of them swear by them (and at them at times) If your in a pinch - sick fish - velvet or ich - this is the only in-tank treatment that is proven to work. (Ok - if you don't believe it - read up on the other thread.)
What you will need:
A salinity sant bucket with the screw on lid and the gasket in place.
A high flow submersible pump - the higher the lift the better.
A water filter pleated paper cartridge.
Some fittings, pvc and and three bulkheads.
Some epoxy putty - otay is good.
For this build I hunted around the garage and found what I needed...If you don'h have exactly what I have, don't sweat it - make due with what you have.
The pleated paper filter goes to a water filter or small above ground pool (walmart/home depot) - the only requirement is that if fits easily inside the bucket with the lid on when attached to the submersible pump.
I'm using an old odyssea pump. Its cheap - new ~$28 dollars. Its label says 1325 gph and 4.5 m lift, but I'm skeptical. I figure its closer to 750 gph when plumbed.
The pleated filter has ~1" holes in each end that can be screwed to 3/4" fittings. They are not threaded - but if you need to snug them up - wrap with some silicon tape or teflon tape - whatever you have - works.
Plug one end of the pleated filter with a 3/4" pvc plug.
The other end use a 3/4" thread to slip fitting and a short piece of 3/4" pvc to mate to the fitting screwed into the pump - again tape to make snug.
I'm using a threaded male 3/4" (90 to slip) to come out of the pump - again use what you have to attach the filter to the "INTAKE" of the pump. But just ake sure it will all fit in the bucket with the pleated filter completely submerged - this is important. The pleated filter must remain underwater at all times while running.
Now mate the filter to the intake of the pump.
Ok - no glue is required - this is the intake of the pump so its going to "suck" together as it runs, still stuff needs to be snug. Plug is in the top of the filter.
Now I had an old flex hose that fit 3/4" pvc perfectly - I cut it so that when attached to the pump it extened to the top of the pleated filter cartidge. This slip on flex tube is really what you want here - but again do what you have to...rember this is the outflow so things need to be snug so as to not come apart under pressure.
Finished assembly:
Now the top -
Two 3/4" (internal) bulkheads and one 1" internal bulkhead.
I was being lazy and added the 1" bulhead because the plug went through it without cutting the cord. I didn't have a washer for it so I cut one out of some old neophrene I had.
Sill, you can't have a hole where the cord exits - so I filled around the cord with otay epoxy putty.
Pack it in tight - no gaps and hurry before it sets up...This won't leak...If you don't have the bulkheads you can use only 1 type of glue with any chance of success. See my post here:
https://www.reef2reef.com/threads/how-to-glue-polyethylene-hdpe-ldpe.211986/
Alright, the pump assembly is done - the lid is wired - put them together - you'll need to cut a length of 3/4" pvc to connect the bulkhead to the flex hose on the pump. again - no glue required unless you just want to.
Close it up - tight - when you think its tight twist some more....The sality buckets are great for this as they have that ratcheting seal and thumb release.
Done - Next we will add the plumbing to the top and test it.
Its dark here - so I'll show you how to connect it up and charge it in the morning.
Any questions - chime in - I'll explain what isn't clear (I hope)
Last edited: