GleamRail, the successor to LEDBrick

OP
OP
theatrus

theatrus

Valuable Member
View Badges
Joined
Mar 26, 2016
Messages
1,957
Reaction score
3,355
Location
Sacramento, CA area
Rating - 0%
0   0   0
What does it cost to do a small run of custom PCB's these days?
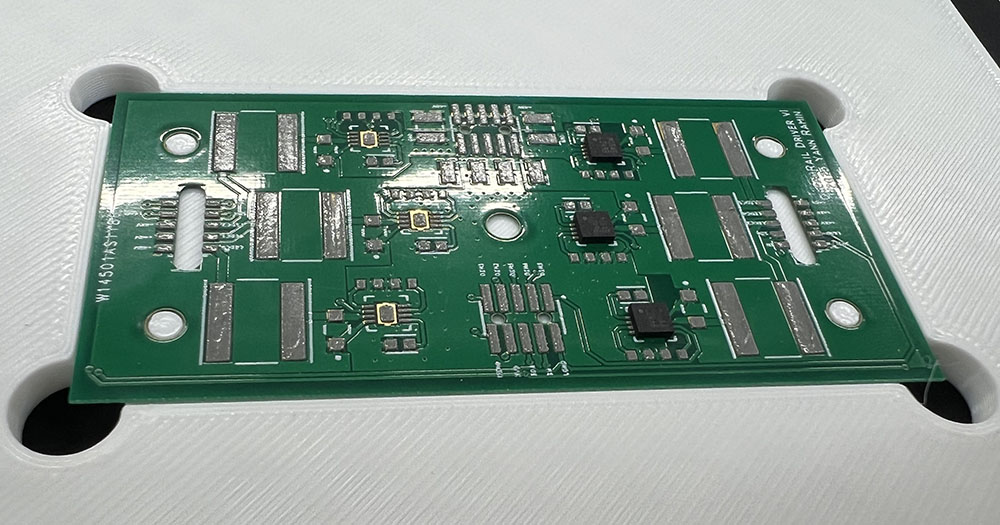
Shockingly cheap. If I wanted boards this size in standard thickness (1.6mm), and would be ok with no ENIG, we’re talking $5 for 10-20 of them (total), plus $40 DHL.

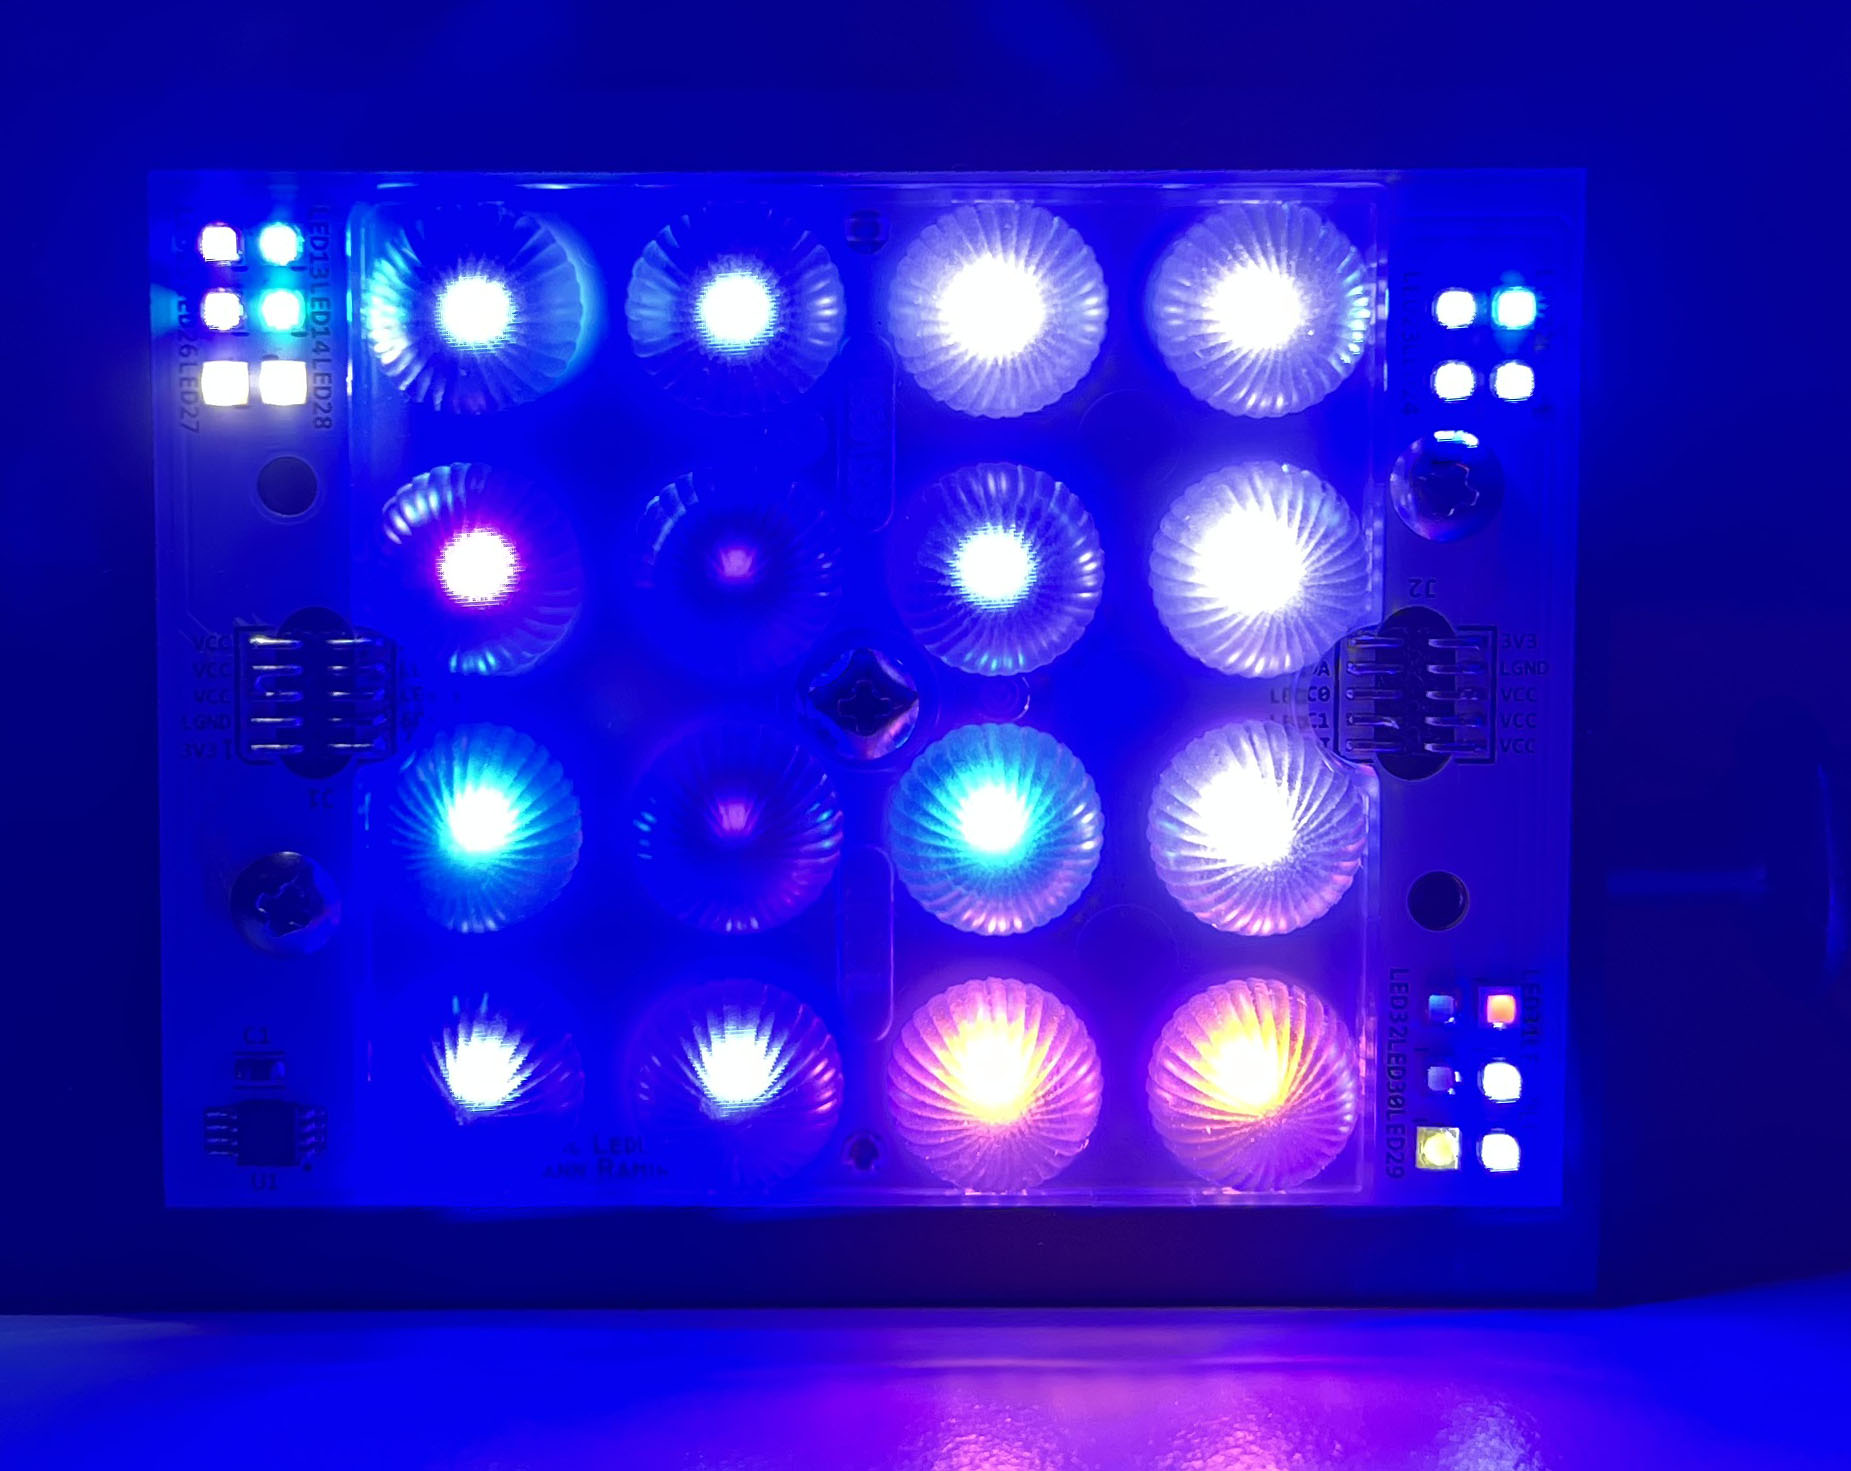
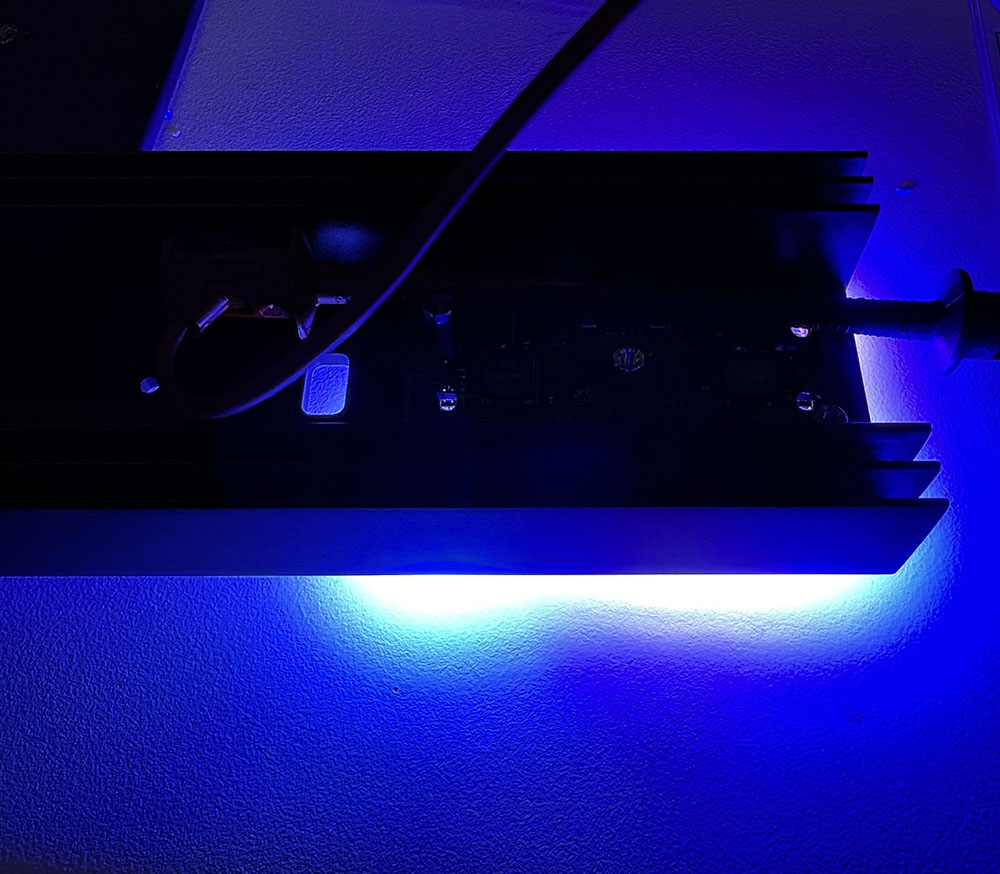
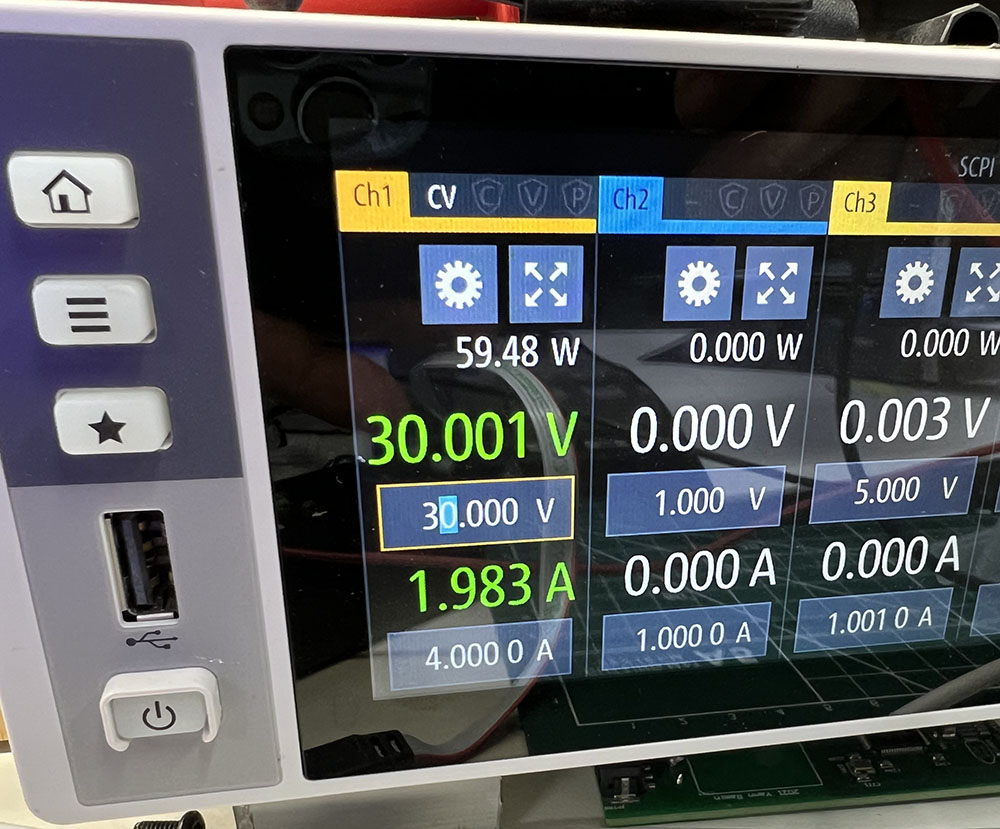
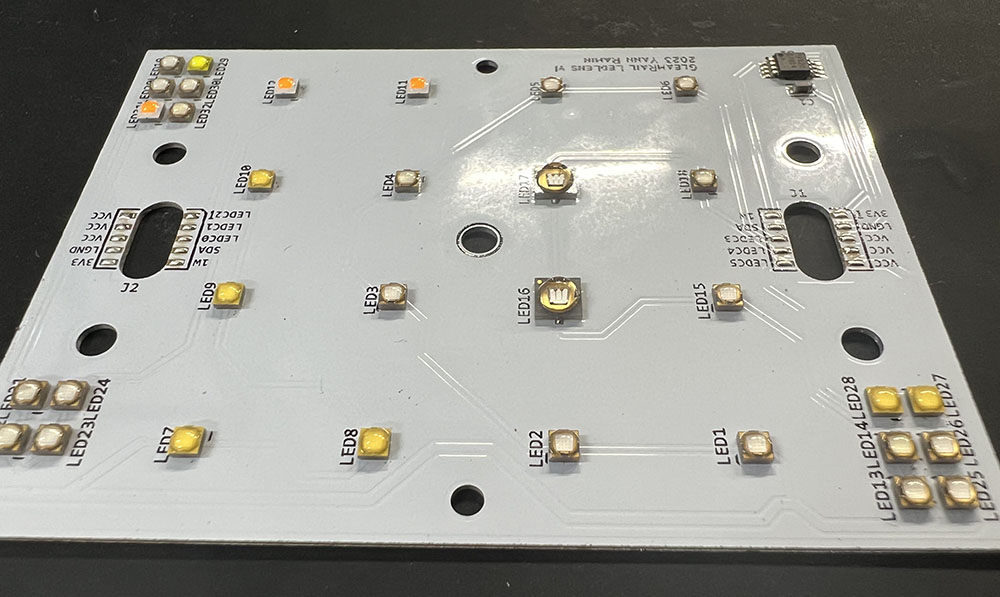
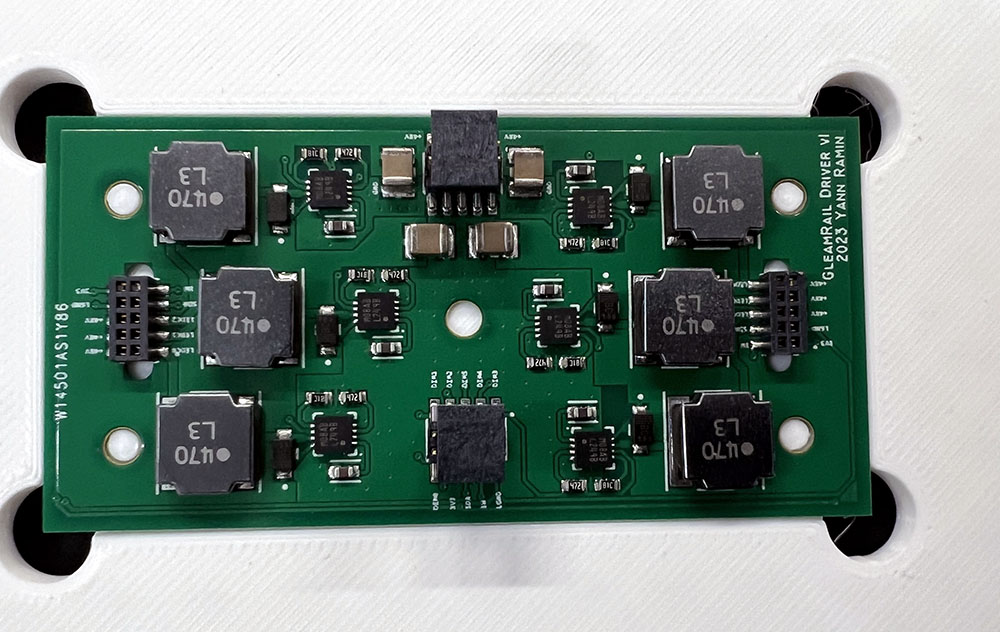
These were quite a bit more (20 each design plus shipping for about $220) since they’re a very thin design (0.4mm driver 0.6mm LED), high-K aluminum dielectric, and ENIG. I could spend even more and do copper boards with direct thermal pads to the LEDs. These were from PCBWay, as well as the CNCed heatsinks :)

A lot of the cost is also NRE and special runs, which is why the cheapo boards are so cheap from JLCPCB (all the batching is already built in).

Ordering 10x as many boards the price per board drops massively (10x boards for 2-3x cost), up to a point.
 

Steven Garland

Valuable Member
View Badges
Joined
Sep 10, 2016
Messages
2,032
Reaction score
1,418
Location
Sanford,Florida
Rating - 0%
0   0   0
So how much for the replacement NanoBox arrays and how much would one of the Gleam arrays cost and what is the diode layout/channel wise ?
 
OP
OP
theatrus

theatrus

Valuable Member
View Badges
Joined
Mar 26, 2016
Messages
1,957
Reaction score
3,355
Location
Sacramento, CA area
Rating - 0%
0   0   0
So how much for the replacement NanoBox arrays and how much would one of the Gleam arrays cost and what is the diode layout/channel wise ?
Nanobox? TBD. I'll break out a thread for it.

Gleamrail layout is above, but its a pretty custom setup (aka, you'll need to machine a matching heatsink). I'm not really intending for this design to go beyond a few personal builds.
 

Steven Garland

Valuable Member
View Badges
Joined
Sep 10, 2016
Messages
2,032
Reaction score
1,418
Location
Sanford,Florida
Rating - 0%
0   0   0
Okay,I really am waiting on a price to see if its justifiable to replace my existing 4 arrays.

Well,it would fit on a 6"x6" makers slimsink,no ?
 
OP
OP
theatrus

theatrus

Valuable Member
View Badges
Joined
Mar 26, 2016
Messages
1,957
Reaction score
3,355
Location
Sacramento, CA area
Rating - 0%
0   0   0
Back into GleamRail land. I built the first driver/LED pair, and had first light.

run2.jpg

run1.jpg


This runs at about 58W now with all channels at ~700mA

psu1.jpg


First off, the LED build. I actually used the PnP for this. I forgot how much of a general pain cheap PnPs are... you can see all the mispicks and lost LEDs :)

pnp1.jpg


Anyway, it makes a nice LED board. The connectors were added by hand later.

led1.jpg


The driver was hand placed (not many unique parts). The little holder here is a 3d printed piece for aligning stencils, but also was useful holder for assembling.

driver1.jpg

driver2.jpg
 

Steven Garland

Valuable Member
View Badges
Joined
Sep 10, 2016
Messages
2,032
Reaction score
1,418
Location
Sanford,Florida
Rating - 0%
0   0   0
Can these be used with just ldd's correct ? And what size is that board,I wanna say your sink measured like 2"-2.5" wide,right ?
 
OP
OP
theatrus

theatrus

Valuable Member
View Badges
Joined
Mar 26, 2016
Messages
1,957
Reaction score
3,355
Location
Sacramento, CA area
Rating - 0%
0   0   0
2x2.7in. And yes, its just LEDs, but the headers are 0.05" (not the standard 0.1"). YMMV.

The board is laid out to assume a common anode driver (like the LM3414), so this is a weird exception case where other drivers, like LDDs, will not work.

The pinout is mirrored and allows 3 channels on each side with an on board sensor of some flavor. Note the joined VCC rail:

1678329427363.png


LED boards can be stacked in either direction (not keyed in any way), except for getting different colors on every channel.
 

oreo54

5000 Club Member
View Badges
Joined
Sep 18, 2017
Messages
5,602
Reaction score
3,448
Rating - 0%
0   0   0
Fun electronics lesson...
 

Attachments

  • slvaef3.pdf
    868.8 KB · Views: 38
OP
OP
theatrus

theatrus

Valuable Member
View Badges
Joined
Mar 26, 2016
Messages
1,957
Reaction score
3,355
Location
Sacramento, CA area
Rating - 0%
0   0   0
I understood...NONE of that lol.


TLDR, you need a driver that doesn't need to connect to both sides of the LED chain. LDD needs a path from Power -> Driver -> LED + -> LED - -> Driver -> Ground, whereas the "common anode" drivers just go Power -> LED + -> LED - -> Driver -> Ground
 

danielch2008

Community Member
View Badges
Joined
Feb 9, 2023
Messages
80
Reaction score
1
Location
Brazil
Rating - 0%
0   0   0
Eu tenho 4 discos de leds que consomem 700mA, qual placa controladora posso usar com meus ldds? Ou melhor alguma outra forma sem ldds?
 
OP
OP
theatrus

theatrus

Valuable Member
View Badges
Joined
Mar 26, 2016
Messages
1,957
Reaction score
3,355
Location
Sacramento, CA area
Rating - 0%
0   0   0
You may be wondering, what happened?

Well, a lot of vacation. But I'm back on it. I've been experimenting with the 3d printed case work here, and still developing what I want.

I also need to finish up the design of the dimmer/control board. Soon.
 

Creating a strong bulwark: Did you consider floor support for your reef tank?

  • I put a major focus on floor support.

    Votes: 57 40.7%
  • I put minimal focus on floor support.

    Votes: 29 20.7%
  • I put no focus on floor support.

    Votes: 49 35.0%
  • Other.

    Votes: 5 3.6%
Back
Top