I've been talking about this 180 for well over a year. Its been a major project mostly because I could never decide what I wanted exactly. The tank itself was the biggest problem because I wanted to go custom but couldn't justify the price difference. Its also been a slow process with how freakin expensive all the equipment is.
I'm going to be transfer all of the livestock from my 90 gallon over to the new big tank. I have new special grade sand that I will be adding to the new tank, but other then that all the livestock is coming from the new tank. I'm also going to be using DDH2ocean salt for this tank.
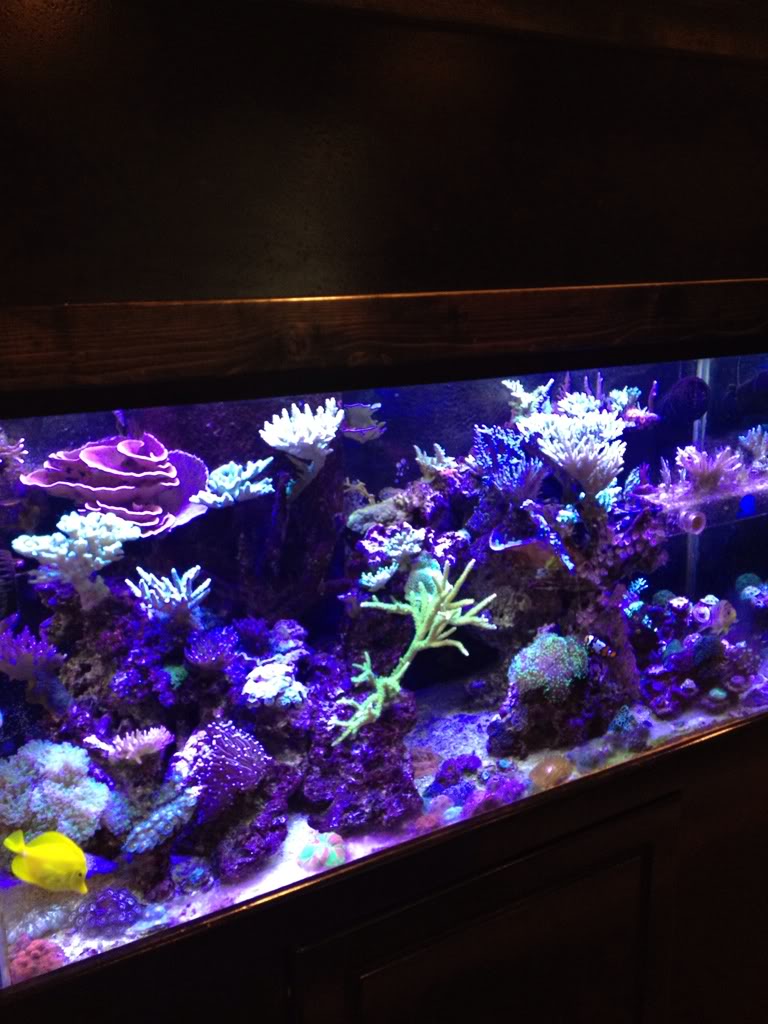
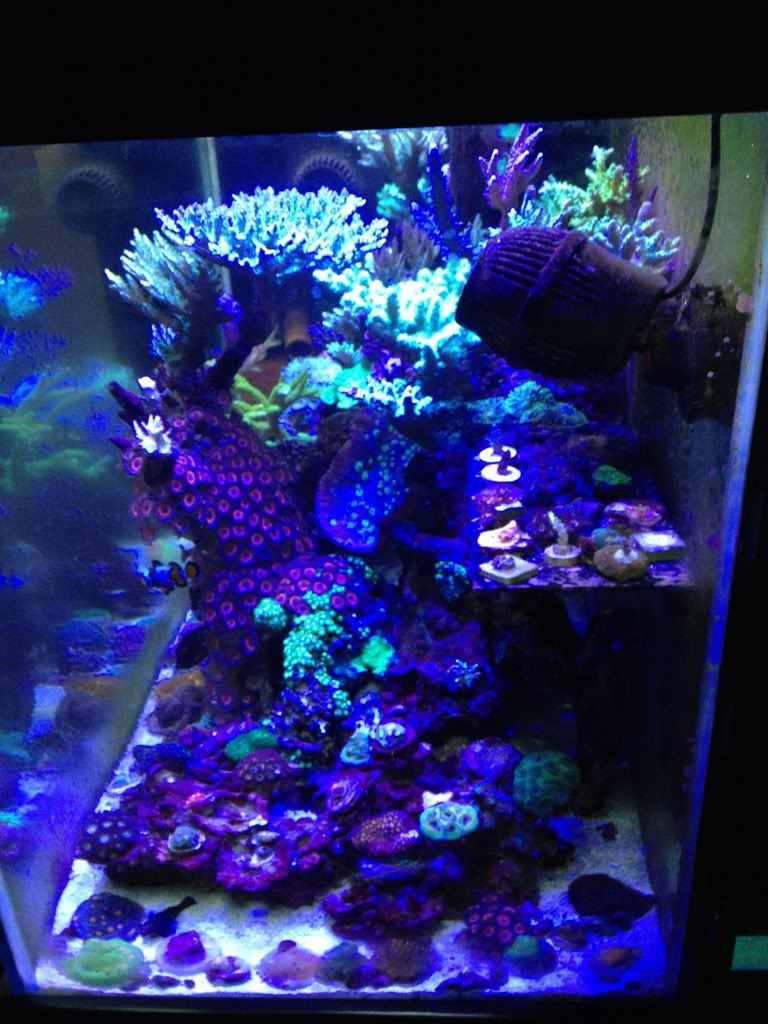
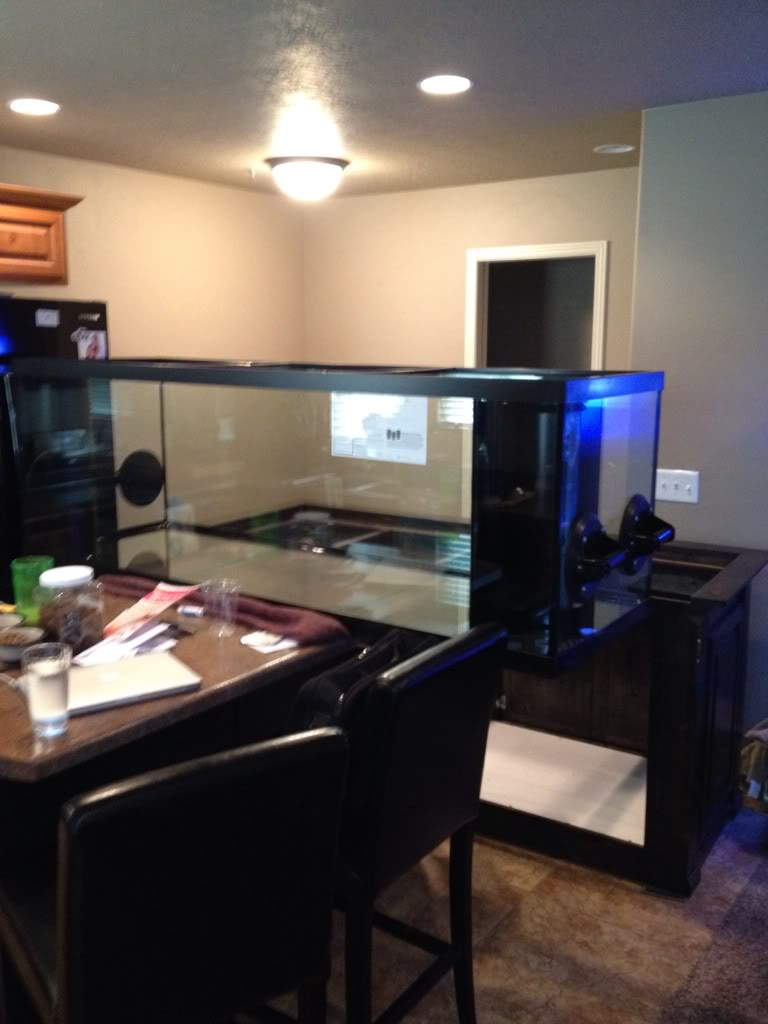
Here are a couple pics of the 90.

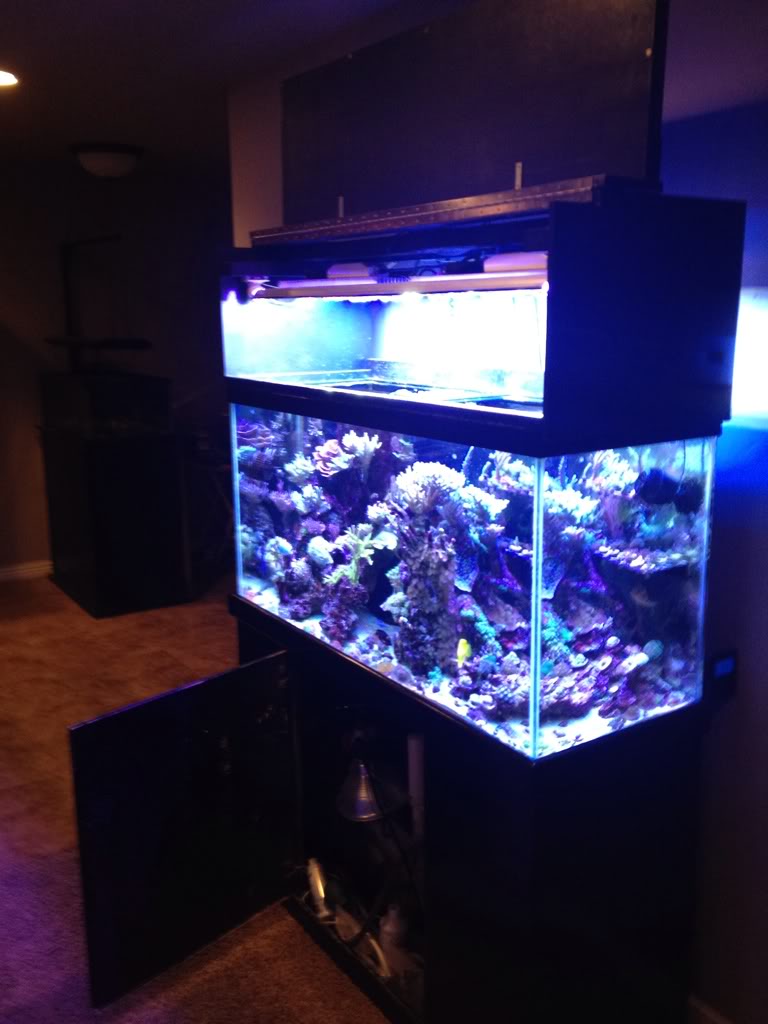
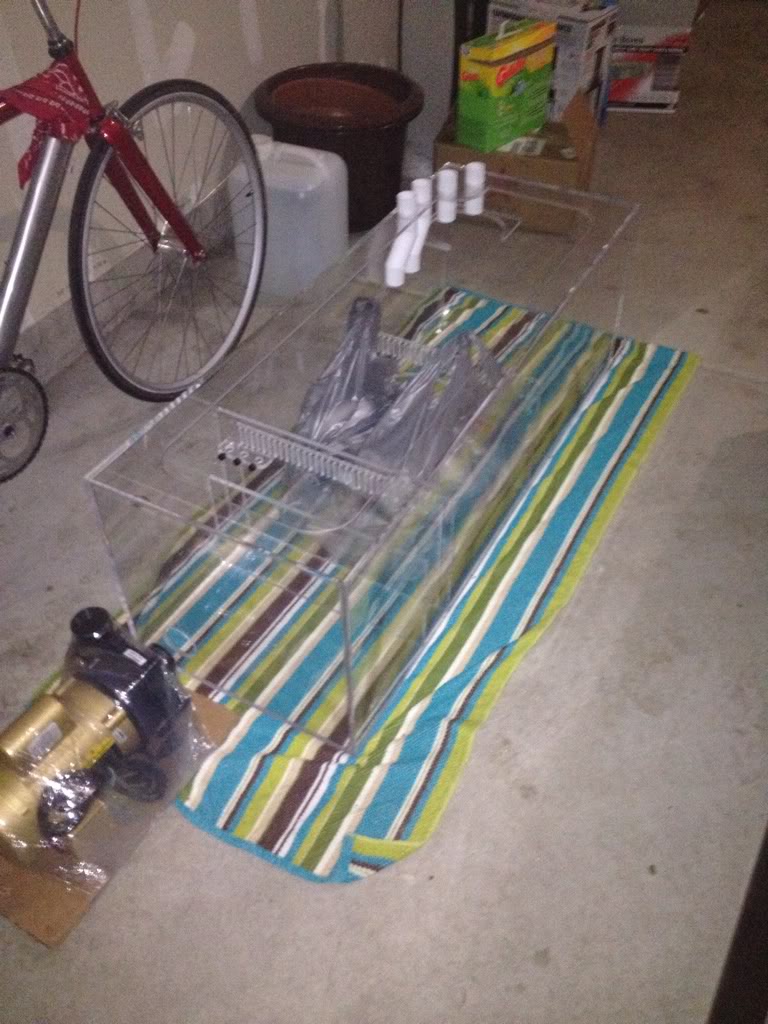
Right now I have just the tank and stand sitting in the middle of my house waiting to be plumbed in the next few days.
Tank Dimensions
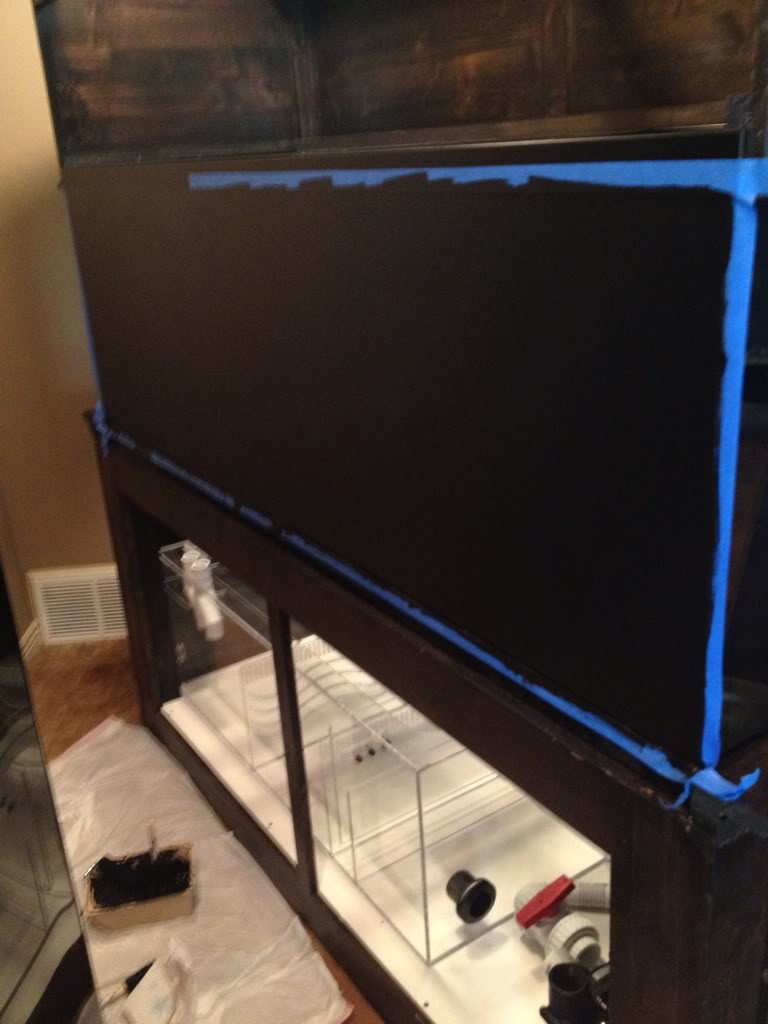
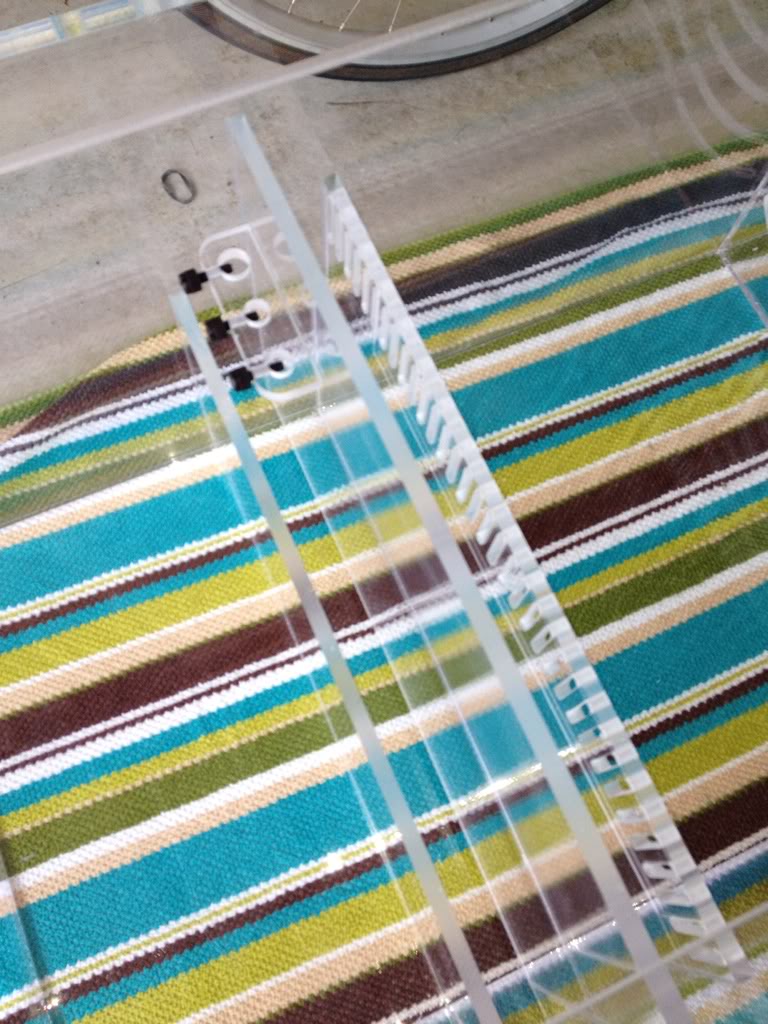
72x24x24 Marine land corner flow tank with black silicon.
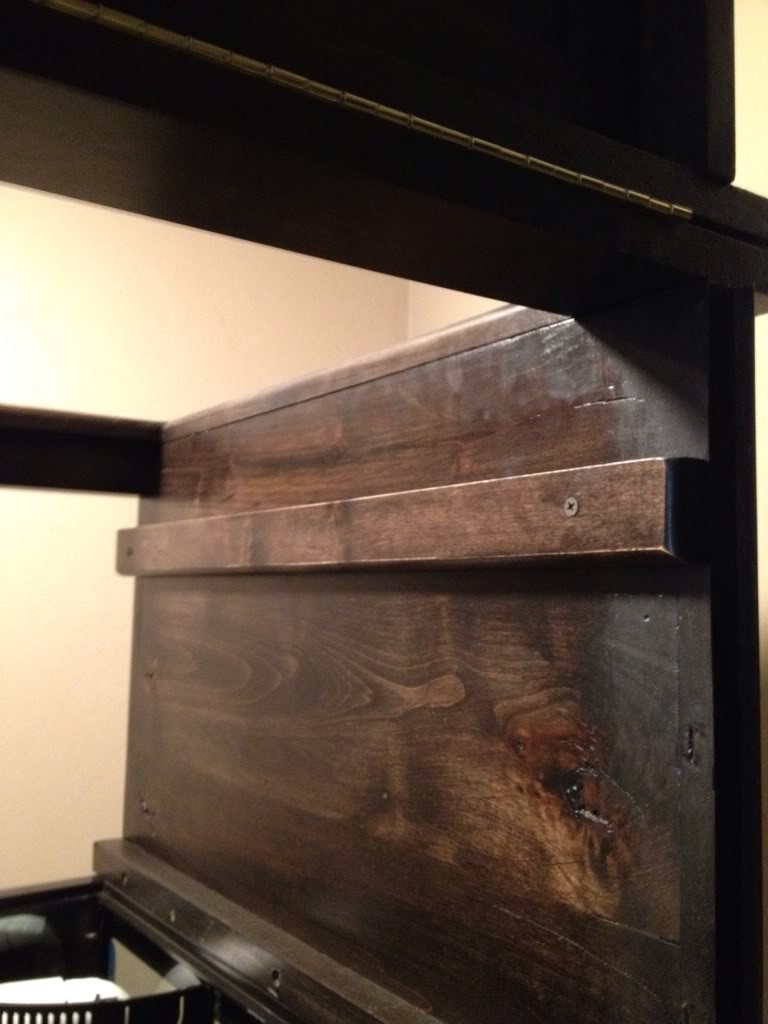
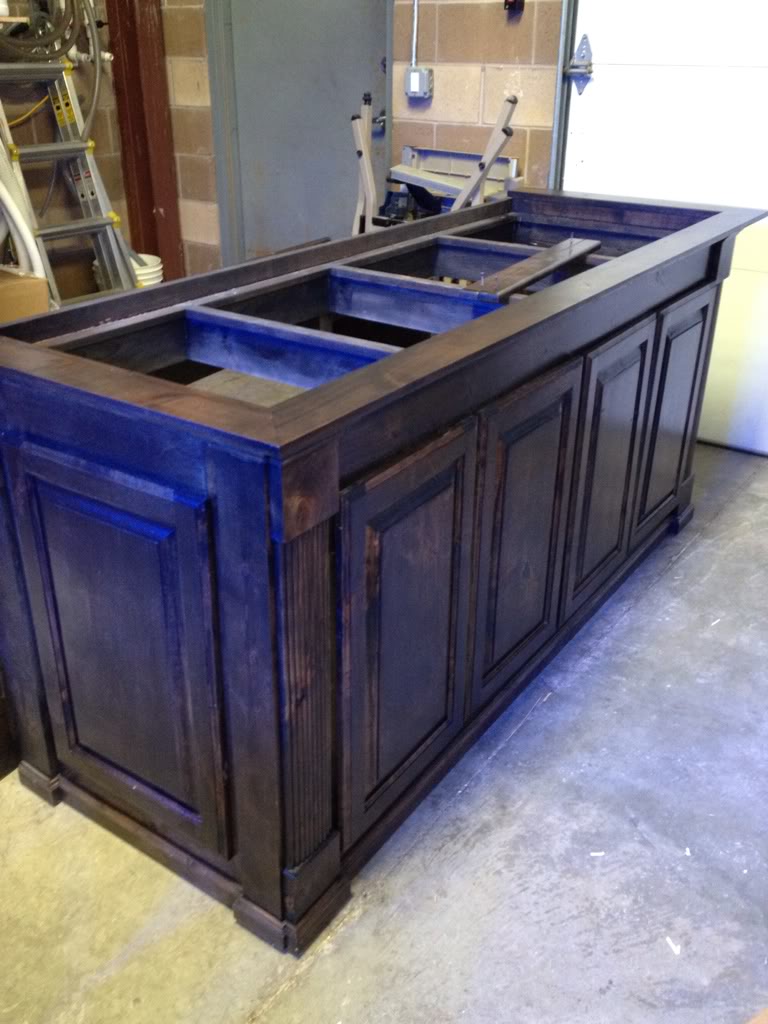
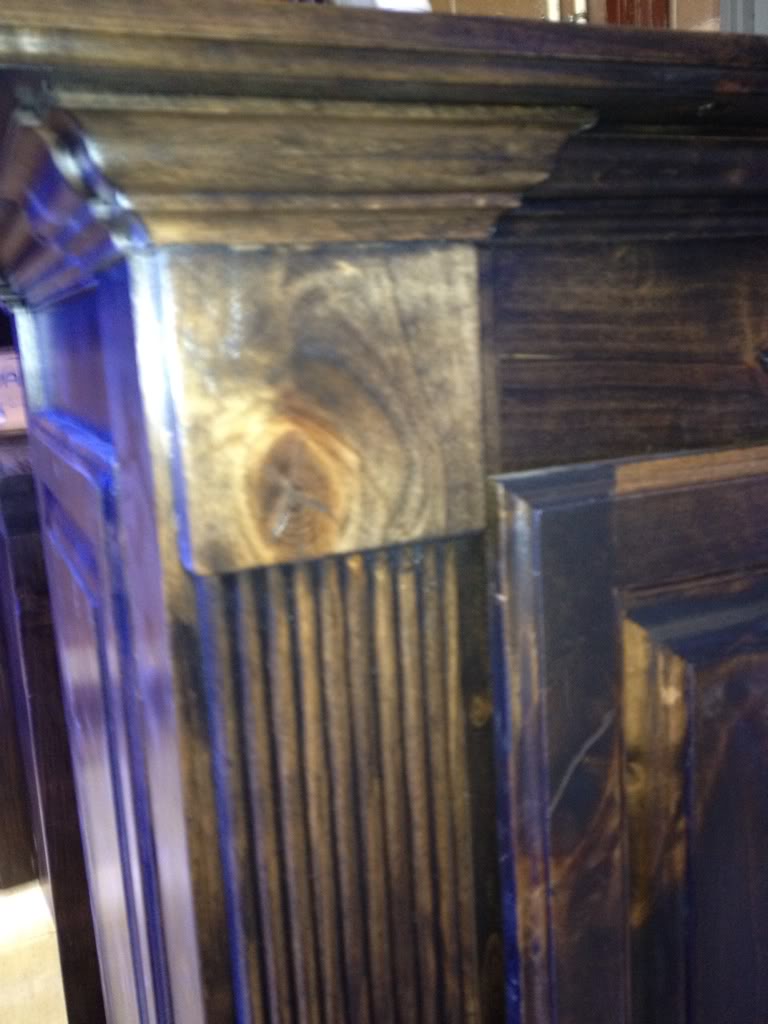
Custom Large Black knotty alder stand and canopy. This thing is huge and beautiful. Its 7.5 feet tall, 81inches wide, and 29 inches deep. It also has 4 big doors in front, and also doors on each end.

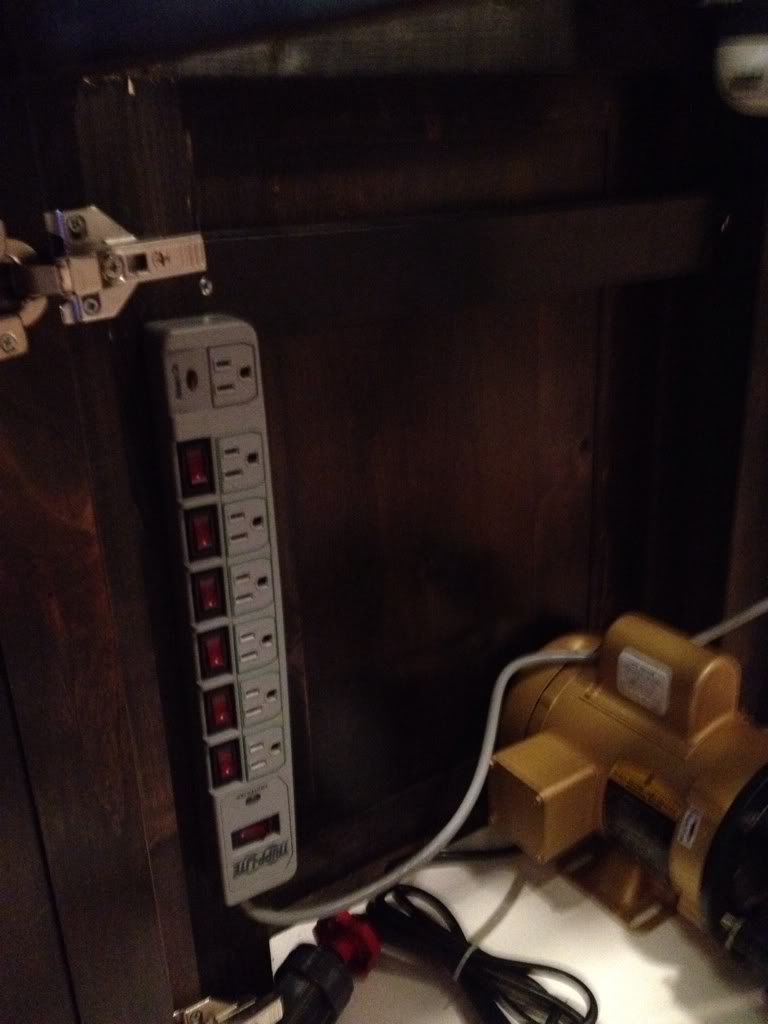
Equipment
2 mp40Wes
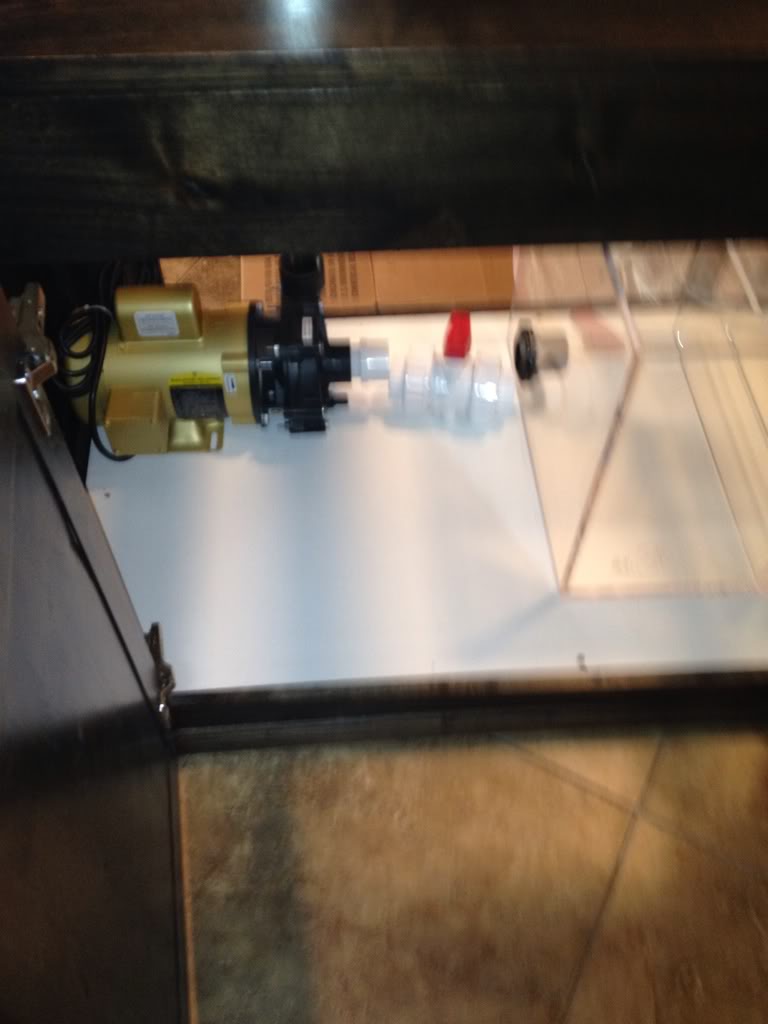
Reefo Barracuda return Pump
Emperor 40 watt UV
2 BRS deluxe Media Reactors
Elite Aquatics Skimmer
Apex Controler
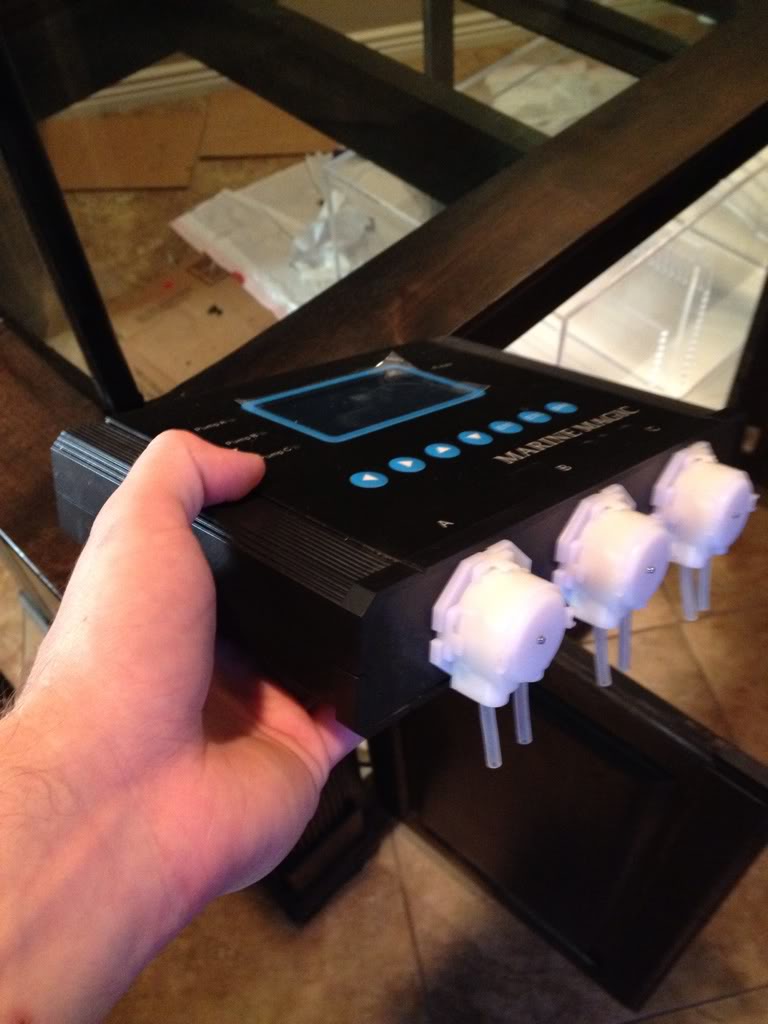
Marine Magic 3 pump Dosing pump. I will be dosing BRS two part.
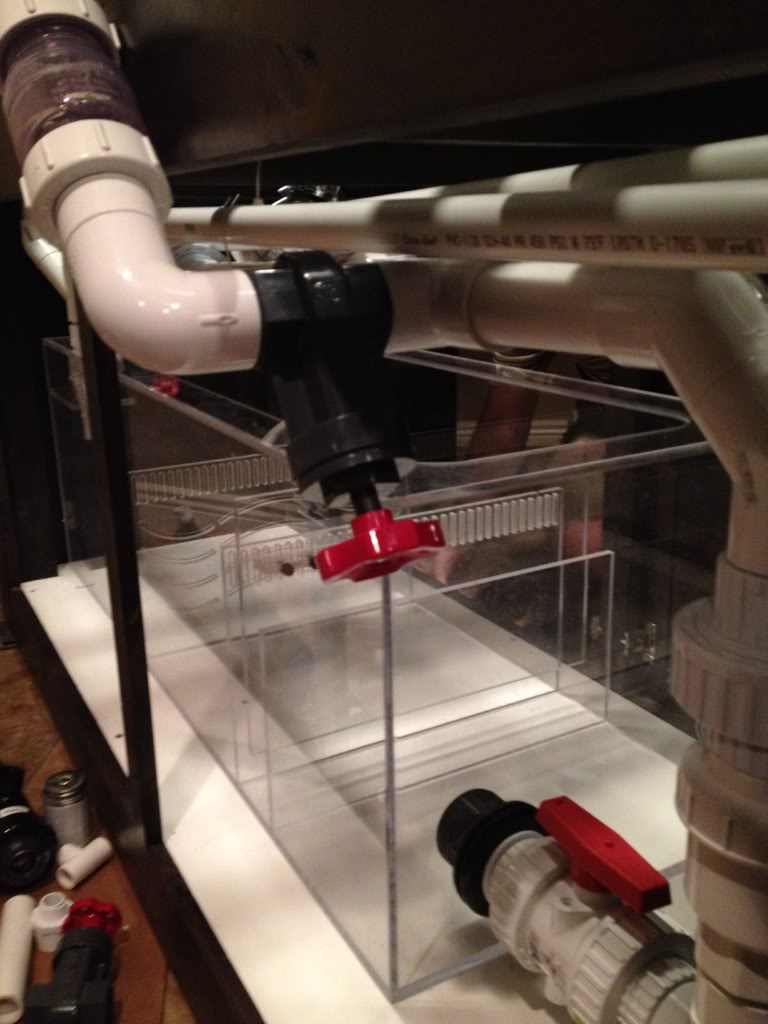
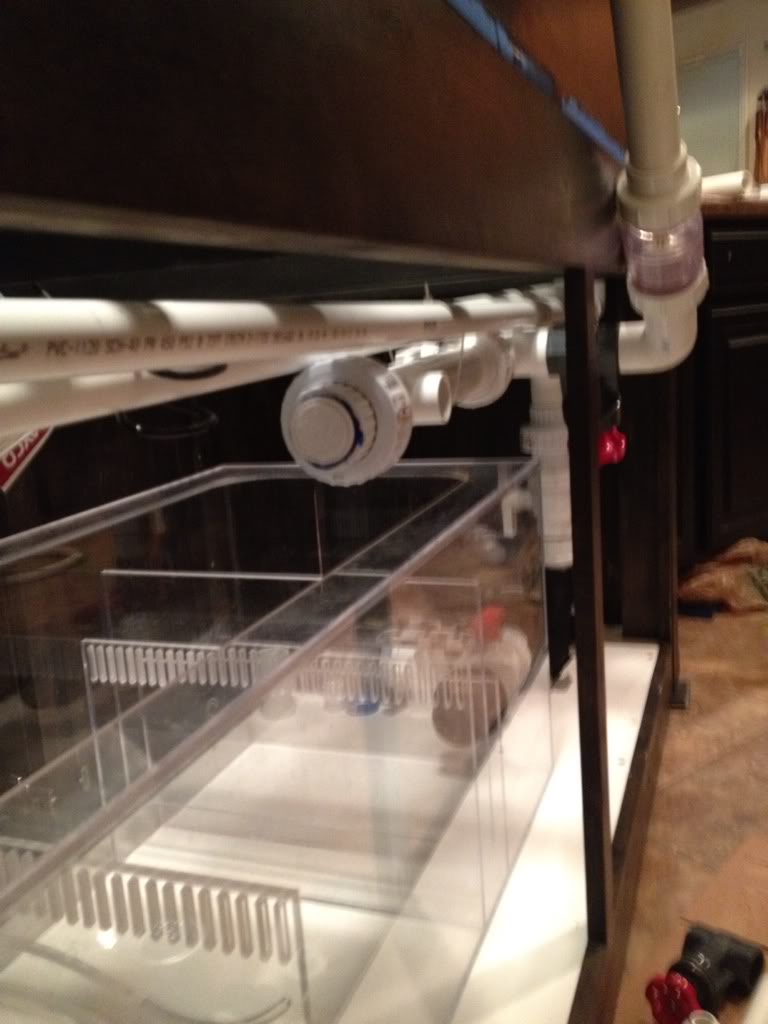
M3 model Elite Aquatics sump with 4 drains lines, baffles that are further apart to accomidate the larger return pump, and also probe holders.
Lighting
3 60watt Retro fit t5s. Bulbs are one ATI Blue + in the back, and one ATI purple + and another ATI Blue + in the front.
I will be moving my 2 DIY LED fixtures over to the new tank for the time being but I plan to make 3 new DIY fixtures, or buy the Vegas. I'm waiting to see how the Vega looks in person before I decide which way i'm going.
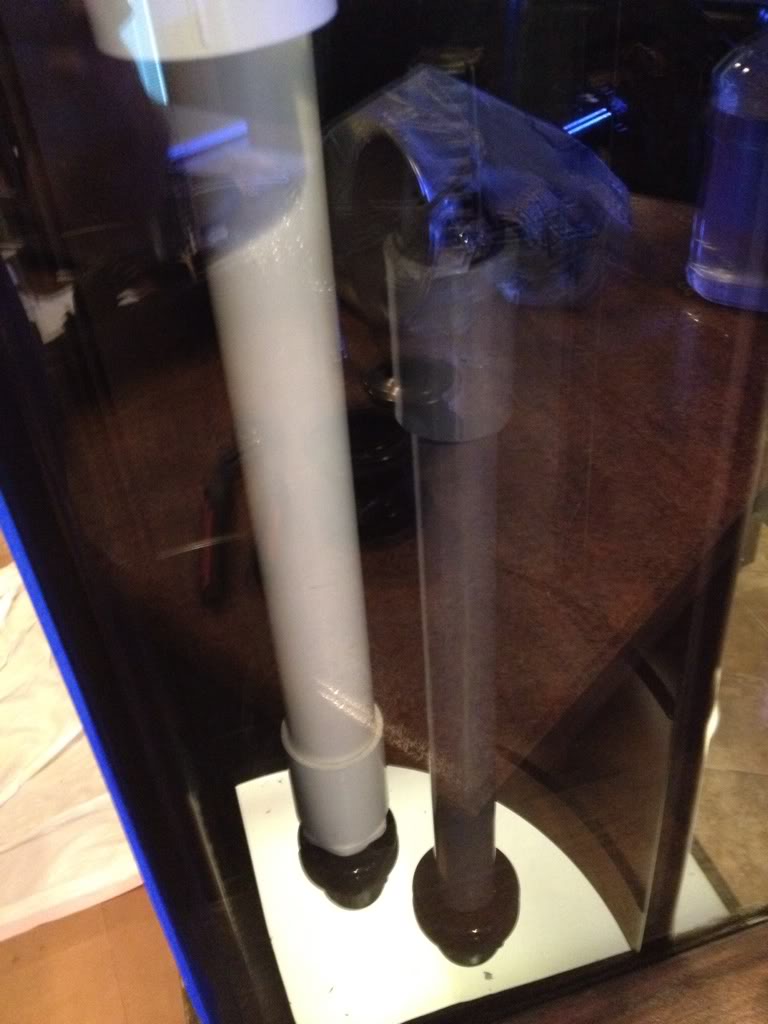
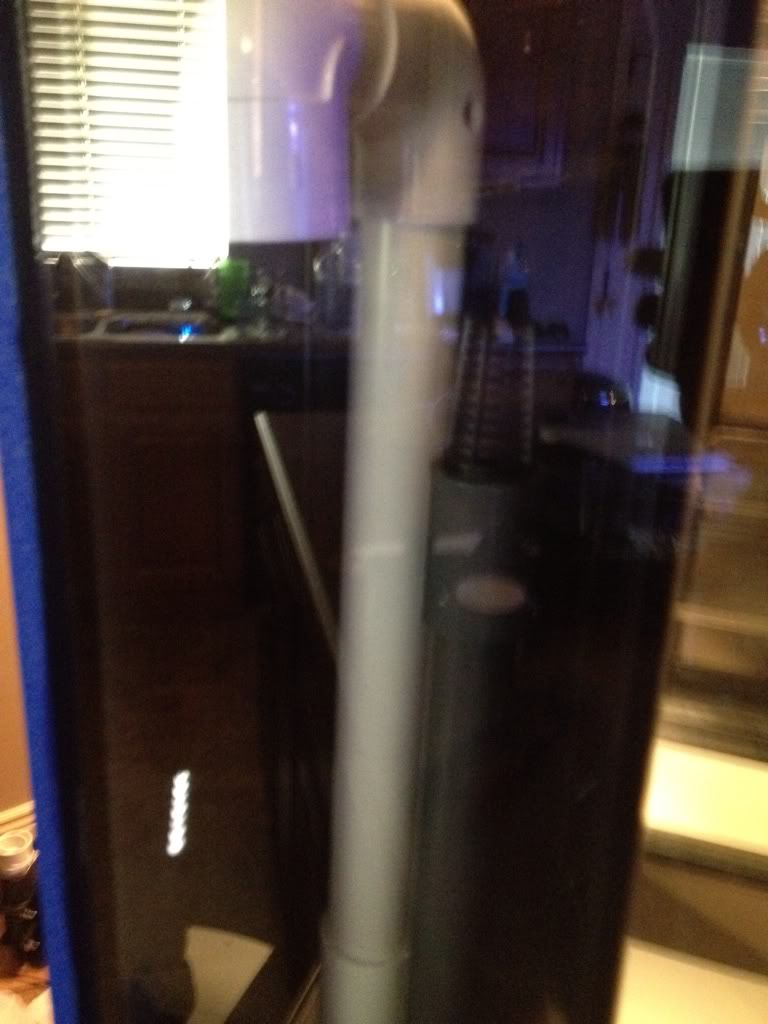
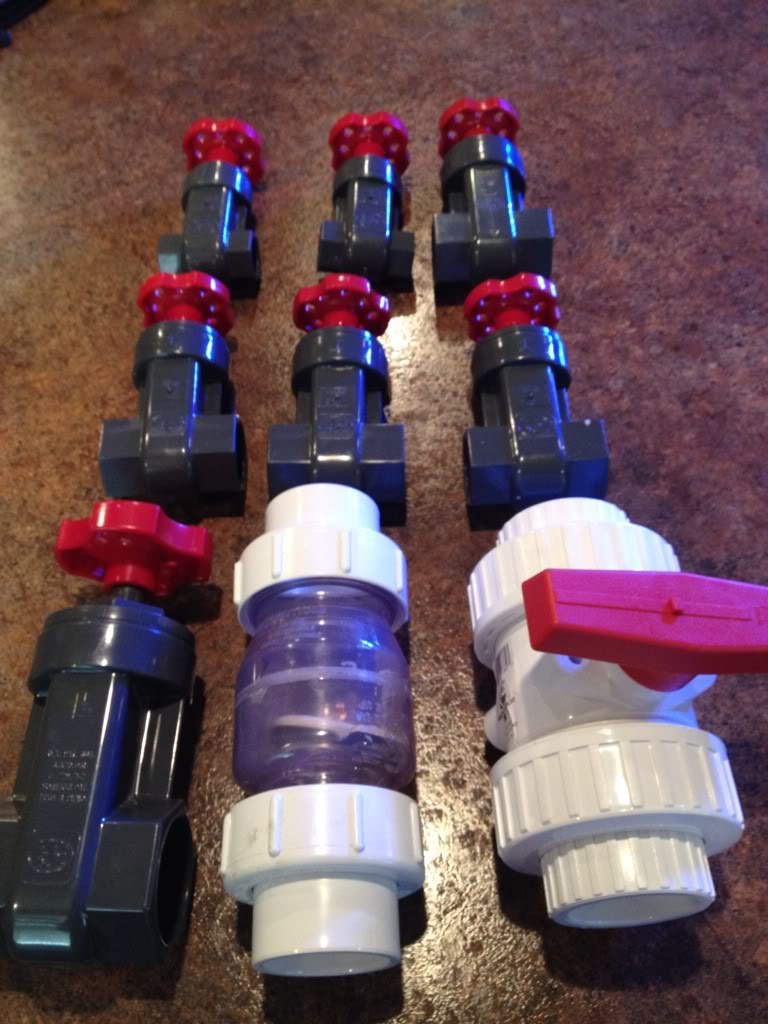
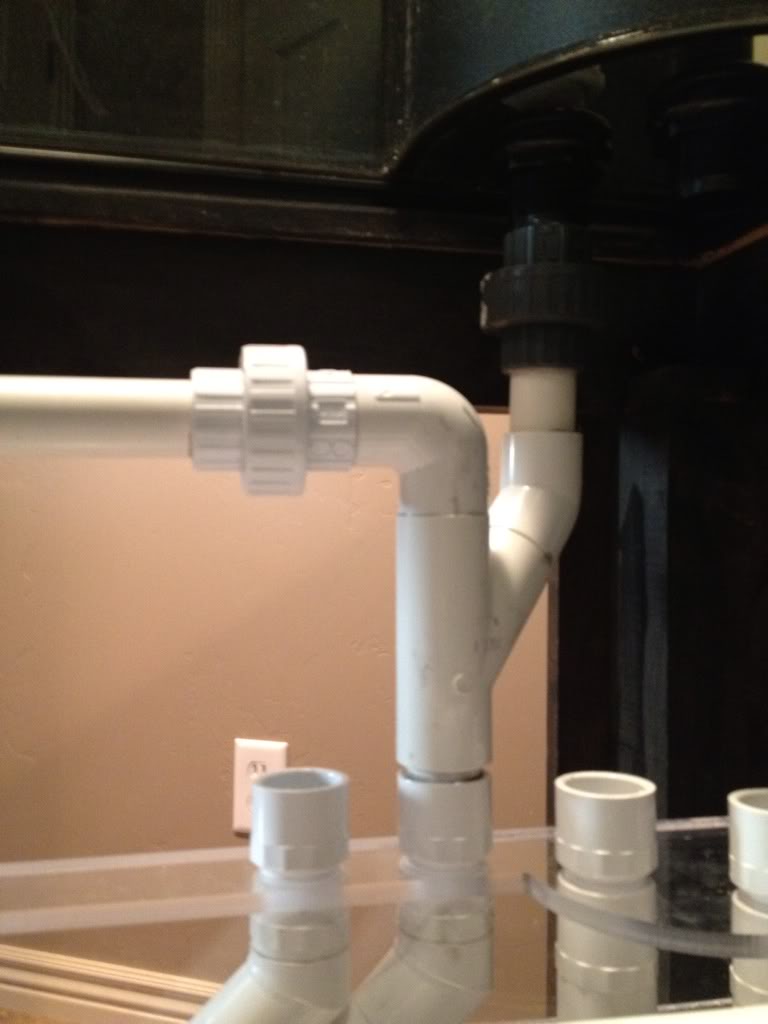
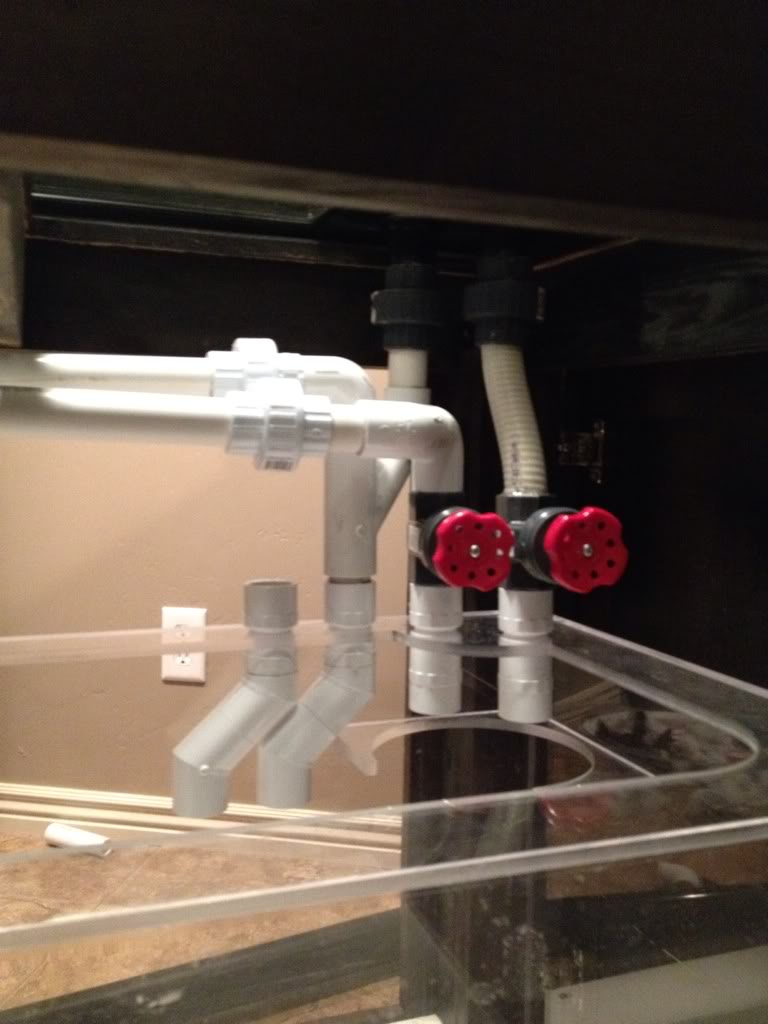
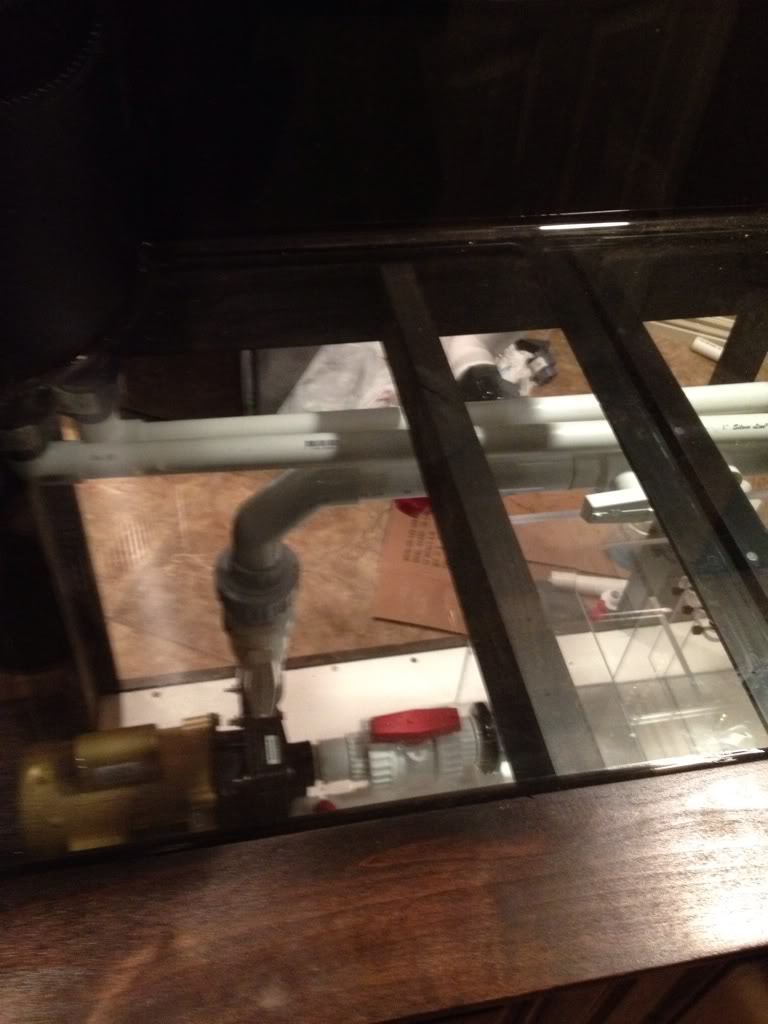
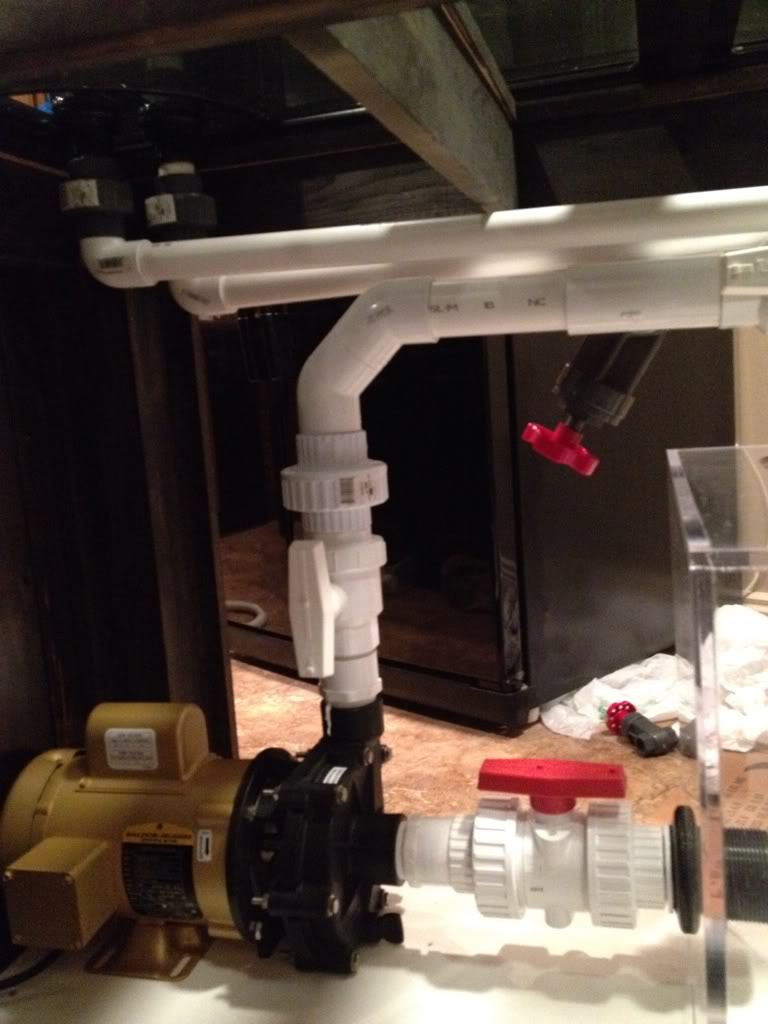
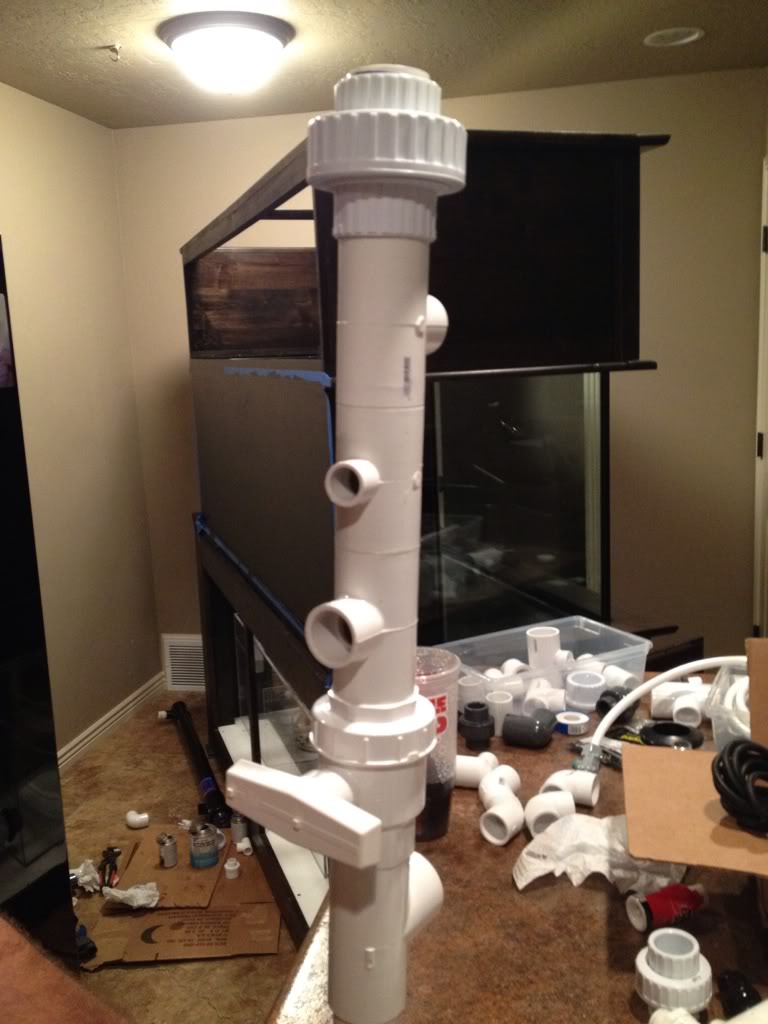
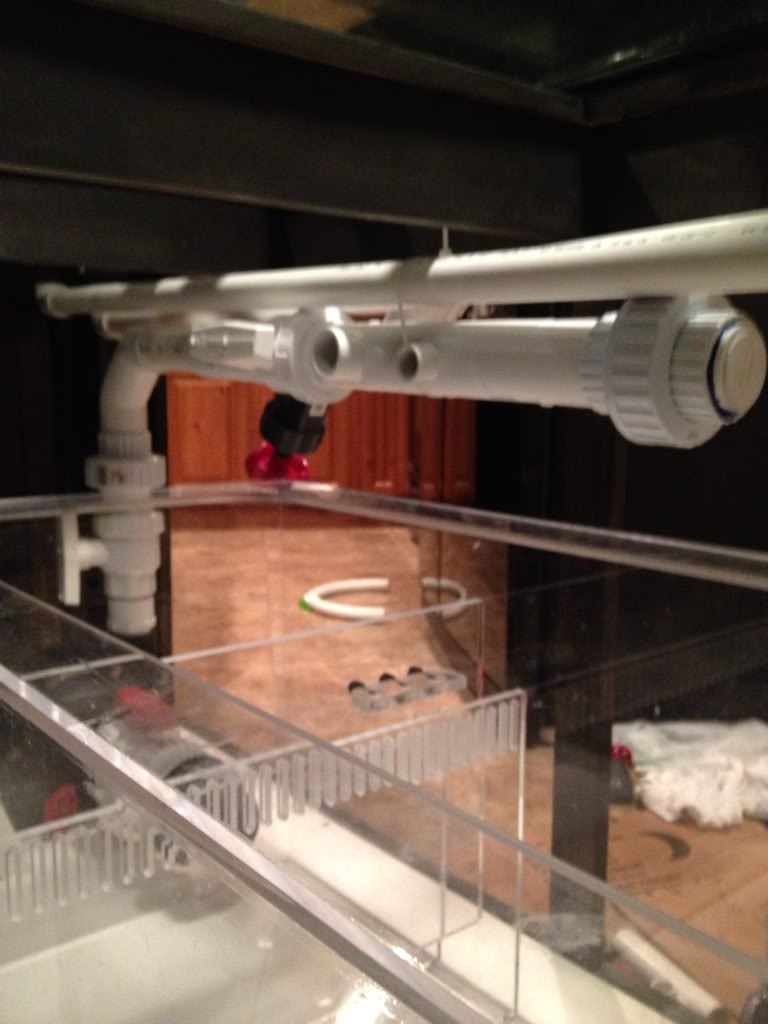
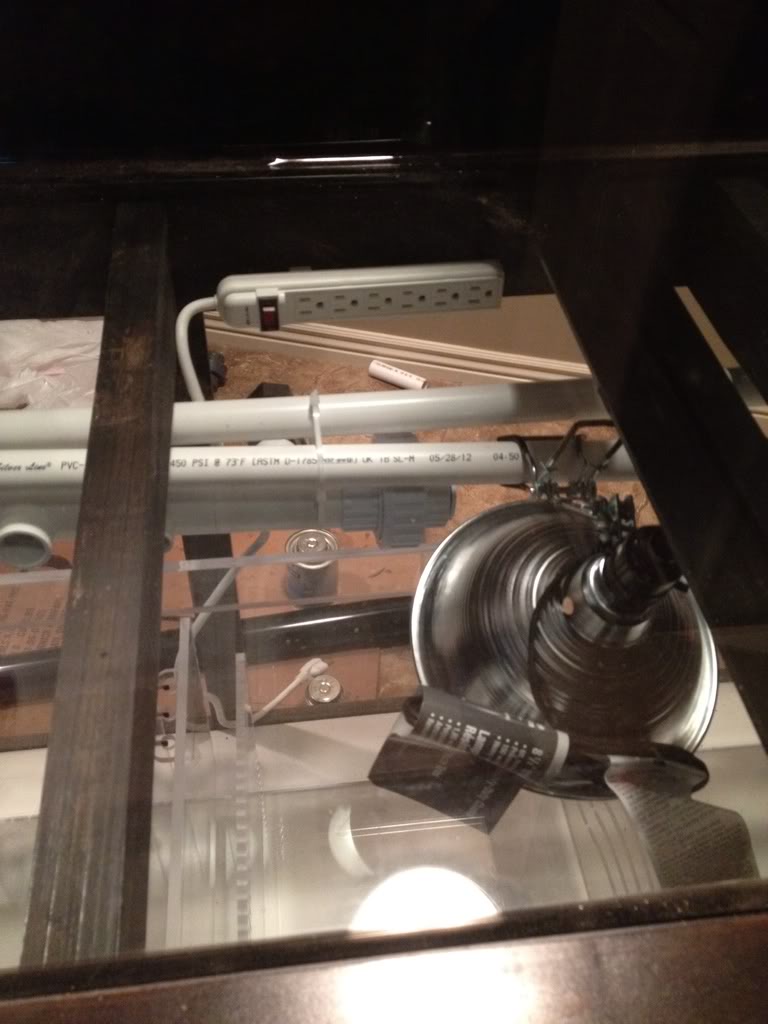
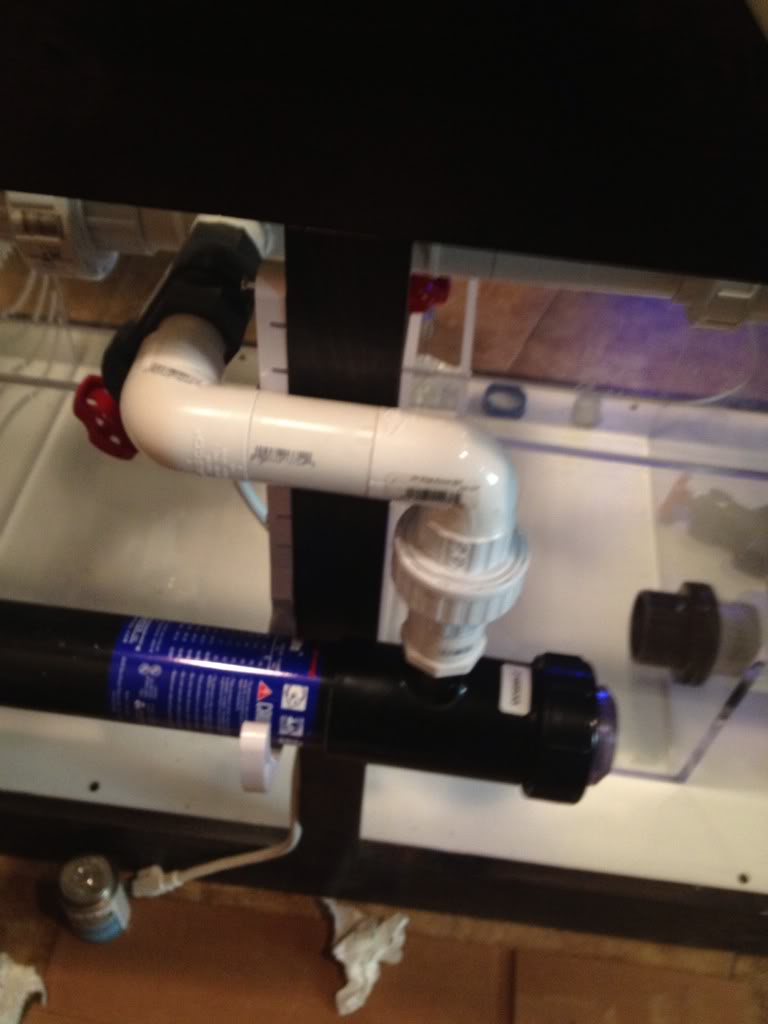
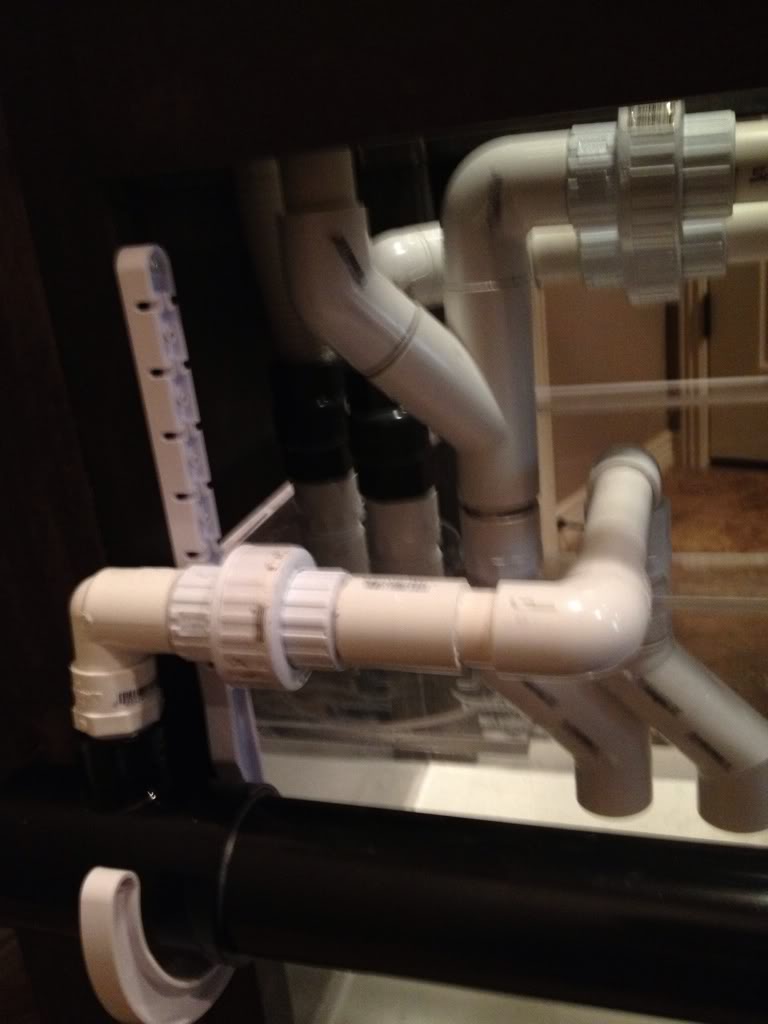
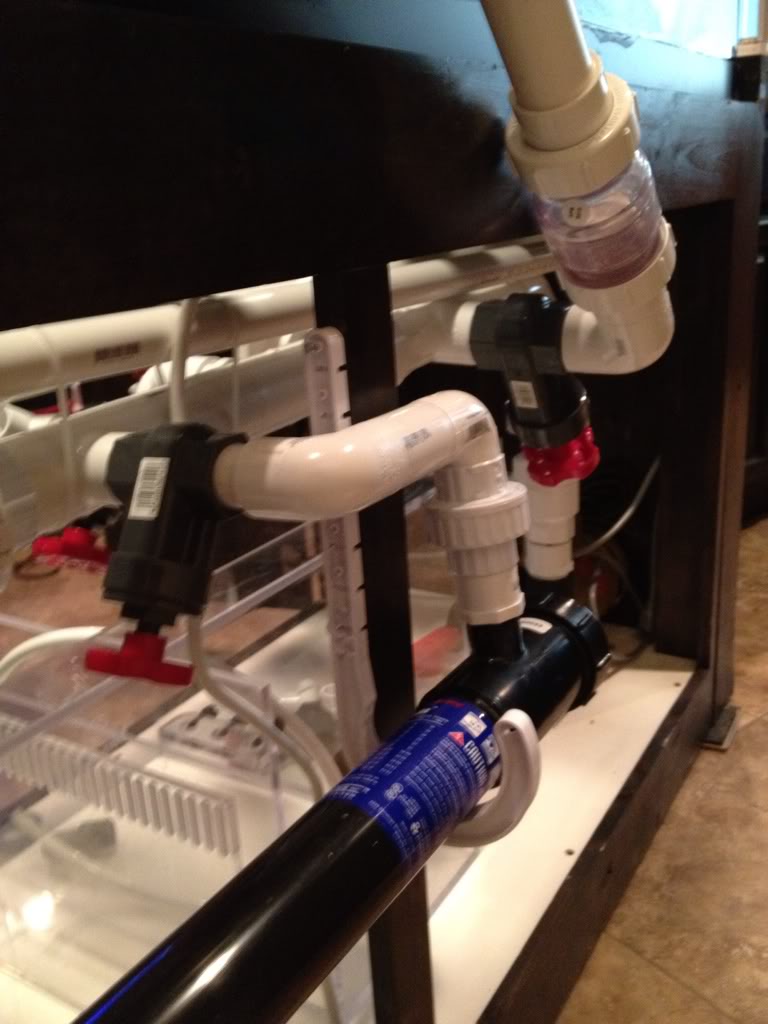
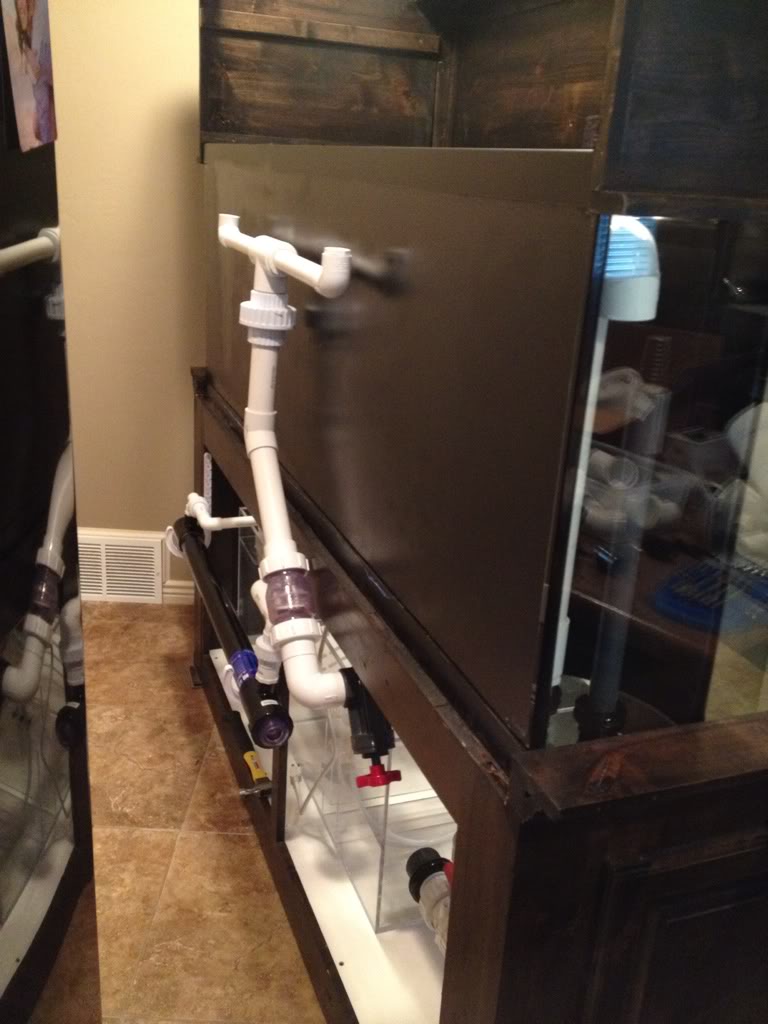
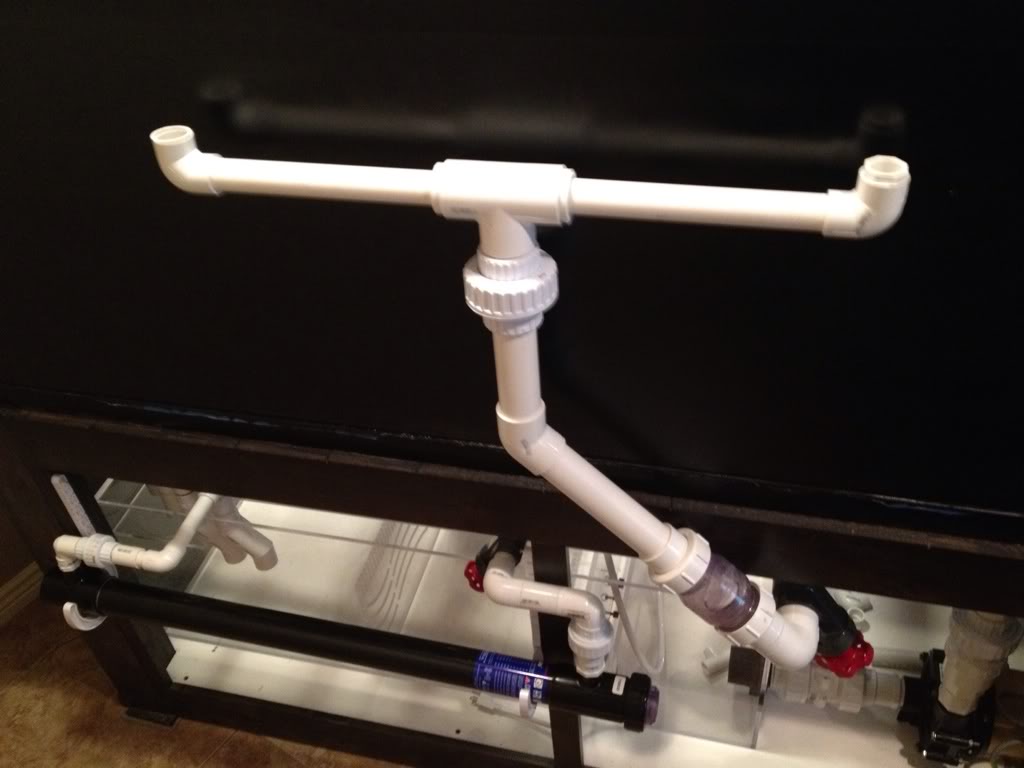
Plumbing
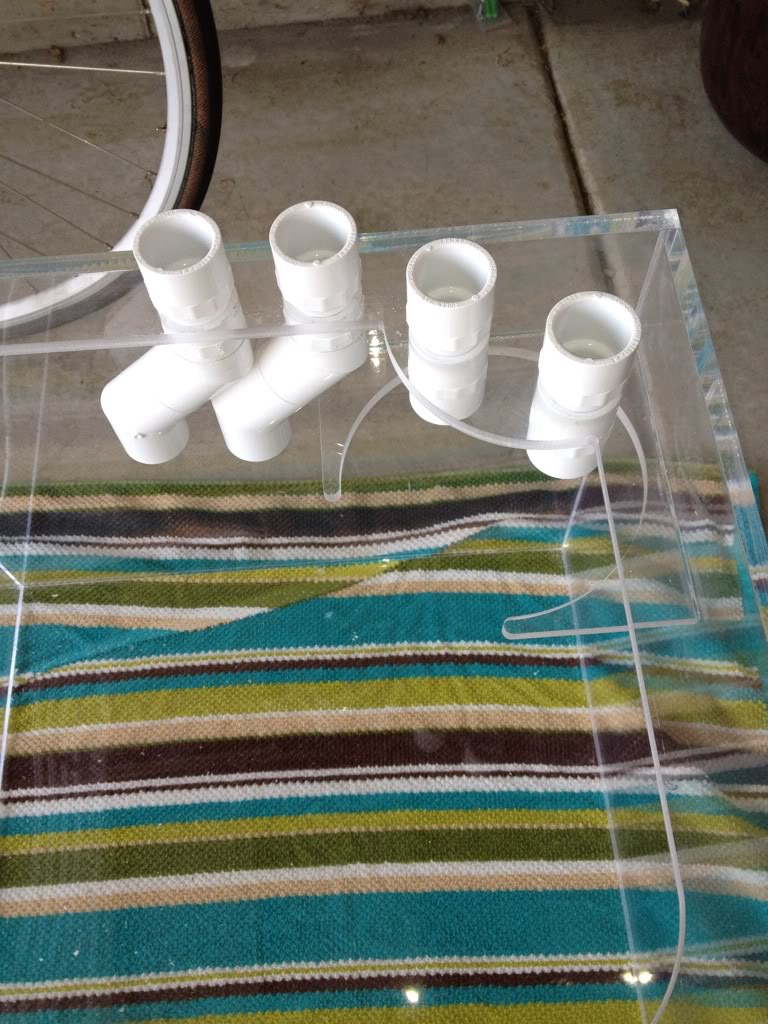
For the plumbing I'm doing SCH 80 valves, and there are a lot of them. I'm running everything off my large return pump which include my UV, and two reactors.
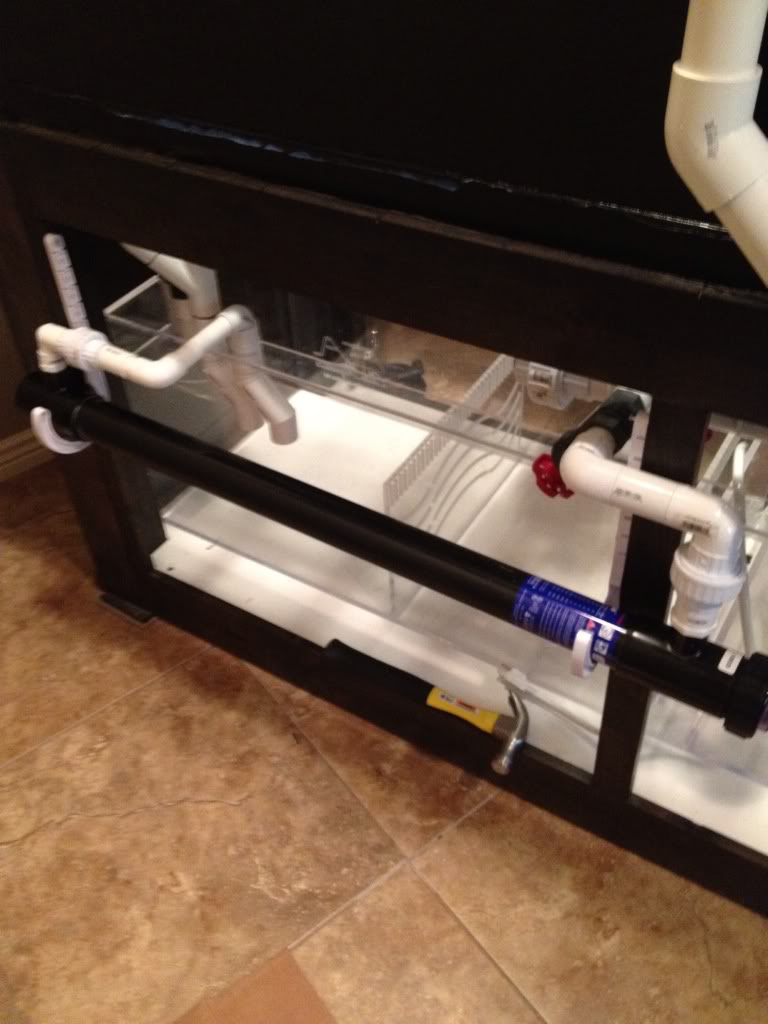
Drains
I'm doing two herbie style drains along with two emergency drains in the corners. I will then be running my return up the back and of the tank instead of through the overflows. I like this because it alows for my drains to be ultra quit and also be able to handle the large amount of flow i'm going to be getting with this barracuda. I also like the return lines away from the overflow so that the flow can help push the water into the overflow instead of away from it like in most tanks.
Aquascaping
I will be keeping 80% of my current rock and then adding more minimalist looking rock. I have Vida rock making some custom pieces for me.
• Semi minimalist look.
• Lots of sand space
• SPS dominant
• Acan rock and garden
• Chalice area around perimeter
• Zoa grow out
• No rock or coral close to glass on any side
• Plenty of swim space above and around rock
Fish
Currently Have
• Borbonius Anthias
• Yellow Tang
• Kole Tang
• Snowflake Clown
• Chromis
• Purple Firefish
• Mandarin Goby
• Flame hawk (will remove)
Wish List
• Powder Blue Tang
• helfrichi firefish trio
• sohal tang
• lyretail anthias trio
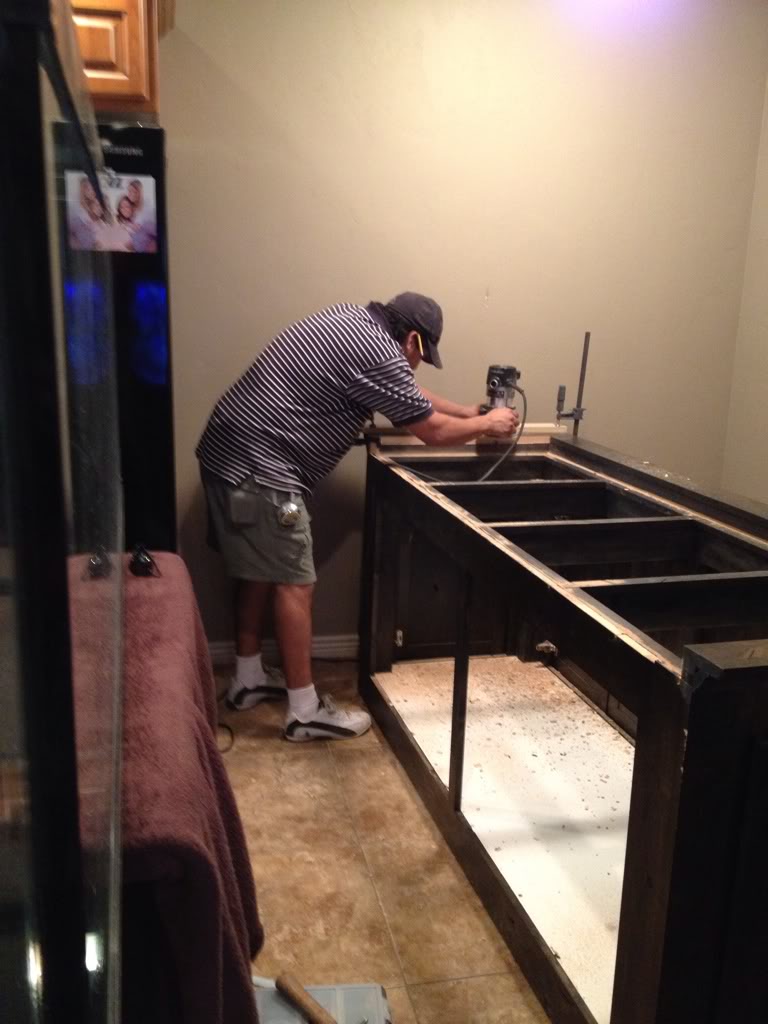
So my good friend Bill (sitaga) and I brought over the tank and went to put the tank in the stand. As we are straining to carry the tank with just the two of us we find that the stand is 1/8 of an inch too short to fit the tank. So we put the tank on the island in my kitchen and call the guy who built my stand. Luckily he ran right over and fixed it perfectly.
I'm going to be transfer all of the livestock from my 90 gallon over to the new big tank. I have new special grade sand that I will be adding to the new tank, but other then that all the livestock is coming from the new tank. I'm also going to be using DDH2ocean salt for this tank.
Here are a couple pics of the 90.
Right now I have just the tank and stand sitting in the middle of my house waiting to be plumbed in the next few days.
Tank Dimensions
72x24x24 Marine land corner flow tank with black silicon.
Custom Large Black knotty alder stand and canopy. This thing is huge and beautiful. Its 7.5 feet tall, 81inches wide, and 29 inches deep. It also has 4 big doors in front, and also doors on each end.
Equipment
2 mp40Wes
Reefo Barracuda return Pump
Emperor 40 watt UV
2 BRS deluxe Media Reactors
Elite Aquatics Skimmer
Apex Controler
Marine Magic 3 pump Dosing pump. I will be dosing BRS two part.
M3 model Elite Aquatics sump with 4 drains lines, baffles that are further apart to accomidate the larger return pump, and also probe holders.
Lighting
3 60watt Retro fit t5s. Bulbs are one ATI Blue + in the back, and one ATI purple + and another ATI Blue + in the front.
I will be moving my 2 DIY LED fixtures over to the new tank for the time being but I plan to make 3 new DIY fixtures, or buy the Vegas. I'm waiting to see how the Vega looks in person before I decide which way i'm going.
Plumbing
For the plumbing I'm doing SCH 80 valves, and there are a lot of them. I'm running everything off my large return pump which include my UV, and two reactors.
Drains
I'm doing two herbie style drains along with two emergency drains in the corners. I will then be running my return up the back and of the tank instead of through the overflows. I like this because it alows for my drains to be ultra quit and also be able to handle the large amount of flow i'm going to be getting with this barracuda. I also like the return lines away from the overflow so that the flow can help push the water into the overflow instead of away from it like in most tanks.
Aquascaping
I will be keeping 80% of my current rock and then adding more minimalist looking rock. I have Vida rock making some custom pieces for me.
• Semi minimalist look.
• Lots of sand space
• SPS dominant
• Acan rock and garden
• Chalice area around perimeter
• Zoa grow out
• No rock or coral close to glass on any side
• Plenty of swim space above and around rock
Fish
Currently Have
• Borbonius Anthias
• Yellow Tang
• Kole Tang
• Snowflake Clown
• Chromis
• Purple Firefish
• Mandarin Goby
• Flame hawk (will remove)
Wish List
• Powder Blue Tang
• helfrichi firefish trio
• sohal tang
• lyretail anthias trio
So my good friend Bill (sitaga) and I brought over the tank and went to put the tank in the stand. As we are straining to carry the tank with just the two of us we find that the stand is 1/8 of an inch too short to fit the tank. So we put the tank on the island in my kitchen and call the guy who built my stand. Luckily he ran right over and fixed it perfectly.