Matt Carden

Valuable Member
View Badges
Joined
Apr 13, 2018
Messages
1,641
Reaction score
4,084
Location
Detroit Metro
Rating - 0%
0   0   0
I had my SCA 150 set up for 10 months and had to break it down at the end of August '19 to move from Georgia to Michigan. Here is my original build thread: https://www.reef2reef.com/threads/matts-natural-reef.488794/
I decided to move the tank and stand together by lifting the stand with a hydraulic duck bill jack high enough to get 2 - 4 wheel furniture dollies under the stand and using ratchet straps vertically around the dollies, stand, and tank. I removed all of the rock into plastic totes for the move through the house and into th back of the Uhaul. I didn't remove the sand which probably weighed 200 lbs which made the transfer much harder. Once the tank was in place ratchet strapped the tank and stand horizontally to the slats that run horizontally along the inside of the box truck. Then I added the rock and enough water to cover the rock in order to keep the surfaces "wet".
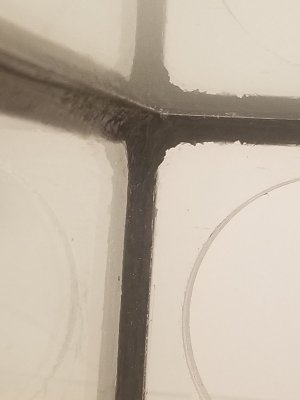
During the planning for this move I considered transporting my livestock in the tank partially filled with water or transporting in sealed buckets. It was suggested to me that the sloshing of the water during the moving of the truck would cause too much stress for the livestock so I choose to transport them in a bucket with some sand and rock. It took several days to finish packing the truck so I kept a powerhead on low and a heater in the bucket with the livestock until we were ready to go. I also took the bucket into the hotel room when we stopped to sleep to run the powerhead while we slept. Upon arriving at my new apartment late at night I brought the bucket in and added the powerhead and heater. The next morning I start moving the stuff in which is blocking in my tank so I can hurry up and get my tank set back up. That's when I discovered that my daughter's skateboard had shifted during transport and chipped the top inch of the side panel. Needless to say I was heartbroken. So after a little sulking about my broken tank I decided to turn one of the two 55 gallon pickle drums I picked up for my planned basement water change station and use it for a temporary holding tank for all of my displaced refugees. I transferred the sand and rock from the now broken DT and made up some fresh IO with a couple powerheads and a heater. I had a nice surprise while moving the sand over and found Stache my lawnmower Blenny alive buried in the sand. Now for the rest of the bad news for my move....I transfer the bucket with my livestock to find all but my Canarie Gobie have perished (he ended up in a different bucket, one without powerheads or heaters).

Before water:
20181101_185457.jpg

Before move:
20190826_172511.jpg

After break:
20190831_123953.jpg

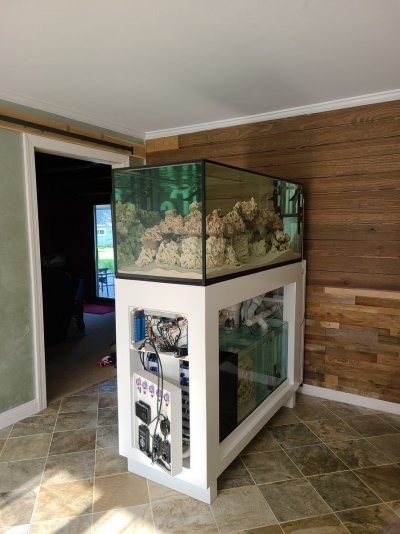
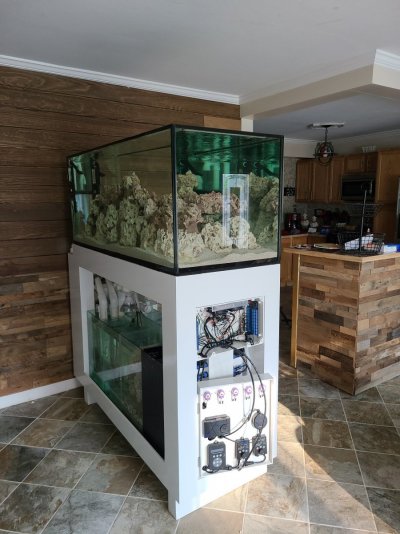
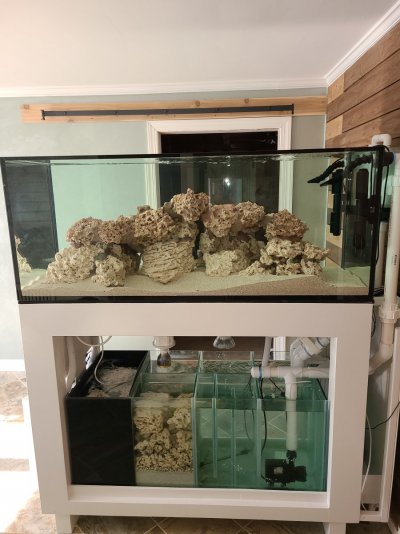
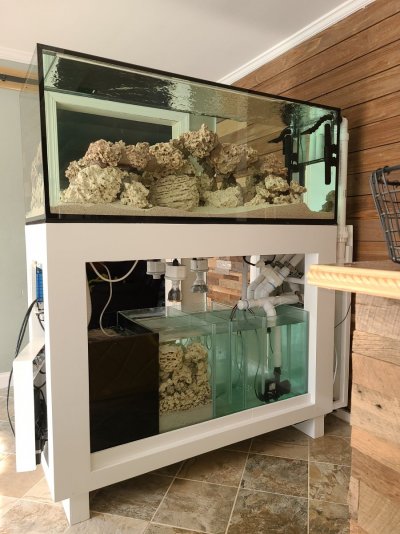
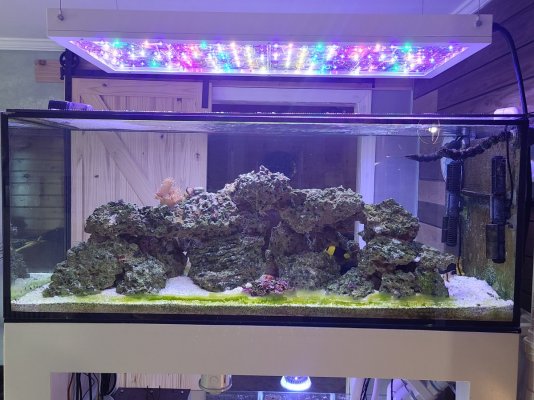
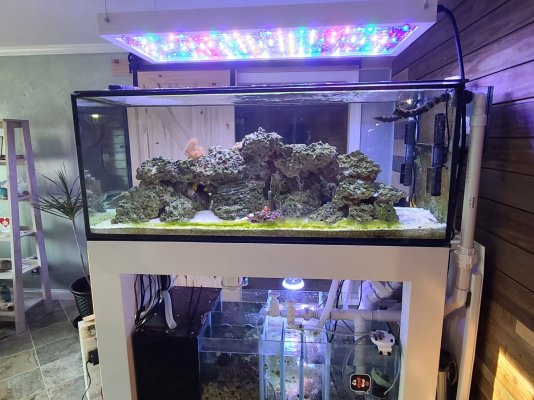
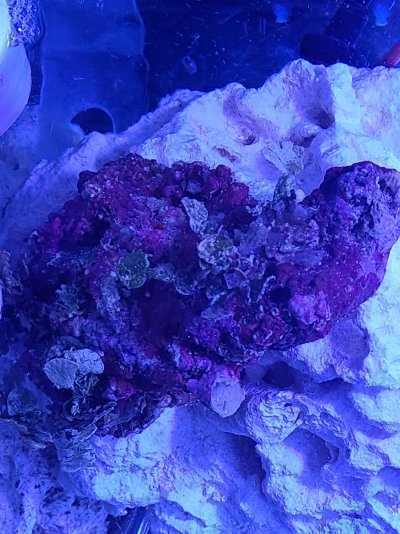
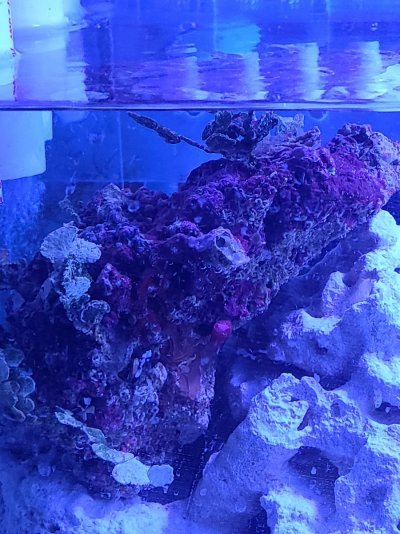
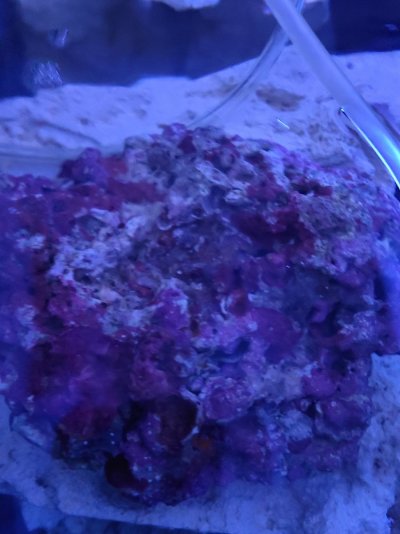
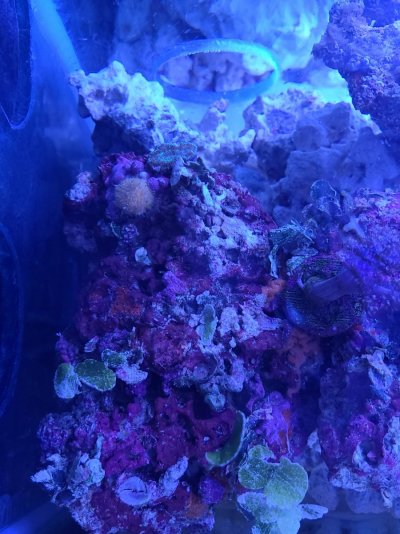
WET AGAIN FINALLY!!!
20210810_175724.jpg 20210810_184453.jpg

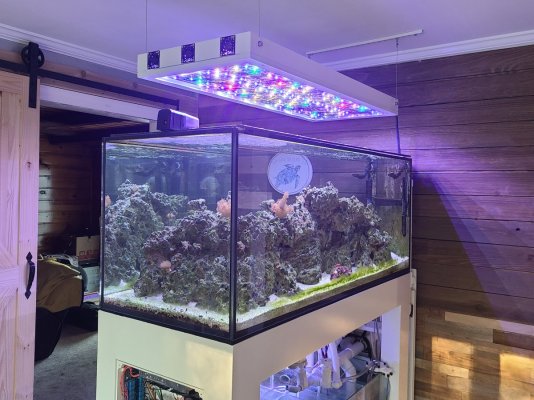
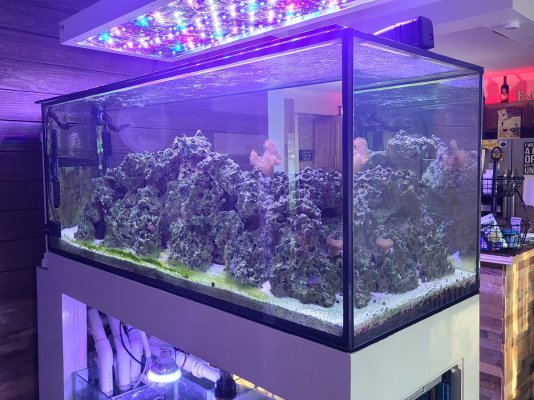
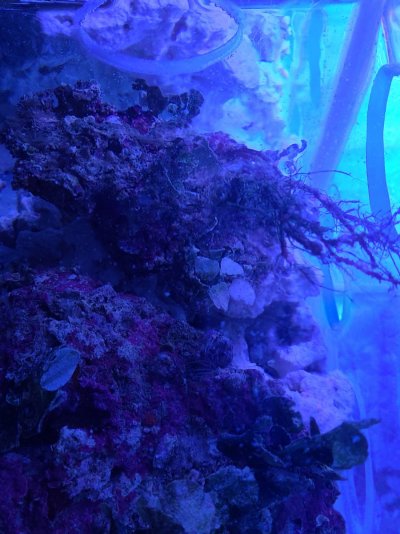
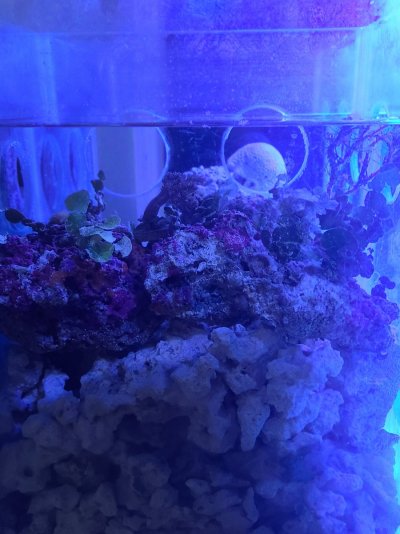
20210810_175808.jpg 20210810_175837.jpg 9/14/2022 20220907_184723.jpg 20220907_184737.jpg 20220907_184647.jpg 20220907_184614.jpg
 
Last edited:
OP
OP
Matt Carden

Matt Carden

Valuable Member
View Badges
Joined
Apr 13, 2018
Messages
1,641
Reaction score
4,084
Location
Detroit Metro
Rating - 0%
0   0   0
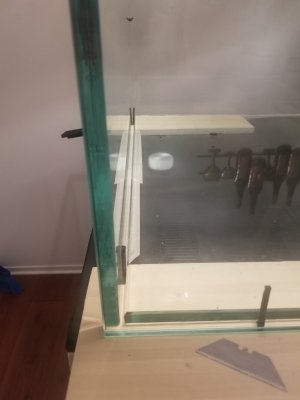
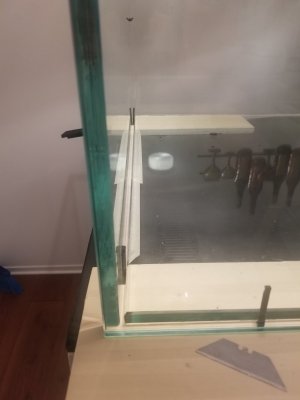
I have regretted having a tank with a Central internal overflow since I set it up. It was a challenge to eliminate dead spots or sand blow going around the box. I was never really happy with aquascaping because the overflow split the tank in two. I also really like the idea of a peninsula tank. So I decided to remove the internal overflow and modify the tank for an external overflow box off the side which will now be the back.
20191103_124204.jpg


I will carefully remove the broken panel and modify it for two 1" Hayward bulkheads and a modified coast to coast weir. I use an Android version of AutoCAD to design my changes. This is a screenshot of my modified side panel:
20191101_221645.jpg

I will also reuse the glass from the original overflow box which luckily is beveled and polished to construct the redesigned overflow box.
20191101_223943.jpg

I will be attempting to drill, cut, bevel, and polish the glass myself. I ordered some of the tools I will need for this project so updates will be soon. I plan to strip all internal caulk from the other 3 panels but leaving the joints intact. I will reseal the entire tank at one time after the repair panel is set up.

Another thing that has bugged me about this tank is that my Eurobracing is 1/2" below the top so this is the perfect time to fix it to be flush on top.
20191103_124256.jpg

Tank repair complete:
20200119_164839.jpg
20200131_184423.jpg

Tank Full on 2/1/20. I am going to leave it full while I build the sump and finish the stand, plumbing, and electrical.

Update: I kept the repaired tank full until October, 2020 with no sign of problems with the repair. I moved to a house in November, 2020 where the tank remained on moving dollies while I installed the Porcelain tile it's now sitting on. I got the tank wet again around July 1, 2021. The next morning I woke up to a wet floor. It didn't take me long to figure out that my modified back panel broke between the overflow and the hole for the return. It must have cracked when I moved but I hadn't noticed. I repaired it by removing the small broken piece and recaulking it just adding a joint where the crack is. Hopefully I won't have issues with this in the future.
 
Last edited:
OP
OP
Matt Carden

Matt Carden

Valuable Member
View Badges
Joined
Apr 13, 2018
Messages
1,641
Reaction score
4,084
Location
Detroit Metro
Rating - 0%
0   0   0
The central internal overflow also affected the design of the stand I designed and the available area for a sump in my original build. I am going to take this opportunity to rework the internal structure of my DIY stand to accommodate a larger sump. I added the two rear central supports because of the location of the overflow piping. Now that my piping will be coming in from the side of the stand I have decided to remove these supports and add another 2"x6" to make the back a header. This will open up
3 1/2"x 52" of floor space for my custom sump.
20191103_124225.jpg
20191103_124239.jpg
20191103_221916.jpg
20191103_221930.jpg

I have had several overfill situations in my sump which has nowhere to go but on my floor with the current design. I decided that another redesign plan is to have a drain in the bottom center of the stand floor. In order for the drain to function with the tank on top of the drain I will need to route channels in the floor.

Update to stand progress. I cut out the floor that had seen some water damage from multiple ATO failures. I removed the 2 vertical supports on the back side which opened up under my DT for a 20" x 48" custom 7 chamber sump. I replaced the vertical support with a span beam made with 2"x6" sandwiching 1/2" plywood.
20191130_212040.jpg
20191130_212101.jpg
20191130_212108.jpg
20191130_212115.jpg
20191204_165659.jpg

Someone on R2R pointed out a flaw in my stands design that I corrected when I put this spanner beam in. The outside 2x6 was on top of the vertical support but the inside 2x6 wasn't.
I cut the vertical beam in half vertically to allow the inside beam to be on top of the vertical beam.
15764658950237698772629111202998.jpg
20191204_165738.jpg
20191204_165725.jpg
 
Last edited:
OP
OP
Matt Carden

Matt Carden

Valuable Member
View Badges
Joined
Apr 13, 2018
Messages
1,641
Reaction score
4,084
Location
Detroit Metro
Rating - 0%
0   0   0
I not 100% sure that the 50 gallon sump is leaking but there was salt creep around the bottom frame so I have to assume it is leaking. I have been wanting to have a cryptic zone in the sump as well as a Phytoplankton chamber. I am planning to build a custom sump out of 3/16" cast acrylic.

Update 2/3/20: I decided not to build my sump out of Acrylic. I instead decided to repurpose the glass from my existing 50g and bought 2 more used 50g tanks for $50 each. I intend to impulse buy things sometimes. This one time I bought an '85 Regal off Ebay in New York long Island and I live in Detroit. NEVER BID AND DRINK!
So back to the impulse bought tanks, one tank was built with all 1/4" glass tempered. The other was 3/8". The one I have from my sump has 5/16" glass. I made a lettered inventory that I will be cutting some of the middle pieces out of 5/16" some 3/8". Front and back is where I'll be using the 1/4" because my max spacing between baffles is 13" so the 1/4" will be fine.
Screenshot_20200203-123046_AutoCAD.jpg
20200203_120456.jpg
Screenshot_20200203-120718_AutoCAD.jpg
20200203_100041.jpg
20200203_123107.jpg
20200203_120543.jpg
 
Last edited:
OP
OP
Matt Carden

Matt Carden

Valuable Member
View Badges
Joined
Apr 13, 2018
Messages
1,641
Reaction score
4,084
Location
Detroit Metro
Rating - 0%
0   0   0
#honestyinreefing

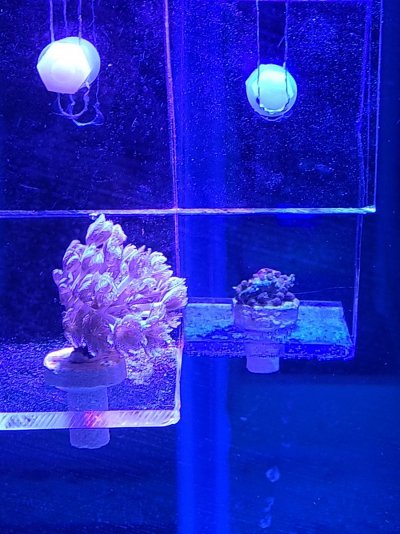
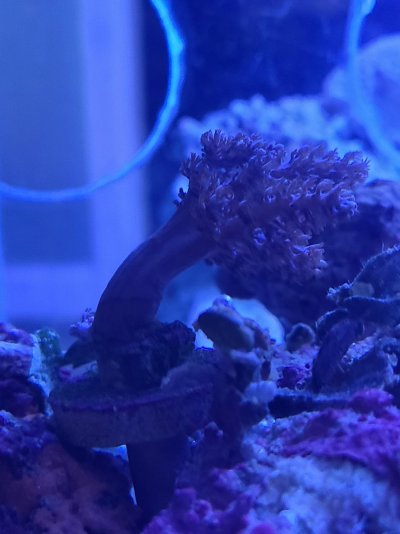
I decided to cycle a bit differently than the status quo. First thing I ordered was 3 softies from @WWC and a nano pack of real ocean live rock from the only source that was in stock gulfliverock.com . I received both orders on 12/2/21 and were added to the sump. 20211203_160838.jpg 20211203_160851.jpg 20211203_160858.jpg 20211203_160909.jpg 20211203_160928.jpg 20211203_160937.jpg 20211203_160944.jpg 20211203_160955.jpg 20211203_161005.jpg
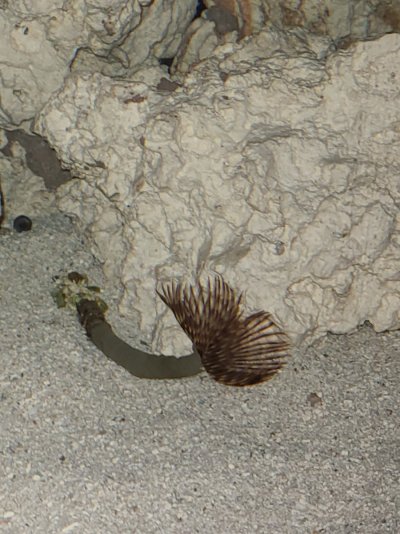
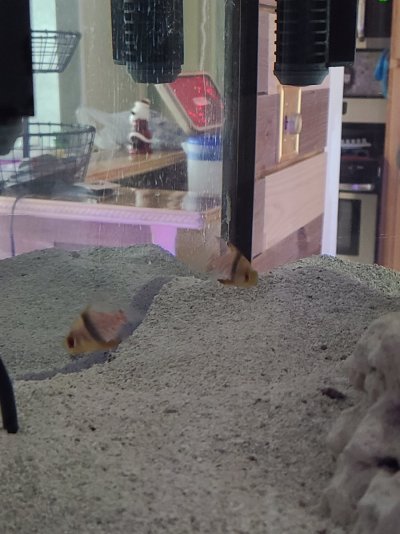
I went to Stingray Bay LFS and picked up a group of 3 Green Chromis on 12/3/21. The honesty in reefing part is that all 3 Chromis died by 12/10/21. All 3 softies were doing well so I figured that the Chromis just got stressed out for some reason and that I might have better luck with different fish. We got 3 snails, 5 hermits, a feather duster, a small live rock for biodiversity and 2 Pajama Cardinals on 12/11/21. 20211221_120655.jpg 20211211_151116.jpg 20211221_120655.jpg
Both of the Pajamas died within 5 days. The 3 softies are doing well, the Xenia is multiplying every few days with new heads. I'm sure at least one snail has perished but most are still thriving. I am unsure what is causing the fish deaths and not anything else? Maybe a virus, maybe ammonia but I would think and others on here have said that there is enough nitrifying bacteria in the live rock for a couple fish in 150 gallons of water. One possibility is that there is some contaminate in the rock or sand that I repurposed from my old build. I have ordered an ICP test from icp1999.com to check for contaminants that could be causing these fish deaths.
 
Last edited:

Reef Dude

Active Member
View Badges
Joined
Jul 25, 2017
Messages
277
Reaction score
532
Rating - 0%
0   0   0
Following along... nice little project you have going on. Two questions/concerns-

1 - with the holes that close to the edge, will there be room for the bulkhead flange inside the tank?

2 - Those holes look nice and clean, but they seem super close to the edge of the glass. I think the rule of thumb is that the holes should be 1x (at a minimum) or 1.5x (better practice) the distance of the hole diameter to the edge of glass. It’s been a while since I looked into this, but it was something along those lines. I had a custom tank built earlier this year, and I wanted holes for 1” bulkheads- the builder wanted a minimum of 3 inches from edge of glass to hole center for safety for these size holes, so that’s what I did based on their recommendation.
 
OP
OP
Matt Carden

Matt Carden

Valuable Member
View Badges
Joined
Apr 13, 2018
Messages
1,641
Reaction score
4,084
Location
Detroit Metro
Rating - 0%
0   0   0
The flange will be at the edge of the inner caulk bead. I hope that it won't be an issue having my holes that close to the edge. I will be drilling 2 5/8" holes 1 3/4" from the edge of a 5" wide overflow bottom for my external box.
 
OP
OP
Matt Carden

Matt Carden

Valuable Member
View Badges
Joined
Apr 13, 2018
Messages
1,641
Reaction score
4,084
Location
Detroit Metro
Rating - 0%
0   0   0
I cut the notch today to be the weir over which water will flow into the external overflow box. It's not beautiful but it will perform the intended function. Truth is there are alot of scratches inside from sand blowing around. I think I even have scratches where a piece of sand was wedged under a snail.
20191114_165446.jpg
20191114_165453.jpg
20191114_165500.jpg
 
OP
OP
Matt Carden

Matt Carden

Valuable Member
View Badges
Joined
Apr 13, 2018
Messages
1,641
Reaction score
4,084
Location
Detroit Metro
Rating - 0%
0   0   0
Well I tried to build my overflow box last night. It didn't work out as planned. I used these chunks of dried silicone placed in the wet bead:
20191122_173354.jpg

The weight of a 10"x5"x1/2" piece of glass squished the chunks of dried silicone out of the joint.

So my second attempt is to preglue the chunks in place so they cant slide our in construction.
15745321337646903996002506013128.jpg
 
OP
OP
Matt Carden

Matt Carden

Valuable Member
View Badges
Joined
Apr 13, 2018
Messages
1,641
Reaction score
4,084
Location
Detroit Metro
Rating - 0%
0   0   0
I bought Steve Tyree's CMAT book series and have spent the last few weeks reading about creating a cryptic zone within my soon to be built sump.

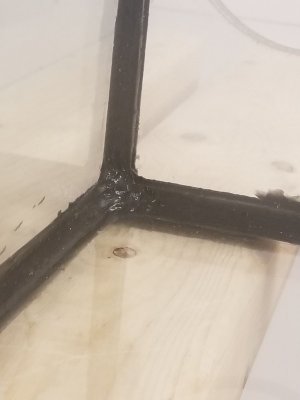
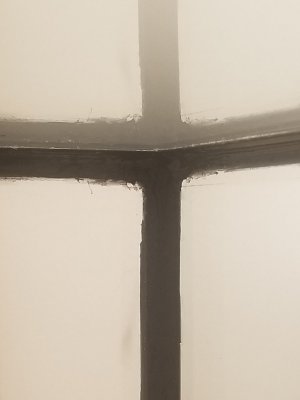
I have had quite the experience trying to teach myself how to build a glass fish tank. I tried to just reseal the existing joints but I didn't like how I could see a line on the outside like the silicone didn't get all the way down into the joint. I decided instead to cut out the joint completely and rebuild the whole tank one panel at a time. Taping off the joints didn't work out too well so I went with a caulk too that came with a kit that I bought from Amazon. The first tool that I tried left alot of residual near the finished joint so I tried a different on that came in the same kit and it worked out alot better. I have 3 sides complete with only the front panel left to silicone.

20191215_212749.jpg
20191215_212737.jpg
20191201_151146.jpg
20191201_151152.jpg


20191201_151024.jpg 20191201_151032.jpg 20191201_151037.jpg 20191201_151159.jpg 20191201_151159.jpg
 
Last edited:

crusso1993

7500 Club Member
View Badges
Joined
Oct 21, 2018
Messages
8,671
Reaction score
44,649
Location
SW, FL, USA
Rating - 0%
0   0   0
@Matt Carden - anything new to report?

Merry Christmas!
 
OP
OP
Matt Carden

Matt Carden

Valuable Member
View Badges
Joined
Apr 13, 2018
Messages
1,641
Reaction score
4,084
Location
Detroit Metro
Rating - 0%
0   0   0
Its been a long hard ride recaulking this tank. I have glued each joint at least 2 with some being done 3 times. I have 1 vertical joint to caulk and the eurobracing to reinstall. I will never silicone a DT again!
20191224_220819.jpg

I picked up a used industrial hanging light fixture from an auto plant I'm working at.
I'm going to mount my SB reeflights inside the fixture.
20191224_220845.jpg
20191224_220853.jpg


Merry Christmas!
 

Reefing threads: Do you wear gear from reef brands?

  • I wear reef gear everywhere.

    Votes: 46 16.6%
  • I wear reef gear primarily at fish events and my LFS.

    Votes: 18 6.5%
  • I wear reef gear primarily for water changes and tank maintenance.

    Votes: 1 0.4%
  • I wear reef gear primarily to relax where I live.

    Votes: 35 12.6%
  • I don’t wear gear from reef brands.

    Votes: 158 57.0%
  • Other.

    Votes: 19 6.9%
Back
Top