Hi all!
I'm a relatively experience reef keeper, but new to r2r. After a while of bouncing around without a reef tank, I've finally gotten restless enough to start a new build, and I figured this time I might as well document it and seek input from fellow enthusiasts.
All in all, I'm shooting for a dirt simple tank for my desk. I'm a PhD student in marine science, which is excellent in that I have endless access to NSW, RODI water, etc, though I do a fair bit of traveling and have been moving around from one ****** apartment to the next -- Luckily, I'm also in a lab full of marine scientists, so there will always be folks to check in on things if I'm in the field for an extended period.
Although diminutive in size, this project is, admittedly, a bit ambitious. I've gazed longingly at mangrove communities while doing fieldwork enough and I finally bit the bullet and decided to shoot for my own mini setup - after all, if people can grow them in soggy buckets in their backyards, why can't I keep a couple on my desk...
The setup: For the aquarium, I really wanted to shoot for something long and skinny - I've always like the look of lopsided/uneven tanks. I also think it's well suited for a mangrove tank as it gives a (tiny) "edge of the lagoon" feeling, if you know what I mean? My desk is pretty small, so I decided to pull the trigger on a 3 gallon 18" x 5.5" x 7.1" glass rimless tank from Amazon (50$; Tank).
Heating - for this, I just picked out the cheapest, most basic heater I could find (8$; Heater). The temp is preset to 78 F, which is easy enough. To be fair, our office is kept pretty much constantly at 70 F, so as long as it doesn't completely fry my tank, mangroves/macroalgae shouldn't care too much if my heater goes out. This is mainly if I decide to throw a few inverts in there somewhere down the line.
Lighting - with a tank this small and mostly mangroves, I'm not too worried about lighting. I also don't want a lamp that will burn my eyeballs out when I'm on my laptop. To that end, I might just start with of those "full spectrum grow" LED bulbs and a desk lamp fixture. Anyone have thoughts on the best way to light this baby for under 50$? Any advice appreciated! I also have some experience with DIY LED fixtures, but I'd like to stick with the KISS method here, and I can't imagine it would be cost effective on such a small scale.
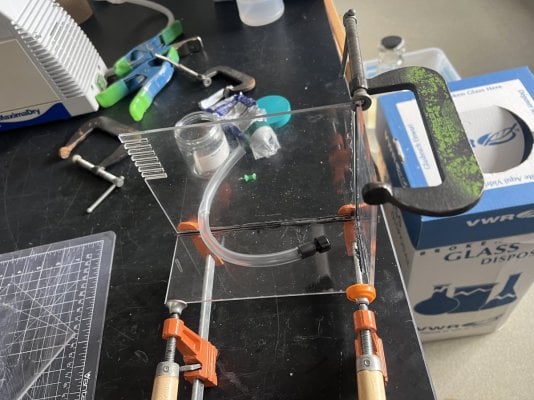
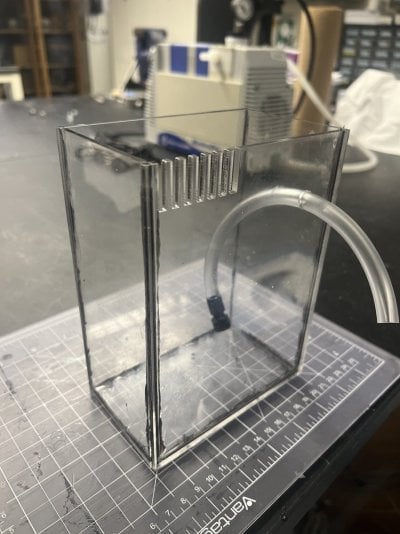
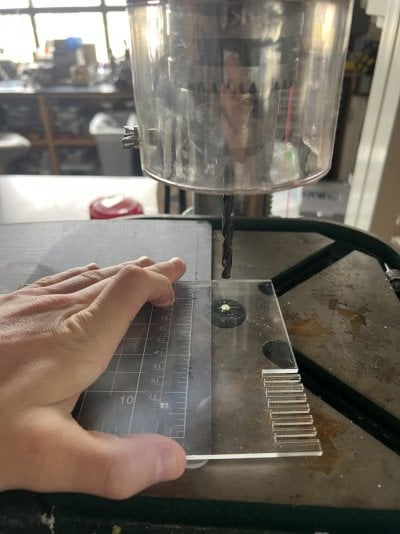
Filtration - this is where things get fun! I considered just a small HOB filter, but I've been tempted to go all DIY and create my down AIO tank as I think it would be more aesthetic (and fun). To that end, I whipped up some designs for an acrylic insert that fits in one end of my tank. With the little heater and return pump I've picked up, it should occupy less than 3.5" of internal space (design below). We have a laser cutter in the basement, so I should be able to bust this out in however long it takes the epoxy/acrylic weld to dry. Initially, I wanted to just epoxy a wall into the tank, but I think I'll go for a fully removable insert that fits "flush" with the tank. The reason for this is that I'm a tinkerer through and through and I'm sure in a few months I'd be mad that I stuck the thing in there. I might add a few globs of epoxy on the edges just to keep it in place that I can slice off later to pull it, but I'm trying to be modular here. The design has a slot for a filter sock (DIY) and some media below, along with a return chamber. Note* theres a second baffle in left (return) chamber that isn't included in this render.


Ofc, with a tank this teeny and this kind of setup, consistent water level is essential. I'm thinking about just getting one of those lil optical ATOs from Amazon (50$; ATO). Ironic that the ATO is the most expensive part of this setup so far (tied with the tank), but I suppose that's how these things go. With the second baffle in the AIO insert, I can tuck everything in that section of the tank, which hides the cords and tubes a bit.
And here's a pic of the tank on the corner of my desk:

As you can see, pretty teeny!
Finally, here's a rough drawing of the scape I'm going for (as you can see, I'm better with CAD...):

So that's about where I'm up to on this! I'll probably start fabricating and messing with the AIO insert in the next few days, unless I made some stupid glaring error that I hope somebody points out
Should be a fun little build, and I'm hoping I can pull everything off for under 250$ - we'll see, though.
edit: Fixed the links (I hope)!
I'm a relatively experience reef keeper, but new to r2r. After a while of bouncing around without a reef tank, I've finally gotten restless enough to start a new build, and I figured this time I might as well document it and seek input from fellow enthusiasts.
All in all, I'm shooting for a dirt simple tank for my desk. I'm a PhD student in marine science, which is excellent in that I have endless access to NSW, RODI water, etc, though I do a fair bit of traveling and have been moving around from one ****** apartment to the next
Although diminutive in size, this project is, admittedly, a bit ambitious. I've gazed longingly at mangrove communities while doing fieldwork enough and I finally bit the bullet and decided to shoot for my own mini setup - after all, if people can grow them in soggy buckets in their backyards, why can't I keep a couple on my desk...
The setup: For the aquarium, I really wanted to shoot for something long and skinny - I've always like the look of lopsided/uneven tanks. I also think it's well suited for a mangrove tank as it gives a (tiny) "edge of the lagoon" feeling, if you know what I mean? My desk is pretty small, so I decided to pull the trigger on a 3 gallon 18" x 5.5" x 7.1" glass rimless tank from Amazon (50$; Tank).
Heating - for this, I just picked out the cheapest, most basic heater I could find (8$; Heater). The temp is preset to 78 F, which is easy enough. To be fair, our office is kept pretty much constantly at 70 F, so as long as it doesn't completely fry my tank, mangroves/macroalgae shouldn't care too much if my heater goes out. This is mainly if I decide to throw a few inverts in there somewhere down the line.
Lighting - with a tank this small and mostly mangroves, I'm not too worried about lighting. I also don't want a lamp that will burn my eyeballs out when I'm on my laptop. To that end, I might just start with of those "full spectrum grow" LED bulbs and a desk lamp fixture. Anyone have thoughts on the best way to light this baby for under 50$? Any advice appreciated! I also have some experience with DIY LED fixtures, but I'd like to stick with the KISS method here, and I can't imagine it would be cost effective on such a small scale.
Filtration - this is where things get fun! I considered just a small HOB filter, but I've been tempted to go all DIY and create my down AIO tank as I think it would be more aesthetic (and fun). To that end, I whipped up some designs for an acrylic insert that fits in one end of my tank. With the little heater and return pump I've picked up, it should occupy less than 3.5" of internal space (design below). We have a laser cutter in the basement, so I should be able to bust this out in however long it takes the epoxy/acrylic weld to dry. Initially, I wanted to just epoxy a wall into the tank, but I think I'll go for a fully removable insert that fits "flush" with the tank. The reason for this is that I'm a tinkerer through and through and I'm sure in a few months I'd be mad that I stuck the thing in there. I might add a few globs of epoxy on the edges just to keep it in place that I can slice off later to pull it, but I'm trying to be modular here. The design has a slot for a filter sock (DIY) and some media below, along with a return chamber. Note* theres a second baffle in left (return) chamber that isn't included in this render.
Ofc, with a tank this teeny and this kind of setup, consistent water level is essential. I'm thinking about just getting one of those lil optical ATOs from Amazon (50$; ATO). Ironic that the ATO is the most expensive part of this setup so far (tied with the tank), but I suppose that's how these things go. With the second baffle in the AIO insert, I can tuck everything in that section of the tank, which hides the cords and tubes a bit.
And here's a pic of the tank on the corner of my desk:
As you can see, pretty teeny!
Finally, here's a rough drawing of the scape I'm going for (as you can see, I'm better with CAD...):
So that's about where I'm up to on this! I'll probably start fabricating and messing with the AIO insert in the next few days, unless I made some stupid glaring error that I hope somebody points out
Should be a fun little build, and I'm hoping I can pull everything off for under 250$ - we'll see, though.
edit: Fixed the links (I hope)!


