

Inspired by a PVC stand I saw elsewhere I decided to improve upon it and make a cheap way to hang my LEDTRiC Full Spectrum PAR38's above my 20g.
I used...
2 10' pieces of 3/4" PVC
2 90* 3/4" Elbows
2 3/4" T's
4 3/4" Rounded End Caps
2 3/4" to 1/2" threaded T's
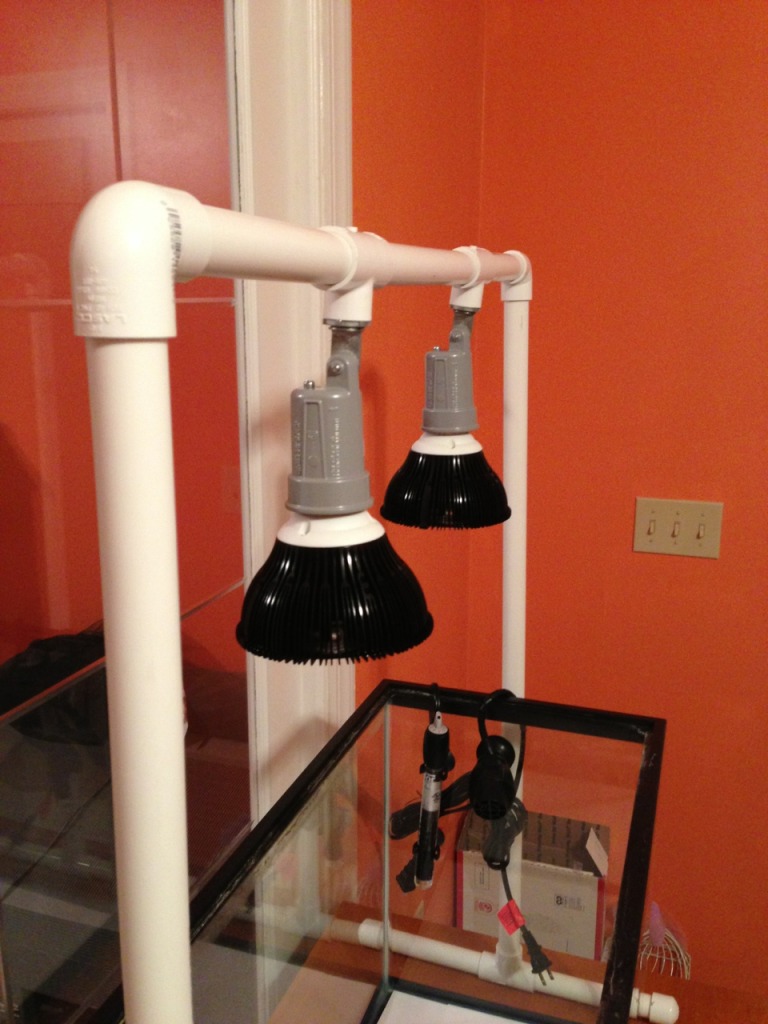
2 Metal Spotlight Fixtures (Found in the electrical aisle at Lowes, threaded perfectly into a 1/2" threaded PVC Fitting)
8' Extension Cord
Krylon Fusion Matte Black
Here were the plans I drew up in Visio.

The spotlight fixture threaded into the T's

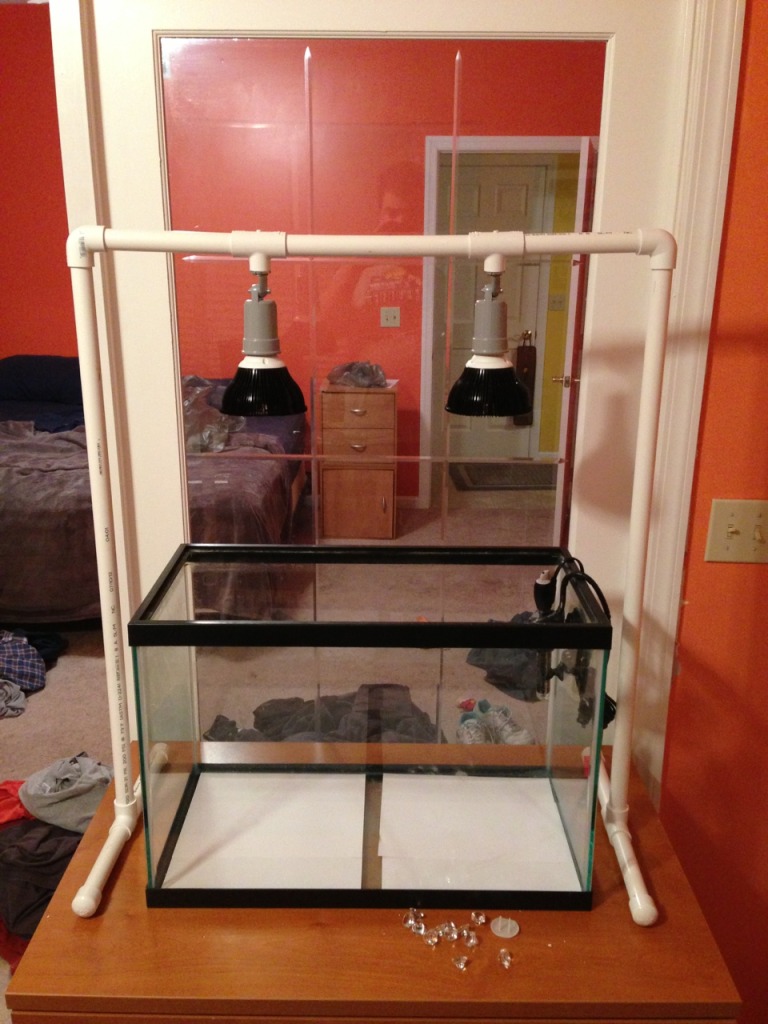
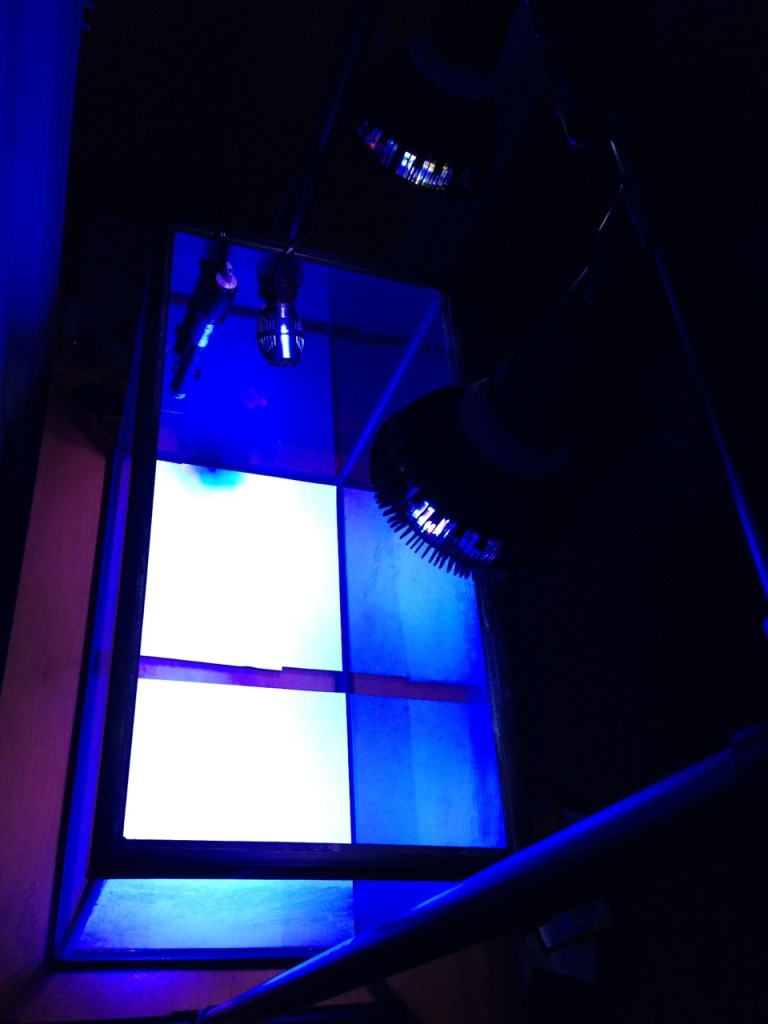
I made the bottom support legs each 7" then using the bulb in a lamp we were able to determine that 10" off of the top of the tank gave us good even coverage for the respective half of the tank so we added the height of the tank plus the height off the top of the tank and the height of the bulb/fixture/T and came up with how high we wanted the vertical pipe to be... If I remember correctly we are at about 35 or 36". Using the width of the tank divided by 4 we found the mid point for each half of the tank. Being a standard width 20G High (24") We were able to determine that 6" from each edge was the midway point for that half of the tank. I cut a 12" Piece of PVC to put inbetween the T's and it seems to be right on.
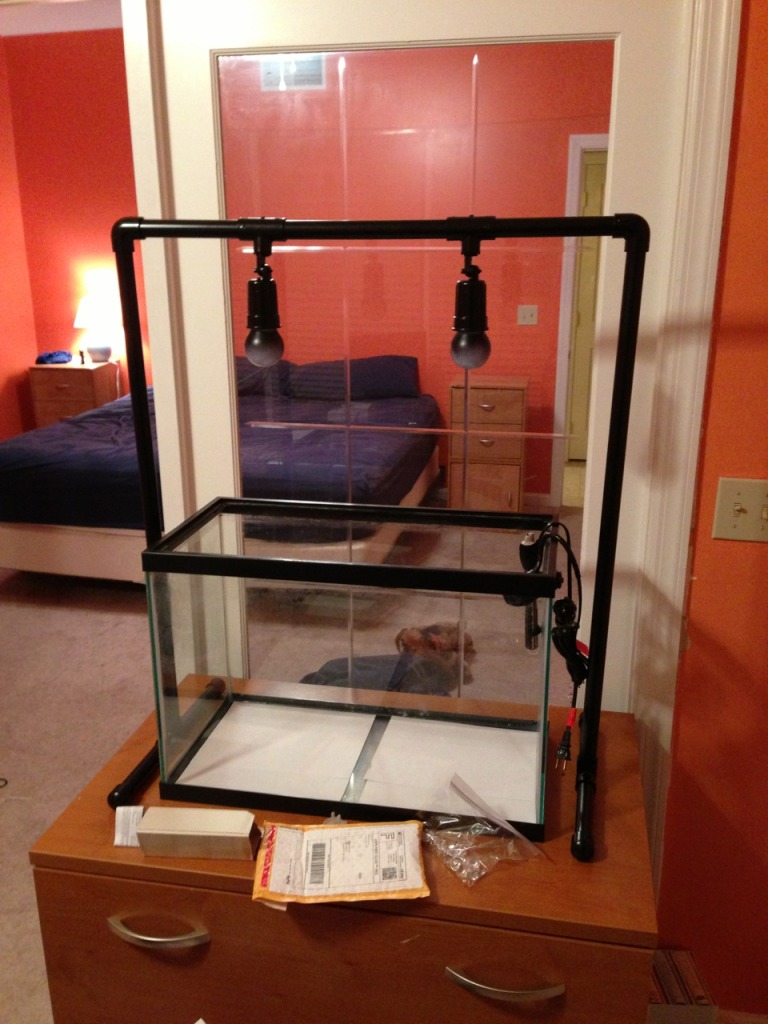
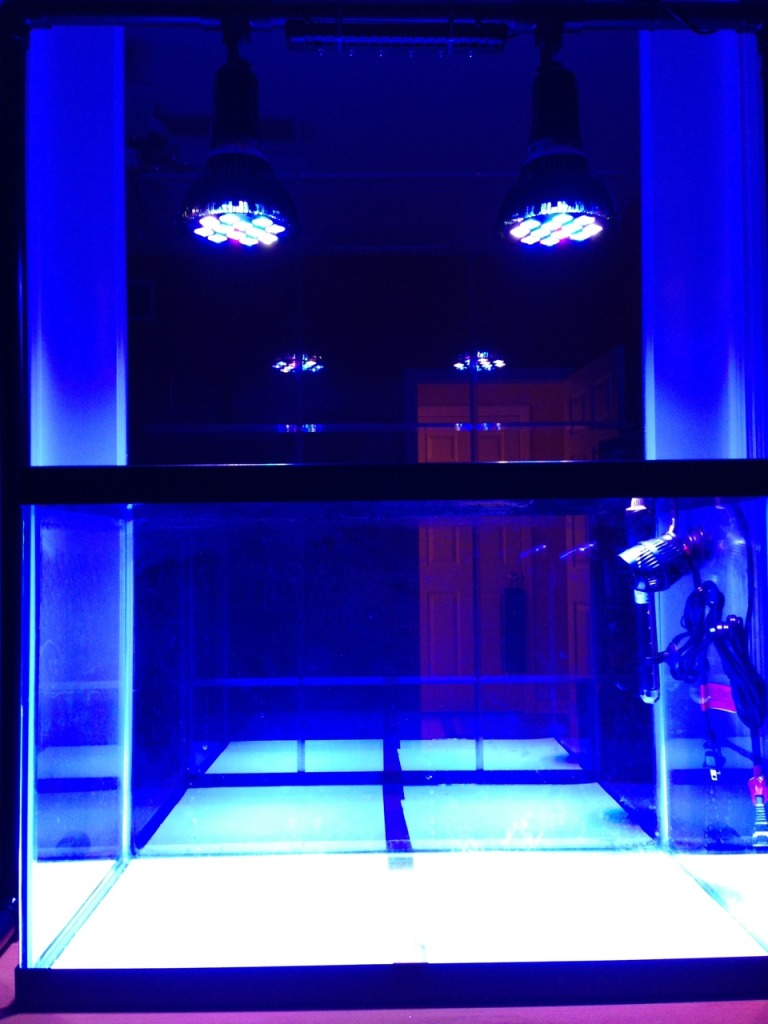
Here is the first test assembly
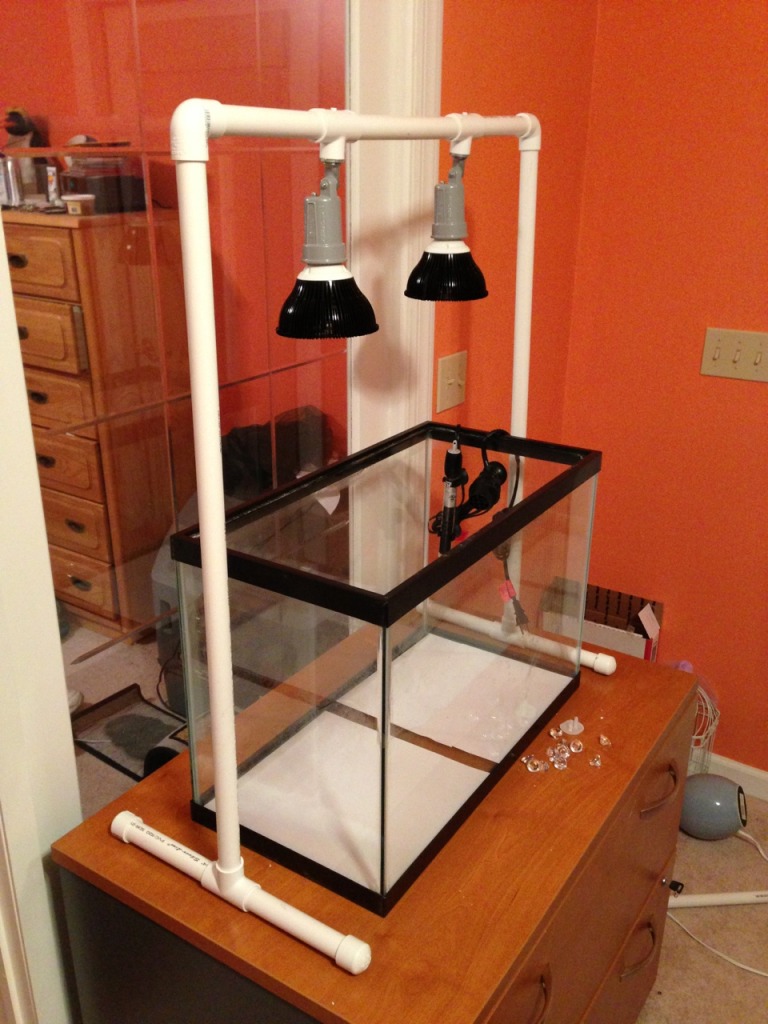
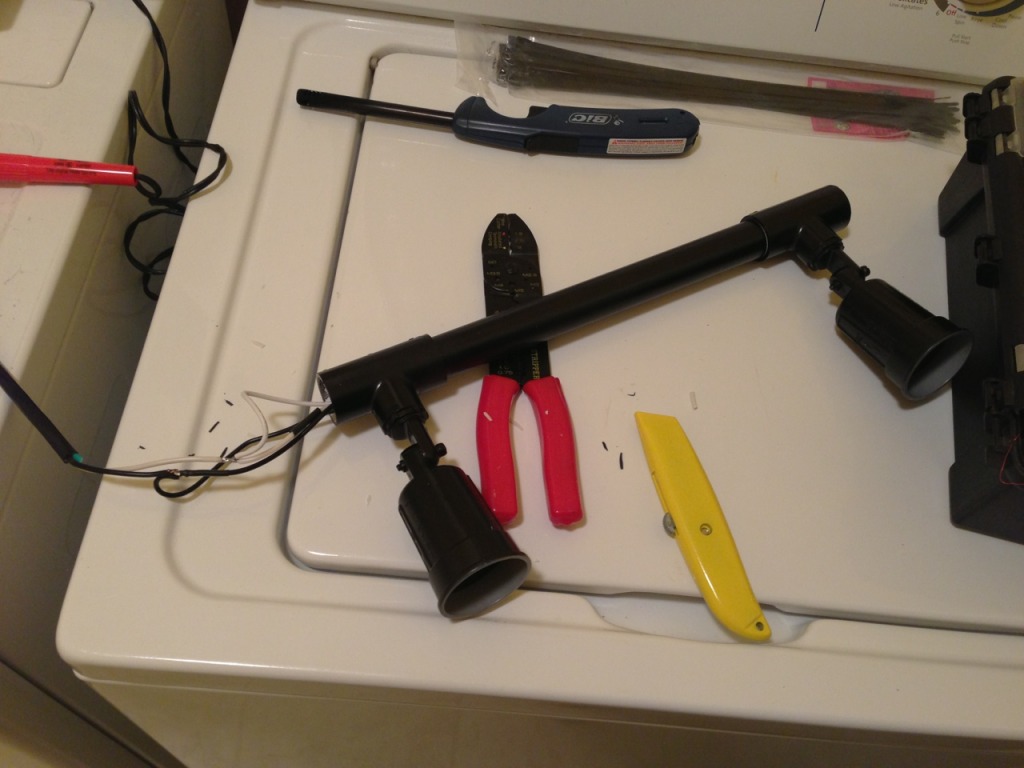
Once we were happy with the height/alignment of the bulbs we took it outside and shot it with the Krylon Fusion (Put 2 old lightbulbs in the fixtures to stop paint from getting into the sockets)
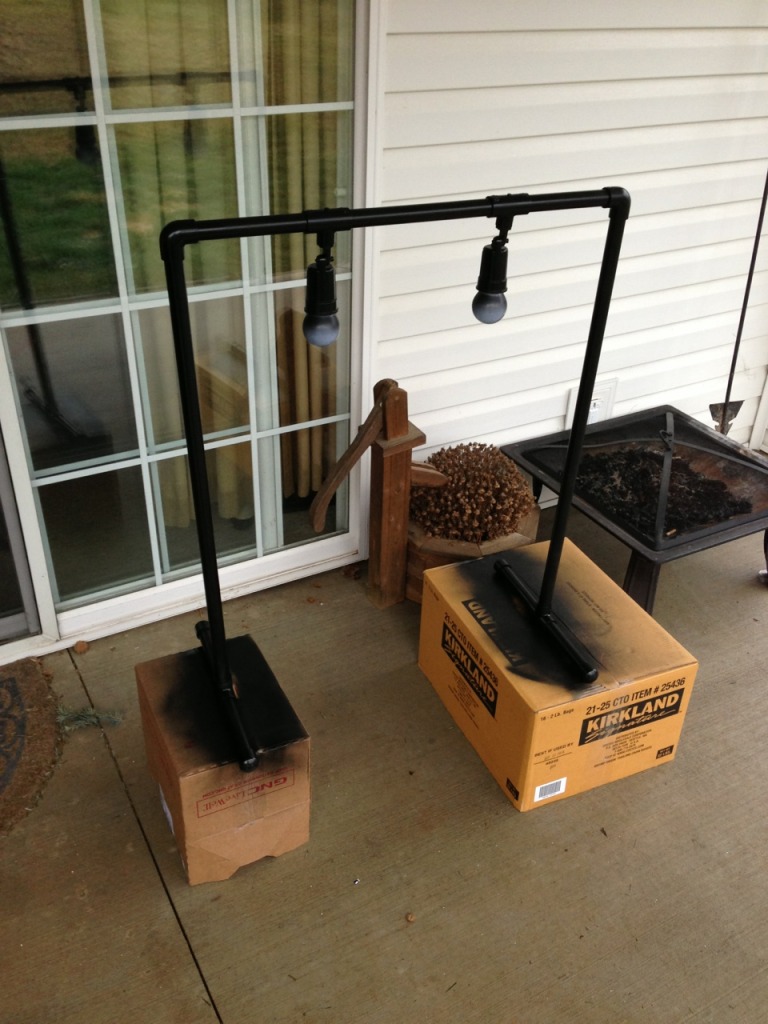
I cut the female end off of an extension cord and drilled a hole in one of the top 90* Elbows (I was going to run the cord completely through the PVC and out one of the feet but decided to make the top bar removable so we can change the vertical bars to adjust the height if we want/need to. Soldered and heatshrinked the end to the far fixture then stripped the insulation off of a section of extension cord further down and soldered the wire from the closer fixture to that, electrical taped it all up, put the pipe together and pulled the cord tight.


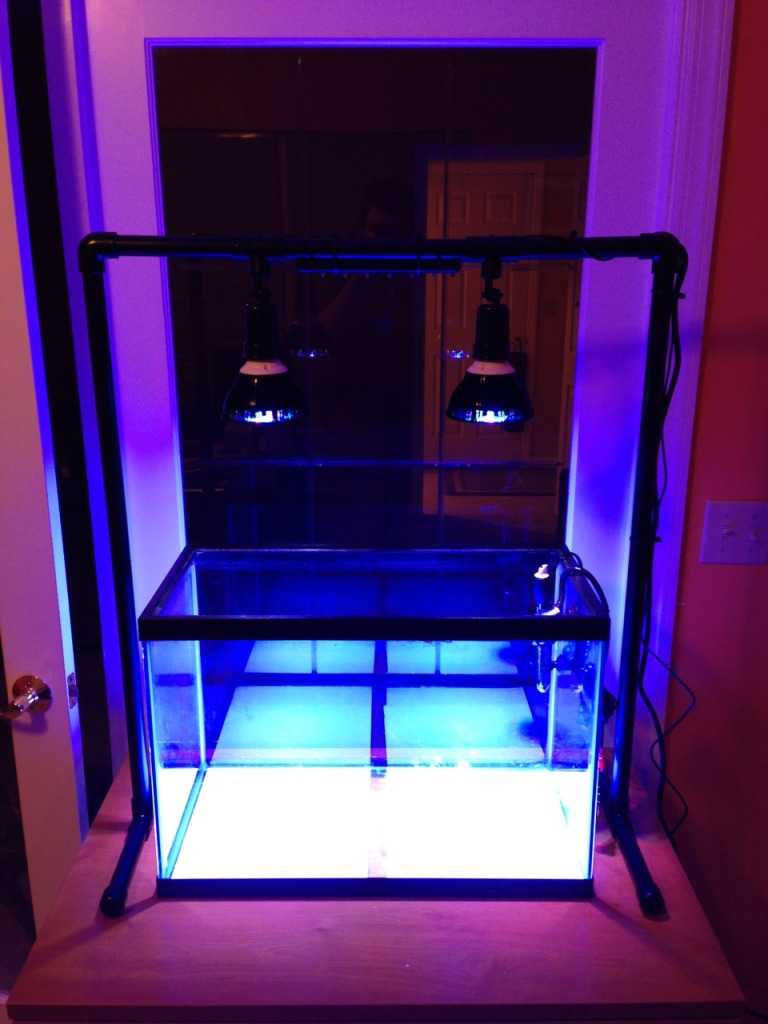
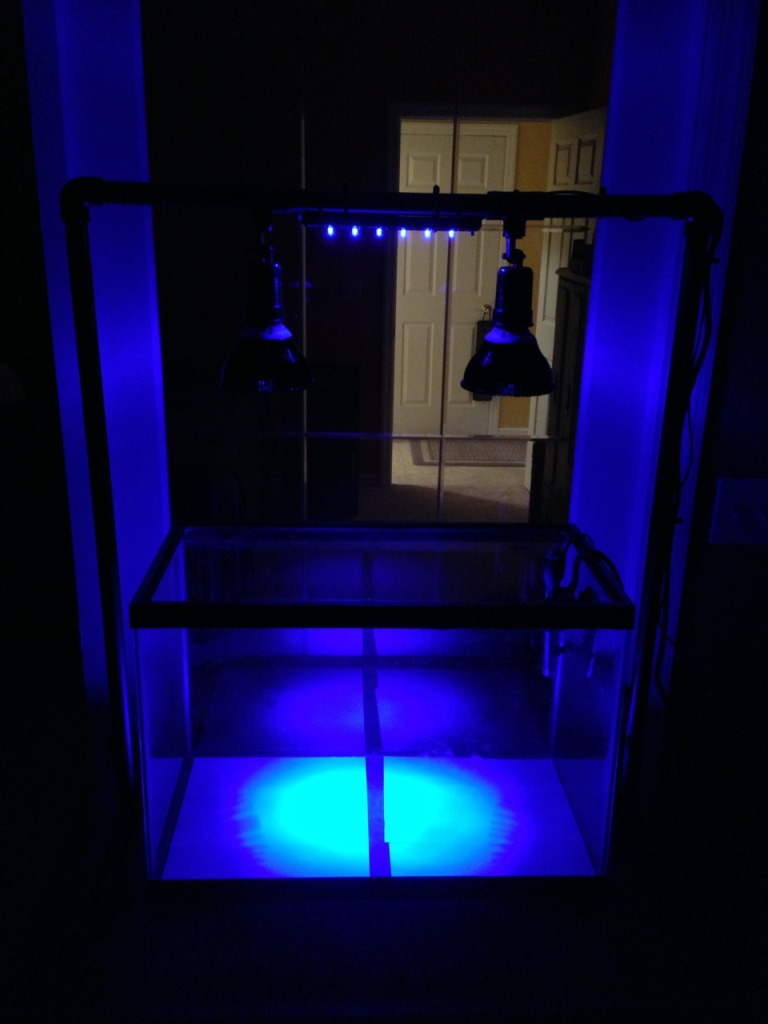
Assembled and zip tied the extension cord down the vertical pipe. I also had a Marineland LED Bubblewand laying around that I wasn't using so I zip tied that between the T's on the crossbar and ran the power cord for that across and down with the main one, I will use it for moon lights for now.
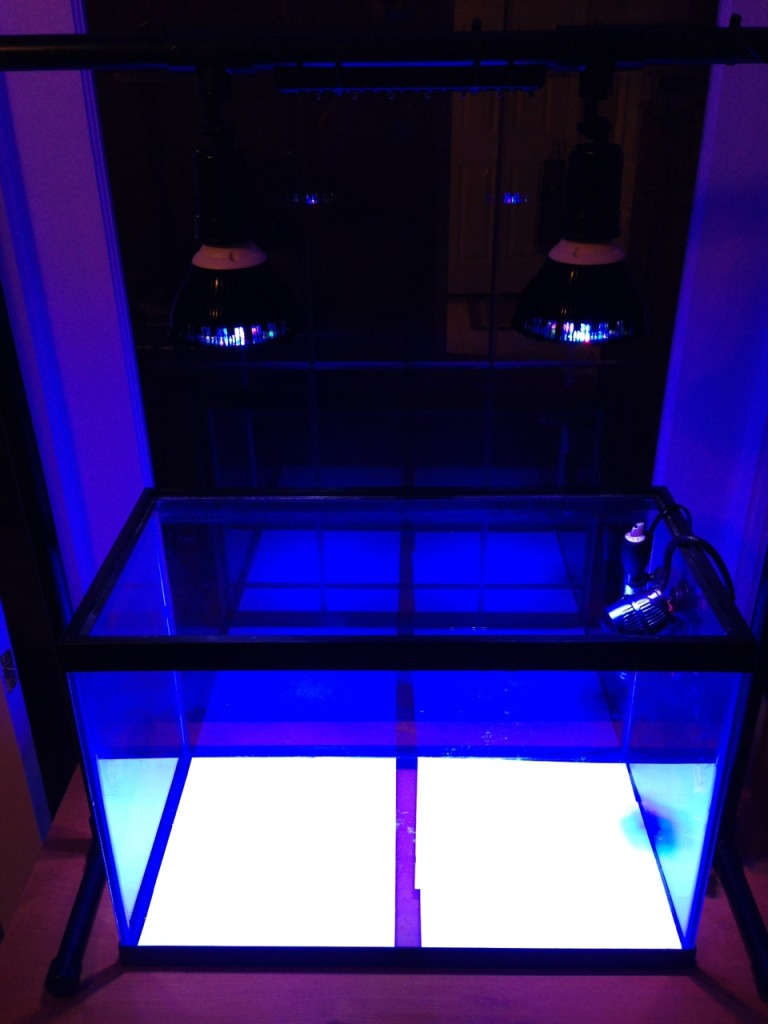
Moon lights on
That's about it so far. Have been considering epoxying the fittings together as it like to sag if moved a little bit, a quick pushing everything back together gets it back in line. Also looking into putting rubber on the feet so that it doesn't slide as easy on the cabinet.
Any questions, let me know! I think I have less then $20-25 into this stand.
I used...
2 10' pieces of 3/4" PVC
2 90* 3/4" Elbows
2 3/4" T's
4 3/4" Rounded End Caps
2 3/4" to 1/2" threaded T's
2 Metal Spotlight Fixtures (Found in the electrical aisle at Lowes, threaded perfectly into a 1/2" threaded PVC Fitting)
8' Extension Cord
Krylon Fusion Matte Black
Here were the plans I drew up in Visio.
The spotlight fixture threaded into the T's
I made the bottom support legs each 7" then using the bulb in a lamp we were able to determine that 10" off of the top of the tank gave us good even coverage for the respective half of the tank so we added the height of the tank plus the height off the top of the tank and the height of the bulb/fixture/T and came up with how high we wanted the vertical pipe to be... If I remember correctly we are at about 35 or 36". Using the width of the tank divided by 4 we found the mid point for each half of the tank. Being a standard width 20G High (24") We were able to determine that 6" from each edge was the midway point for that half of the tank. I cut a 12" Piece of PVC to put inbetween the T's and it seems to be right on.
Here is the first test assembly
Once we were happy with the height/alignment of the bulbs we took it outside and shot it with the Krylon Fusion (Put 2 old lightbulbs in the fixtures to stop paint from getting into the sockets)
I cut the female end off of an extension cord and drilled a hole in one of the top 90* Elbows (I was going to run the cord completely through the PVC and out one of the feet but decided to make the top bar removable so we can change the vertical bars to adjust the height if we want/need to. Soldered and heatshrinked the end to the far fixture then stripped the insulation off of a section of extension cord further down and soldered the wire from the closer fixture to that, electrical taped it all up, put the pipe together and pulled the cord tight.
Assembled and zip tied the extension cord down the vertical pipe. I also had a Marineland LED Bubblewand laying around that I wasn't using so I zip tied that between the T's on the crossbar and ran the power cord for that across and down with the main one, I will use it for moon lights for now.
Moon lights on
That's about it so far. Have been considering epoxying the fittings together as it like to sag if moved a little bit, a quick pushing everything back together gets it back in line. Also looking into putting rubber on the feet so that it doesn't slide as easy on the cabinet.
Any questions, let me know! I think I have less then $20-25 into this stand.


