My rendition of 300

OP
OP
Sisterlimonpot

Sisterlimonpot

Effortless Perfection
View Badges
Joined
Jul 15, 2009
Messages
3,873
Reaction score
7,911
Location
Litchfield Park
Rating - 0%
0   0   0
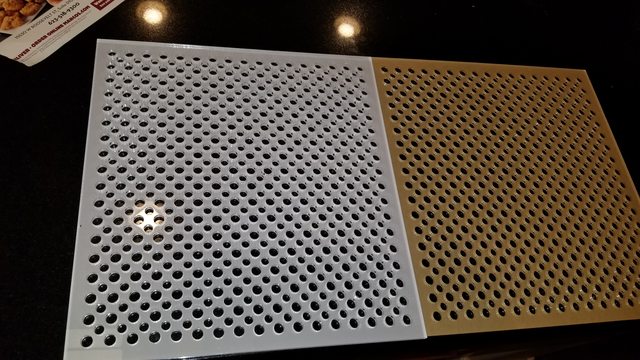
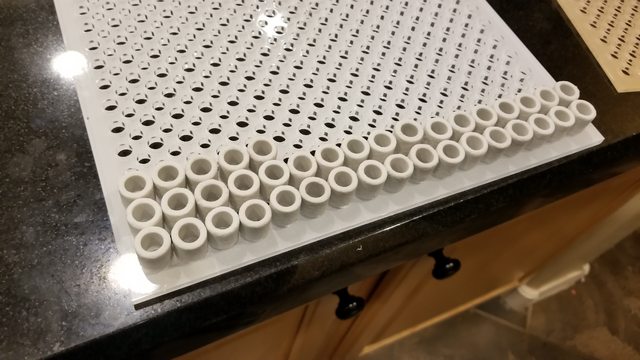
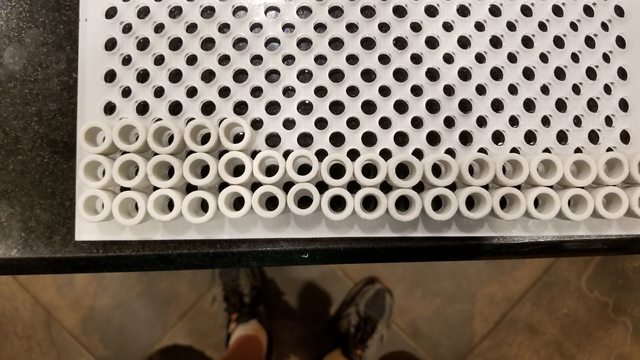
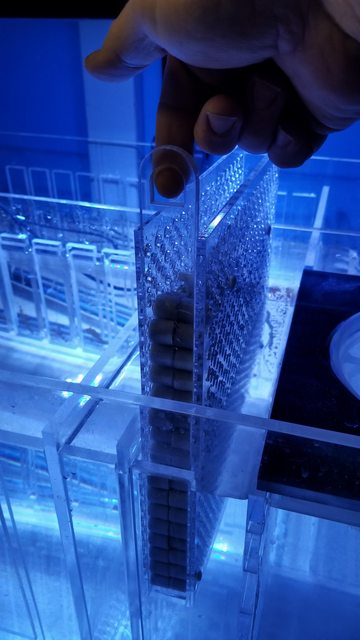
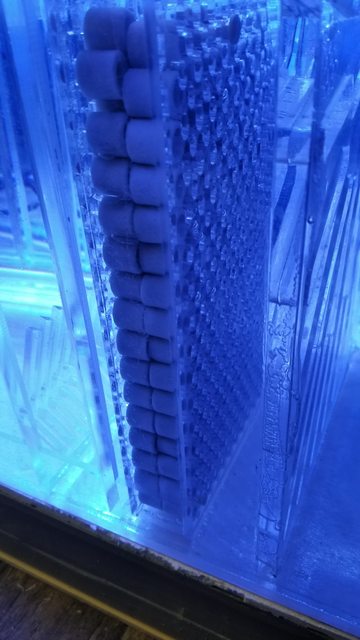
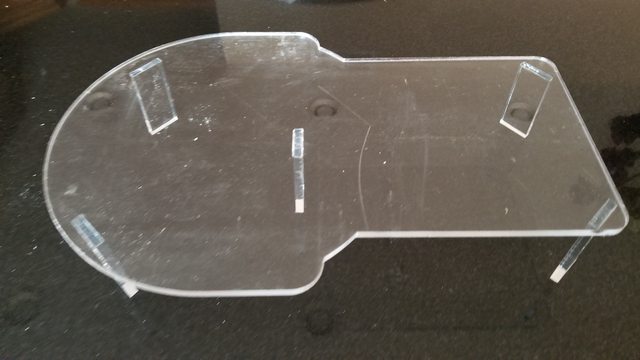
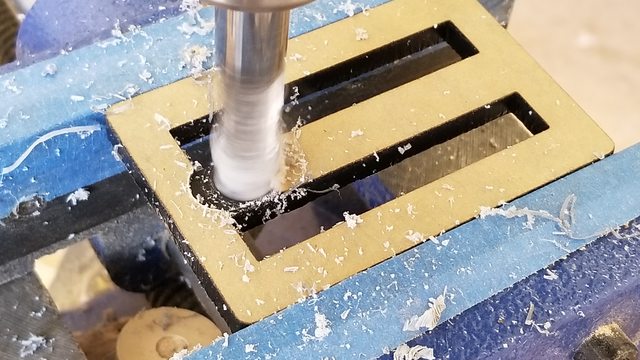
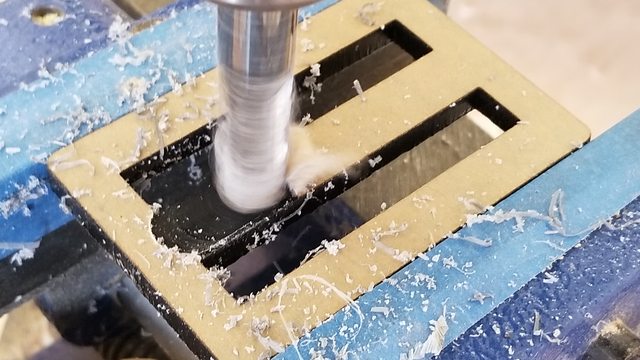
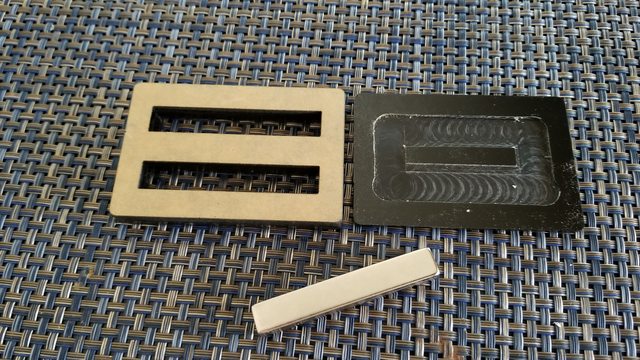
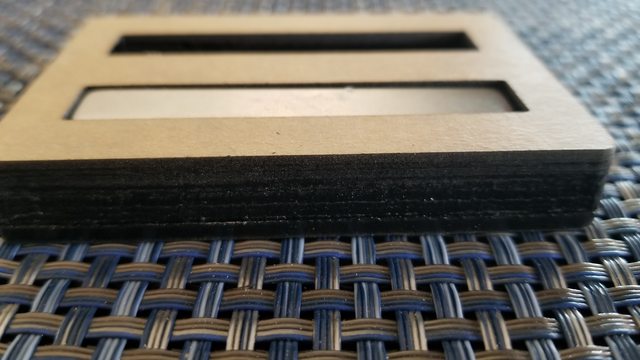
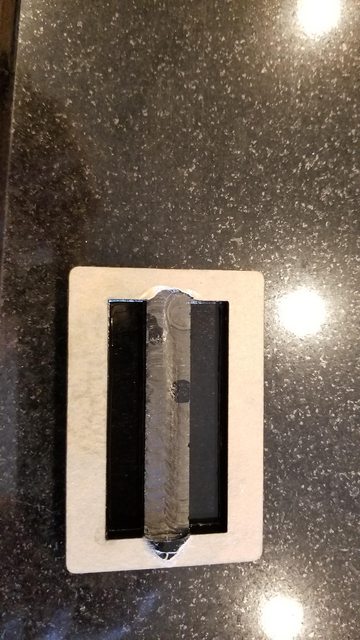
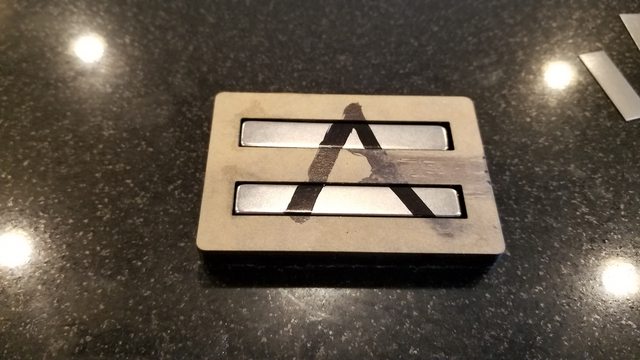
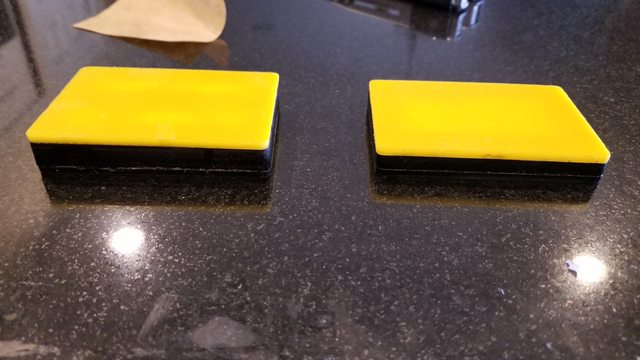
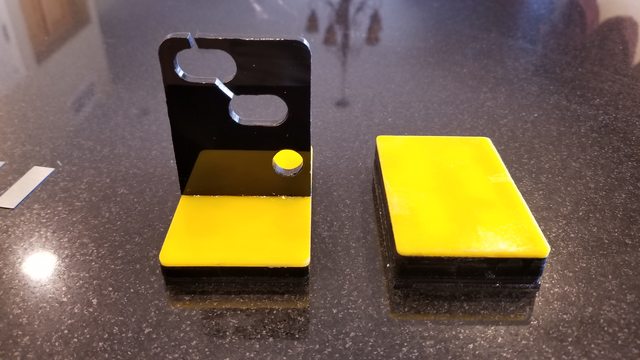
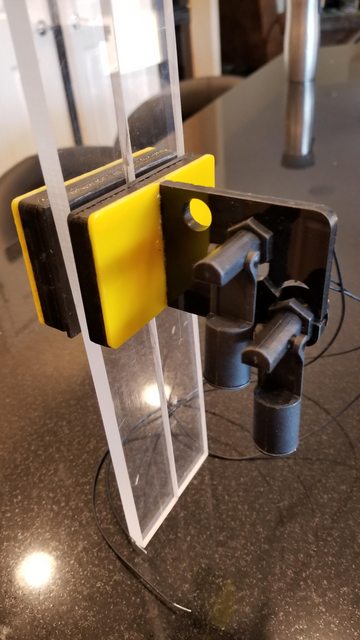
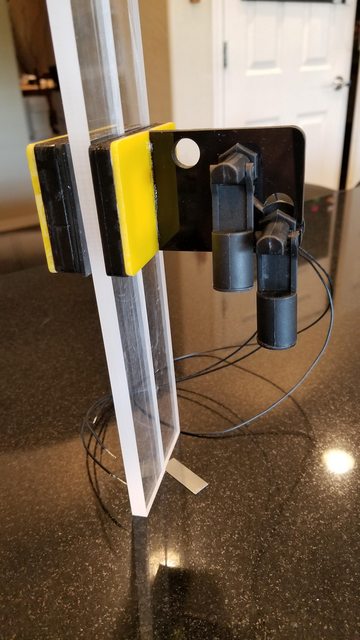
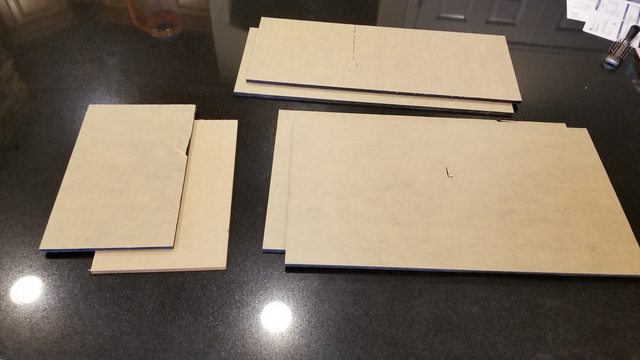
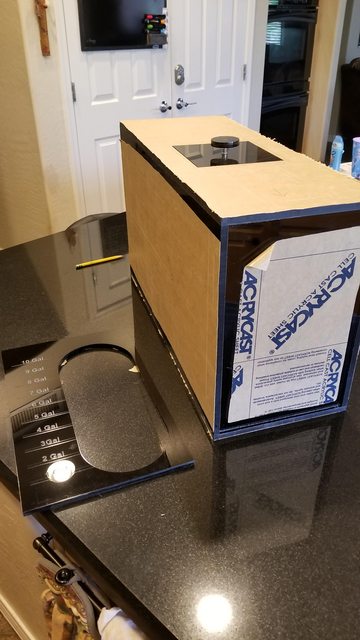
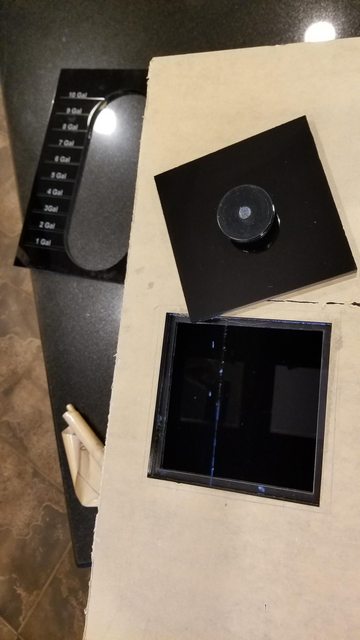
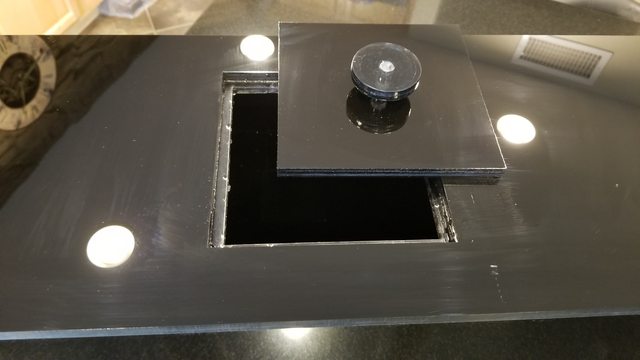
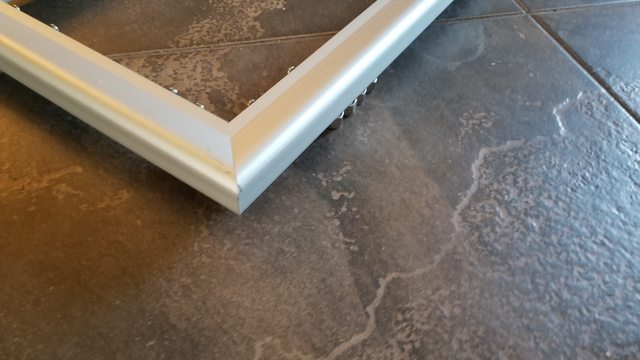
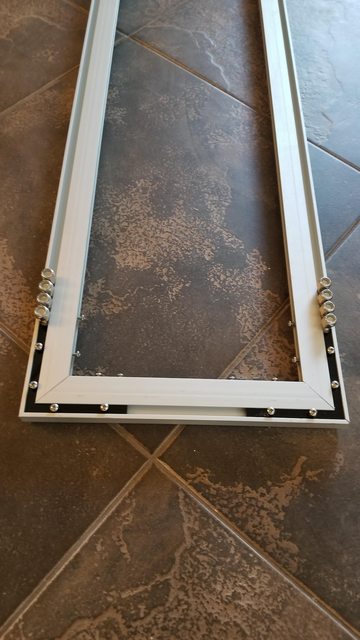
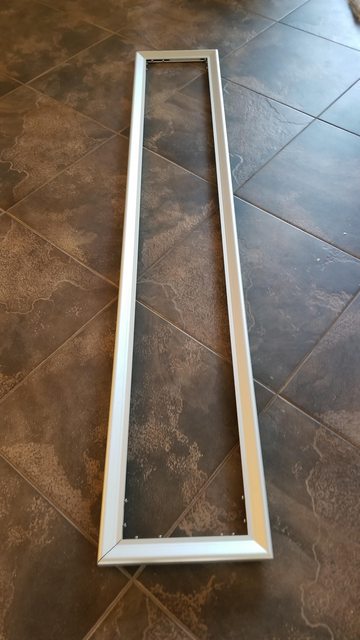
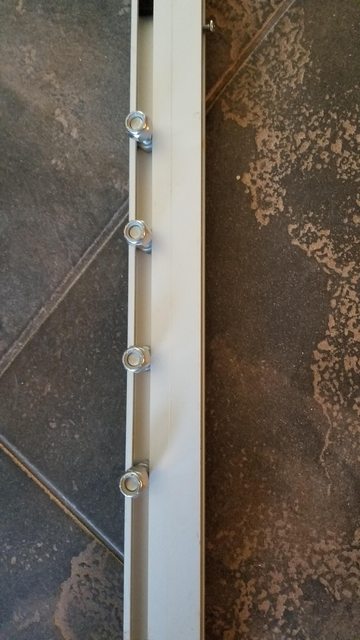
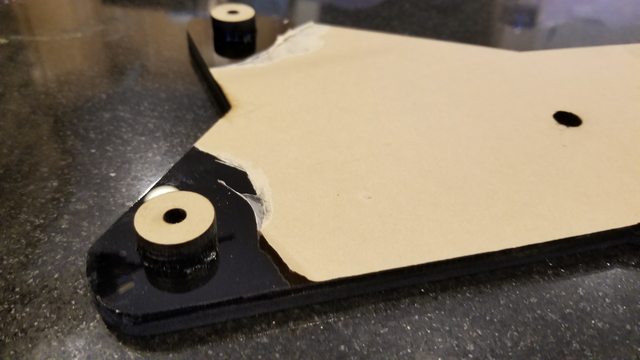
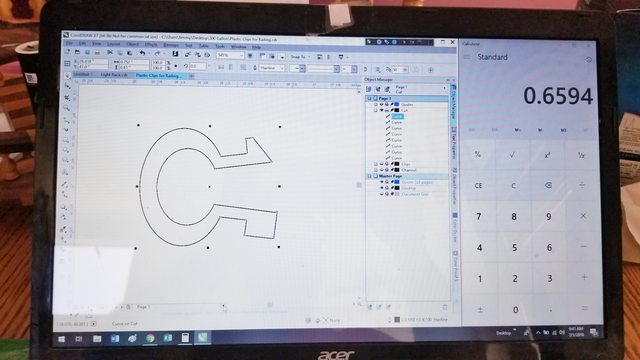
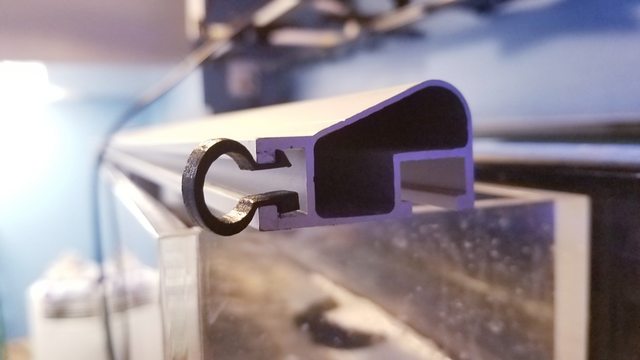
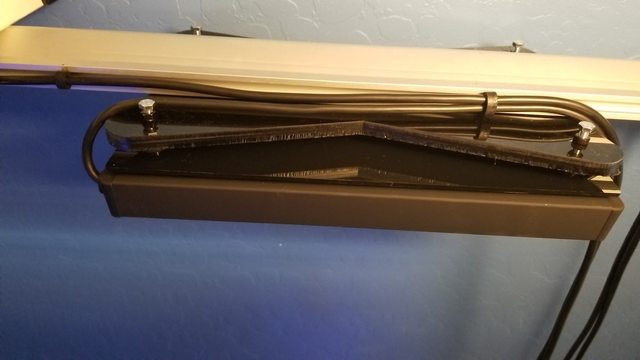
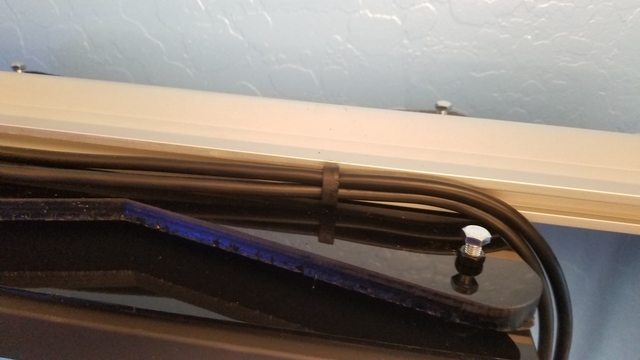
Since I re-aligned my laser it has been slicing through acrylic like butter. The filter sock cover is layered with 1/4" black, 3/8" clear and another 1/4" black, that's 7/8" thick piece that it had to cut through to make this hole for the uniseal.
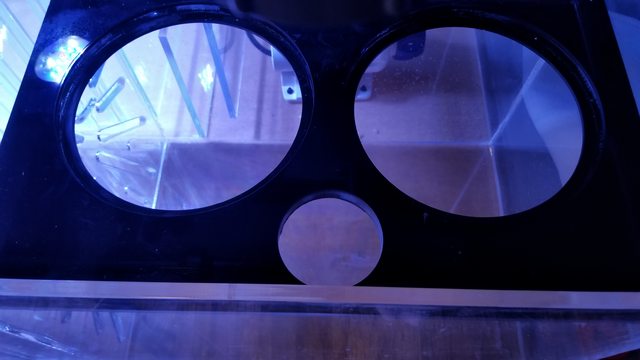
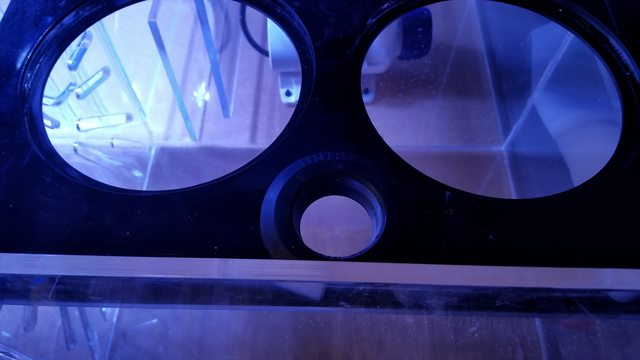
QZkAmJIl.jpg


3q9Srojl.jpg


Re61CHll.jpg


And just like that:

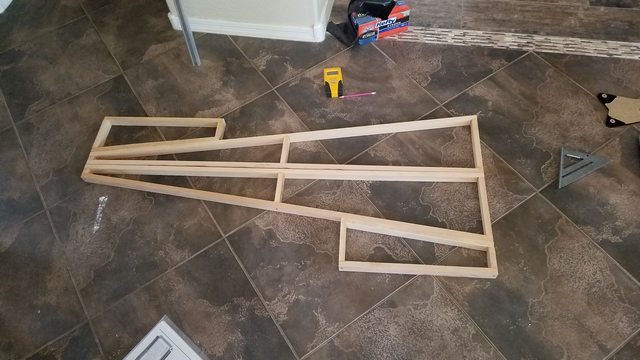
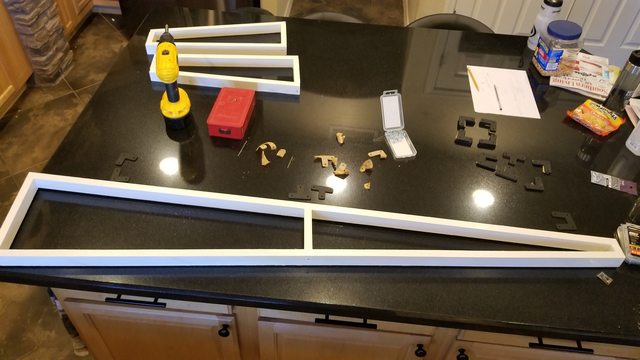
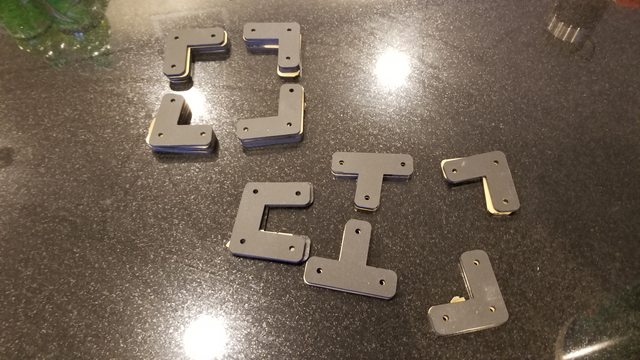
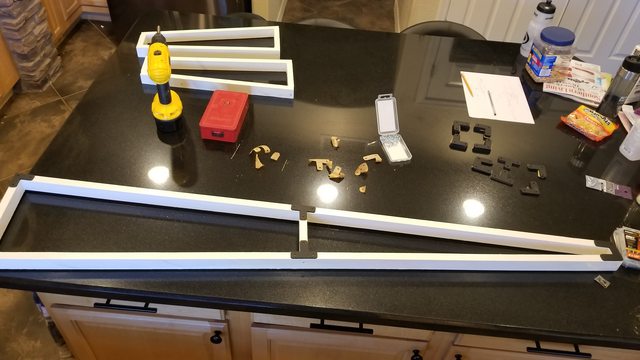
1. Build and paint the platform under the tank for the sump DONE
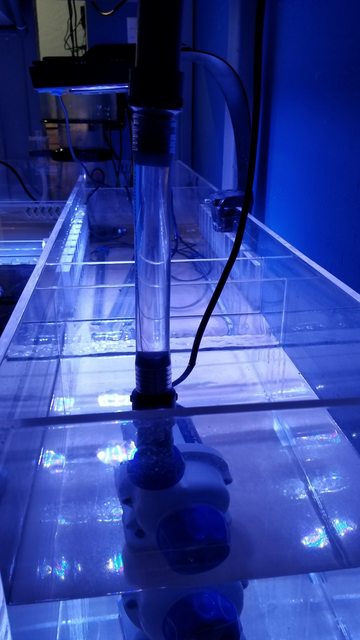
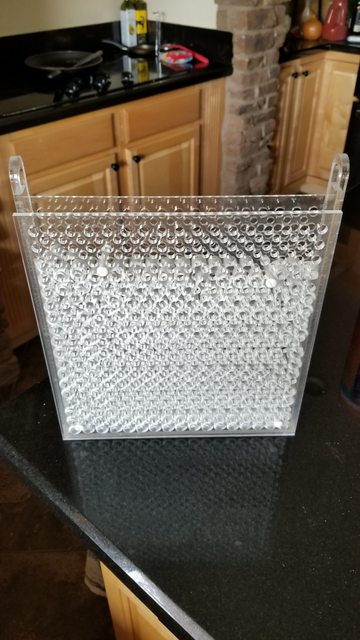
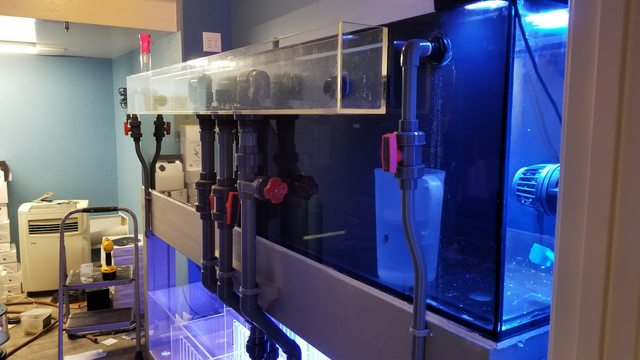
2. Cut out the acrylic for the ghost overflow DONE
3. Glue the overflow DONE
4. Drill holes in the tank for the overflow DONE
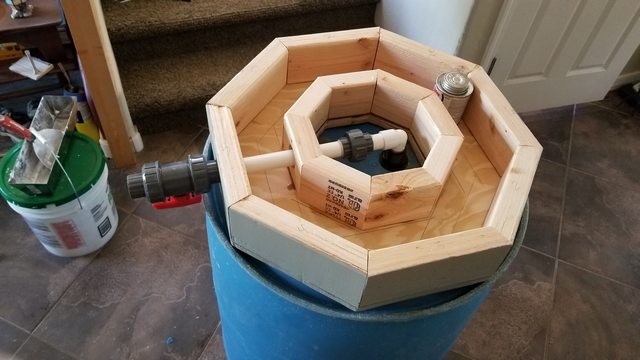
5. Drill holes in the tank for the returns DONE
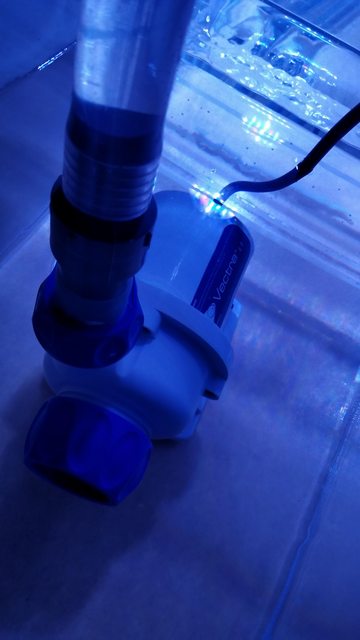
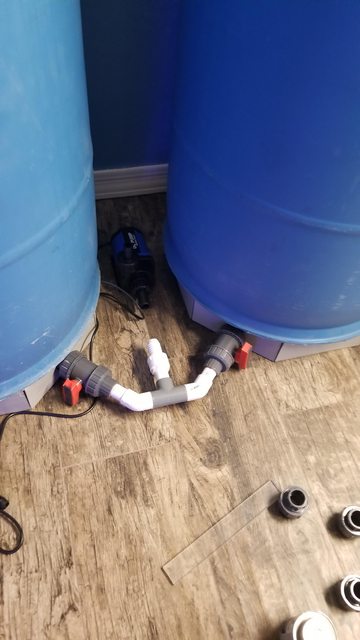
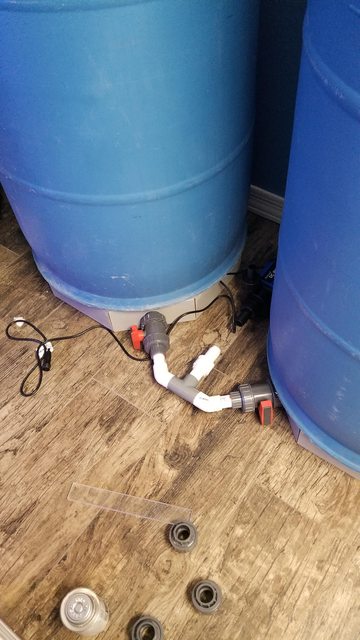
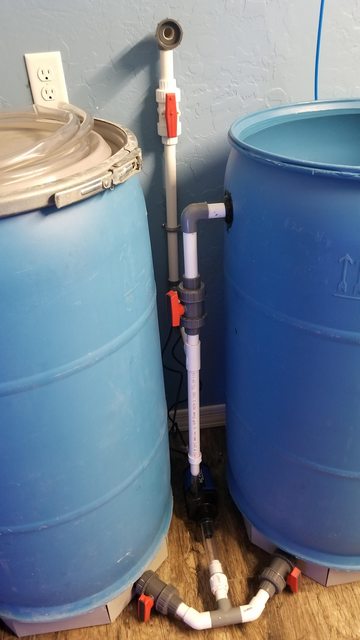
6. Cut and glue all the plumbing for the drain and return DONE

Gb09Uh4l.jpg


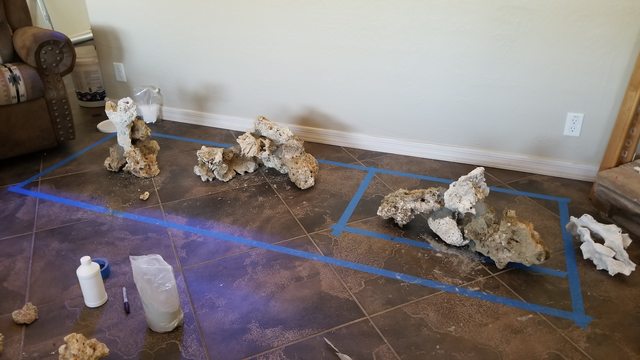
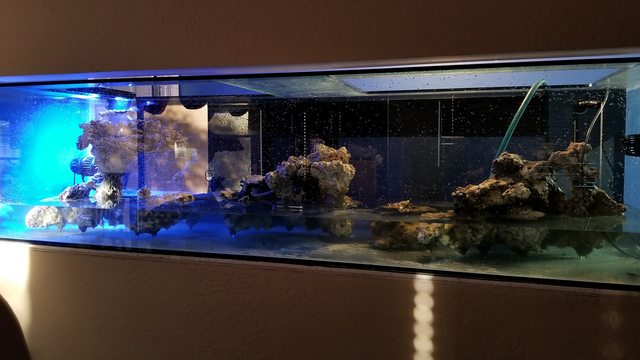
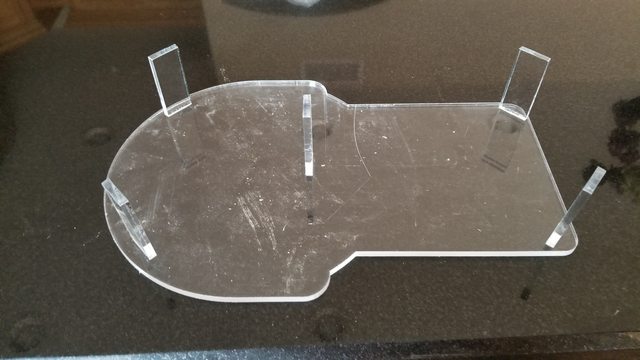
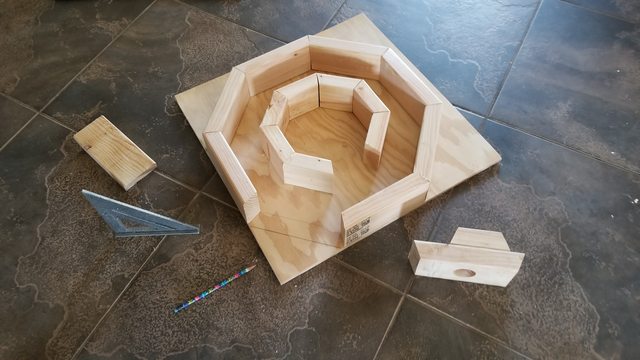
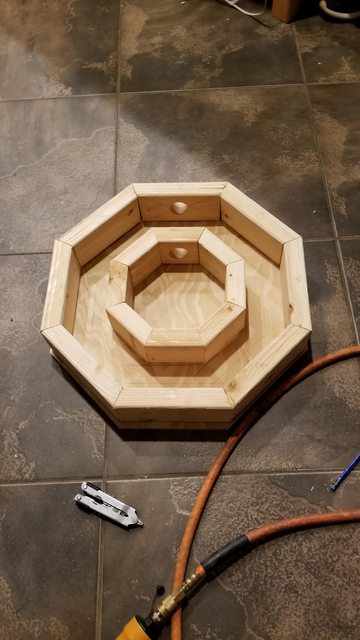
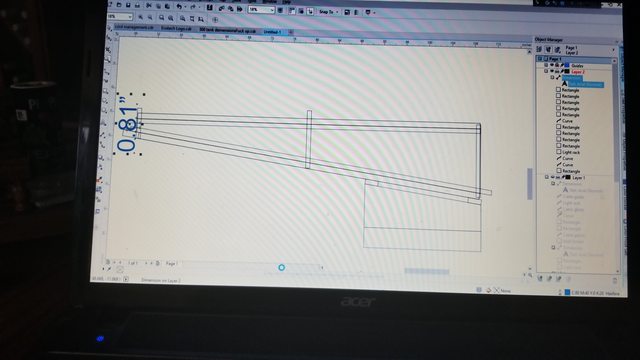
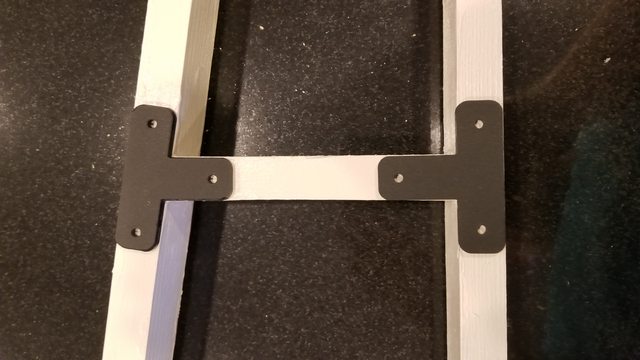
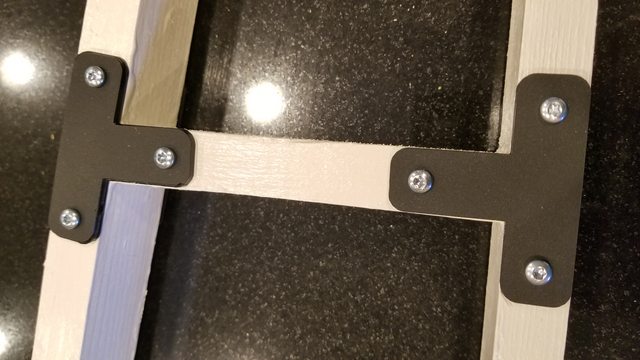
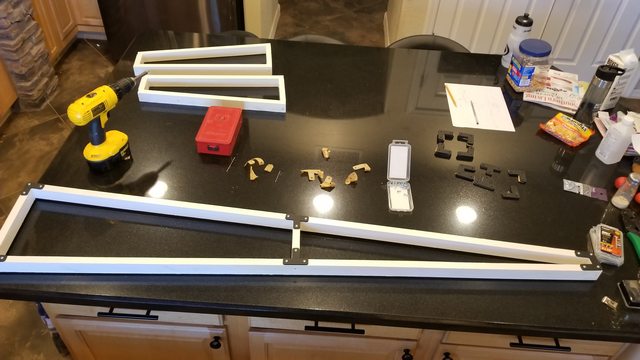
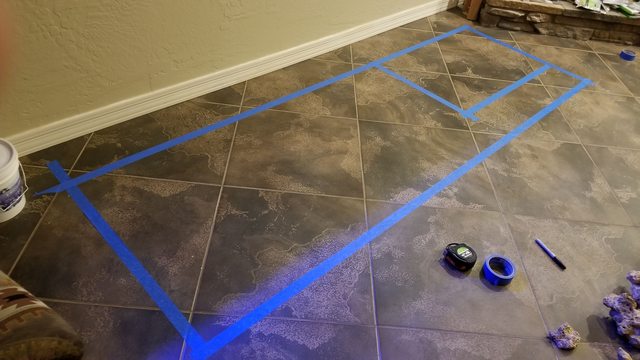
I mapped out the inside of the tank foot print

xlIrrxdl.jpg


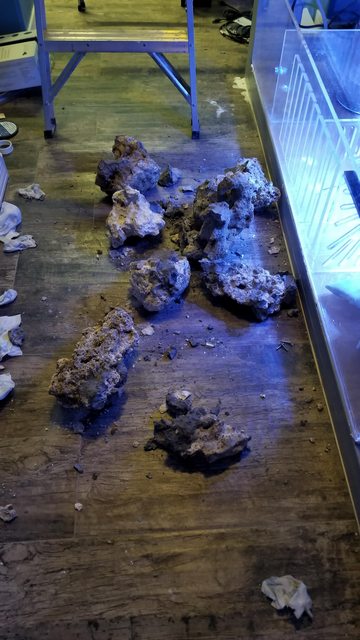
Since yesterday evening this is what my living room looks like:

j7Q2HsFl.jpg


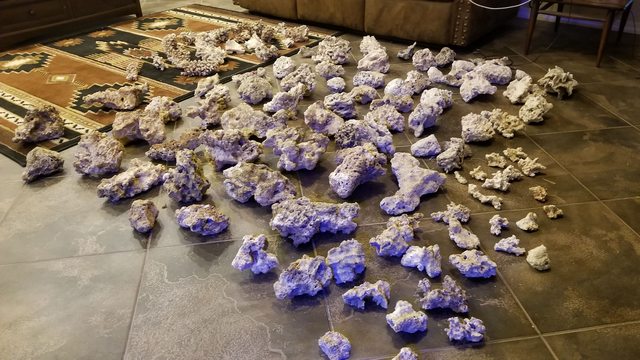
I had every intention to work on it today but we had a family day, when I got back home this evening, this is what I walked in on, hopefully tomorrow we will make progress on aquascaping.

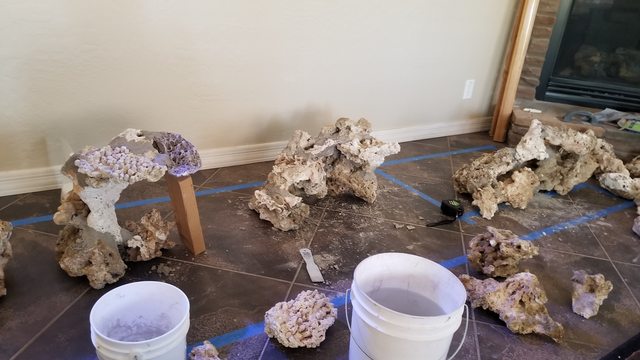
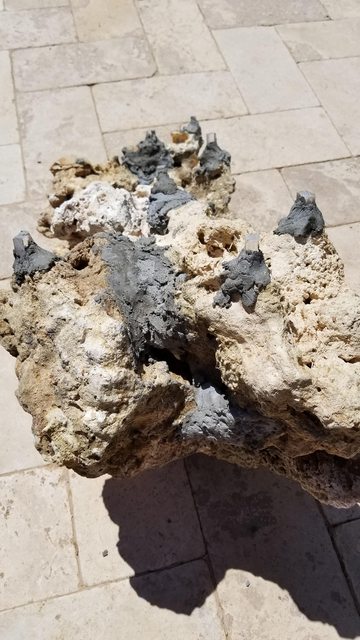
SawCJack00 was kind enough to give me his extra bucket of E-Marco 400, It's not enough to complete the task but it's a start. Last Thursday, I put in an order for another bucket. In the back of my mind I thought of this as a drug dealer giving me the first one for free!!! Now that I need more.....

lhyw880l.jpg


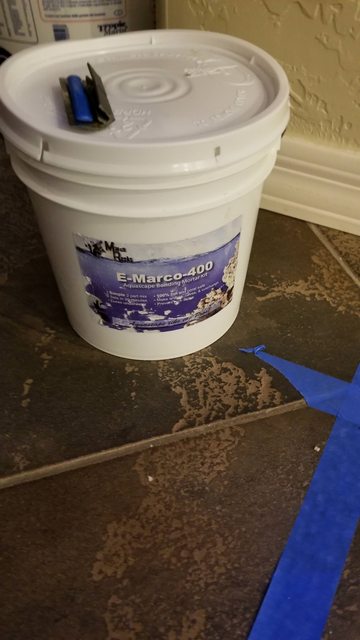
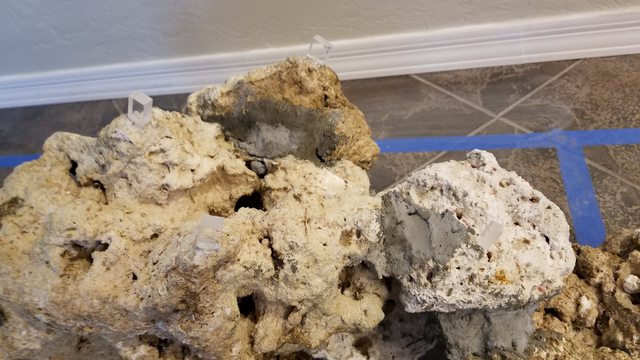
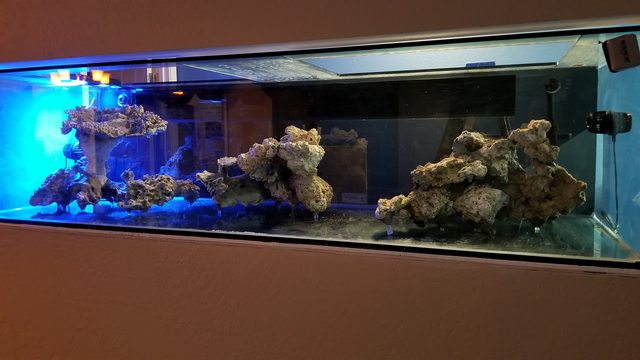
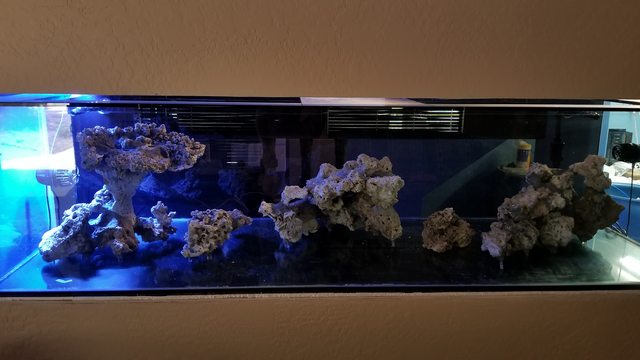
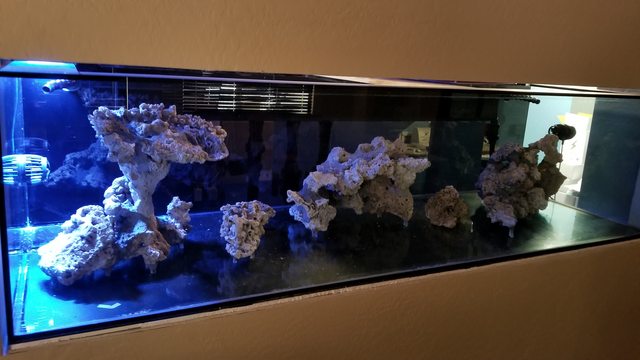
As of right now the plan is to make 3 islands in the tank, leaving plenty of open space for fish and coral grow out, but who knows what type of inspiration I will get along the way. Hopefully by days end tomorrow I will make some progress and get at least 1 island in the tank.
 
OP
OP
Sisterlimonpot

Sisterlimonpot

Effortless Perfection
View Badges
Joined
Jul 15, 2009
Messages
3,873
Reaction score
7,911
Location
Litchfield Park
Rating - 0%
0   0   0
I was able to work on gluing the rock together, I was surprised at how long it took. This was the first time using a mortar to make rock structure. I set up a base, mortared it together and let it cure for a few hours, then my wife and I would discuss what to put on next, mortar it... rinse wash and repeat.

From past experience, this event would only take a few hours in which I was hovering over the tank while my wife would tell me how to balance a rock on top of another and we'd be done in the matter of an hour give or take.

As stated previous, I wanted 3 islands:

jkaVOXIl.jpg


using what ever was near to prop up for the next mortar event:

AGCEdicl.jpg


Once the structures were complete, I attached some scrap acrylic cut 0.75" long and attached them to the bottom so that the bottom portion of the rock doesn't get covered with sand. the acrylic pieces should be covered by the sand leaving only the rock in view. they're a bit hard to see them in the photo:

oCUtXFWl.jpg


Here you can see them being reinforced with mortar:

dFkil9el.jpg


I didn't take any pictures of the islands completed, I was just going to show them when they were placed in the tank. That proved to be a bad idea because I needed documentation on how each rock went into place and what the final structure looked like. Instead of waiting for help lifting the structures up I decided to get the ladder out and do it myself... BAD IDEA!!!

About 5' in the air the rock I was lifting from decided to pull apart and crash to the ground, destroyed!

qyx7Ywhl.jpg


That was to be the wedge shaped island on the far right of the tank, I don't know about you, but when this happened I was flooded with all kinds of emotions. I didn't know if I should be angry, mad, sad or just simply just cry. I quickly realized that my 12 year old daughter was watching, so I just suppressed my reaction and simply said, "whelp! looks like I have to rebuild that one."
 
OP
OP
Sisterlimonpot

Sisterlimonpot

Effortless Perfection
View Badges
Joined
Jul 15, 2009
Messages
3,873
Reaction score
7,911
Location
Litchfield Park
Rating - 0%
0   0   0
"Rebuilt it" is what I did. of course it wasn't anything as good as the original, (it never is) but it will have to suffice. It took 2 days to build this one. I rushed it a bit.

It's hard to snap photos when there's such a glare on the glass, but here's what the final product looks like.

v1VwemCl.jpg


Ii875nyl.jpg


Dr0eRtal.jpg


oBEJyMol.jpg


It's hard to portray depth in a 2d photo. From left to right, a bonsai inspired island, a concaved cove, and a wedge that is shallow enough that I can peer from inside the room and see across the entire 8' of the tank.

...and now we start the slow process of filling the tank with water. I saved up 55 gallons about a month ago with the intention to make another 55 for this day. Well, I never got around to it...

FlcPROGl.jpg


Should've put the sand in first....

VsR7SoTl.jpg


today is day 4 of filling the tank, another day or 2 and it should be full and I can start adding salt and the cycle begins!!!
 
OP
OP
Sisterlimonpot

Sisterlimonpot

Effortless Perfection
View Badges
Joined
Jul 15, 2009
Messages
3,873
Reaction score
7,911
Location
Litchfield Park
Rating - 0%
0   0   0
Water is flowing, adding salt as quickly as I can to bring it to 1.026.

110rnqgl.jpg


tWCqiQMl.jpg


AZF4ArZl.jpg


I was able to calibrate and set up the Vectra L1 return pump. One thing that I'm a bit disappointed in, is that the Vectra isn't compatible with the WXM, it really irks me to think that the conflict of business gets in the way of individual versatility and choice to select particular equipment. With that said if anyone has a clever way to use this pump with apex and utilize the feed mode, I would be grateful.

I haven't done any hard looking yet but an option may be to have the Vectra plugged into the EB832 and when feed mode is initiated it will cut power to the Vectra having it go to battery backup, and while in battery backup have it run at the predetermined minimum speed, to prevent water from being siphoned back into the sump.

Does anyone know if that's possible???

Among the pumps, I'm slowly getting my feet wet with Apex programming again, and bringing all the MP's online... one thing that I want to point out is that the sheer silence of these Quiet Drives is amazing. I had an old MP60 running on one side of the tank and a new MP40QD on the other side. Standing next to the 40, I couldn't hear it but I could easily hear the 60 that was 8' away. couple the Bean Animal silent failsafe return setup and the QD's the loudest thing so far is the hum of the skimmer.

If you remember, when I picked up my acrylic, I asked the guy for scrap pieces and I was able to walk away with a hodge podge of assorted sizes and thicknesses. in which I was able to make a tray for the siporax.

With the laser I was able to cut holes to align with the siporax,

mXXjrREl.jpg


vcdgwmtl.jpg


Knowing that the siporax isn't machined to precision I was able to take averages and hopefully keep the pieces aligned with the holes...But in the grand scheme of things it doesn't matter, there's enough holes for flow and ample opportunity for surface exposure for bacteria

fXvz2jjl.jpg


Cut these out with the laser

ebKqIcYl.jpg


Bonded them together

G6onRznl.jpg


And this is where most of you will say, "that's too much work!" but I stacked them 2 high

VX0nAtOl.jpg


OvbEzlll.jpg
 
OP
OP
Sisterlimonpot

Sisterlimonpot

Effortless Perfection
View Badges
Joined
Jul 15, 2009
Messages
3,873
Reaction score
7,911
Location
Litchfield Park
Rating - 0%
0   0   0
To create the ability to add more or take away, I had to make it easy to gain access to the siporax. so I'm using these 1.5" sex bolts to hold it altogether

9WBmyRZl.jpg


Ds72VbPl.jpg


SDcSPZIl.jpg


I only purchased 2000ml to see where that puts me when the tank is booming with bio diversity. The tray has some room for growth and can probably hold 3000 ml. If I need more, I can make another and stack them as deep as I need.

wg3rbLyl.jpg


ZgkIGd8l.jpg


That's my contribution this time... While the tank starts its cycle, my next big project is a light rack, I have some aluminum rails that I've been holding onto for a while for this reason, however I need someone that can TIG weld, and I can't find anyone locally.... I may have to turn to the laser again for brackets.... More to come.
 
OP
OP
Sisterlimonpot

Sisterlimonpot

Effortless Perfection
View Badges
Joined
Jul 15, 2009
Messages
3,873
Reaction score
7,911
Location
Litchfield Park
Rating - 0%
0   0   0
Here's an impulsive creation that only took 20 minutes from from conception to completion, I already had the exact foot print of my skimmer mapped out when I was designing the sump which made it easy to cut a platform for it... no measuring at all

zDckl69l.jpg


EgyxKNQl.jpg


7WSgmSVl.jpg


LtMHIBel.jpg


Raised the skimmer up to the proper level... bad news is that it made collection cup servicing a little harder... but there's still plenty of room.

Dv7JkHGl.jpg
 
OP
OP
Sisterlimonpot

Sisterlimonpot

Effortless Perfection
View Badges
Joined
Jul 15, 2009
Messages
3,873
Reaction score
7,911
Location
Litchfield Park
Rating - 0%
0   0   0
I've been evaping roughly 3 gallons a day, and I don't want to continue adding water so the ATO system has turned into the top priority. I've bee making progress on the lights and I will share it with you guys once it's complete. In the meantime, I had to build a stand for the barrels so that I could drill the bottom of them and place some bulkheads, There's not much to the stand cut out 8 pieces at 22.5 degree angles then nailed and glued them onto a 1/2" piece of plywood

QxqkzUnl.jpg


Trimmed the edges

Q3YWzLhl.jpg


Routed around the middle to make room for the plumbing

mCucayCl.jpg


Painted them, set them in place and started plumbing

7cROy7kl.jpg


YQWIW8Gl.jpg


I'm using one of my jebao pumps to transfer and recirculate water, this will be the first time using one of these pumps outside of the water, let's hope for no leaks.

Eg5StFkl.jpg


I'm stopping here for the day, going to let the glue dry and test it out tomorrow.

Knowing how much I'm evaping will help me deterine the size of the ATO container that I'm going to build. I want it to hold at least 3 days of water and no more than 5.. this will help if there's a problem and the ATO get's stuck on, it won't dump 55 gallons of fresh into the tank. Which means, I will probably go with a 12 gallon container.

Some good news to report, I walked into the equipment room this afternoon and the exhaust fan was running based on the humidity level. I have the sensor adjusted to come on at 20%, which is the lowest I can go with it... 20% still feels a bit muggy, I need to get a humidity meter for the room to see what it actually is. I also need to set up the AC to maintain a constant temp in there which will help with humidity, yet another thing that needs attention.. hehe.

Thanks for following along.
 
OP
OP
Sisterlimonpot

Sisterlimonpot

Effortless Perfection
View Badges
Joined
Jul 15, 2009
Messages
3,873
Reaction score
7,911
Location
Litchfield Park
Rating - 0%
0   0   0
Finally finished the ATO system today, over the last week I've slowed down with other priorities popping up, but I managed to make my own magnet holder for the high low float switches. Here’s a photo dump of what I’ve accomplished.

Cut layers out on the laser and then had to machine some surfaces for the thickness of the magnets.

yANiI5kl.jpg


NR7Zaeul.jpg


7XqBbLBl.jpg


These are to redirect the magnetic field so that it doesn't interfere with the reed switch in the float switches
1WiQ2Bdl.jpg


Used some neodymium magnets to couple to 2 halves together. (when did these things get soo expensive??
svp4nBEl.jpg


xatAyUSl.jpg


OXV9SW7l.jpg


GRxsKpgl.jpg


p9xY5w3l.jpg


okIAmRLl.jpg
 
OP
OP
Sisterlimonpot

Sisterlimonpot

Effortless Perfection
View Badges
Joined
Jul 15, 2009
Messages
3,873
Reaction score
7,911
Location
Litchfield Park
Rating - 0%
0   0   0
tmgELocl.jpg


Layered them all together and sealed them from salt water
sxig5nrl.jpg


Here'sthe 2 magnetic halves holding together in between 3/8" acrylic

RnNs4e5l.jpg


Then I cut out a piece for the float switches and float valve

CMVeSlfl.jpg


Float switches attached... those magnets could hold a lot more weight if needed
fPJrcASl.jpg


cFIc3DEl.jpg
 
OP
OP
Sisterlimonpot

Sisterlimonpot

Effortless Perfection
View Badges
Joined
Jul 15, 2009
Messages
3,873
Reaction score
7,911
Location
Litchfield Park
Rating - 0%
0   0   0
I'm still working on finishing up the ATO system and the light rack, but in the mean time I had to deal with some cord management of the Ecotech pumps...

mqpSZNxl.jpg


Simply unacceptable!!!

Got this today and went to work installing it

wqjXSs3l.jpg


2 screws and channel the wires and DONE!

aW0sX0Ul.jpg


nIjqoMPl.jpg


More to come!!!
 
OP
OP
Sisterlimonpot

Sisterlimonpot

Effortless Perfection
View Badges
Joined
Jul 15, 2009
Messages
3,873
Reaction score
7,911
Location
Litchfield Park
Rating - 0%
0   0   0
Little things are starting to come together, buttoning up cords and hoses. I was also able to get the macro algae light on line...

tWZVjn0l.jpg


Tucked up underneath the stand

ycel2gBl.jpg


v6avxnql.jpg


I can't quite put my finger on it, something about it reminds me of Amsterdam

CFxxOagl.jpg
 
OP
OP
Sisterlimonpot

Sisterlimonpot

Effortless Perfection
View Badges
Joined
Jul 15, 2009
Messages
3,873
Reaction score
7,911
Location
Litchfield Park
Rating - 0%
0   0   0
I finally got the ATO completely automated not much to document there, except that I added an extra step to the process and I hope it doesn't prove to be an issue down the road. Traditionally a RODI feeds a storage container and the ATO pulls from that storage container for top off. My storage container is 55g and if for some reason the ATO decides to not turn off it would dilute the tank with 55g. I added an extra container in the mix, in the event it would to only dump 10g. There's so many fail safes before something like that would happen but that helps me sleep better at night.

The 10g is fed by the 55 four times a week, monday will be the 1 week mark of it being automated, and so far things are going smooth. Down the road I may have to add a 5th time.


LIGHTS
I've had this extruded aluminum for a few years knowing that I was going to use it for lights. I had 2 of them 12' each.

TTPDHGQl.jpg


3krtVZnl.jpg


Cut them at a 45 degree angle and cut out some brackets to connect it together

BTUIC83l.jpg


CeWFIQUl.jpg


e5XwfO1l.jpg


I used stainless steel bolts to slide in the channels and cut out acrylic brackets for the radions

703nIyQl.jpg


MUCcL8Al.jpg


gclRh7Wl.jpg


2szmM9Gl.jpg


ISTmGNgl.jpg
 
OP
OP
Sisterlimonpot

Sisterlimonpot

Effortless Perfection
View Badges
Joined
Jul 15, 2009
Messages
3,873
Reaction score
7,911
Location
Litchfield Park
Rating - 0%
0   0   0
With that out of the way, I constantly was toying with many different ways to move the light rack out of the way. Do I raise it straight up? or do I slide it back. Both had its own set of challenged. I wanted to be able to gain access from the top. and not get sun burned on the top of my bald head.

Both choices were doable, at the end I decided to make a rail system and have it slide back and up out of the way.

I turned to CorelDraw to design it. I toyed with many different designs that were far more elaborate, but I went with "KISS". Which was good because money for this project is getting tight. I'm starting to compete with my wife and her pet project, the theater room.

J8uIy8wl.jpg


Sf6zQWcl.jpg


Cut the frames out using exact angles as the drawing

QJMSXjal.jpg


Painted them and added an extra flare with the brackets

XJkCBPzl.jpg


bqCOqAIl.jpg


4cM7Imll.jpg


n1Pt0UIl.jpg


dsc5J21l.jpg


sFYoCbUl.jpg


Okgyehhl.jpg
 
OP
OP
Sisterlimonpot

Sisterlimonpot

Effortless Perfection
View Badges
Joined
Jul 15, 2009
Messages
3,873
Reaction score
7,911
Location
Litchfield Park
Rating - 0%
0   0   0
For the past few weeks I've been looking for stainless steel box rails, and all of them were way out of my price range, I even found some that were designed for sliding doors on boats, unfortunately they were out of my price range as well. I stumbled across a complete kit that was the exact size that I was looking for made out of aluminum with bearinged neoprene rollers. The frame for the rollers aren't stainless, so I'm not sure how it's going to fair with salt water.

OIsmabSl.jpg


Rf7bRgYl.jpg


WQhHAMCl.jpg


Screwed them to the frame

lpYrkjQl.jpg


8ea8GvEl.jpg


jliCypJl.jpg


2 mirrored sections
WDWI990l.jpg


AUhdfCHl.jpg


lwNbw9Vl.jpg
 
OP
OP
Sisterlimonpot

Sisterlimonpot

Effortless Perfection
View Badges
Joined
Jul 15, 2009
Messages
3,873
Reaction score
7,911
Location
Litchfield Park
Rating - 0%
0   0   0
screw them to the ceiling making sure that the rails are exactly parallel to each other
ReHHueUl.jpg


foHAbCvl.jpg


7O2dvaPl.jpg


I need to secure the light rack to the rails and make a shelf for the power supplies and them route the cords so that they don't get tangled up.
 
OP
OP
Sisterlimonpot

Sisterlimonpot

Effortless Perfection
View Badges
Joined
Jul 15, 2009
Messages
3,873
Reaction score
7,911
Location
Litchfield Park
Rating - 0%
0   0   0
Last night I was on a roll trying to get these lights up and running but I had to stop short to spend some quality time with friends and family.

I was able to get 4 lights up on the rack and (I know) once again I turn to the laser to cut out some cord clips out of ABS (I'm sure a lot of you are, "Enough with the laser already!!!)

OIHfD6sl.jpg


I made clips that will snuggly hold 1 and 2 wire(s) to snap into the aluminium channel.

FkDkfbFl.jpg


54gzFuml.jpg


pO1wt68l.jpg


NWkqb9El.jpg


IXPPspXl.jpg


Y6IGnpZl.jpg


I'm hoping that by the end of the day I will have lights shining over the tank... but in the mean time... more family and friend time.

qBDW21Pl.jpg
 

Creating a strong bulwark: Did you consider floor support for your reef tank?

  • I put a major focus on floor support.

    Votes: 59 40.1%
  • I put minimal focus on floor support.

    Votes: 33 22.4%
  • I put no focus on floor support.

    Votes: 49 33.3%
  • Other.

    Votes: 6 4.1%
Back
Top