Ocelaris, 250 build

lbacha

Valuable Member
View Badges
Joined
Nov 16, 2017
Messages
1,897
Reaction score
2,454
Location
Cleveland
Rating - 0%
0   0   0
Seems like it may be a tight squeeze between the ceiling and the top of the tank especially once you add lights
 
OP
OP
Ocelaris

Ocelaris

Valuable Member
View Badges
Joined
May 3, 2016
Messages
1,786
Reaction score
1,157
Rating - 0%
0   0   0
The I-beam chase is fairly shallow, behind that is about 2.5 feet tall to the ceiling, so it won't be that hard to get big items like rocks in, but it's definitely close in the front. I don't think for a day to day access it would be any different than my old tank where the T5 fixture was ~8" off the water?

I went back and searched quite a bit, and came across this thread/poll:

https://www.reef2reef.com/threads/poll-display-stand-height.386757/

I watched Mark Levinson's podcast about stand height, and I agree with most of his comments; however I don't yet know how much of a pain it is going to be to have to get on a stand to work in the tank for anything but the very top of the rock work. I don't know if I'll have strong feelings until I get all the equipment underneath. I'm going to try and stick the equipment (sump, UV, chiller, skimmer) underneath and see how the clearance is. I'm coming off a stand that was only 30" tall, so it was a nightmare to work under the stand, so I went "tall" but the builders took that literally and didn't consider the extra height of the plywood and feet... If I shaved 2" off the stand, I'm not sure that is going to get me much more access inside the tank really.

Thanks all for the input, I hadn't considered the access with the lights.

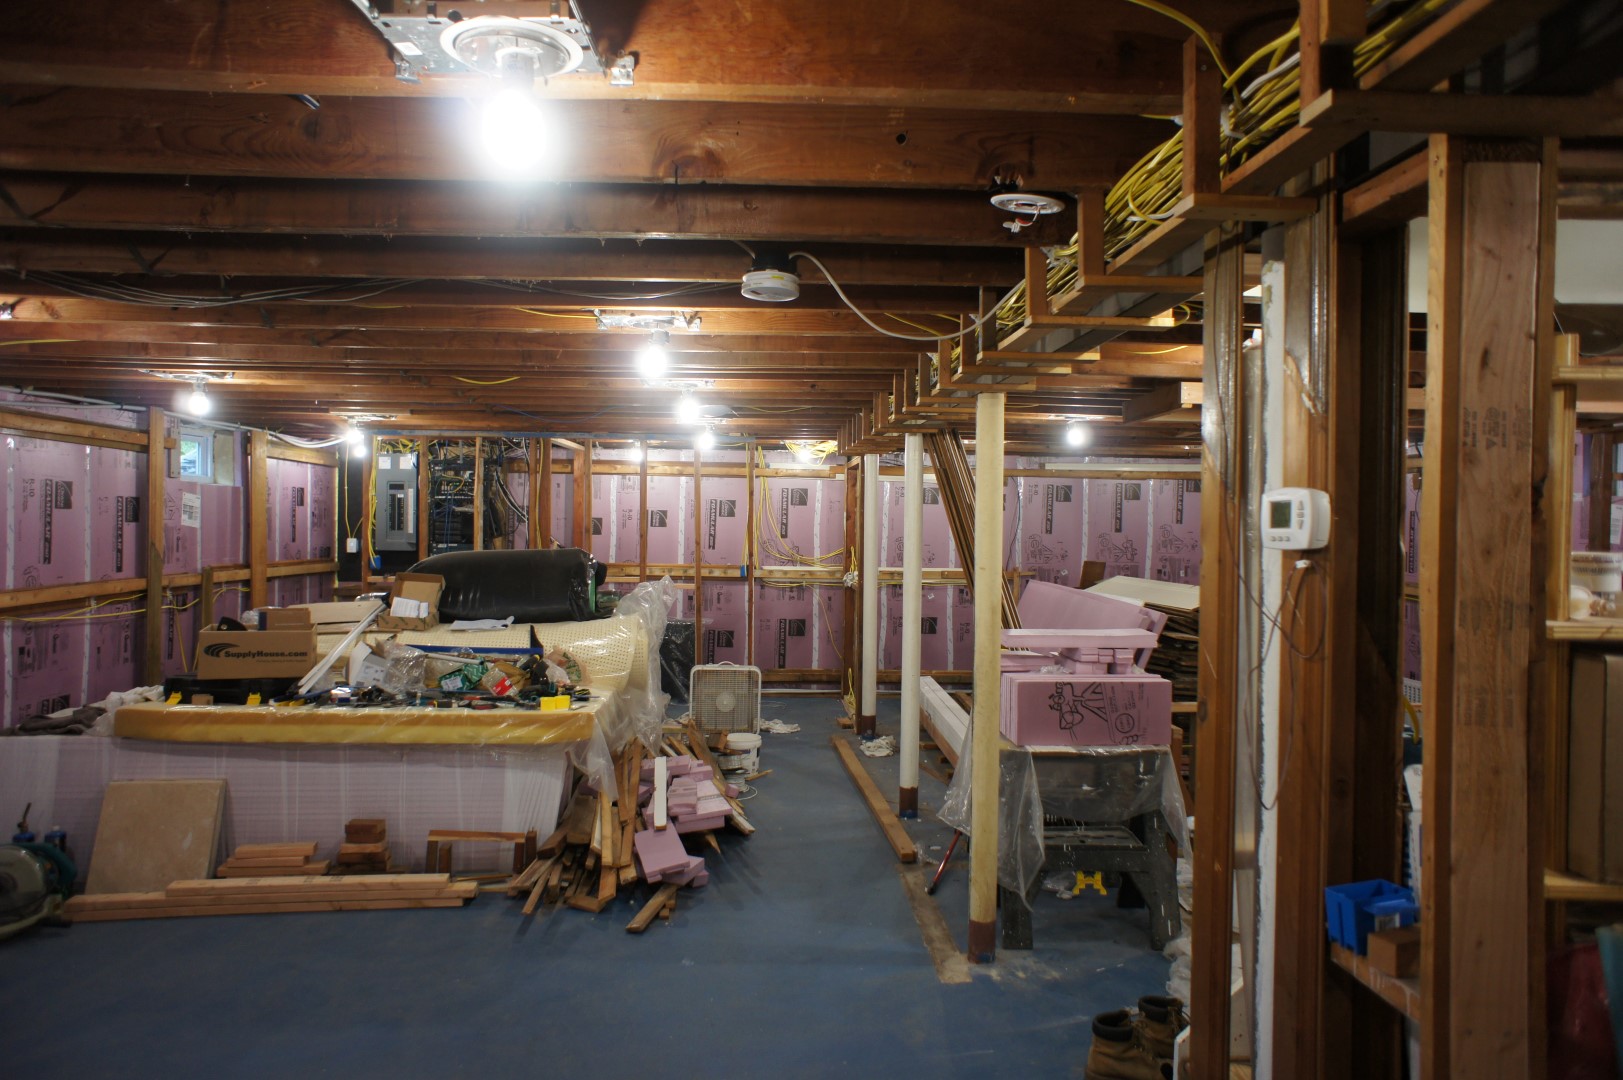
FYI, this is what's above the tank, so have to be careful drilling!

DSC09263-Large.jpg
 
OP
OP
Ocelaris

Ocelaris

Valuable Member
View Badges
Joined
May 3, 2016
Messages
1,786
Reaction score
1,157
Rating - 0%
0   0   0
So the tank is coming along, slowly, but plumbing should be here this weekend, and in the mean time I finally got my under tank plastic pan to catch any water.

IMG_20180808_215346.jpg


IMG_20180808_215410.jpg
 

iced98lx

Chris
View Badges
Joined
Aug 17, 2012
Messages
184
Reaction score
244
Location
South Dakota
Rating - 0%
0   0   0
did you decide to lower the stand? I'm with you on the viewing angles but that looks like it's going to be a fun fit between the lights and tank to get inside it!
 
OP
OP
Ocelaris

Ocelaris

Valuable Member
View Badges
Joined
May 3, 2016
Messages
1,786
Reaction score
1,157
Rating - 0%
0   0   0
I decided to leave the stand height as is. It'll be a little tricky, but I like the viewing angle.

It's been very slow going, but I've started the plumbing. Ignore the crooked manifold it's just hanging for dimensions.

IMG_20180908_223500.jpg


IMG_20180908_223523.jpg


IMG_20180908_223528.jpg
 
OP
OP
Ocelaris

Ocelaris

Valuable Member
View Badges
Joined
May 3, 2016
Messages
1,786
Reaction score
1,157
Rating - 0%
0   0   0
LOL, hard plumbing is for the pros. Making big fittings line up well in a tight space is a royal pain. I replumbed my entire house's dwv, boiler and drinking water systems, and this was more technically challenging with the tight spacing and 5 landing spaces on the sump. I am one 90 short, so I have to wait till next week to finish the auto water change section, then fill and pray time!

Also, abs bulkheads are terrible, wish I had them drilled for pvc schedule 80, but that was my oversight. Let's just say that the plumbing cost more than the sump, by half. It better be dead silent.

IMG_20180916_213915.jpg


IMG_20180916_214007.jpg
 
OP
OP
Ocelaris

Ocelaris

Valuable Member
View Badges
Joined
May 3, 2016
Messages
1,786
Reaction score
1,157
Rating - 0%
0   0   0
Anyone have recommendations for what to paint the bottom plywood with? I was thinking of kilz or other white water proofing paint. Something that can be wiped down.

Final plumbing parts should be here Thursday, so probably start leak test this weekend.
 
OP
OP
Ocelaris

Ocelaris

Valuable Member
View Badges
Joined
May 3, 2016
Messages
1,786
Reaction score
1,157
Rating - 0%
0   0   0
Some progress pics. I've decided to go bare bottom, so I'm picking up a sheet of 1/4" abs this week and then I should be able to leak test. You'll notice the partition to keep both the chiller and electronics outside the main sump area to keep the saltwater and heat away.

IMG_20181009_145129.jpg


IMG_20181009_145111.jpg


IMG_20181009_140500.jpg
 
OP
OP
Ocelaris

Ocelaris

Valuable Member
View Badges
Joined
May 3, 2016
Messages
1,786
Reaction score
1,157
Rating - 0%
0   0   0
And to combat the basement heat and humidity.

IMG_20181010_155557.jpg
 
OP
OP
Ocelaris

Ocelaris

Valuable Member
View Badges
Joined
May 3, 2016
Messages
1,786
Reaction score
1,157
Rating - 0%
0   0   0
Working on the aquascape I am aiming for a few bigger structures assembled outside the tank and then filling in once it's in the tank. The cardboard is roughly the tank dimensions. Thoughts??

IMG_20181011_132118.jpg


IMG_20181011_132113.jpg


IMG_20181011_125132.jpg
 

starypotter

Valuable Member
View Badges
Joined
May 27, 2018
Messages
1,010
Reaction score
897
Rating - 0%
0   0   0
Since you have the space I prefer the crescent shape over the two islands. I think especially since your tank is viewable from all angles it'll give a nice visual feeling of movement throughout the tank which I think is nice with the more square dimensions, I think the two islands are better suited for the more narrow rectangular tanks.
 
OP
OP
Ocelaris

Ocelaris

Valuable Member
View Badges
Joined
May 3, 2016
Messages
1,786
Reaction score
1,157
Rating - 0%
0   0   0
Thanks, that's a good point with the dimensions. The only thing I'm worried about is the overflow which takes up a decent amount of real estate. I picked up a sheet of 1/4" black textured ABS yesterday, so once I get that cut and in the tank I can get more specific with the layout.

I think the goals for the aquascape is maximizing the depth and getting a few spots with height. If I can squeeze some overhangs and caves in there I will, but there should be plenty of nooks for fish for bed time. I hate stumbling on a fish poorly concealed at night and spooking them. On the other hand more open areas means less detritus build up under the rocks.

Hopefully I get the abs in today or tomorrow and can start placing the rocks.
 
OP
OP
Ocelaris

Ocelaris

Valuable Member
View Badges
Joined
May 3, 2016
Messages
1,786
Reaction score
1,157
Rating - 0%
0   0   0
Tank is filled and pumps running. Gyres are fired up and now the cycle begins. I think I'm going to aim for the wwc/brs recommended three month cycle, so that puts me in late January.

I still have to hook up the ato, chiller, Apex and a few miscellaneous things, but at least the cycle has started.

I had two small leaks in the bulkheads, but tightened them down and so far no leaks. It's amazing how much resistance a manifold places on the pumps. At full open throttle they put out theoretically 4400 gph combined, but I'm lucky to see half of that.

IMG_20181023_105503.jpg


IMG_20181023_120122.jpg


IMG_20181023_105732.jpg


IMG_20181023_120130.jpg
 
OP
OP
Ocelaris

Ocelaris

Valuable Member
View Badges
Joined
May 3, 2016
Messages
1,786
Reaction score
1,157
Rating - 0%
0   0   0
Skimmer is online after about a year week, and I'm getting massive micro bubbles! I did not super cleaning of it before it went into storage, but this is ridiculous. The whole point of the sump was to avoid having a stand for the skimmer, but I may end up needing one at this rate. Lights will be off for three months, but just out up the sunpower for a quick look.

The depth is hard to describe as looking at it distorts your vision off angle, but I'm loving it so far.

IMG_20181028_205812.jpg
 
OP
OP
Ocelaris

Ocelaris

Valuable Member
View Badges
Joined
May 3, 2016
Messages
1,786
Reaction score
1,157
Rating - 0%
0   0   0
Long time without an update, my apologies, but we're getting closer to the 2 month mark. I made two wrasse beds out of the scrap abs, 12x10x3.5 and 12x12x3.5 with about 3 inches of sand for them. I'll also house some lps that don't like a lot of flow. I also rented a par meter from brs and had way more light than I though. I'll post some charts later. But the way I have it configured now when I have everything on it will be a blanket of almost 300 at the bottom nearing 550 at the surface. I may turn off a few t5 bulbs which bring those numbers down to like 250 and 450 respectively. Apex is hooked up and top off is running. Maybe in a few days I'll put the wrasses and clown fish in. Lights are currently just the kessils and around 50-80 par around the tank. I plan on getting the tang gang into quarantine a little after the first of the year. Apologies for the terrible shots but it's early with mostly blues. The lights are about 12" off the surface and plenty of room to work but it's disorienting with the depth of the tank.

IMG_20181213_111313.jpg


IMG_20181213_110226.jpg


IMG_20181213_110202.jpg
 
OP
OP
Ocelaris

Ocelaris

Valuable Member
View Badges
Joined
May 3, 2016
Messages
1,786
Reaction score
1,157
Rating - 0%
0   0   0
As promised the Par results after raising the lights. Originally with them about 9" off the tank I was hitting 800 par just under the surface. With them raised up and all 10 T5, 80w bulbs and 2x Kessil A360W I'm around 550 at the surface and 300-350 at the bottom center, lowering it to 200 on the sides. I'm sure as the tank grows in there will be lots of shading, but I think this is probably a good amount. I could drop two T5s out and keep 200-250 at the bottom, but I haven't decided. Either way I'll be ramping up the lights over time, so I wanted to know what par I was getting with different light combinations.

The spreadsheet was the inital testing, but I got lazy and out of time on the rental and had to return it. Kudos to BRS for doing that, as I am ever grateful.

2018-12-12_Tank-light-levels_Page_1.jpg


2018-12-12_Tank-light-levels_Page_2.jpg


2018-12-12_Tank-light-levels_Page_3.jpg


2018-12-12_Tank-light-levels_Page_4.jpg


2018-12-12_Tank-light-levels_Page_5.jpg


Par_Readings.jpg
 
Back
Top