- Joined
- Jun 16, 2020
- Messages
- 12
- Reaction score
- 14
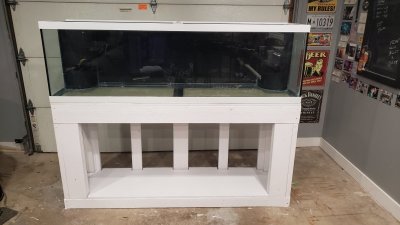
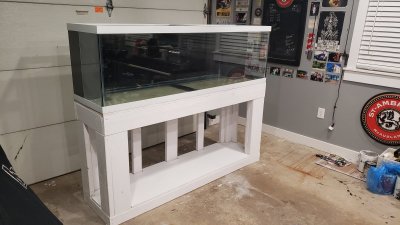
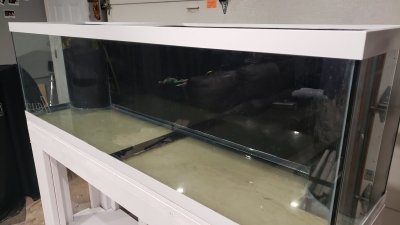
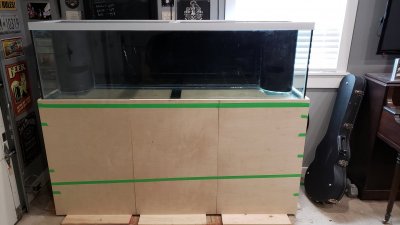
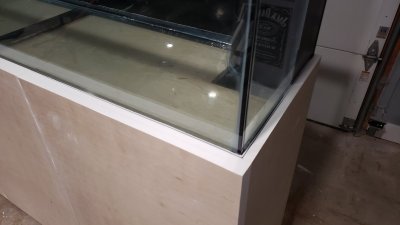
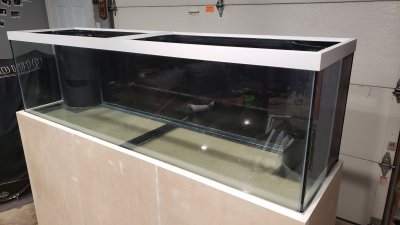
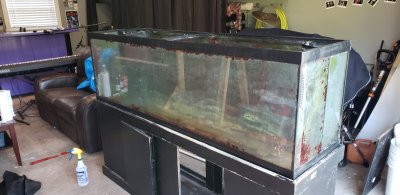
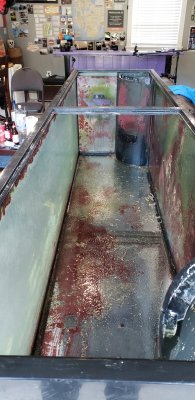
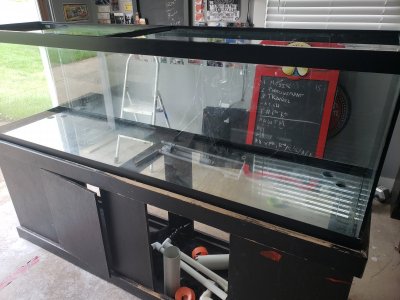
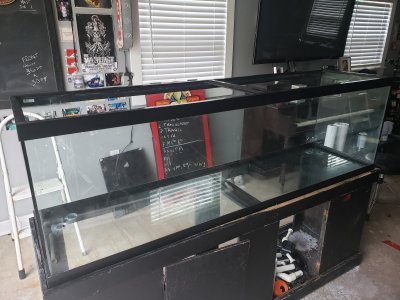
So I recently purchased a used 125 gallon tank from a local reefer ( Pics at bottom of this post) .
It came with a sump and all the plumbing, and was a reasonable price for what it was .
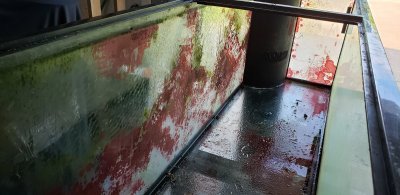
It wasn't the cleanest tank I have ever picked up , but it hardly had any scratches I could see, and I wanted to try and do a restoration , turn it into something before it just got tossed.
This will be my first attempt at alot of these to do items , but I thought if I threw in some effort , educate myself as much as possible , and hopefully get some insight / advice from other reefers when I get stuck , it wouldn't prove too difficult.
My Plans ( What it will hopefully become)
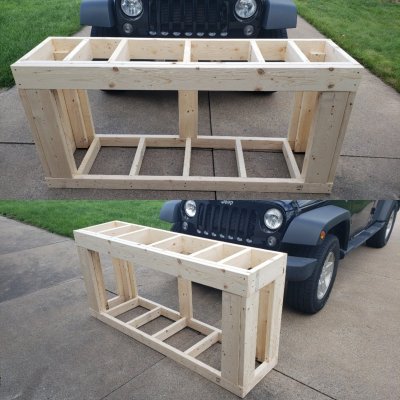
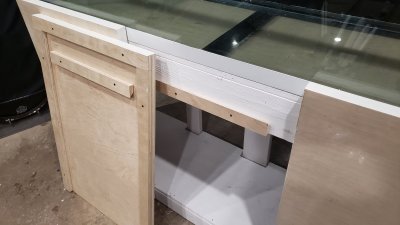
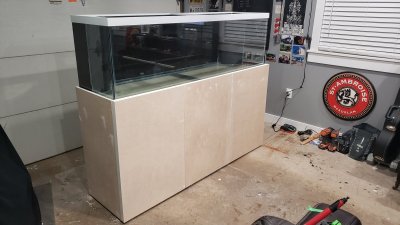
It is my hope to turn this into a "Close to new" mixed reef setup , with a new modern stand , control panel area , and a sump area inside the stand itself.
Steps
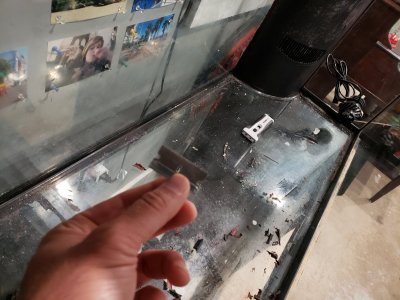
Step 1 - Tank Reseal Remove Silicone ( Completed )
No experience with this but have watched about as many youtube videos as I can at this point .
I took my time with several razor blades, a vacuum , nail polish remover to get all the inside silicone off without compromising or going too deep.
Step 2 - Deep Clean Tank (Completed))
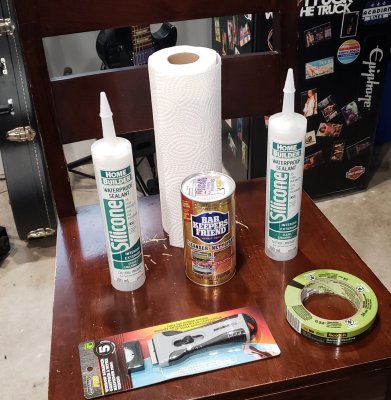
Clean the tank and try and get as many hard water stains off as I can before I apply the new silicone. I used barkeepers friend and it really does work wonders .
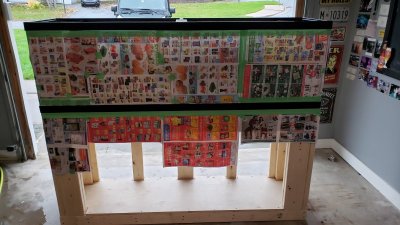
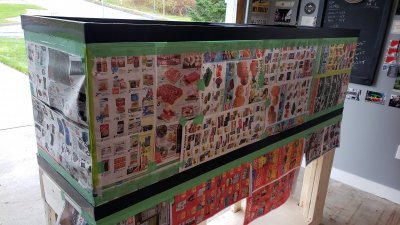
Step 3 - Tape And Reseal
Tape and re seal with aquarium safe silicone ( I picked up from local hardware store )
I should have enough , I have heard that the amount needed in ml's is ( add all your seams and multiply by glass thickness)
Step 4 - Paint Trim
Repaint trim to make it a bit newer looking - Depending on if it holds water at this point , I went white with my last tank using Krylon , turned out great .
Step 5 _ Reinstall Overflows ( Just 1 or 2 ?)
Reinstall Overflows ( Contemplating just going with one instead of 2 to create more space , does anyone have any experience with a 125 and just one overflow on one side ? )
I am wondering if the return line size and overflow pipe size is large enough , can i go down to just one overflow ?)
I will probably just add them both back in , but just a thought I had.
Step 6 - New Stand & Control Area
Build a new custom stand with a sump area , and a control panel . The stand it came on is terrible this has to go .
Step 7 - Order Things
Order the return pump , heaters ( have to look up how much wattage for dual heaters I will need) , dry rock , ato .
This will once again depend on if I know the tank will hold water again after Step 5) .
I control my other tank with Kasa Power bars and my phone and monitor temp with an inkbird wifi .
I will probably go with those until I grab an apex.
Step 8 - Aquascape
Aquascape outside of tank , and glue it together , looking to strike a balance between negative space with shelves for corals and some caves for the fish . Probably will go with Marco dry rock and cut to get shelves or order some flat pieces .
Step 8 - Sand ?
To Sand or not to sand - I guess ill decide once its time , flow is always an issue to consider.
Step 8 - Cycle and Add
Fill the tank , cycle , add 1st quarantined fish.
--------------------------------------------------------------------------------------------
That's the plan anyway , but nothing ever goes to plan .
Fingers crossed it just holds water after Step 3 . Its looking pretty clean now , lets hope it works out .


Last edited:


