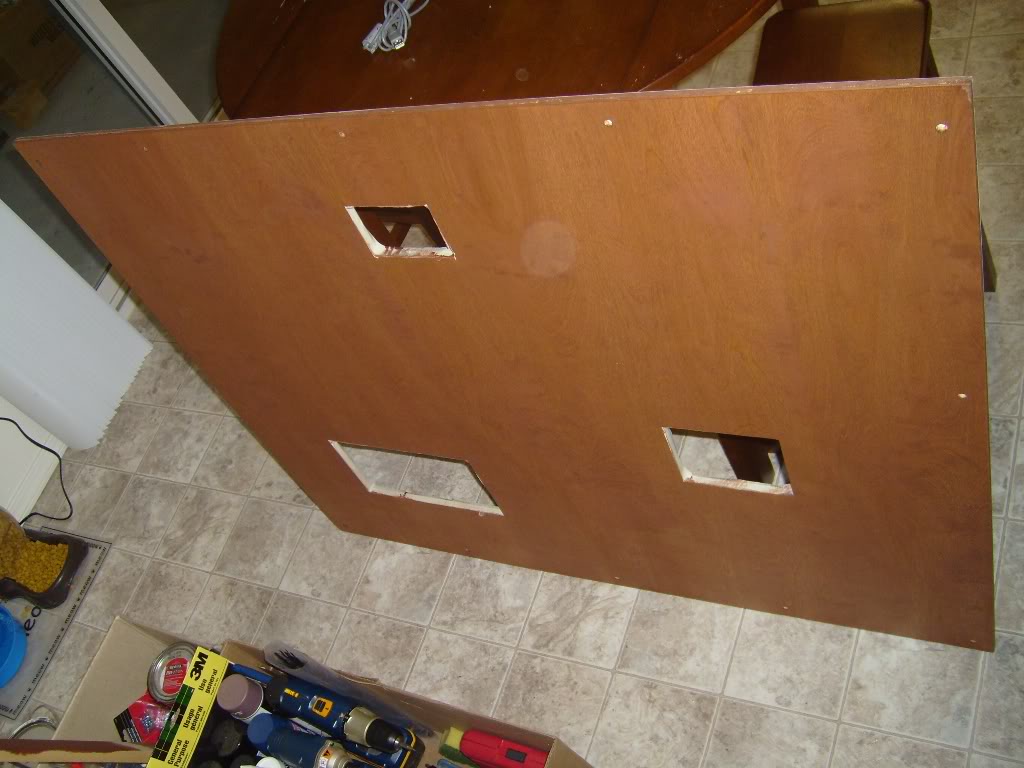
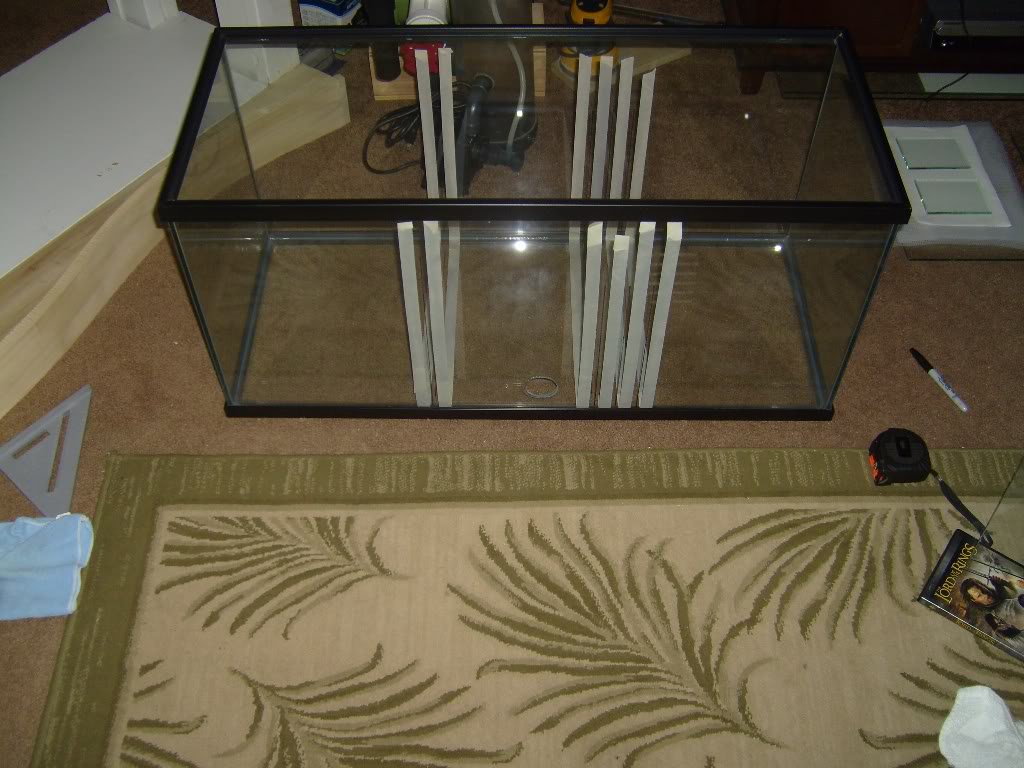
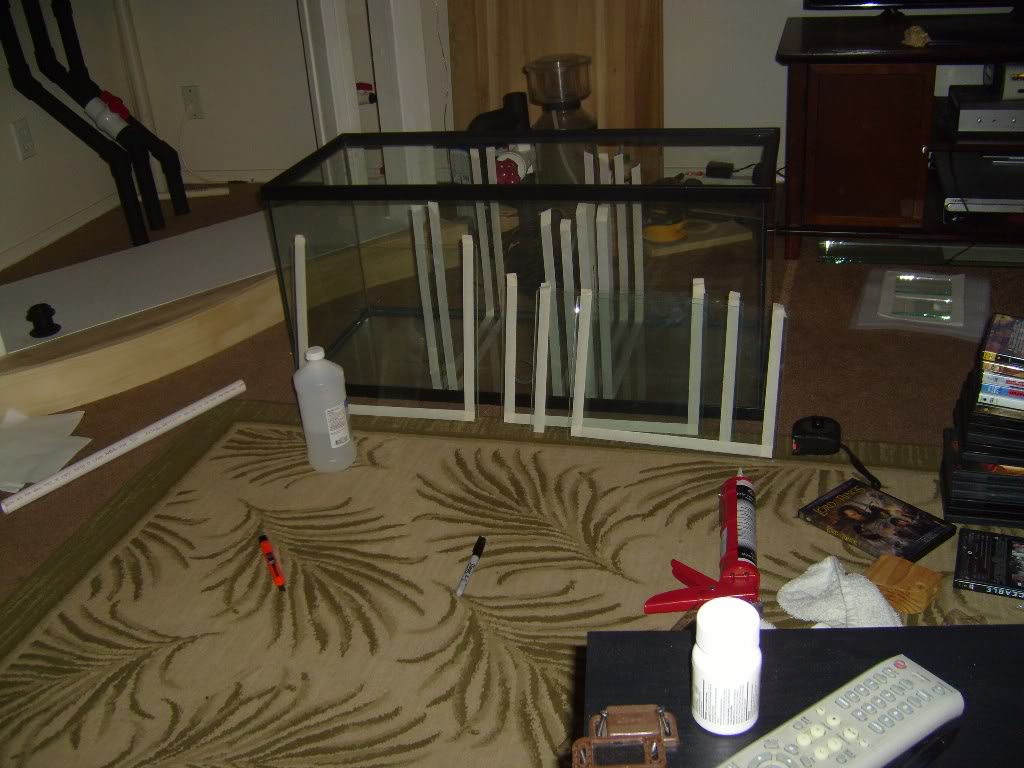
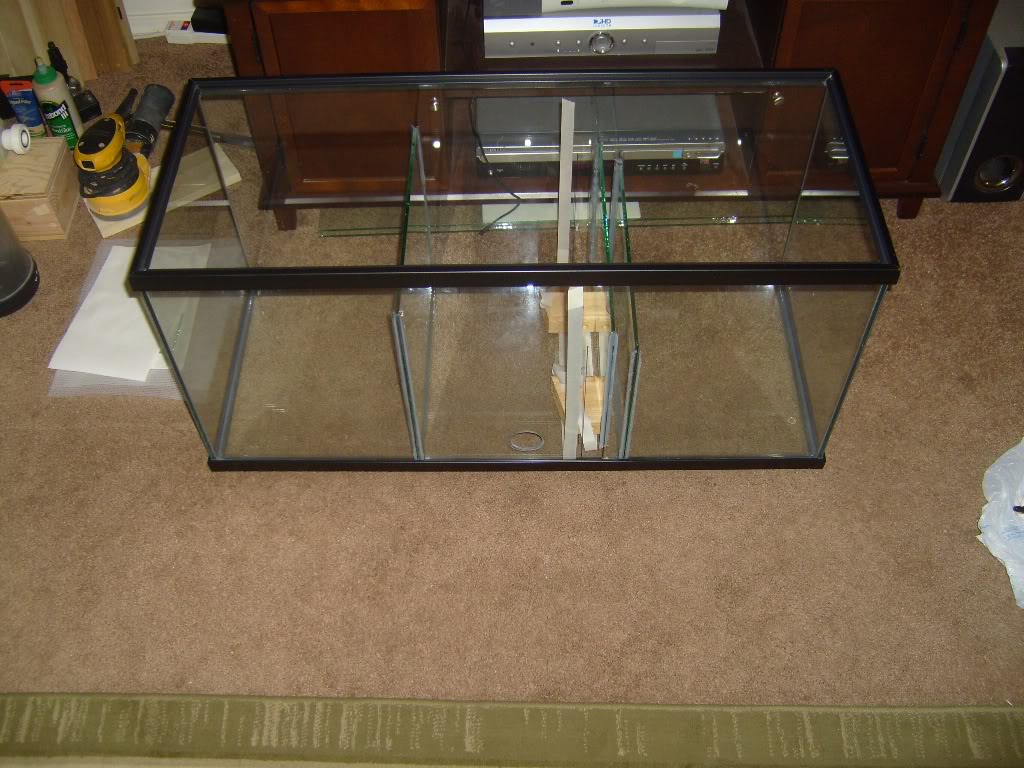
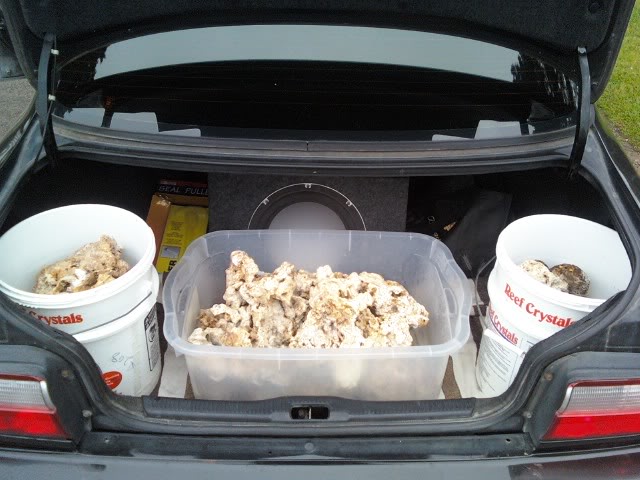
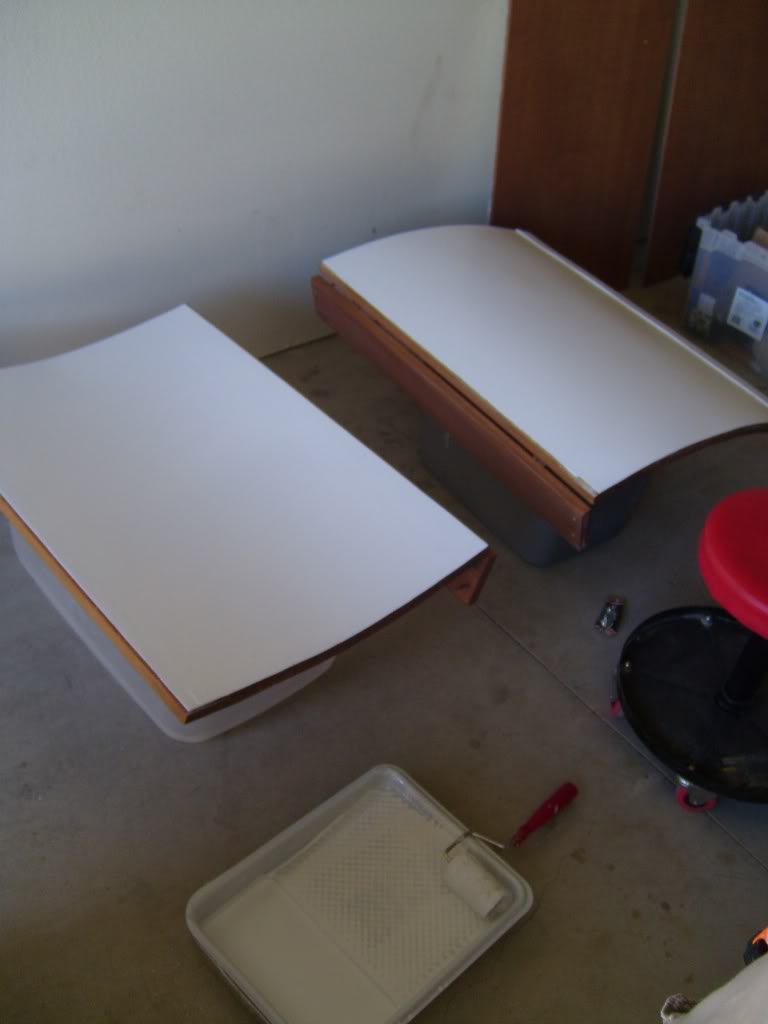
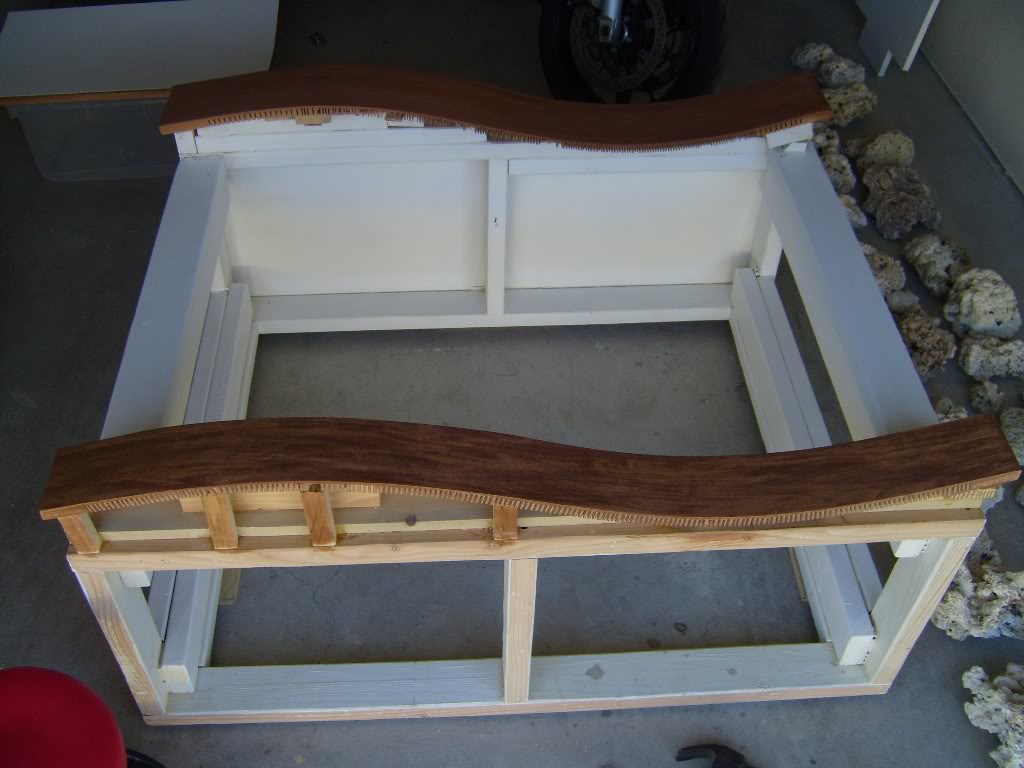
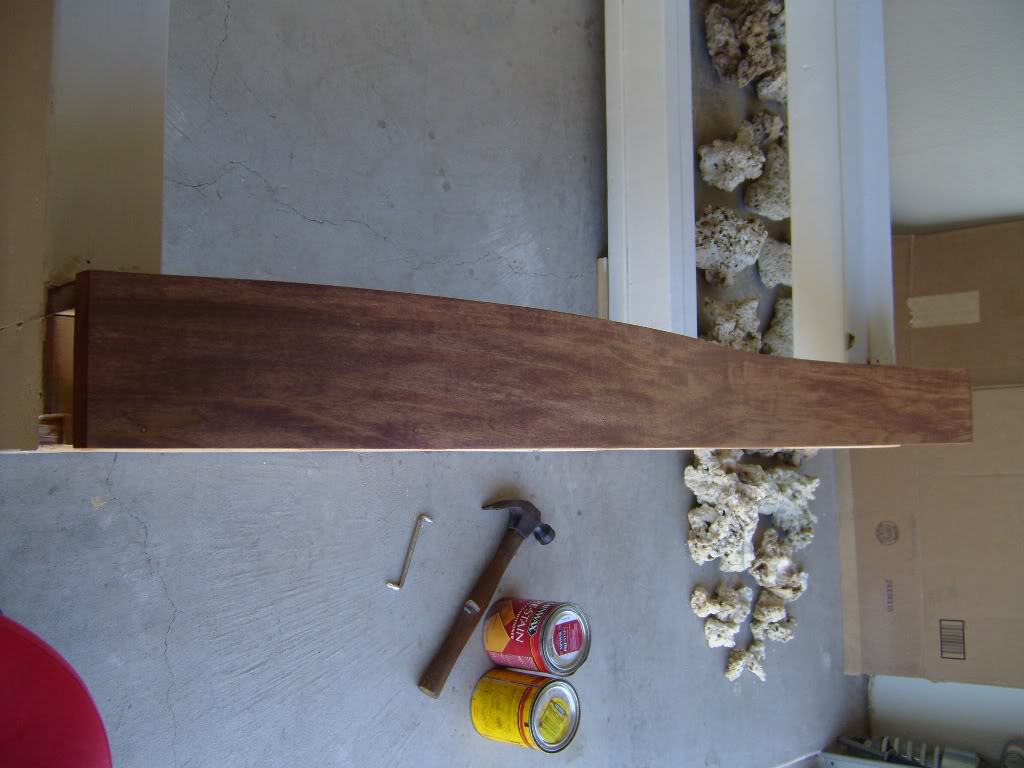
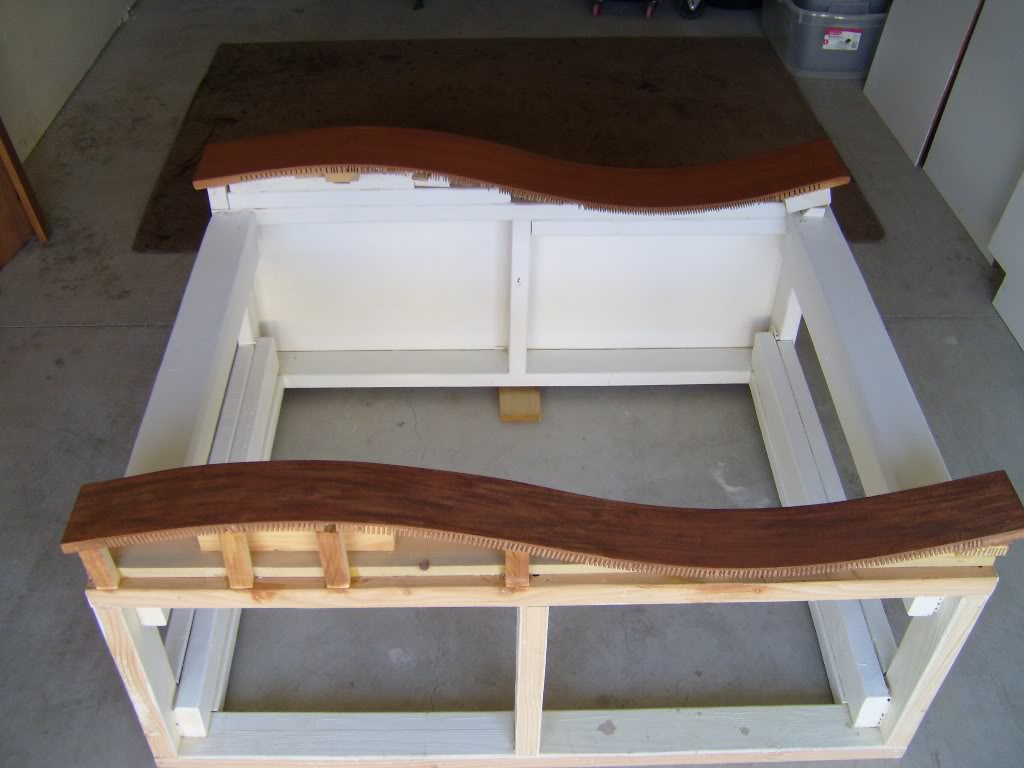
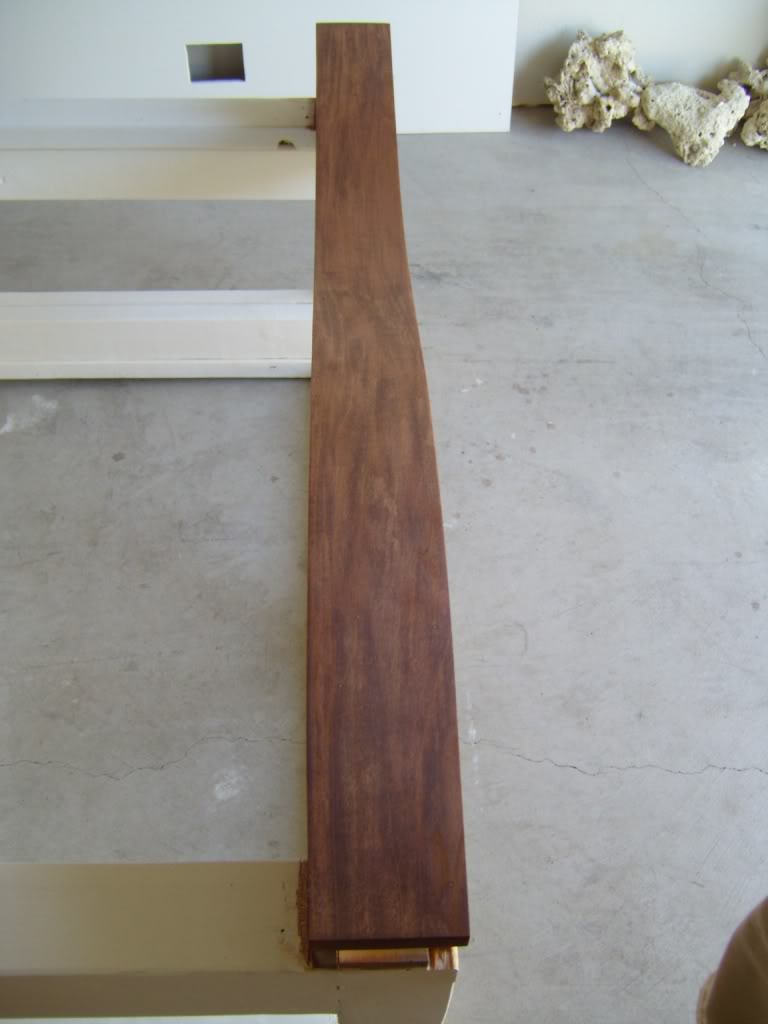
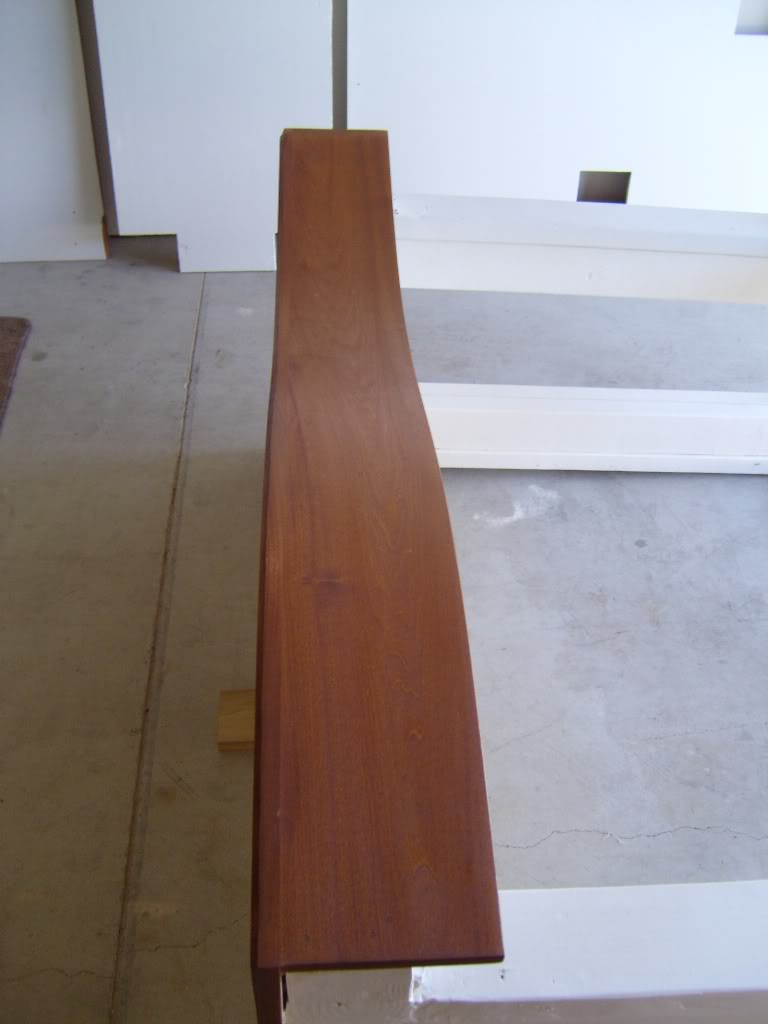
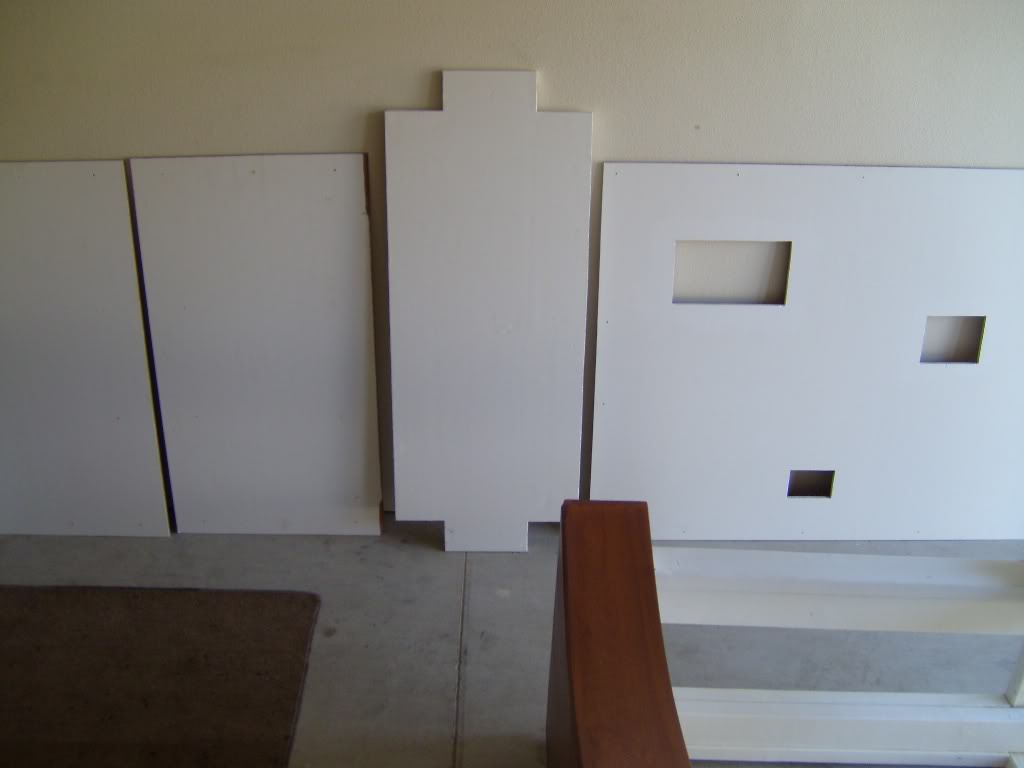
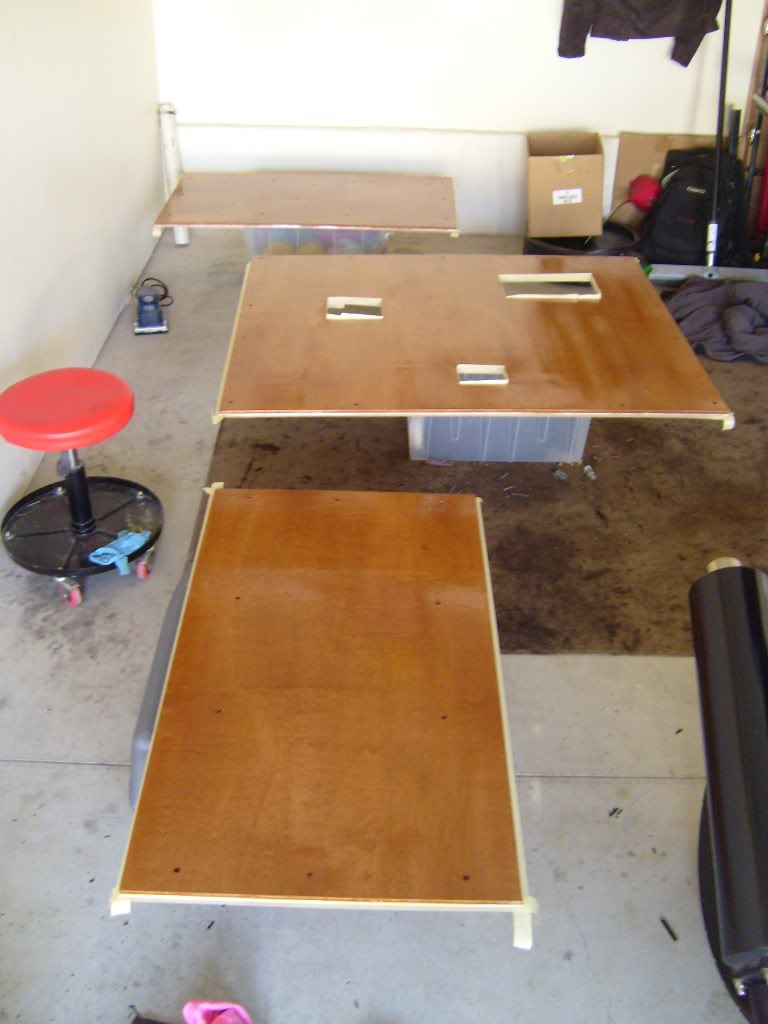
Scott26's 90 Gallon Wave Front Build

OP
OP
scott26

scott26

Active Member
View Badges
Joined
Oct 27, 2009
Messages
202
Reaction score
51
Location
Nevada
Rating - 0%
0   0   0
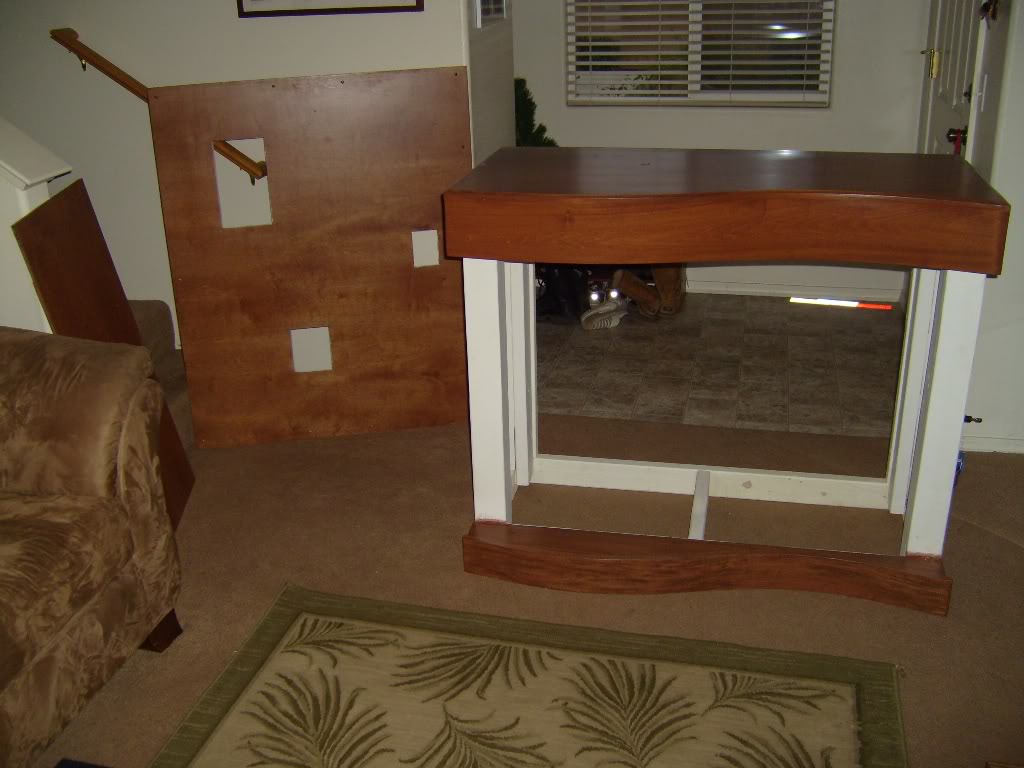
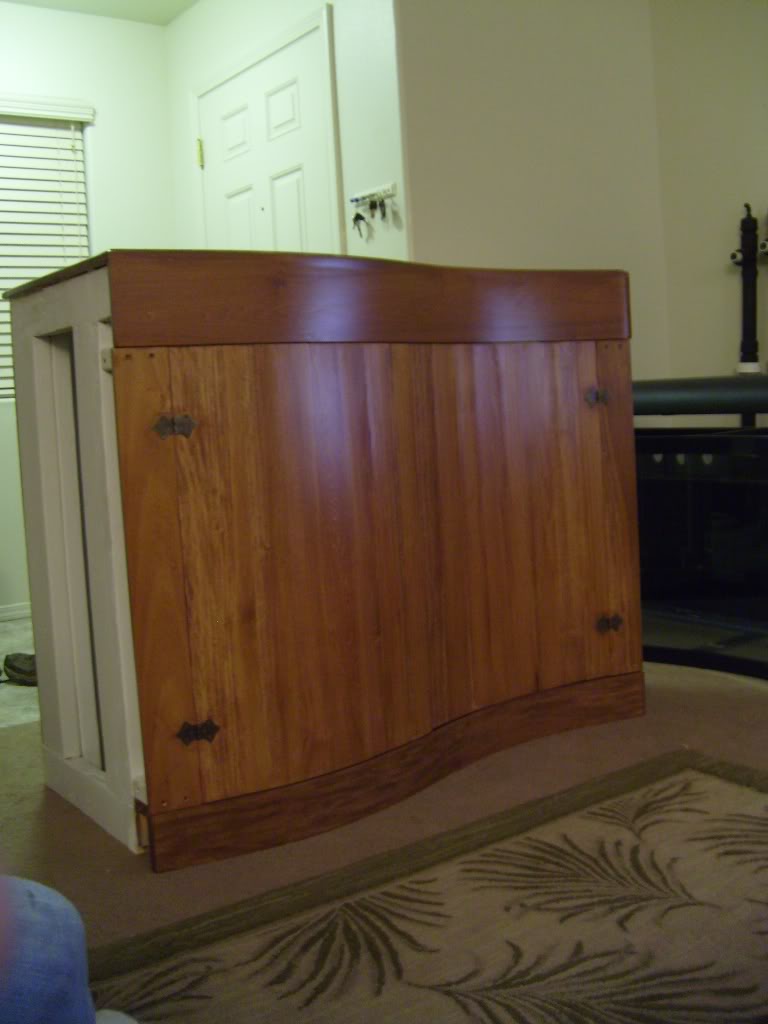
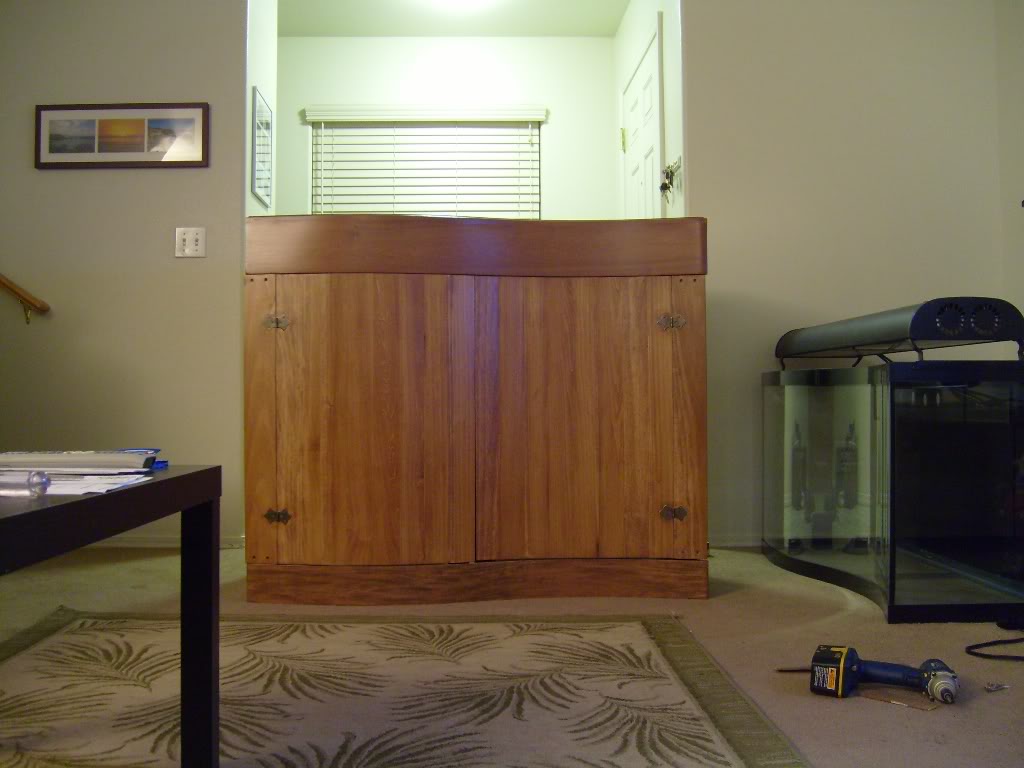
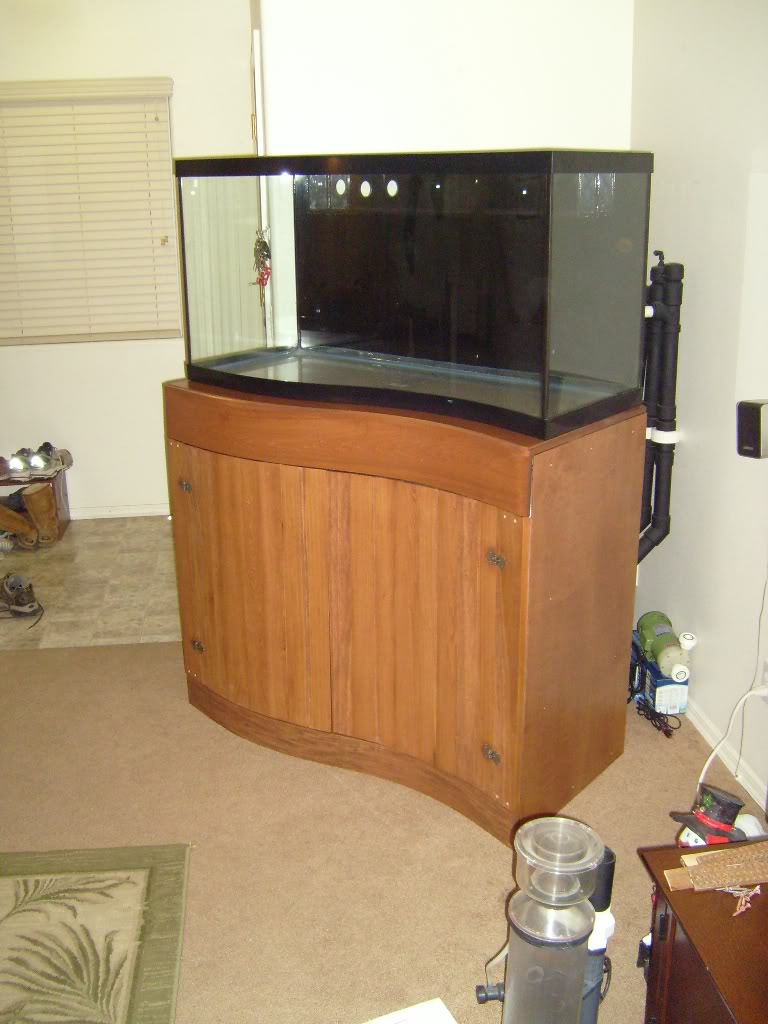
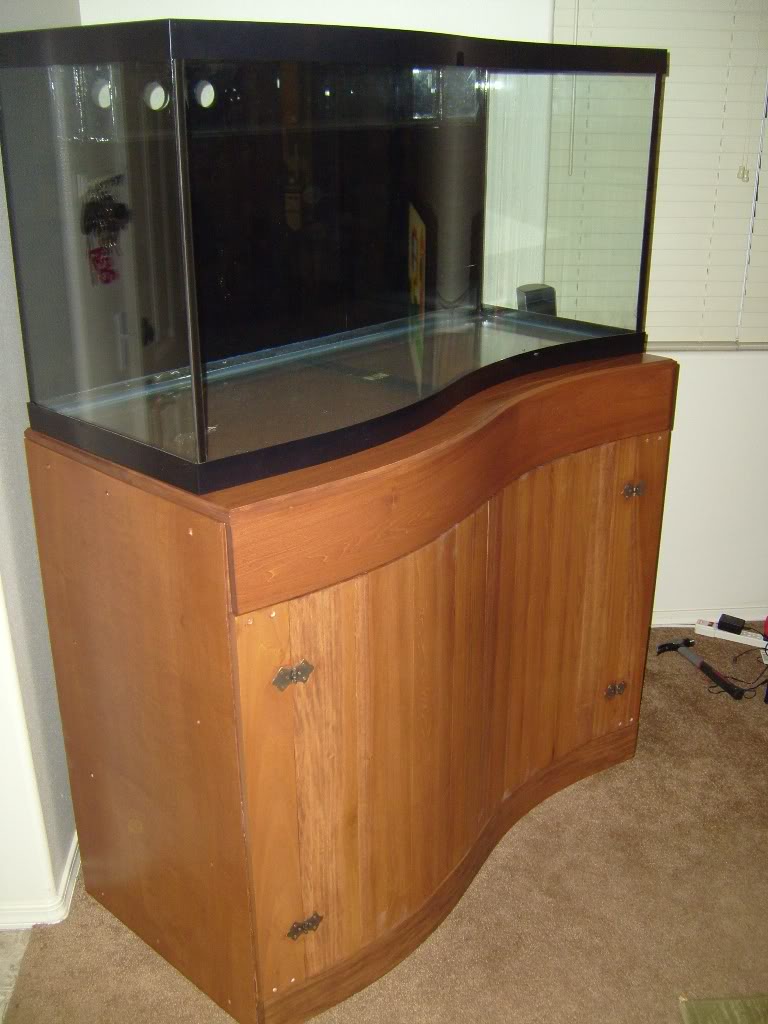
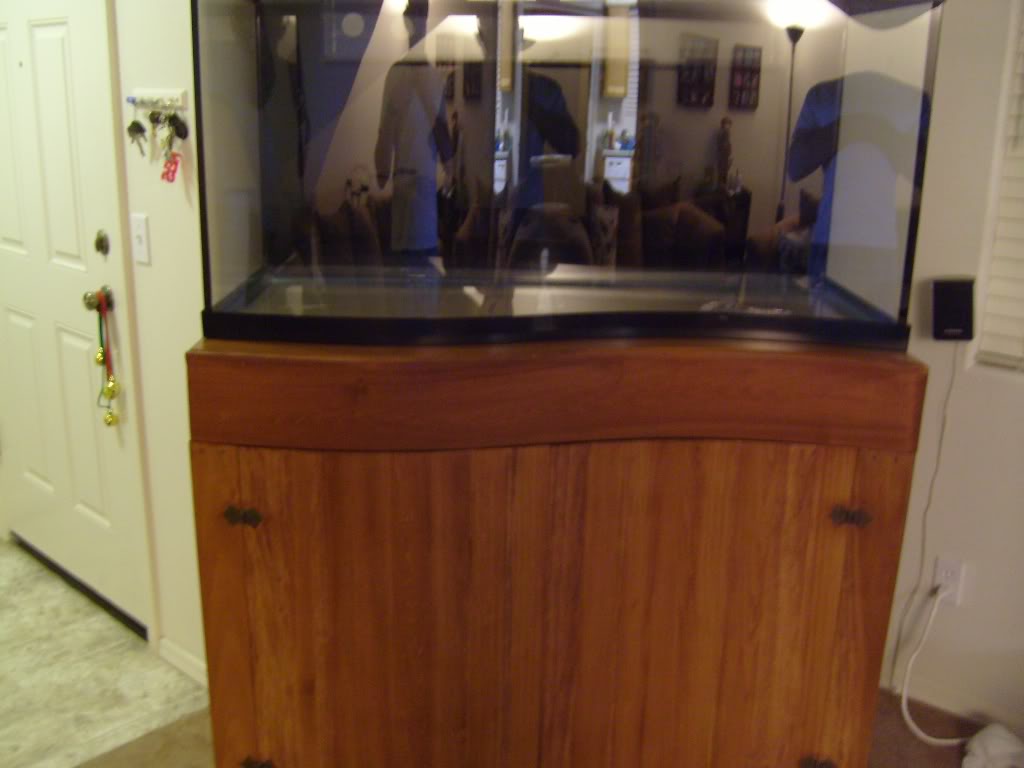
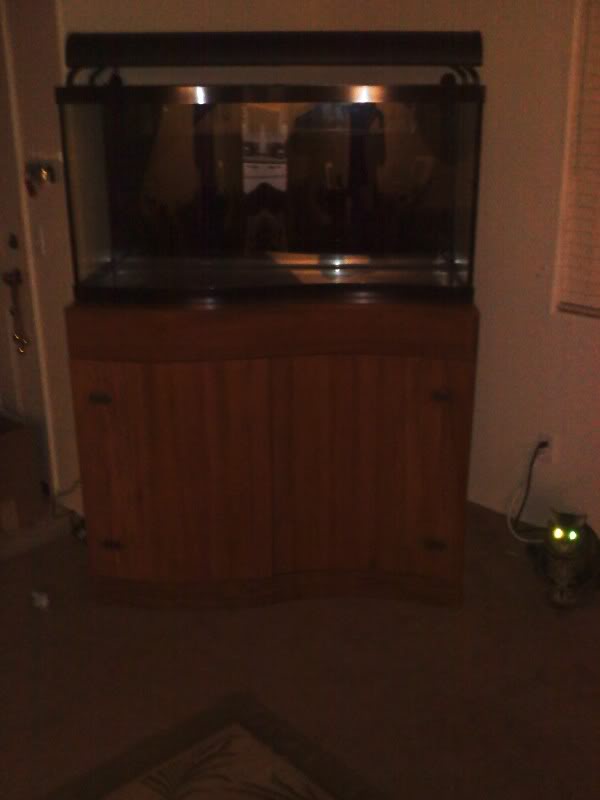
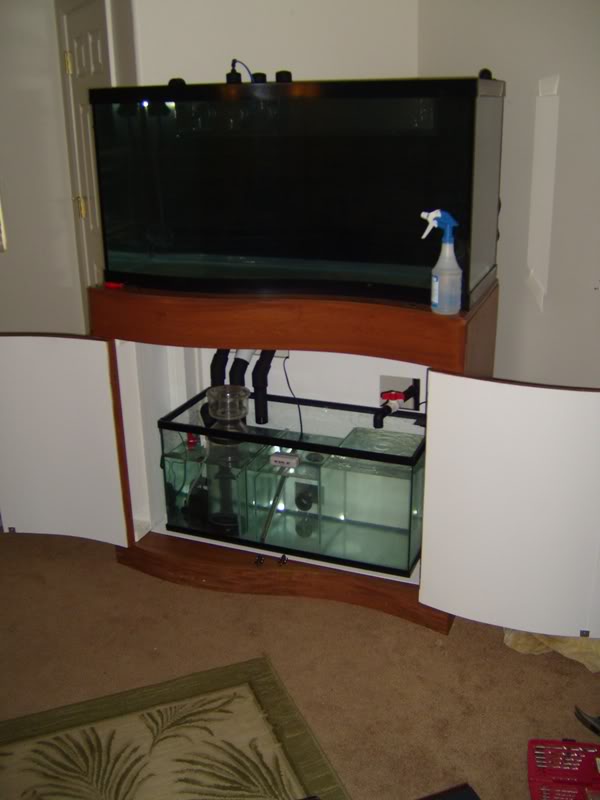
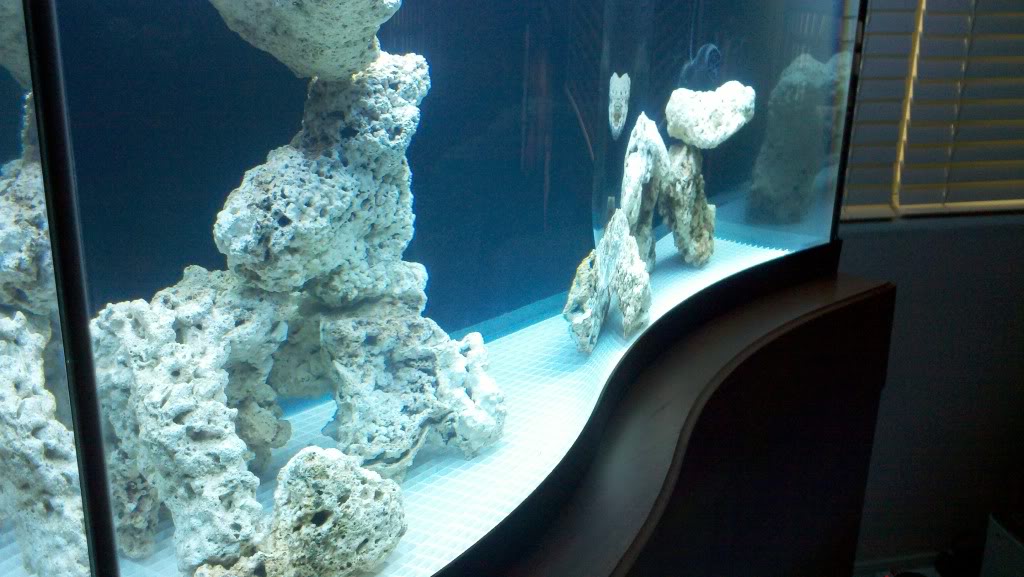
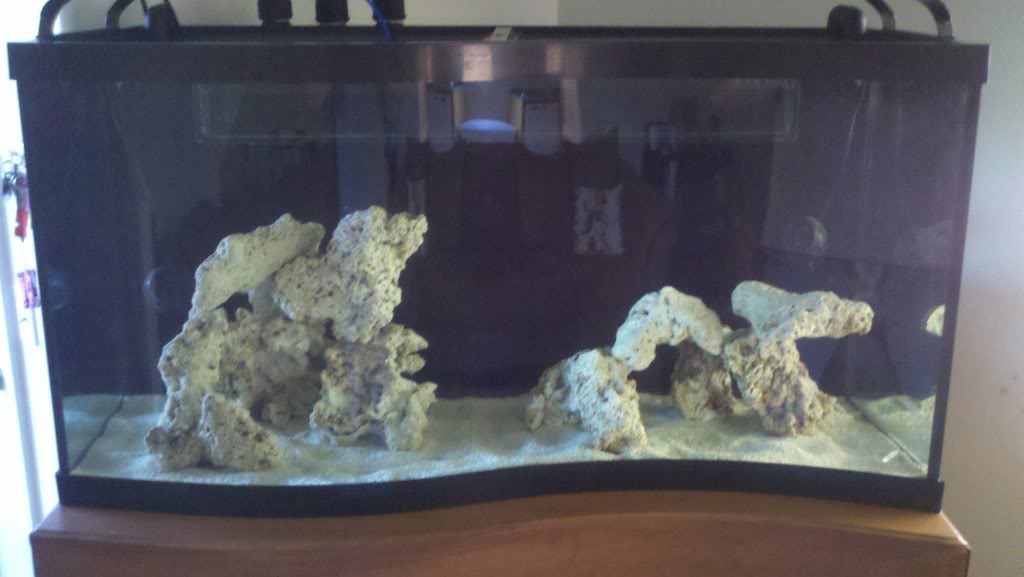
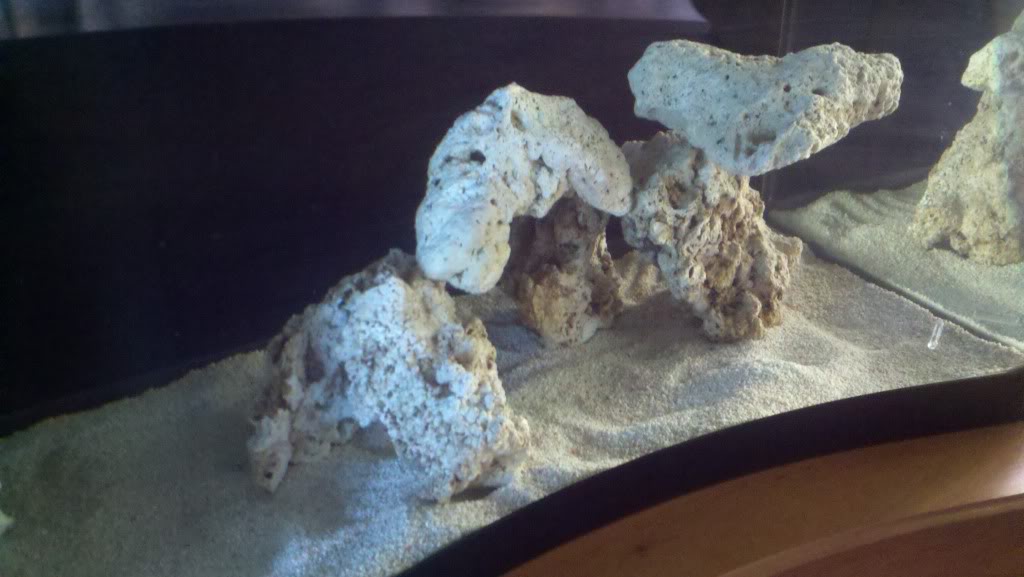
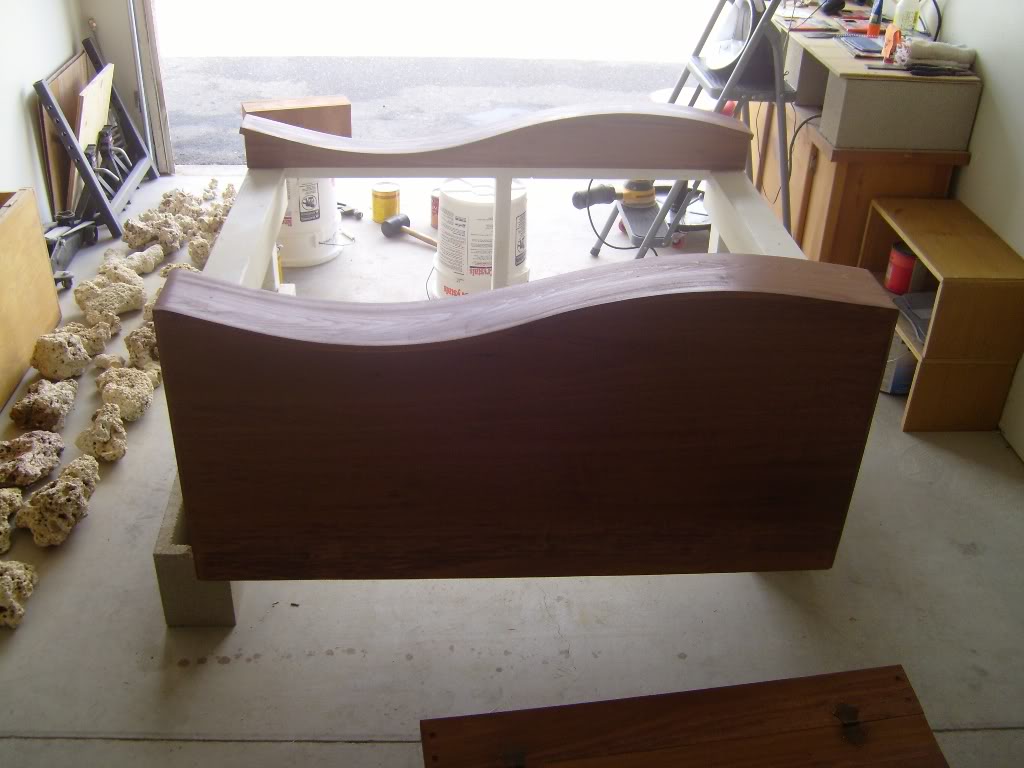
very impressive build..
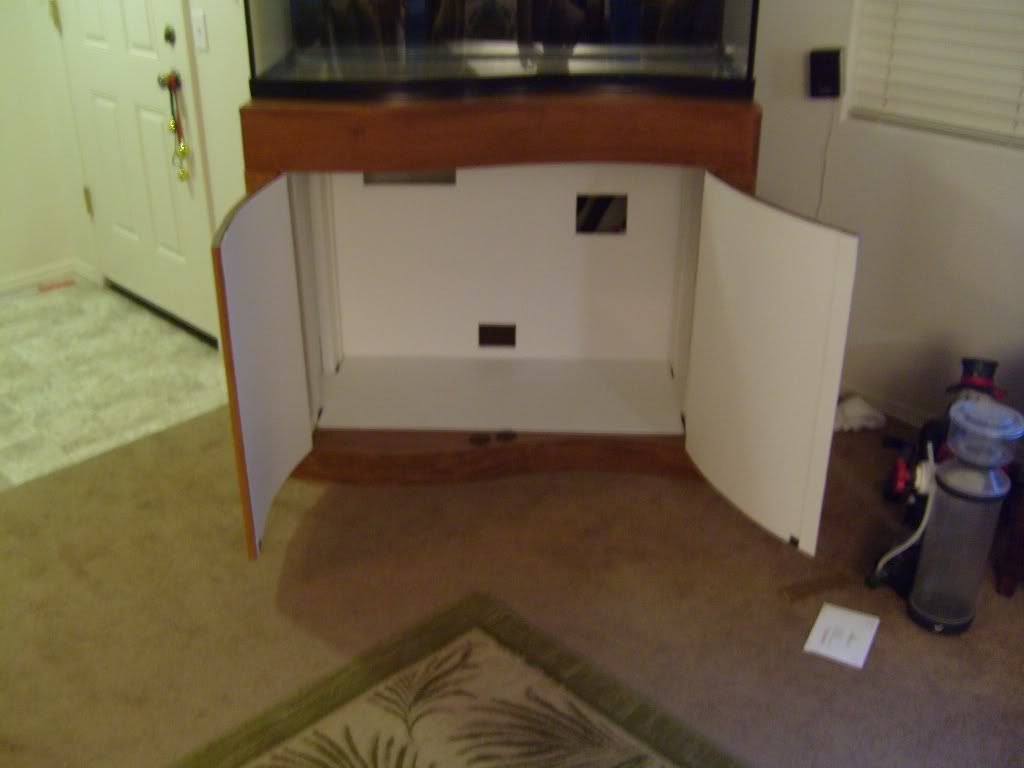
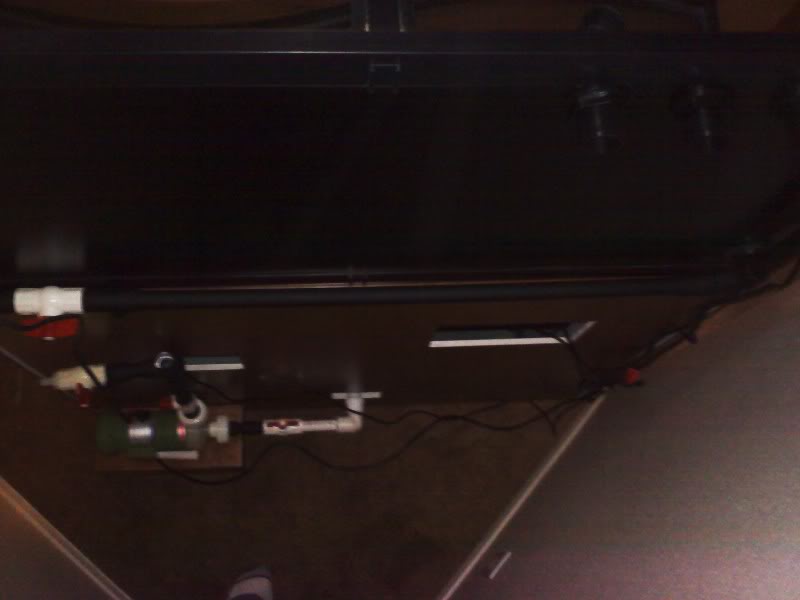
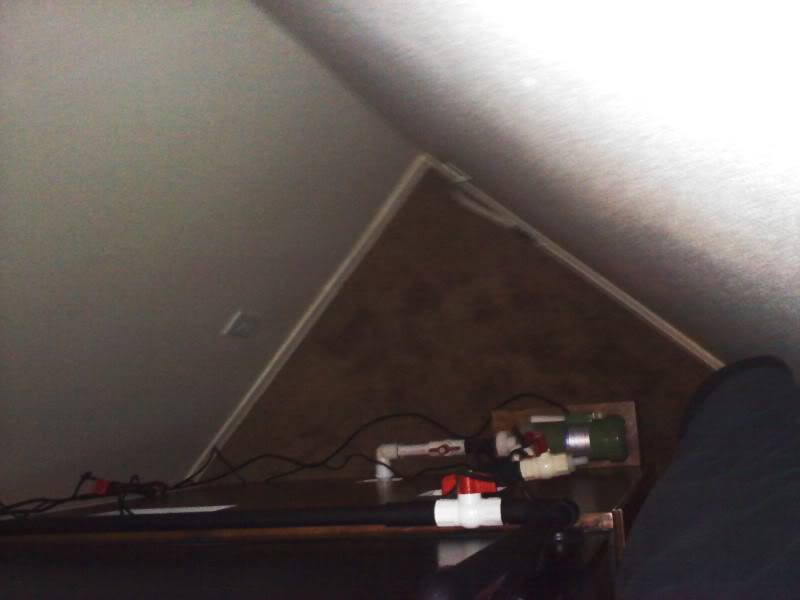
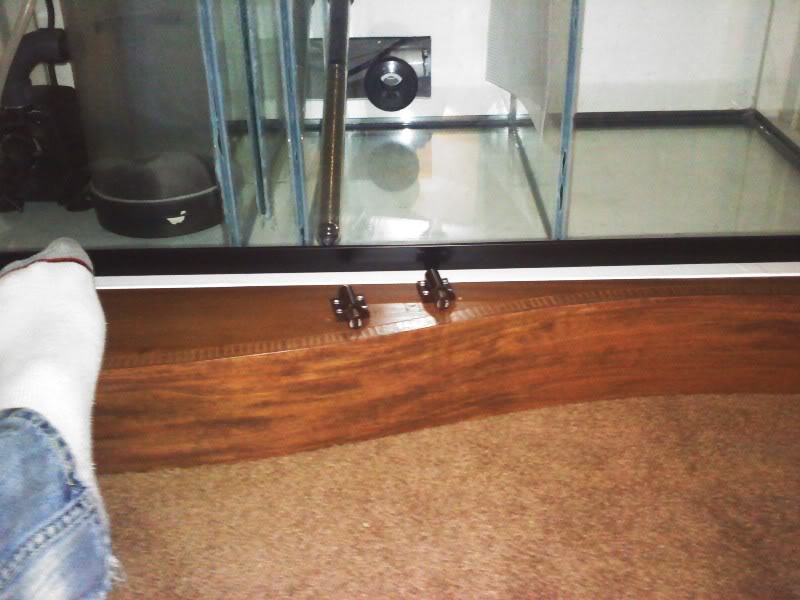
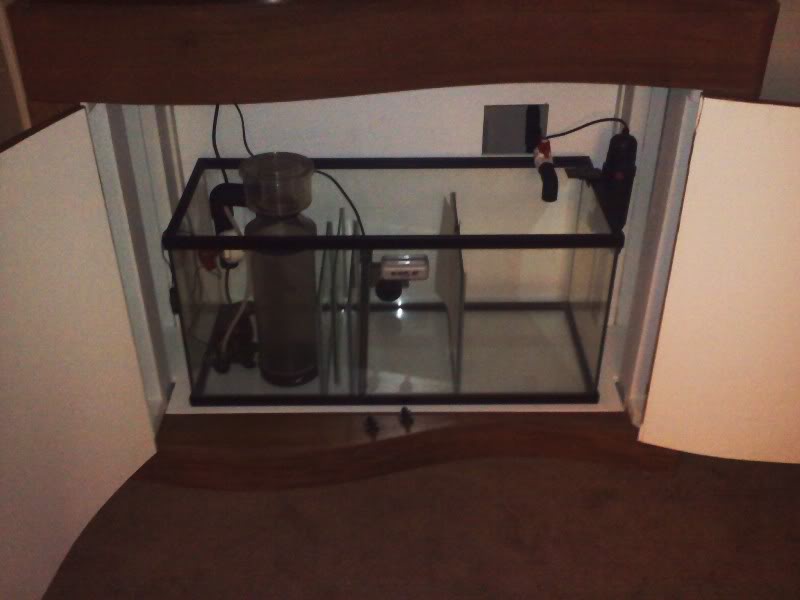
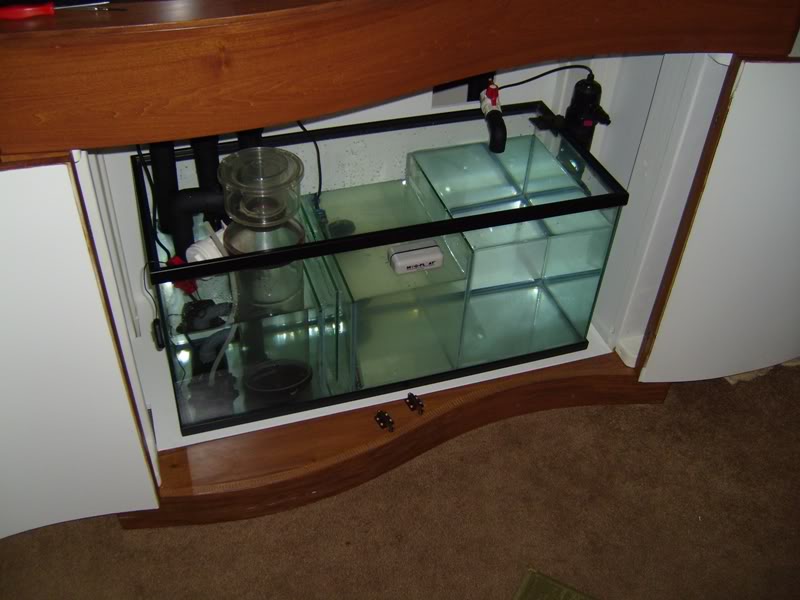
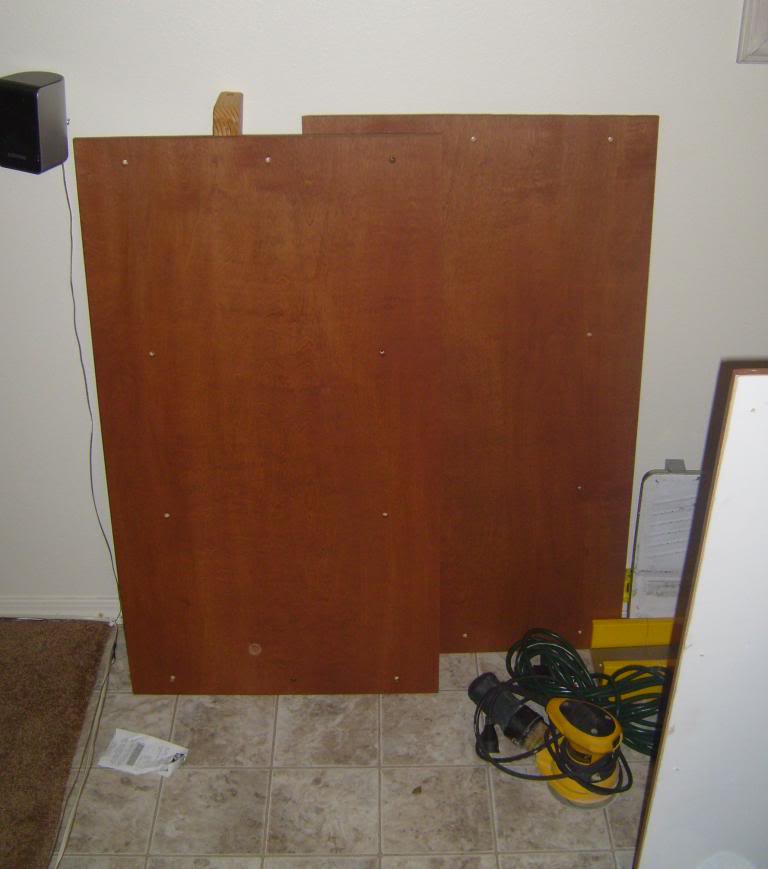
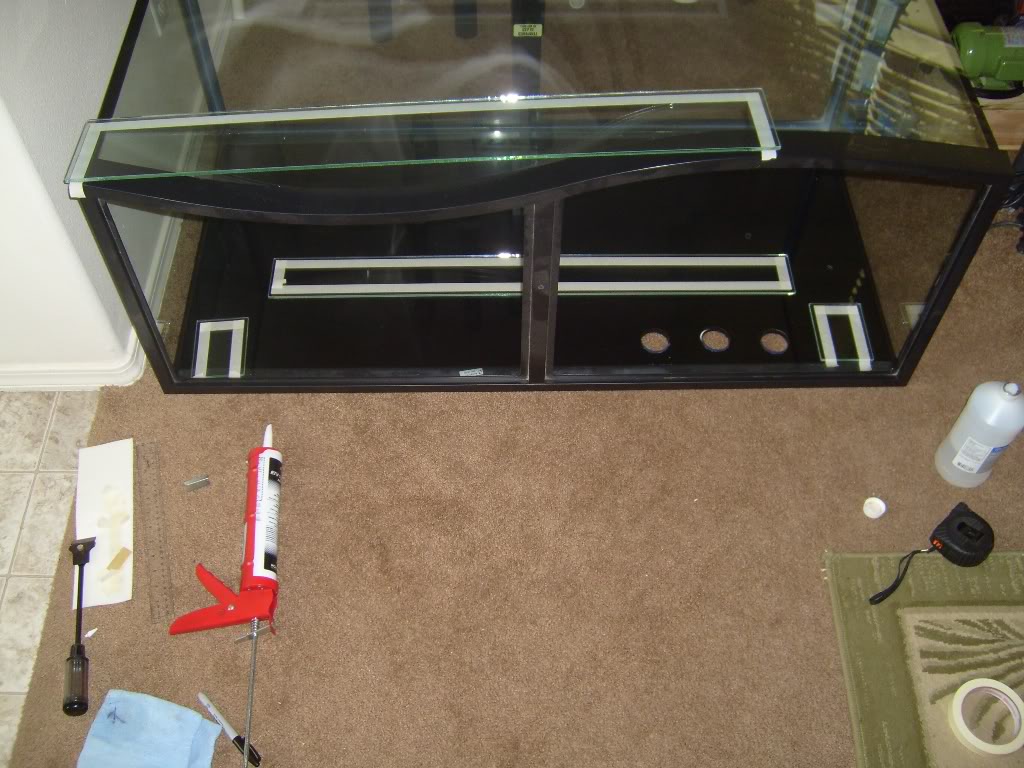
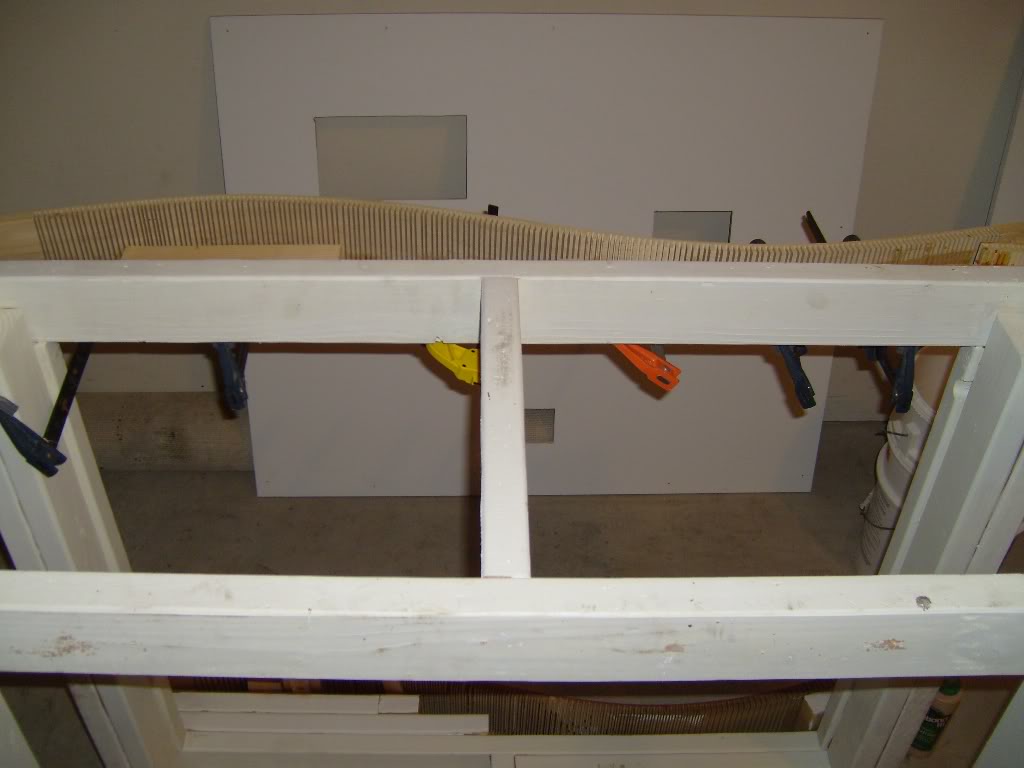
I really liked how you built that back wall on the stand to keep noise in. I hava a 90g as well and the return pump is silent, the overflow is silent, but the water coming down to the sump makes noise even with a filter sock so that back wood wall is a great idea.

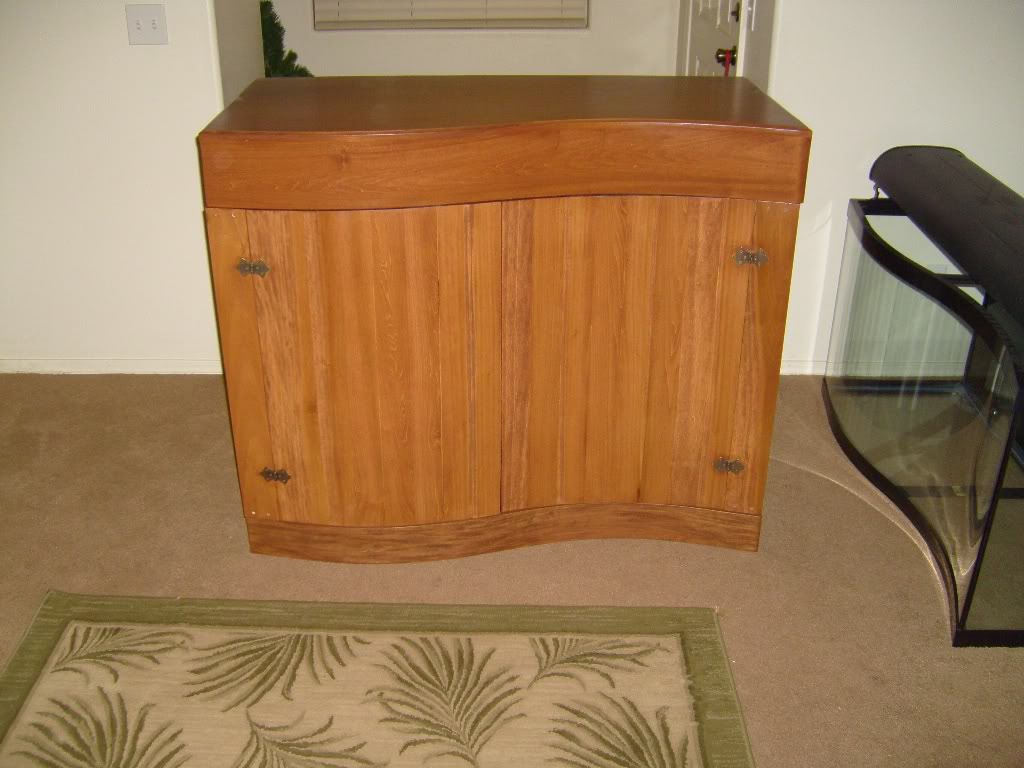
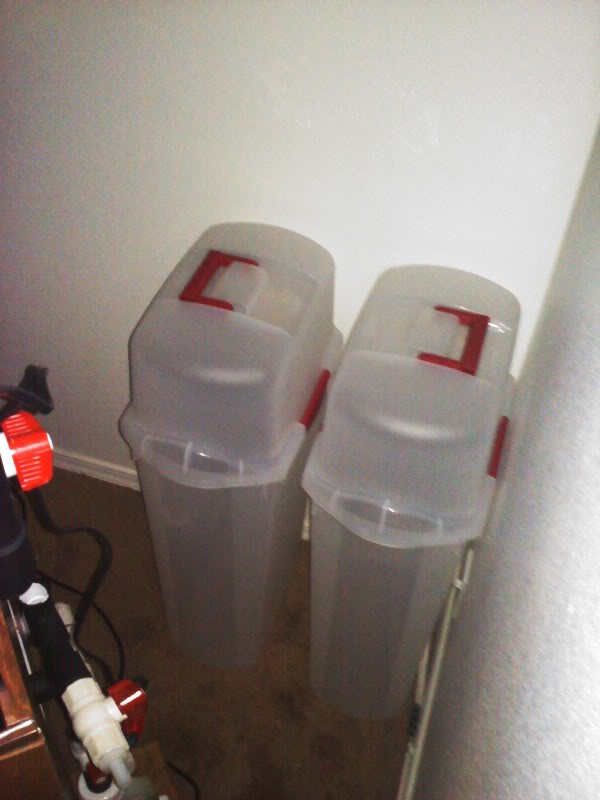
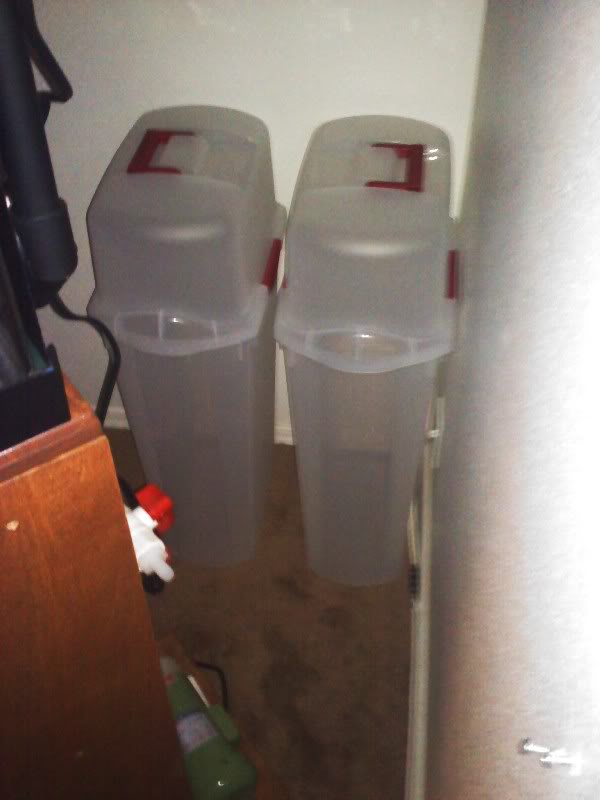
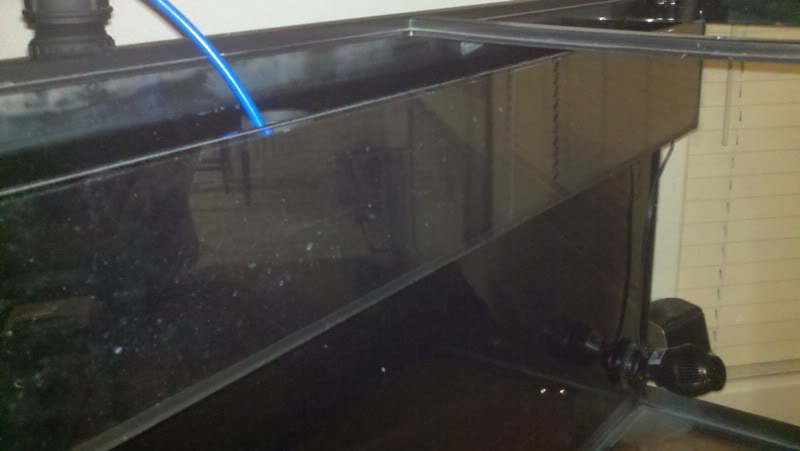
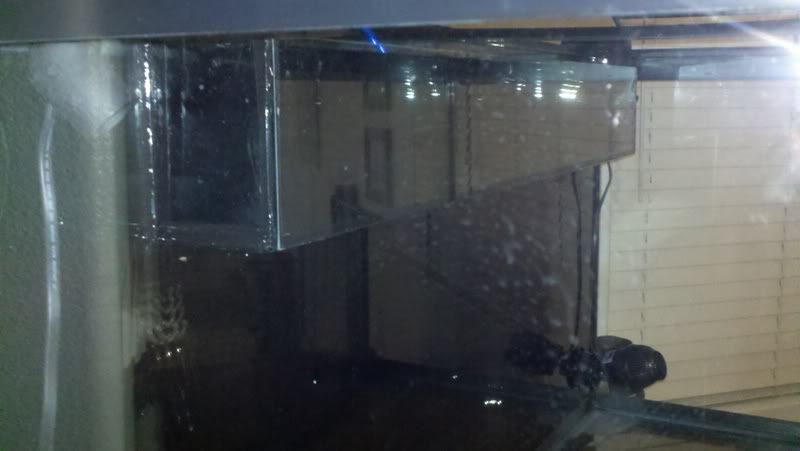
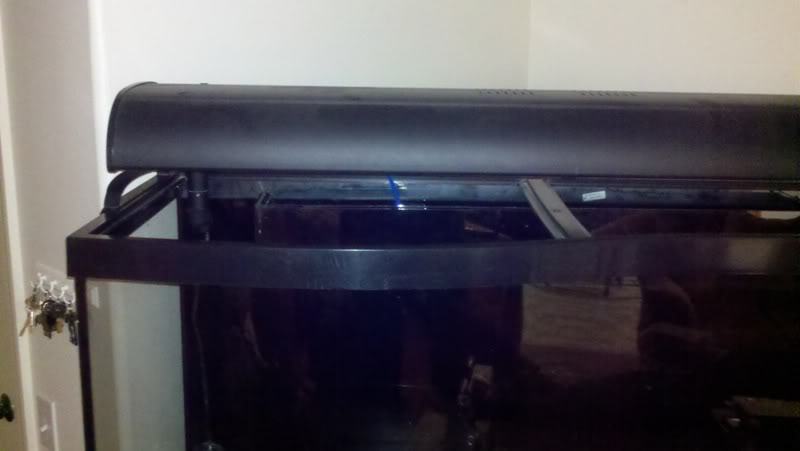
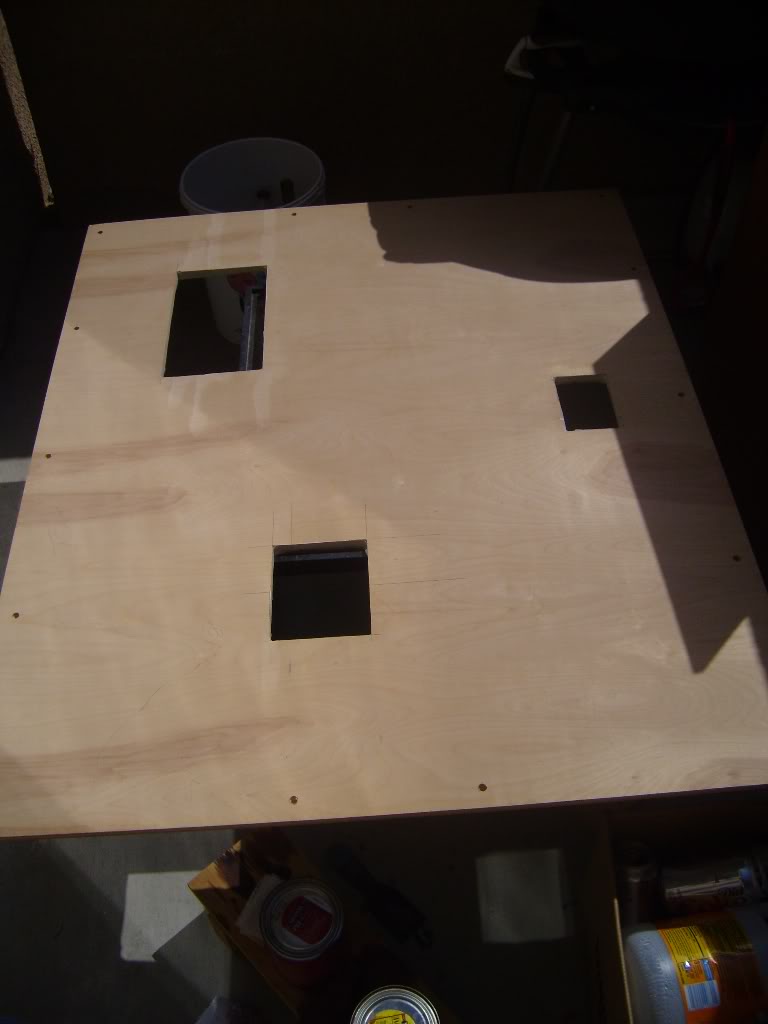
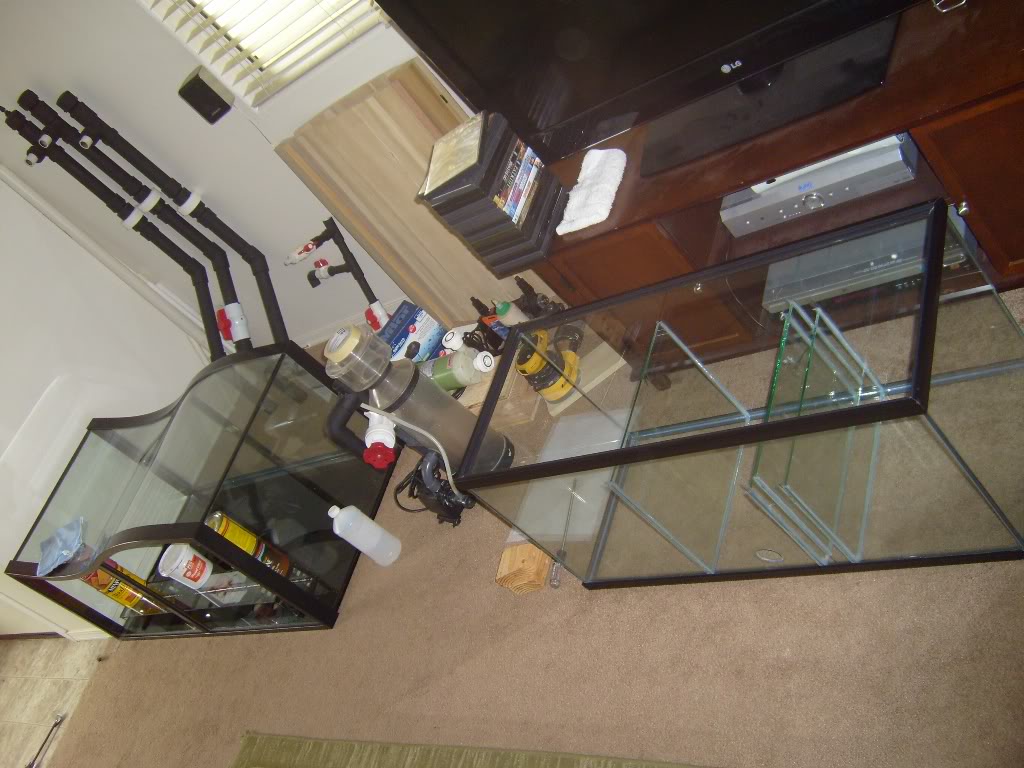
Another great benifit to the BEAN system is that it is made to be silent... I submerged the pipes under water to reduce noise at normal functioning level and so far the only thing that is really loud is the return pump although it is like new it is quite nosiey and is the first thing on my list to get replaced.
 
OP
OP
scott26

scott26

Active Member
View Badges
Joined
Oct 27, 2009
Messages
202
Reaction score
51
Location
Nevada
Rating - 0%
0   0   0
[FONT=&quot]I was able to get some staining done this weekend I got the sidings off and found the stain I wanted to use. Here is a sample board from bottom to top cherry. middle cherry. middle high special walnut. top mahogany.[/FONT]
[FONT=&quot] [/FONT]
[FONT=&quot]
S7001755.jpg
[/FONT]

[FONT=&quot] [/FONT]
[FONT=&quot]Then it started.[/FONT]
[FONT=&quot] [/FONT]
[FONT=&quot]
S7001752.jpg
[/FONT]

[FONT=&quot] [/FONT]
[FONT=&quot]I decided to go with the cherry since I liked that color the best I started off with a wood conditioner and then added 4 coats of stain.[/FONT]
[FONT=&quot] [/FONT]
[FONT=&quot]
S7001753.jpg
[/FONT]

[FONT=&quot] [/FONT]
[FONT=&quot]
S7001754.jpg
[/FONT]

[FONT=&quot] [/FONT]
[FONT=&quot]
S7001756.jpg
[/FONT]

[FONT=&quot] [/FONT]
[FONT=&quot]
S7001757.jpg
[/FONT]

[FONT=&quot] [/FONT]
[FONT=&quot]I am going to finish the sidings off tomorrow with a coat or two of polyutheane semi gloss.[/FONT]
[FONT=&quot] [/FONT]
 
Last edited:
OP
OP
scott26

scott26

Active Member
View Badges
Joined
Oct 27, 2009
Messages
202
Reaction score
51
Location
Nevada
Rating - 0%
0   0   0
[FONT=&quot]Well I was able to get some stuff done this weekend. I started off by getting my sump ready for the baffles to be installed in them. I am splitting the sump into three areas a skimmer section - return - fuge.

I started by taping off the areas where the silicone will be smoothed out so that I can get a nice finish.

S7001758.jpg


S7001761.jpg


Here they are set in there just the first two, and the fuge baffle... I had to just do the first two baffles and let them dry before I put the third baffle in.

S7001762.jpg


S7001763.jpg


S7001764.jpg


Then it was time to get started on the overflow box I decided to go with a black RTV silicone to add a nice finishing touch. I started by taping off in hopes to get it all to pull of nice and smooth finish.

S7001765.jpg


I had got most of it all set up but didn't like the way the silicone turned out with the tape so I added to the silicone that was there before it had a chance to set up and smoothed it out. I am just going to use a razor blade to touch it up later.

S7001766.jpg


While I had the set up since it has been just about 15 hours. I wanted to finish adding the last baffle for the bubble trap so I took out the blocks that were holding up the second baffle and got the tape ready for the last third baffle.

S7001767.jpg


S7001768.jpg


It didn't come out as clean as the other two but I can just touch it up with my razor blade after it dries up some.

Here they are together setting up the silicone I am gong to let it set this way for a day or two before I try to move the tanks.

S7001769.jpg


S7001770.jpg


I was able to get an early start today and went by my work to get all the base rock blasted off with a heated pressure washer, and they sure were dirty.

All ready to go.

TrunkShot.jpg


Rocks.

ToBeCleanedRocks.jpg


Meet your maker.

PressureWasher.jpg


[/FONT]
 
OP
OP
scott26

scott26

Active Member
View Badges
Joined
Oct 27, 2009
Messages
202
Reaction score
51
Location
Nevada
Rating - 0%
0   0   0
Someone left there tractor right next to my car!

WorkShot1.jpg


Blasting away.

BlastShot.jpg


At home and sitting out to dry in a nice clean place.

InGarage.jpg


I also was getting my garage ready to get the stand stained and all finished up for tomorrow. but I don't think I will be able to since I didn't like the way the latex white paint turned out because it left a lot of marks on it from when I installed it last time and was a little rough on the surface so I sanded them all smooth and added another two coats.

Hopefully the weather will be better tomorrow and I can at least stain the stand and the doors and polyurethane next weekend.
 
OP
OP
scott26

scott26

Active Member
View Badges
Joined
Oct 27, 2009
Messages
202
Reaction score
51
Location
Nevada
Rating - 0%
0   0   0
Well got to redo some wood work this weekend in order to make all the wood look similar when staining.

Here is the stand as it sat Friday.
S7001813.jpg


Here is the bottom wave not wanting to stain correctly.
S7001812.jpg


Here is me show that bottom wave what happens when it doesn't do as I SAY!!!! :violence-uzi: :violence-torch:
S7001815.jpg


I had to take a jig saw to the bottom wave where is connects to the bottom board because of all the glue. I also had a chance to rework the bottom to curve with the doors better.
S7001817.jpg


Here is a scrap piece from the new board you can see how well the stain goes on all nice and even.
S7001816.jpg


Now the kerfing begins AGAIN.
S7001820.jpg


Here is a kerfed up board I am leaving some extra solid board to measure up correctly because I am not going to kerf this all the way the reason I am going to leave about 3" or so on each end of the board un-kerfed is because I want to be able to sand the edges to be flush with the side board. Something I forgot to do the first time.
S7001819.jpg


Board ready glue ready hold downs ready.
S7001821.jpg


Set and forget.
S7001822.jpg


I got some wood filler from wal-mart and filled in all the kerfing marks on the front and turned it upside down so I could pour more glue into the kerfs.
S7001823.jpg


S7001824.jpg
 
OP
OP
scott26

scott26

Active Member
View Badges
Joined
Oct 27, 2009
Messages
202
Reaction score
51
Location
Nevada
Rating - 0%
0   0   0
[FONT=&quot]Okay now that I have all the pictures ready to go time for a real update get ready your eyes will be amazed! lol.[/FONT]
[FONT=&quot] [/FONT]
[FONT=&quot]So I got the bottom board all glued on and filled with filler as I left if from the last post.[/FONT]
[FONT=&quot] [/FONT]
[FONT=&quot]
S7001825.jpg
[/FONT]
[FONT=&quot] [/FONT]
[FONT=&quot]While that was drying I re-did some paint on the main 2x4 uprights since I got them pretty dirty with my hands moving it around so many times. Here is a shot with a fresh coat of paint.[/FONT]
[FONT=&quot] [/FONT]
[FONT=&quot]
S7001826.jpg
[/FONT]
[FONT=&quot] [/FONT]
[FONT=&quot]Next I painted the back of my doors white to match the inside of the stand.[/FONT]
[FONT=&quot] [/FONT]
[FONT=&quot]
S7001827.jpg
[/FONT]
[FONT=&quot] [/FONT]
[FONT=&quot]
S7001828.jpg
[/FONT]
[FONT=&quot] [/FONT]
[FONT=&quot]
S7001829.jpg
[/FONT]
[FONT=&quot] [/FONT]
[FONT=&quot]Then I got to working the bottom wave the next day starting off with some wood conditioner.[/FONT]
[FONT=&quot] [/FONT]
[FONT=&quot]
S7001830.jpg
[/FONT]
[FONT=&quot] [/FONT]
[FONT=&quot]Then a coat of stain.[/FONT]
[FONT=&quot] [/FONT]
[FONT=&quot]
S7001831.jpg
[/FONT]
[FONT=&quot] [/FONT]
[FONT=&quot]You can see that the stain did the SAME THING AGAIN! Uneave coating what a disappointment.[/FONT]
[FONT=&quot] [/FONT]
[FONT=&quot]
S7001832.jpg
[/FONT]
[FONT=&quot] [/FONT]
[FONT=&quot]So instead of ripping it off and trying again I worked with what I had. What I did was I took a towel of stain and added to the light areas in the wood and let it set up for about 5 min and wiped off excess... I did this about 4 times to get the stain to somewhat match the darker spots.[/FONT]
[FONT=&quot] [/FONT]
[FONT=&quot]
S7001833.jpg
[/FONT]
[FONT=&quot] [/FONT]
[FONT=&quot]
S7001834.jpg
[/FONT]
[FONT=&quot] [/FONT]
[FONT=&quot]Still not quite as good as the top wave but it will do.[/FONT]
[FONT=&quot] [/FONT]
[FONT=&quot]
S7001835.jpg
[/FONT]
[FONT=&quot] [/FONT]
[FONT=&quot]Here is a shot off all the boards waiting for sealer/varnish.[/FONT]
[FONT=&quot] [/FONT]
[FONT=&quot]
S7001836.jpg
[/FONT]
[FONT=&quot] [/FONT]
[FONT=&quot]After some trips to Sherwin Williams I was finally able to get the right finish products I wanted for the aquarium I must have went back there 4 times to get the right stuff.[/FONT]
[FONT=&quot] [/FONT]
[FONT=&quot]Well this last Saturday was the day (11-12-10) for sealer / varnish so I got to work I taped up most of the sides to make sure any excess drips would not go onto the white side of the boards.[/FONT]
[FONT=&quot] [/FONT]
[FONT=&quot]This is a fresh coat of satin sealer.[/FONT]
[FONT=&quot] [/FONT]
[FONT=&quot]
S7001841.jpg
[/FONT]
[FONT=&quot] [/FONT]
[FONT=&quot]
S7001842.jpg
[/FONT]
[FONT=&quot] [/FONT]
[FONT=&quot]
S7001843.jpg
[/FONT]
 
OP
OP
scott26

scott26

Active Member
View Badges
Joined
Oct 27, 2009
Messages
202
Reaction score
51
Location
Nevada
Rating - 0%
0   0   0
[FONT=&quot]Here is a shot of the top board after some drying time you can see it has the perfect sheen to it not to shinny and not to dull.[/FONT]
[FONT=&quot] [/FONT]
[FONT=&quot]
S7001844.jpg
[/FONT]
[FONT=&quot] [/FONT]
[FONT=&quot]Now onto the varnish here it some pics of the fresh coat of varnish.[/FONT]
[FONT=&quot] [/FONT]
[FONT=&quot]
S7001845.jpg
[/FONT]
[FONT=&quot] [/FONT]
[FONT=&quot]
S7001847.jpg
[/FONT]
[FONT=&quot] [/FONT]
[FONT=&quot]
S7001848.jpg
[/FONT]
[FONT=&quot] [/FONT]
[FONT=&quot]Here are the wave fronts after some drying time.[/FONT]
[FONT=&quot] [/FONT]
[FONT=&quot]
S7001849.jpg
[/FONT]
[FONT=&quot] [/FONT]
[FONT=&quot]Oh and in case you didn't know like I didn't this stuff really attracts the insects so if you are going to do this outside use a bug zapper or something because this is what I came back to the next day after I let it dry. A moth decided to try a bath in the varnish and caked himself into the varnish so now I have a moth impression on the top board. But this will not be seen so I will just have to let it go even though my perfectionist side is telling me to redo it. :D[/FONT]
[FONT=&quot] [/FONT]
[FONT=&quot]
S7001850.jpg
[/FONT]
[FONT=&quot] [/FONT]
[FONT=&quot]Okay now for some good shots all the work is finally done and I finally get to set up the stand for the final time in the area where it is going to be on display.[/FONT]
[FONT=&quot] [/FONT]
[FONT=&quot]Here are the doors all ready to go.[/FONT]
[FONT=&quot] [/FONT]
[FONT=&quot]
S7001851.jpg
[/FONT]
[FONT=&quot] [/FONT]
[FONT=&quot]Here is everything in the house waiting to be assembled... You have no idea how hard it is to try and move this aquarium stand by yourself it is a really odd shape... I had to enlist the help of a neighbor.[/FONT]
[FONT=&quot] [/FONT]
[FONT=&quot]
S7001852.jpg
[/FONT]
[FONT=&quot] [/FONT]
[FONT=&quot]I had to wait for my wife to get home in order to get the stand moved into position and the aquarium on top of it so in the mean time I assembled the doors and back board onto it.[/FONT]
[FONT=&quot] [/FONT]
[FONT=&quot]
S7001853.jpg
[/FONT]
[FONT=&quot] [/FONT]
[FONT=&quot]
S7001854.jpg
[/FONT]
[FONT=&quot] [/FONT]
[FONT=&quot]
S7001857.jpg
[/FONT]
[FONT=&quot] [/FONT]
 
OP
OP
scott26

scott26

Active Member
View Badges
Joined
Oct 27, 2009
Messages
202
Reaction score
51
Location
Nevada
Rating - 0%
0   0   0
[FONT=&quot]We were finally able to get the aquarium on top of it and the sides on so here are the final stand shots.[/FONT]
[FONT=&quot] [/FONT]
[FONT=&quot]
S7001858.jpg
[/FONT]
[FONT=&quot] [/FONT]
[FONT=&quot]
S7001859.jpg
[/FONT]
[FONT=&quot] [/FONT]
[FONT=&quot]
S7001861.jpg
[/FONT]
[FONT=&quot] [/FONT]
[FONT=&quot]
S7001862.jpg
[/FONT]
[FONT=&quot] [/FONT]
[FONT=&quot]And that is it for now... it is really nice seeing it in the living room all done up it really lets me know it is almost time to start filling it with water all I have left to do is some PVC and clean up and assemble it and water can start flowing.[/FONT]
[FONT=&quot] [/FONT]
[FONT=&quot] [/FONT]
 
OP
OP
scott26

scott26

Active Member
View Badges
Joined
Oct 27, 2009
Messages
202
Reaction score
51
Location
Nevada
Rating - 0%
0   0   0
Well I have a small update with the holiday's and all I have not been able to get much done I want to start to fill it with water but I had to change some things.

I was going to use slip to slip 1" bulkheads for the standpipes and the return plumbing coming out of the sump but I got to thinking if I ever have an issue with it I am going to have to cut the bulk head off the piping! Which is a waste of money.

So I took back the slip to slip bulkheads and exchanged them for some slip to thread on the nut side bulkheads that way I can just unscrew them if the time is ever comes. I will have to installing everything this weekend hopefully and start to fill with water.

But in the mean time I was able to get some other stuff done. Now I had seen this done on Mevle's reef so I can't take the credit for the idea. But I was on my way back home from the family visit and stopped by Target for the after Xmas sales, and I picked up two gift wrapping containers which will be perfect for my RO/DI reservoir and one for a salt water container.

1227102042.jpg


1227102042a.jpg


They are going to sit in the back corner of the aquarium where they should be kept out of site I am going to have to run an RO/DI line from under the sink all the way over but it should come out really well. I have going to have to see what position I want them it but this is where they are for now.

1227102045a.jpg


1227102045.jpg


I was also working all getting everything mocked up for the water to be added. So here are some pictures of what the back of the aquarium looks like as of now.

1227102043.jpg


1227102044.jpg


I was also able to exchange the magnets that were used to hold the doors shut with some of the pop back ones you would use on like a glass coffee table.

1227102044b.jpg


So this is what it looks like now.

1227102044a.jpg


1227102042b.jpg


I hope to silicone up the bottom board and get some spa flex for the return plumbing and get it running soon.

Cross your fingers.
 
OP
OP
scott26

scott26

Active Member
View Badges
Joined
Oct 27, 2009
Messages
202
Reaction score
51
Location
Nevada
Rating - 0%
0   0   0
Well I was finally able to get my tap water test done and it almost went without a hitch. There were just a few little things that went wrong and were obvious and I should have caught.

Fist when I was filing the sump up I got the center area almost all filled and then I remembered that I never attached the PVC quick coupler to the pump! So I lost about 1.5 gallons onto the floor before I remembered. I had towels on hand so I think it is good just slightly damp afterword.

Next I got it all hooked up and started the pump and tried to adjust the flow to the fuge but used the wrong ball valve and was turning down the pump maintenance ball valve... woops caught that quick as well so once I opened it back up I realized I forgot to shut off the ball valve for water changes and shot out a little water from the spout.

And finally I had forgotten to drill siphon breaks for the returns so the sump almost got flooded! I caught that in time and lifted the u-tubes up to break the siphon.

So I drilled the siphon breaks and went for another test run all went well perfect test run... Then a bulkhead leak... the center sump bulkhead was leaking where the threaded PVC goes into the back of it so I drained the middle section and took it apart and added extra Teflon tape and it is all sealed up now.

Anyway enough of the talking let’s get to the pictures!

To do the fresh water test since I don't have access to a faucet for a garden hose outside I used my garden hose and attached it to my washing machine! Worked like a charm.

S7001880.jpg


Sump Filled.

S7001881.jpg


Tank Filled.

S7001882.jpg


Both Filled.

S7001886.jpg


The towel for those little mistakes.

S7001883.jpg


I was even able to shoot a video of how the water flow worked and the lighting system installed and running.

[video=youtube;Viu2F0xLNgg]http://www.youtube.com/watch?v=Viu2F0xLNgg[/video]
 
OP
OP
scott26

scott26

Active Member
View Badges
Joined
Oct 27, 2009
Messages
202
Reaction score
51
Location
Nevada
Rating - 0%
0   0   0
I was able to pick up some black plexi glass from a plastic store somewhat nearby and I was able to install it into the overflow box. This way instead of seeing the inside of the overflow and the elbows you just see more black background. I left the bottom uncovered though so that light can still shine through the bottom.

2011-01-10_20-34-15_398.jpg


2011-01-10_20-34-07_832.jpg


2011-01-10_20-33-50_824.jpg
 
OP
OP
scott26

scott26

Active Member
View Badges
Joined
Oct 27, 2009
Messages
202
Reaction score
51
Location
Nevada
Rating - 0%
0   0   0
I was concerned about how much my RO containers bowed out when I filled them up all the way so I got some wood from HD and made some frames for the containers to sit in. This way they will not bow out at all and keep their shape... a little piece of mind.

I also had to get another piece of pipe to redo the exit elbow for my G2 since I raised it onto a platform it was not terminating below the water level anymore... which made a splashing noise.

I also painted the pipe for the fuge return black.

2011-02-21_19-46-30_630.jpg


2011-02-21_19-47-05_169.jpg
 

bmac16

Active Member
View Badges
Joined
Nov 21, 2009
Messages
328
Reaction score
120
Location
Louisiana
Rating - 0%
0   0   0
beautiful build!....looks like you have a lot of patience, should take you pretty far
 
OP
OP
scott26

scott26

Active Member
View Badges
Joined
Oct 27, 2009
Messages
202
Reaction score
51
Location
Nevada
Rating - 0%
0   0   0
I was also able to get a better video of how the sump works and what kind of flow you can see going through there.

[video=youtube;gADxdccUIUo]http://www.youtube.com/watch?v=gADxdccUIUo[/video]

Since the last post I have been able to get a little farther along I was able to sketch out some of my rock work which I later changed around into two island types of rock work going for more of a minimal type of scape.

[video=youtube;vf1Hj3sjxJ0]http://www.youtube.com/watch?v=vf1Hj3sjxJ0[/video]

And finally this is where the tank stands now as it cycles.

[video=youtube;ATvYP5IXh0o]http://www.youtube.com/watch?v=ATvYP5IXh0o[/video]
 
OP
OP
scott26

scott26

Active Member
View Badges
Joined
Oct 27, 2009
Messages
202
Reaction score
51
Location
Nevada
Rating - 0%
0   0   0
beautiful build!....looks like you have a lot of patience, should take you pretty far

Thanks! Just wait until I get my own house!!!! Solar Tube... In Wall... 400 + Gallons... LEDs... but this should do for a few years while I still have to rent.

Oh and I took out a nice renter's policy to cover any leaks.
 

bmac16

Active Member
View Badges
Joined
Nov 21, 2009
Messages
328
Reaction score
120
Location
Louisiana
Rating - 0%
0   0   0
lol i hear you, i just built a house and already had an ro/di overflow accident. wanted to jump off the roof so i didnt have to talk to my girl about it :tongue:
 
OP
OP
scott26

scott26

Active Member
View Badges
Joined
Oct 27, 2009
Messages
202
Reaction score
51
Location
Nevada
Rating - 0%
0   0   0
lol i hear you, i just built a house and already had an ro/di overflow accident. wanted to jump off the roof so i didnt have to talk to my girl about it :tongue:

I don't know why but RO/DI valves always seem to leak somewhere sometime.
 

fsu1dolfan

2500 Club Member
View Badges
Joined
May 9, 2008
Messages
2,642
Reaction score
53
Location
South Florida
Rating - 0%
0   0   0
I think i love you stand more than your tank!! You by far are the kerfing KING! Very nicely done and i am enjoying the progression pics! Thanks
 
OP
OP
scott26

scott26

Active Member
View Badges
Joined
Oct 27, 2009
Messages
202
Reaction score
51
Location
Nevada
Rating - 0%
0   0   0
I think i love you stand more than your tank!! You by far are the kerfing KING! Very nicely done and i am enjoying the progression pics! Thanks

Thanks I think I do as well at least so far just wait till you see what I can do with an aquarium!
 
OP
OP
scott26

scott26

Active Member
View Badges
Joined
Oct 27, 2009
Messages
202
Reaction score
51
Location
Nevada
Rating - 0%
0   0   0
I was able to get an update I have been cycling the tank for a while now and was able to swing by Atlantis and pick up some dry sand I saw a friend had it and it was the perfect grain size as well not to large and not to small.

Without Sand:

2011-03-06_15-42-14_273.jpg


With Sand:

2011-03-09_16-06-53_719.jpg


2011-03-09_16-07-13_446.jpg


2011-03-09_16-07-05_618.jpg
 

Bubbles, bubbles, and more bubbles: Do you keep bubble-like corals in your reef?

  • I currently have bubble-like corals in my reef.

    Votes: 23 35.9%
  • I don’t currently have bubble-like corals in my reef, but I have in the past.

    Votes: 7 10.9%
  • I don’t currently have bubble-like corals in my reef, but I plan to in the future.

    Votes: 21 32.8%
  • I don’t currently have bubble-like corals in my reef and have no plans to in the future.

    Votes: 11 17.2%
  • Other.

    Votes: 2 3.1%
Back
Top