Well I’m FINALLY ready to start my build thread.
There have been many false starts and delays along the way but I am determined to get this tank up.
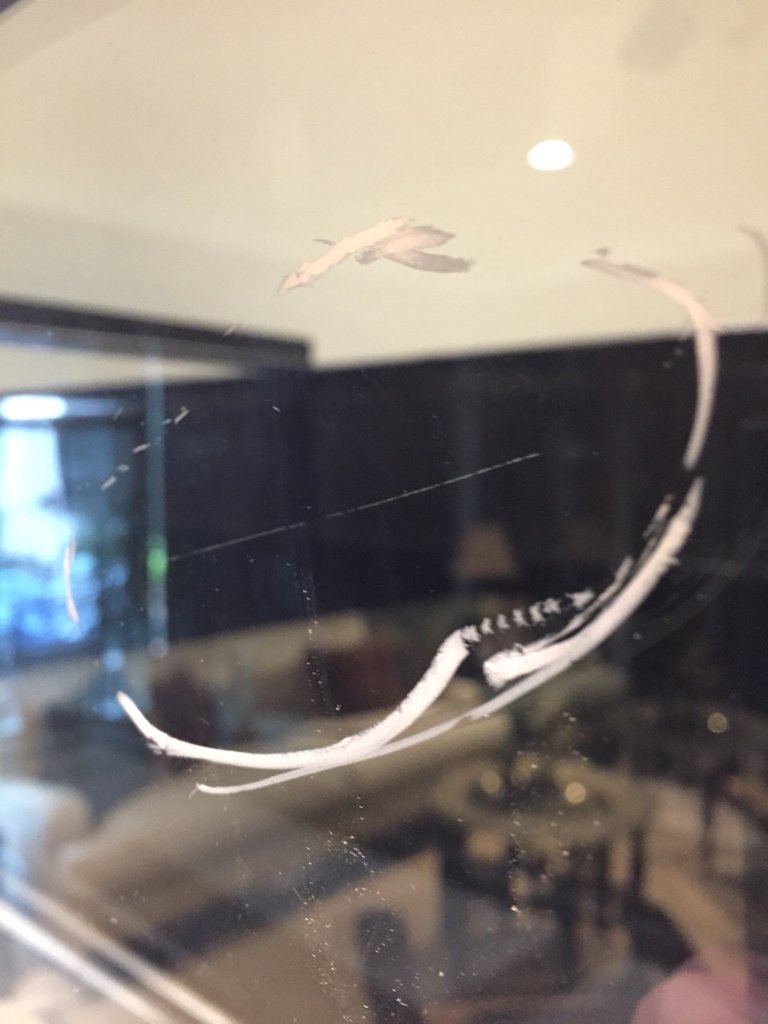
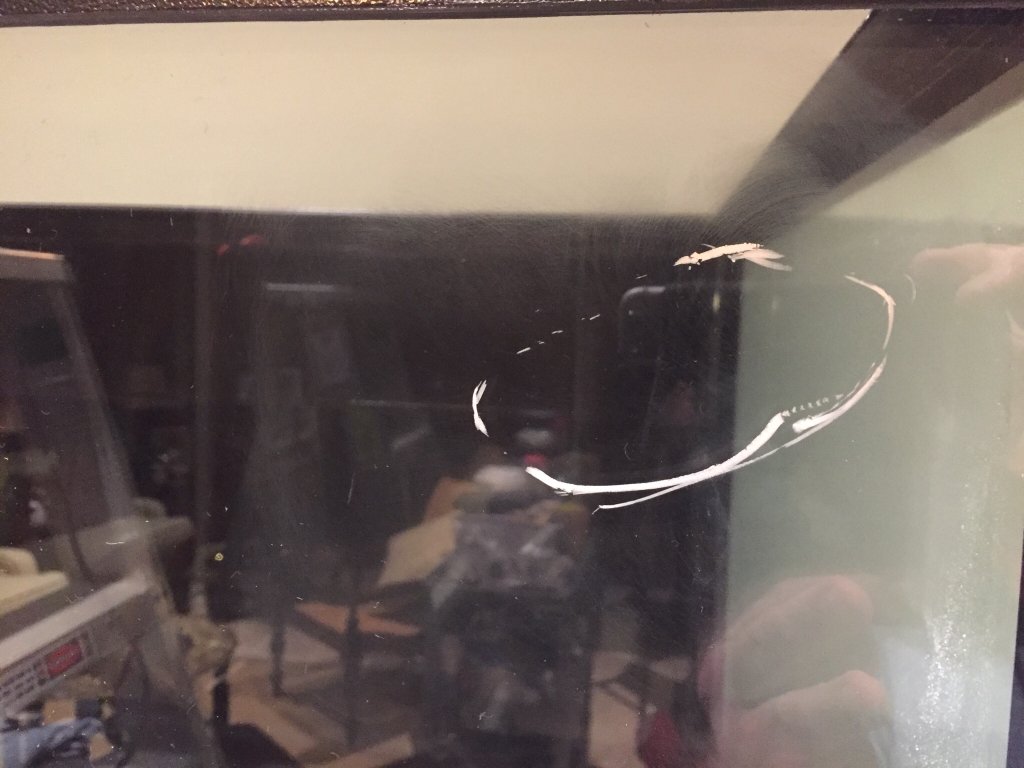
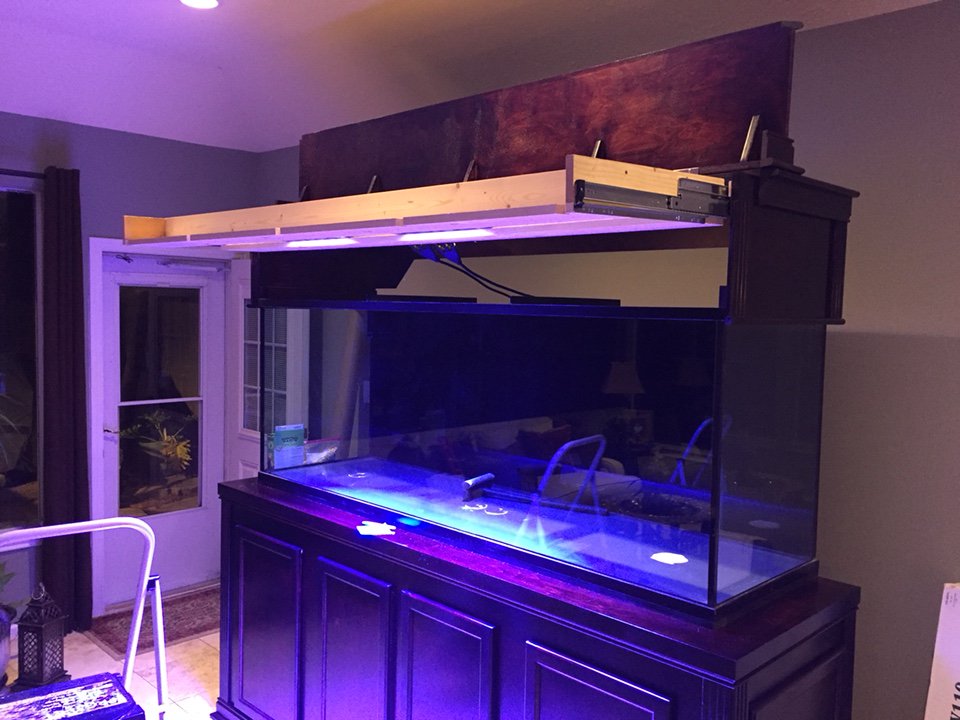
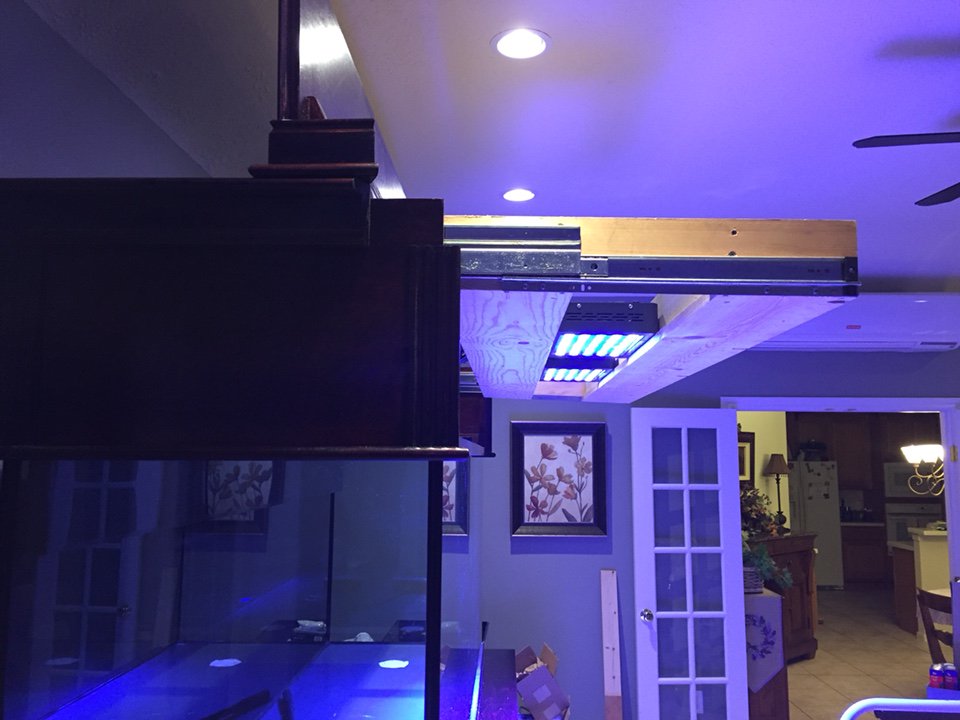
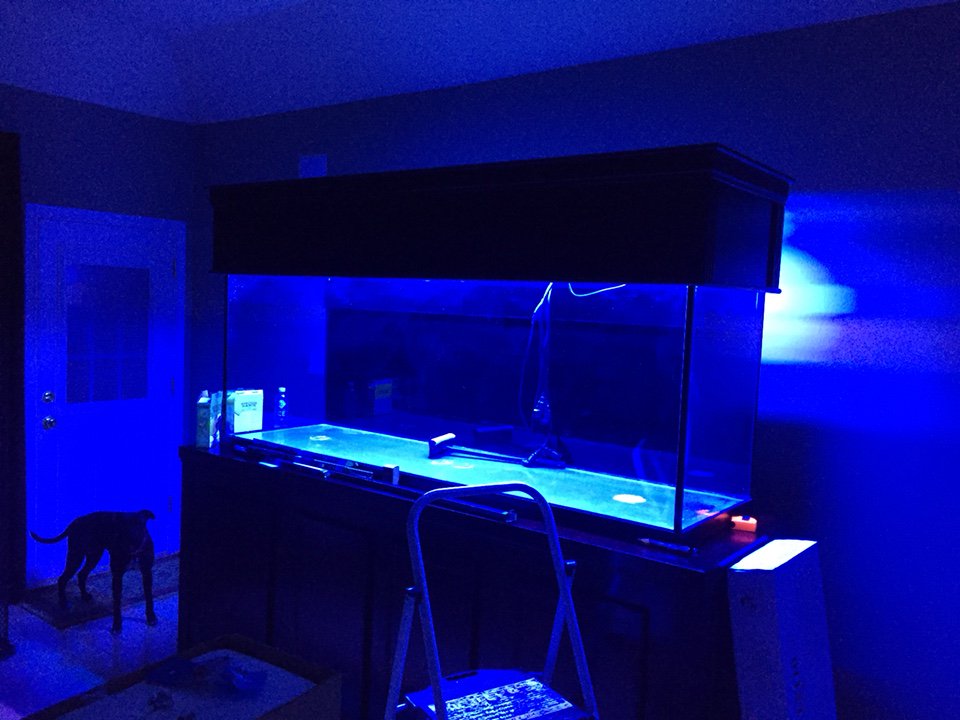
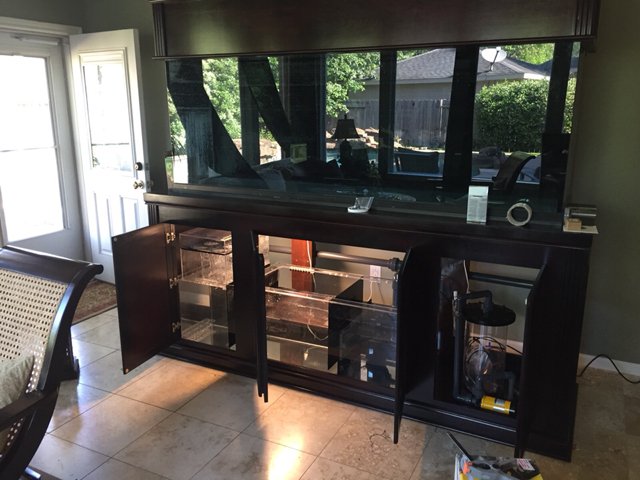
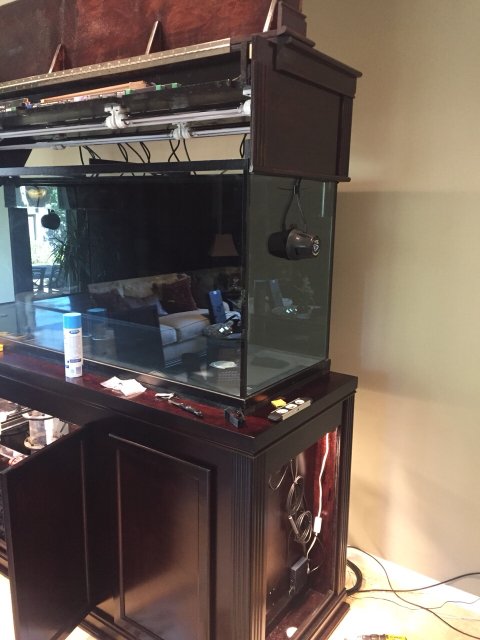
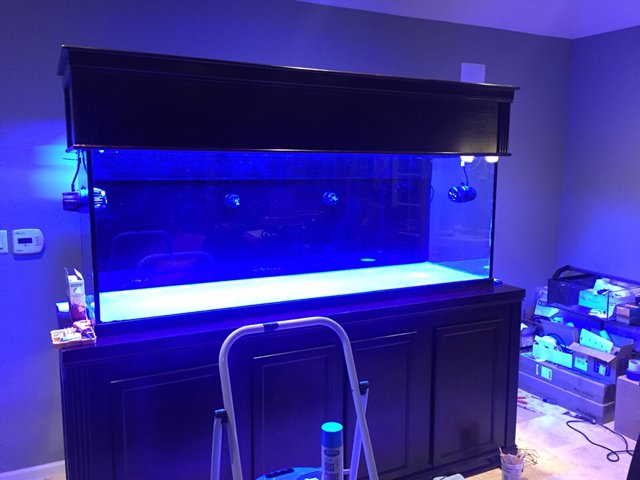
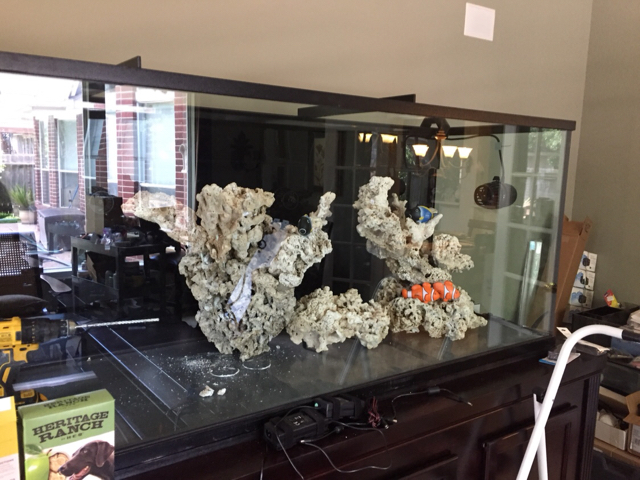
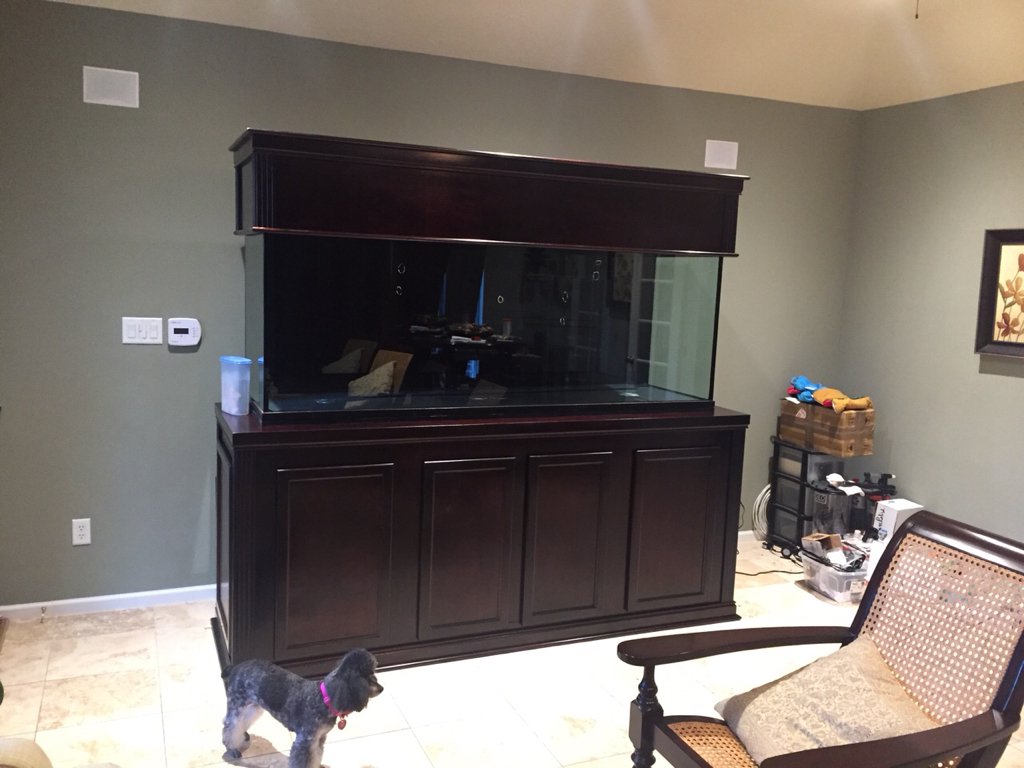
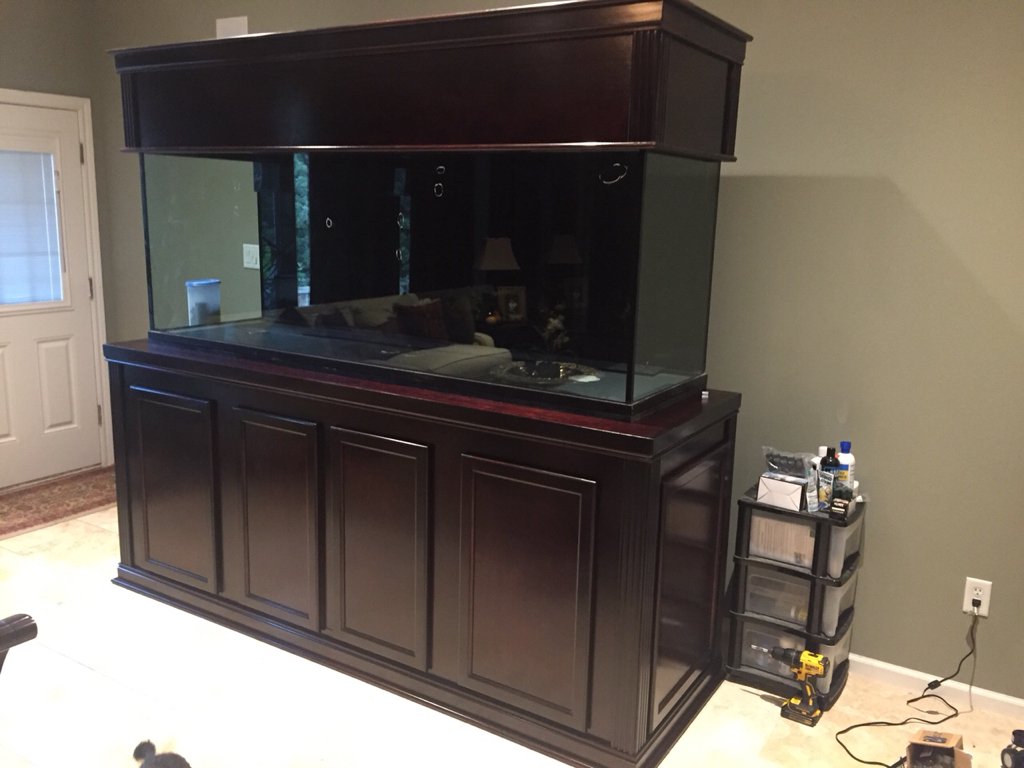
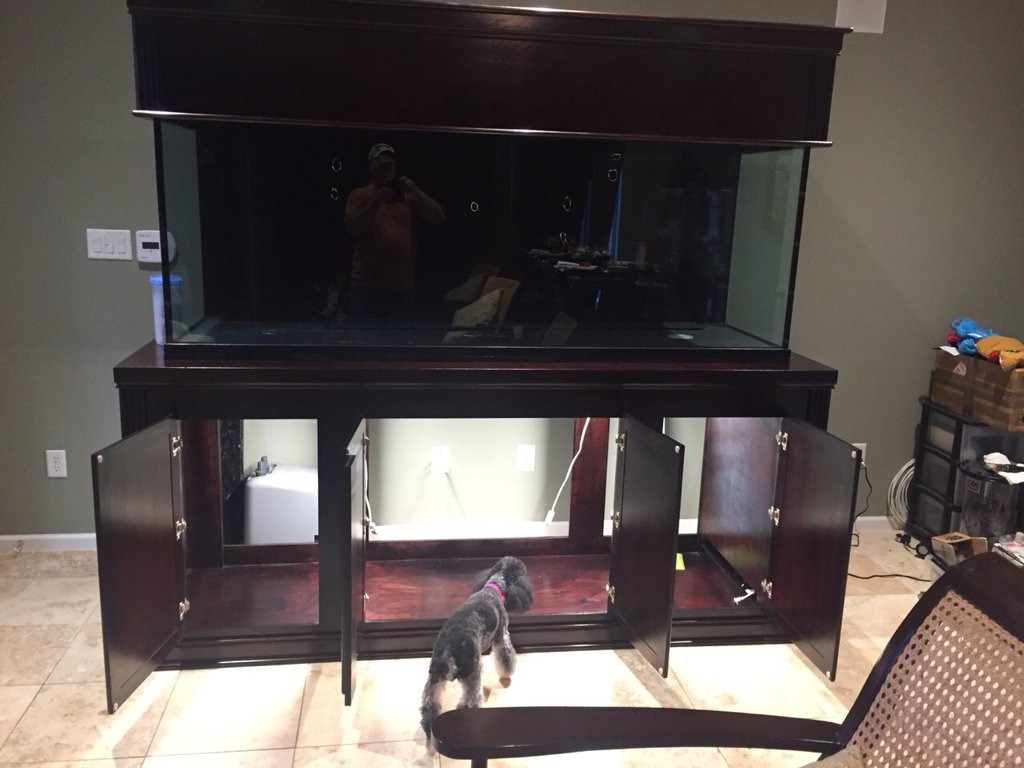
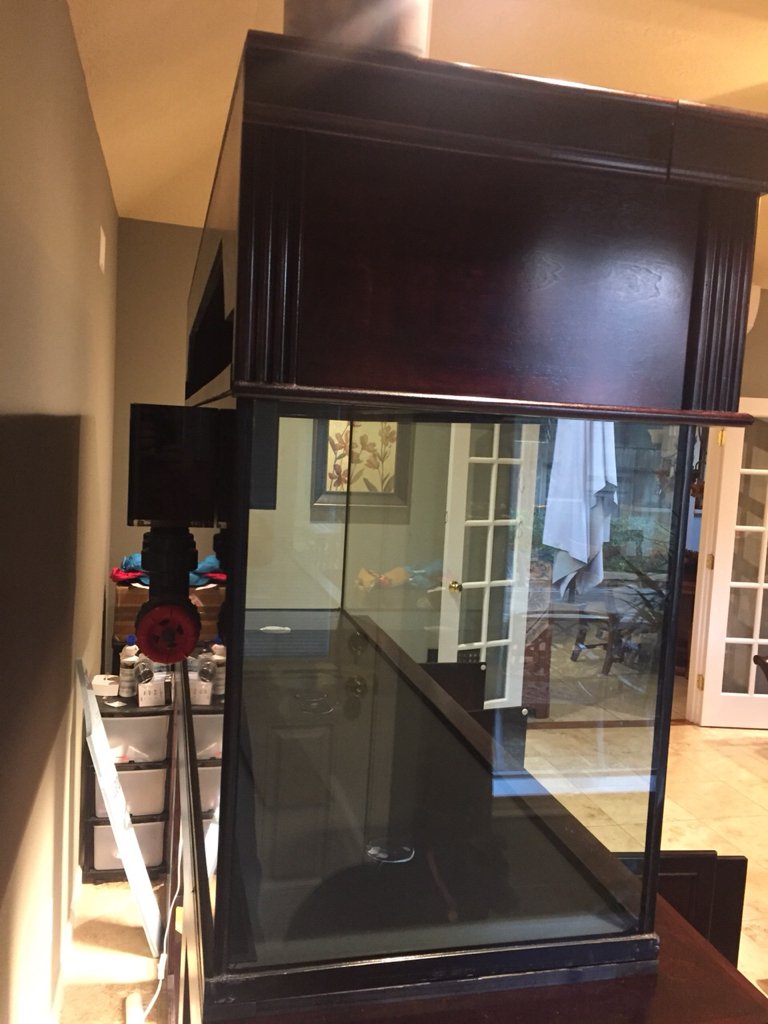
My tank is 84x24x30 tall. Its a used AGE I picked up from Fish Gallery probably two or three years ago now. Yes you read that right.
The tank was in pristine condition but alas I have managed to put some scratches in the glass. That I had to polish out.
See the little white circles in the pictures...
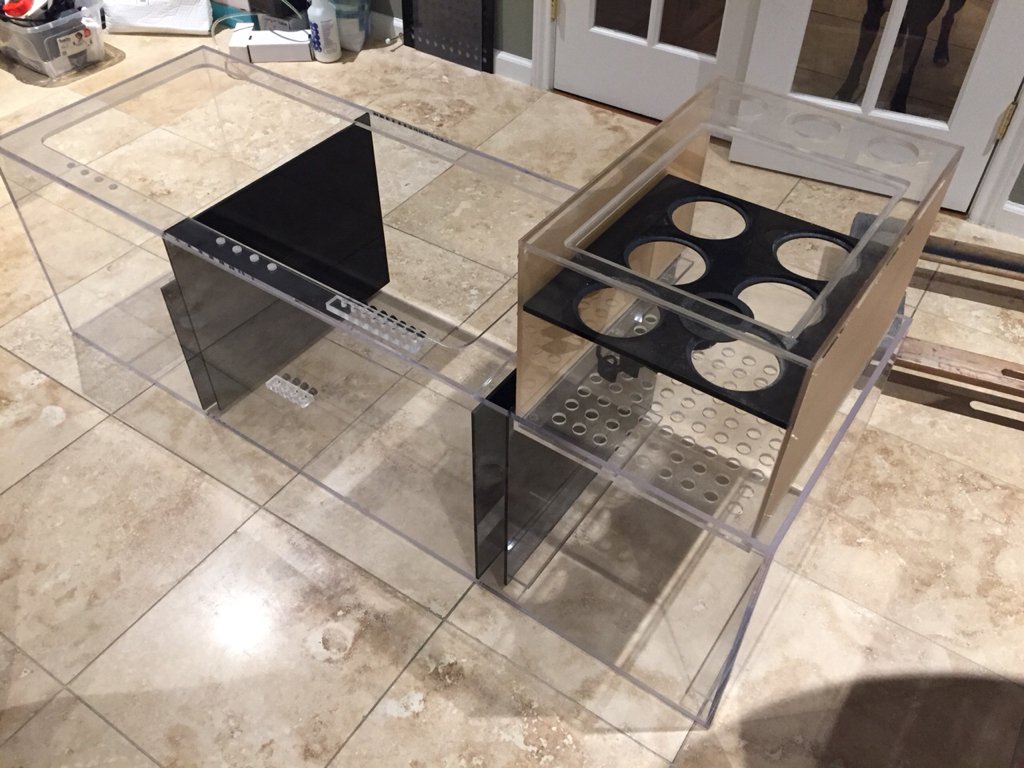
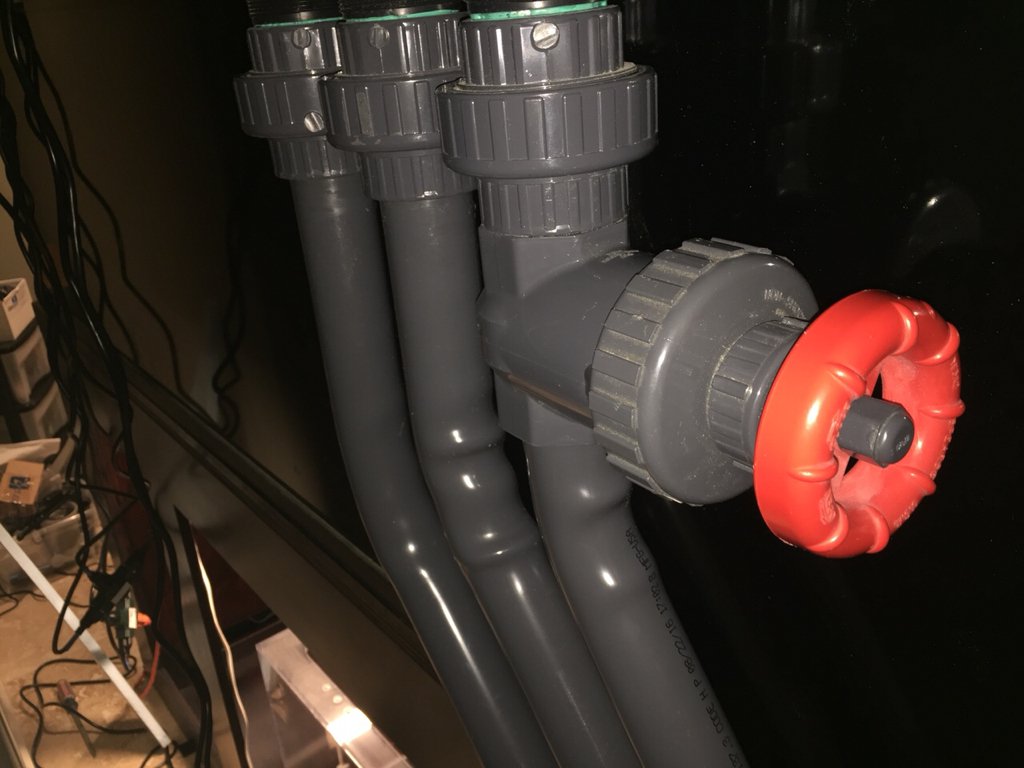
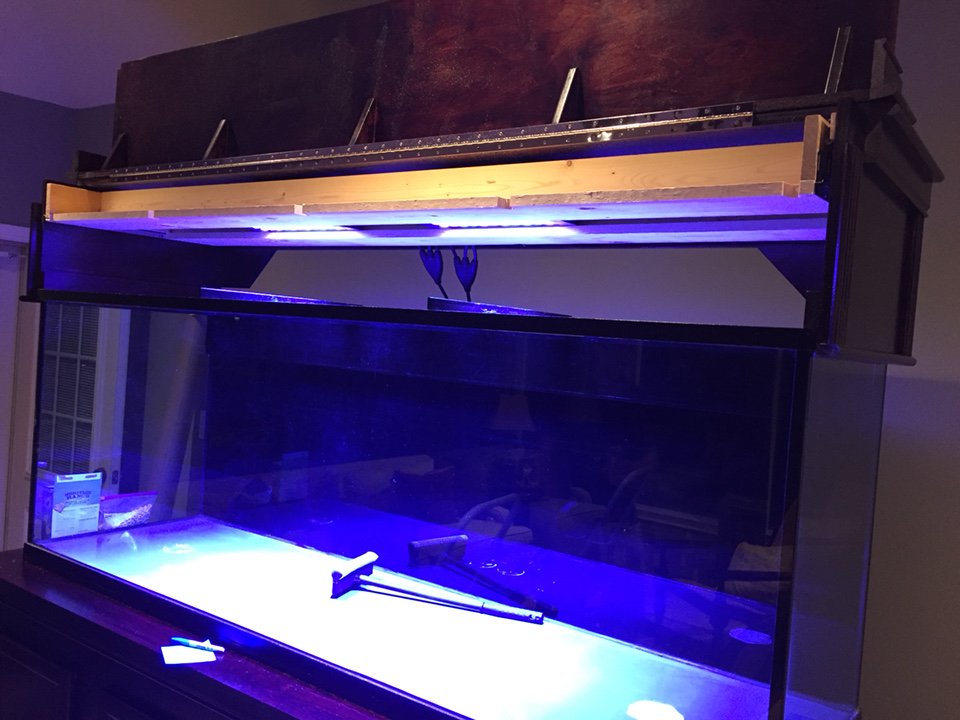
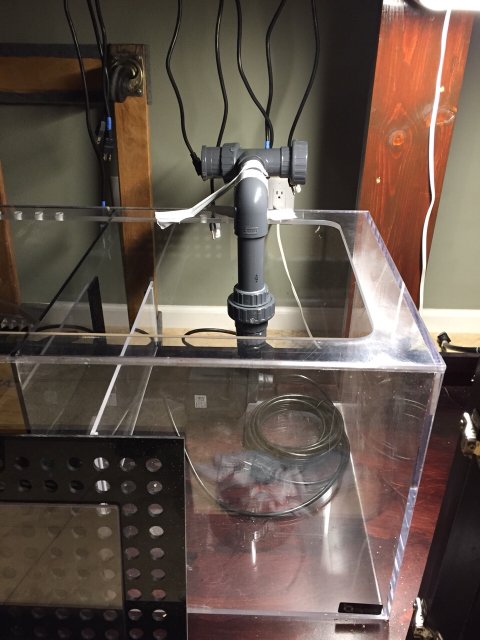
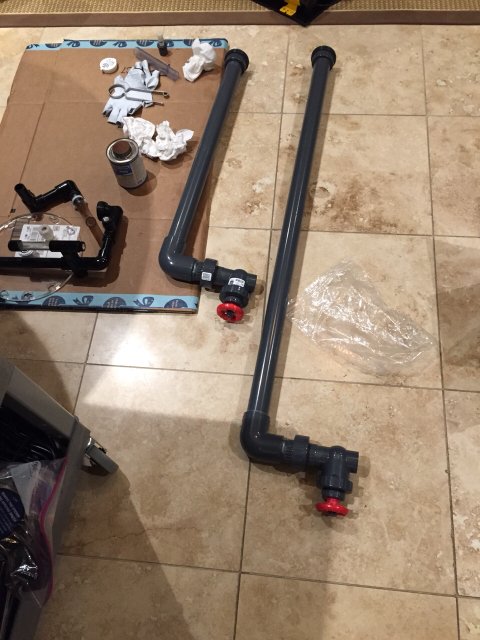
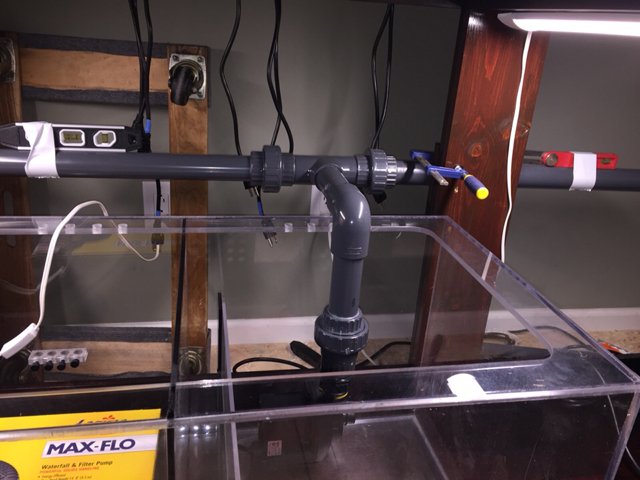
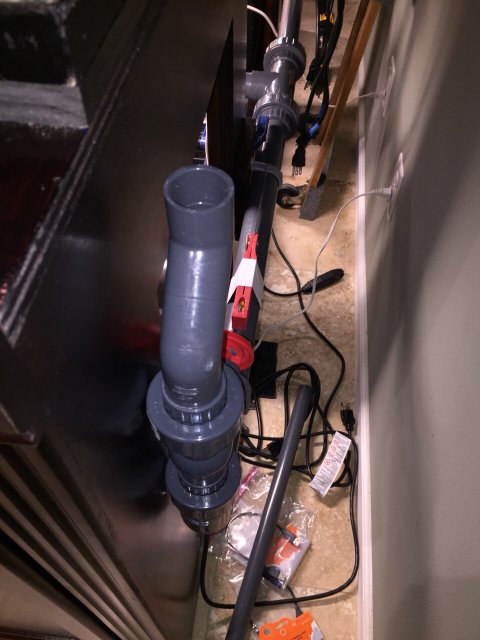
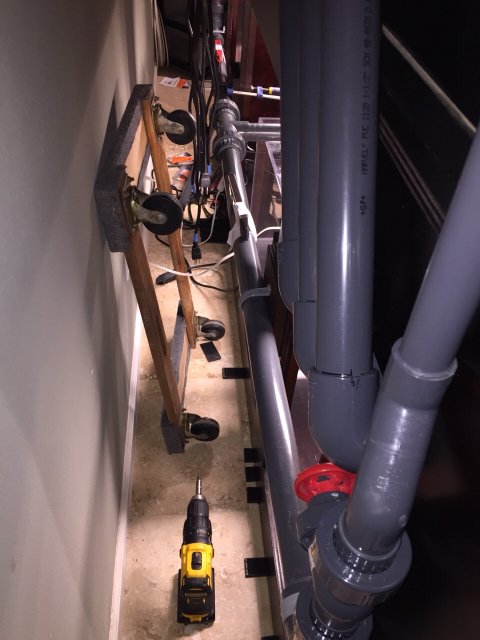
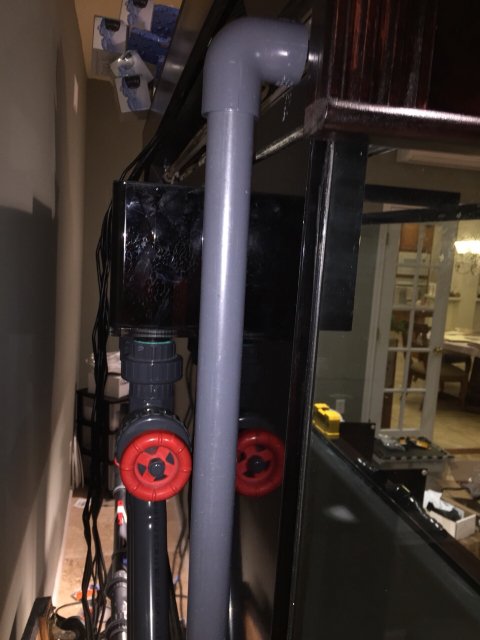
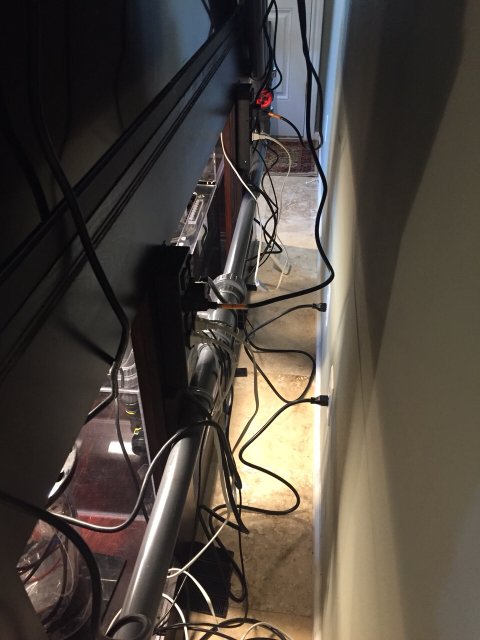
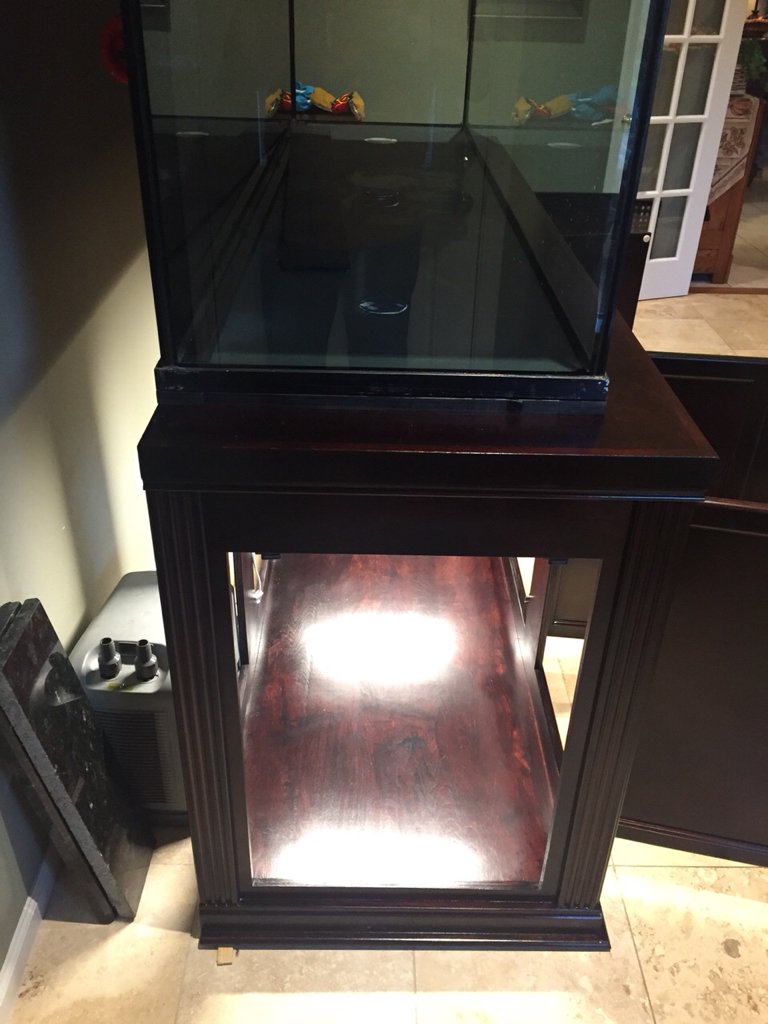
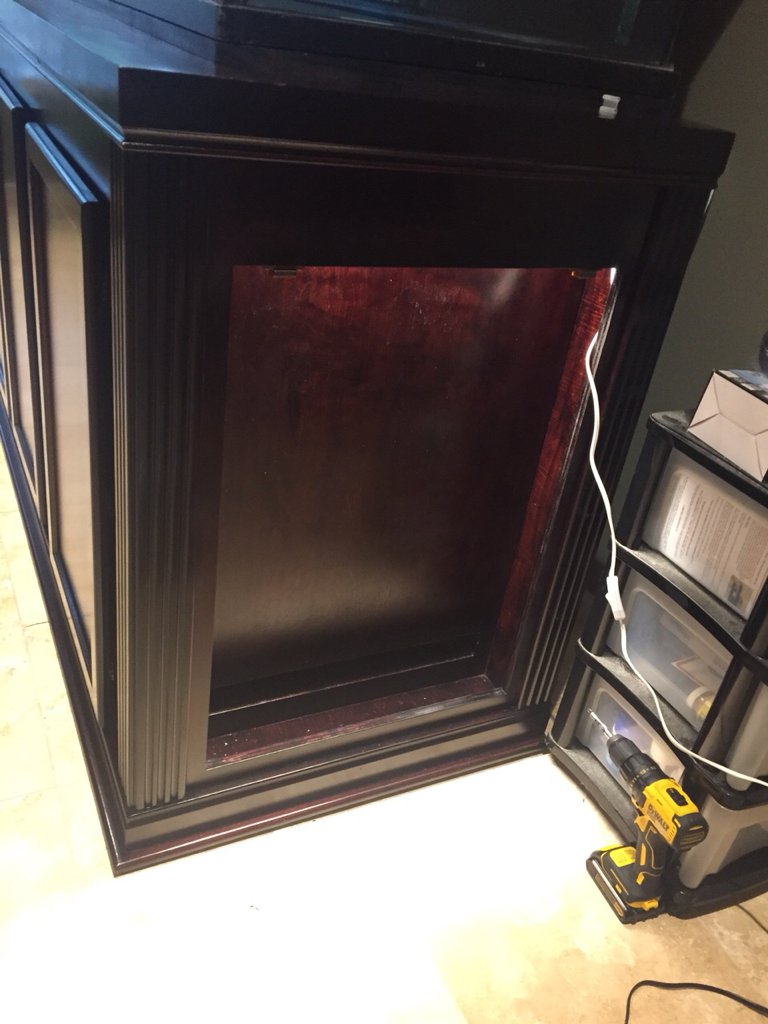
I installed an internal 80”ish weir and 60” external box built by Modular Marine. I can't recommend Modular Marine enough! They have done several custom jobs for me and always provide quality workmanship.
Thank you to the folk that came over and helped hold, drill and provide general support with getting it installed.
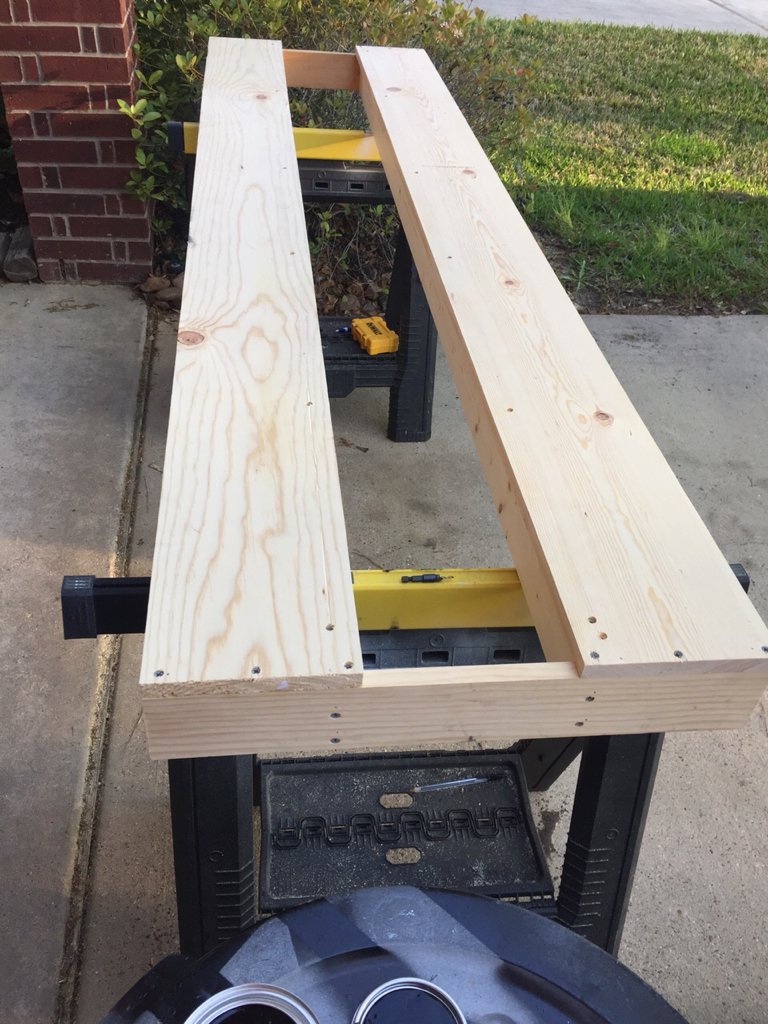
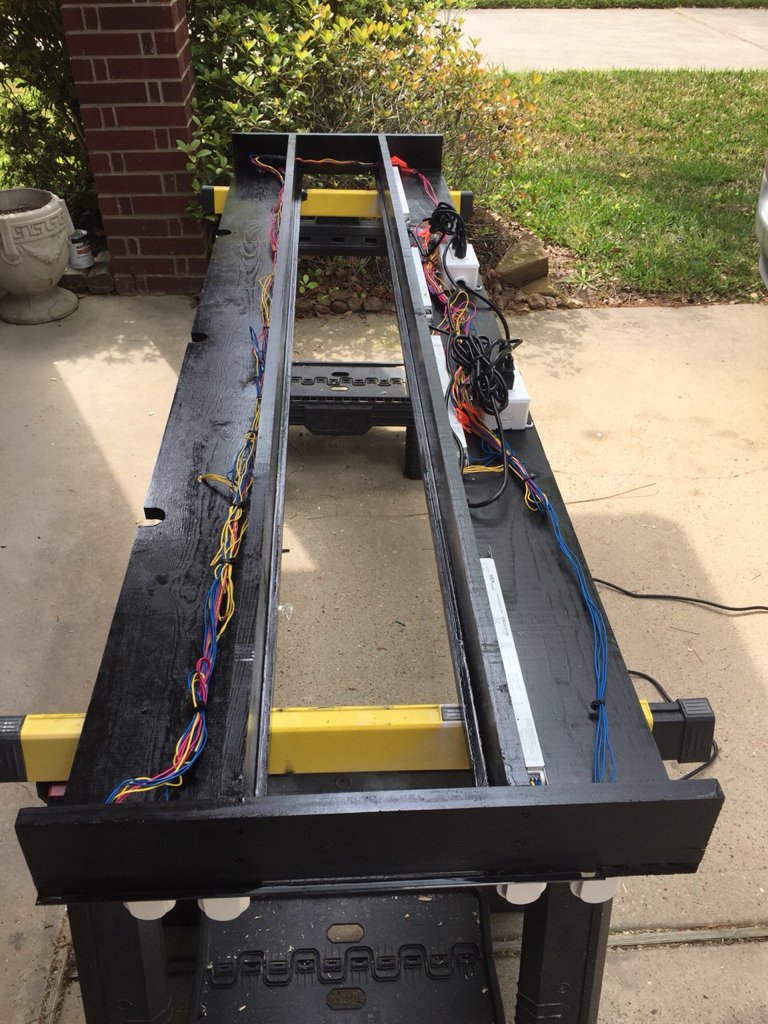
The stand is built by RJ’s Aquarium Stands. Rob has been wonderful to work with. I highly recommend giving him a call if your in the market for a custom
or semi-custom stand. Thank you Rob!
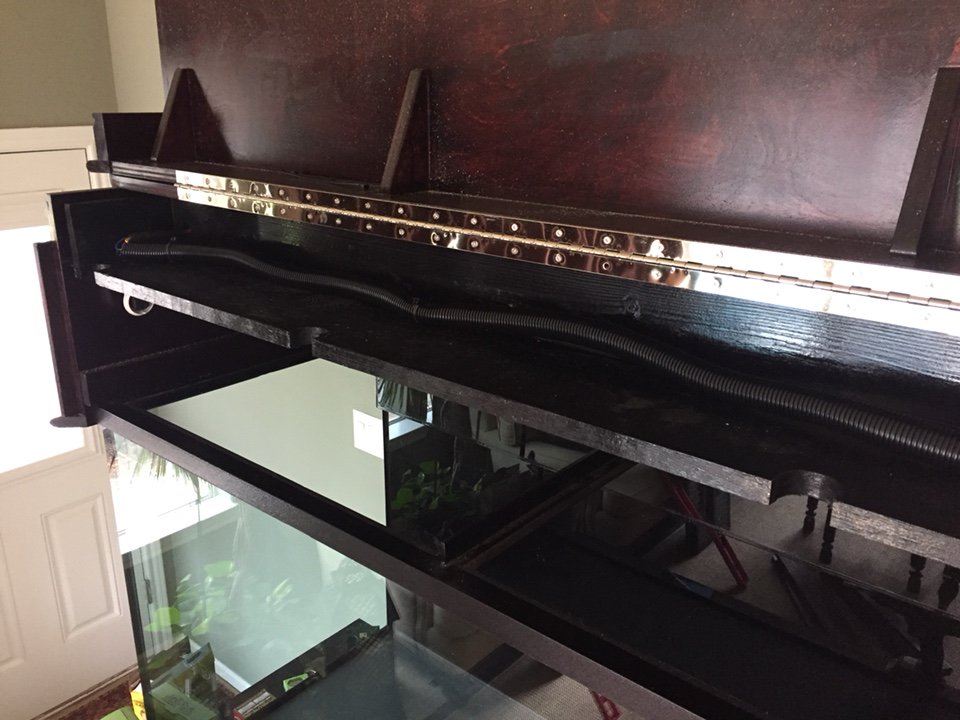
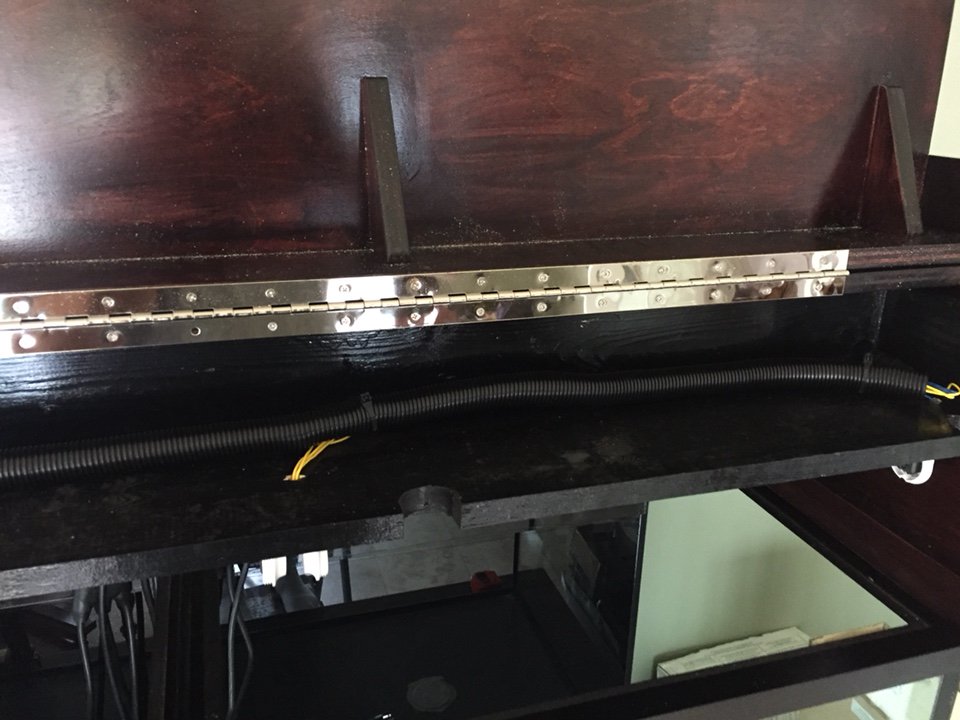
You will note my stand is a more traditional design to match the decor of our sun room.
I also want to give a shout out to Urban Aquatics here in Houston! David Rains and his employee came out in the rain and helped me get the tank up on the stand. Thanks guys!
I also want to thank my SUPER patient wife Lisa.
Deanna, Aron, Frank and Travis, thank you for helping me move the tank the 1st time! Y’all know what I’m talking about lol.
Oh and Cody for talking me down when I was about to go crae crae on my sump and generally harassing me about the length of time my tank has been empty.
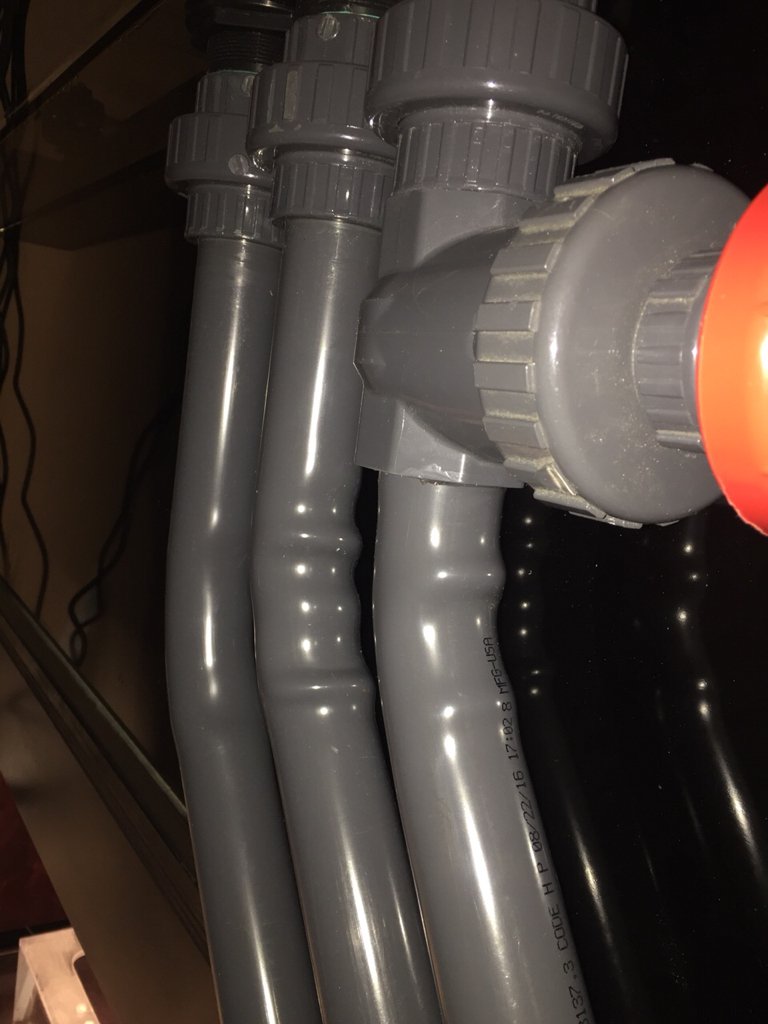
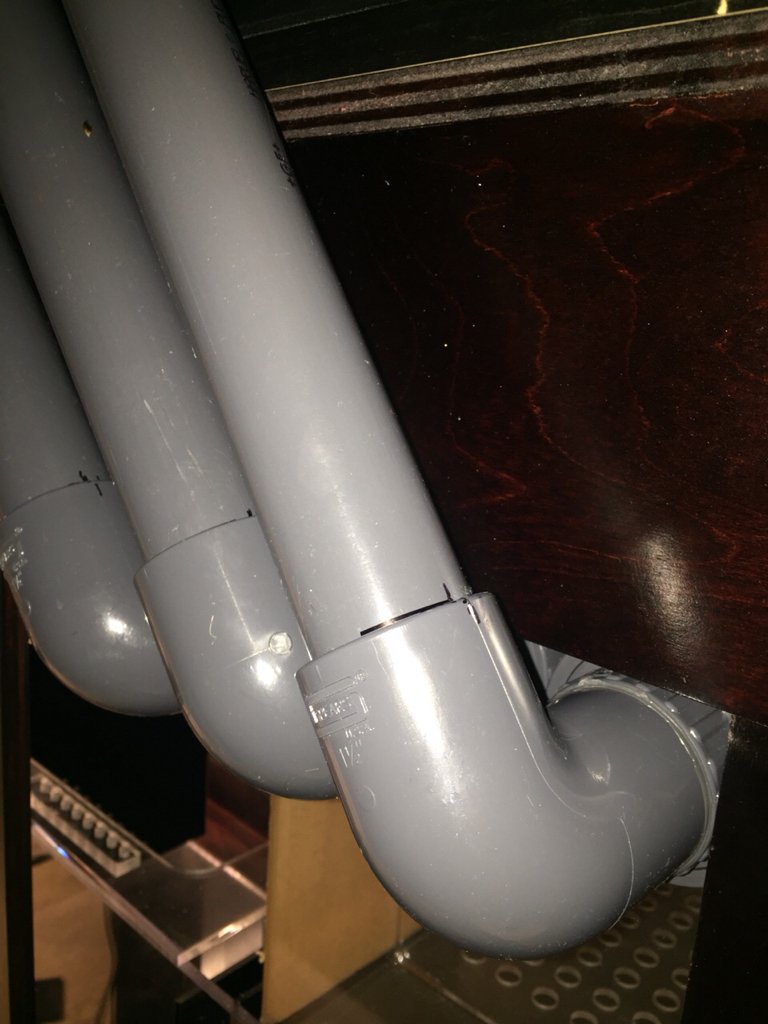
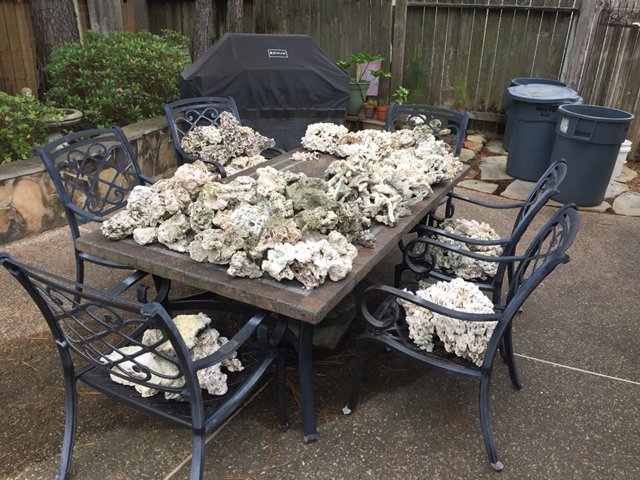
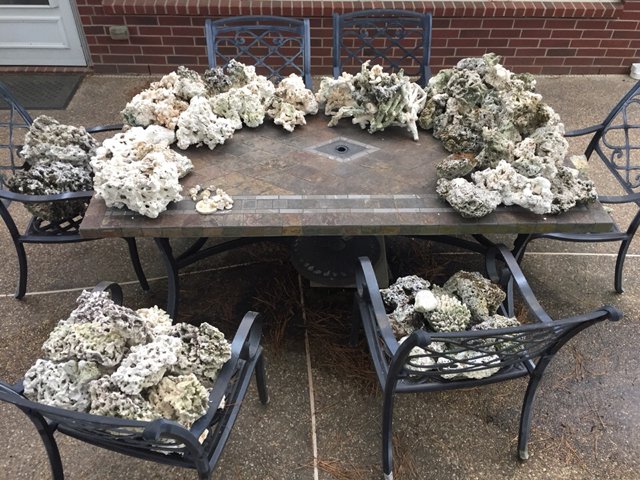
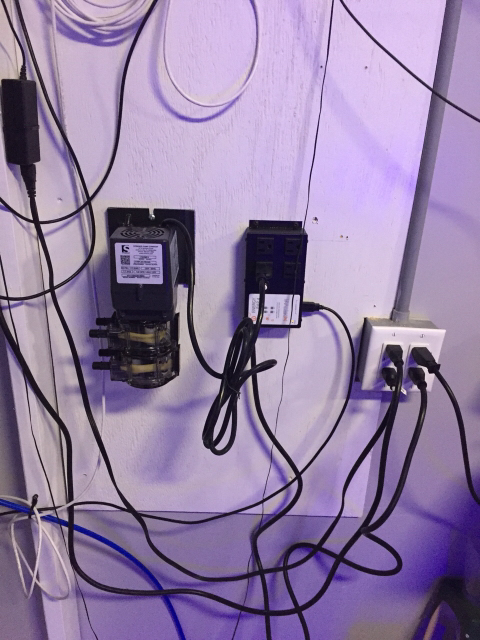
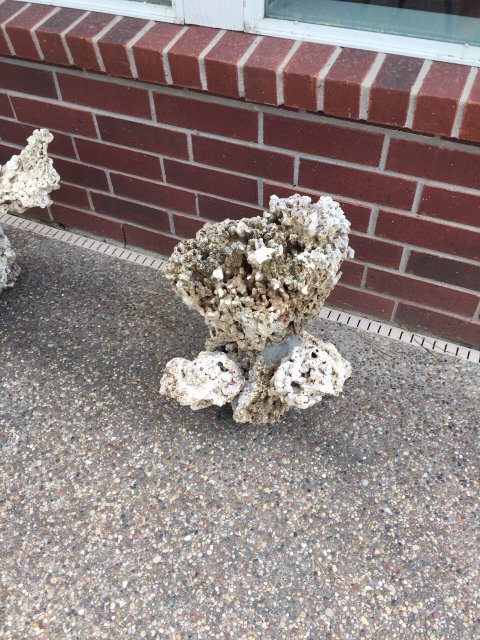
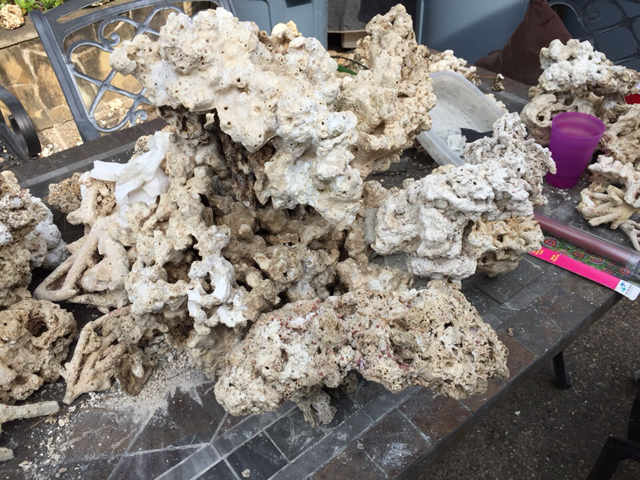
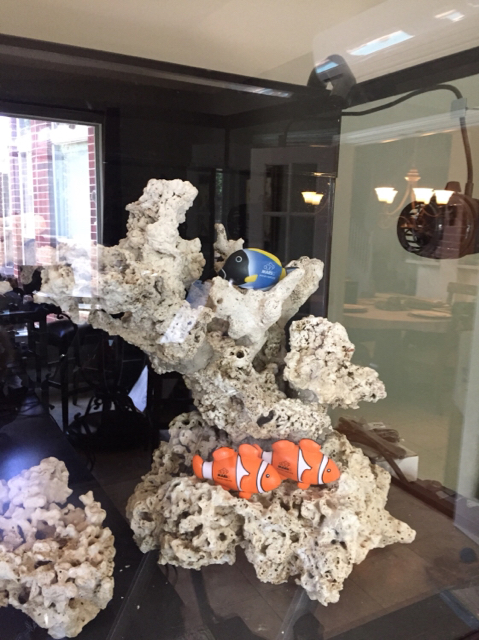
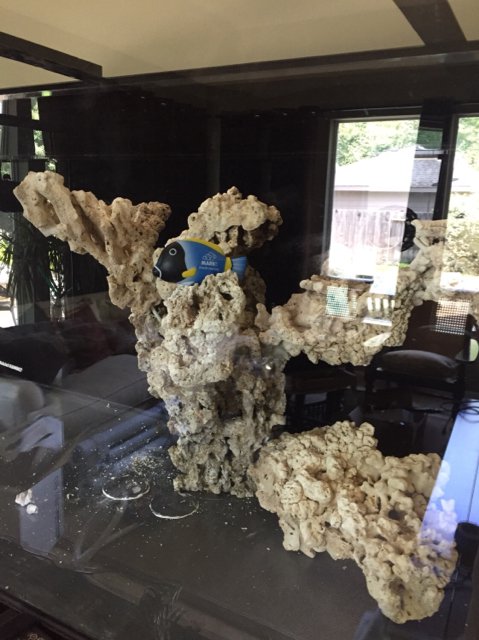
Here are some pics...
There have been many false starts and delays along the way but I am determined to get this tank up.
My tank is 84x24x30 tall. Its a used AGE I picked up from Fish Gallery probably two or three years ago now. Yes you read that right.
The tank was in pristine condition but alas I have managed to put some scratches in the glass. That I had to polish out.
See the little white circles in the pictures...
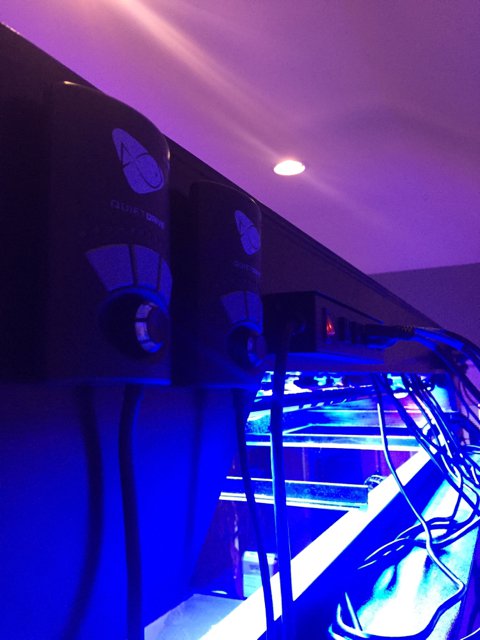
I installed an internal 80”ish weir and 60” external box built by Modular Marine. I can't recommend Modular Marine enough! They have done several custom jobs for me and always provide quality workmanship.
Thank you to the folk that came over and helped hold, drill and provide general support with getting it installed.
The stand is built by RJ’s Aquarium Stands. Rob has been wonderful to work with. I highly recommend giving him a call if your in the market for a custom
or semi-custom stand. Thank you Rob!
You will note my stand is a more traditional design to match the decor of our sun room.
I also want to give a shout out to Urban Aquatics here in Houston! David Rains and his employee came out in the rain and helped me get the tank up on the stand. Thanks guys!
I also want to thank my SUPER patient wife Lisa.
Deanna, Aron, Frank and Travis, thank you for helping me move the tank the 1st time! Y’all know what I’m talking about lol.
Oh and Cody for talking me down when I was about to go crae crae on my sump and generally harassing me about the length of time my tank has been empty.
Here are some pics...