Taking the plunge

Dizzirn95

New Member
View Badges
Joined
Jun 30, 2017
Messages
15
Reaction score
10
Rating - 0%
0   0   0
That is awesome! I should be drilling the back of my tank in the next month...
 
OP
OP
dowsetts101

dowsetts101

Active Member
View Badges
Joined
Apr 21, 2017
Messages
206
Reaction score
258
Location
Melbourne, Australia
Rating - 0%
0   0   0
Sump (Take 2)
It was tempting to delete my previous post about my abortive effort on my sump...but I'm here to redeem myself!!!

I had another go tonight, and what a difference a second go has made so far.

It's not finished yet, but this time, using clamps, corner clamps and some right angled braces, it's looking a thousand times better.

The annoying this is that I had all these things in the garage anyway, so I could have used them the first time round.

Also taking it slower this time. Tonight doing each corner. Then coming back tomorrow night when the first batch of silicone has set and doing the angled corner infills.

687f9138d2ff6a720e0cc8af4cb78626.jpg


a097f8d25a23496c367fba2dc12f53d5.jpg


0af46cdd974a2b753aa1d67db1668a63.jpg
 
OP
OP
dowsetts101

dowsetts101

Active Member
View Badges
Joined
Apr 21, 2017
Messages
206
Reaction score
258
Location
Melbourne, Australia
Rating - 0%
0   0   0
And now most of the dividers/baffles are in. You can start to see the three main chambers take shape. In a clockwise direction from top left I'll have the drain from DT, into skimmer (top right) then into small fuge chamber (bottom right) then into the return pump chamber (bottom left).

I suspect that my return pump chamber might be a bit small, but my fallback is to remove the dividers to the 'fuge' and then have the entire bottom section for the return pump.

I figure it's probably easier to cut out dividers if they cause dramas rather than adding them in afterwards. I'll give it all a week or so to cure, then next weekend I'll start to put everything together for a wet test.

518f99324a9fe60e3617875bffb0b083.jpg


5c731aa53b5380d2c653d61cbe87fd17.jpg
 
OP
OP
dowsetts101

dowsetts101

Active Member
View Badges
Joined
Apr 21, 2017
Messages
206
Reaction score
258
Location
Melbourne, Australia
Rating - 0%
0   0   0
Almost done with the sump now. I installed the last couple of baffles into it tonight.

I think that I'll drill for an overflow now (should have done that first!!)

3e7b49700fb423fcb2dcb0b89b0c9b9d.jpg


d701b17c51773e5362c50259ac19aac9.jpg


Also got an electrician around this week and got them to install some additional power outlets inside for the tank and also some weatherproof ones externally where I'm going to place my mixing station and water storage tanks.

Next step is going to be drilling for plumbing through the wall and out to my water change tanks etc.
 
Last edited:
OP
OP
dowsetts101

dowsetts101

Active Member
View Badges
Joined
Apr 21, 2017
Messages
206
Reaction score
258
Location
Melbourne, Australia
Rating - 0%
0   0   0
Wet Test of DT Weir and Pipework

I installed my three pipes in the DT Weir tonight and filled up the Weir area to just below the top of the lowest pipe.

I just wanted to check the integrity of the Weir and also the completed standpipes under almost full water level.

Went well. Not perfect but ok.

Two of the standpipes are 100%

The largest one (the main overflow 1 1/2" ) has a slow drip. One drip every 5-6 seconds.

I haven't tightened the nut with tools as yet, so not too worried.

I have to dismantle it all to move the tank off it's stand to continue to work on the stand so don't want to over work the fittings.

So pretty happy so far...but room for improvement!!!
 
OP
OP
dowsetts101

dowsetts101

Active Member
View Badges
Joined
Apr 21, 2017
Messages
206
Reaction score
258
Location
Melbourne, Australia
Rating - 0%
0   0   0
Back to Cabinet Making

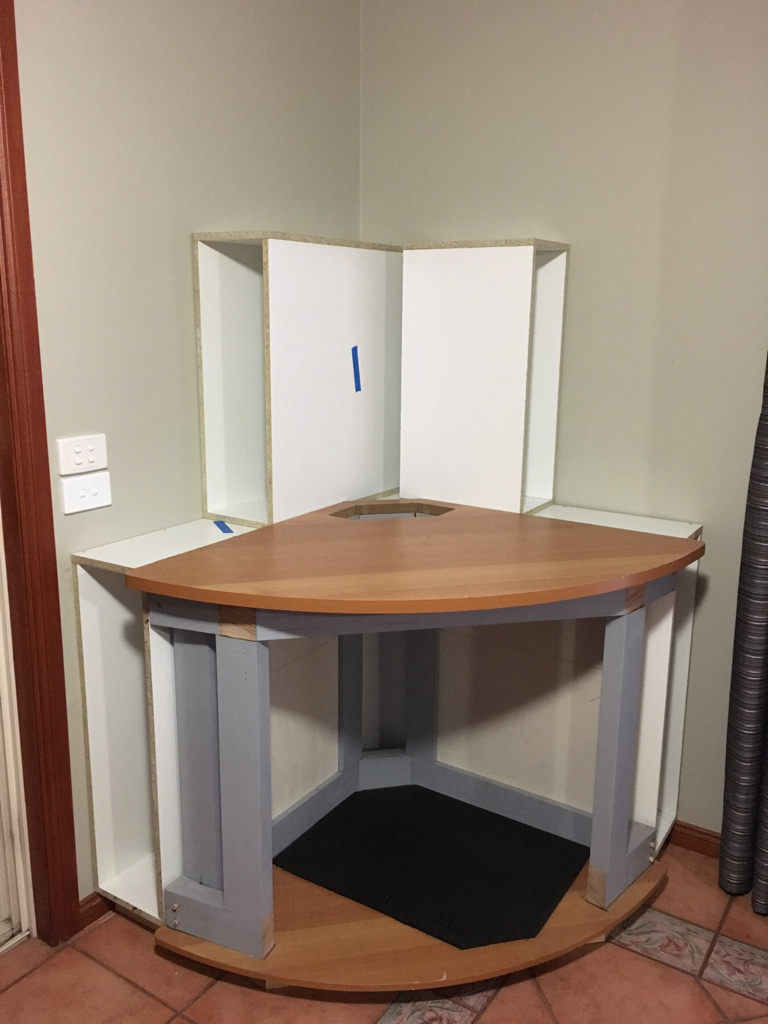
So a bit of a revision to the design of the cabinets. Upon reflection I'll need a bit more storage for 'dry equipment' controllers, power boards etc, which I don't think I'll be able to fit in the area under the tank.

I ran it past the Principal Interior Designer, and the Chief Financial Officer...and she said...I thought you were doing that already!!!

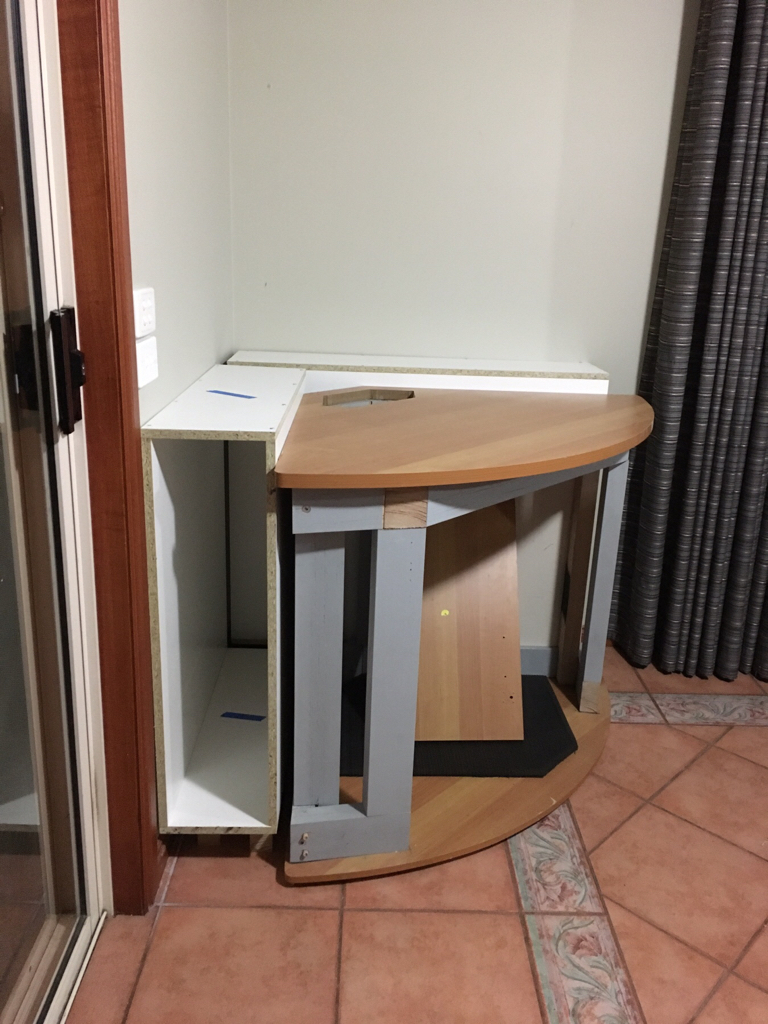
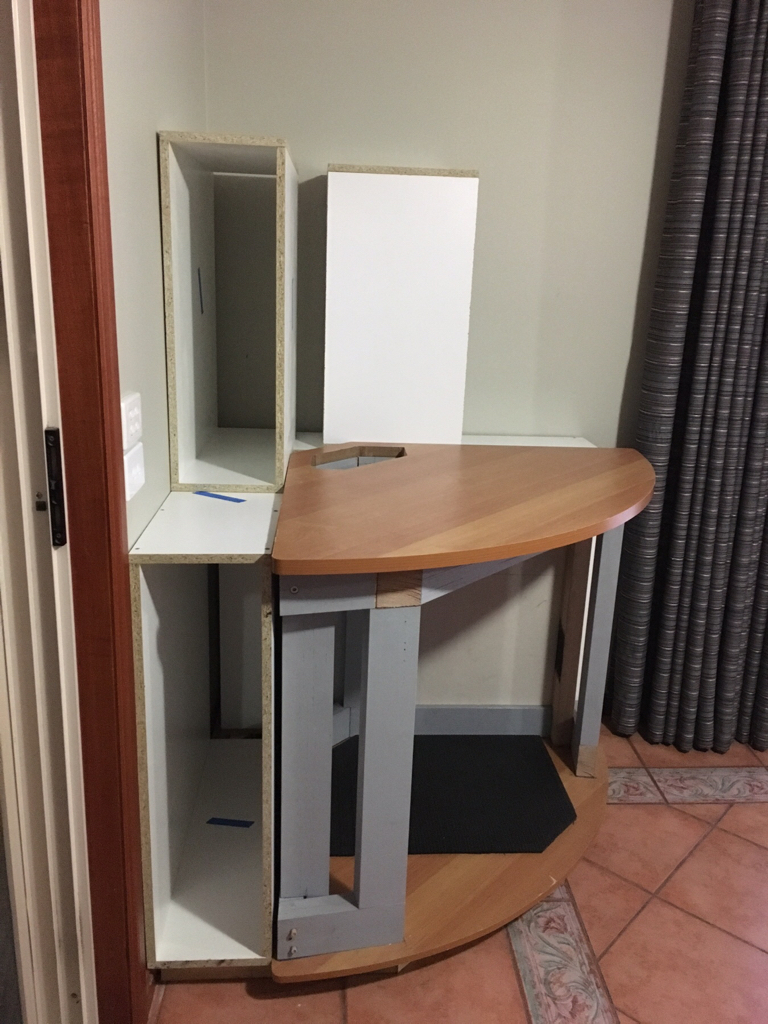
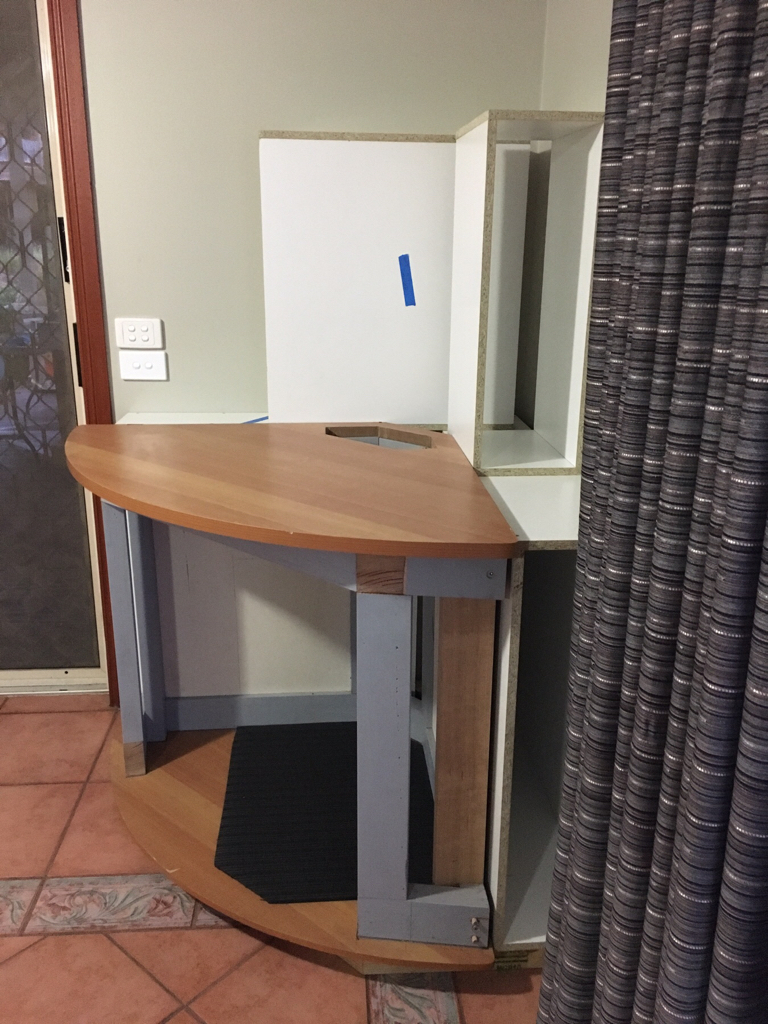
Anyway, so back to the drawing board for some additional cabinets to each side of the tank. They are only going to be narrow, but will be enough to house powerboards etc. Also, it will enable me to have power in the right hand cabinet, and water pipes in the left hand cabinet....and I like the idea of keeping them separate wherever I can.

Some pictures to show the plans.

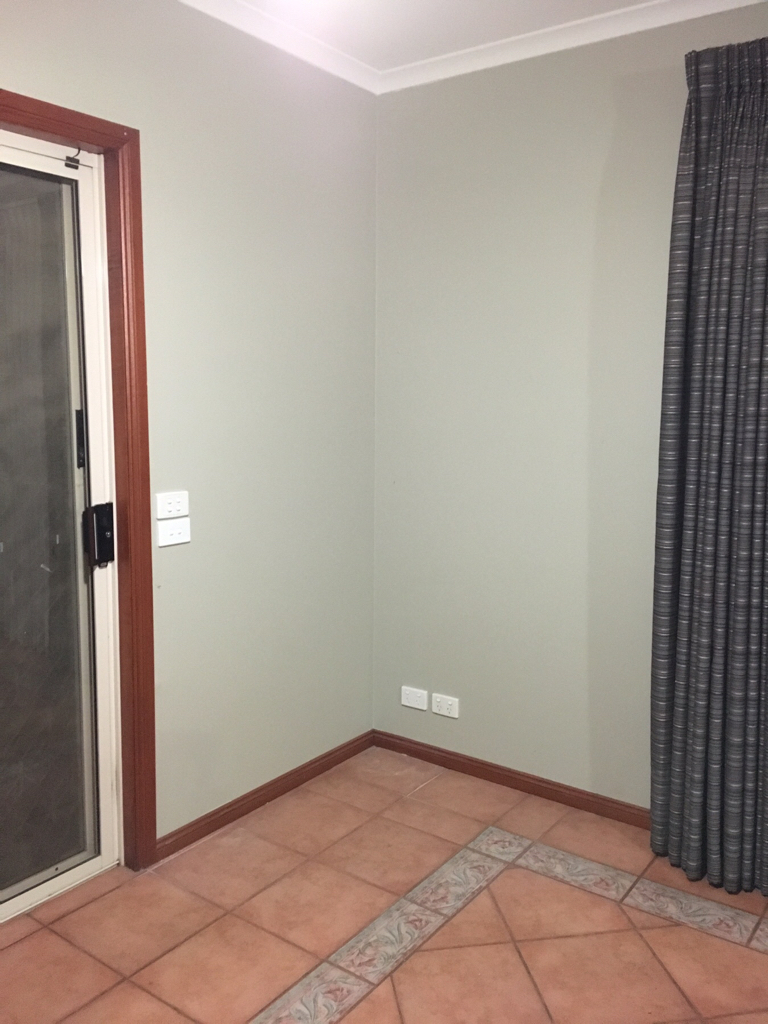
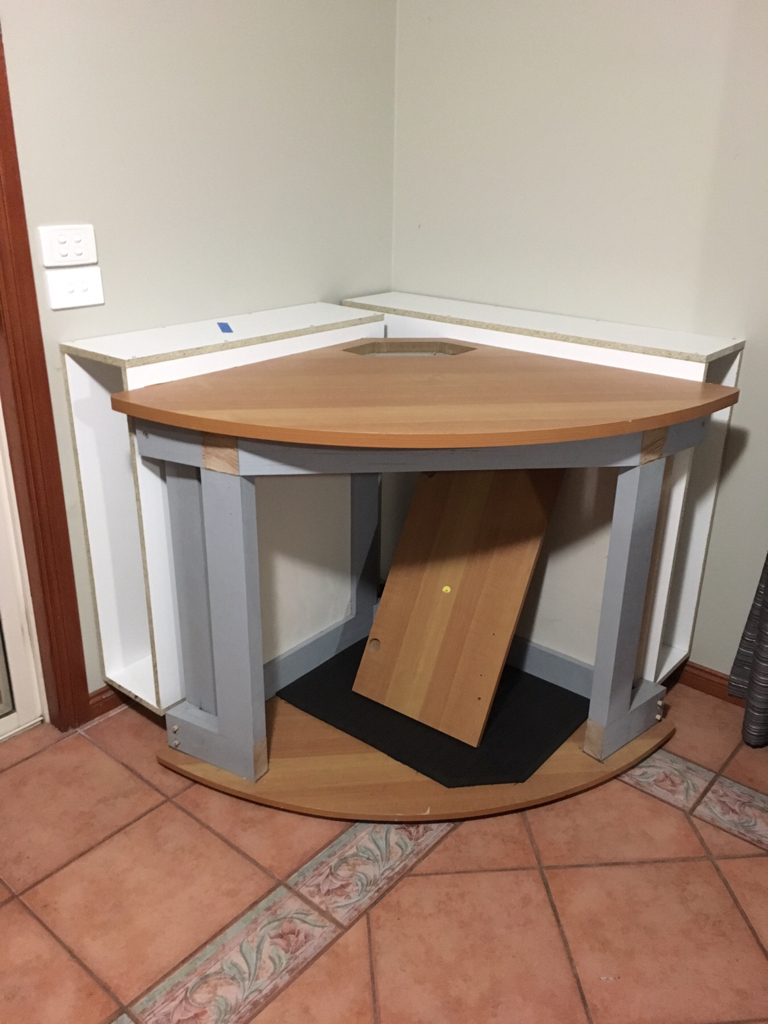
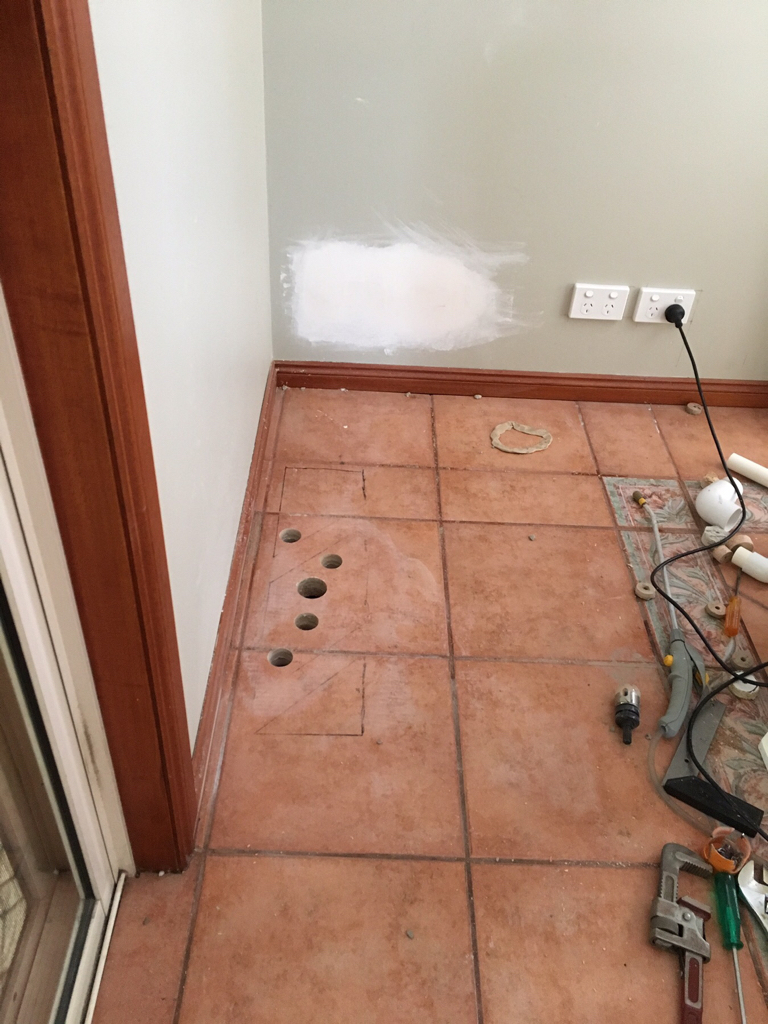
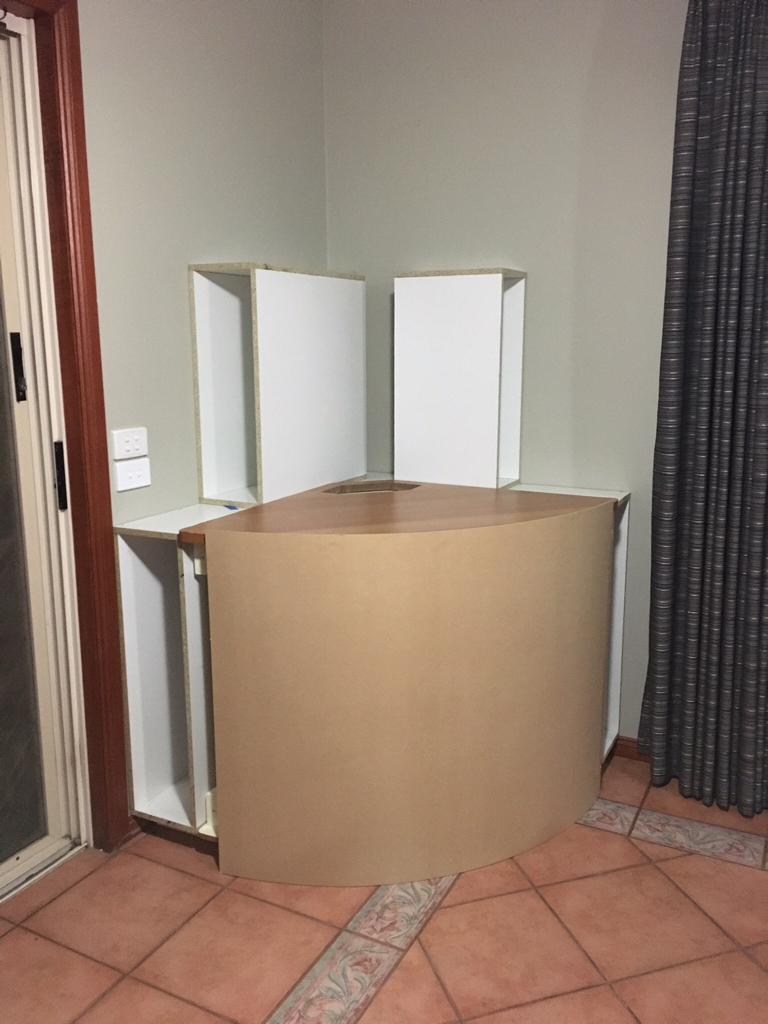
Photo of empty corner in desperate need of a nice reef tank!!
7ec5e3397b186ab3ba3e0c0464106790.jpg


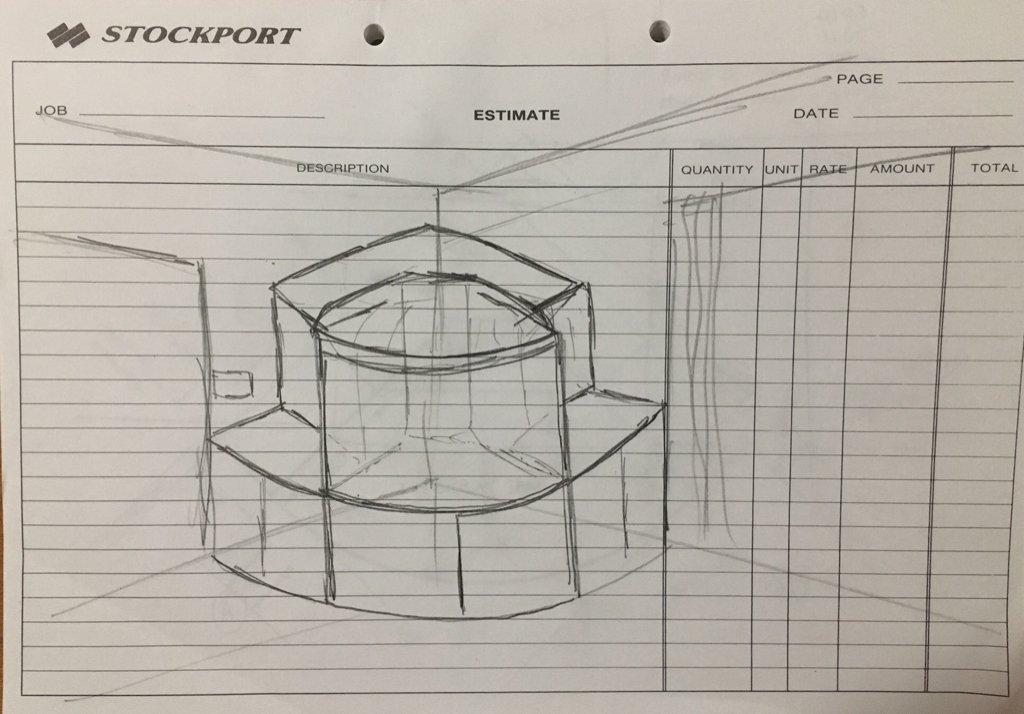
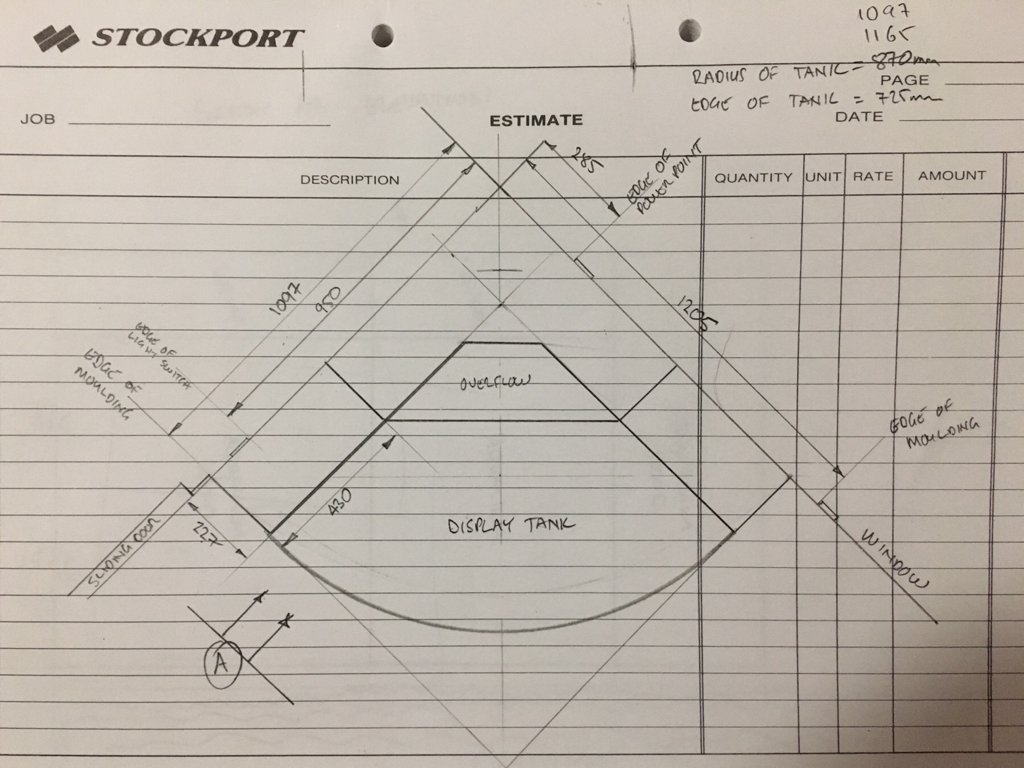
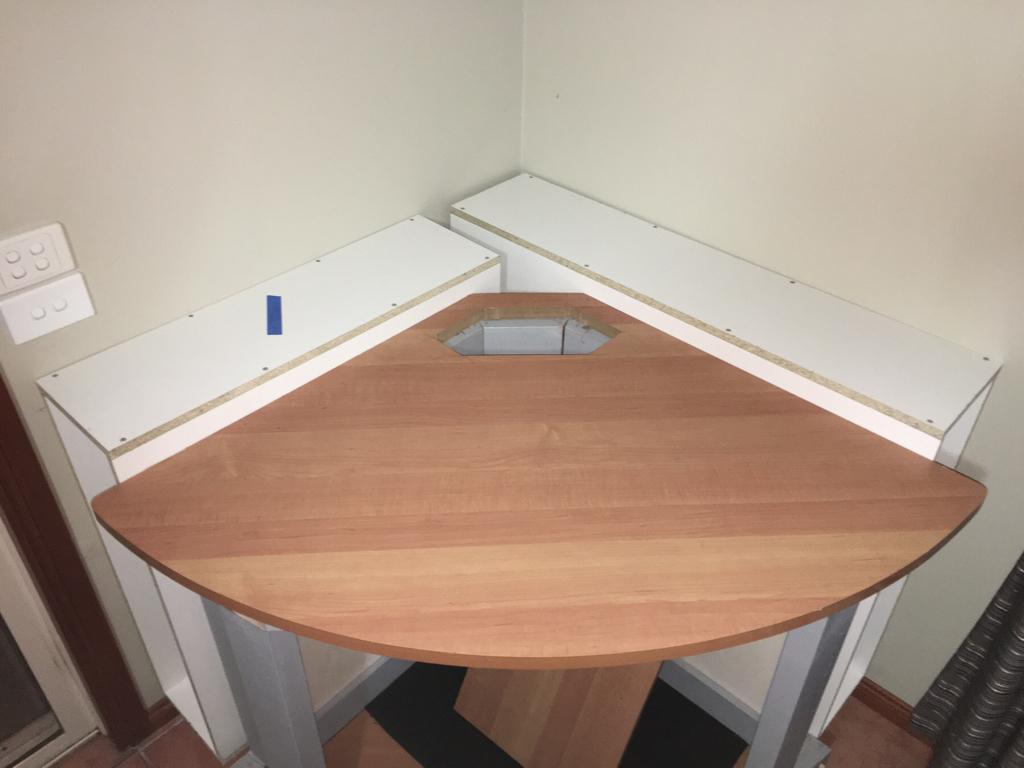
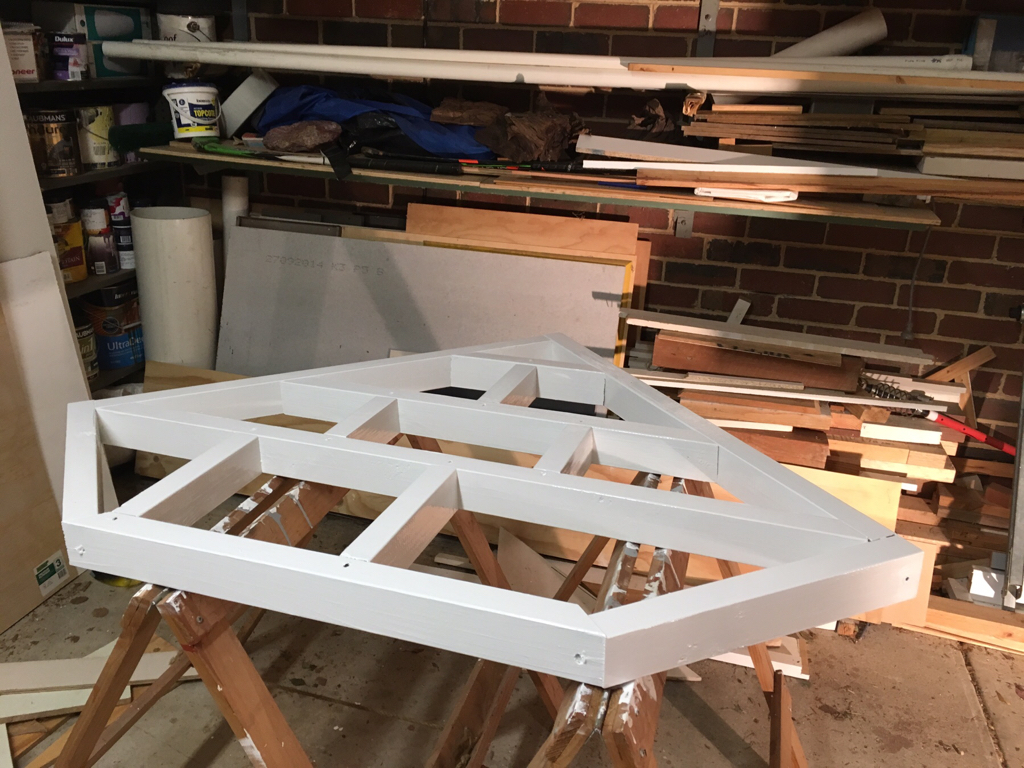
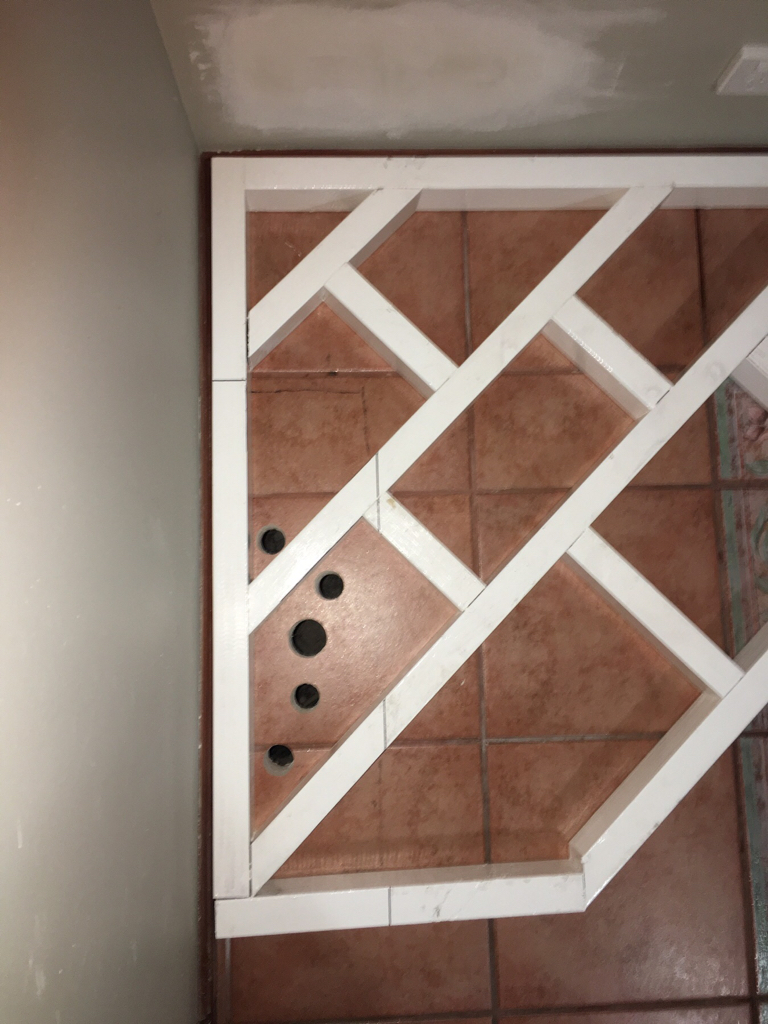
Sketch of the Tank, Stand and new Cabinets
591c74d2ed8b5276841652feb021556b.jpg


Plan of Tank and new Cabinets
1772eee786d5dcfdc4a11a92c928ed46.jpg


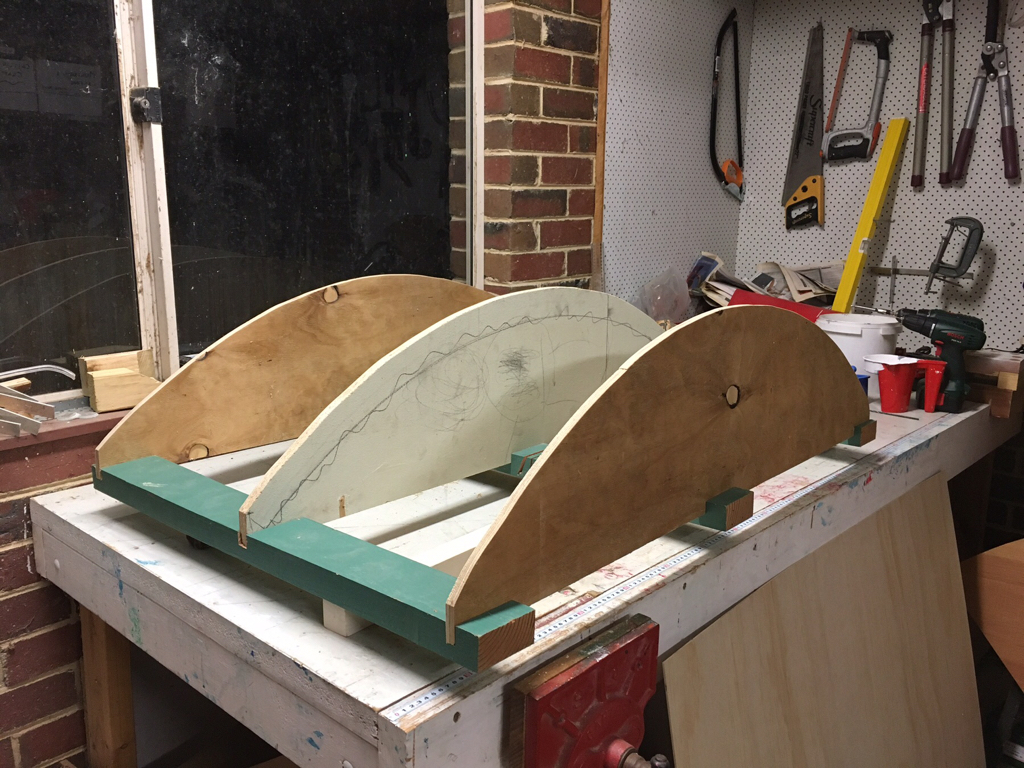
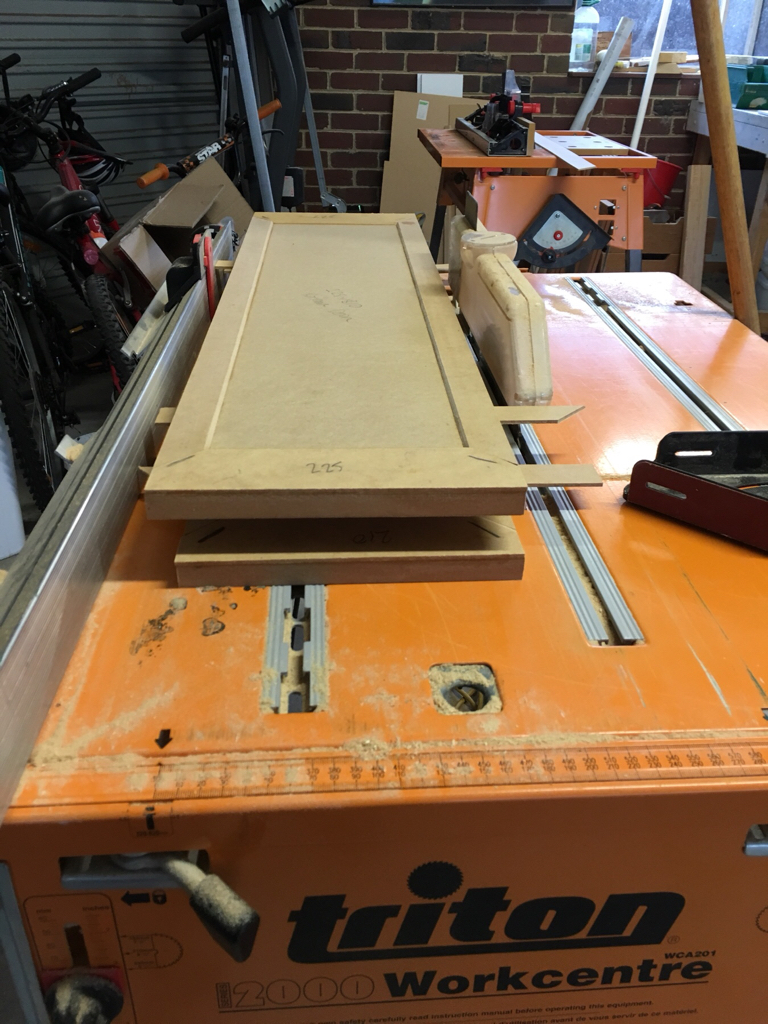
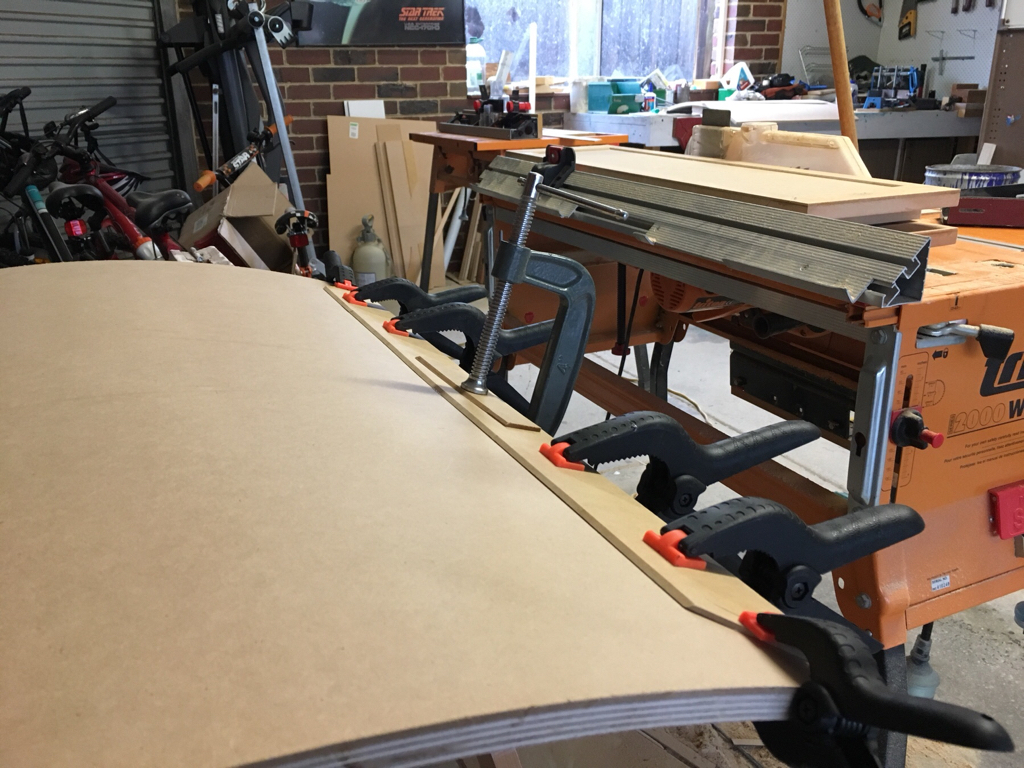
So now that the tank and sump are moderately under control...it's off to get some more timber sheets and back into the garage to make like a chippy and knock up some cabinets!!
 
OP
OP
dowsetts101

dowsetts101

Active Member
View Badges
Joined
Apr 21, 2017
Messages
206
Reaction score
258
Location
Melbourne, Australia
Rating - 0%
0   0   0
Wet Test of Sump...fail!!!

Famous last words on my previous post...sump not so moderately under control!!!

I did a wet test with my pump to recirculate the water to see how the weirs etc are going and fail!!!

With the flow rate that the pump was putting out the water backed up and filled the second chamber about 50mm higher than the baffle height. It's just not getting out quick enough.

I think that I might need to cut out my baffles and cut them down to provide a larger opening at the exit of the second chamber.

I did a video and when I work out how to post it I'll do so, but see below some photos in the meantime.

c5e682b85ad3d834ee759573fef266d2.jpg


b88c0d61638d066c15a5d708a134f437.jpg


f7d60756ffd3f78cc35e19585760a24d.jpg
 
OP
OP
dowsetts101

dowsetts101

Active Member
View Badges
Joined
Apr 21, 2017
Messages
206
Reaction score
258
Location
Melbourne, Australia
Rating - 0%
0   0   0
Base Cabinets started

So went off to Bunnings yesterday and picked up three sheets of melamine for the Cabinets. They won't be particularly exposed to moisture, as the main tank stand will sort that out, but I've gone with the HMR (high moisture resistance) melamine to be safe.

The carcasses for the bottom Cabinets have been roughed in. Next I'm going to put together a plinth to tie everything together and then onto the upper cabinets.

28962e1dc8c0b24fd35429cd4bcf7869.jpg


c18dbff6fc782f60eafd36f4355cc25c.jpg


36cc5bcc172f9109658da7fdbaa1cf9b.jpg
 
OP
OP
dowsetts101

dowsetts101

Active Member
View Badges
Joined
Apr 21, 2017
Messages
206
Reaction score
258
Location
Melbourne, Australia
Rating - 0%
0   0   0
Plumbing for RODI and mixing station

I just finished with the plumber, who installed a new tap for me to feed my RODI unit from.

I've had to put it outside, so I'll be making up a cabinet to shield it all from the weather...and I'll probably have high temp issues in summer, but that's something I'll just have to deal with.

The tanks for the NSW and RODI water will be to the left of the picture and you can see the power points for the pumps there also. The power points are also switched from inside the house next to the display tank, so when I'm doing my filling, I can control everything from the tank location.

202bbea97383898af1d7f31cc99b83f6.jpg
 
OP
OP
dowsetts101

dowsetts101

Active Member
View Badges
Joined
Apr 21, 2017
Messages
206
Reaction score
258
Location
Melbourne, Australia
Rating - 0%
0   0   0
The build looks really good can't wait to see it progress

Thanks Clayton...it's a slow build, but I'm really enjoying doing all the bits and pieces. Heading out today to get paint for the inside of the stand...that's the next step.
 
OP
OP
dowsetts101

dowsetts101

Active Member
View Badges
Joined
Apr 21, 2017
Messages
206
Reaction score
258
Location
Melbourne, Australia
Rating - 0%
0   0   0
Back pretending to be a carpenter!!

A few more items underway with the front cabinet doors, painting of the plinth and also the inside of the tank stand.

Bending the curved front doors for the cabinet

So after watching a few YouTube videos I've embarked on the creation of the curved panels for the doors. I've made up a frame which matches the profile of the cabinet. Then I've used some 3mm plywood and laid it over the frame. Then some PVA glue and the next layer of 3mm ply.

Following that, some ratchet straps and plenty of hand clamps and first set of boards done. I'll need to have another 3 panels to get to an overall thickness of 15mm and it should be fine.

a29f76e188894a60cb4259b9a67d5cc7.jpg


b394cf4775e63a6acd57664a2a77cc25.jpg


1391b85c82785dbdcb21a75511b187e5.jpg


da0302aaf5f55cdb18da72e61f6fd370.jpg


First coat of oil based enamel on the stand

I've been tossing up the approach to painting. I spoke to the technical reps from Dulux and they recommended a few coats of oil based enamel. Then I plan on 3 coats of clear polyurethane varnish over the top. That should result in a hard shell, waterproof and easy to wipe down to remove salt creep, spilt water etc.

c8a42c72eeea226ca8dcfd46237956aa.jpg


First coat of oil based enamel on the plinth
77b64f37a5f4b9e7cbaa6a793f316510.jpg
 
OP
OP
dowsetts101

dowsetts101

Active Member
View Badges
Joined
Apr 21, 2017
Messages
206
Reaction score
258
Location
Melbourne, Australia
Rating - 0%
0   0   0
Overdue for an update

I’ve been working on a few bits and pieces around the tank over the past few weeks.

Purchased my drums for my mixing station
771cfe47426750c5947df9140ee2e3ed.jpg


Scoped out the flooring joists for where I needed to drill for my plumbing
47cacaf3af471b7ec07507e7997d8032.jpg


Drilled through the tiled floor for the plumbing (the boss is not impressed!!!)
c3082a31e5ea8cabb25d42ac3060c94c.jpg


4ca2642db474af7a839f7f615085fbec.jpg


Dry fitting all the cabinets
6e2adef54ea04ba0f4f1a1d42becfe16.jpg


This weekend I’ve been preparing and assembling the “shaker style” trimming to the cabinet doors that will match the style of ou new kitchen...small price to pay for harmonious home life...a bit fiddly to do up, but hopefully it will look good when complete. Also down to Bunnings today to pick up the hinges for the doors so I can hopefully drill for them this weekend.

672a85fdc764a154e7fac6f9c6cb12c8.jpg


5ceb923c8ed6c0dc35ecf059f70816ae.jpg


I was originally hoping to get water in the tank before Christmas...at the rate I’m going Christmas 2018 is looking like a safer bet!!!
 
OP
OP
dowsetts101

dowsetts101

Active Member
View Badges
Joined
Apr 21, 2017
Messages
206
Reaction score
258
Location
Melbourne, Australia
Rating - 0%
0   0   0
Wow. Looks great! I had to Google 'shaker style'. Did you do the kitchen too?

Yep...just finished redoing the kitchen and we used the “shaker style” on the doors. Didn’t know what they were myself...my wife loves the renovation shows and chose it...that’s her contribution to the aquarium!!!
 

When to mix up fish meal: When was the last time you tried a different brand of food for your reef?

  • I regularly change the food that I feed to the tank.

    Votes: 24 26.7%
  • I occasionally change the food that I feed to the tank.

    Votes: 33 36.7%
  • I rarely change the food that I feed to the tank.

    Votes: 26 28.9%
  • I never change the food that I feed to the tank.

    Votes: 6 6.7%
  • Other.

    Votes: 1 1.1%
Back
Top