TKLB's 120 Build

Tklb

Valuable Member
View Badges
Joined
Aug 25, 2016
Messages
1,051
Reaction score
582
Rating - 0%
0   0   0
June 7, 2016


I used to have a 180 G Reef tank, and loved it, but I got busy with life, Kids, & Work so I ended up selling it about 10 years ago. My wife and I have had a nano reef since, but as we all know, it is not the same. Last year we bought a 29 Gal Biocube, and after a few months, we decided we would get a bigger tank.

Our kids are a little older now, and I am working from home, so I have a lot more free time, not having to fight Atlanta Traffic for 2+ Hours a day. I wanted a 48" Tank. I didn't want another 6' tank. After looking at 75s, 90s, and 120s, I settled on the following setup :

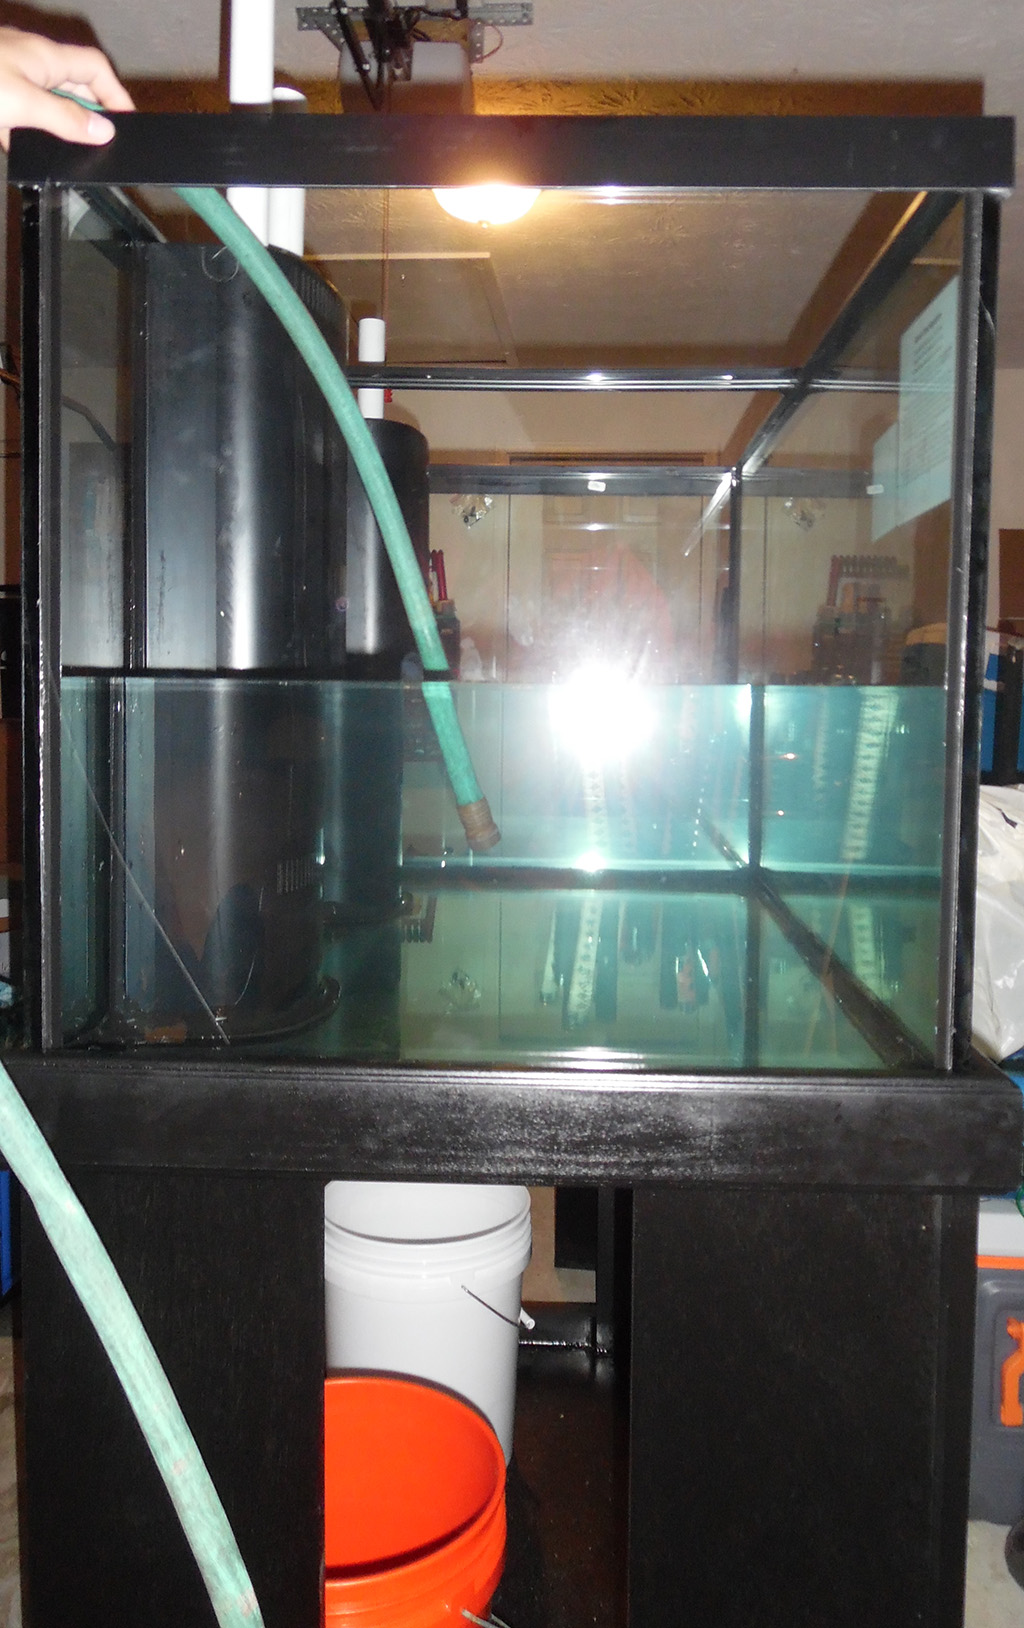
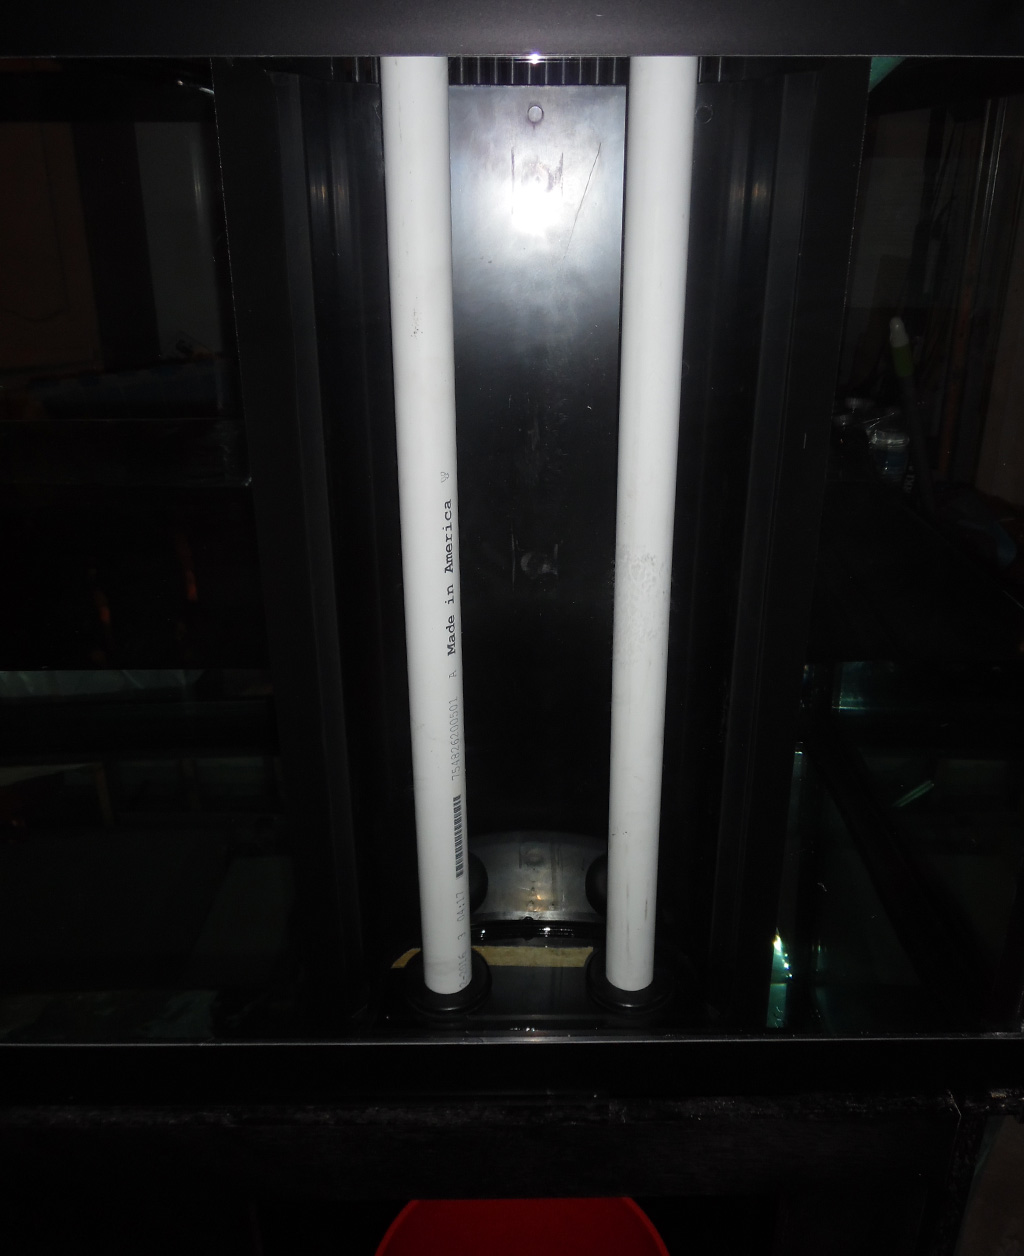
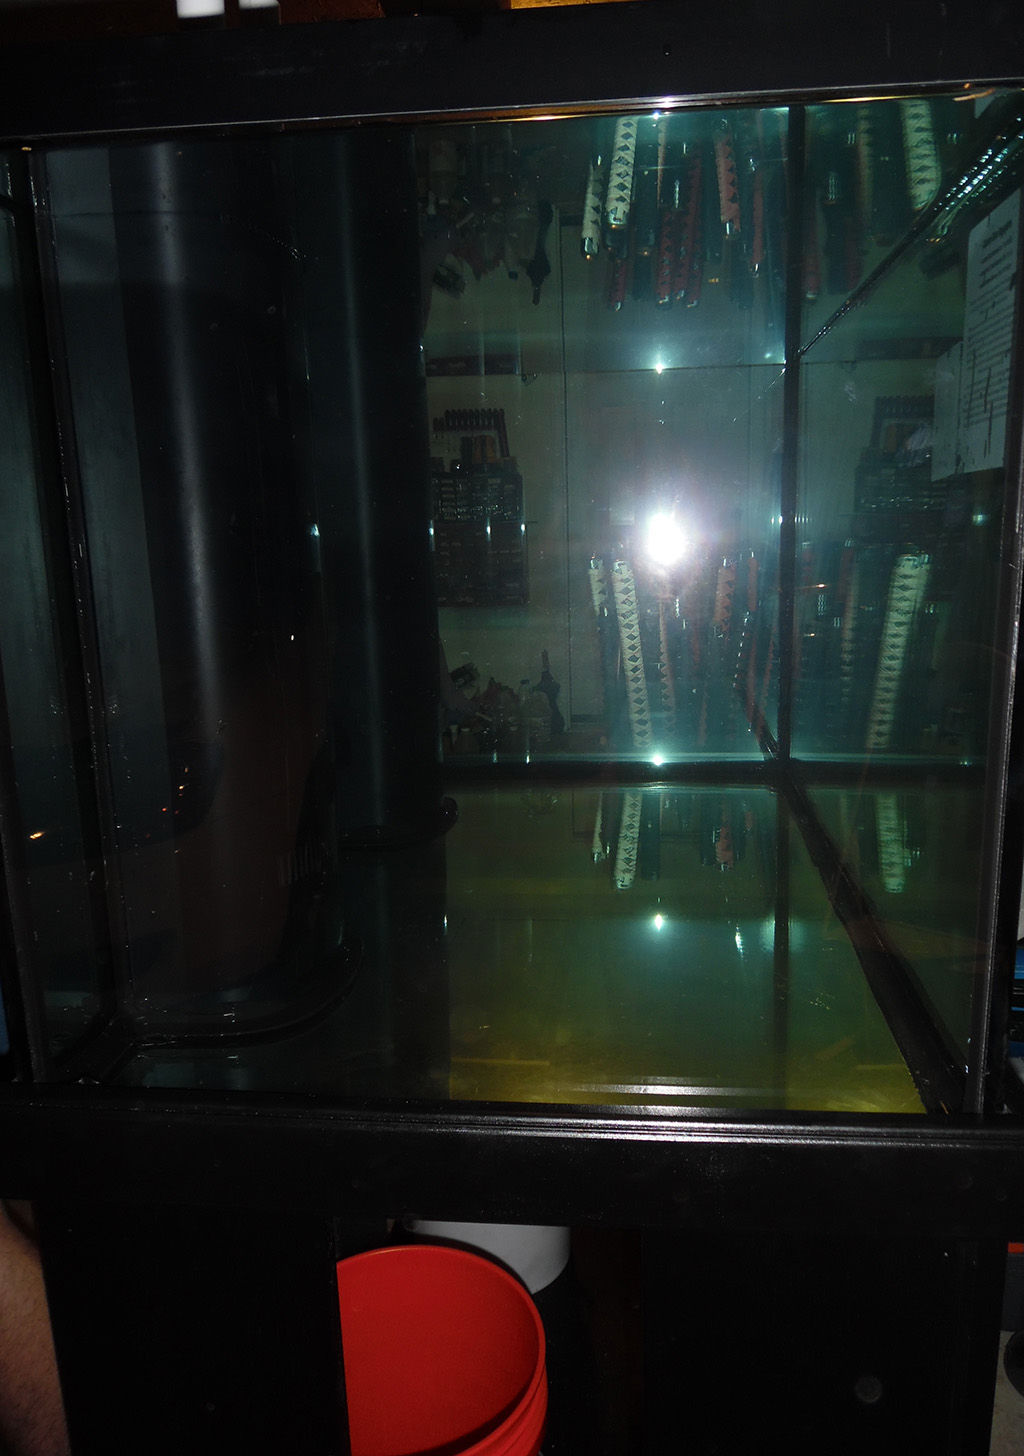
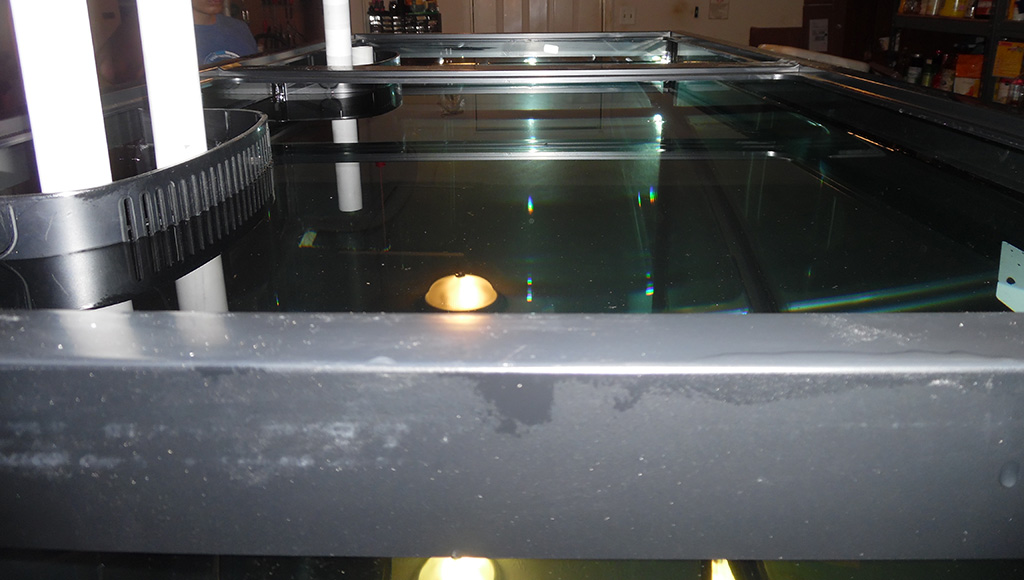
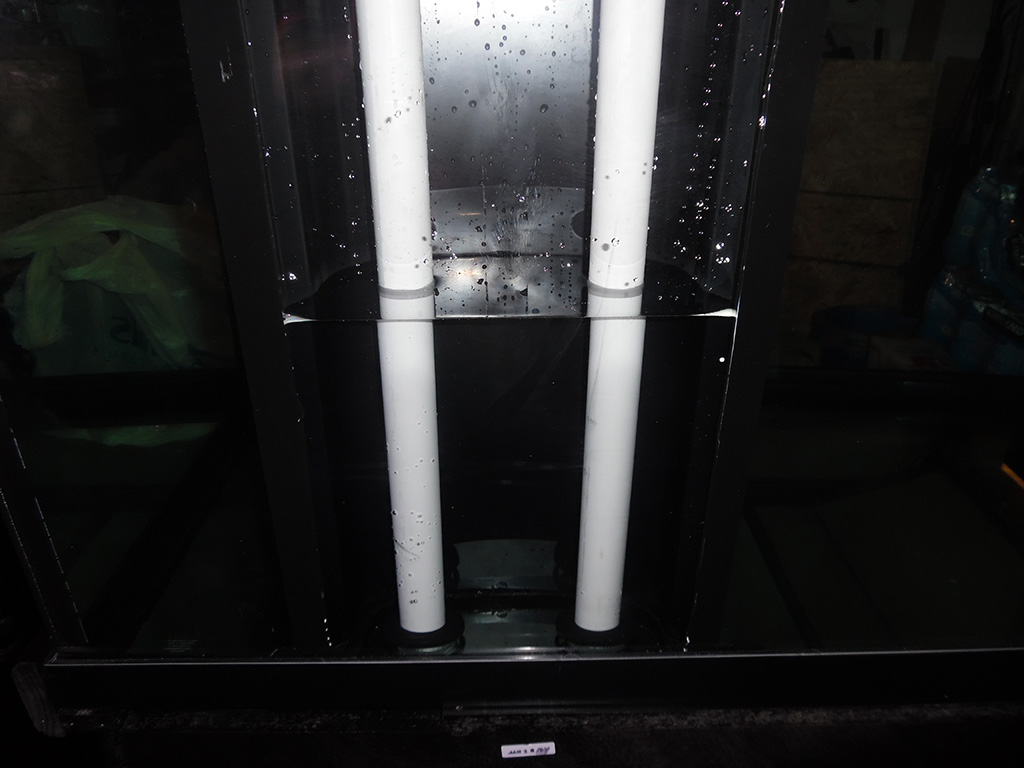
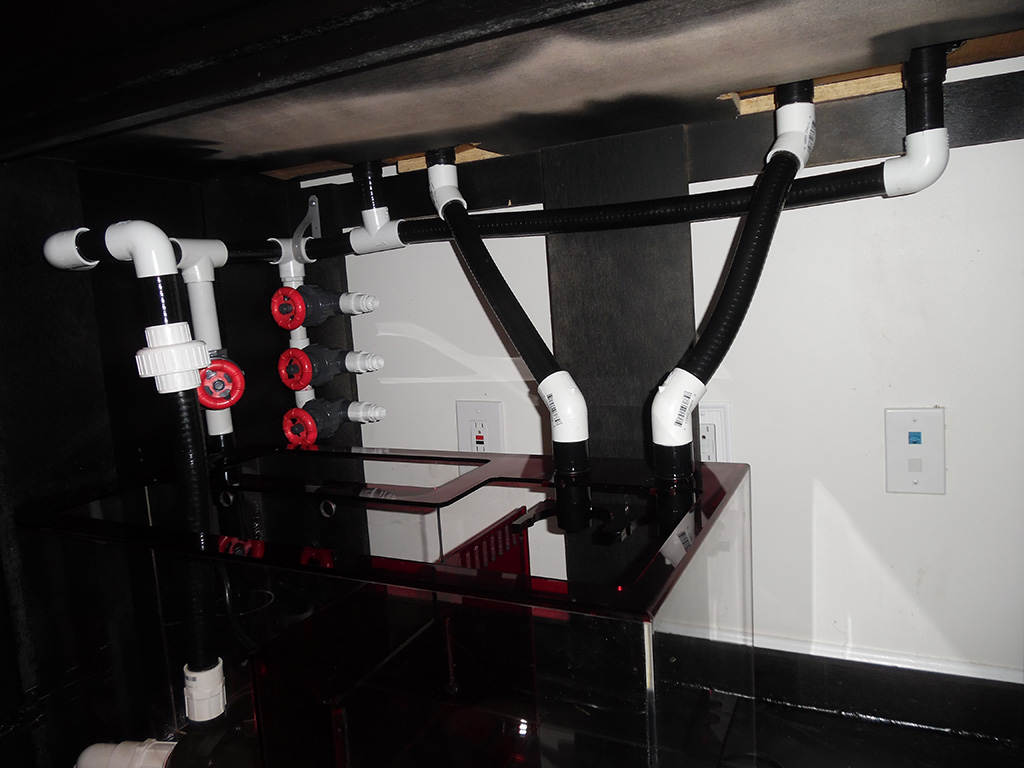
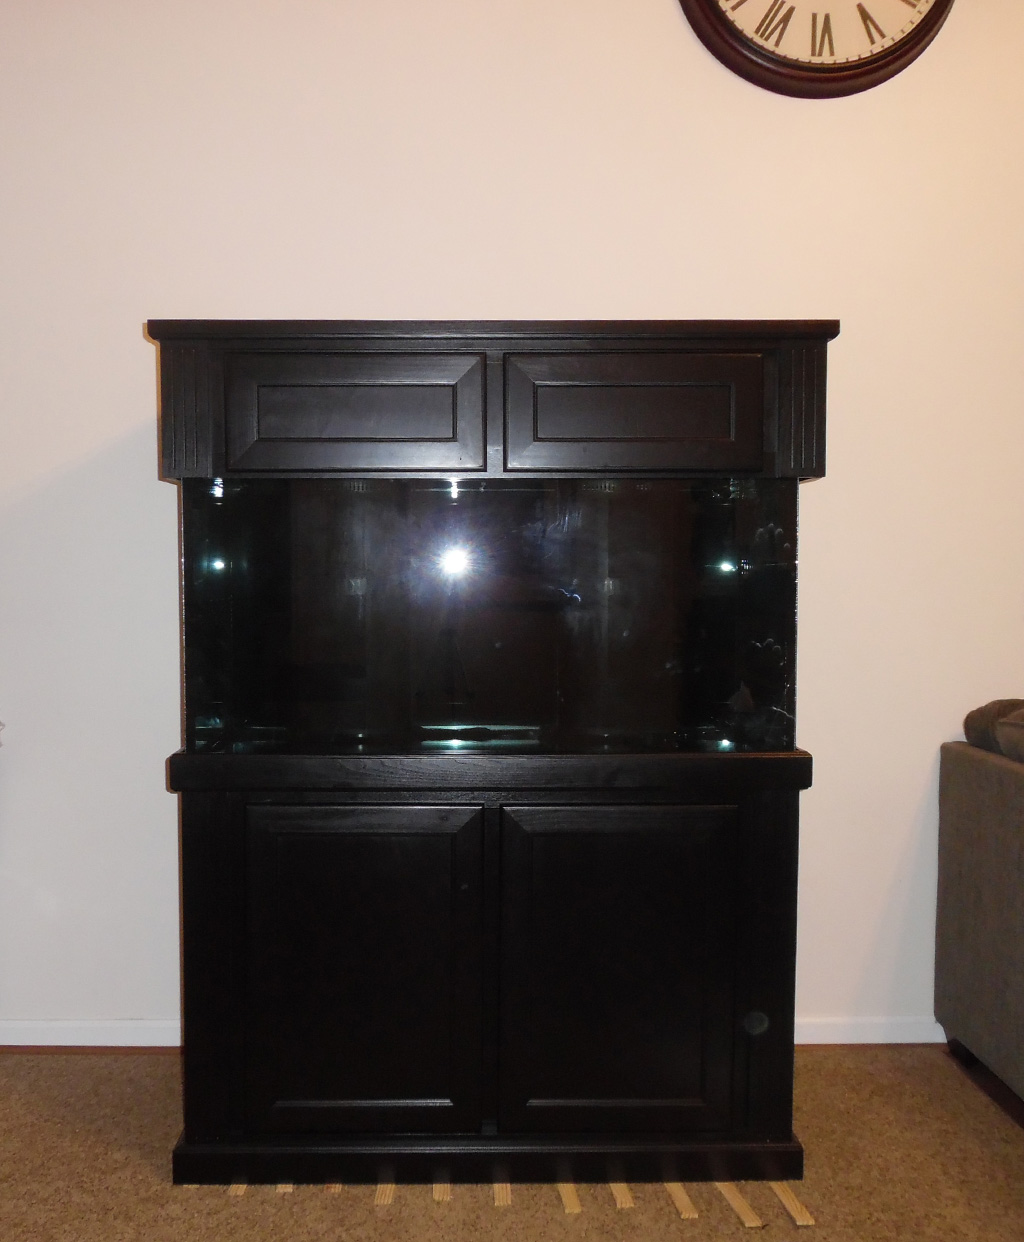
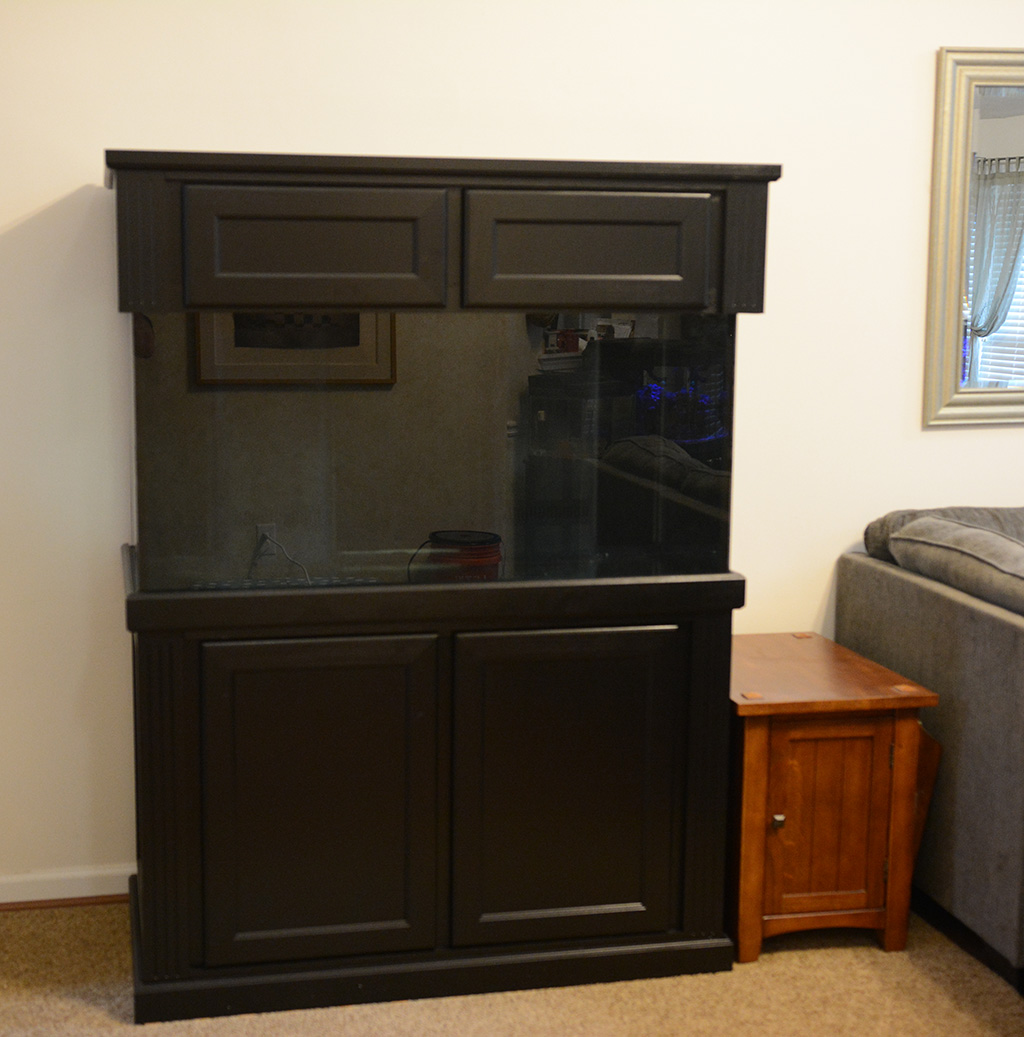
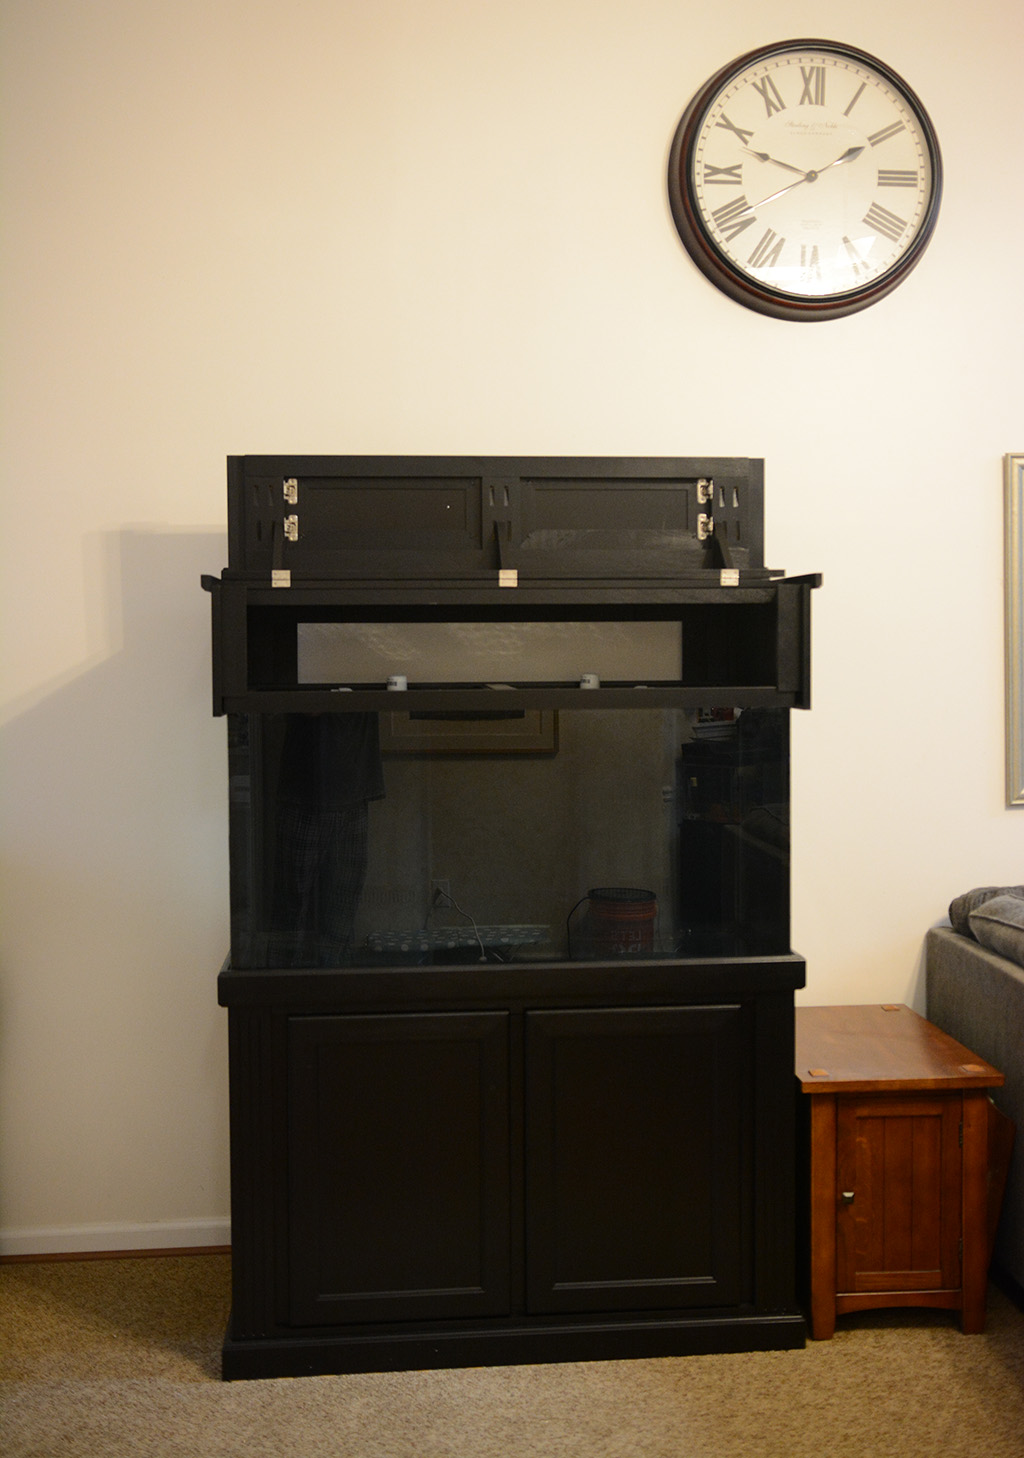
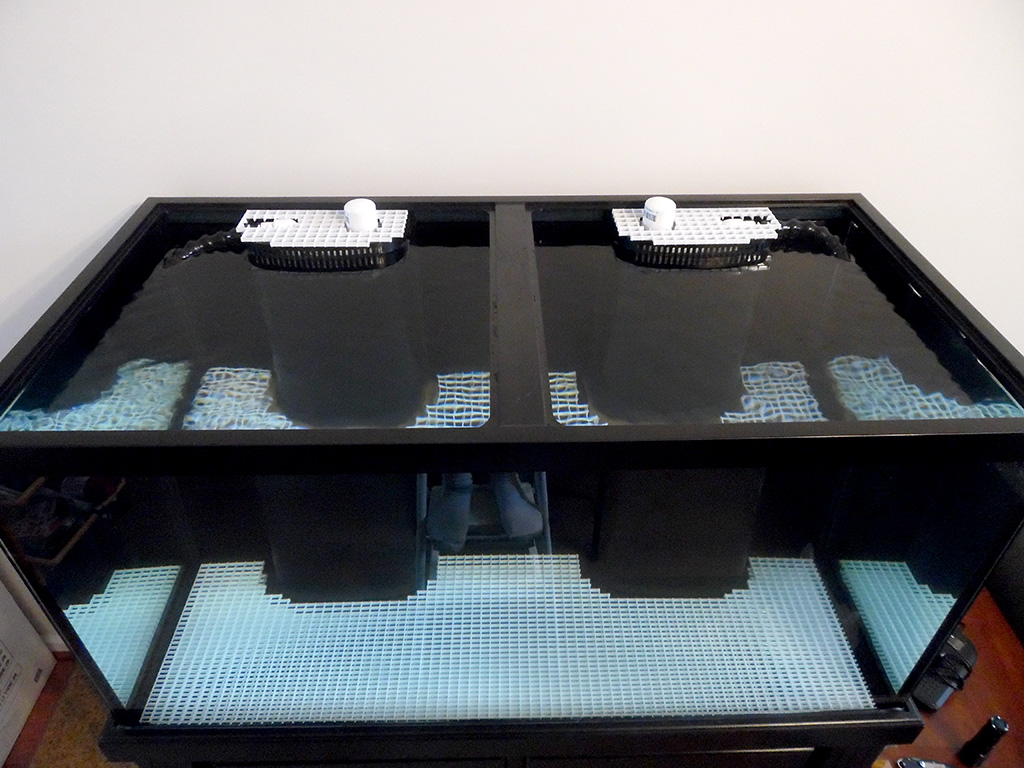
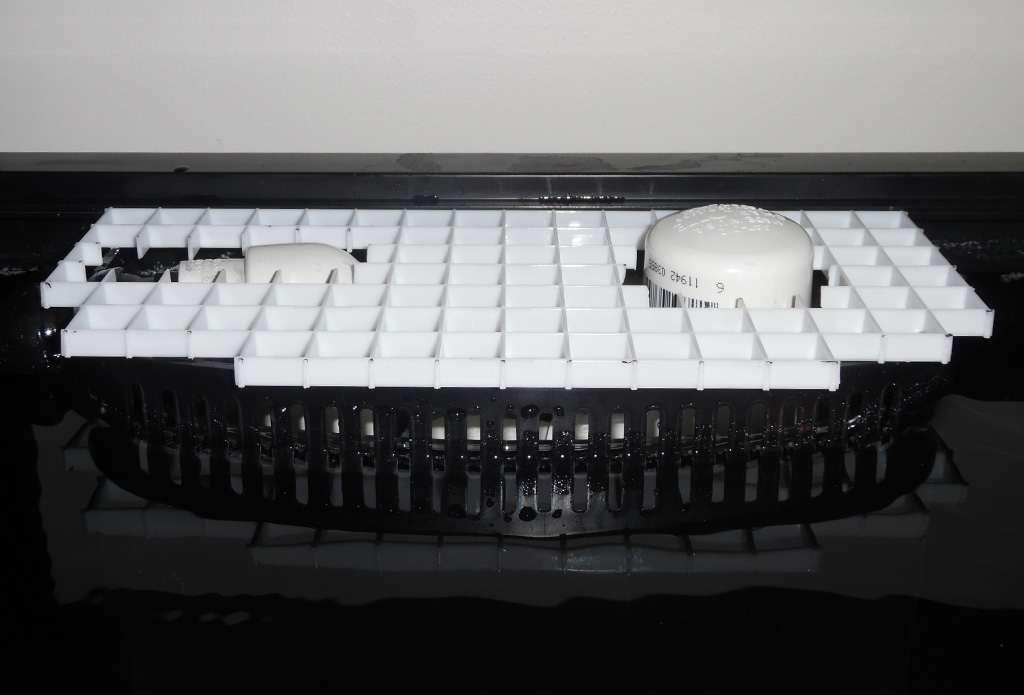
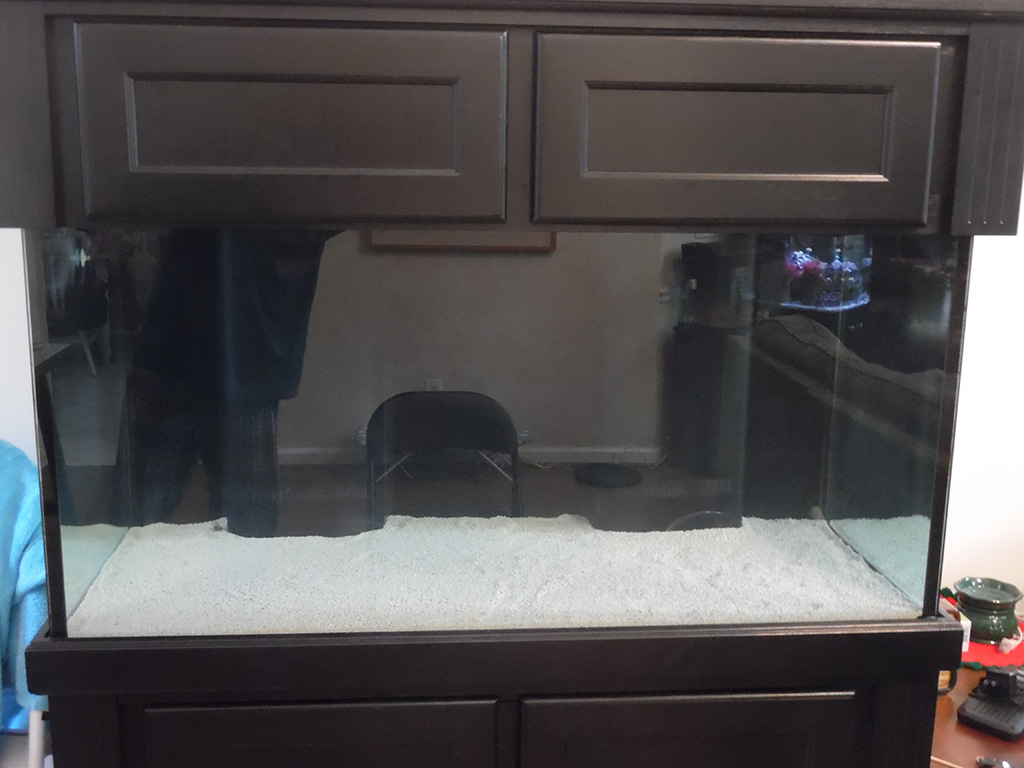
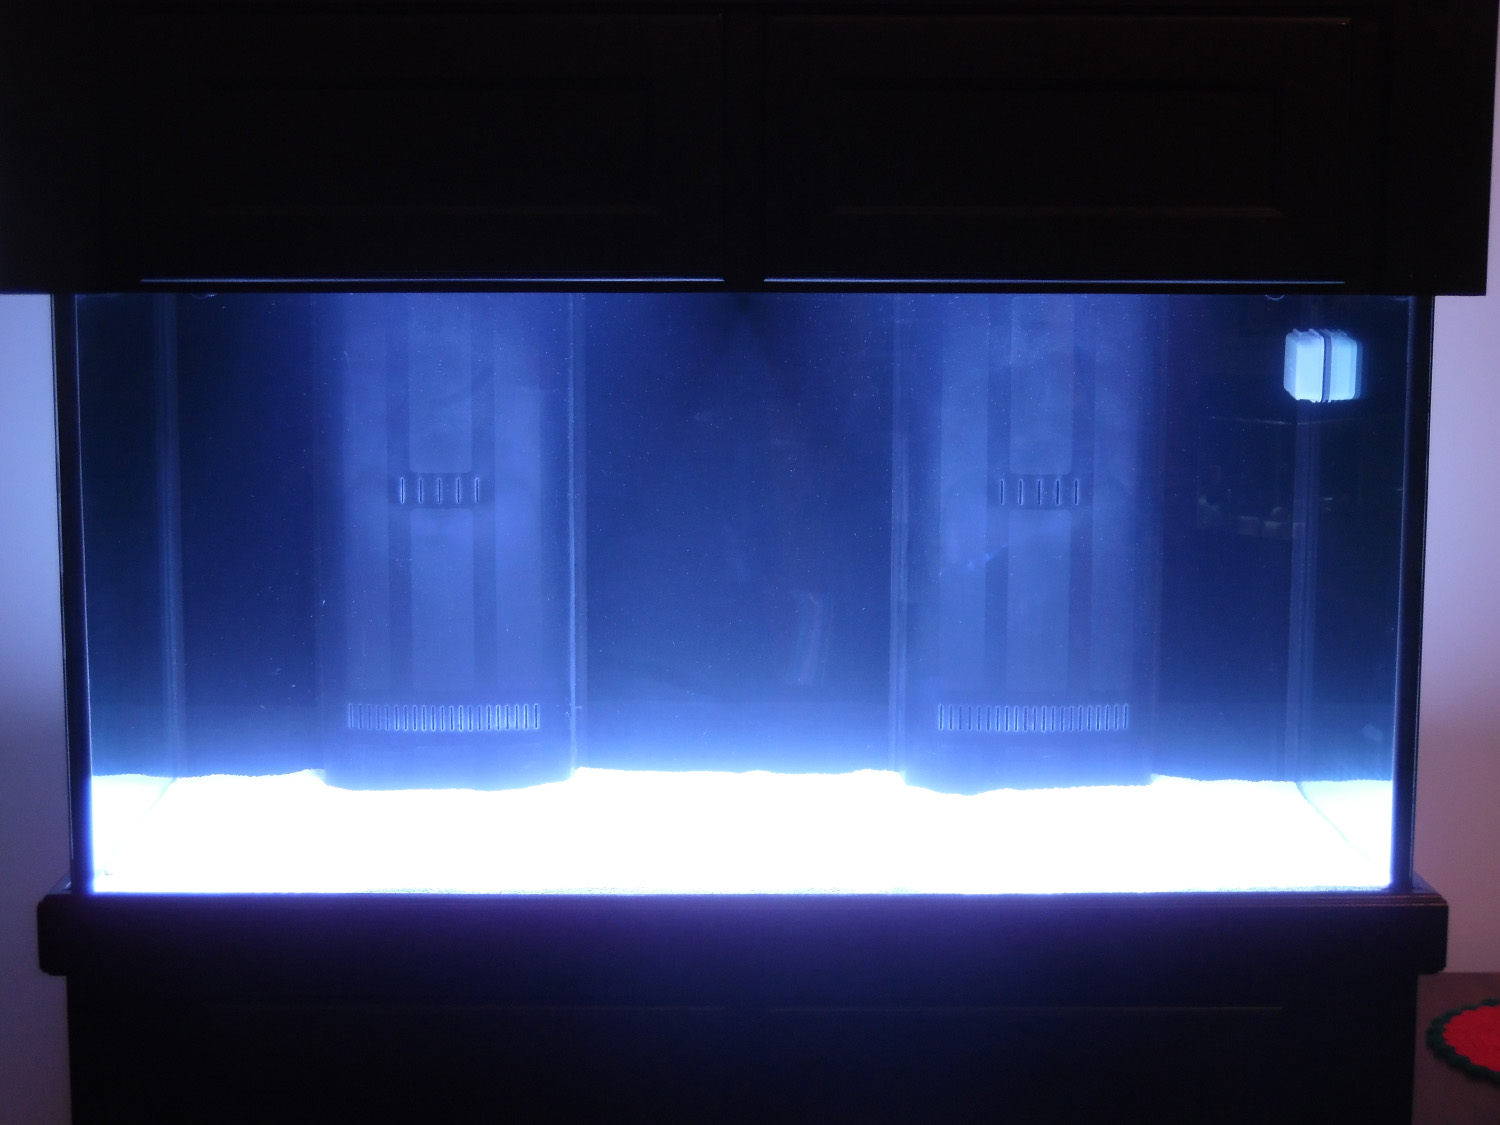
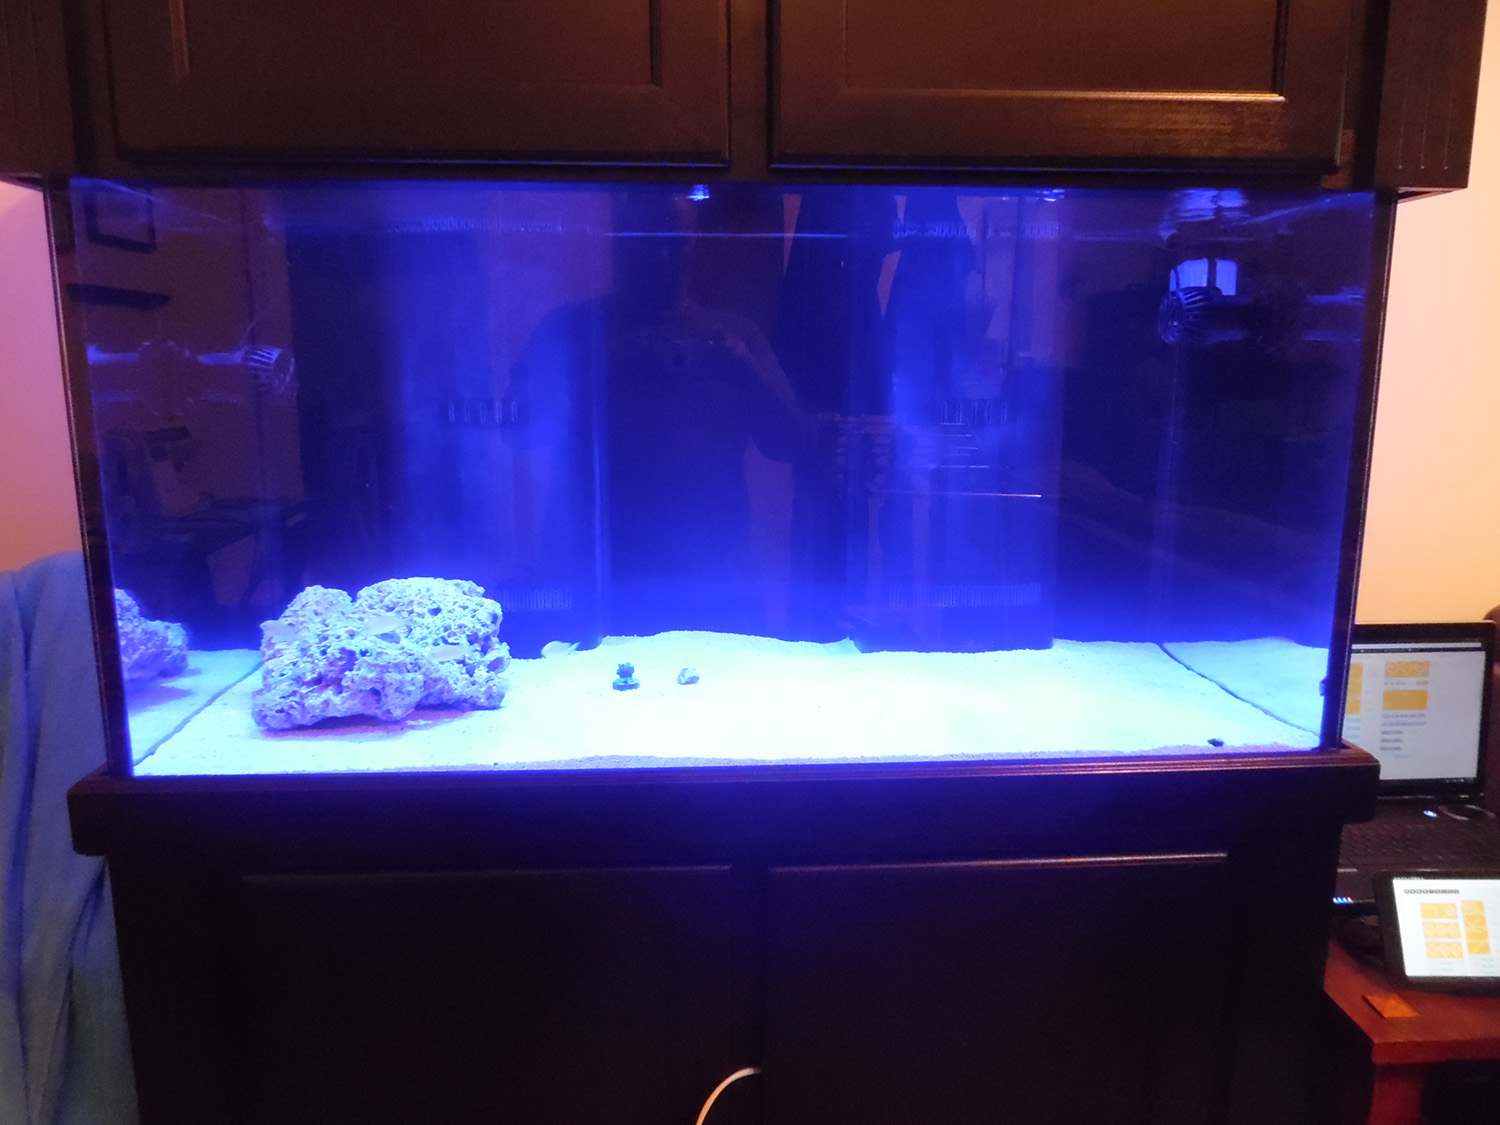
Aqueon 120 Gal Dual Overflow (24x24x48)
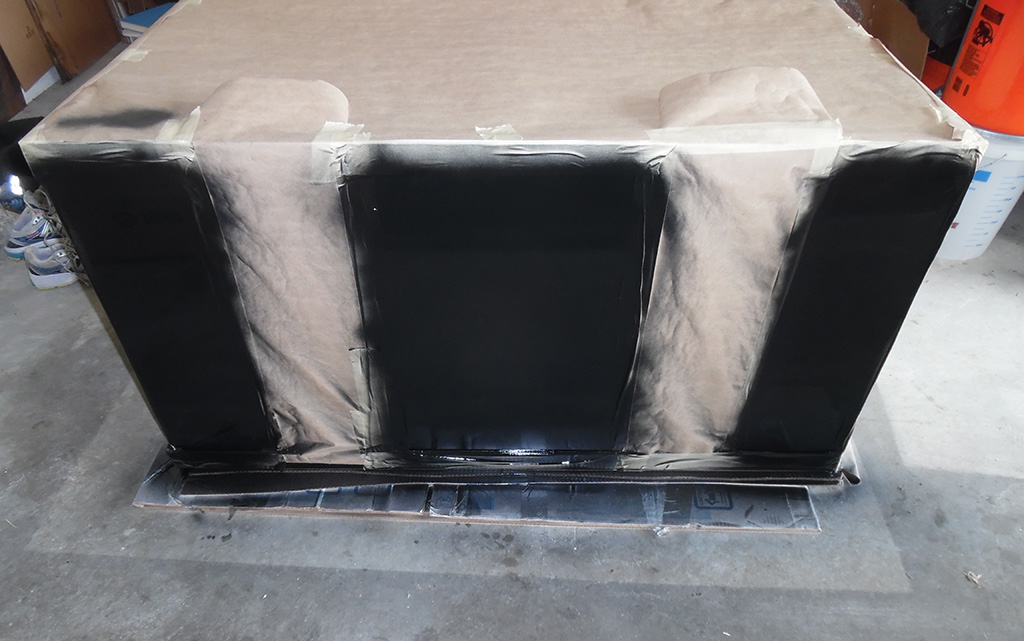
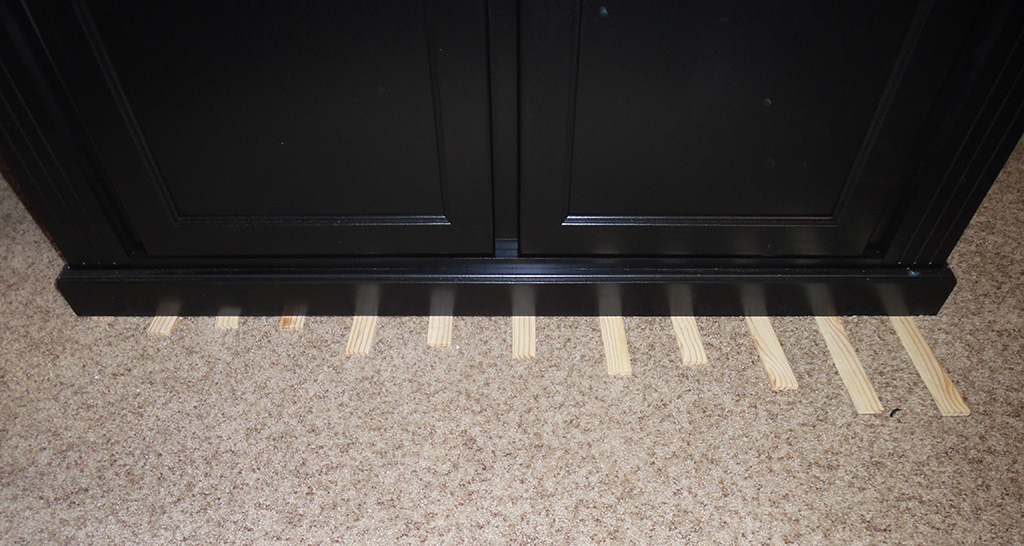
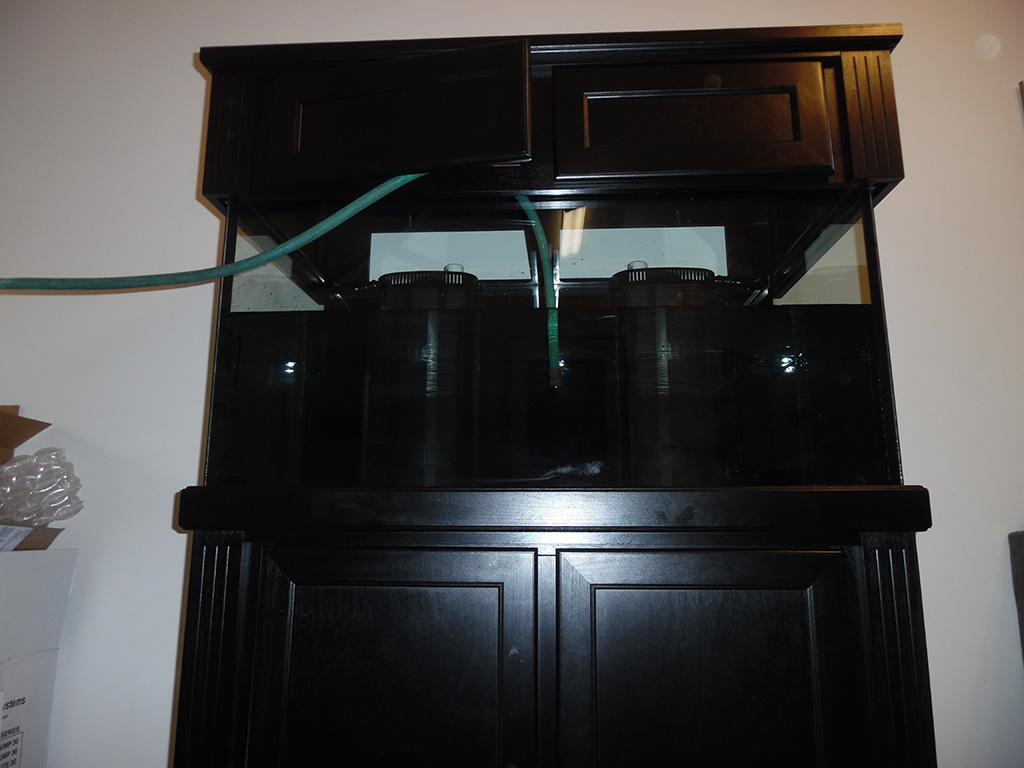
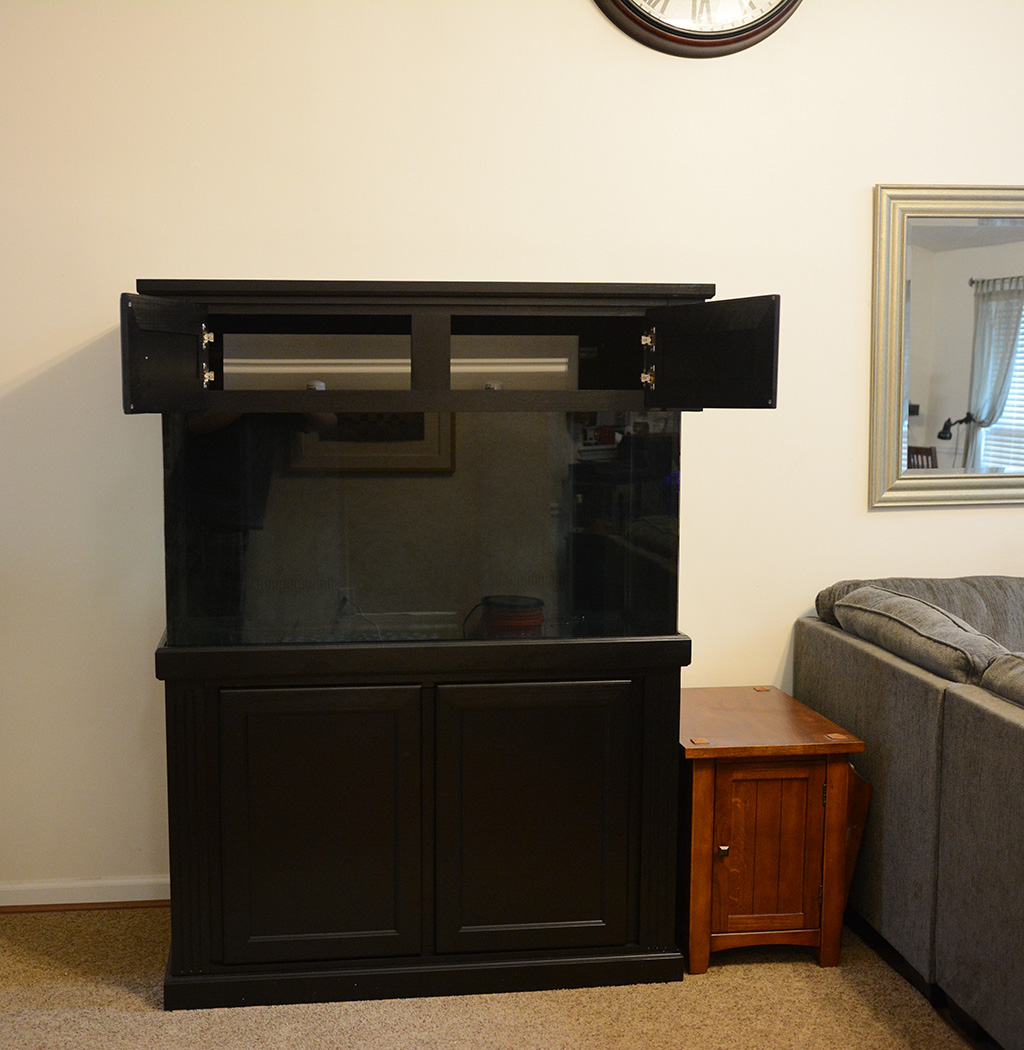
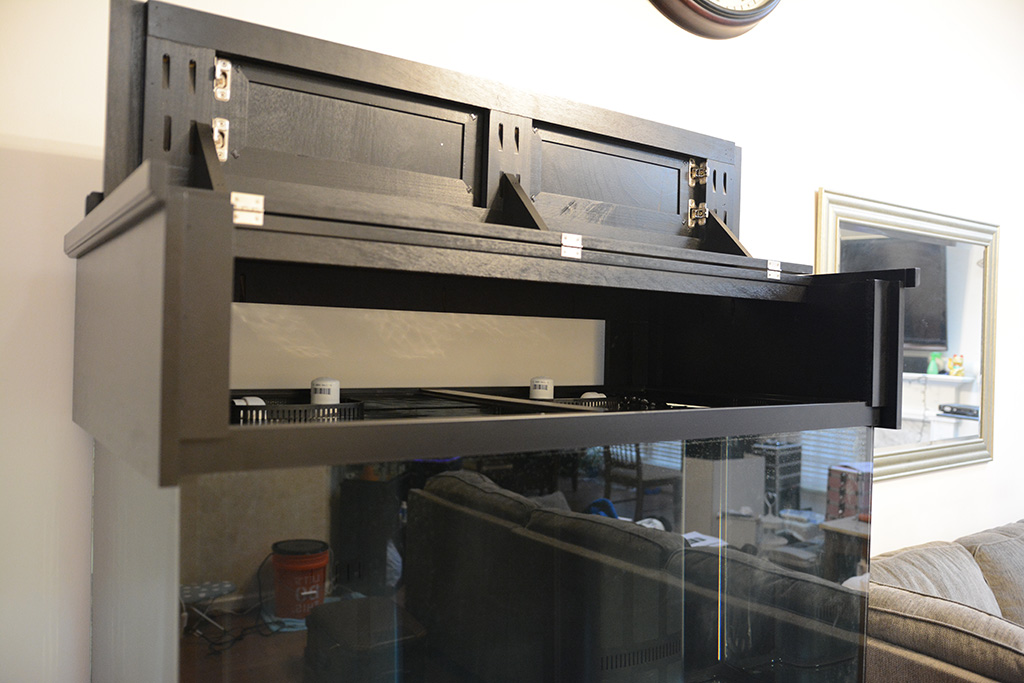
Marineland Monteray Stand & Canopy in Black
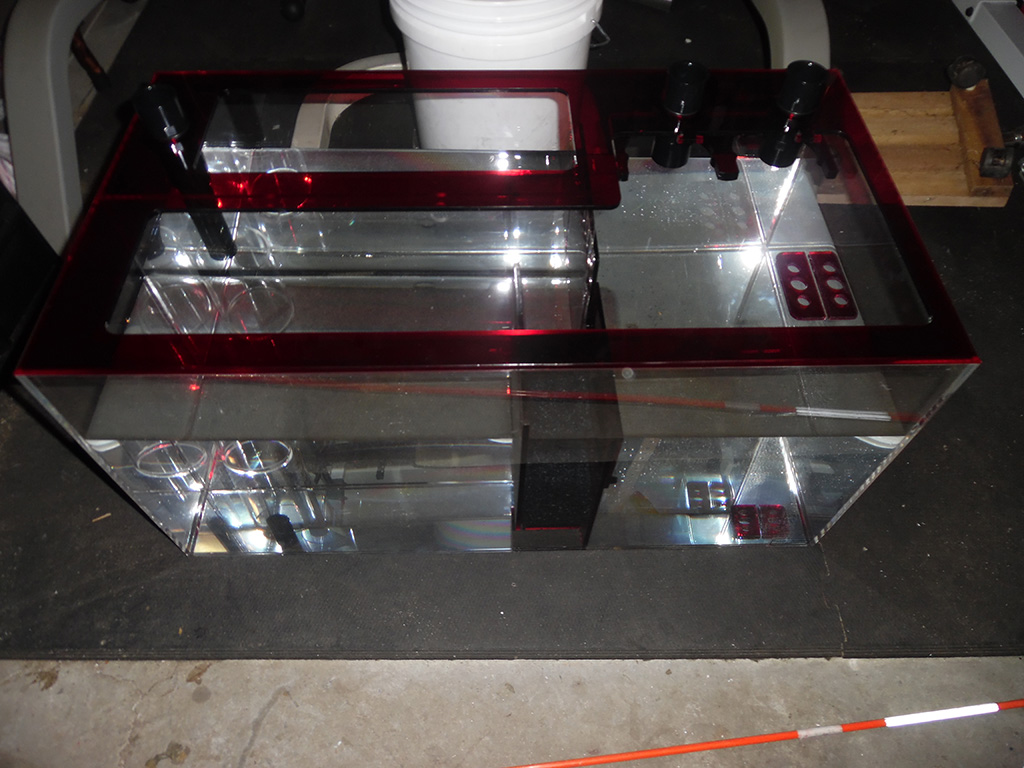
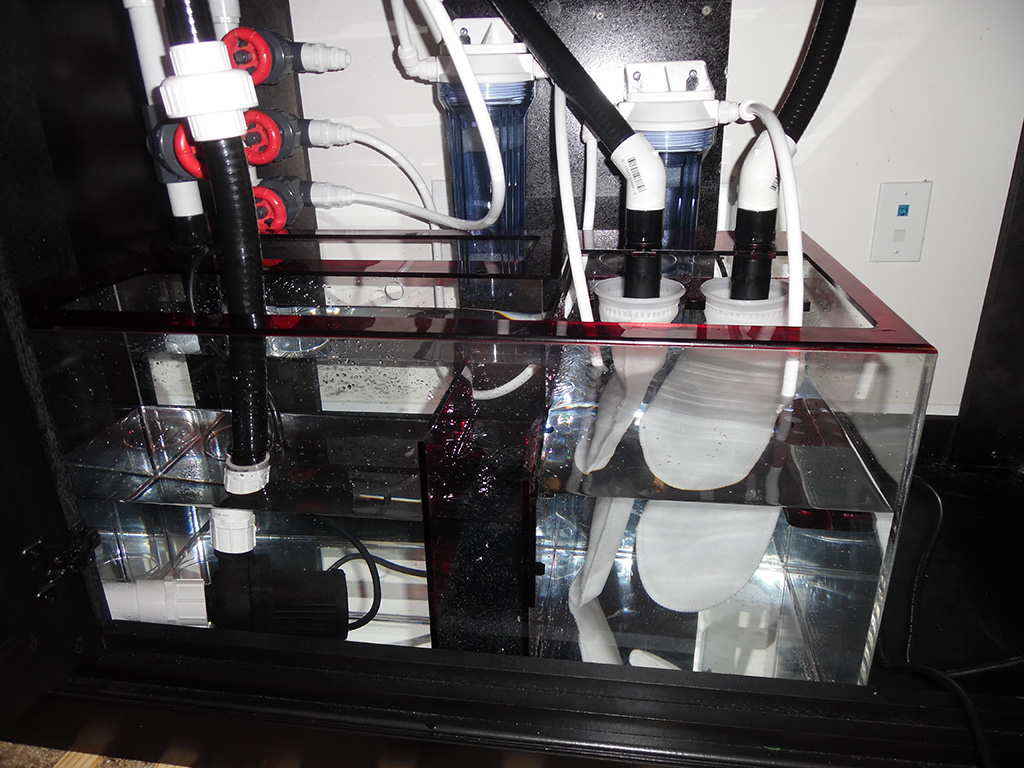
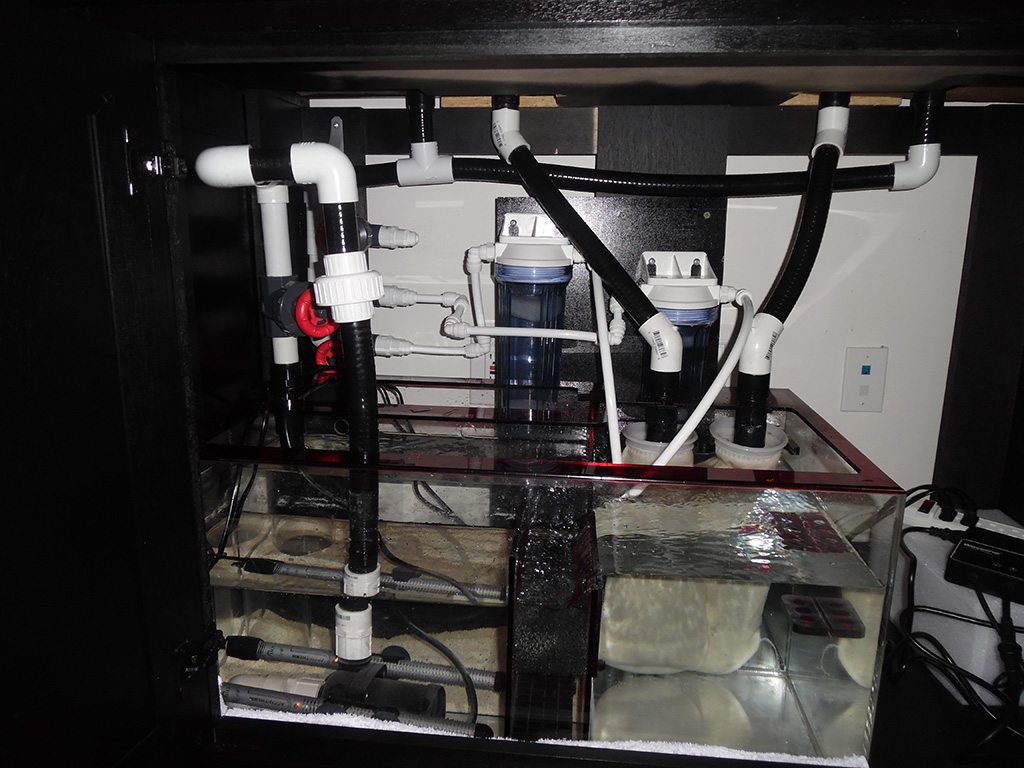
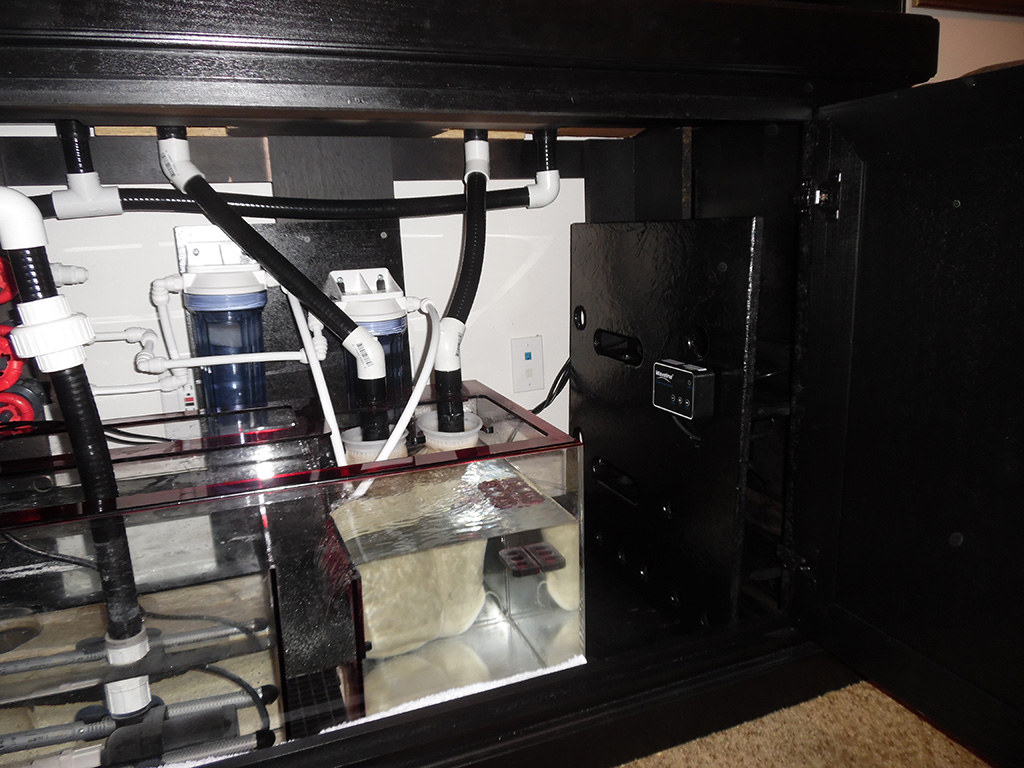
Trigger Ruby Elite 30" Sump
Waveline DC 6000 Return Pump
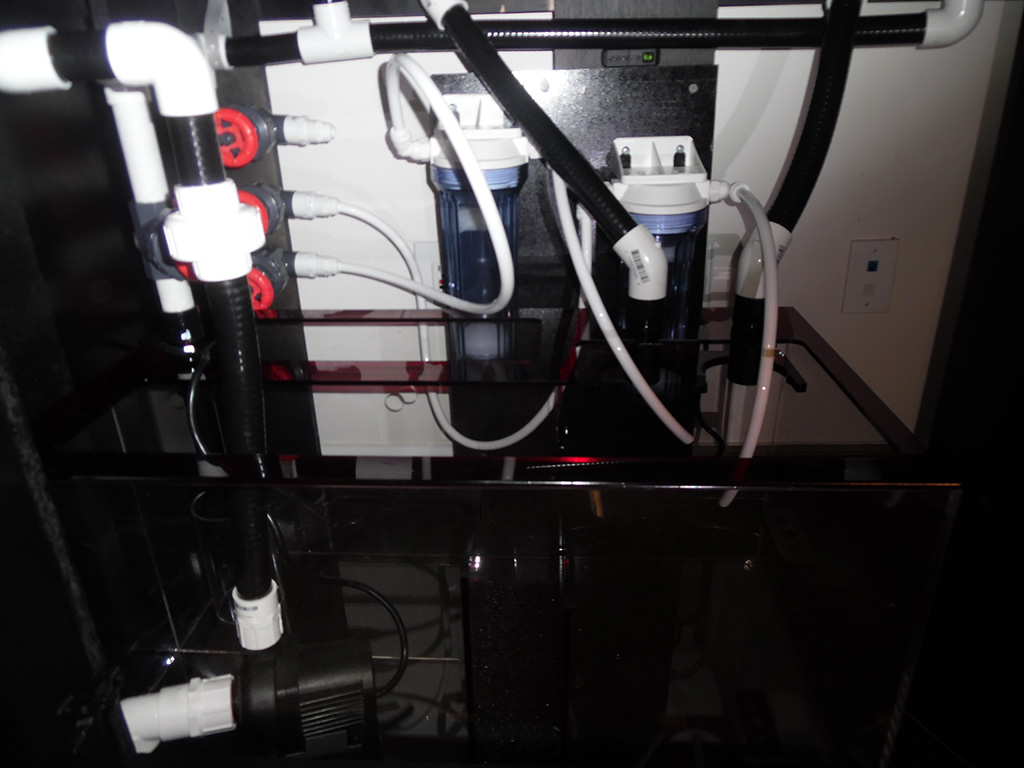
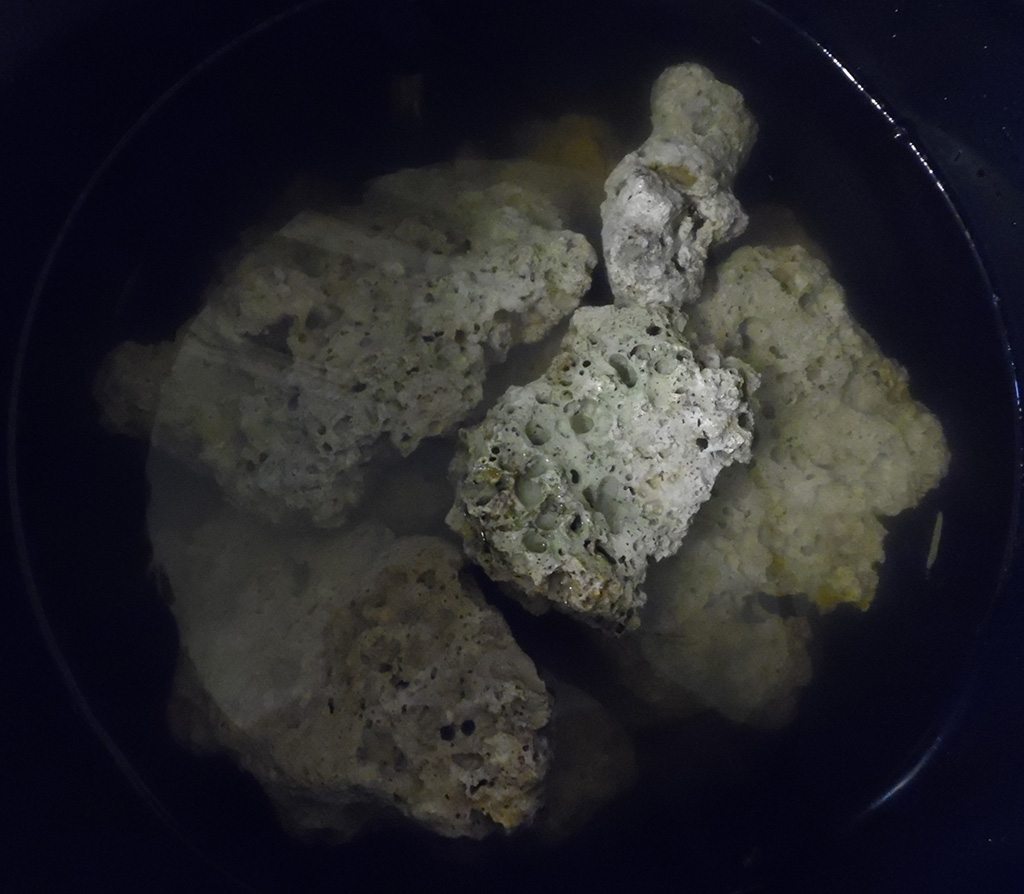
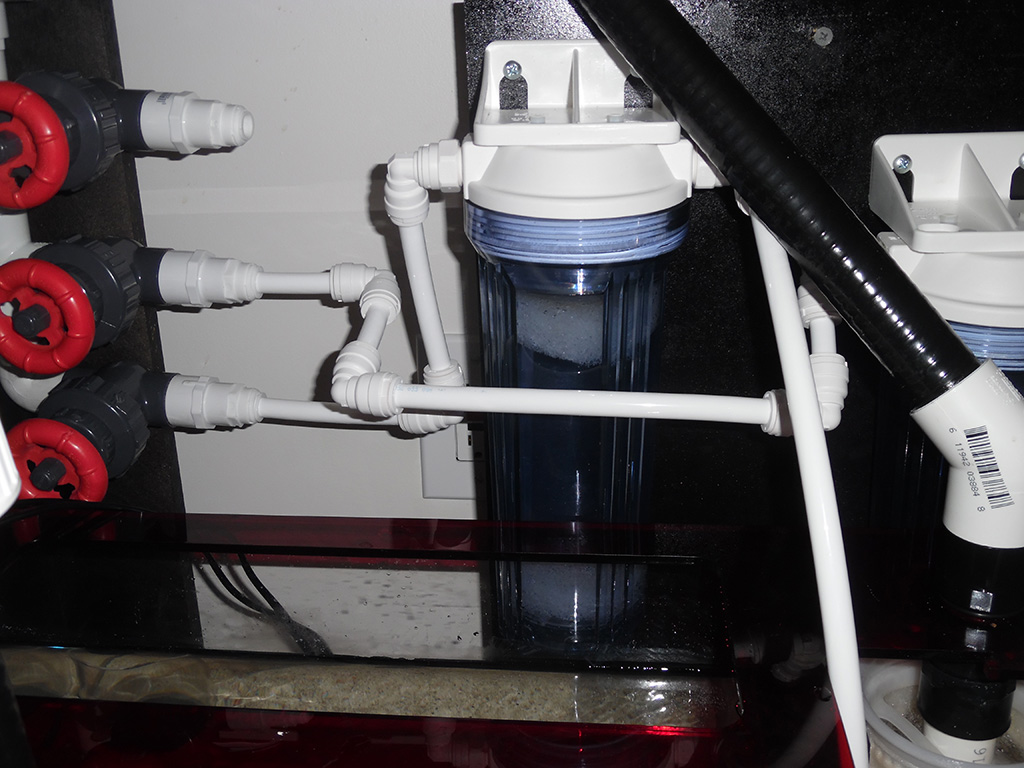
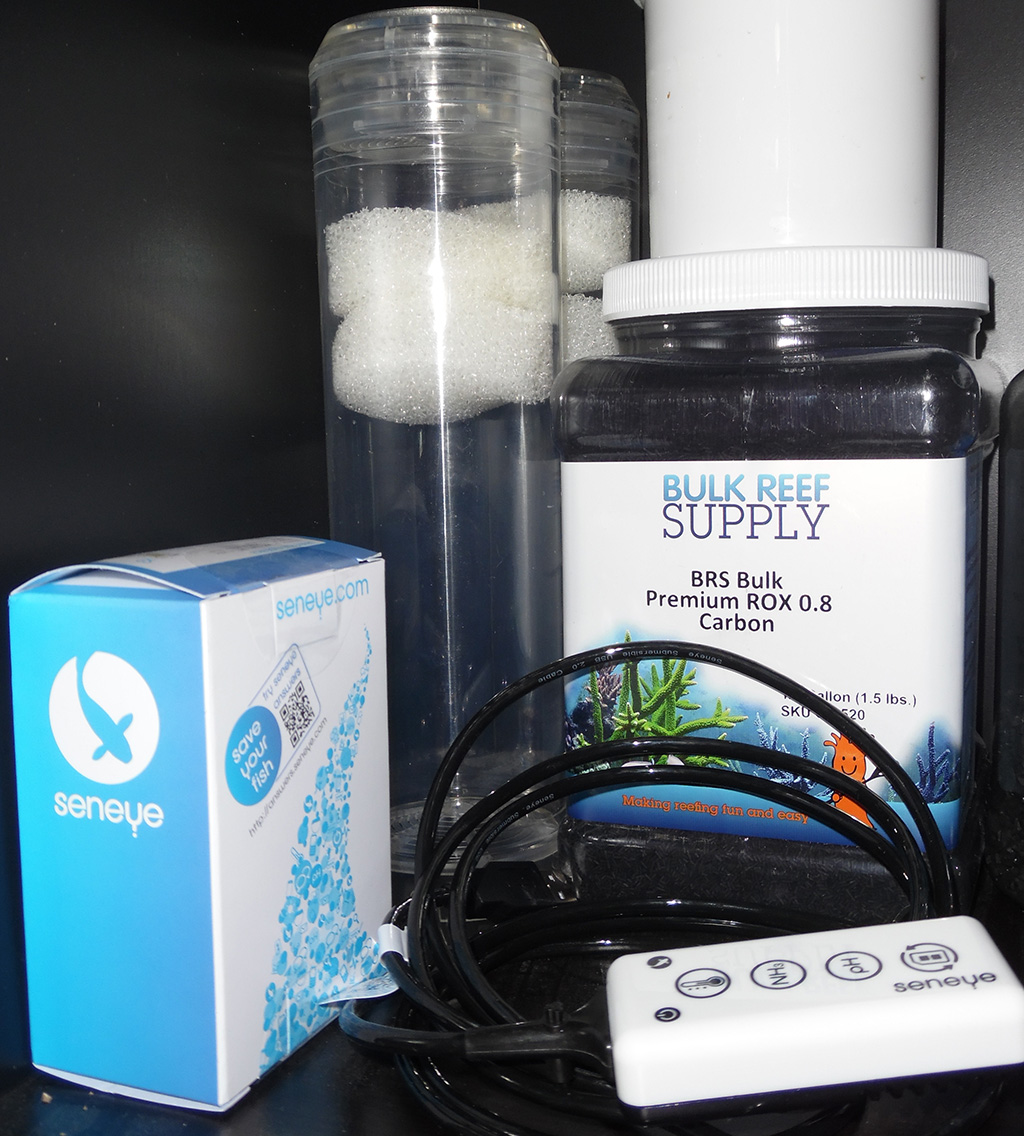
2x BRS Single Reactors (1 Carbon & 1 GFO)
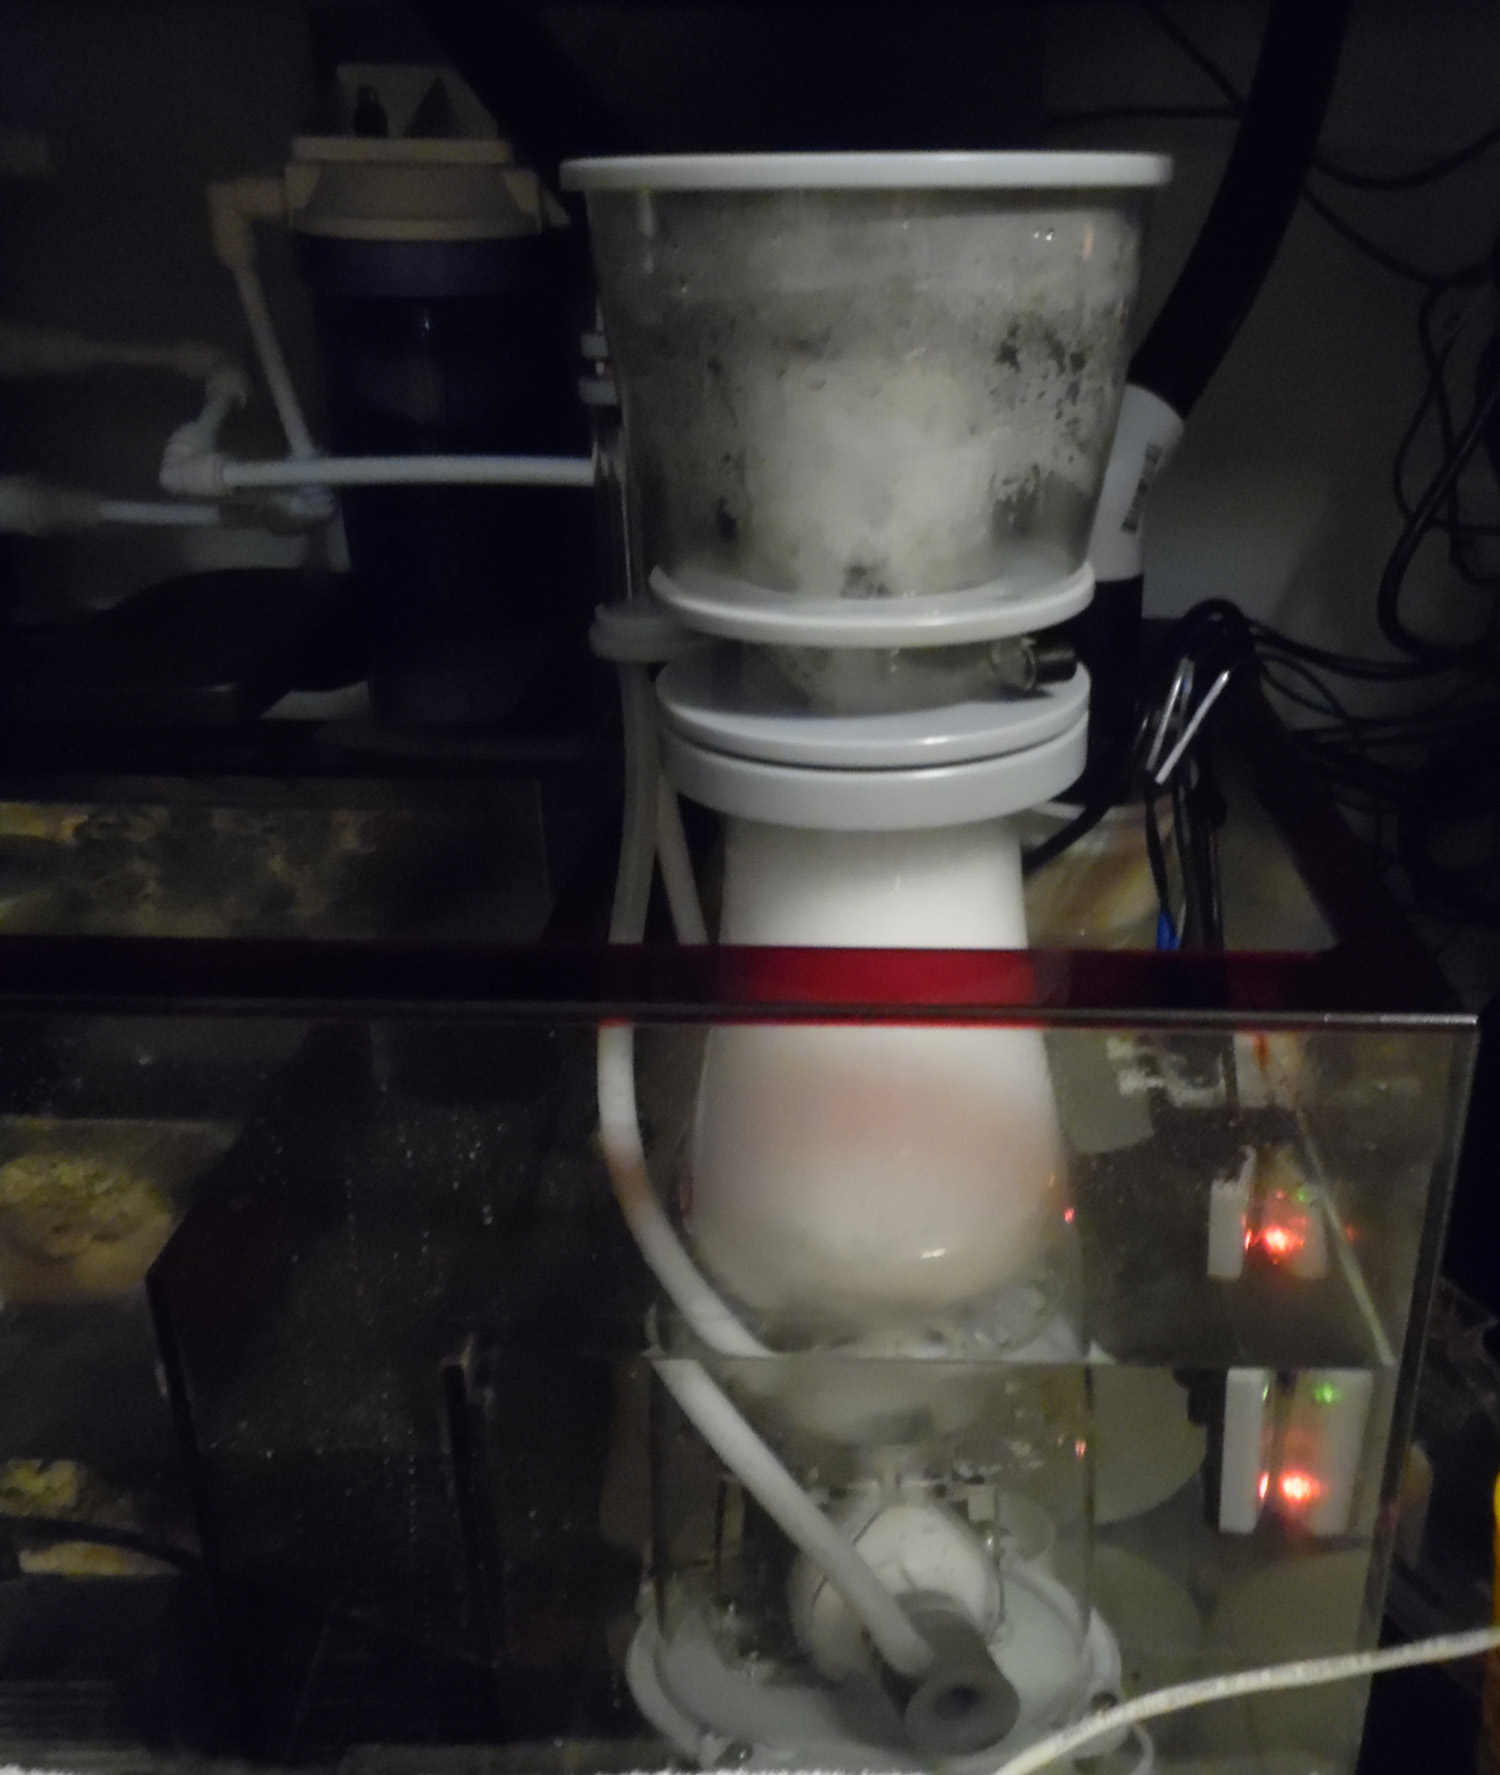
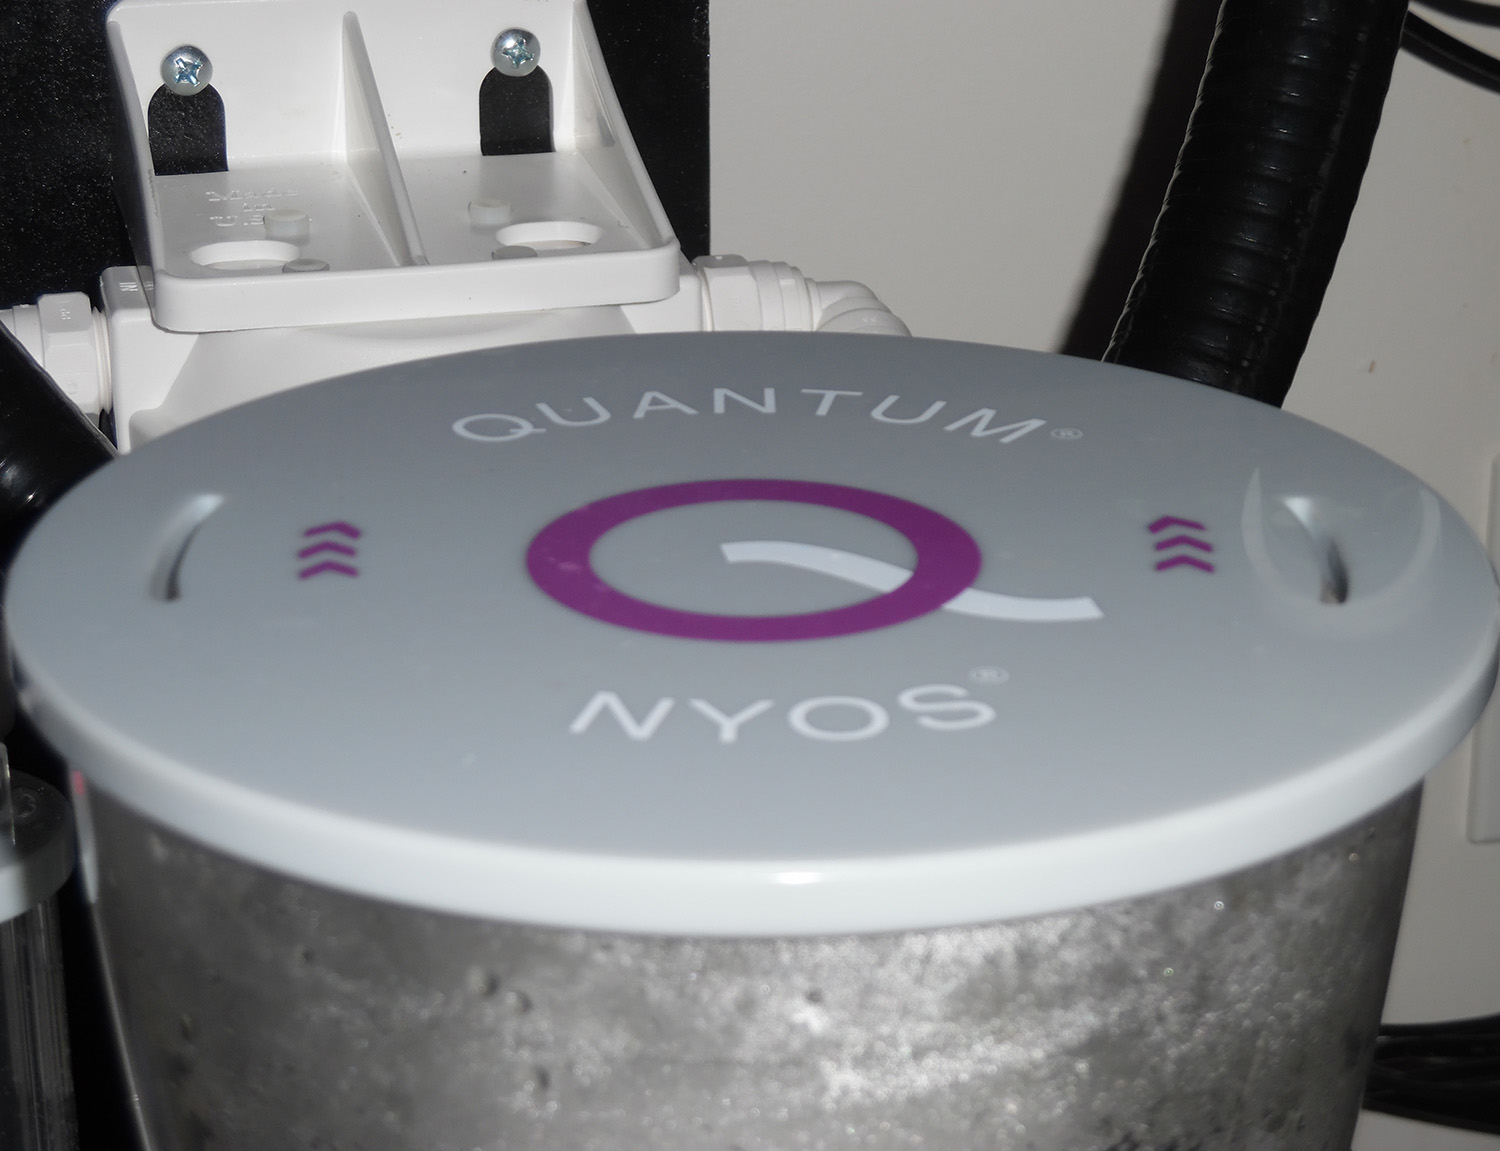
NYOS 160 Skimmer
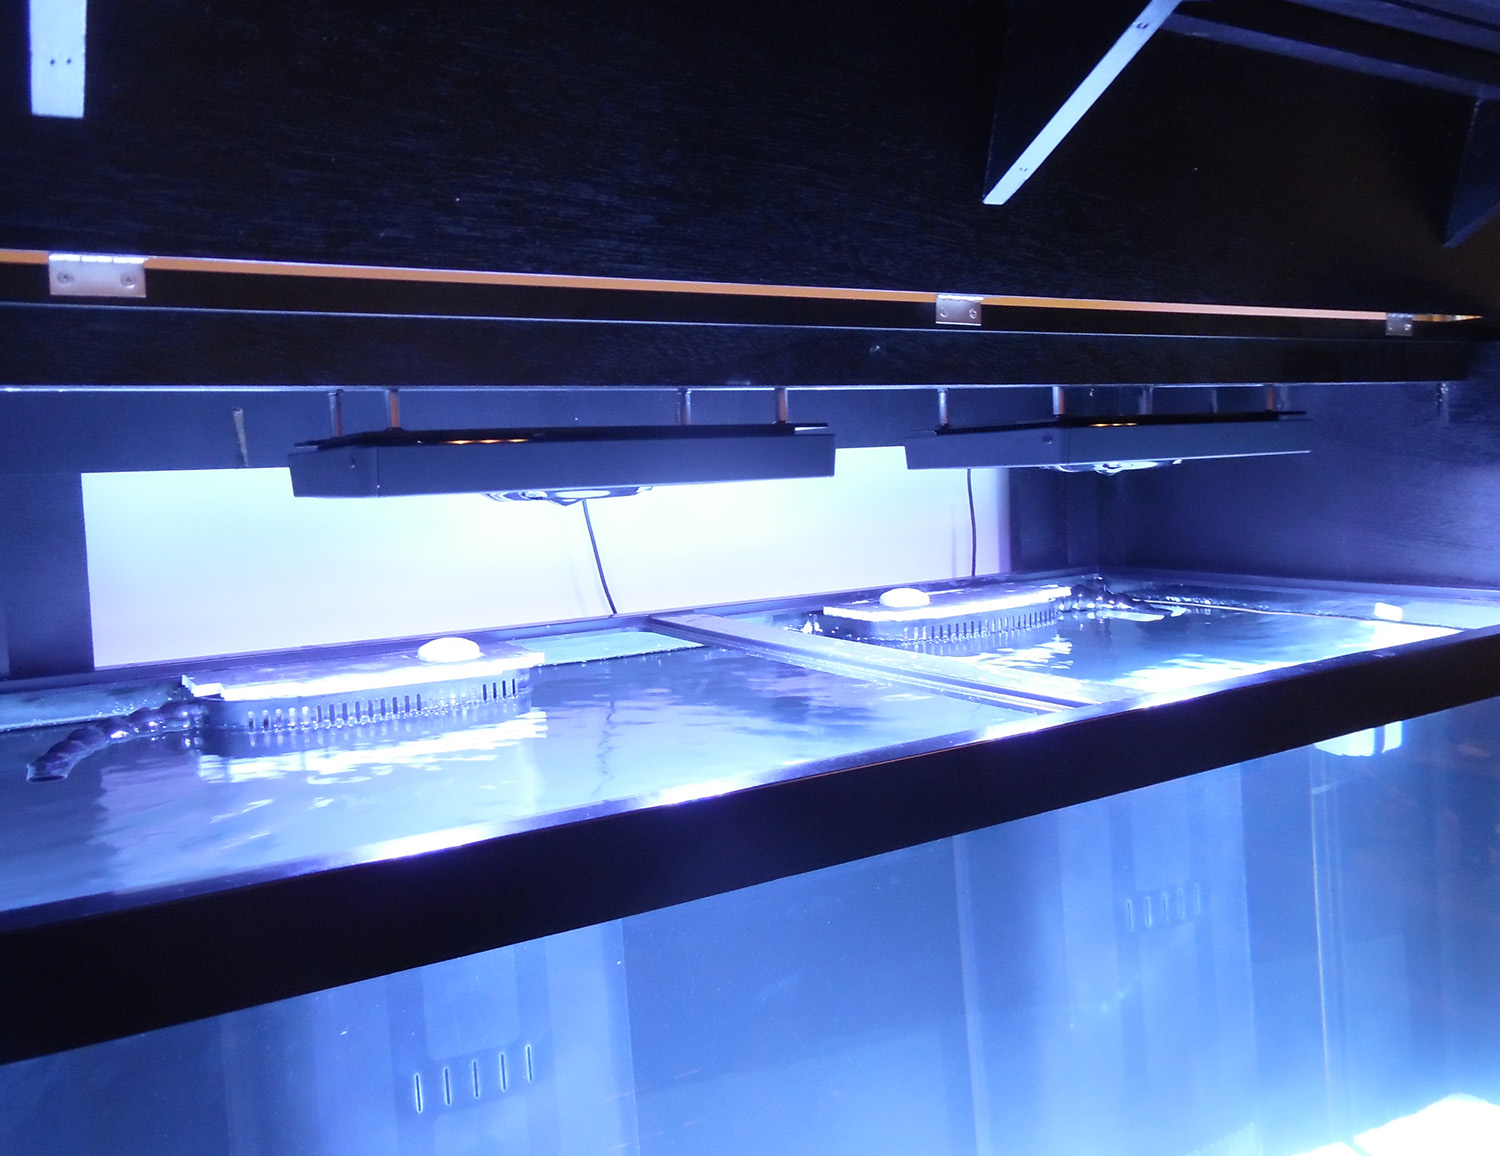
2x Ecotech Radion XR30W G3 Pro
Trigger Ruby 10G ATO Reservior
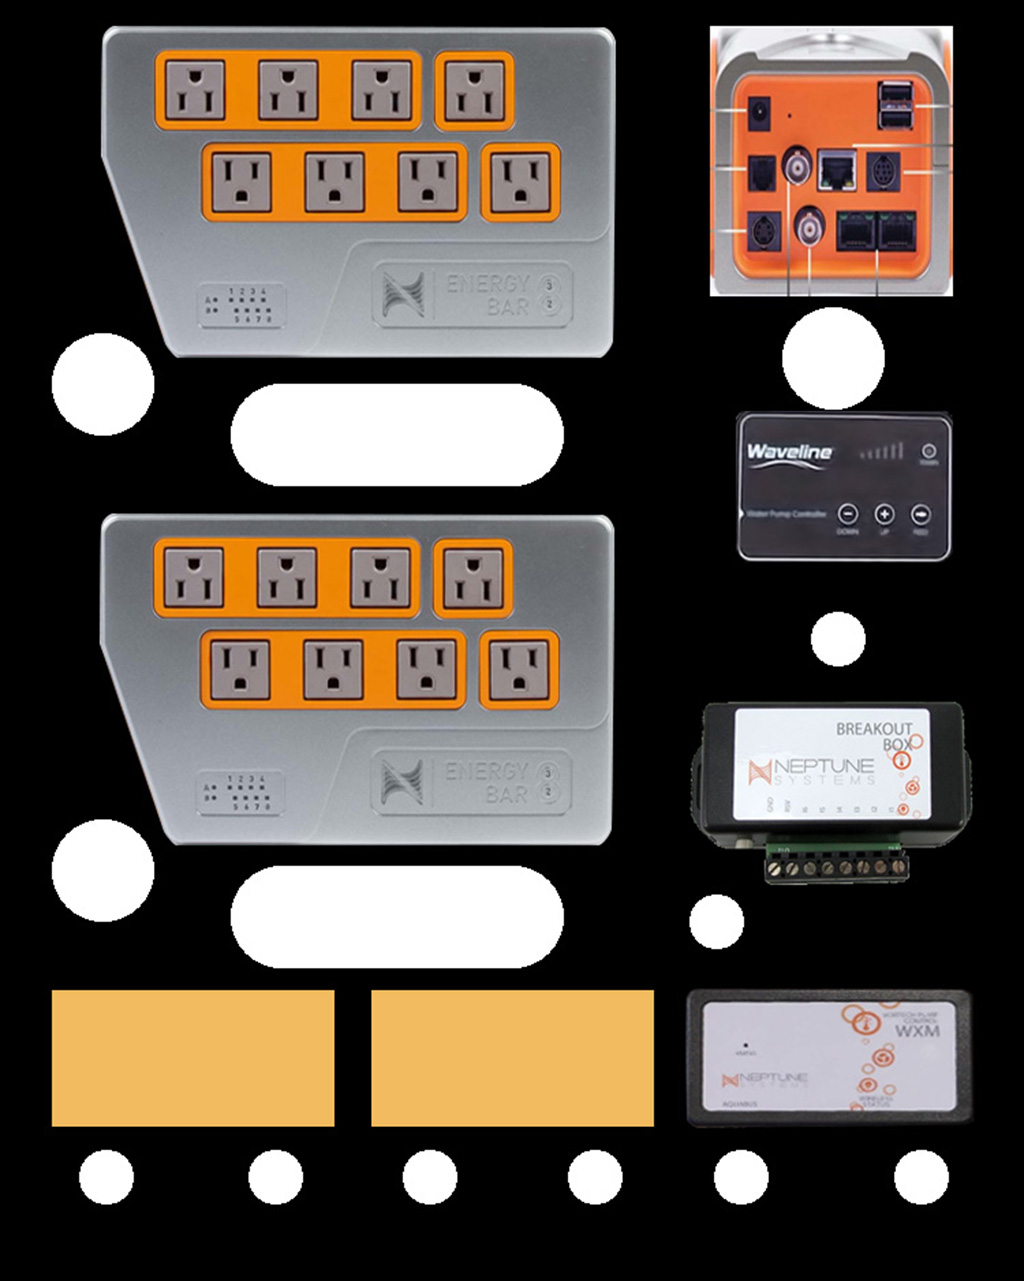
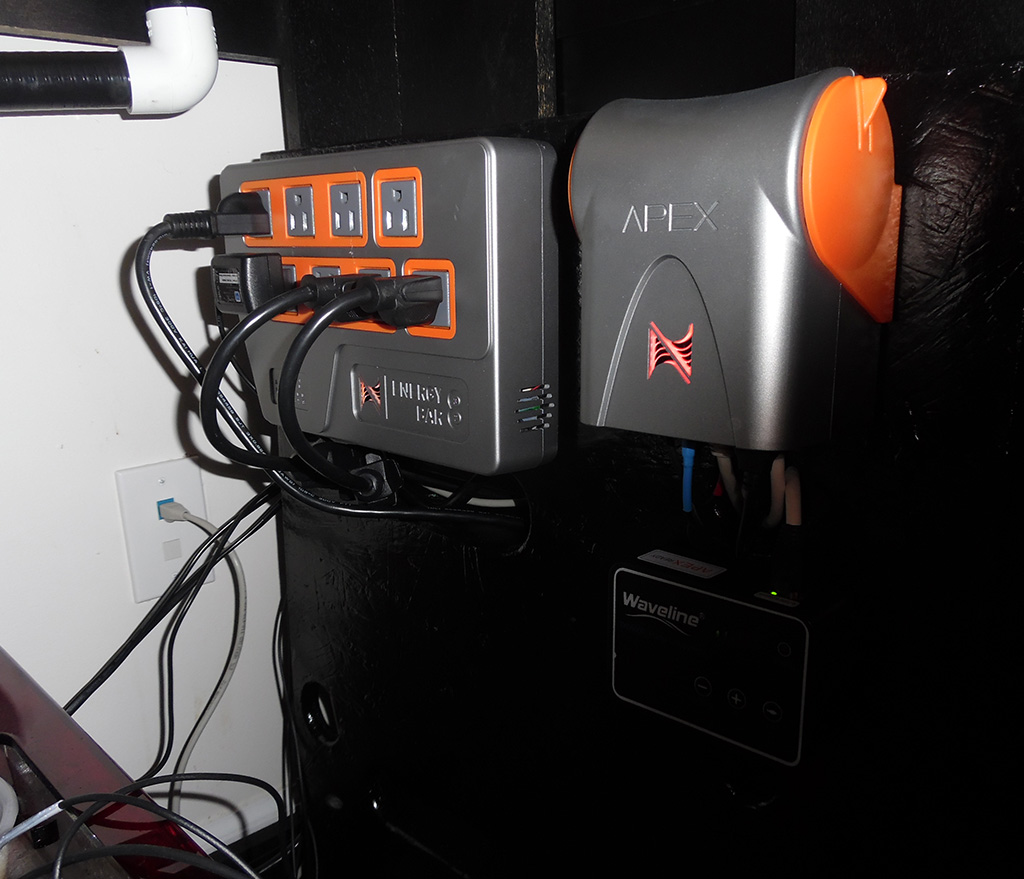
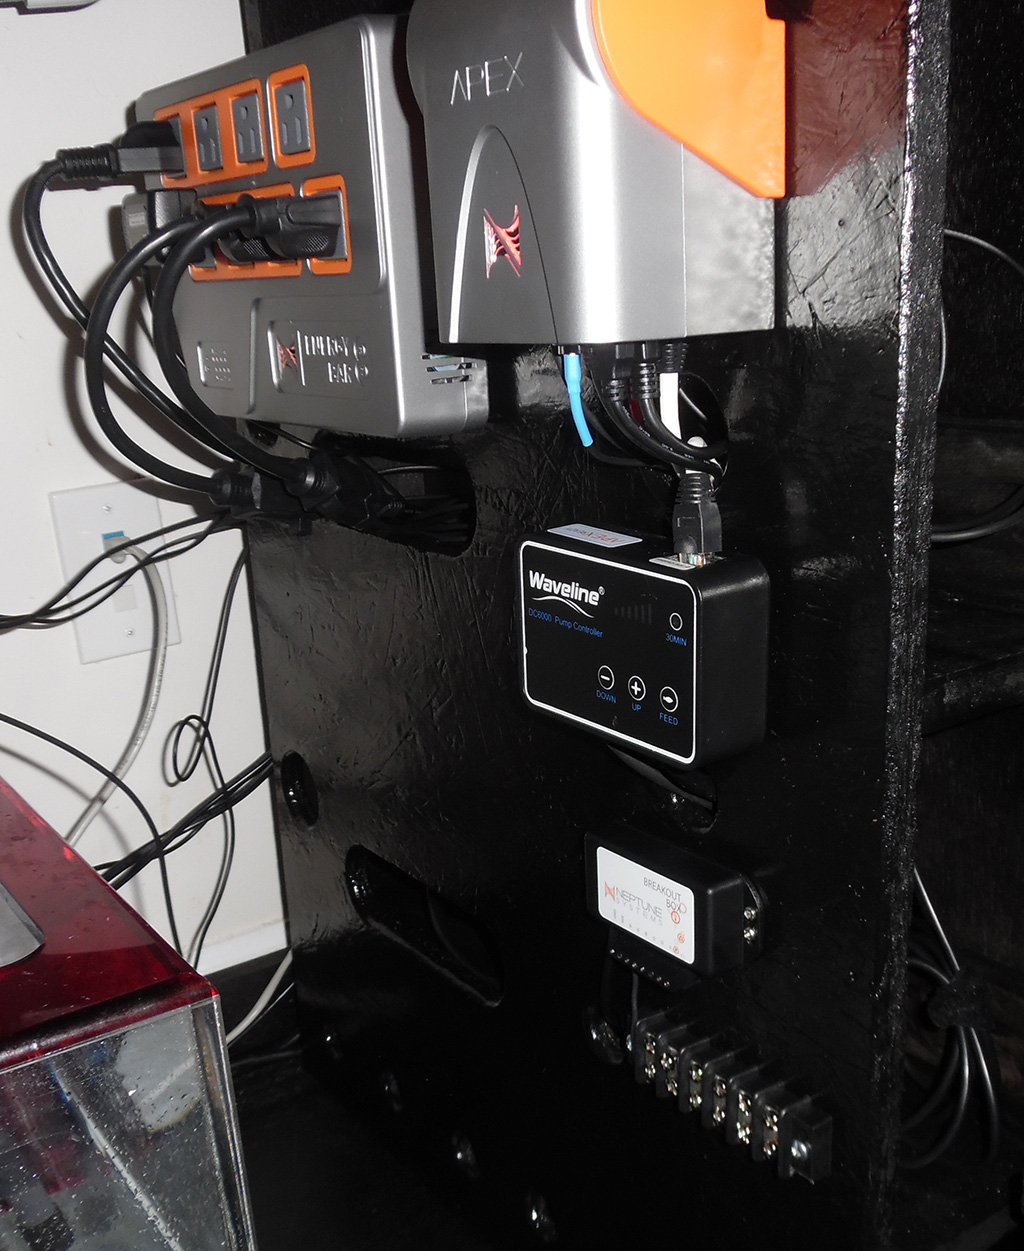
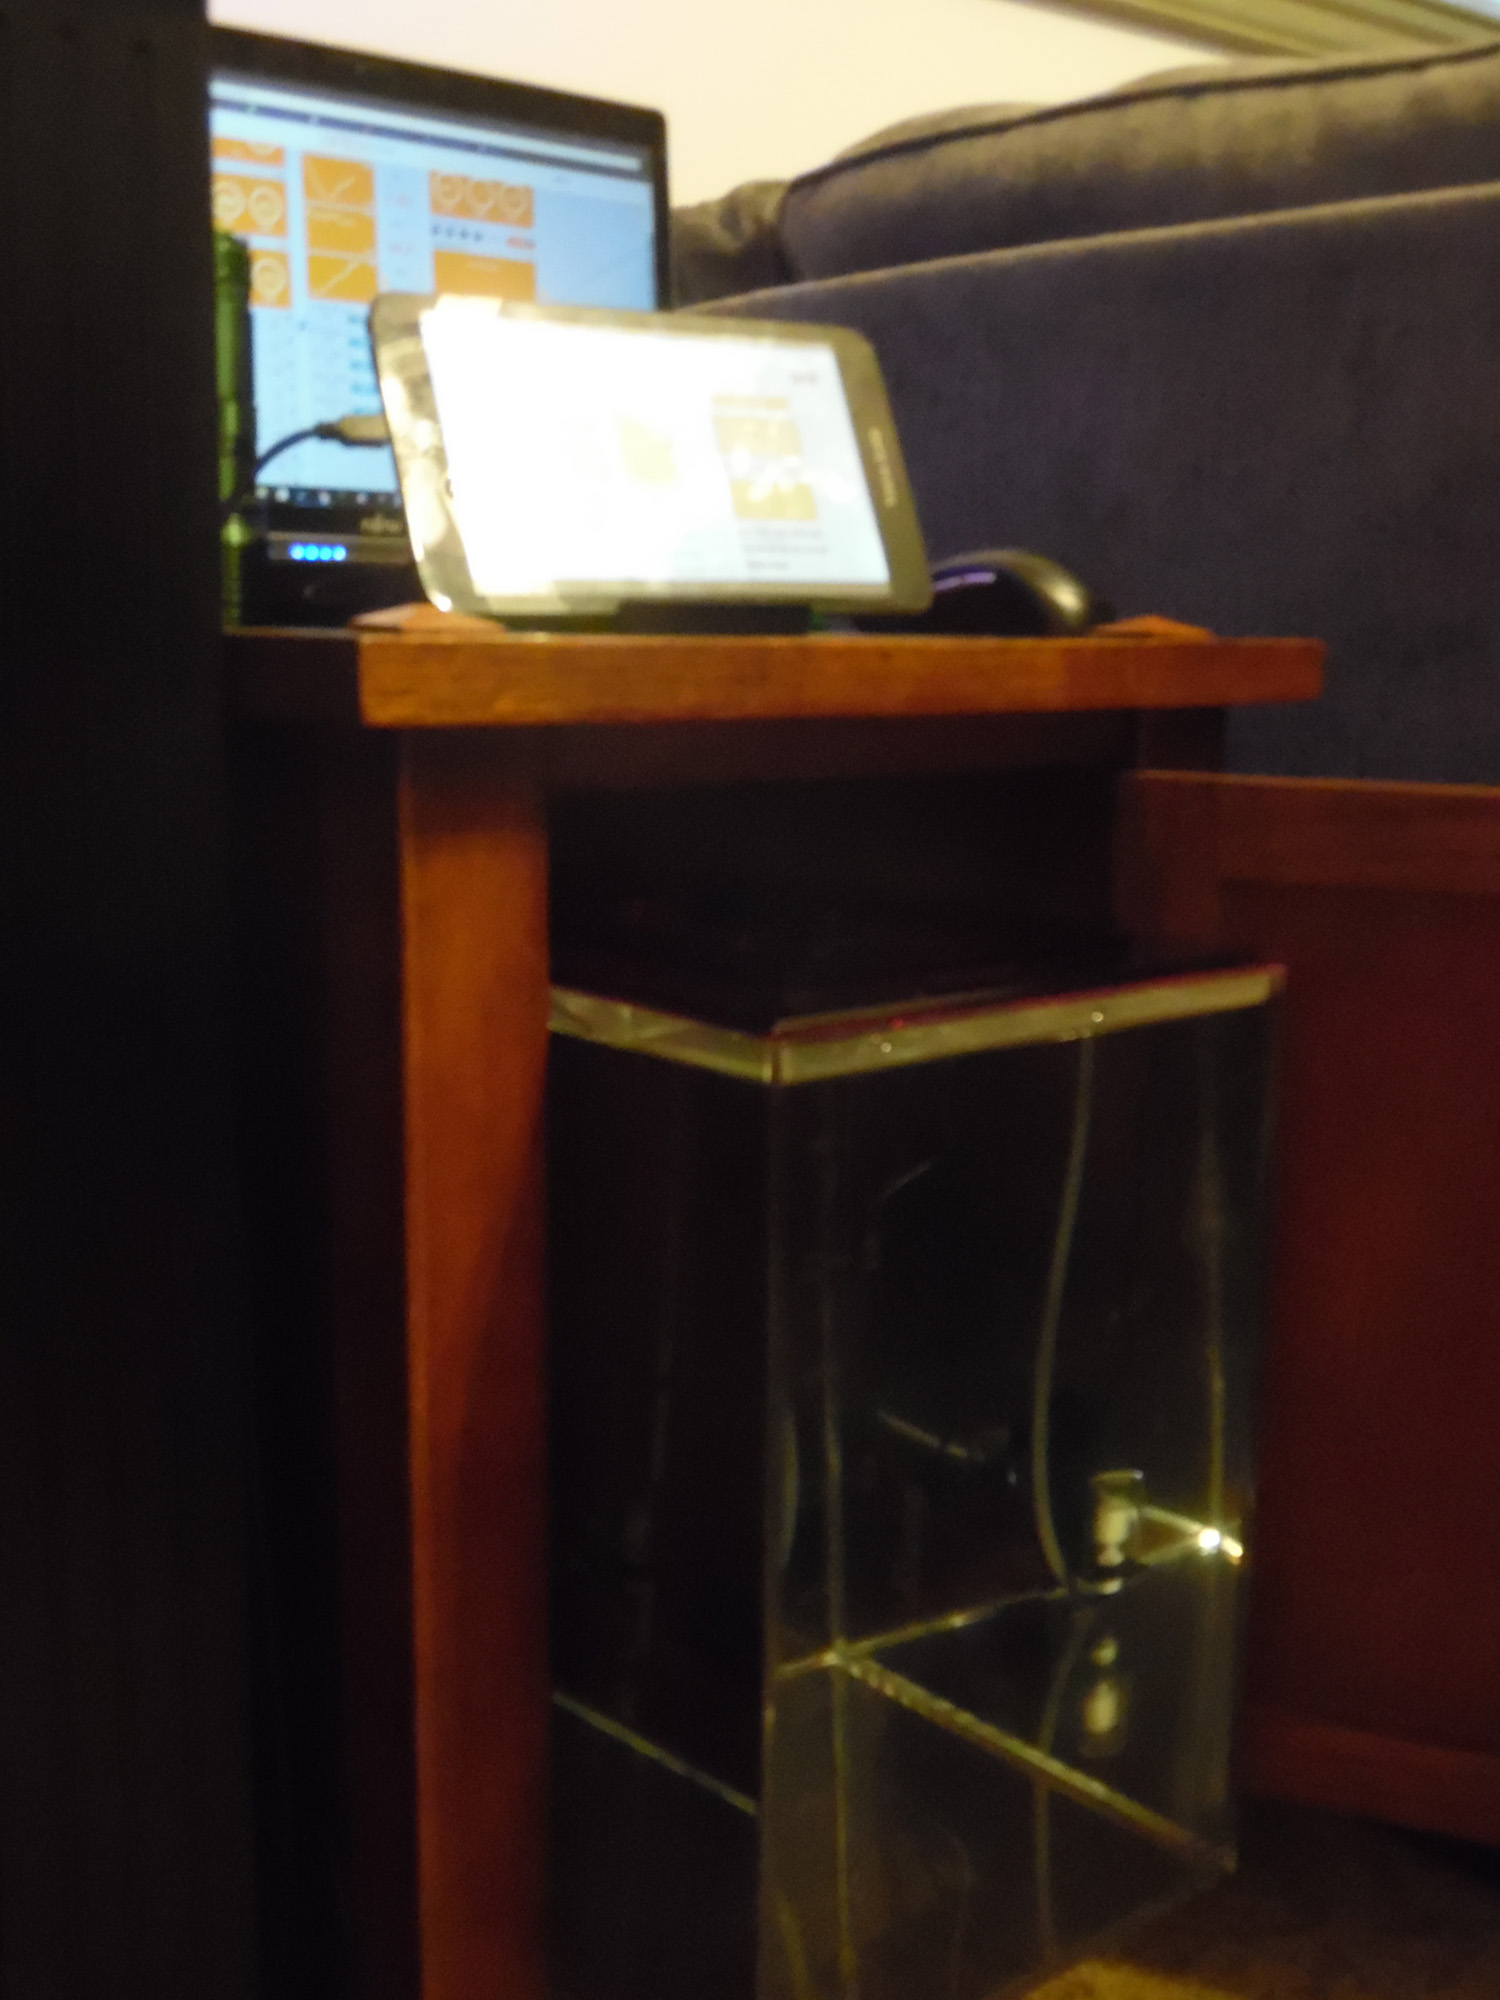
New APEX Controller
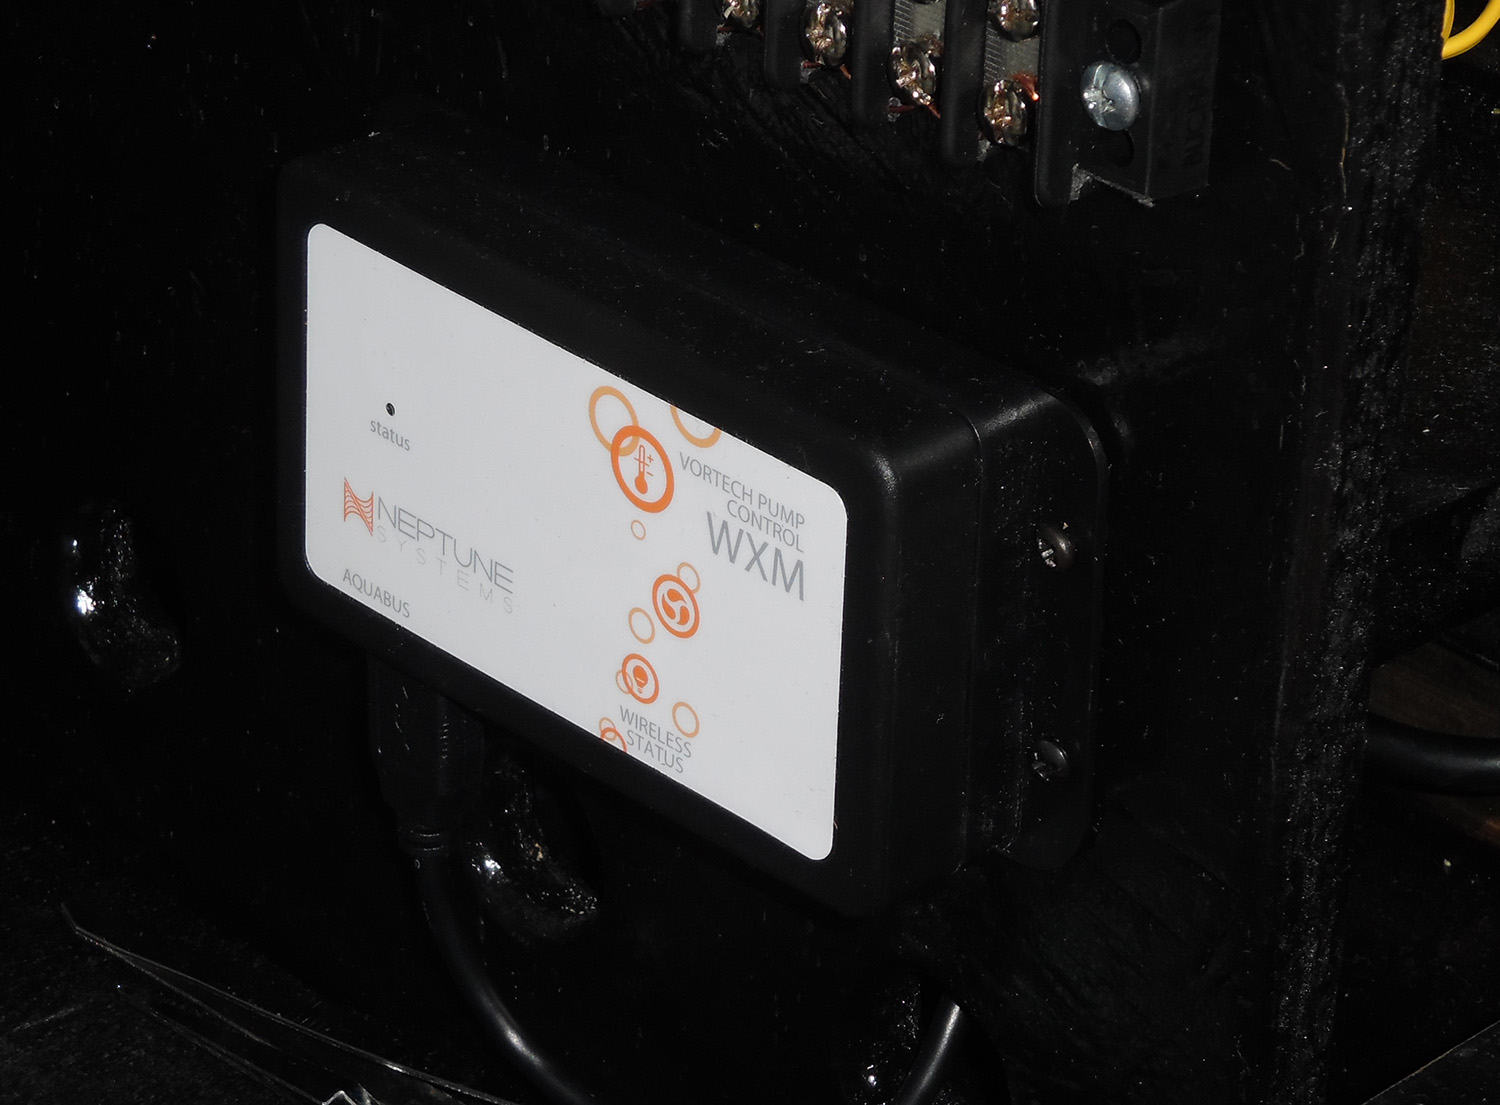
WXM (EcoTech) Apex Module
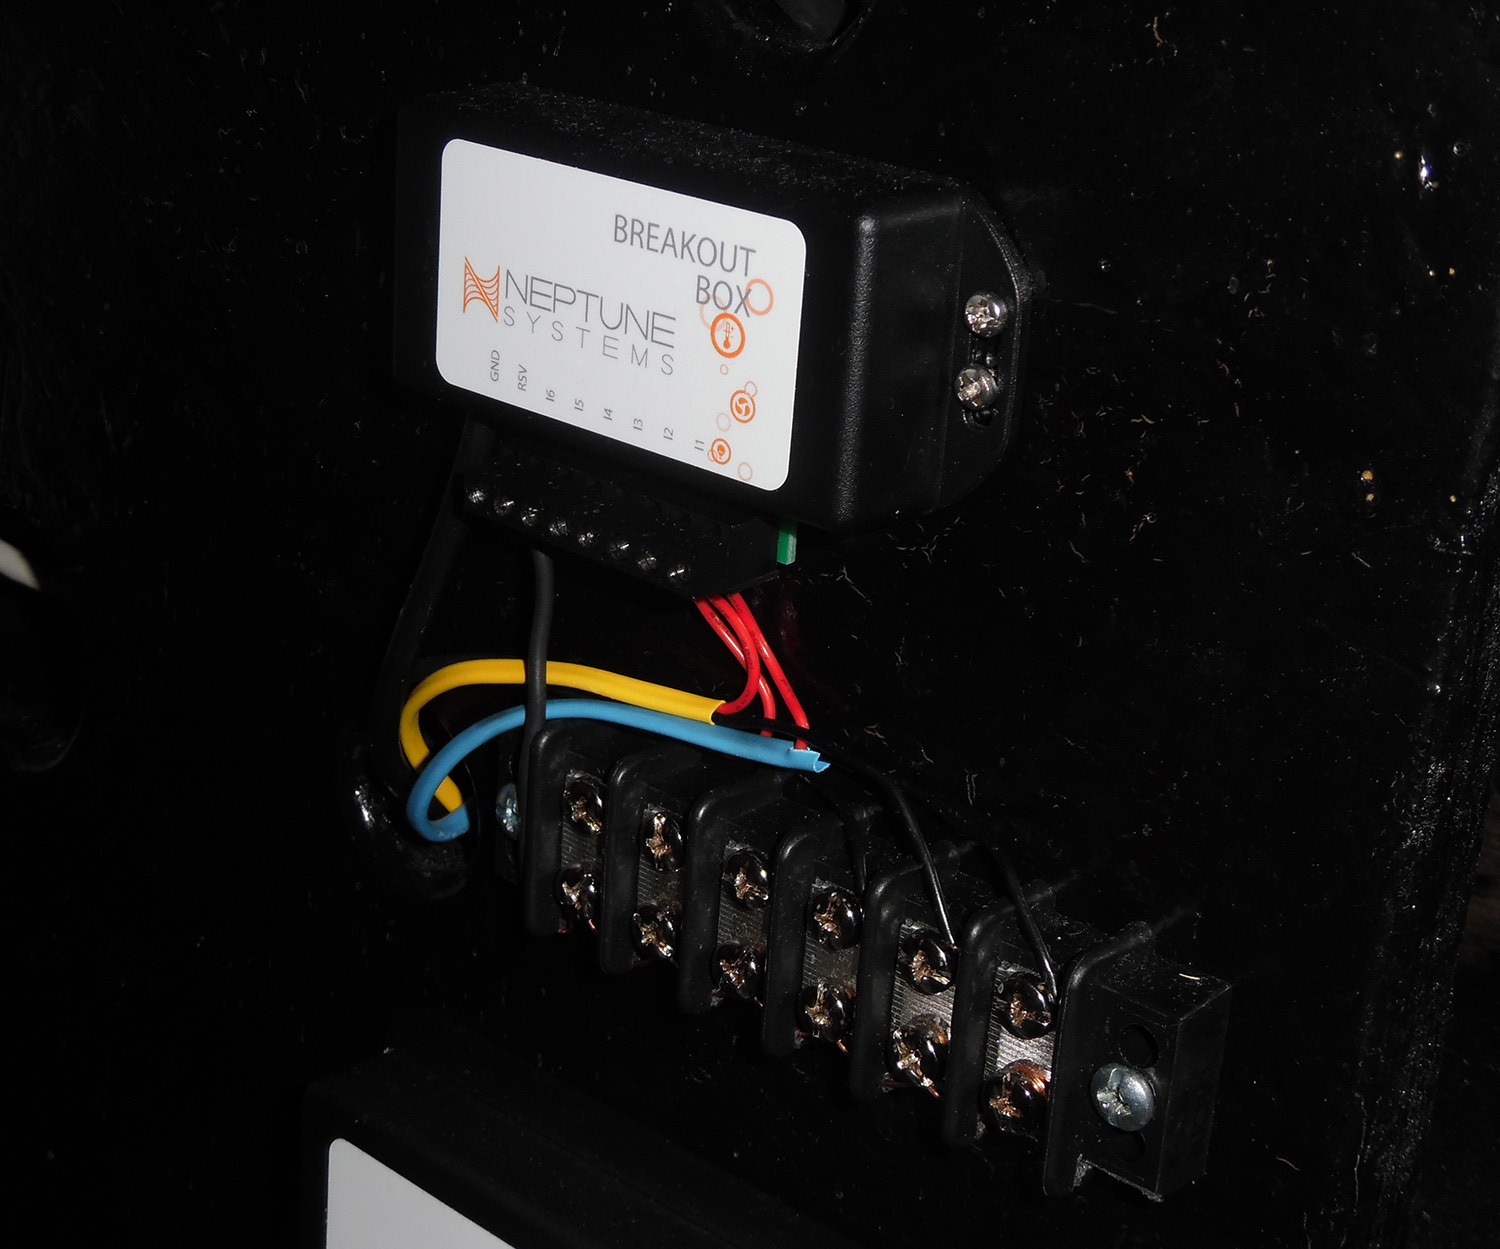
IO Breakout Box
2x Neptune Wave Pumps
Additional EB832

I have really enjoyed all of the build threads, especially getting ideas as I planned my build. Hopefully someone will enjoy this one as well.
 
Last edited:
OP
OP
Tklb

Tklb

Valuable Member
View Badges
Joined
Aug 25, 2016
Messages
1,051
Reaction score
582
Rating - 0%
0   0   0
June 9, 2016:
The tank stand and Canopy were delivered to the LFS, and I picked them up.

June 10, 2016:
Tank, Stand and Canopy are taking up half of my garage, but I have the tanks new home picked out. The Table in the picture has a front and back door, and will ultimately house the 10G ATO Resrevoir. It will also be where my Fusion Table will sit.

The Biocube and the New 120 will be side by side and ultimately, both be run by the APEX.

SAM_0888.JPG
 
OP
OP
Tklb

Tklb

Valuable Member
View Badges
Joined
Aug 25, 2016
Messages
1,051
Reaction score
582
Rating - 0%
0   0   0
June 11, 2016:
Rug is laid out and ready for the tank
SAM_0889.JPG


I sealed the bottom of the inside of the stand, and then painted the bottom 2-3 inches with Appliance Paint to give it a (hopefully) waterproof reservoir to catch small spills and small sump overflows. It is hard to see in the picture, but I ran a bead of silicone along all of the seams then painted.
SAM_0892.JPG
 
OP
OP
Tklb

Tklb

Valuable Member
View Badges
Joined
Aug 25, 2016
Messages
1,051
Reaction score
582
Rating - 0%
0   0   0
une 12, 2016:
Tank and Bulkhead leak test in the garage. Funny thing I noticed in this picture just now, is my Cooler matches the New Apex.
SAM_0894.JPG


I am pretty impressed with the Aqueon 120G tank. I filled the tank but kept the overflows dry. Not a single drop of water made it's way into the overflows.
SAM_0896.JPG


Tank is Full
SAM_0897.JPG


I stuck some PVC into the bulkheads just to leak test the overflow areas also. Then I let it sit overnight to ensure that there were no leaks.
SAM_0898.JPG

SAM_0899.JPG
 
OP
OP
Tklb

Tklb

Valuable Member
View Badges
Joined
Aug 25, 2016
Messages
1,051
Reaction score
582
Rating - 0%
0   0   0
June 13, 2016:
After finding no leaks or drips after the overnight leak test, I drained the tank and masked it up to paint the back.
SAM_0900.JPG


Went with Black to match the overflows
SAM_0901.JPG
 
OP
OP
Tklb

Tklb

Valuable Member
View Badges
Joined
Aug 25, 2016
Messages
1,051
Reaction score
582
Rating - 0%
0   0   0
June 14, 2016:
Trigger Ruby Elite 30 was delivered today. Did a quick leak test. Again, I am very impressed with the build, fit and finish of the sump. It is very nice.
SAM_0910.JPG


My gate valves were delivered with the sump, so I built my manifold for my 2 BRS reactors, and one for expansion later. This is the only part of my plumbing which is 3/4 inch. So the Tees, Elbows, and gate valves are 3/4 inch, and they terminate at 1/2 in push connect fittings.
SAM_0911.JPG
 
OP
OP
Tklb

Tklb

Valuable Member
View Badges
Joined
Aug 25, 2016
Messages
1,051
Reaction score
582
Rating - 0%
0   0   0
June 15, 2016:
I also received the Ultra-Flex PVC tubing so once I was sure that the sump had no leaks, I plumbed the overflows using the Flex PVC and some 45 degree elbows. I was originally going to go straight flex tubing, but it seemed like it was really wanting to torque the top of the sump, so I went with 2-45 degree elbows on each one.
SAM_0912.JPG
 
OP
OP
Tklb

Tklb

Valuable Member
View Badges
Joined
Aug 25, 2016
Messages
1,051
Reaction score
582
Rating - 0%
0   0   0
June 17/2016
I was originally going to go with White PVC for all but the returns, but I liked the look of the Black Ultra-Flex PVC with the white Fittings. I measured to make sure I had enough to do all my plumbing in the UF-PVC. I purchased a 10 Foot Roll, and I had enough, so I plumbed the entire setup with the UF-PVC. I really like the look. I went with traditional Schedule 40 White PVC on the vertical drop from the return line to the refugium, so that I had some stability for the Gate Valve. Overall, I am really happy with how the plumbing turned out. A side note on this first pic. The GFCI outlet on the left, is part of the original 15W circuit in my Living room. It is the same circuit as my entertainment system, so I had a 20W circuit run directly to the tank area. You can see half of it in the picture.
SAM_0917.JPG


Next I added my 'Reactor Board' and mounted the 2 BRS Reactors and ran the tubes
SAM_0922.JPG


Then I leveled the tank with it 1/2 full. That was actually easier than I thought it was going to be
SAM_0923.JPG


Then I filled it up with tap water. This is only for a weekend long plumbing test. I want to play with the pump a little and check to make sure I don't have an leaks or drips in my plumbing.
SAM_0924.JPG


Here is the sump running the leak test. I spent about the first hour checking for leaks, and so far not a single drop from any of my plumbing handywork. I am really happy and relieved.
SAM_0927.JPG


So here it sits. I really can't believe the progress I have made in 1 week. I spent a lot of time planning, and feel very fortunate to have not really had any setbacks. I will let the tank run over the weekend to make sure my plumbing is good, then I will let the tank sit dry for a few weeks. We have a vacation coming up, and since I won't have the tank up and running on the Apex before we go, I would rather leave it dry till I come back. One thing I will probably do before that is get a bunch of live rock and start 'cooking' it. Anyways, here is how it looks for now, sorry for the flash on this picture.
SAM_0928.JPG
 
OP
OP
Tklb

Tklb

Valuable Member
View Badges
Joined
Aug 25, 2016
Messages
1,051
Reaction score
582
Rating - 0%
0   0   0
June 18, 2016:
I trimmed the shims from around the bottom of the tank. Outside of that, I am just going to run the plumbing/tank leak & drip test over the weekend.
TAG_9768.JPG


I am really impressed with the Marineland Monterey stand and canopy. It is well made with real wood with a nice finish. It is solid, square and level and has some really nice features. I didn't want to build my own stand and canopy, and this was by far the nicest option I could find, outside of having a custom stand built. The 48x24 stand does not have a center brace, so the front opens up nice and wide. Also, the side panels come off so that you can get into the stand from the side if you need to. The inside of the stand is 31" tall, so there is plenty of room for everything I am going to put in it, and I won't be struggling to get the skimmer cup on and off. The canopy is really nice as well. The door panels on the front of the canopy are hinged and swing open like cupboard doors for feeding etc.
TAG_9769.JPG


Also, the top center of the canopy is hinged about half way back, and the entire front of the canopy swings up. This will allow me to get into the tank and do more maintenance, aquascaping, placing corals, etc. without having to take off the canopy. My old 180 Gallon canopy didn't have this option, so I had to take the canopy off anytime I did anything more than feed the tank. I look forward to not having to remove the canopy as often.
TAG_9770.JPG

TAG_9771.JPG
 
OP
OP
Tklb

Tklb

Valuable Member
View Badges
Joined
Aug 25, 2016
Messages
1,051
Reaction score
582
Rating - 0%
0   0   0
June 19, 2016:
Today is my wife and my 18th Anniversary, and Father's day, so I get a 2 for 1. I decided that the tank and plumbing turned out so well, that I am going to fill it with RO/DI water & Salt, and get the cycle going. It is slow going with the RO/DI unit, but I am about 40% there.
 
OP
OP
Tklb

Tklb

Valuable Member
View Badges
Joined
Aug 25, 2016
Messages
1,051
Reaction score
582
Rating - 0%
0   0   0
June 21, 2016
The tank is filled with RO/DI, and I am adding salt. Currently at 1.023. Will probably get some live sand tomorrow, and maybe a few small chunks of Live rock for the Fuge. Last night I made the decision to go with Dry Fiji Rock, instead of liverock from the LFS. It will allow me to take my time and aquascape the way I want to. Plus with the initial 120-ish pounds of rock the initial savings will be significant. Not to mention, no unwanted pests. Don't want to have to tear this down to go after some hitchiker.

In the mean time, I am building my controller board. I am going to have a new Apex, an extra EB832, my Pump Controller, an IO BOB, a WXM module, and space to expand by 2 modules. Here is the design I came up with.
ACB.jpg


I got the table saw and the router out today and got to work. I have the front board cut, drilled, and routed. I am not super happy with the oval holes under the EB832s, but it will be hard to notice under the stand. I found the templates for the new APEX on the Neptune forum, so I printed that out. I also had the other dimensions (except for the IO BOB, so I guessed). I Penciled in each piece of equipment.
SAM_0931.JPG


I am putting 3 Cord Shelves on the back, then I am going to paint it black. I didn't have enough clamps to glue up all 3 shelves at once, so I glued one earlier, I have one clamped up now, and one to do in the morning.
SAM_0932.JPG
 
OP
OP
Tklb

Tklb

Valuable Member
View Badges
Joined
Aug 25, 2016
Messages
1,051
Reaction score
582
Rating - 0%
0   0   0
June 22, 2016
Yesterday I was able to get a piece of egg crate and while the 4’ x 2’ dimensions were perfect, I had to cut out the spaces for the overflows.
SAM_0934.JPG


I wasn’t sure how I wanted to cover my overflows, and I was originally thinking about using acrylic, but it bends over time, and won’t allow water to flow through. The cutouts left over from the egg crate were perfect. I cut them down to the right size, then cutout the hole for the Durso Muffler Top, and the return plumbing. I then shortened my Durso Stand Pipes a little to get a better water level within the overflows. I can still turn my Durso Mufflers. I have some fiberglass screen material. I am going to glue that to the top of my new overflow covers, and that should keep fish and snails out of my overflows..
SAM_0935.JPG


Then I put 80 Lbs of Reef Select Live sand in the tank; about 70-75 Lbs in the display, and 5-10 in the refugium. It took until this morning for the cloudiness to clear up, at that point I was able to smooth the sand and make sure I had about an inch across the bottom of the tank. The water has cleared up, but my filter socks are a mess, lol. I have a single scarlet hermit in the tank.
SAM_0937.JPG


I have 100 Lbs of Dry Fiji Rock that is supposed to be delivered Friday, 6/24/16. I will need to soak/cure the rock for a while before I am able to aquascape the tank. In the meantime, I intend to finish my Controller Board and get it in the stand. Maybe I will by a tablet to use as my Apex display.
 
OP
OP
Tklb

Tklb

Valuable Member
View Badges
Joined
Aug 25, 2016
Messages
1,051
Reaction score
582
Rating - 0%
0   0   0
June 23, 2016
My Dry rock is supposed to be delivered tomorrow. Once it is here, I can start curing it. I have a batch of Salt Water, a heater and a powerhead ready to go. While I am waiting, I decided to finish my overflow tops. I glued the screen to the top of the egg crate, and they turned out pretty good.
SAM_0943.jpg


I put both in place, and I think they will do an adequate job keeping the fish & Snails out of the overflows (At least the bigger snails).
SAM_0944.jpg


I also finished doweling/gluing the 3 cord shelves to the back of my Controller Board. I ended up putting a shelf at the top for the Radion Power Supplies. The newer Radions come with a smaller black power supply (More like a laptop power supply). I just have to get it painted and it will be ready to go.
SAM_0946.jpg


I am supposed to get my NYOS 160 Skimmer any day, and I can't wait to see what BRS sent me in the 2 50Lb boxes of dry Fiji Rock. I also got a couple 90 deg elbow push fittings to make my tube routing a little more manageable under the sump.
 
OP
OP
Tklb

Tklb

Valuable Member
View Badges
Joined
Aug 25, 2016
Messages
1,051
Reaction score
582
Rating - 0%
0   0   0
June 25, 2016
So I got the 100 Lbs of Dry Fiji Rock from BRS today, and I am very impressed. Lot of huge pieces. Great shapes and a variety of sizes. Came up with a quick aquascape before I started to cure them.
SAM_0947.JPG


Then it was into the garbage can with some Bio-Spira to cure. I don't know how long it will take to cure the dry rock. I am assuming everything that died in the rocks needs to decompose and turn to ammonia and phosphate.
SAM_0952.JPG


I also got the push connect elbow unions I was waiting on. I got the push connect tubing cleaned up.
SAM_0955.JPG


I think inside the stand is starting to look good. I also got 2 cobalt 250W heaters and installed them in the sump. You can see them in this pic.
SAM_0956.JPG


It is kind of hard to see in this picture, since it is black, and in my garage at midnight, but the Controller board turned out better than I had hoped. Can't wait to get it into the stand. Just have to let the paint dry. Since the front is OSB, I wanted to come up with a way that I wouldn't be constantly getting poked and slivered every time I plugged something in, I decided to do a couple thick coats of wood glue over the entire front. I wasn't sure how it would turn out. It ended up turning out really nice. It keeps the texture of the OSB, but glues everything down and I don't have to worry about slivers, etc.
SAM_0957.JPG
 
OP
OP
Tklb

Tklb

Valuable Member
View Badges
Joined
Aug 25, 2016
Messages
1,051
Reaction score
582
Rating - 0%
0   0   0
June 25, 2016
I didn't get a lot done today on the tank, I guess because I didn't have a lot I could do. I got the Controller Board under the stand and mounted my DC Pump Controller on it. It looks lonely on there by itself. LOL. It is a little hard to see the Controller Board on the right hand side of the picture.
SAM_0961.JPG


I also had to move my Dry Rock Curing Bin outside. The rock was stinking like crazy. I couldn't believe how bad it smelled less than 24 hours into the cure. I also made my apex network cable and my 0-10V Cable for the WaveLine DC Pump to connect to the Apex when it comes in. Hopefully my Apex will be here Tuesday.
 
OP
OP
Tklb

Tklb

Valuable Member
View Badges
Joined
Aug 25, 2016
Messages
1,051
Reaction score
582
Rating - 0%
0   0   0
June 29, 2016
My NEW APEX came in today. Spent the day installing it and playing with it. It is very cool. Got my Waveline return pump to play nice with the APEX across the 0-10v connection. Now I just need to dial it in. I still need to clean up my cables. Hoping my skimmer and lights come in tomorrow. Also my Seneye, ATO Reservoir, and IO BOB are supposed to come in tomorrow.
SAM_0962.JPG
 
OP
OP
Tklb

Tklb

Valuable Member
View Badges
Joined
Aug 25, 2016
Messages
1,051
Reaction score
582
Rating - 0%
0   0   0
June 30, 2016
OK, so here is the progress I made today. I received a shipment today, which contained my Trigger Systems Ruby 10 gallon ATO Reservoir, Seneye Reef, Seneye Slide 3 Pack, Spare Filter Socks, Spare BRS Reactor Canisters, BRS Rox 0.8 Carbon, and the Neptune Systems IO Breakout Box. I didn't get a pic of the ATO Reservoir, but it is very nice.
SAM_0967.JPG


I got the IO Breakout Box mounted to my Controller Board, and made a Bus Terminal for the Ground Connections. I am not a fan of multiple wires into one Ground Connection, so I had to do something. I took a 2x6 terminal from Home Depot, and wired across one side and on to the Ground port on the BOB. Then I can wire each switch's Ground to one of the screws on the other side. I was surprised at how small the IO BOB is. Did some tests on the BOB, and all looks good. I won't have my float switches and ATO Pump until Friday, but the IO BOB seems to be working. I also cleaned up my wiring.
SAM_0964.JPG


I did play around with the Seneye Reef a little today. I mainly bought it as a PAR meter, but I will use the slides as my Rock Cures, and as my tank Cycles. Unfortunately, you have to soak the slide for 48 hours, so I can't get any ammonia readings until Friday. As a PAR meter, it is pretty cool. I am supposed to get my Radion xr30w Pro G3s tomorrow, so I played with the Seneye in my Bio Cubes. I was surprised by the PAR readings in the Bio Cubes. I have one with just the PC, and one with the PCs and loaded up with the blue LEDs. Really couldn't get any more than about 140 PAR anywhere in the Bio Cubes, and it took everything I could do to get that. I will need the Seneye's PAR meter when I move corals from the Bio Cubes to the 120 with the Radions. Overall it is a pretty cool device. Hopefully I get my Lights tomorrow, and I can check out my 120's PAR readings. Come Friday, I can check on my Cure and my Cycle.
SAM_0966.JPG
 
OP
OP
Tklb

Tklb

Valuable Member
View Badges
Joined
Aug 25, 2016
Messages
1,051
Reaction score
582
Rating - 0%
0   0   0
July 6, 2016
Wow, sorry for the lack of updates. With the brand new APEX came some growing pains. Had major issues with the APEX, but Neptune Systems lived up to their reputation and I got outstanding customer & technical support. I am back up and running, and the new Firmware release seems to be working like a champ.

So I found out that the Radion Single Mounts will not fit under the Marineland Monteray Canopi. So I had to come up with a DIY mounting solution. I ended up getting square aluminum and drilled it top and bottom. Here are the rails almost done.
SAM_0968.JPG


Then I mounted the Radions to the rails using Aluminum spacers.
SAM_0969.JPG

SAM_0970.JPG


And Got them mounted in the canopi over the tank.
SAM_0973.JPG

SAM_0972.JPG
 
OP
OP
Tklb

Tklb

Valuable Member
View Badges
Joined
Aug 25, 2016
Messages
1,051
Reaction score
582
Rating - 0%
0   0   0
July 7, 2016
My NYOS Quantum 160 Skimmer came in too. I had to build a skimmer stand, but it is working away now.
SAM_0974.JPG

SAM_0976.JPG


My WXM Module came in and I got that mounted to the Control Board and connected to the Radions.
SAM_0979.JPG


I got 3 float switches for the IO BOB. 2 for the Sump water level, and one for my ATO reservoir, so I will get an email if it starts getting low. It is enclosed in a cabinet, so I won't be looking at it all the time and will need reminders. The switches are color coded and connected to the IO BOB
SAM_0980.JPG


I Took a nice piece of Rock out and put it in the tank along with some Green Chromis and a few frags. I am going out of town for 8 days, so this will be a nice test for the APEX to see how everything runs. I also got 2 of the Neptune Systems WAV pumps set up, and they are amazing. You can see them in this picure. They are well built and move a lot of water. They plug directly into the EB832's 1-Link Ports (No additional module needed with the new APEX) I am really impressed with them, and the Flow tiles in APEX Fusion are really cool.
SAM_0982.JPG


Here is a really out of focus picture of my ATO Reservoir. The open door closes and it gets hidden away. I have a Tom's Aqualifter pump connected and the APEX is controlling it perfectly.
SAM_0984.JPG


That is about it for now. There won't be any updates until I am back from my trip. I think really only Aquascaping and Livestock.
 
OP
OP
Tklb

Tklb

Valuable Member
View Badges
Joined
Aug 25, 2016
Messages
1,051
Reaction score
582
Rating - 0%
0   0   0
July 19, 2016
I am trying to be paitent while my dry rock cures. I am changing out the water in my Garbage cans that the rocks are curing in, and they are starting to smell a little less each time. Man, it was the smell of death the first couple of times I changed the water. Hopefully soon they will be cured and I can get on to the actual aqua-scaping.
 

Creating a strong bulwark: Did you consider floor support for your reef tank?

  • I put a major focus on floor support.

    Votes: 57 40.7%
  • I put minimal focus on floor support.

    Votes: 29 20.7%
  • I put no focus on floor support.

    Votes: 49 35.0%
  • Other.

    Votes: 5 3.6%
Back
Top