VbREEFERS 210 build

VbReefer

Active Member
View Badges
Joined
Jan 11, 2017
Messages
128
Reaction score
68
Location
Virginia Beach, VA
Rating - 0%
0   0   0
Hello all, it's been a while.
I previously kept saltwater tanks for about 4 years but got out due to personal reasons. Been back in for 6-8months this go-round

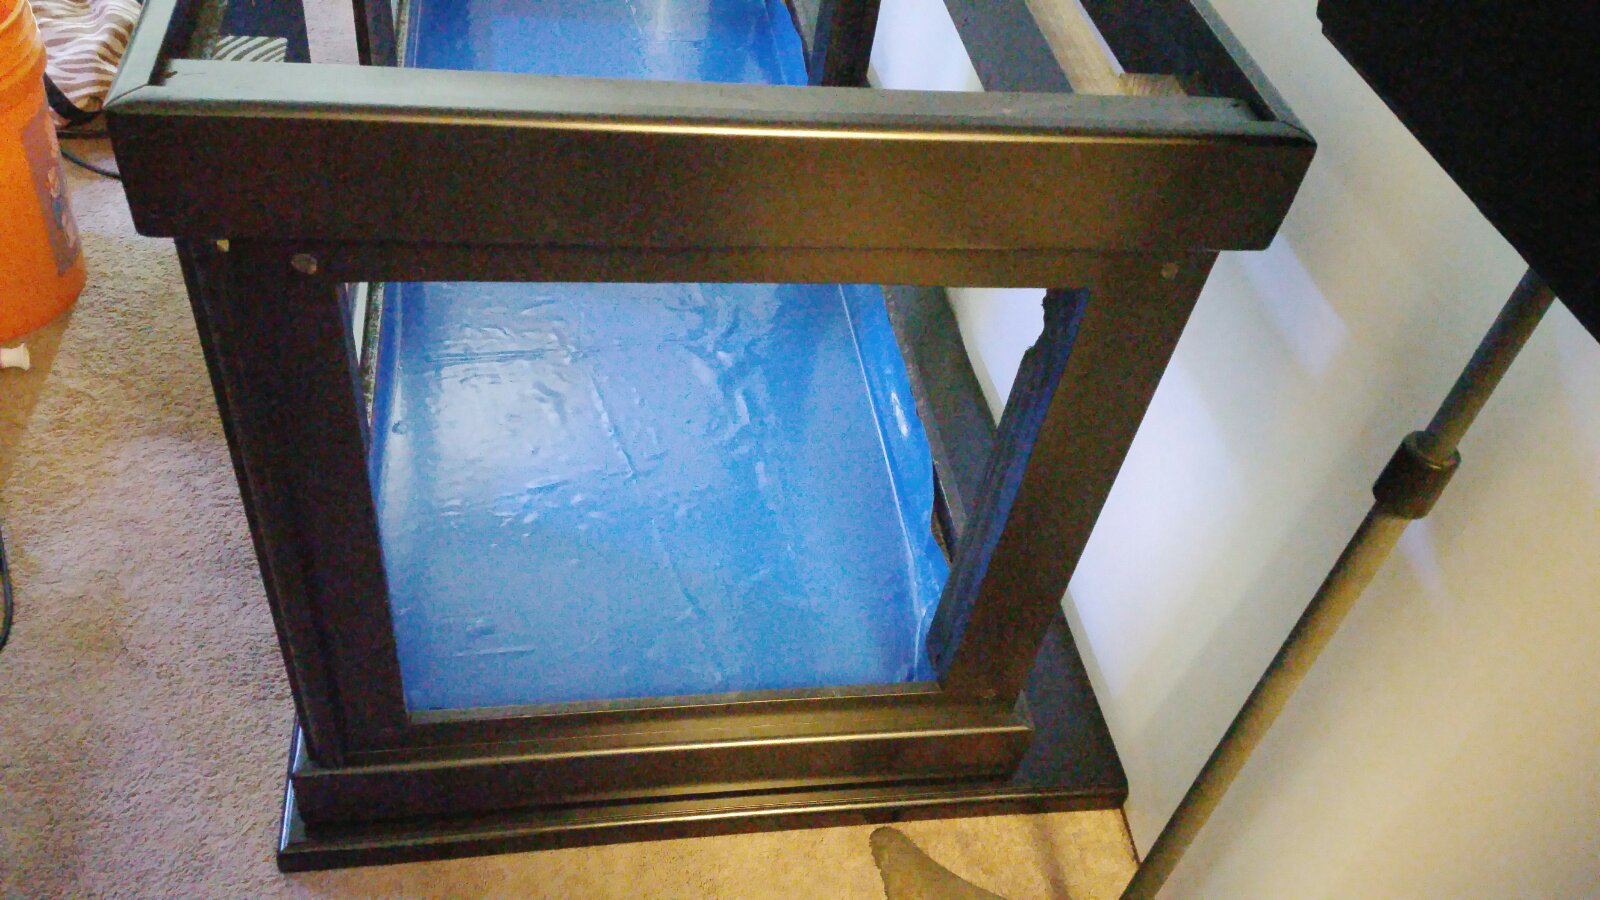
This a journal of the build progress of my new 210gallon aga tank.

I began this time by buying 2 seperate complete 75g setups for crazy low prices on both. Both full of quality live rock. Had them both in good condition within a few days. Actually went from 0 to 5 tanks in about 3-4 months.
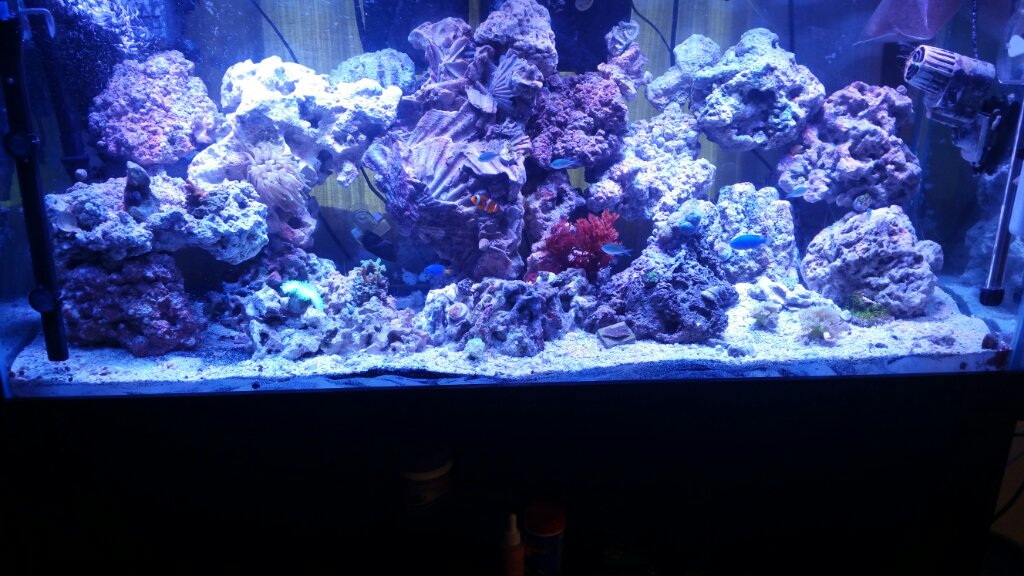
Here's the first one I got.
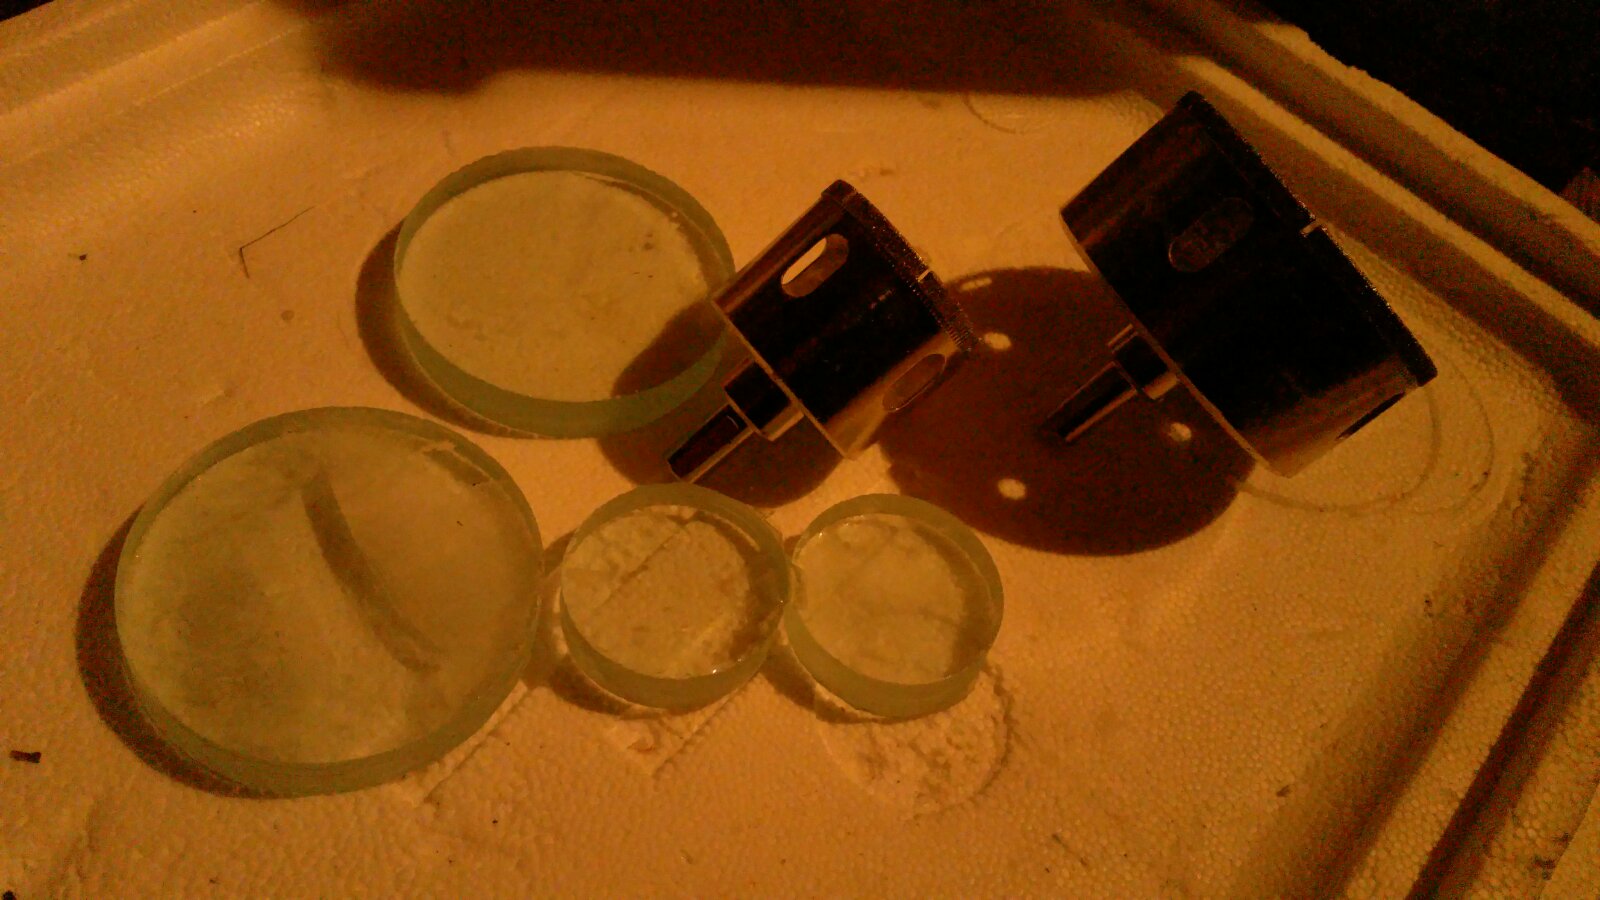
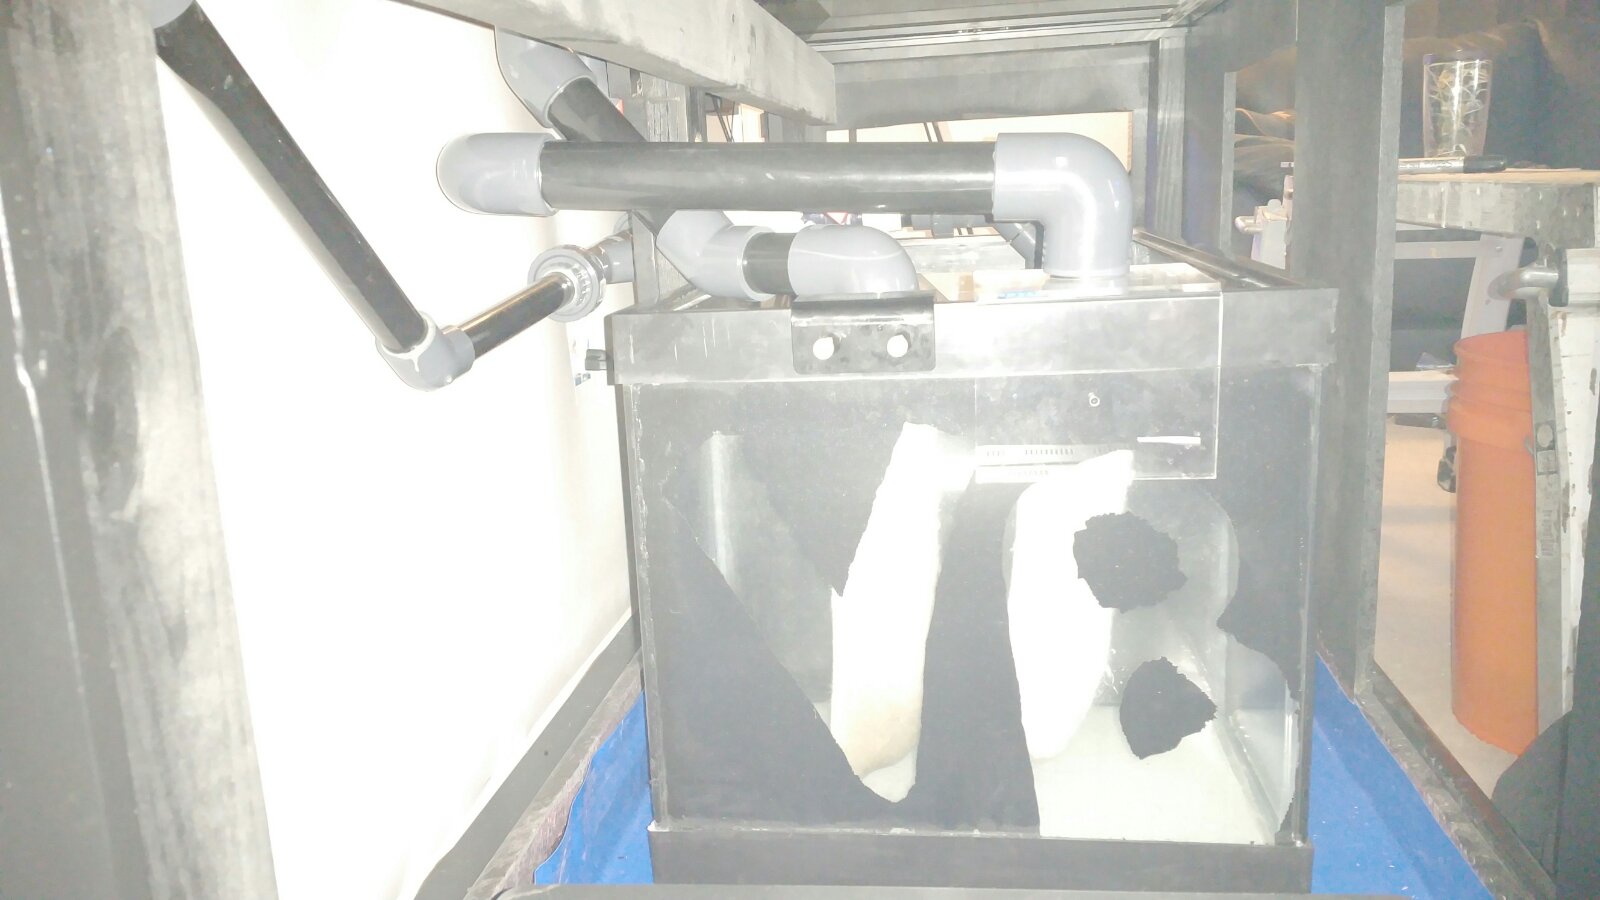
not drilled
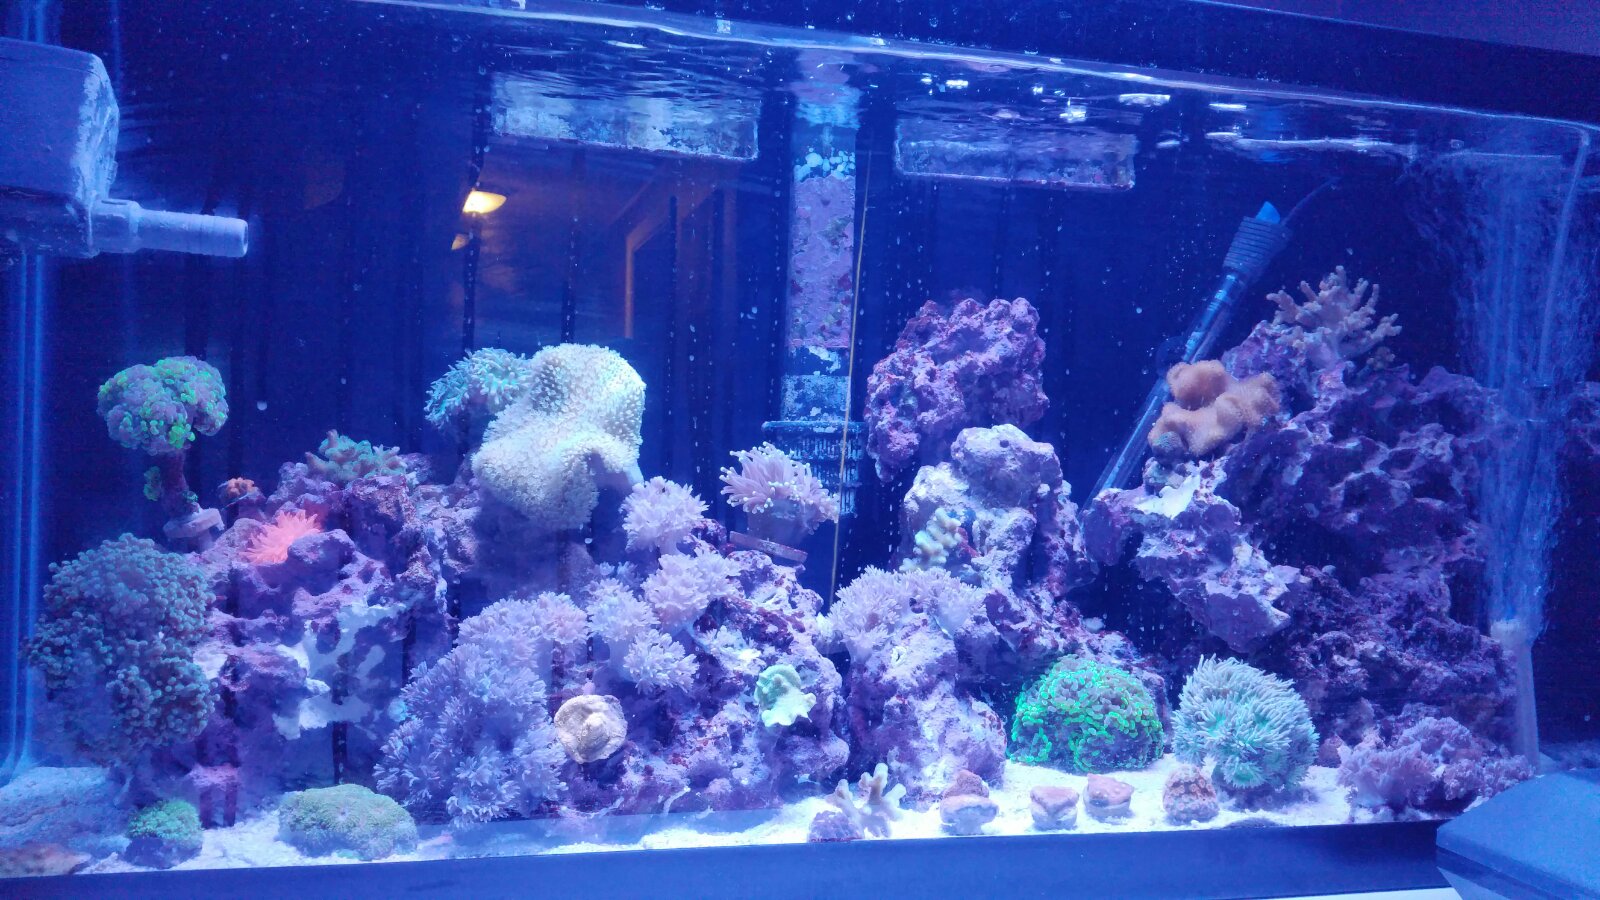
2 black boxes ,a hob emperor 400,a few powerheads, heater, seaclone100 skimmer. Think I scored this for 250. Was rotting away in a garage with no heat/AC or lighting for a while. Think the guy was on deployment and came back and was moving or something. The tank had been neglected but due to the amount of mature live rock it faired better then most I believe. Perfect system to show you don't need a fancy system or sump,or high end skimmer. ran great and water parameters were always great besides some low alk(my bad)
I have just uploaded these images:
 
OP
OP
VbReefer

VbReefer

Active Member
View Badges
Joined
Jan 11, 2017
Messages
128
Reaction score
68
Location
Virginia Beach, VA
Rating - 0%
0   0   0
The 2nd tank came with a 4ft t5 fixture I quickly sold or gave away I ordered newer wifi 3 channel black boxes that you see above.

I got another 29 gallon setup for like 50 bucks a few fish and some rock. Another heater powerfilter etc...The addiction was back full blown now. I stated upgrading both 75g tanks. Fish, coral,all new wifi black boxes all around. The first 75 I just had to throw in place but I took my time with the 2nd and painted the back and all that good stuff.
So, I had one 75g mixed reef in my TV room and another in a room with a viewing couch but this tank was basically forgotten and just passed by more than not.
So began the plan to combine these 2 75reefs. I saw a 180 at a local LFS and thought for about 2 months and finally went with a 210 standard tank from aga.
 
OP
OP
VbReefer

VbReefer

Active Member
View Badges
Joined
Jan 11, 2017
Messages
128
Reaction score
68
Location
Virginia Beach, VA
Rating - 0%
0   0   0
I had already decided to do a ghost style overflow. I got a custom 2400+ from modular marine and can't speak highly enough of the whole process. Top notch service and product. Got lids for both boxes and a 8" deep rear box (I think it's perfect)
If I had it to do over I would have had them drill the drain holes differently for my particular sump and stand setup vs all 3 drains in the middle.
So I drilled 2 75mm holes for the overflows two large bulkheads after a slight modification of the rear box to ensure a high water level(unnecessary)

I also drilled 2 35mm? Holes for 1" returns

I have just uploaded these images:


I had researched this heavily like everything else I'm into and was prepared to use plumbers putty to create a dam around the holes but the drilling templates I made from 1/4" ply did a good job holding the water for cutting lubrication/cooling by itself. as recommended I used a cordless drill with a clutch set to its lowest setting. First time drilled and it worked out great. Put tape on the underside and a stryofoam cooler under the hole to catch the glass plug. Slow and steady
 
OP
OP
VbReefer

VbReefer

Active Member
View Badges
Joined
Jan 11, 2017
Messages
128
Reaction score
68
Location
Virginia Beach, VA
Rating - 0%
0   0   0
So I now set up a 30g i had for a fish and coral holding tank. I also put a 50gal Rubbermaid stock tank in my living room so I could start to dismantle the 75g that was where the 210 would go.
I spent about a week with a headlamp and a bucket scouring the rock for pests. Using a sharp wood chisel I decimated the vermetid snails that remained. Got rid of most the aptasia as well. See a few stragglers in the tank I will work on soon. Also had about 30 beautiful green and red majanos that had to go.
Here's a shot of the 30g with some cleaned rock and all the fish corals from one 75. lost a diamond Goby here somehow.

I have just uploaded these images:
I set this tank up a few days before with the first inch of live sand from this 75. Did a few small water changes every few days and all was great
 
OP
OP
VbReefer

VbReefer

Active Member
View Badges
Joined
Jan 11, 2017
Messages
128
Reaction score
68
Location
Virginia Beach, VA
Rating - 0%
0   0   0
When I had the one tank out and most of the rock cleaned I started on The other 75 to get a jump on That live rock as well I was able to leave all the fish and corals in place for this tank.

Onto the stand
I had a marineland 220 that I got off Craigslist with a stand but the tank was no good.
The stand worked great for this tank though.

I cut the end panels out of the stand and added five vertical 2x4s and one horizontal across the back. This gives a great place to route wires and ensure the drip loops. I can also wrap power cords and wires around this 2x4 to eliminate any unnecessary length.
 
OP
OP
VbReefer

VbReefer

Active Member
View Badges
Joined
Jan 11, 2017
Messages
128
Reaction score
68
Location
Virginia Beach, VA
Rating - 0%
0   0   0
I used an old solid wood door as a base for my stand then I could shim between that and the stand to level the tank if needed. It's on carpet but whatever...
I also crawled underneath the addition the tank is in to check the support. All looked great. Right over the header? That's notched into 3 8x8 posts. The. All the joists sit on top of that so should be rock solid(I hope as this thing is easily over 3000lbs now.) I'm a custom cabinet maker(don't ask why I didn't make a stand...Hah) I did route 3 edges of the door and painted the seen areas black and sealed with 2 coats of clear lacquer.

Ive used these thin poly panels from home depot to protect my walls. I just use small screws every few inches around 3 sides vs liquid nail.
I have just uploaded these images:
 
Last edited:
OP
OP
VbReefer

VbReefer

Active Member
View Badges
Joined
Jan 11, 2017
Messages
128
Reaction score
68
Location
Virginia Beach, VA
Rating - 0%
0   0   0
The door turned base.
I have just uploaded these images:


Here's the stand in place and Here you can also see the blue plastic vapor barrier I lined the stand with. I got this from a concrete buddy and its way thicker then the thickest poly roll stuff from HD. I used spray adhesive I spray for laminate tops and made a shower pan liner of sorts. About 2 inches deep and definitely watertight so if my sump ever overflows this should hold a good deal of water

I have just uploaded these images:

I did take advantage of my spray booth and touched up the stand with matte black paint and then a coat of clear with pearl flake in it followed by a final clear top-coat.
 
OP
OP
VbReefer

VbReefer

Active Member
View Badges
Joined
Jan 11, 2017
Messages
128
Reaction score
68
Location
Virginia Beach, VA
Rating - 0%
0   0   0
Back to the overflow.
its a little dusty here from cutting out sheetrock behind the tank as an afterthought. I have just uploaded these images:
I I did a bean animal setup. Three 1.5" drains this is the only place I used white PVC as it's not seen. Used one standard p-trap for the full siphon
and a p-trap with a clean out plug I drilled for the open channel.
you can see this has a longer section of PVC riser.
Both of these are 1.5 all the way into two 4" filter socks. The emergency overflow is reduced down to 1" so I could more easily plumb it through the rear center support(I added another vertical brace to be safe)
 
OP
OP
VbReefer

VbReefer

Active Member
View Badges
Joined
Jan 11, 2017
Messages
128
Reaction score
68
Location
Virginia Beach, VA
Rating - 0%
0   0   0
I've always run a deep sand bed and love all aspects of it. I knew I wanted a full 6" bed.
I added 100lbs of sand from The first 75. I just rinsed it in the old tank and siphoned out the dirty water. This barely covered the bottom of the 210 so came the bags and bags of aragonite oolite.

I used 2" tall 1.5" PVC risers to support egg crate and then leveled the sand across the egg crate
I have just uploaded these images:

and added fiberglass screen

to keep any diggers out of the bottom 3".

I left the egg crate and screen an inch short on The sides and front to ensure I would never see it.
 
OP
OP
VbReefer

VbReefer

Active Member
View Badges
Joined
Jan 11, 2017
Messages
128
Reaction score
68
Location
Virginia Beach, VA
Rating - 0%
0   0   0
I had another 100ish per 75 already
Another 10lbs of probably play sand (I know)

Special ordered a few bags. Bought out Amazon and every LFS that had anything smaller then the seafloor grade reef sand.
Ended up using
8-40# bags of oolite
2- 20#bags of West carribean reef
1-10# bag of basic aragonite
And 5-20# bags of oolite for a grand total of...650-680 pounds of sand. Nuts right


You can see the depth here...A good 5" to the 90top of the trim. You can also see the life from the old sand bed had no problem making its way to the top again.


__________________
 
OP
OP
VbReefer

VbReefer

Active Member
View Badges
Joined
Jan 11, 2017
Messages
128
Reaction score
68
Location
Virginia Beach, VA
Rating - 0%
0   0   0
Onto the plumbing
I used colored pipe and sch80 fittings. I just wanted to run with the big dogs hah in my dreams
Used a gate valve on the siphon and true union ball valves on everything. And definitely went overkill on unions but I figure this way if anything ever develops a leak I can. Easily swap in another with minimal headache.
Left side then right side


Scored the 40breeder sump from another reefer (another steal..Thx Adam) a little cleaning and some paint and it's a great start and got me up and running. Was thinking of using a 75 but this is a shirt stand and it would have been a nightmare.

Full [email protected]" has one 90 at the filter sock
Open [email protected]" has three 90s
Emergency channel reduces to 1" about 12" from the rear box and 45s through the rear center support and then another 45 put it straight into the skimmer compartment.
Sump is actually backwards I think cause all the teeth are on The right but it is what it is now. Maybe a custom sump in the future. Controller will come first.


Here's the return manifold
Running a dct15000 on 4 through two 1" bulkheads
I've since added another ball valve hooked up to an empty 2LF reactor. I've also fixed the left side bulkhead that had a threaded bulkhead and a white PVC fitting that leaked. Also while fixing this I was able to level the manifold. If I add a sch80 coupler to the vertical portion of the right return it should be perfect.
 
OP
OP
VbReefer

VbReefer

Active Member
View Badges
Joined
Jan 11, 2017
Messages
128
Reaction score
68
Location
Virginia Beach, VA
Rating - 0%
0   0   0
I bought some 1" silicone tubing to possibly use as an isolator for noise and vibration from the pump but after hard plumbing it there was none so I turned that into a water change hose to fill buckets till I have time to figure out something better
And there's the brand spanking new simplicity DC 540 skimmer. Was a perfect fit. Still breaking in but I'm really impressed so far.
 
OP
OP
VbReefer

VbReefer

Active Member
View Badges
Joined
Jan 11, 2017
Messages
128
Reaction score
68
Location
Virginia Beach, VA
Rating - 0%
0   0   0
I had a 10g In The bedroom for bad fish. I turned that into an ATO reservoir. I also redneck engineered a filling solution to add my top-off water from outside the stand.
 
OP
OP
VbReefer

VbReefer

Active Member
View Badges
Joined
Jan 11, 2017
Messages
128
Reaction score
68
Location
Virginia Beach, VA
Rating - 0%
0   0   0
Back to the stand
I had a DJ strip inside the front door but the over bubblng skimmer was making things a little moist so I thought best to move it. I made two cleats to attach inside the side doors that hold the DJ strips.
You can see the pearl flake In The paint in this first picture
 

pdt7361

Well-Known Member
View Badges
Joined
Feb 27, 2016
Messages
708
Reaction score
409
Location
St Louis
Rating - 0%
0   0   0
For your filling solution that you put into place...is that plastic or some time of metal that will eventually rust and kill everything in your tank? :)
 
OP
OP
VbReefer

VbReefer

Active Member
View Badges
Joined
Jan 11, 2017
Messages
128
Reaction score
68
Location
Virginia Beach, VA
Rating - 0%
0   0   0
I had a small leak in a union and had an epiphany so I cut a hole in the wall. Got lucky with the stud location. Lined up perfectly. I left the gate valve facing the side of the tank so I can look into the rear overflow box when dialing in the flow. Used wider stock to cover up the bigger then needed hole I cut. No sheetrock repair or wall painting necessary


I've got my 2 JbWaves here while I work on cleaning up my electrical
 
OP
OP
VbReefer

VbReefer

Active Member
View Badges
Joined
Jan 11, 2017
Messages
128
Reaction score
68
Location
Virginia Beach, VA
Rating - 0%
0   0   0
Let's talk flow..
The jebao 15000 runs into 1" pipe
Right side has 2 elbows and the left has one(I may try and eliminate one on the right but everything looks pretty even as far as flow from the vertical spray bars. There are four 1/4" holes per bar equaling 1" total. The bars were longer but the sand came up to them and I had to shorten them. These give my the flow I want behind the rockwork and corners. It's pretty open behind the rockwork though.

I'm also running 2x jebao pp-15s and 2x pp-8s each set is hooked to a jbwave Bluetooth controller that takes this wavemaking system to the next level. Each set alternates back and forth. Have them all dialed back as well.
 
OP
OP
VbReefer

VbReefer

Active Member
View Badges
Joined
Jan 11, 2017
Messages
128
Reaction score
68
Location
Virginia Beach, VA
Rating - 0%
0   0   0
Heaters
I have a 500w finnex titanium element in the tank and a 300w finnex titanium element in the sump. Both are controlled by bayite controllers found on Amazon
These are great. You can Set the temp differential and calibrate the temp as well as set high and low alarms. Also has a socket for cooling which I may utilize this summer with fans if need be.

Upper temp is actual
Lower temp is set point
I have my differential set at .5 so when it drops to 77.5 the heater-on light will illuminate and turn on the heater till it reaches 78.
Both my 75s and this tank have not fluctuated more then half a degree since I got these
 

Creating a strong bulwark: Did you consider floor support for your reef tank?

  • I put a major focus on floor support.

    Votes: 59 39.6%
  • I put minimal focus on floor support.

    Votes: 34 22.8%
  • I put no focus on floor support.

    Votes: 50 33.6%
  • Other.

    Votes: 6 4.0%
Back
Top