Introducing the new Turbo Algae Scrubber! (Rev 4)

Users Who Are Viewing This Thread (Total: 1, Members: 0, Guests: 1)

adhd_nerd

Active Member
View Badges
Joined
Feb 23, 2012
Messages
244
Reaction score
102
Location
Kansas City
Rating - 0%
0   0   0
Those are probably the coolest brackets I've seen! Very nice. Did you drill holes through the 4 corners of the base & through the brackets and add thumbscrews to secure it in place? You might find yourself getting a few requests for those

I can see in your pics that the lid isn't quite all the way on. Start at one end and slide your hand to the other end and it will snap down all the way. There is a lip on the inside of the lid which matches the inside of the Growth Chamber and prevents condensation on the lid from getting out - so you want that to be snapped into the top of the Growth Chamber. The Growth Chamber is sometimes a little bowed inward due to cooling shrinkage out of the mold, so you have to get the lid on at one end and swipe across and that will get the two parts locked in together.

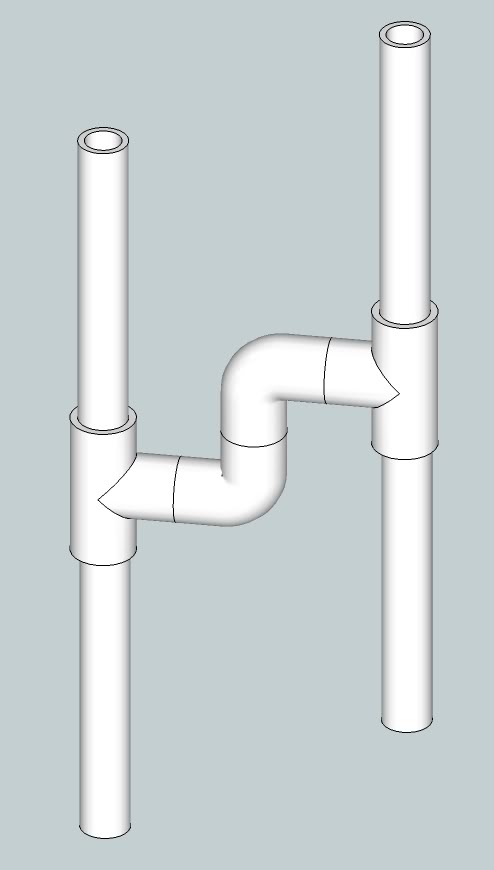
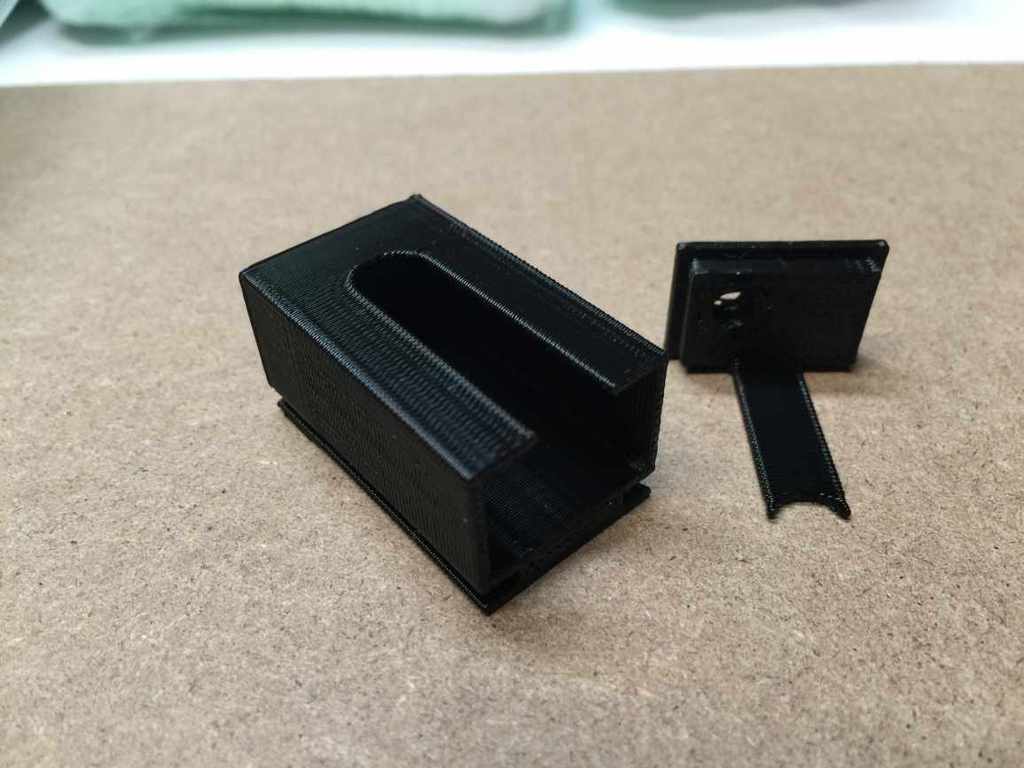
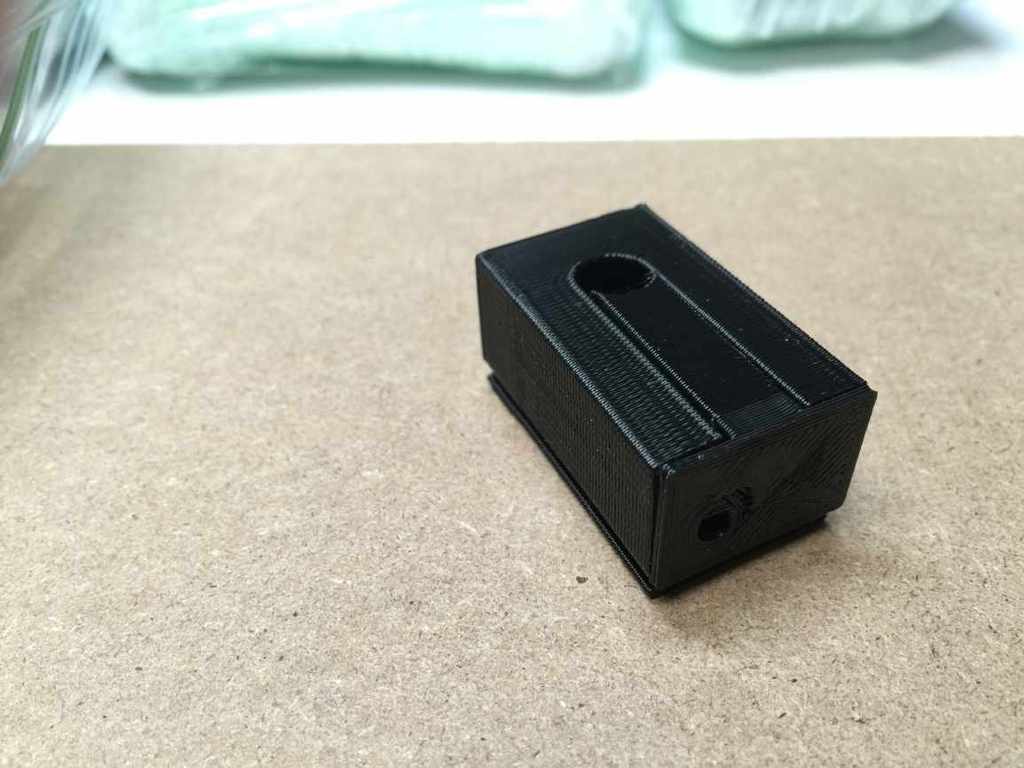
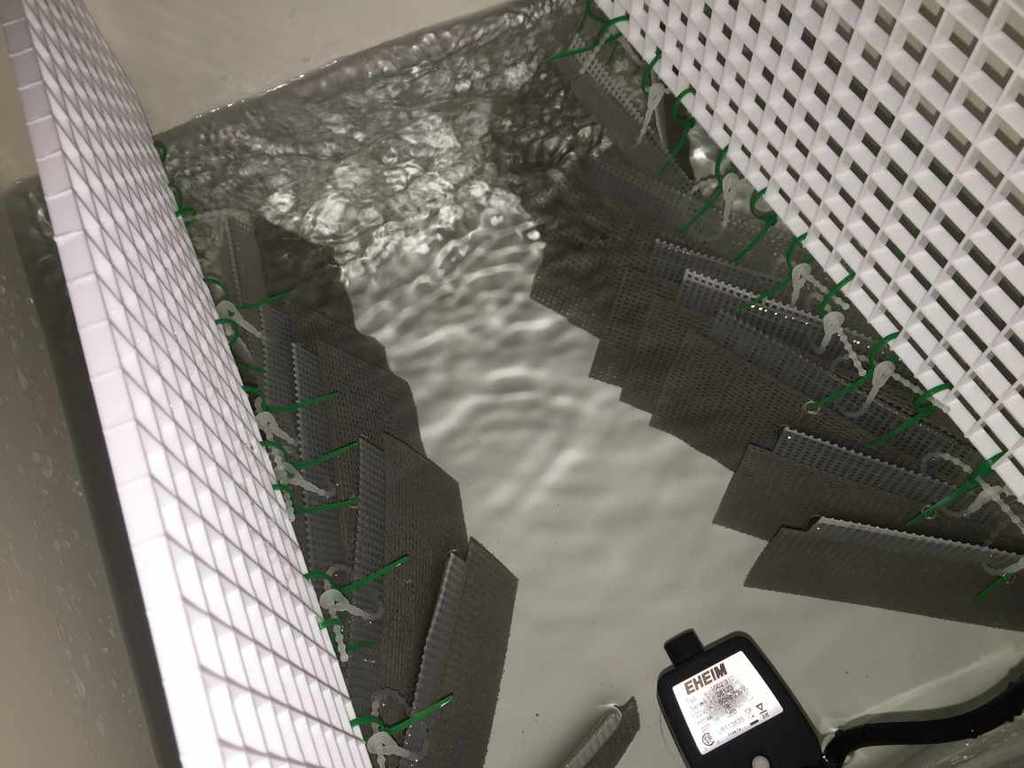
No thumb screws. There is a small lip on all the brackets to keep the ATS from sliding left/right and front/back. That along with the rigid plumbing keeps the ATS pretty snug and stable.

Yep. I fixed the lid after I posted the picture.

Very nice unit BTW. This spot in my sump was where I had a DIY ATS a long time ago. I got rid of it because it was plain ugly and a pita to clean. This looks much better :D.
 

fab

Active Member
View Badges
Joined
Sep 19, 2015
Messages
468
Reaction score
241
Location
Alexandria, Virginia
Rating - 0%
0   0   0
... And what connects to what? It is probably crystal clear in your mind. Sorry, but it is not in mine! I am slow so you have to "catch me up" please.
 
OP
OP
Turbo's Aquatics

Turbo's Aquatics

Super Duper Member
View Badges
Joined
Jun 7, 2011
Messages
2,806
Reaction score
4,032
Location
West Des Moines, IA
Rating - 0%
0   0   0

fab

Active Member
View Badges
Joined
Sep 19, 2015
Messages
468
Reaction score
241
Location
Alexandria, Virginia
Rating - 0%
0   0   0
... And what connects to what? It is probably crystal clear in your mind. Sorry, but it is not in mine! I am slow so you have to "catch me up" please.


I was referring to:
Emergencyoverflow.jpg

I am thinking the left vertical leg should be the input to the Algae scrubber and the right leg would be the bypass. Until water backs up above the lateral rise in the plumbing, flow would go straight down to the scrubber. If the scrubber is tied into the right side then the bypass could flow anytime, regardless of whether the scrubber has developed a blockage or not. RIGHT? or WRONG?
 
OP
OP
Turbo's Aquatics

Turbo's Aquatics

Super Duper Member
View Badges
Joined
Jun 7, 2011
Messages
2,806
Reaction score
4,032
Location
West Des Moines, IA
Rating - 0%
0   0   0
Yes, I describe it roughly like that in the text below the same pic in that post.

Edited...sorry I wrote that quick while in line...sounded a bit lippy :oops:
 
Last edited:

fab

Active Member
View Badges
Joined
Sep 19, 2015
Messages
468
Reaction score
241
Location
Alexandria, Virginia
Rating - 0%
0   0   0
Yes. If there are two hobbies that go together well, they are 3d printing and reef aquarium.

Does your bracket design accomodate different glass/acrylic thicknesses and sump widths? ... or does a totally new print file have to be created to change these dimensions? Will you be willing to make brackets for others of us?
 

adhd_nerd

Active Member
View Badges
Joined
Feb 23, 2012
Messages
244
Reaction score
102
Location
Kansas City
Rating - 0%
0   0   0
Does your bracket design accomodate different glass/acrylic thicknesses and sump widths? ... or does a totally new print file have to be created to change these dimensions? Will you be willing to make brackets for others of us?

The bracket is specific to my sump. It takes me no time to draw these up in Fusion360 so it is sometimes easier to make a custom than a universal. My sump is 3/8" acrylic with no 'rim/brace' so the bracket just slides down the side. Many people use tanks with black trim for sumps or acrylic sumps with thinner sides and bracing. This makes it slightly more difficult to make a bracket; I think I will need to add thumb screws to secure bracket in these cases.
If your sump panels don't have the trim, then it is easy enough to make a bracket.

I can 3D print brackets for people. I am out of country in April for a week and travel for work 50% so, time is slightly limited in the near future. To give you an idea, it took about 45 minutes per bracket to print (4 to support ATS). PM me if you are thinking you need something (we'll have to work through the dimensions).
 
OP
OP
Turbo's Aquatics

Turbo's Aquatics

Super Duper Member
View Badges
Joined
Jun 7, 2011
Messages
2,806
Reaction score
4,032
Location
West Des Moines, IA
Rating - 0%
0   0   0
I'm working on revising the extruded modular mounting bracket, but it's going to be a while. I just had one of those "a HA" moments that might make it better than I had originally thought up....but in the meantime, for anyone that wants one, I will be making these out of acrylic and customized to the tank needs. They will be similar to what I have been making in the past, something like this:

IMG_3965.JPG


(old pic, previous version of scrubber shown...)

They consist of 2 pieces of acrylic bonded together to form a "T", the inside part is dimensioned to fit between the tank brace (slightly smaller than the inner dimension) and the top piece is dimensioned to extend about 3/4"-1" past the outer edge of the tank brace, with thumbscrews inserted to keep the bracket from easily sliding out sideways (it will bind if one end is moved and the other end is not). I then add a layer of sticky-backed rubber so that the scrubber will stay in place.

Since the Rev 4 has a waffle-pattern on the bottom, I will likely use a sticky-backed foam on top of the brace so that the waffling has something to "bite" into, which will really keep it in place.
 
OP
OP
Turbo's Aquatics

Turbo's Aquatics

Super Duper Member
View Badges
Joined
Jun 7, 2011
Messages
2,806
Reaction score
4,032
Location
West Des Moines, IA
Rating - 0%
0   0   0
Got my shipment of 100 LED and 50 Driver boards from Steve's LEDs today (Friday)! They were quite backed up, plus a temporary machine failure didn't help, but they came through just in time!!

IMG_8041.jpg


Plus a batch of 3D printed potentiometer enclosures, also by Steve's (nice quality!!)

IMG_8038.jpg


IMG_8039.jpg


IMG_8040.jpg


Some potentiometers, knobs (I like the black ones!) and Controller Interface boards (these work to allow Apex and ReefKeepers to control the driver boards directly)

IMG_8042.jpg


While I've been waiting for those, I've been working on getting everything else ready...

Bases with J-channels bonded in

IMG_8034.jpg


Heat sinks drilled and ready for the next 50 units

IMG_8044.jpg


Plenty more where those came from, plus a whole pallet I haven't cracked

IMG_8045.jpg


Slot pipes prepped

IMG_8046.jpg


Screens soaking (more already soaked, not shown)

IMG_8047.jpg


...it's gonna be a busy weekend. On schedule to ship 25 units next week, and 25 more the week after!
 
OP
OP
Turbo's Aquatics

Turbo's Aquatics

Super Duper Member
View Badges
Joined
Jun 7, 2011
Messages
2,806
Reaction score
4,032
Location
West Des Moines, IA
Rating - 0%
0   0   0
No, there are PWM ports on the driver board that take a PWM signal. This is the interface board

http://shop.stevesleds.com/Aquarium-Controller-Interface-Harness-8794102424.htm

which converts 0-10V to PWM. This is only if you want to control the dimming level actively via your 0-10V dimming port on your controller. Obviously, you can just plug the driver right into a controlled outlet or a timer and just set the external dimming knob manually.
 

fab

Active Member
View Badges
Joined
Sep 19, 2015
Messages
468
Reaction score
241
Location
Alexandria, Virginia
Rating - 0%
0   0   0
The image at the link shows four 'dots' at the corners of the pcb. Are those mounting holes? One kinda looks like it is a hole, the others are not so clear? Do you have a mounting box for this pcb?
 

Just grow it: Have you ever added CO2 to your reef tank?

  • I currently use a CO2 with my reef tank.

    Votes: 6 6.8%
  • I don’t currently use CO2 with my reef tank, but I have in the past.

    Votes: 4 4.5%
  • I have never used CO2 with my reef tank, but I plan to in the future.

    Votes: 5 5.7%
  • I have never used CO2 with my reef tank and have no plans to in the future.

    Votes: 68 77.3%
  • Other.

    Votes: 5 5.7%
Back
Top