187G Lee Mar Starphire Eurobraced Peninsula Build

jcom

Active Member
View Badges
Joined
Nov 27, 2009
Messages
388
Reaction score
5
Location
Sonoma County
Rating - 0%
0   0   0
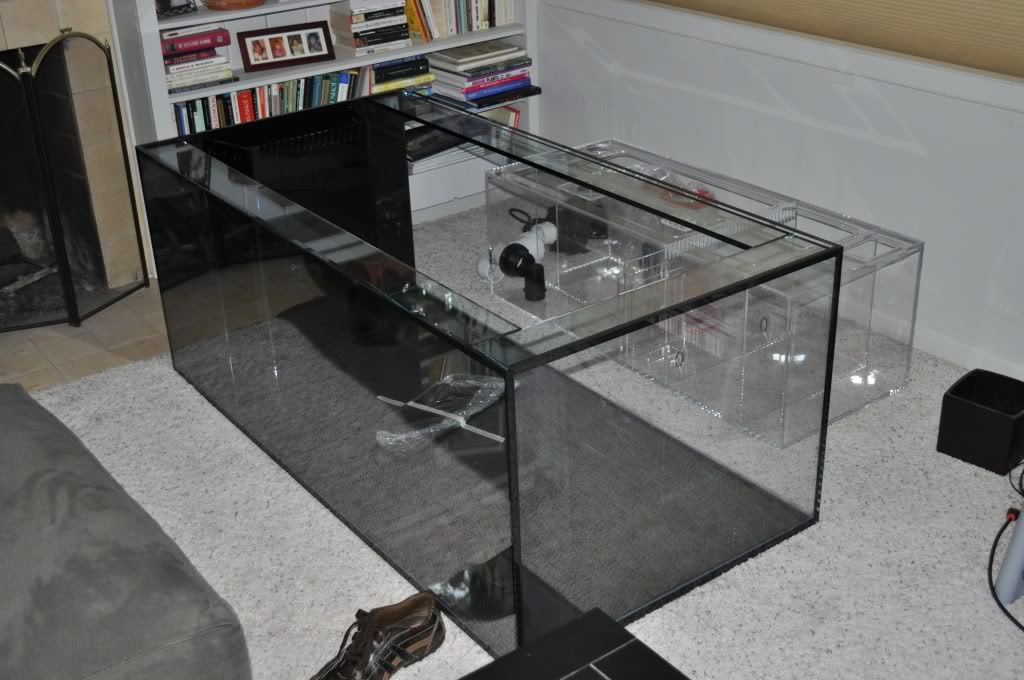
Well, here we go. I've had a 120G for about 5 years now and I finally decided to scratch my itch and am in the process of building its big brother. It started as a plan for a frag tank build, but when I started putting the list of things I needed together, I ended up just deciding to go for it and build my dream tank (for now)! My 120G was a conversion from a cichlid tank and there wasn't a lot of planning that went into it. On my 187, I wanted to do it right from the start. Unfortunately, I don't live in my dream house yet, so I won't be able to use it as a peninsula and will be attaching a black acrylic sheet to the back side for now, but down the line, I envision this being a peninsula centerpiece in a greatroom.

Here are the specs and info. on the build:

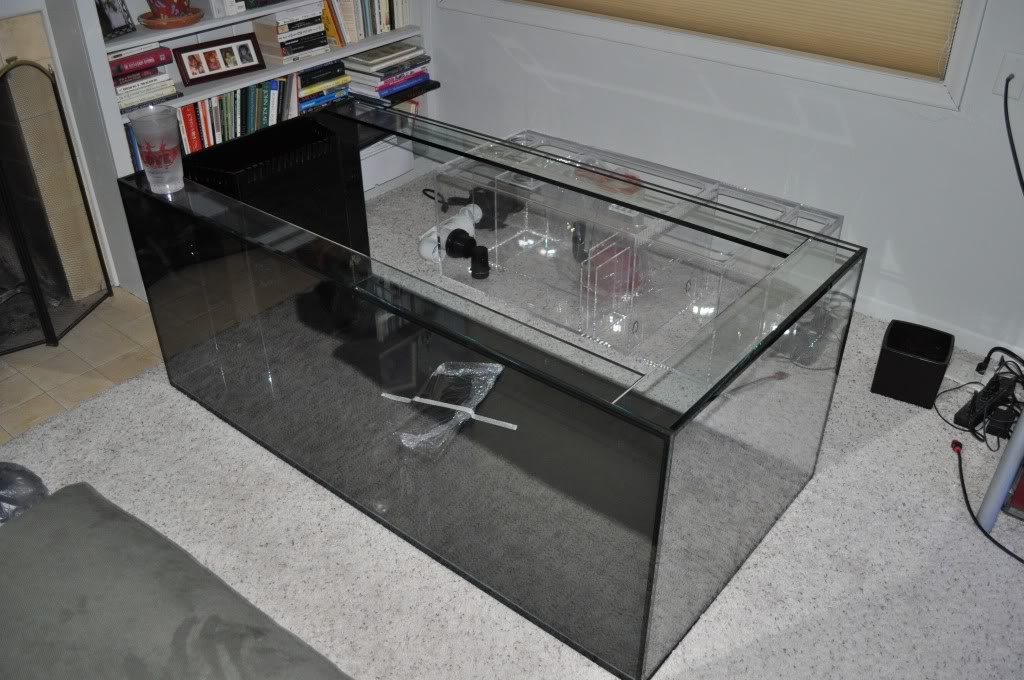
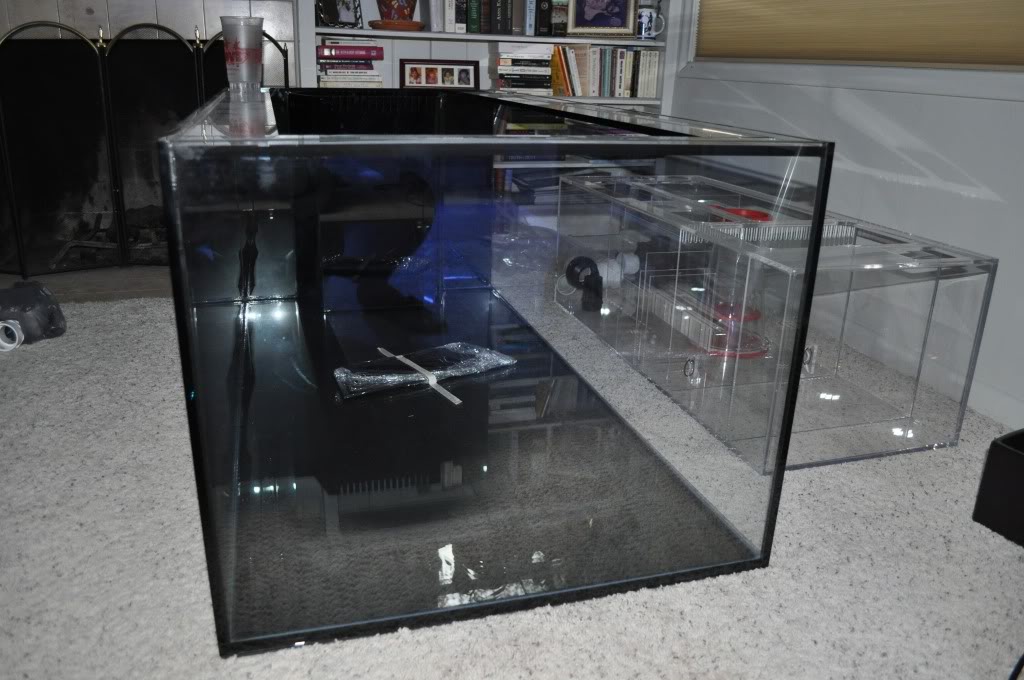
Tank: Lee Mar Custom 187G Peninsula (60L X 30W X 24H) w/Starphire on 3 sides. Dual 2" drains (Herbie Style) and 1.5" return line

Lighting: ATI Powermodule 8X54w

Return: Reeflo Dart

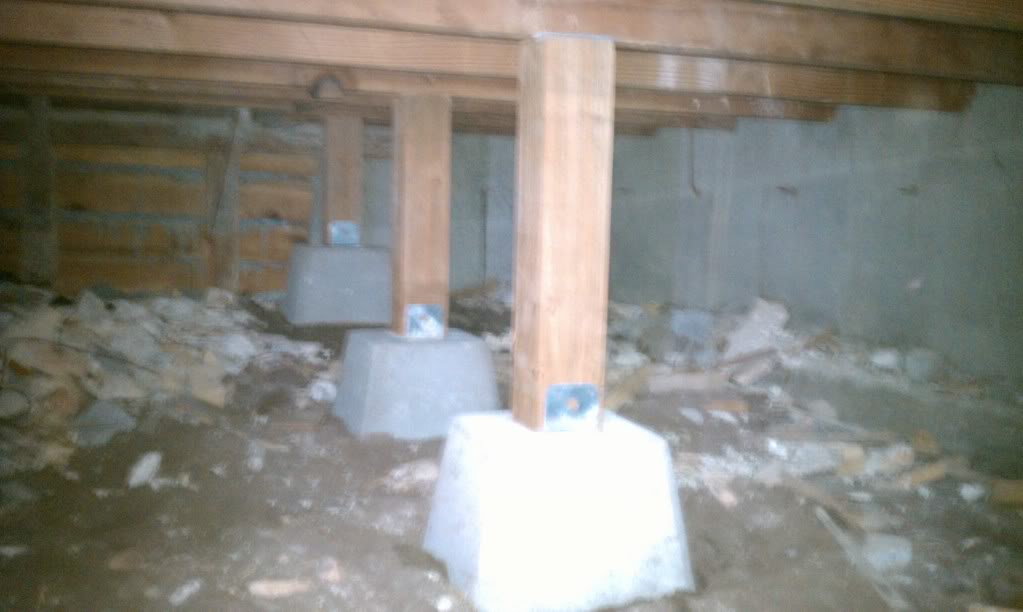
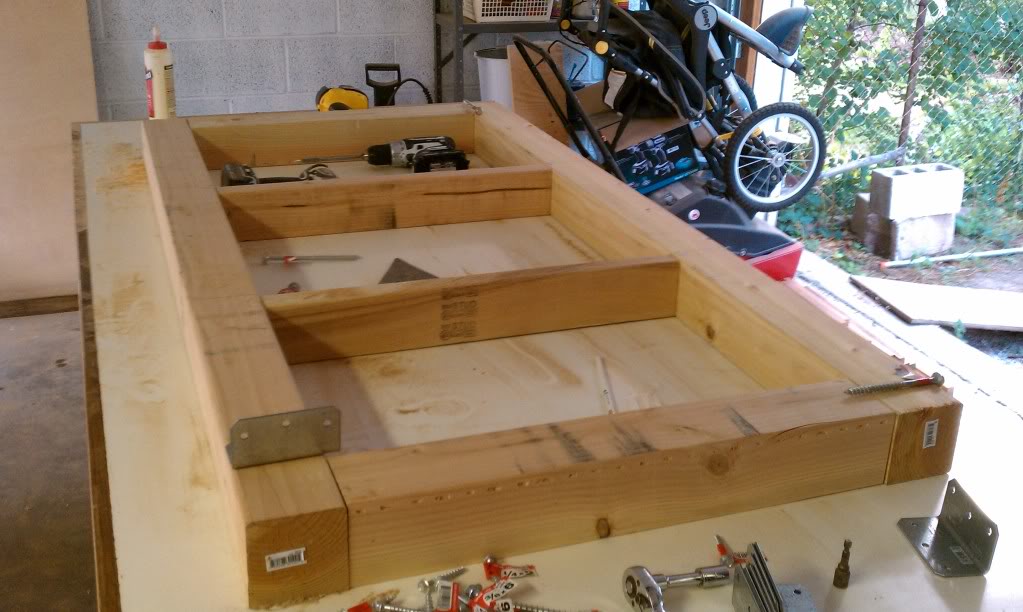
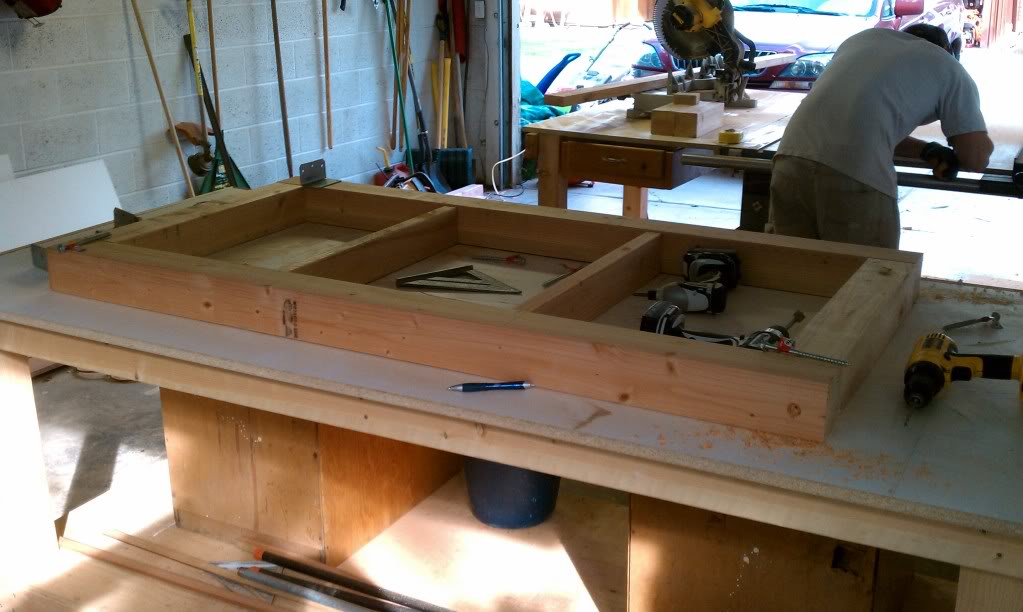
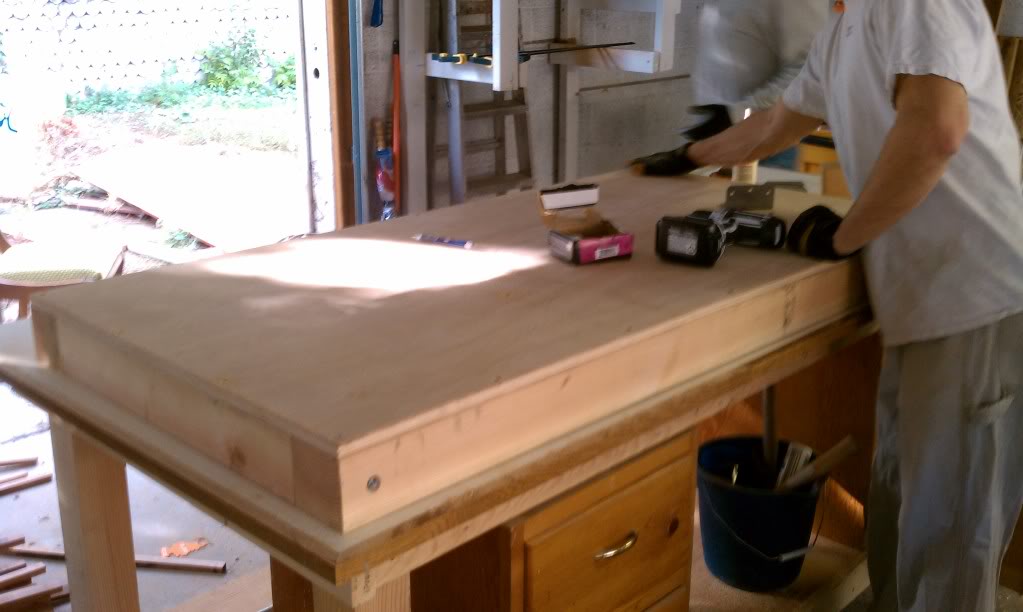
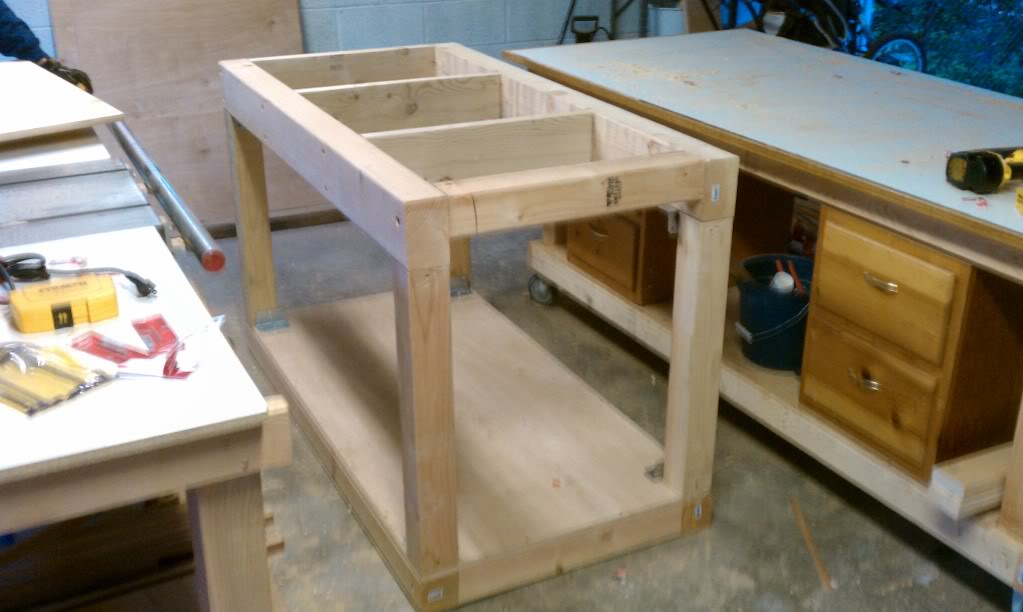
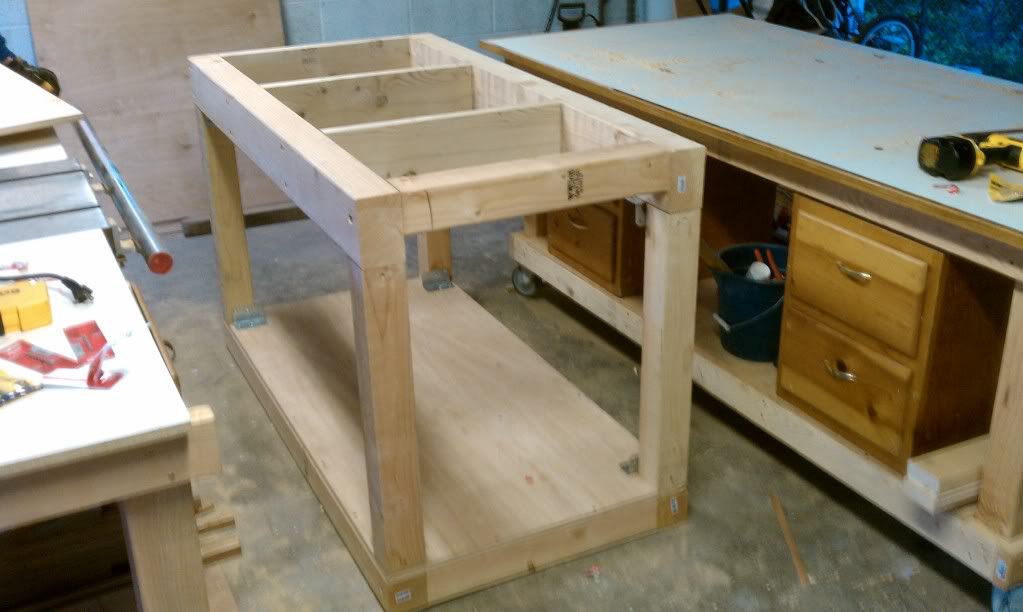
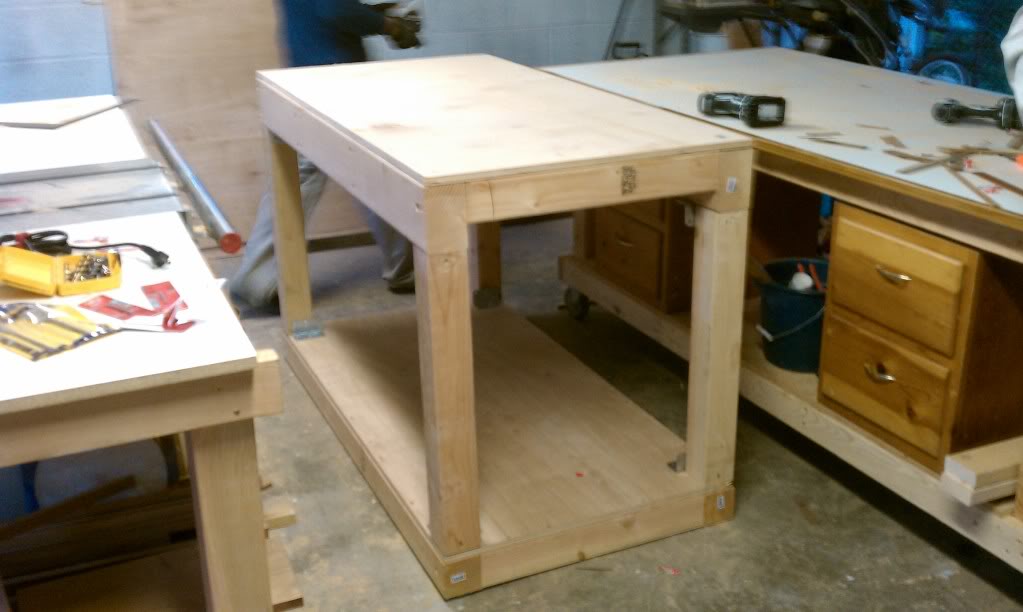
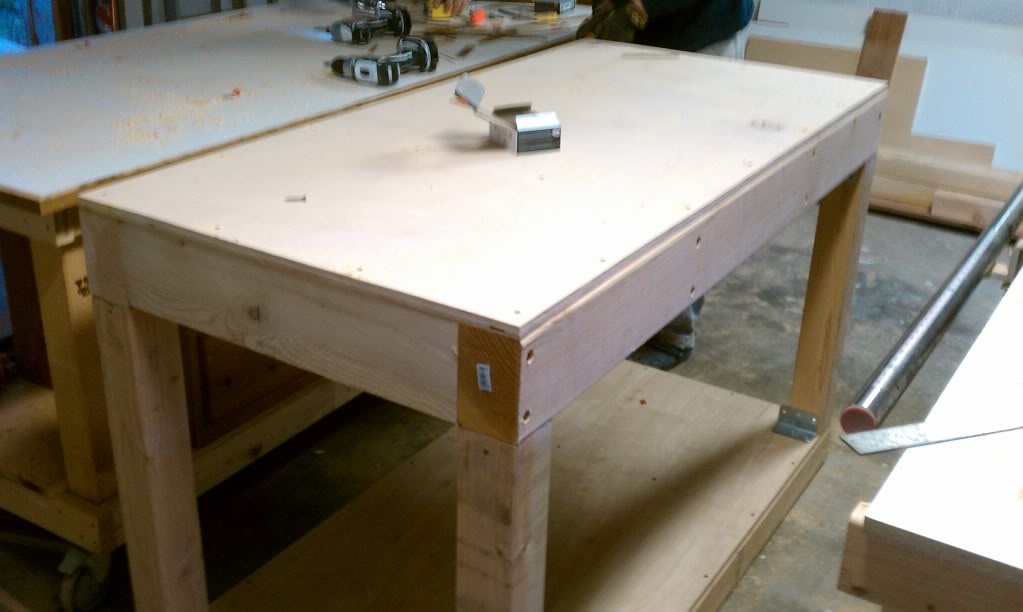
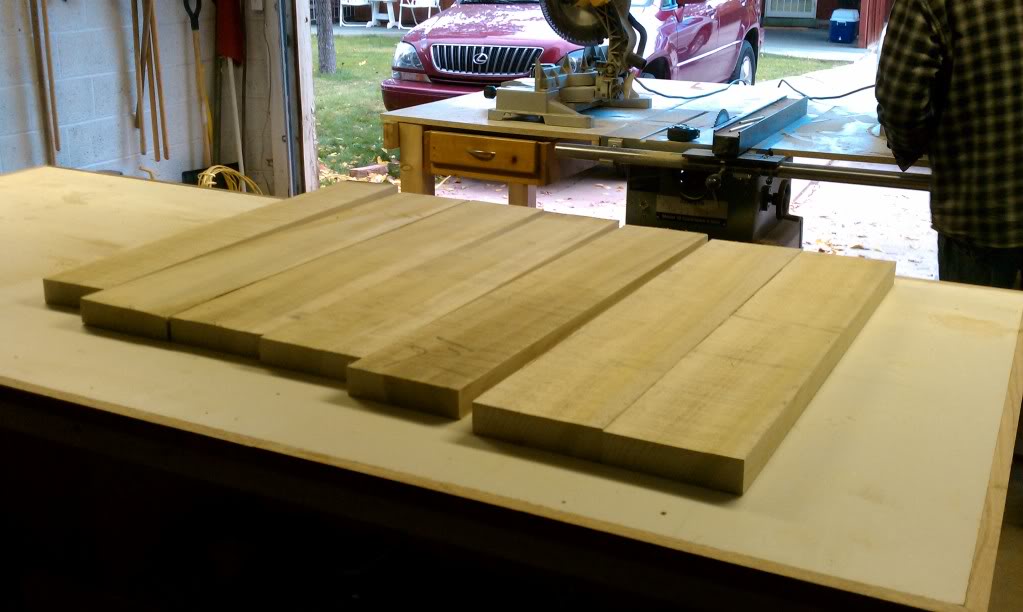
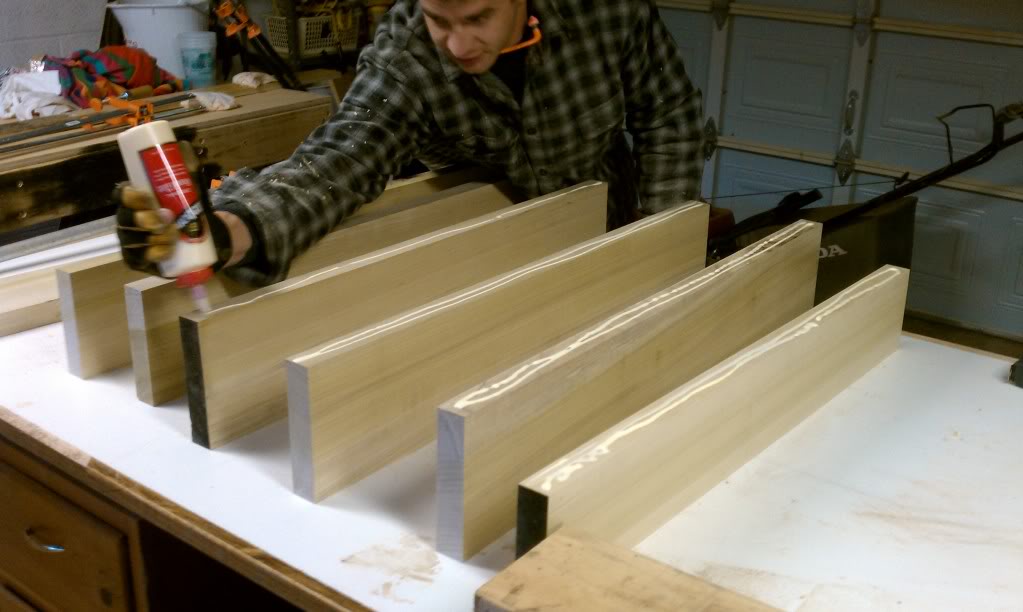
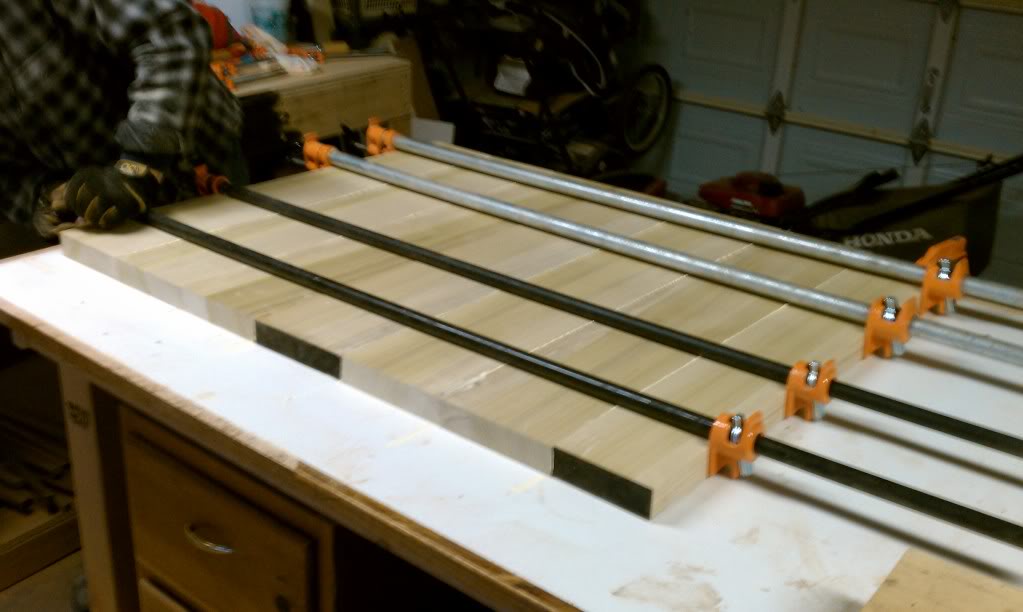
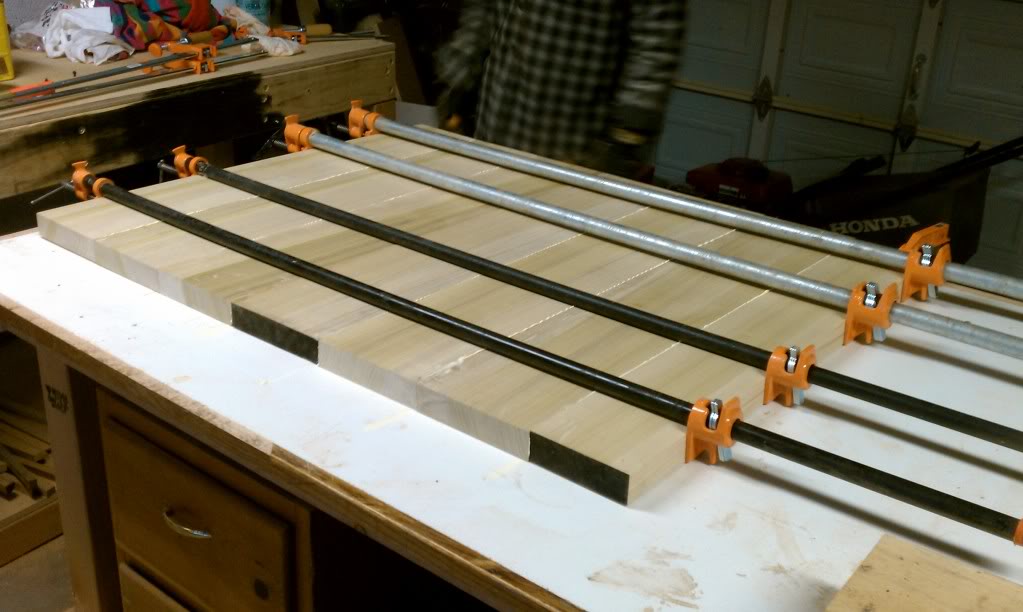
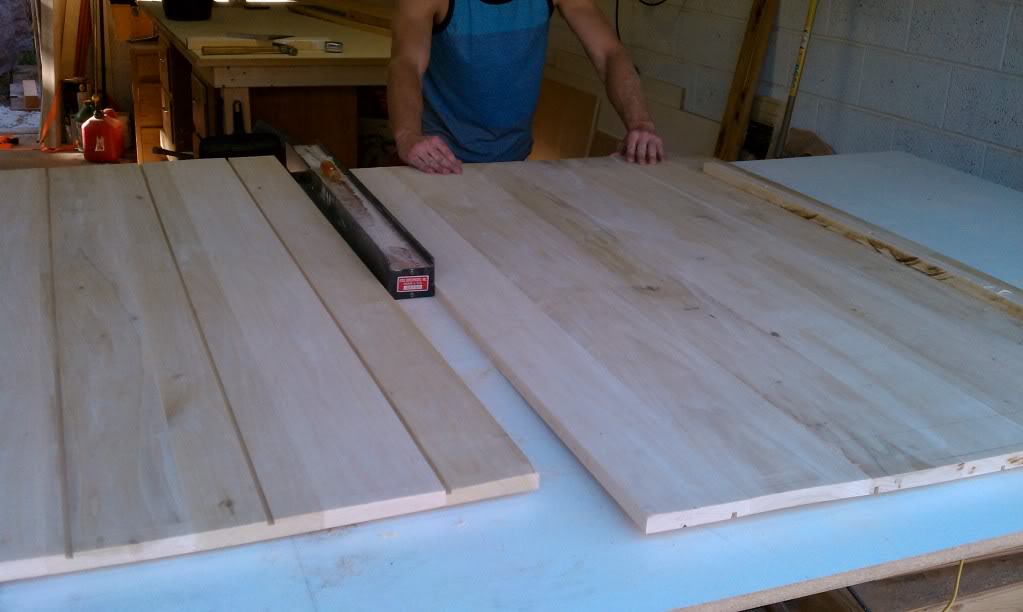
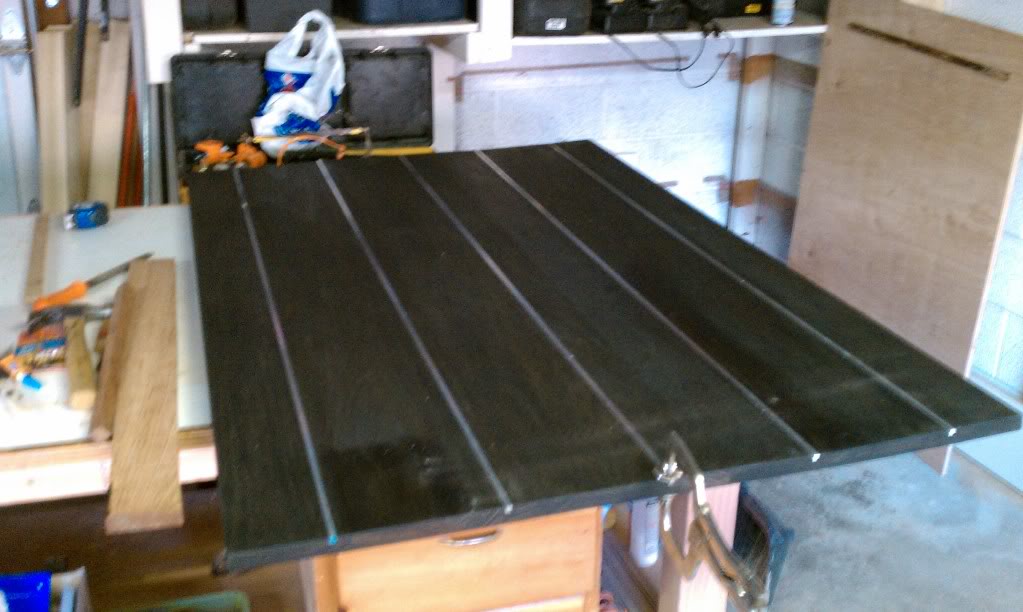
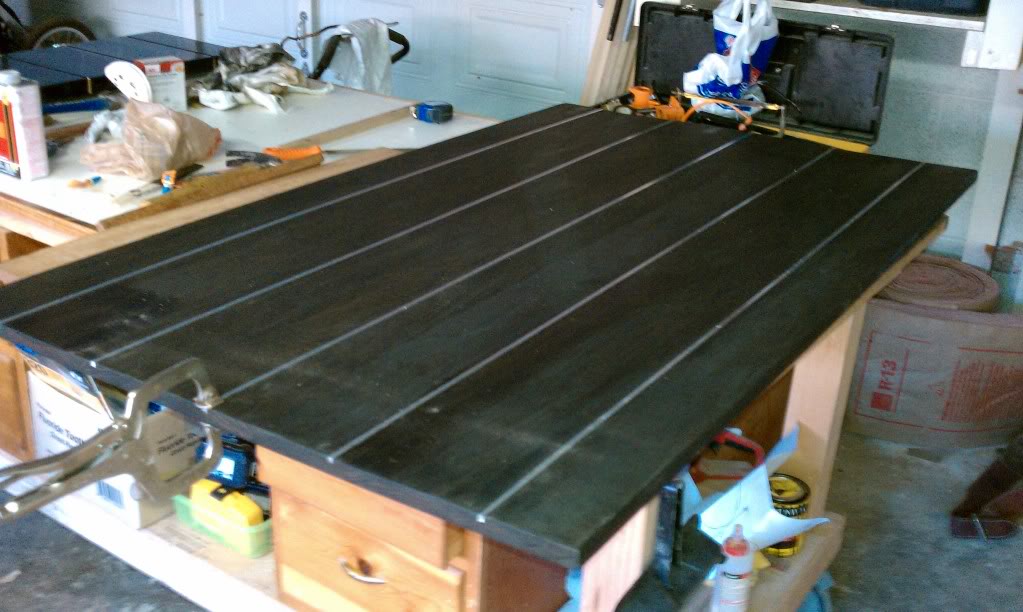
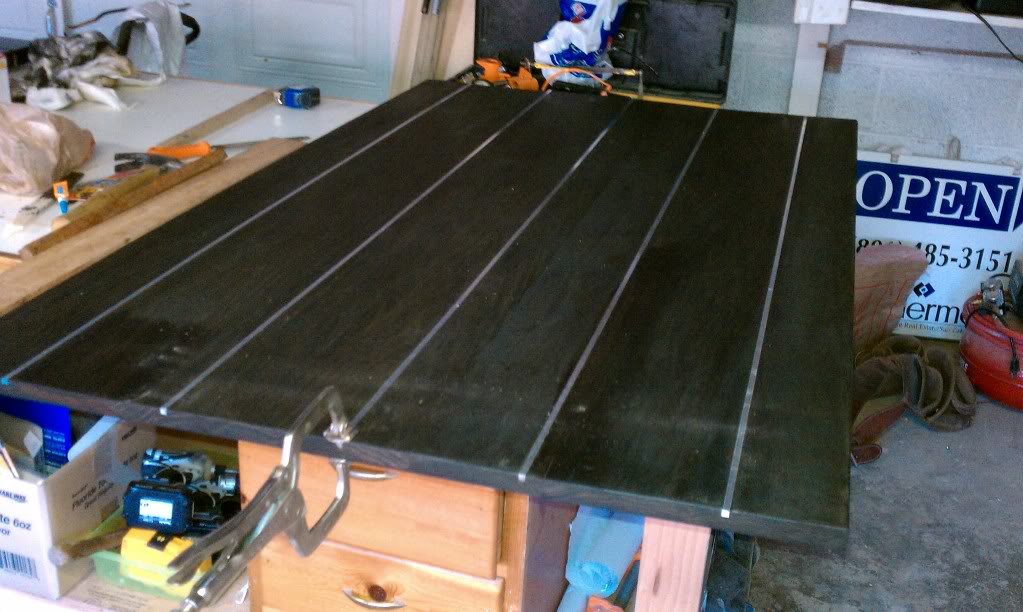
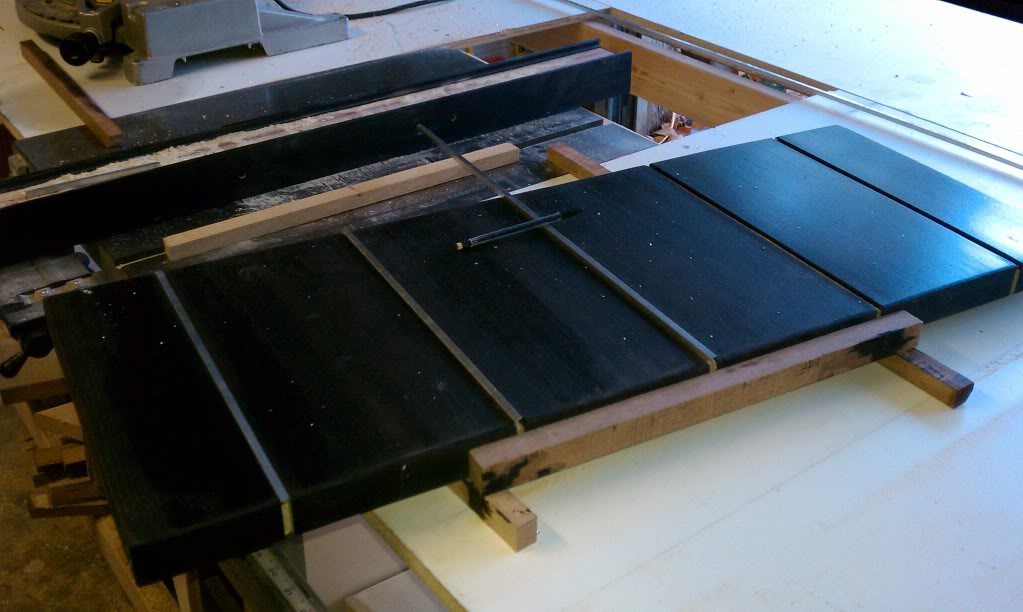
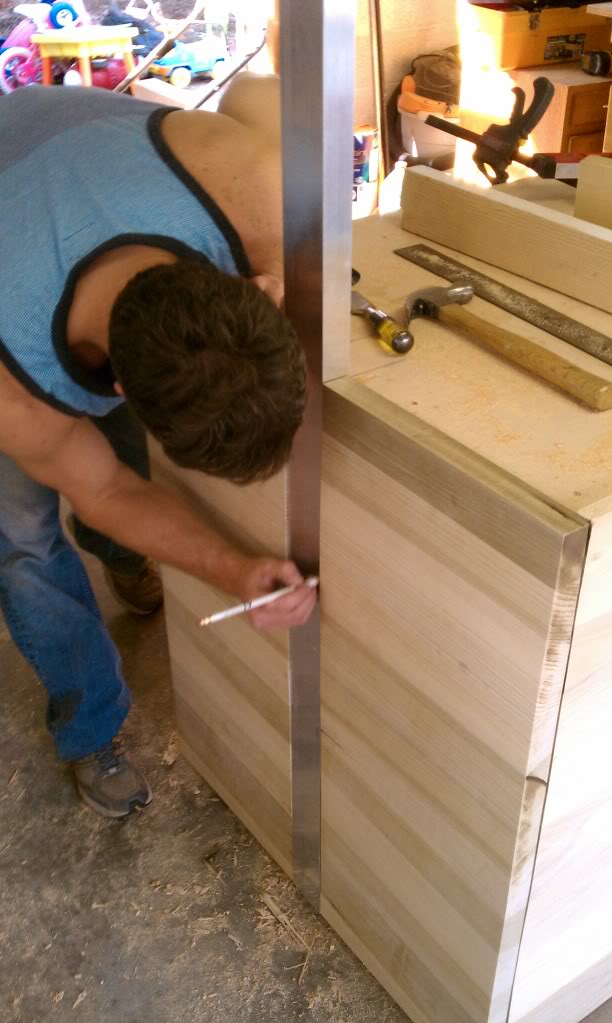
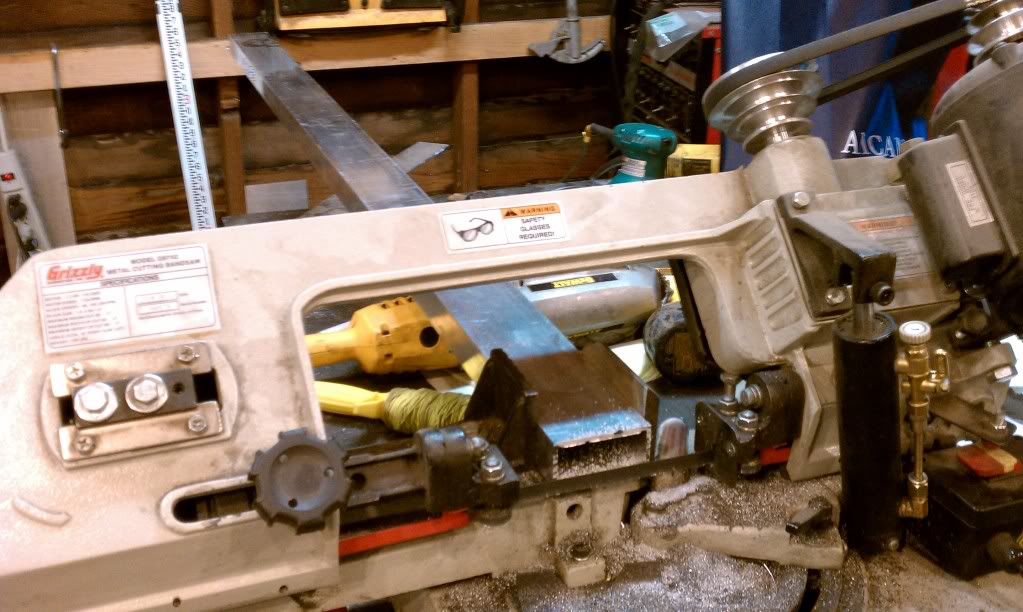
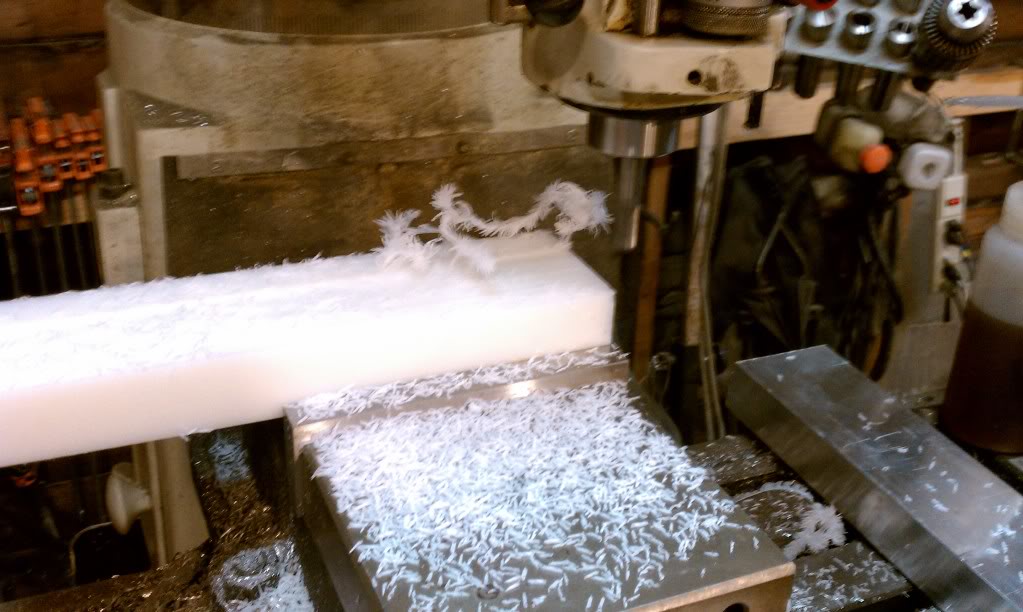
Stand: Custom DIY Stand (framed with 4x4 and 4x6) with Poplar Finish work and 1/4" aluminum decorative inlays. Custom Aluminum Light Suspension arm which will be able to swivel out and away from the tank to facilitate easy access to the tank, bulb changes, etc. My bro-in-law is a great DIY builder and he's generously helping me with this project.

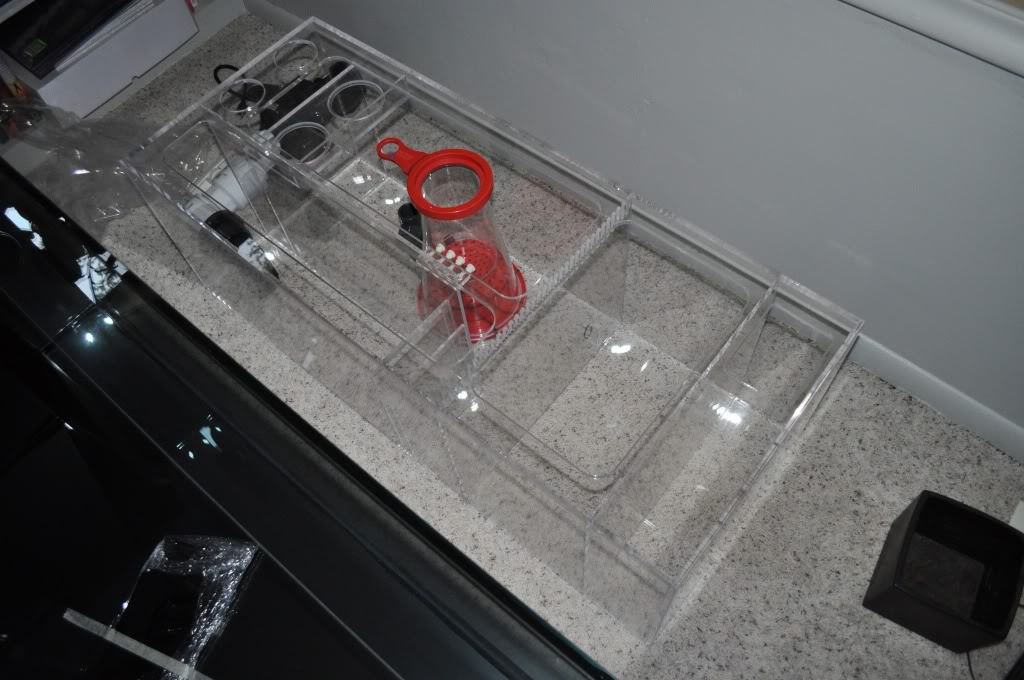
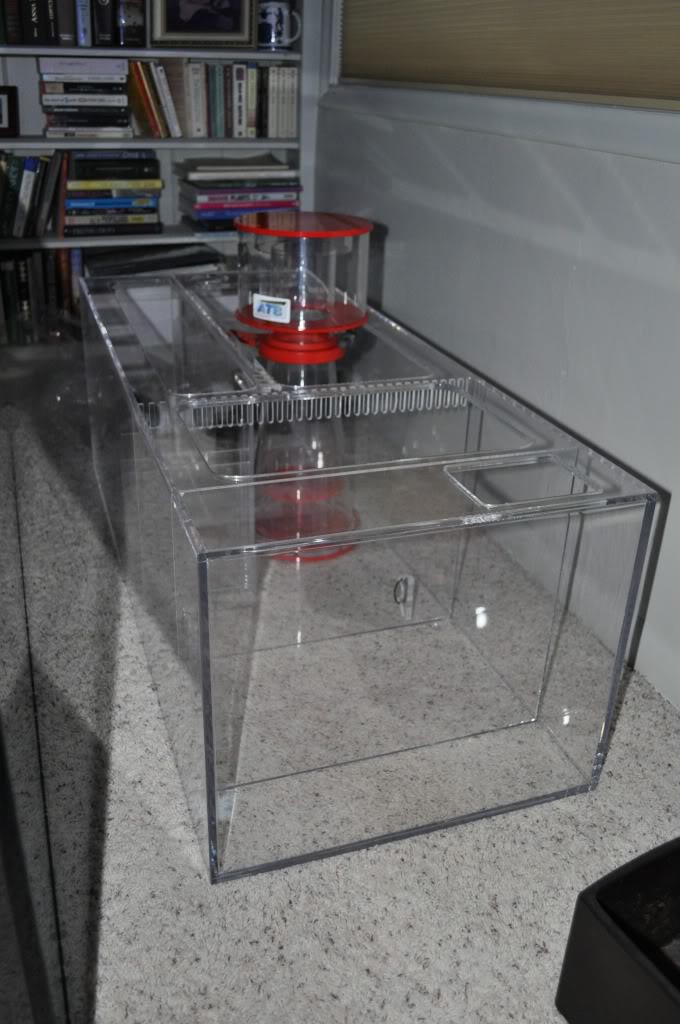
Sump: Custom Acrylic Sump built by Tyler (Tcfab). This guy does the most amazing acrylic work I've ever seen. I'm very lucky that he lives nearby here in Utah. I'd put his work (sumps, skimmers, frag racks, etc.) up against any pro any day and would always go with his stuff.

Skimmer: ATB 840 V2.0

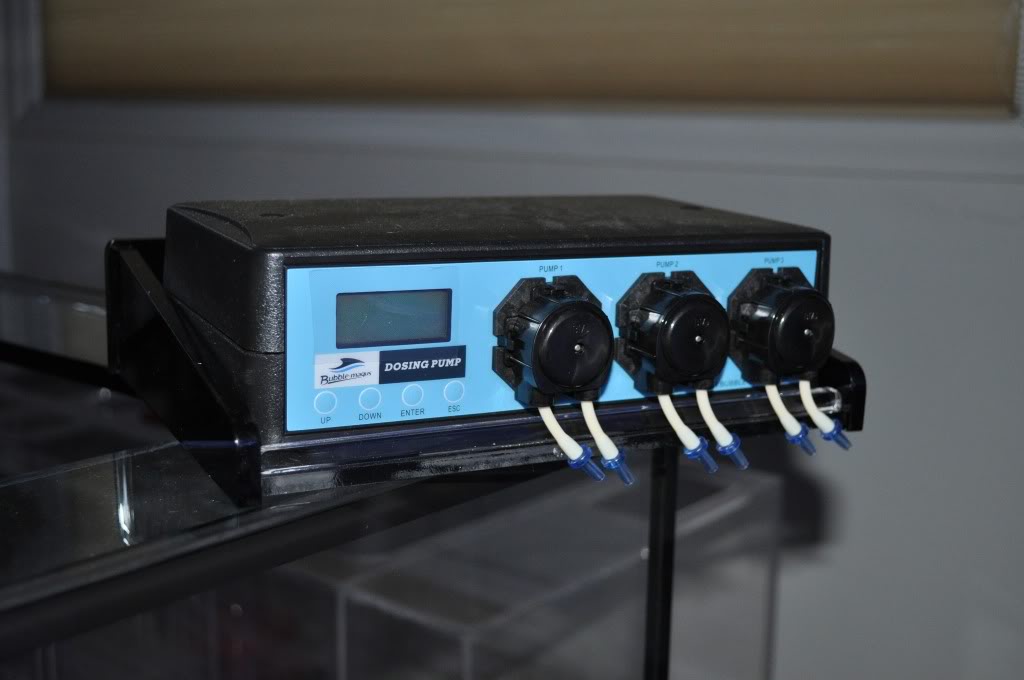
Doser: Bubble Magus BM T-01 Dosing Pump (Randy's 2 part)

Circulation: 2 X Vortech MP40W

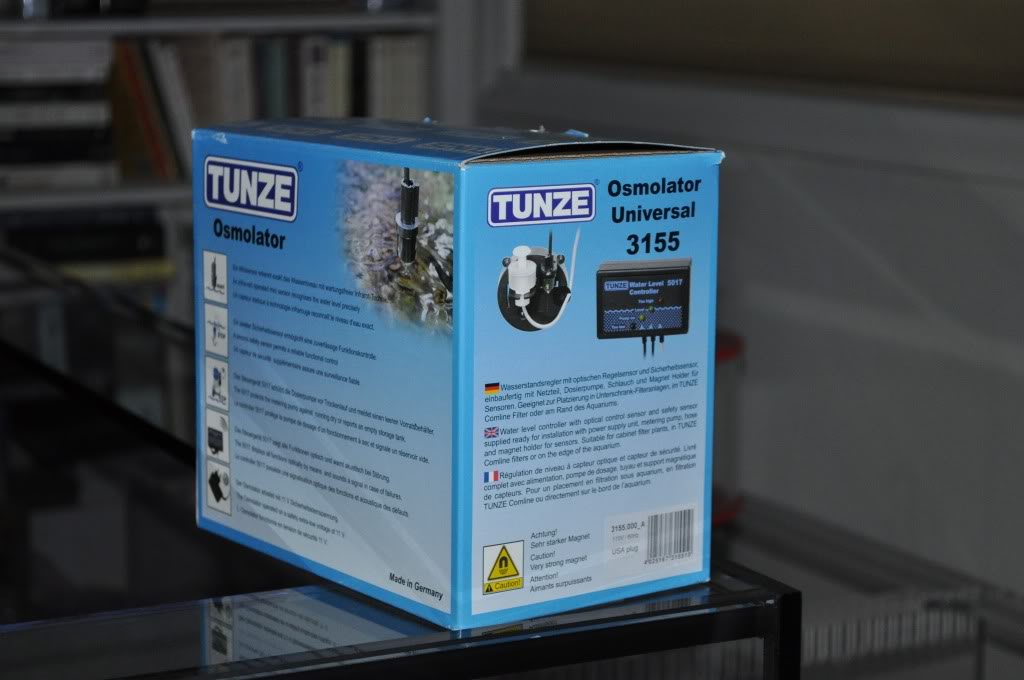
ATO: Tunze Osmolator
 
Last edited:
OP
OP
jcom

jcom

Active Member
View Badges
Joined
Nov 27, 2009
Messages
388
Reaction score
5
Location
Sonoma County
Rating - 0%
0   0   0
First things first. This bad boy is going to be very heavy and I need to be able to sleep well at night. Not only will the tank and water be well over a ton, the stand itself will be somewhere around 400 - 500 pounds, maybe more. My house has a crawlspace with 2 x 12 joists, but I wanted to shore up the area underneath the tank. It's a horrible place to visit, disgusting and dirty...the builders (60s) threw a bunch of crap down there and it has sat ever since. For reference, the 4 x 4 supports you see are only about 14 - 16 inches high, and it's near the back corner of the house, far from the crawlspace hatch. Unfortunately, I have to go down there one more time to run my RO/DI line to the tank.

IMAG0080.jpg
 
OP
OP
jcom

jcom

Active Member
View Badges
Joined
Nov 27, 2009
Messages
388
Reaction score
5
Location
Sonoma County
Rating - 0%
0   0   0
More to come...gotta watch the Jazz beat up on the Thunder.

F%&^, they blew it. How do you do an eastern sweep including Miami and Orlando then drop one at home to end a nice streak. Oh well, season's young.
 
Last edited:

Rotknee

Community Member
View Badges
Joined
Feb 6, 2010
Messages
34
Reaction score
4
Location
Pasadena, CA
Rating - 0%
0   0   0
At least you didn't find a dead cat or something like that down there...LOL.

My next tank is going to be very simular. Have you thought about the new MP60's?

Looking forward to the build!
 
Last edited:
OP
OP
jcom

jcom

Active Member
View Badges
Joined
Nov 27, 2009
Messages
388
Reaction score
5
Location
Sonoma County
Rating - 0%
0   0   0
At least you didn't find a dead cat or something like that down there...LOL.

My next tank is going to be very simular. Have you thought about the new MP60's?

Looking forward to the build!

I guess I didn't look that hard :wink:

I did think about the MP60s, but at $700 a pop, I had to draw the line somewhere. I'm hoping that with my heavy duty returns at one end and two MP40s at the other, there will be ample flow. Guess we'll see....
 
OP
OP
jcom

jcom

Active Member
View Badges
Joined
Nov 27, 2009
Messages
388
Reaction score
5
Location
Sonoma County
Rating - 0%
0   0   0
Starting to assemble the pieces of poplar to be cut, planed, and glued together for the finish work.

IMAG0099.jpg


IMAG0100.jpg


IMAG0101.jpg


IMAG0102.jpg
 
OP
OP
jcom

jcom

Active Member
View Badges
Joined
Nov 27, 2009
Messages
388
Reaction score
5
Location
Sonoma County
Rating - 0%
0   0   0
A whole lot of belt and orbital sanding later, the dado blade gets used, staining has begun, followed by a few coats of polyurethane, and the aluminum inlays begin to go in.

For ease and access, the entire front panel will be able to come off and there will be no legs between the corners (used 4 x 6 for length span). The front panel will be held on by magnets only.

IMAG0114.jpg


IMAG0117.jpg


IMAG0118.jpg


IMAG0119.jpg


IMAG0120.jpg
 

Antonias1391

Active Member
View Badges
Joined
May 4, 2010
Messages
340
Reaction score
5
Location
Camdenton
Rating - 0%
0   0   0
WOW man outstanding your going above and beyond!! i cant wait to see what the tank itself looks like!!
 

Brad Syphus

Valuable Member
View Badges
Joined
Jan 16, 2009
Messages
1,809
Reaction score
1,324
Location
Murray, Utah
Rating - 0%
0   0   0
Great looking so far, cant wait to see it up and running. I want to see it in person one day.
 
OP
OP
jcom

jcom

Active Member
View Badges
Joined
Nov 27, 2009
Messages
388
Reaction score
5
Location
Sonoma County
Rating - 0%
0   0   0
Here are some shots of the aluminum suspension arm for the light fixture. It will be 7 feet tall and span out 53 inches over the tank. The span portion has been tapped to allow the threading of the cable hangers right into the arm. The cords from the light fixture and fans will also run through the interior of the aluminum arm.

Also shown are the cuts on the bandsaw and the mill work on the plastic insert which will allow the arm to swivel out and away from the tank.

IMAG0113.jpg


IMAG0123.jpg


IMAG0121.jpg


IMAG0122.jpg
 
Last edited:
OP
OP
jcom

jcom

Active Member
View Badges
Joined
Nov 27, 2009
Messages
388
Reaction score
5
Location
Sonoma County
Rating - 0%
0   0   0
A little story behind the tank. As shipping would have been very expensive, my plan was to make a "quick" run to San Diego from Utah to pick this thing up and I was not looking forward to it. On 2 different occasions, 2 different friends of my sister and bro-in-law were planning to drive up from San Diego to visit. Each time the tank was delayed from its expected delivery date and they were unable to bring it along with them. Just as I was gearing up to make the big run, a 3rd friend called them to say he was coming up in his Subaru Legacy. I quickly checked the storage space specs for the Legacy and the tank would maybe, just maybe fit.

Well, sure enough, it barely fit!! Any I mean barely. If the newer model Legacy didn't have the flared out rear window, it would not have fit and I would have had to drive 1500 miles to get my new baby. (Thanks Travis!) Needless to say it made it and here it is in my house.

DSC_0002-2.jpg


DSC_0004-1.jpg


DSC_0008.jpg
 
Last edited:
OP
OP
jcom

jcom

Active Member
View Badges
Joined
Nov 27, 2009
Messages
388
Reaction score
5
Location
Sonoma County
Rating - 0%
0   0   0
I must say, I was a bit concerned about how the silicone work would turn out as I've read some posts about Lee Mar's silicone work having been a bit sloppy over the last couple of years. All I can say is that they must have heard or received some complaints because this tank is clean, clean, clean! Excellent attention to detail and I can honestly say I'm very happy with how it turned out. Well done Lee Mar!
 
Last edited:
OP
OP
jcom

jcom

Active Member
View Badges
Joined
Nov 27, 2009
Messages
388
Reaction score
5
Location
Sonoma County
Rating - 0%
0   0   0
Now here's a piece of equipment that I'm more than excited about. Tyler (Tcfab) made me a custom built sump that very greatly exceeded my expectations. Since this tank is a peninsula, I didn't want plumbing running across the top of the sump area below the tank, so I requested that the water flow made a "U" turn which would allow me to keep the return and drain lines all at the left end of the sump area. I also wanted to incorporate my ATO water into a compartment of the sump at the opposite end which holds about 4.5 gallons. And as I'll be running a probiotic system and won't be running a refugium, I still wanted the flexbility to have one if I ever change my mind down the road or end up selling it at some point. For now I'll be using the refugium to hold my 2 part containers and carbon reactor. It will also act as an emergency overflow area if the rest of the sump ever overflows from an unforseen siphon problem.

The work that Tyler did on this thing is INCREDIBLE!!! All of the compartments, baffles, filter sock holders, etc, etc. are perfectly cut and every single edge, top and bottom, is rounded and polished to a high gloss shine. It even has immaculately cut custom heater and probe holders. This thing is a work of art! Hats off to him...an incredible talent.

DSC_0006.jpg


DSC_0007.jpg


DSC_0014.jpg
 
OP
OP
jcom

jcom

Active Member
View Badges
Joined
Nov 27, 2009
Messages
388
Reaction score
5
Location
Sonoma County
Rating - 0%
0   0   0
The toys are rolling in. I guess I'm doing my part to help spur the economy....it's a wonder my wife is still with me at this point.

DSC_0012.jpg


DSC_0011.jpg


DSC_0009.jpg


DSC_0015.jpg
 

Reefing threads: Do you wear gear from reef brands?

  • I wear reef gear everywhere.

    Votes: 35 16.1%
  • I wear reef gear primarily at fish events and my LFS.

    Votes: 13 6.0%
  • I wear reef gear primarily for water changes and tank maintenance.

    Votes: 1 0.5%
  • I wear reef gear primarily to relax where I live.

    Votes: 28 12.9%
  • I don’t wear gear from reef brands.

    Votes: 126 58.1%
  • Other.

    Votes: 14 6.5%
Back
Top