210g Peninsula Build thread

chap34

Community Member
View Badges
Joined
Feb 14, 2018
Messages
54
Reaction score
46
Rating - 0%
0   0   0
First time build thread so here it goes.

Current set up is a120g 48x24x24 barn find tank with a custom Red Oak stand.

New set up plan: 210 72x30x24 peninsula (wider than deep), 3 sided starfire 1/2” euro brace top and bottom, all plumbing in fish a room.

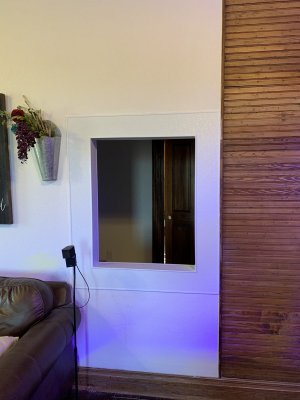
Would you recess the tank (and stand) in the livingroom wall, or have it flush with the wall?

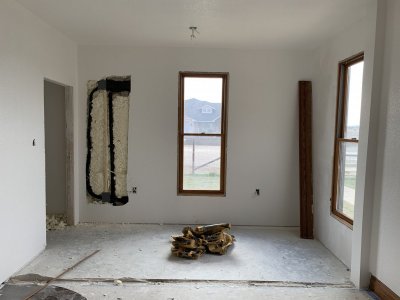
We have an old style farm house we are converting to modern farm house, some pictures of what we currently have.

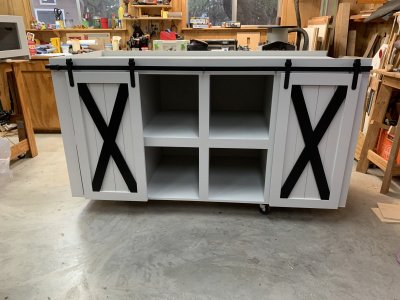
I‘d like the stand to be as modern as possible but still tie in with the rest of the house. I was thinking possibly barn doors but I don’t want to over do it (will be the third barn door in the house).
Looking for help in designing the stand!

I really like the modern look of rimless, but the light bleed of T5 and the humidity is killing me. So I’m thinking a canopy that the entire side lifts up for viewing pleasure.

6907B17E-849D-4D0A-B9C6-62D0957FF452.jpeg


Current fish tank, love it, but its super tall, gotta use a step stool to work in the tank.

22FFF844-94DF-4254-A5A7-ABD63738750F.jpeg
9E6EB381-931E-4405-BB31-4E5C332E6ECA.jpeg
C6B57914-3367-4068-9720-06F72F34699C.jpeg
372066AD-A10B-42BB-8E65-D3221DB309FF.jpeg


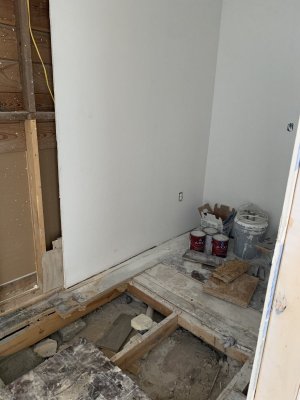
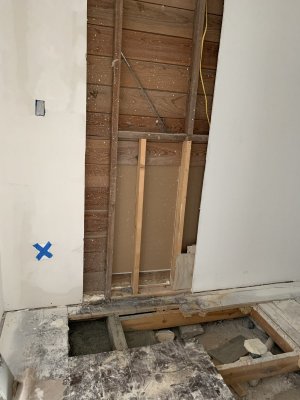
We are building a wall on the left side of the room for the fish room: tile floor, running water, and a floor DRAIN!

1F8E366F-C5C3-4608-86F5-A51D1A19D0C6.jpeg
 
Last edited:
OP
OP
C

chap34

Community Member
View Badges
Joined
Feb 14, 2018
Messages
54
Reaction score
46
Rating - 0%
0   0   0
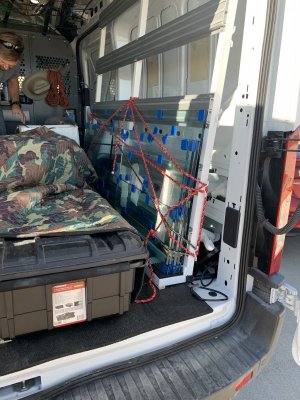
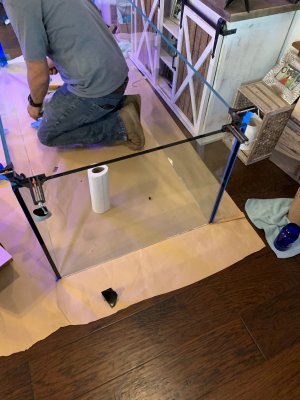
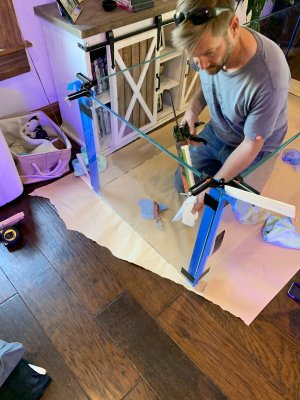
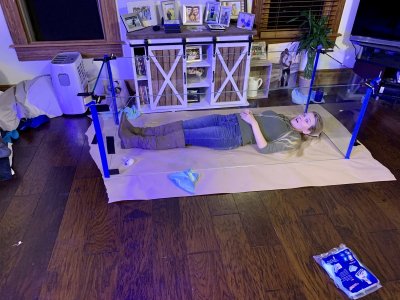
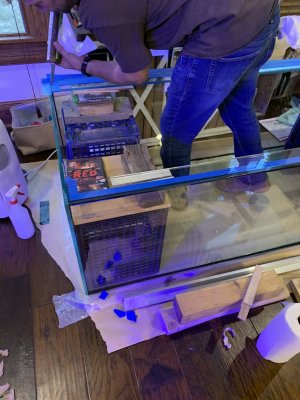
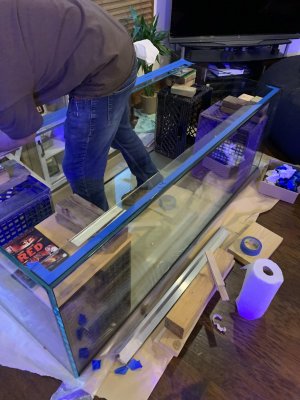
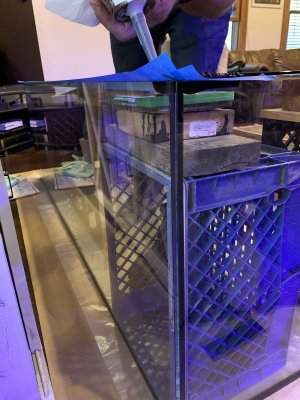
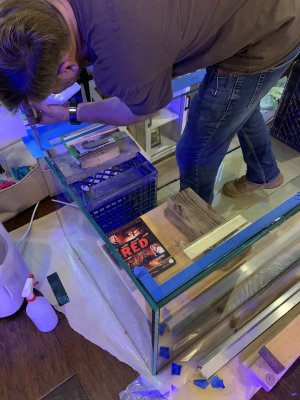
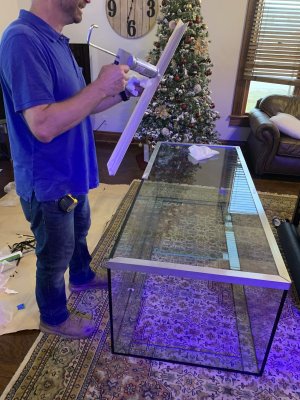
Glass is in! Leveling was more of a pain than expected.
Apparently glass is polished with a 1/8” tolerance, which isn’t so good when you are talking 1/16” gap for silicon.
Walls are Gapped and sealed, minus the 1” at top for the clamps.
We will give it a few days then put in the bottom and seal that. Few days later we will cut the top braces and add those.

2BDEC6D9-0025-4BD5-851D-C7FA56F4A990.jpeg 1095CB74-BF9B-4503-B1B4-589B75525B1B.jpeg 04D352B2-ADD1-484B-941E-3C33AEA092B5.jpeg C74AC9B4-FD62-4F00-8DAE-C7C5ADD950BD.jpeg
 
OP
OP
C

chap34

Community Member
View Badges
Joined
Feb 14, 2018
Messages
54
Reaction score
46
Rating - 0%
0   0   0
Side braces had to be cut by water jet. Glass manufactures only sell sheets, so we ordered a 12”x70 7/8” sheet and cut it long ways into 4 sections.
The two long strips are in. After letting them cure, we will score and cut one of the other strips for the side braces into to short sections and have a spare.

61A9D803-3588-443A-9C95-82DD7B2F7745.jpeg 9CB6DB9D-F220-4A21-8493-C31D368EFACB.jpeg 0F847083-98AC-400B-BE9F-27BF2A78D5B7.jpeg 3288F4F5-44E7-49FD-B72F-11B38E77474D.jpeg
 
OP
OP
C

chap34

Community Member
View Badges
Joined
Feb 14, 2018
Messages
54
Reaction score
46
Rating - 0%
0   0   0
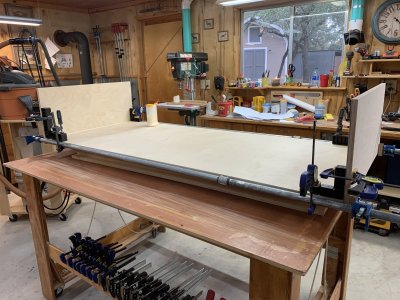
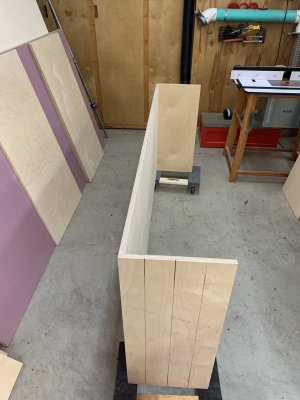
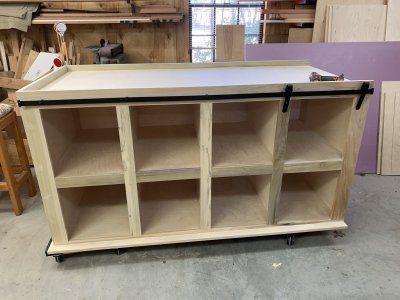
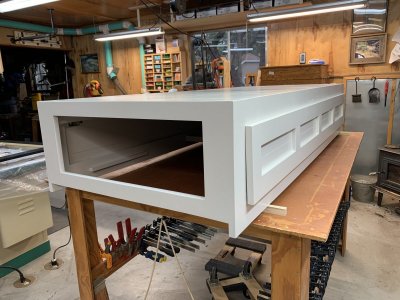
Stand construction is under way! Poor carpenter woke up in the middle of the night wondering if my doors are wide enough to fit the stand in one piece!
We may have to do some assembly in my house, but it should fit...
We didn’t talk about that center brace on the hood, but I suppose I’ll go ahead and center brace the tank now too. I’m sure that’s the right move, I just hate braces

D4EB3AA2-BDBB-4614-AC31-F37F31F37E7A.jpeg E9575F93-5478-480A-A61D-678FD4A97771.jpeg 74172CFD-3024-4BB3-A27A-30A7E81A1B52.jpeg 4C70BF2D-E80E-4049-9555-10EC87B12F8A.jpeg
 
OP
OP
C

chap34

Community Member
View Badges
Joined
Feb 14, 2018
Messages
54
Reaction score
46
Rating - 0%
0   0   0
Couple updates:
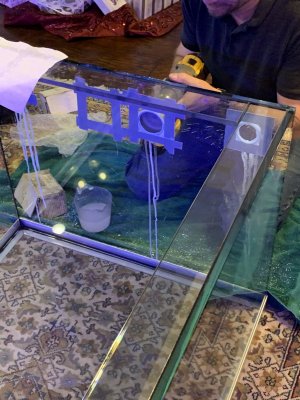
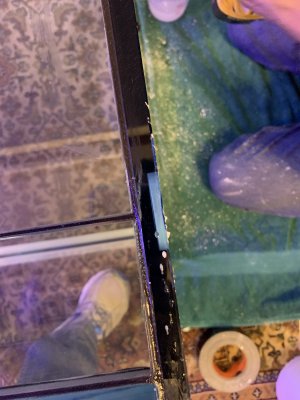
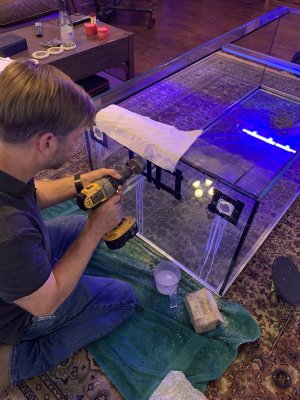
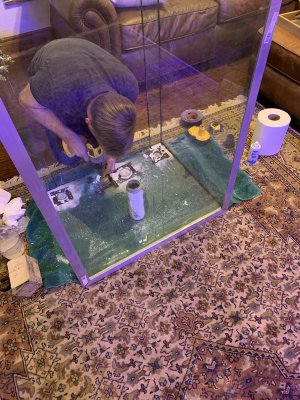
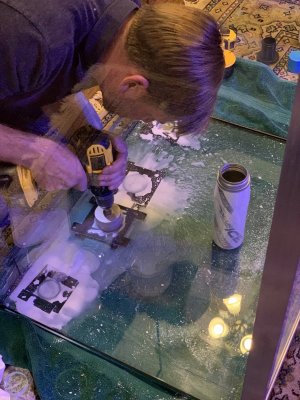
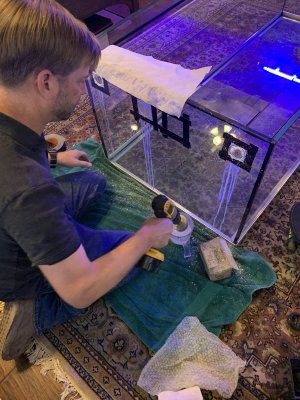
Glass is drilled and ready to pain the back and install the overflow.
The drilling was a cool process, I found the half drilled hole interesting.

62CF2057-14F7-4D44-94FD-7371A518BF9E.jpeg 78F4671A-F451-4ED6-AE17-2C962C821289.jpeg BBC9E884-1522-4866-8D0D-7FD4426EF381.jpeg 9BF3CB03-B884-471A-AE88-0DC8A61B3C41.jpeg 963458FF-2E7D-4579-A0F9-346F00AF4C3C.jpeg 9D59B815-0E5E-42AC-816B-F87F620D6196.jpeg
 
OP
OP
C

chap34

Community Member
View Badges
Joined
Feb 14, 2018
Messages
54
Reaction score
46
Rating - 0%
0   0   0
The builder poured concrete under the floor in the living room, Still gotta cut the hole from the living room to the fish room. Flooring in the fish room still needs sloped with mud, fiber glassed, mud again, then tiled... $$$
Then paint and FRP
The game room has to have a mini-split AC since the central air wasn’t powerful enough for the larger room $$$$$
Still a ways to go on the room unfortunately.

B12E0020-BE36-4C11-BEF2-9F355D2B220A.jpeg 23572194-ABF7-42B3-BF5D-C6EA0617F471.jpeg CE472B4A-2270-4115-A6AD-AC055D3FC0FC.jpeg 23D613DA-1C91-4A78-A77D-F6B13748BE46.jpeg
 
OP
OP
C

chap34

Community Member
View Badges
Joined
Feb 14, 2018
Messages
54
Reaction score
46
Rating - 0%
0   0   0
Last but not least!
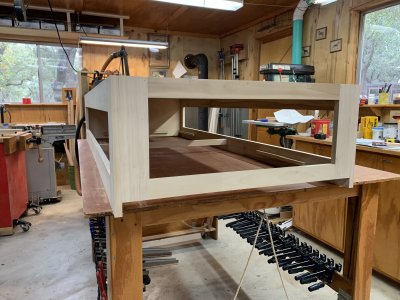
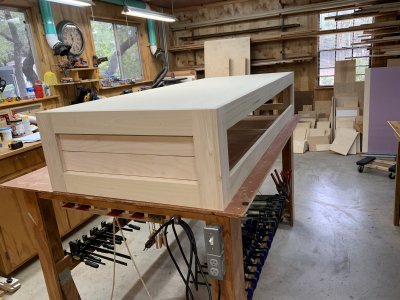
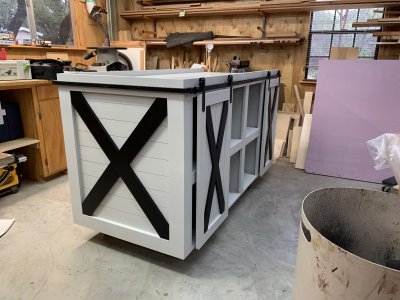
The stand is also done! Just gotta pick it up from the carpenter
I love how it turned out. I hope it looks as good with the tank in it

BE16814D-4300-4BD0-9F13-FC8B00A2A609.jpeg D6157C98-40F5-4F60-BB52-12580F96BD47.jpeg D6F05CCF-9E18-4910-BBD2-93021EB0C6B4.jpeg
 
OP
OP
C

chap34

Community Member
View Badges
Joined
Feb 14, 2018
Messages
54
Reaction score
46
Rating - 0%
0   0   0
Must be fun to build it yourself! I think I would have drilled before assembly... just in case. But looking good!
Oh I’m not doing it, I’ve got a glass friend and a wood working friend! The room is by a contractor “friend”
I help where I can but I’ve messed up enough to know this is not my skill set lol
Better to pay to have it done once than DIY and buy everything twice
 

chizerbunoi

Well-Known Member
View Badges
Joined
Dec 29, 2017
Messages
979
Reaction score
1,024
Rating - 0%
0   0   0
The black on white colours is very striking and fits nicely with the rest of the room decor. Are you removing the 120 or keeping it in place as well?
 
OP
OP
C

chap34

Community Member
View Badges
Joined
Feb 14, 2018
Messages
54
Reaction score
46
Rating - 0%
0   0   0
The black on white colours is very striking and fits nicely with the rest of the room decor. Are you removing the 120 or keeping it in place as well?
Thank you! The 120 will be re-homed to help off set some of the cost of the upgrade and free up space
 
OP
OP
C

chap34

Community Member
View Badges
Joined
Feb 14, 2018
Messages
54
Reaction score
46
Rating - 0%
0   0   0
Construction is finally done! I love how it turned out!
We did have some communication errors with the builder... we had to run water in from the upstairs, he only ran cold? There is no drain for the sink so I’ll have to run a pipe to the floor drain... I would have liked another power outlet on the tank side wall.

The tile looks great, I can’t wait to start getting equipment in place! But it’s hitting me how much work I have yet to do.

Timing couldn’t have been much worse, they finished construction Friday, we left for a week vacation Saturday. I’ll take more pictures when I get back.

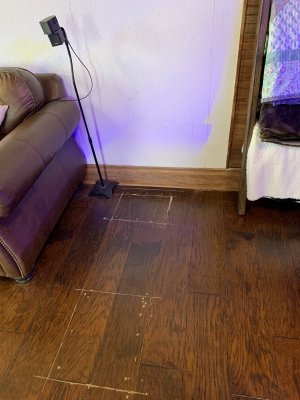
Next step is actually getting the stand from the carpenter, hopefully they day we get back. We are going to have to cut out the baseboard to get the tank to sit flush to the wall. For some reason the baseboard is inset under the drywall. Gonna have to use caulk to seal it back up.

44B9C201-E619-4761-9314-B3B2AC6C74C2.jpeg
 

chizerbunoi

Well-Known Member
View Badges
Joined
Dec 29, 2017
Messages
979
Reaction score
1,024
Rating - 0%
0   0   0
Sorry to hear about the builder issues. Hot water and a drain are important. must have contracted the plumbing out.

Hopefully you. An get it all sorted out. If the electrical outlet is GFCI then just run some DJ power outlets? Then tie your controller to that? Should be more than enough power.

I installed two 20 amp circuits which was total overkill.
 
OP
OP
C

chap34

Community Member
View Badges
Joined
Feb 14, 2018
Messages
54
Reaction score
46
Rating - 0%
0   0   0
Hopefully you can get it all sorted out. If the electrical outlet is GFCI then just run some DJ power outlets? Then tie your controller to that? Should be more than enough power.

I installed two 20 amp circuits which was total overkill.
Unfortunately I couldn’t upgrade the wiring, I’m stuck with one 20 amp,
Even if both heaters, the chiller, all the lights, all the pumps and power heads are on at the same time, it shouldn’t trip.
I’ll have to watch it if I add a frag system though.
 

High pressure shells: Do you look for signs of stress in the invertebrates in your reef tank?

  • I regularly look for signs of invertebrate stress in my reef tank.

    Votes: 37 31.6%
  • I occasionally look for signs of invertebrate stress in my reef tank.

    Votes: 28 23.9%
  • I rarely look for signs of invertebrate stress in my reef tank.

    Votes: 22 18.8%
  • I never look for signs of invertebrate stress in my reef tank.

    Votes: 30 25.6%
  • Other.

    Votes: 0 0.0%
Back
Top