Navigation
Install the app
How to install the app on iOS
Follow along with the video below to see how to install our site as a web app on your home screen.
Note: This feature may not be available in some browsers.
More options
You are using an out of date browser. It may not display this or other websites correctly.
You should upgrade or use an alternative browser.
You should upgrade or use an alternative browser.
Aaron's 1,000+ gallon reef build
- Build Thread
- Thread starter MimicOcto8
- Start date
- Tagged users None


crusso1993
7500 Club Member
View BadgesTampa Bay Reef Keepers
West Palm Beach Reefer
Hospitality Award
Ocala Reef Club Member
MAC of SW Florida
Trex deck and evergreen decking are a composite material of recycled products and sawdust. Recycled products include newspaper, plastic, etc...
Yup they are and all composite decking has recycled materials in them other than plastic/pvc. Additionally, Trex and many other types of composite are only sealed on three sides. I, for one, wouldn't use anything that wasn't 100% plastic/pvc.

Yup they are and all composite decking has recycled materials in them other than plastic/pvc. Additionally, Trex and many other types of composite are only sealed on three sides. I, for one, wouldn't use anything that wasn't 100% plastic/pvc.
I am way out of my element on knowing if a product will leach or not but wouldn’t sealing those items with the pond sealer solve any leaching issues? My non-scientific brain says if it keeps water from soaking through the wood then surely it would keep water from sucking out chemicals from whatever those are made of.
crusso1993
7500 Club Member
View BadgesTampa Bay Reef Keepers
West Palm Beach Reefer
Hospitality Award
Ocala Reef Club Member
MAC of SW Florida
I am way out of my element on knowing if a product will leach or not but wouldn’t sealing those items with the pond sealer solve any leaching issues? My non-scientific brain says if it keeps water from soaking through the wood then surely it would keep water from sucking out chemicals from whatever those are made of.
Sealing them with pond sealer would, in fact, stop any leaching. I would imagine that one might have to "prep" the surface to get really good adhesion from the pond sealer.
@MimicOcto8 - apologies on kind of high-jacking your build.

Yup they are and all composite decking has recycled materials in them other than plastic/pvc. Additionally, Trex and many other types of composite are only sealed on three sides. I, for one, wouldn't use anything that wasn't 100% plastic/pvc.
I'm guessing this will be sealed with expoxy all around. Composite decking has fungicides in them to prevent damage by elements. Trex had a problem with their early product and warranties because the planks would rot and grow fungus.

This is a very unique build and looking forward to the progression ... ;Woot
OP
OP
Great conversations everyone.
Yes I put a ton of thought in to the baffles. In fact all that thought came early on with how I was gonna support my windows. The brackets for the windows are indeed trex. After 2014 trex no longer made their early generation panels because of the impurities such as mold. So I bought newer generation trex which is also 95% recycled materials all of which is more or less “reef safe”. Like using a 5 gallon bucket from Lowe’s or a fish/coral bag to bring home your new addition. I have considered greatly about putting an additional layer of pond armor on the remaining baffles. But what about the GE silicone 1 that we all know as reef safe? Is it that much safer than the 5% of unknown material in the trex? I have over 15 tubes of silicon so far in this build. All of which is not paintable. Of course with enough pond armor you can coat it and seal it but that’s expensive. But how safe is that much silicone?? So for now I choose to trust I made the right decision on the trex and not coat it. If I find I have a problem later I will simply fix it. A build this big means you’re invested committed and will to do what needs to be done when it needs it. For now I don’t see a need
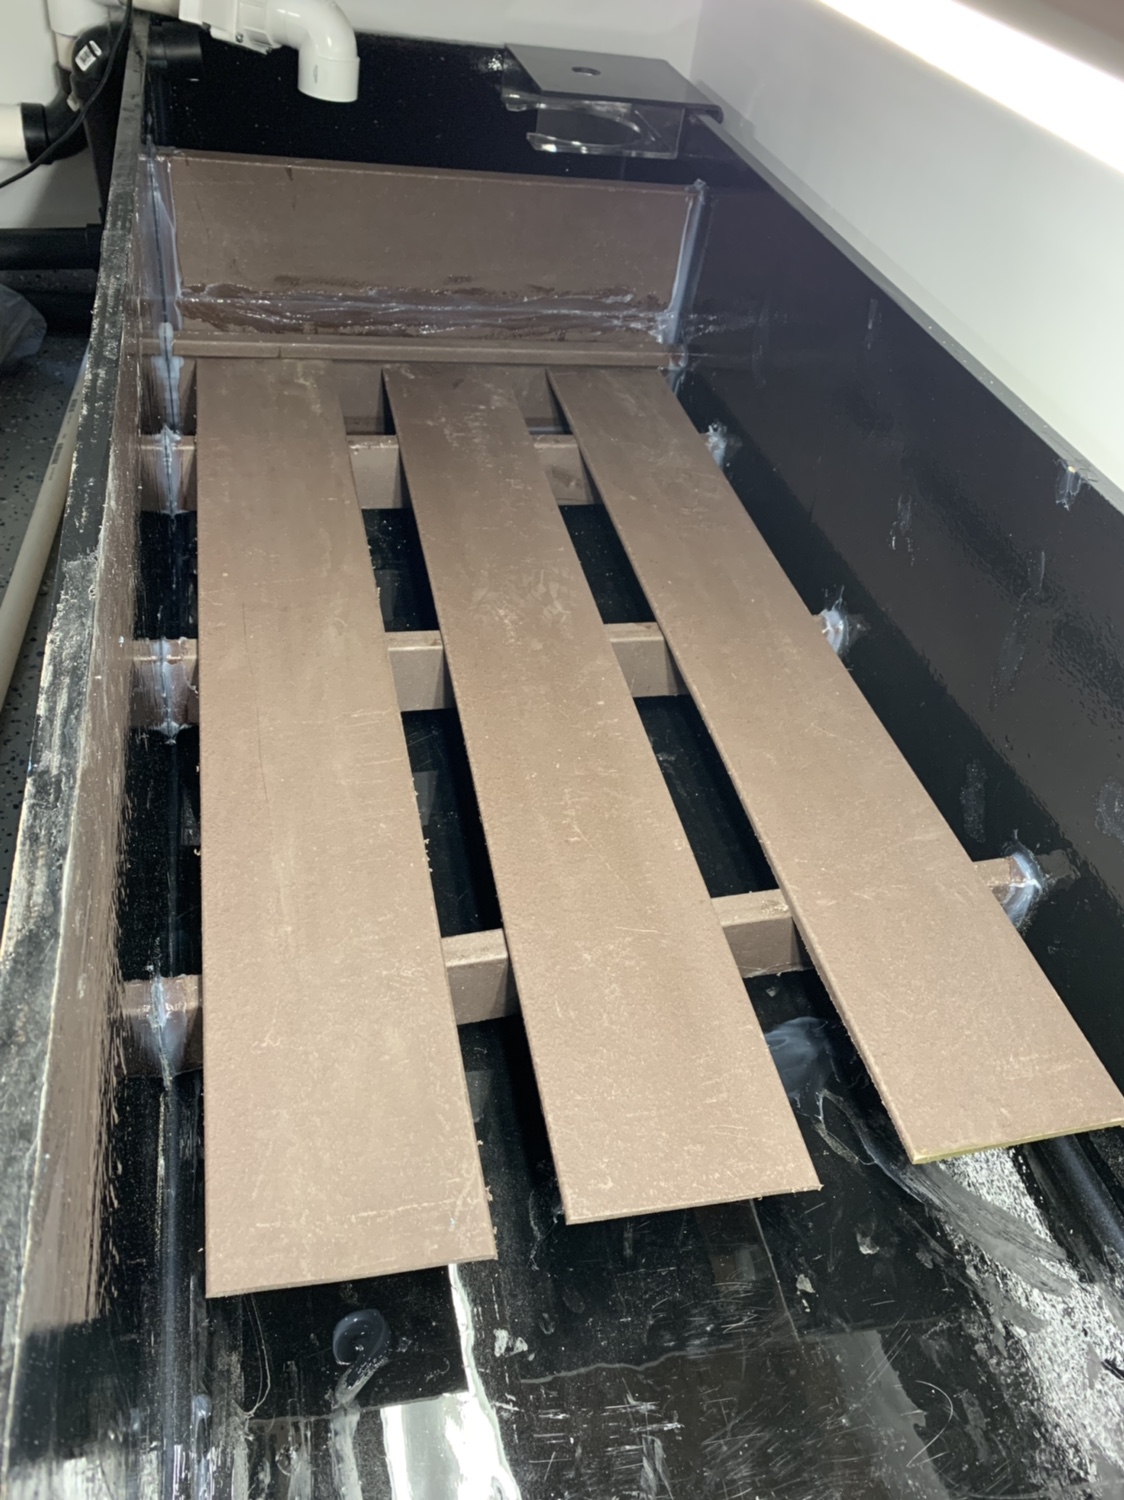
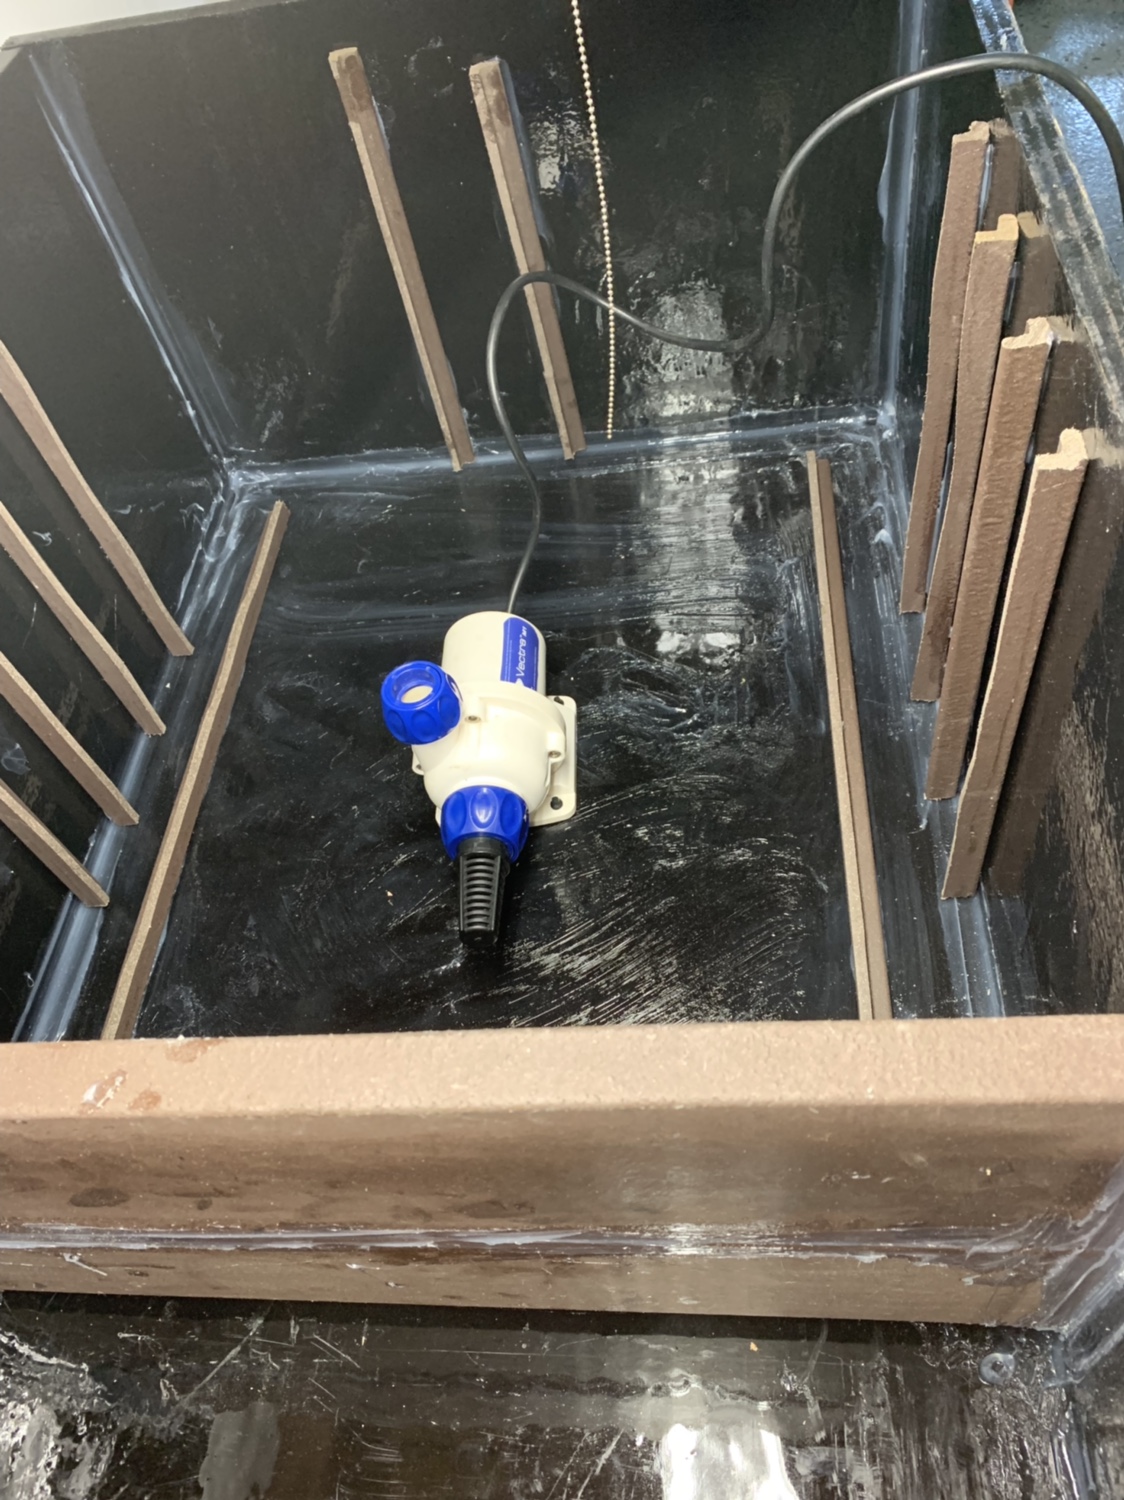
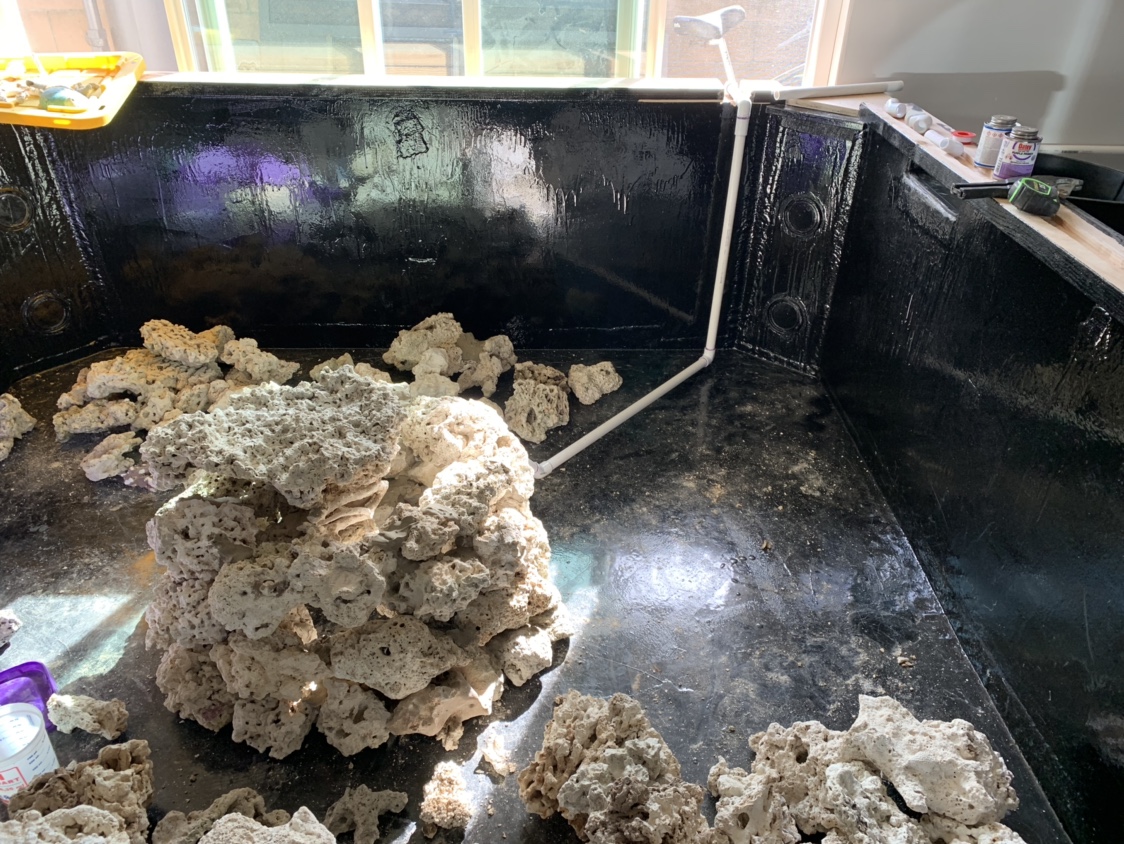
New updates. Started the rough draft of pluming and added baffles to the sump for a “floating” floor to lay rock on.
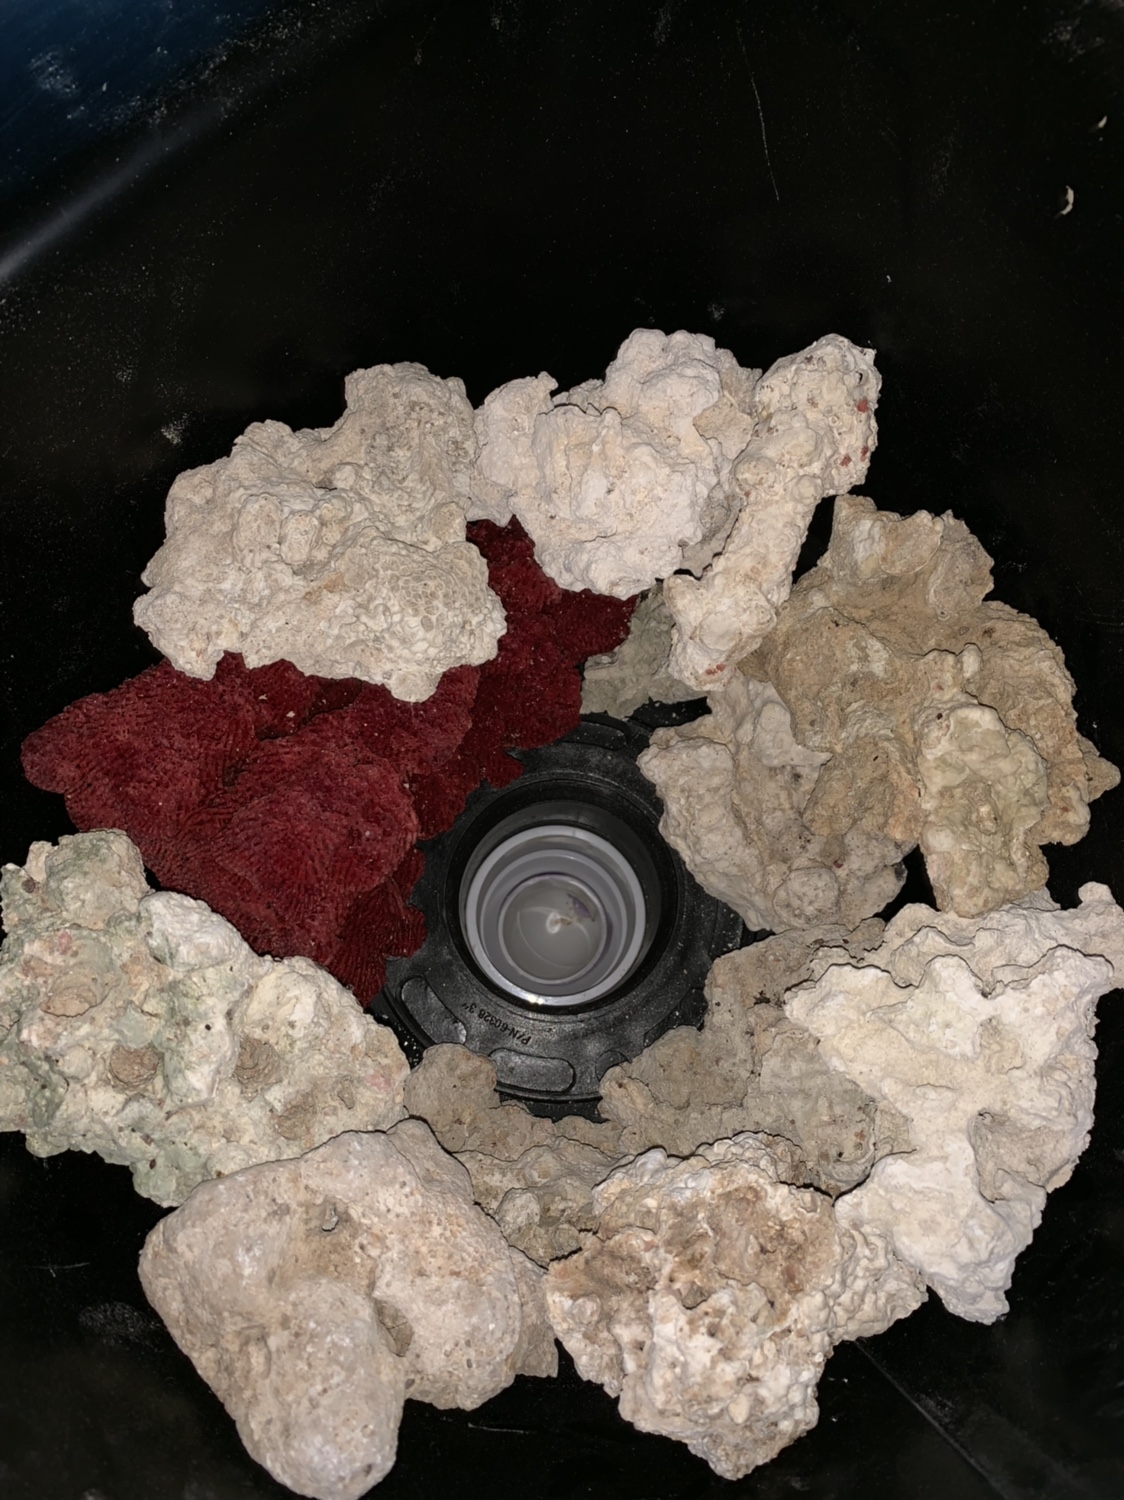
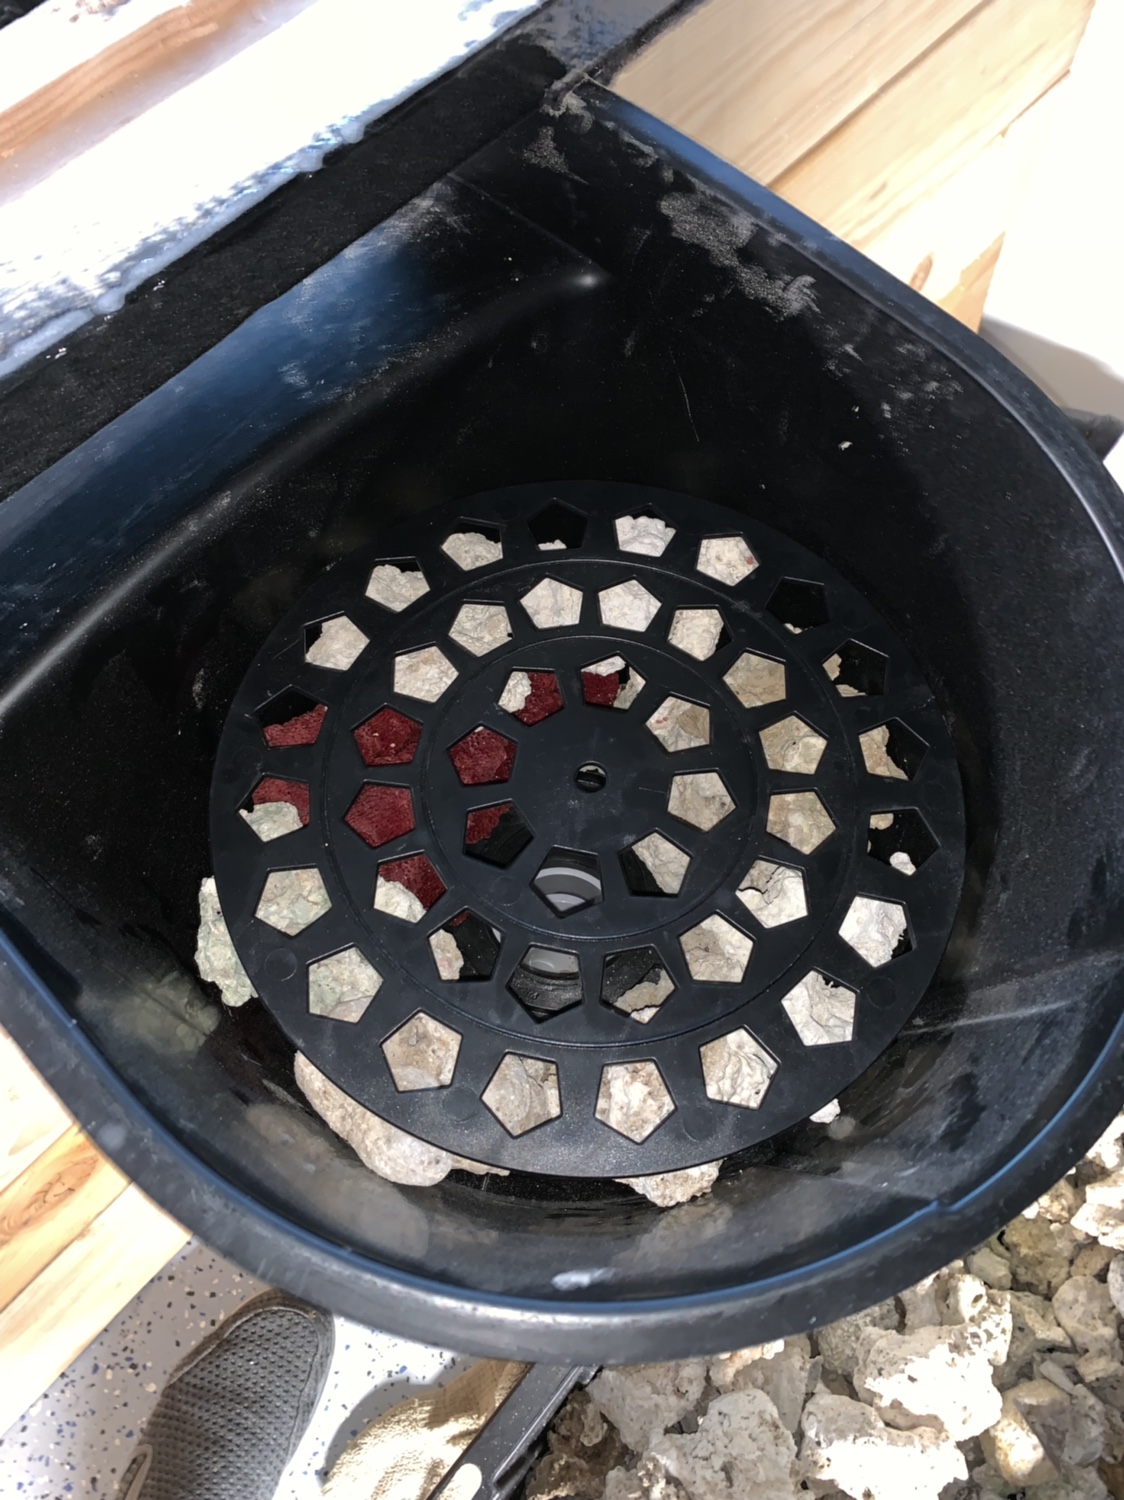
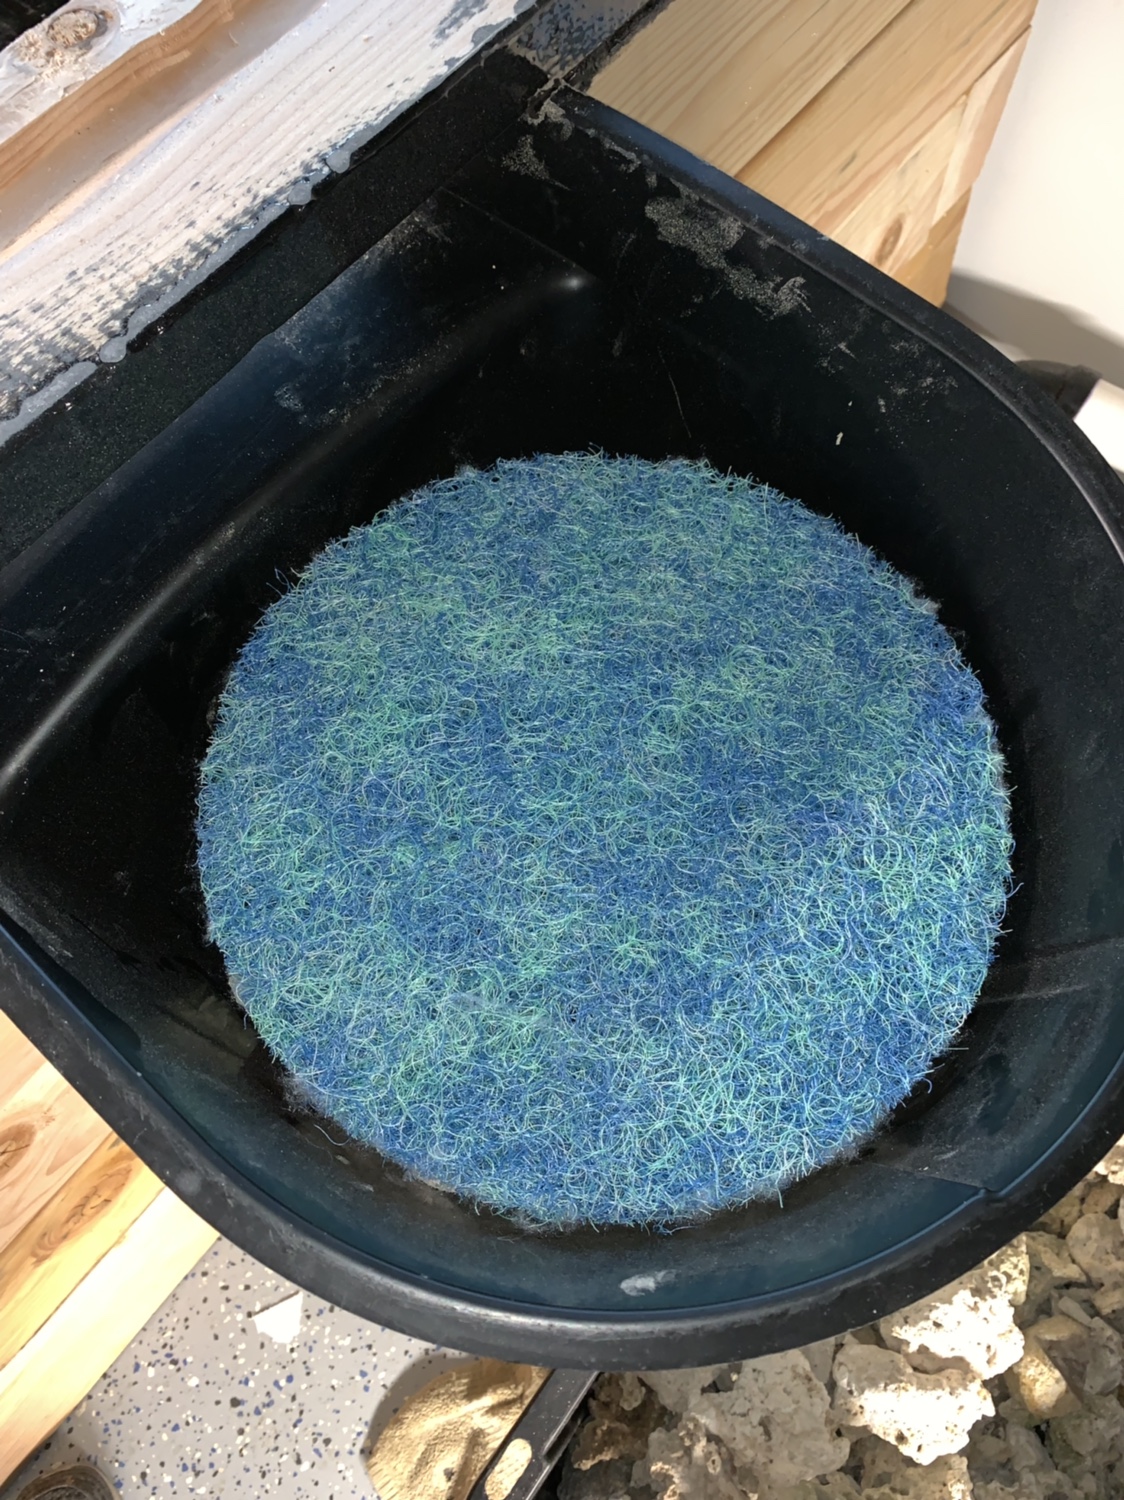
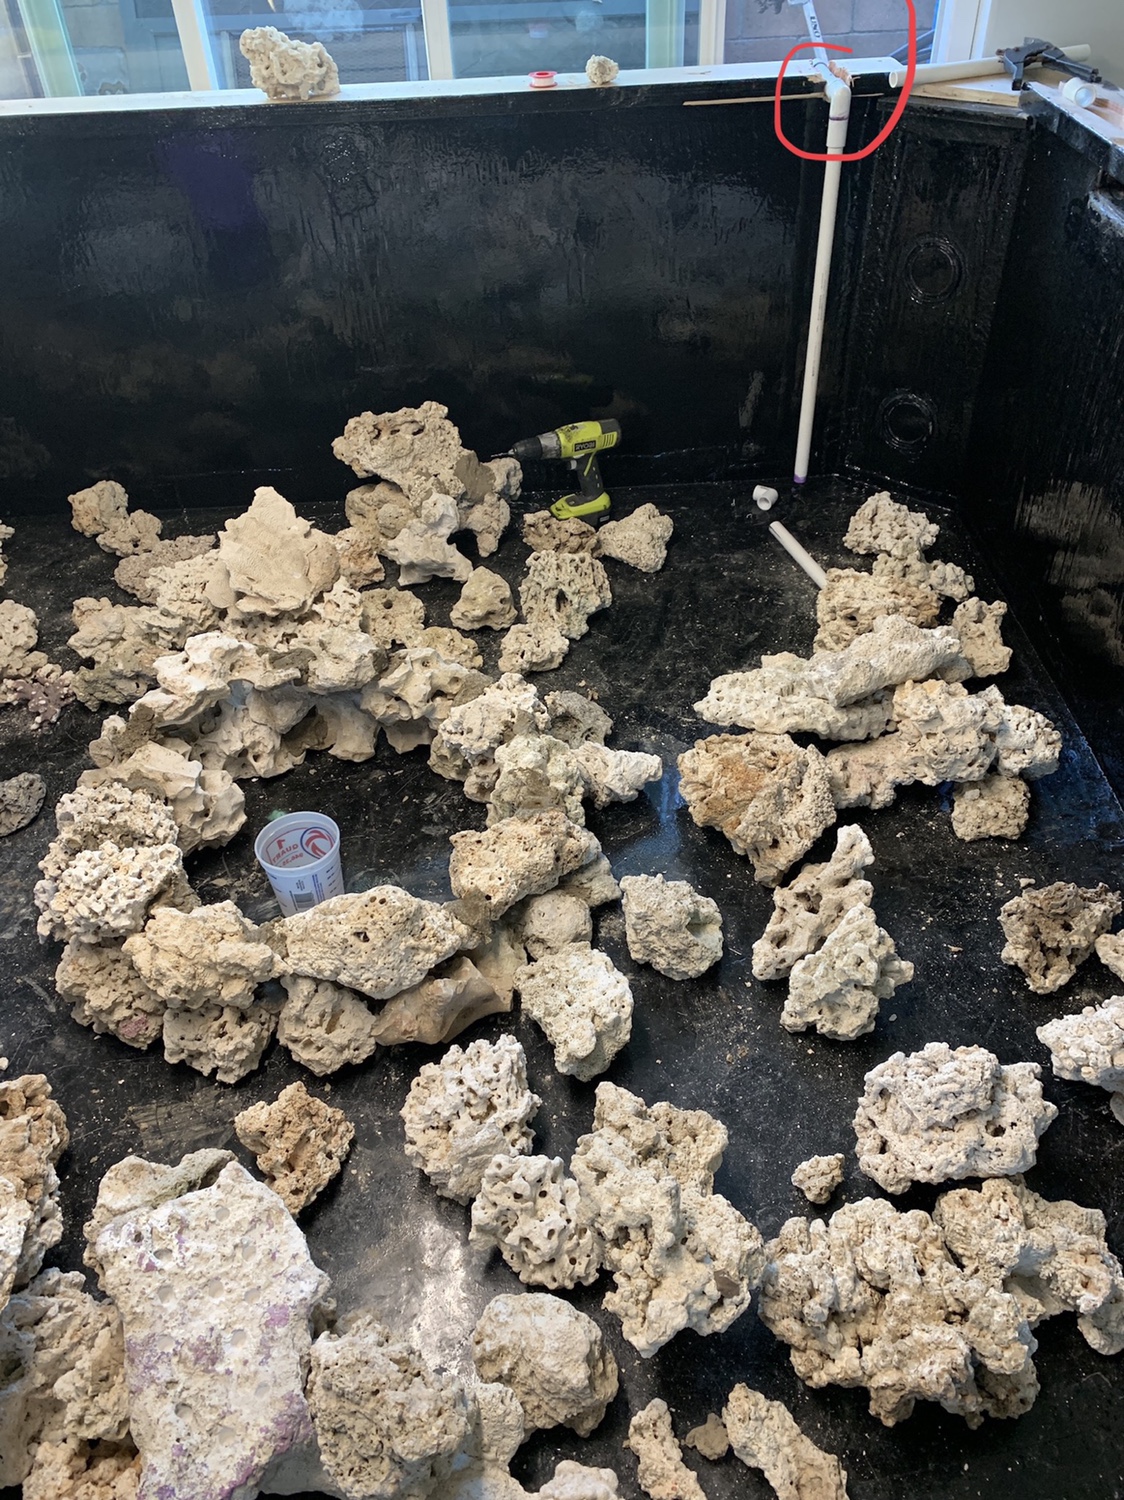
Also added rock to my overflow filter for added biological filtration.
The black plumbing will be the emergency overflow to outside.
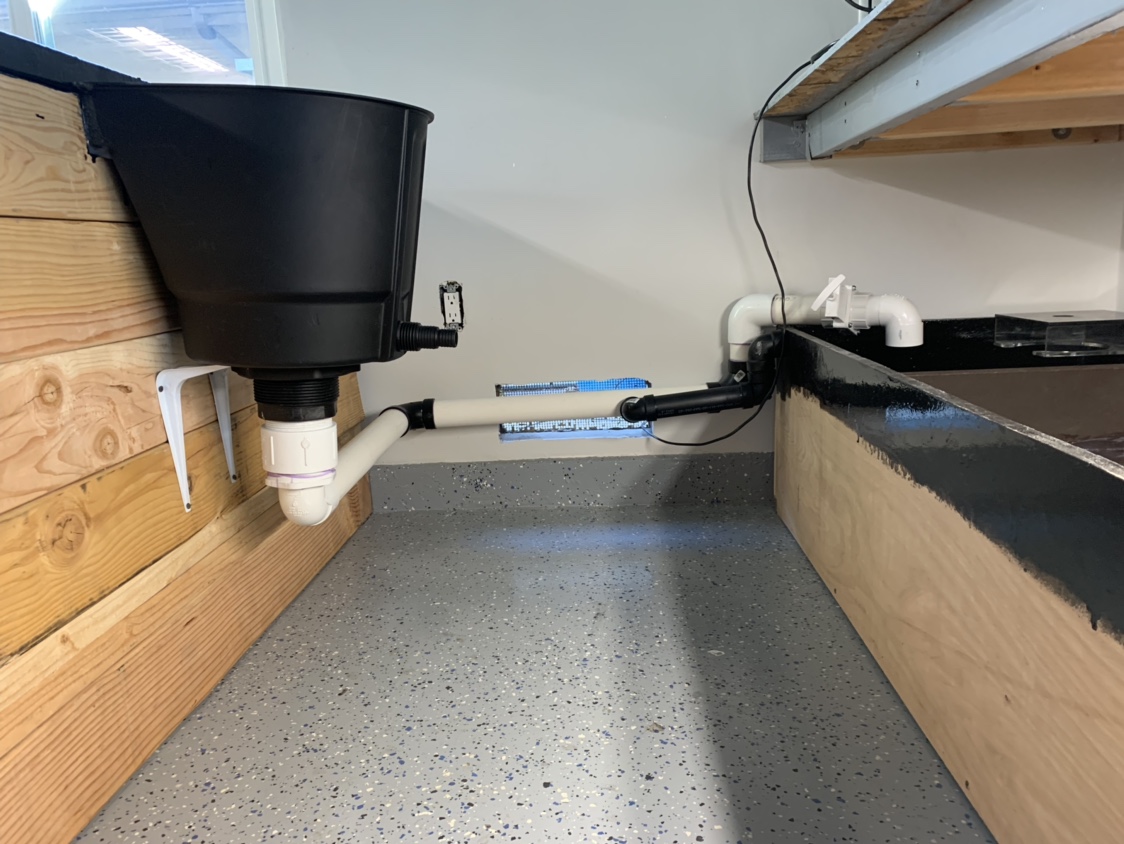
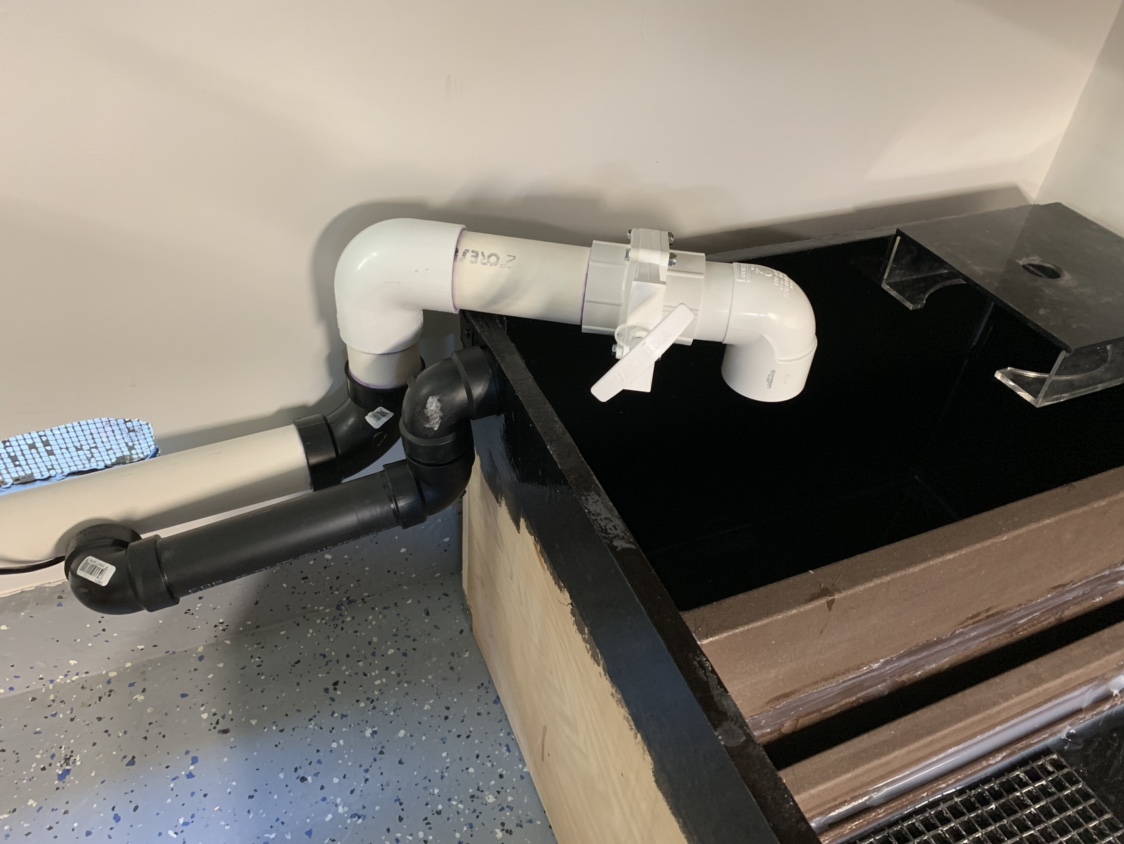
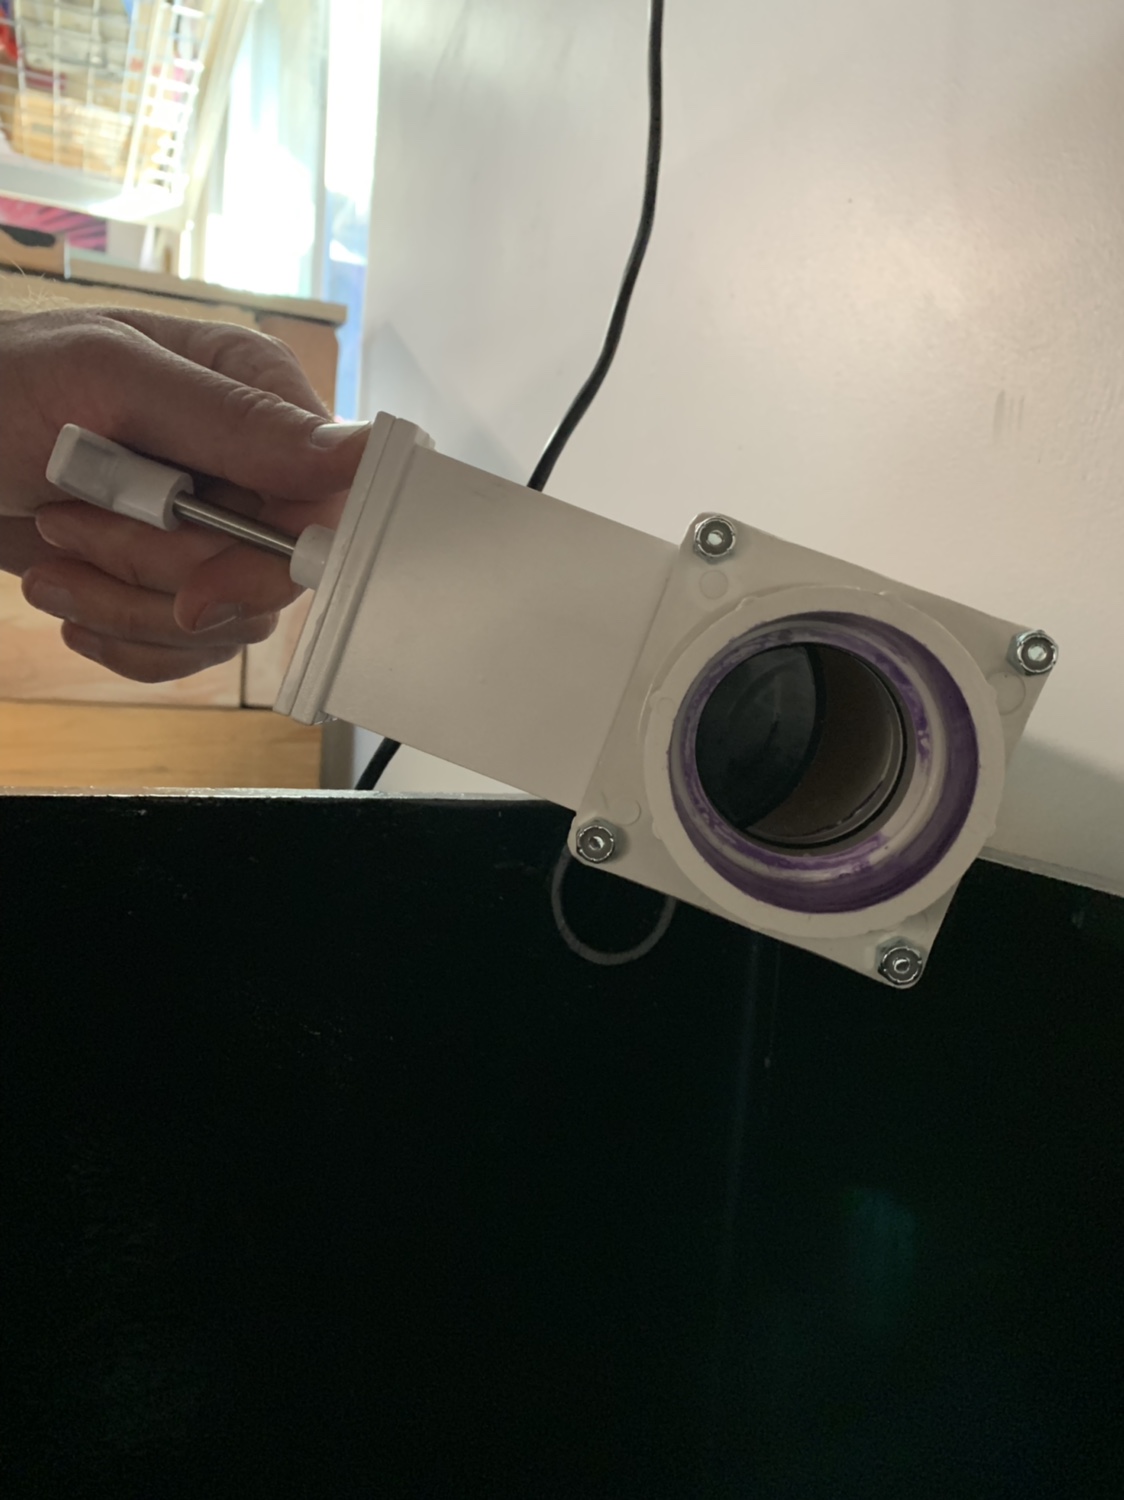
Gate valve to keep a nice quiet flow. I installed it at an angle just Incase the gate got loose and and wanted to move. The angle will limit its movement.
I’ll lay egg crate or more trex down over these floating baffles. Then I’ll lay rock on them. I’ll install 4-6 power heads above and below to keep detritus suspended. The rocks are just there to support them while the silicone drys.


Yes I put a ton of thought in to the baffles. In fact all that thought came early on with how I was gonna support my windows. The brackets for the windows are indeed trex. After 2014 trex no longer made their early generation panels because of the impurities such as mold. So I bought newer generation trex which is also 95% recycled materials all of which is more or less “reef safe”. Like using a 5 gallon bucket from Lowe’s or a fish/coral bag to bring home your new addition. I have considered greatly about putting an additional layer of pond armor on the remaining baffles. But what about the GE silicone 1 that we all know as reef safe? Is it that much safer than the 5% of unknown material in the trex? I have over 15 tubes of silicon so far in this build. All of which is not paintable. Of course with enough pond armor you can coat it and seal it but that’s expensive. But how safe is that much silicone?? So for now I choose to trust I made the right decision on the trex and not coat it. If I find I have a problem later I will simply fix it. A build this big means you’re invested committed and will to do what needs to be done when it needs it. For now I don’t see a need
New updates. Started the rough draft of pluming and added baffles to the sump for a “floating” floor to lay rock on.
Also added rock to my overflow filter for added biological filtration.
The black plumbing will be the emergency overflow to outside.
Gate valve to keep a nice quiet flow. I installed it at an angle just Incase the gate got loose and and wanted to move. The angle will limit its movement.
I’ll lay egg crate or more trex down over these floating baffles. Then I’ll lay rock on them. I’ll install 4-6 power heads above and below to keep detritus suspended. The rocks are just there to support them while the silicone drys.
Last edited:
Looking awesome amigo!Great conversations everyone.
Yes I put a ton of thought in to the baffles. In fact all that thought came early on with how I was gonna support my windows. The brackets for the windows are indeed trex. After 2014 trex no longer made their early generation panels because of the impurities such as mold. So I bought newer generation trex which is also 95% recycled materials all of which is more or less “reef safe”. Like using a 5 gallon bucket from Lowe’s or a fish/coral bag to bring home your new addition. I have considered greatly about putting an additional layer of pond armor on the remaining baffles. But what about the GE silicone 1 that we all know as reef safe? Is it that much safer than the 5% of unknown material in the trex? I have over 15 tubes of silicon so far in this build. All of which is not paintable. Of course with enough pond armor you can coat it and seal it but that’s expensive. But how safe is that much silicone?? So for now I choose to trust I made the right decision on the trex and not coat it. If I find I have a problem later I will simply fix it. A build this big means you’re invested committed and will to do what needs to be done when it needs it. For now I don’t see a need
New updates. Started the rough draft of pluming and added baffles to the sump for a “floating” floor to lay rock on.
Also added rock to my overflow filter for added biological filtration.
The black plumbing will be the emergency overflow to outside.
Gate valve to keep a nice quiet flow. I installed it at an angle just Incase the gate got loose and and wanted to move. The angle will limit its movement.
I’ll lay egg crate or more trex down over these floating baffles. Then I’ll lay rock on them. I’ll install 4-6 power heads above and below to keep detritus suspended. The rocks are just there to support them while the silicone drys.
One question, will you be pulling off a Houdini trick to get the long 2x4 out of that sump? Lol
I lied, one more question. How much longer!? I wanna see this thing up and running! Haha

OP
OP
Looking awesome amigo!
One question, will you be pulling off a Houdini trick to get the long 2x4 out of that sump? Lol
I lied, one more question. How much longer!? I wanna see this thing up and running! Haha
Haha! I totally wasn’t thinking and when I woke up the next day and looked at that 2x4 and did this [emoji1751][emoji3603]. I used a forstner bit and drilled through most of it till I could break it in half. Lol maybe 1 too many beers [emoji481] that night.
OP
OP
How are you going to be heating this bad boy?
Once I get the heating system all done I’ll be sure to post about it and explain it all. I will need pictures to explain it.

OP
OP
May I ask why you chose to put the build on the floor? Epoxy looks good just wondering how you will see into the tank
My favorite way to view reefs are from the top down.
- Joined
- Feb 26, 2014
- Messages
- 467
- Reaction score
- 209
Any updates

OP
OP
Sorry for the slow progress fellas. Working 10 straight days back to back.
I did however get these bad boys in!! All thanks to Dan (sntmods). I needed at least 4 of my MP40WQDs cables extended 4’. He took on the challenge and exceeded my expectations.
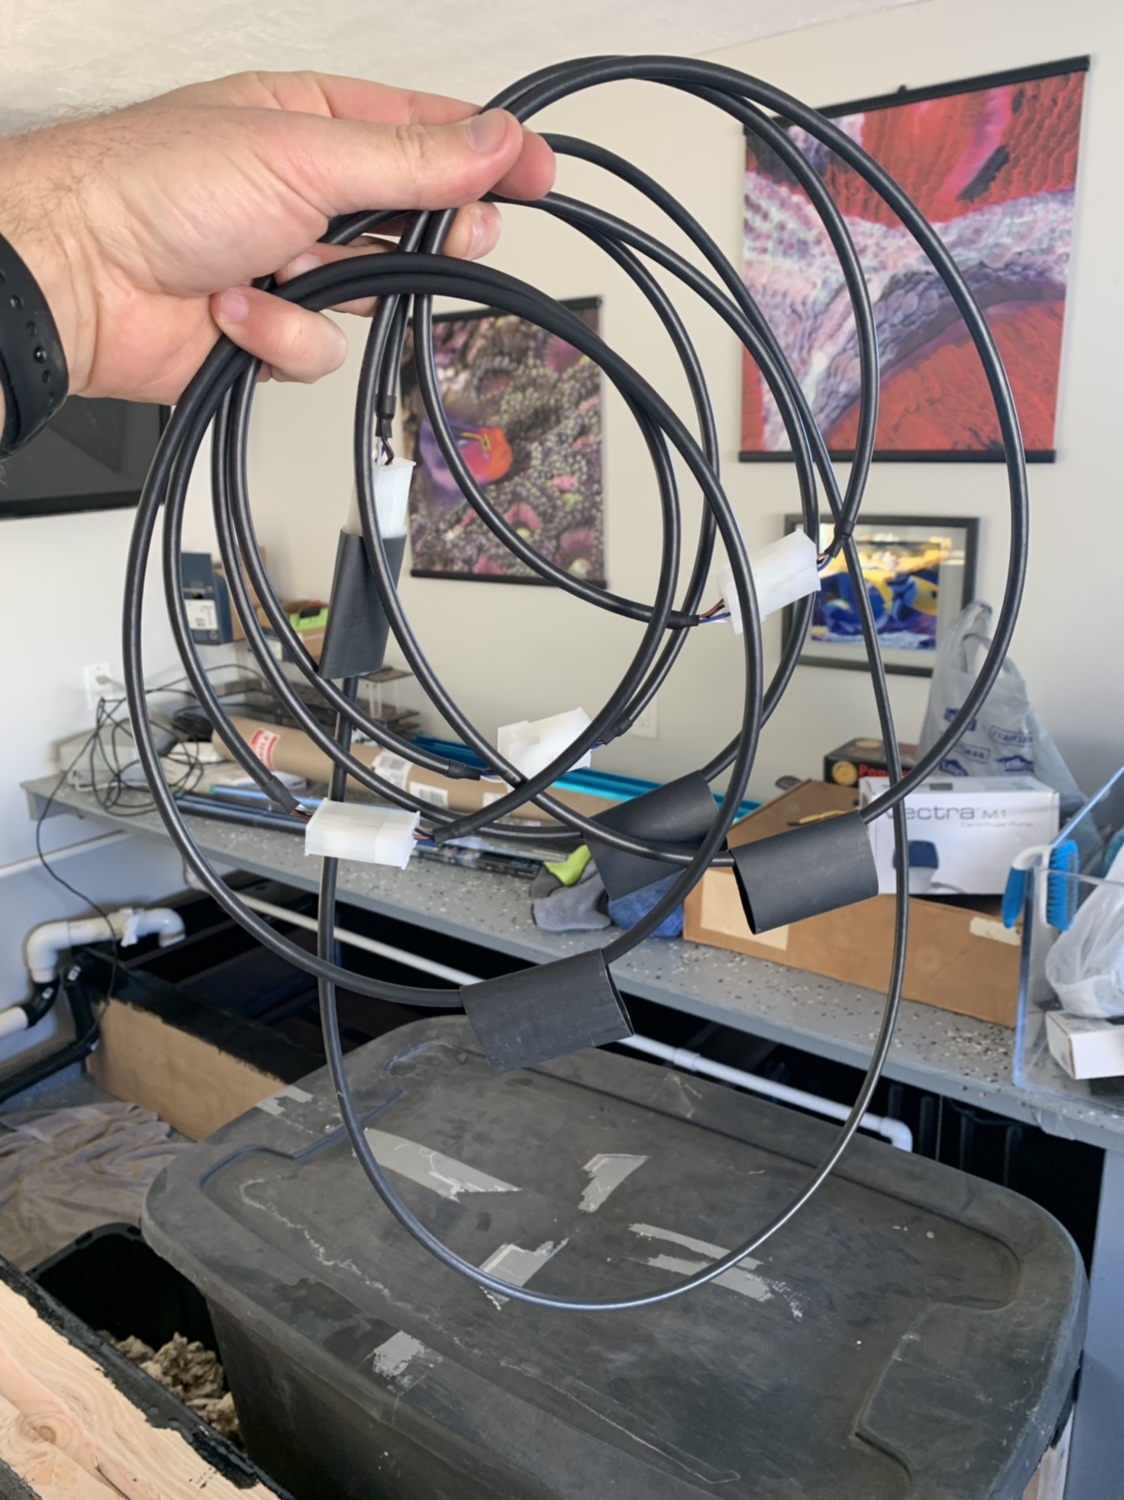
I did however get these bad boys in!! All thanks to Dan (sntmods). I needed at least 4 of my MP40WQDs cables extended 4’. He took on the challenge and exceeded my expectations.
OP
OP
Made these shelves which will hold rock. I’ll have a powerhead on top of them and under them. Maybe I’ll use a maxspect 250 gyre there.
Made these ribs on the return pump side of the sump. They’ll protect the epoxy from my heating system.
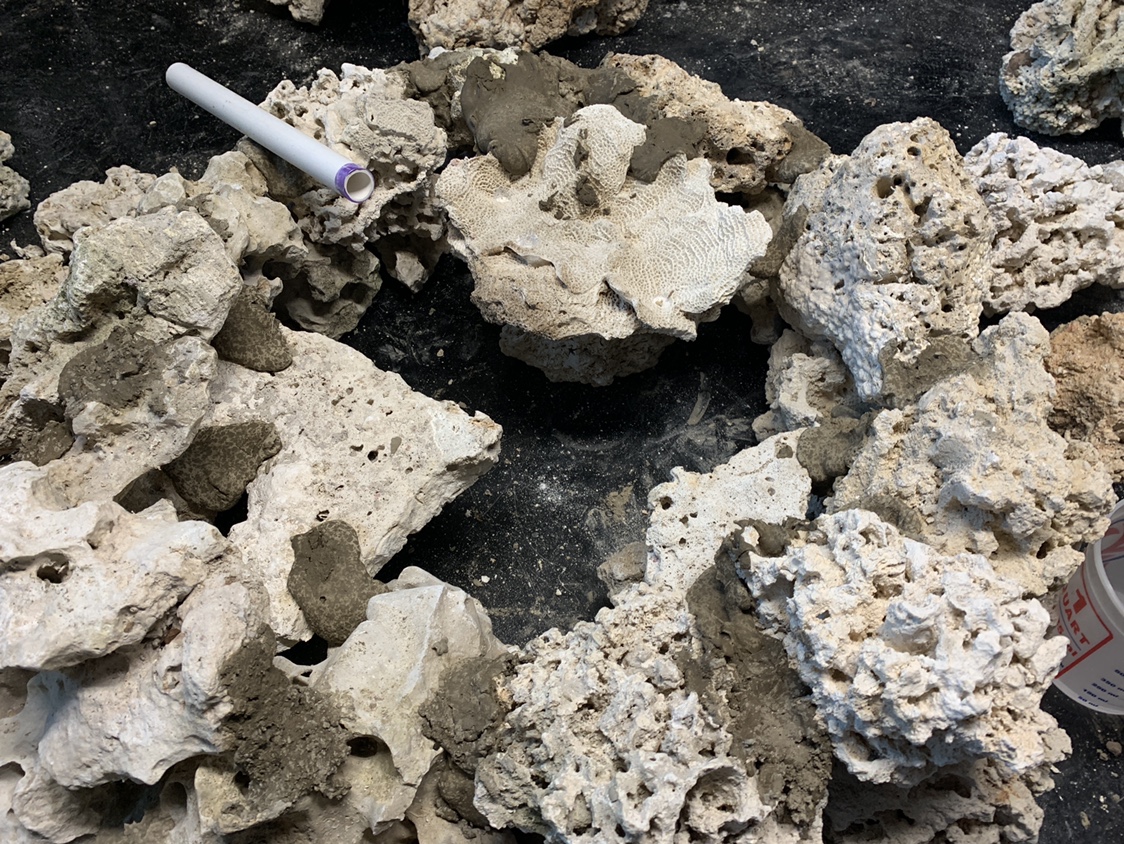
Building up my rockscape again.

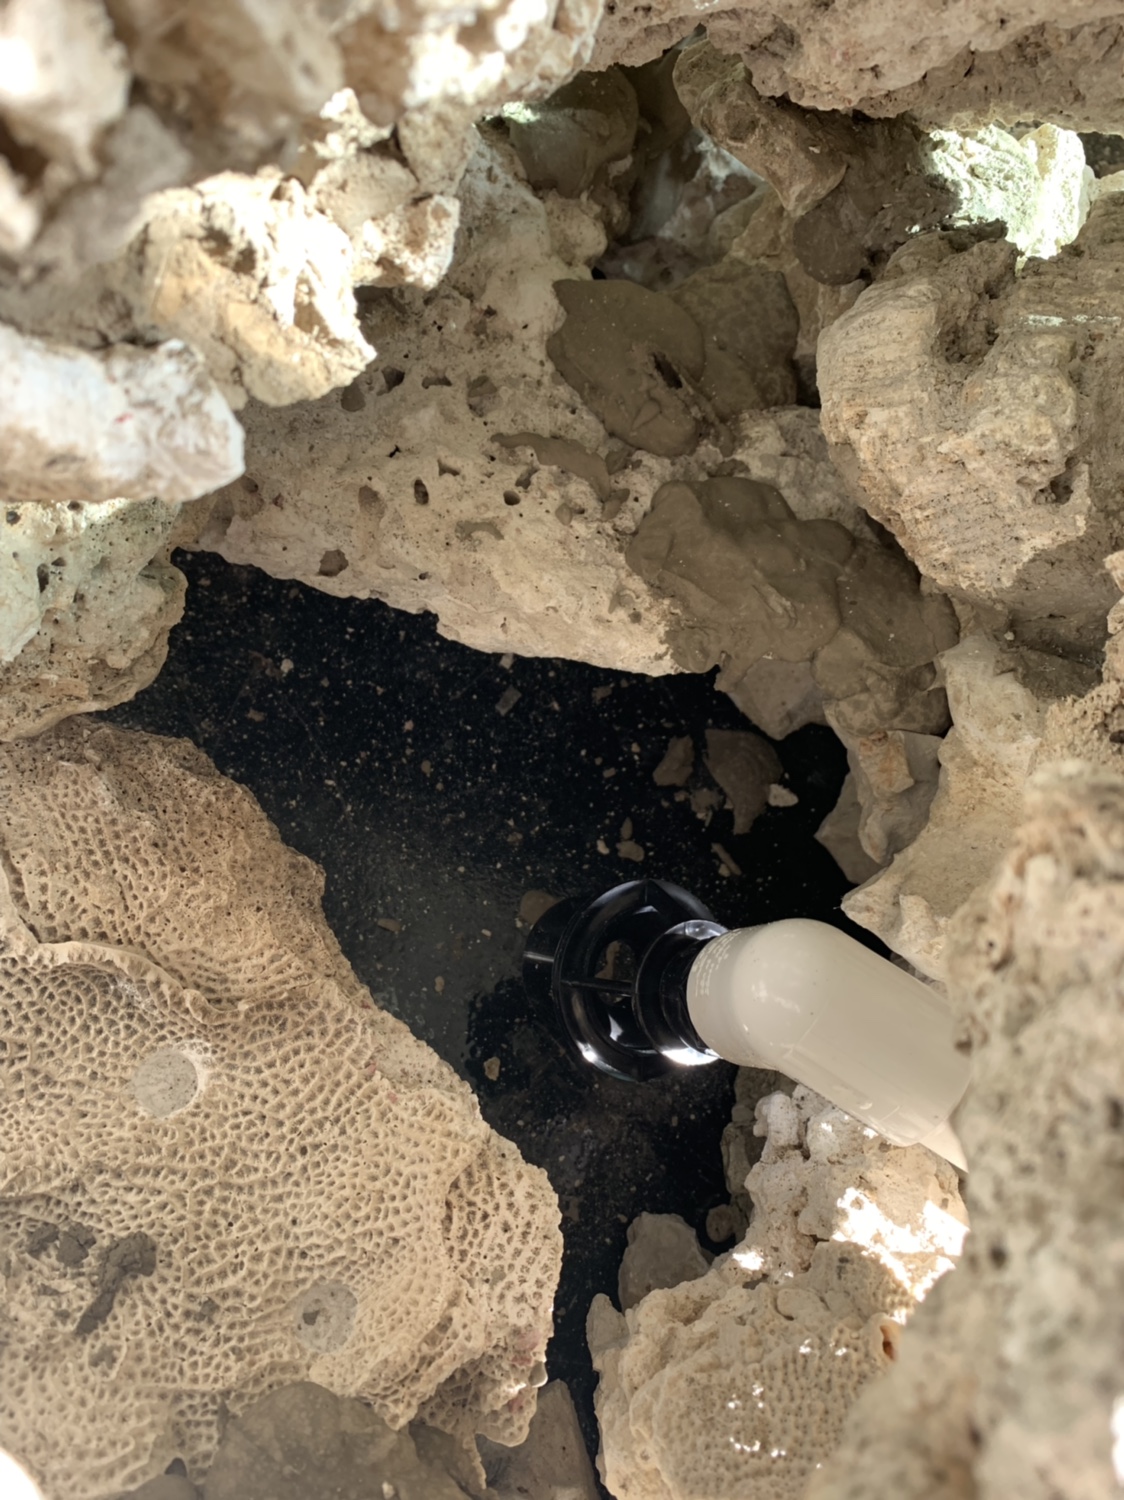
Plumbing my return to the center of the “Volcano”
Cemented in three shelves to hold the main and top rock structure.
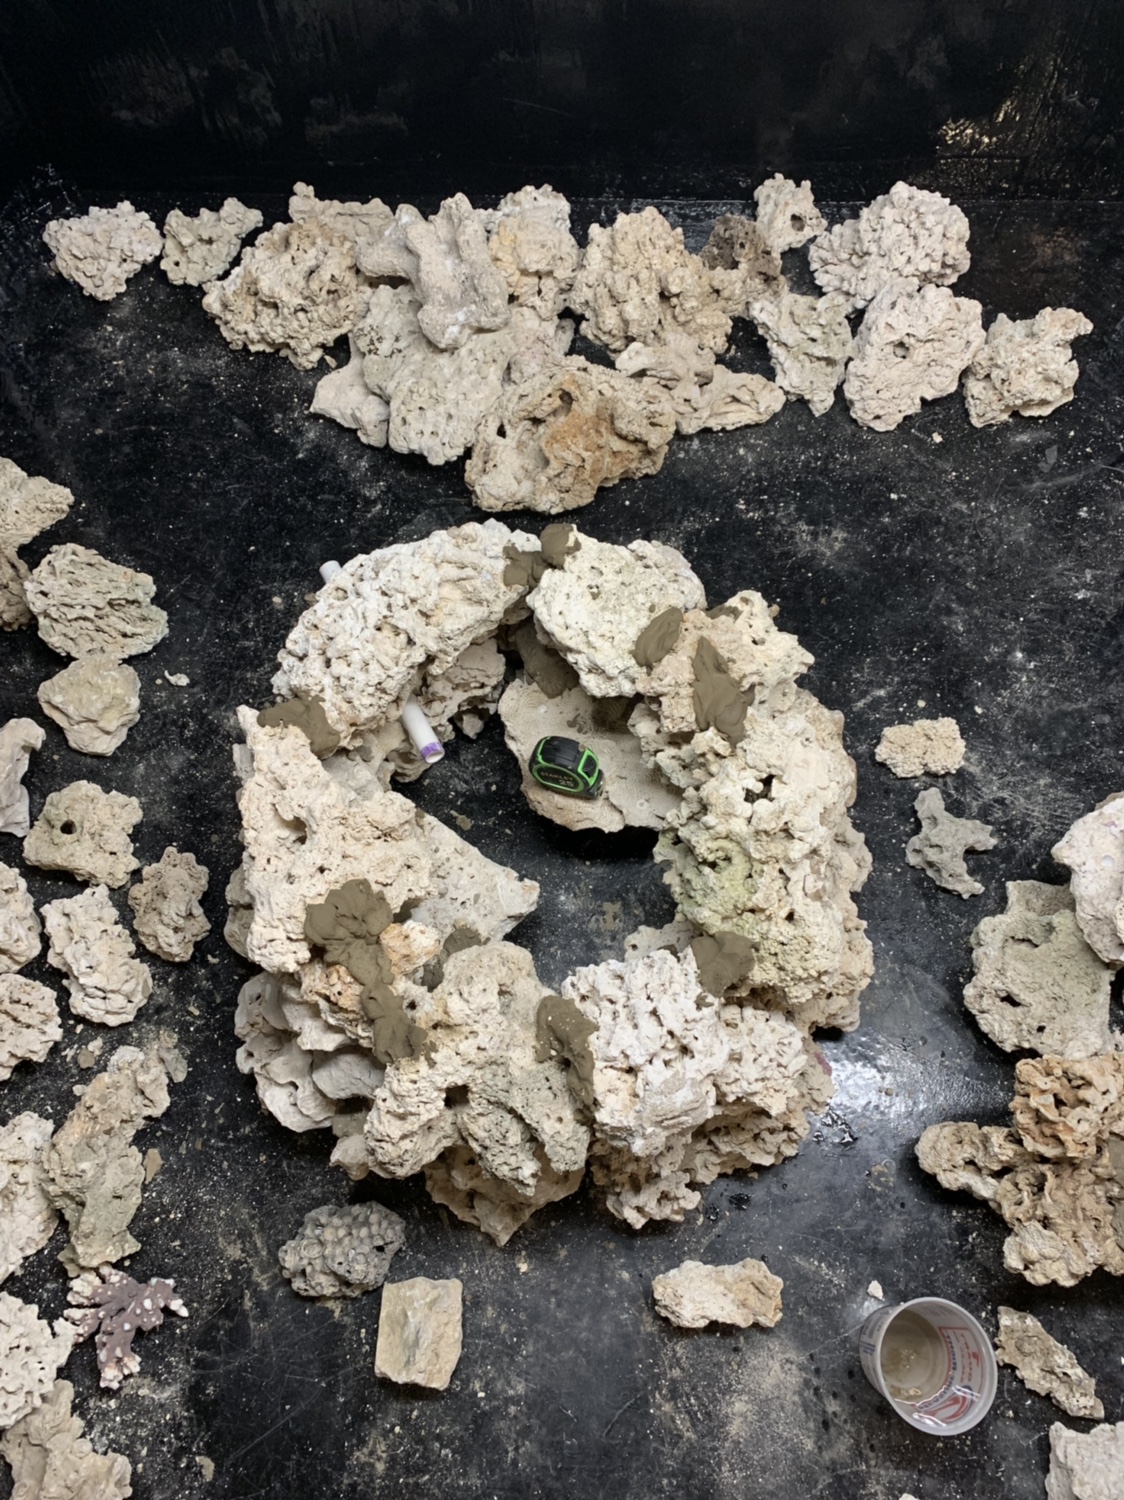
I’ll be painting the pvc black. I am also keeping it off the floor to allow water movement under it. This is not the final rockscape. Much more to do.

Using a CPR eductor for the center of the mountain
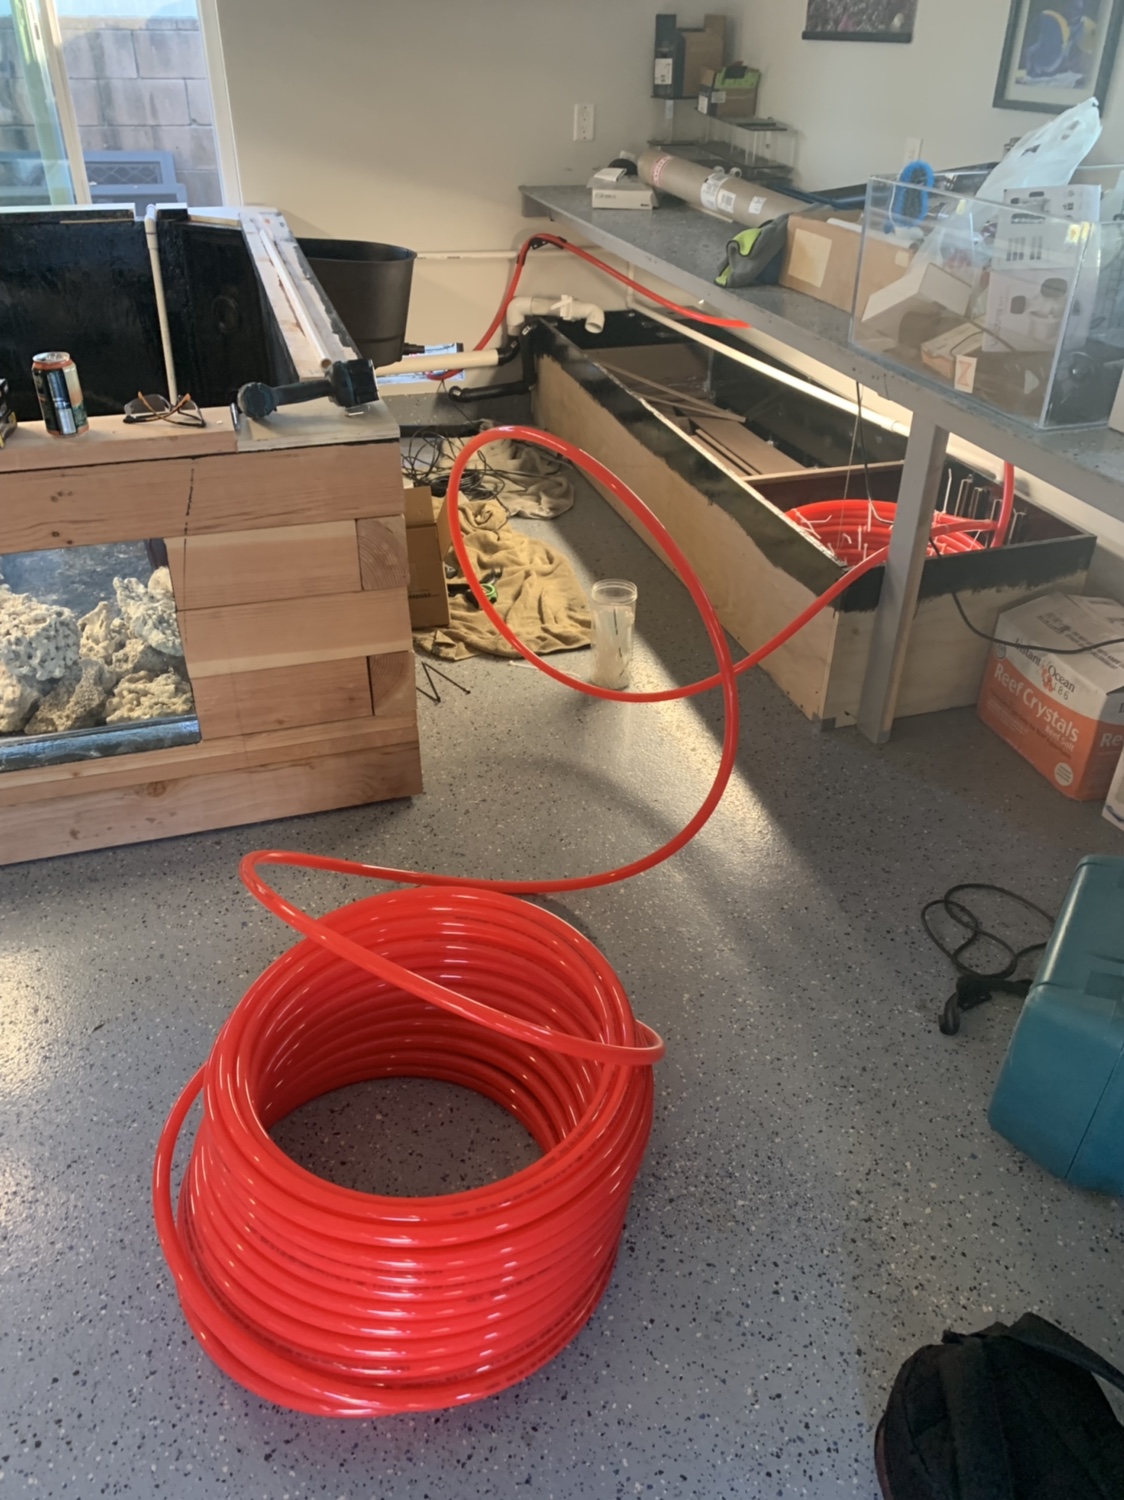
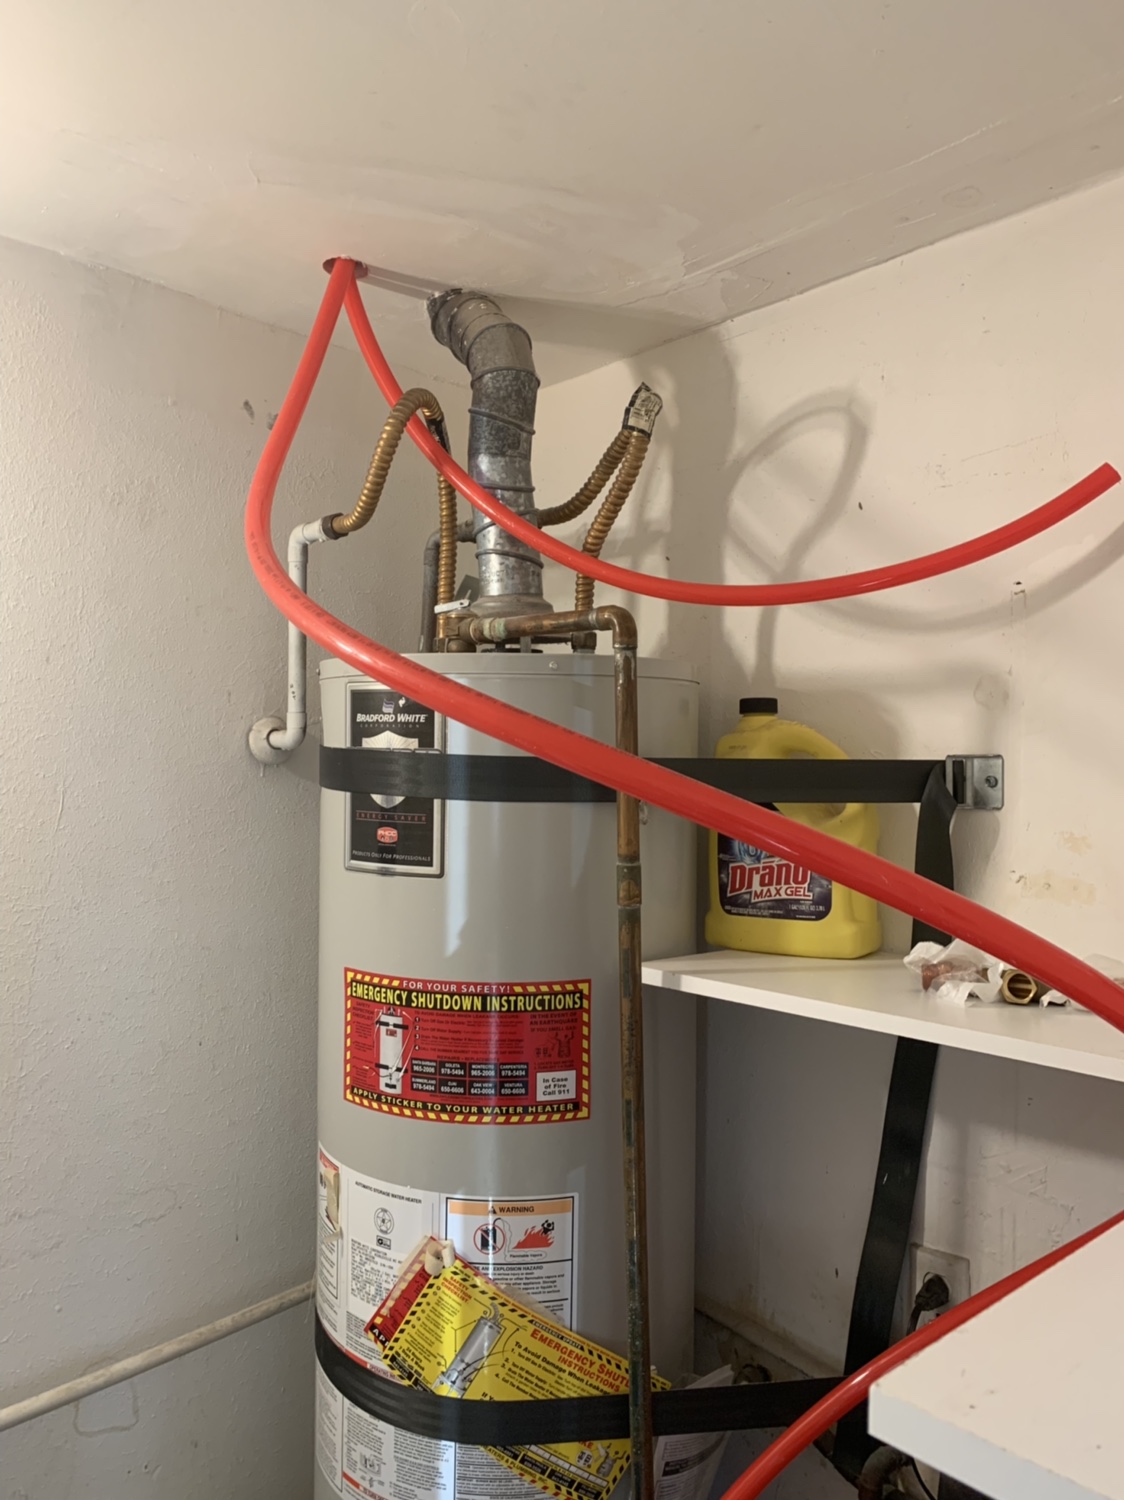
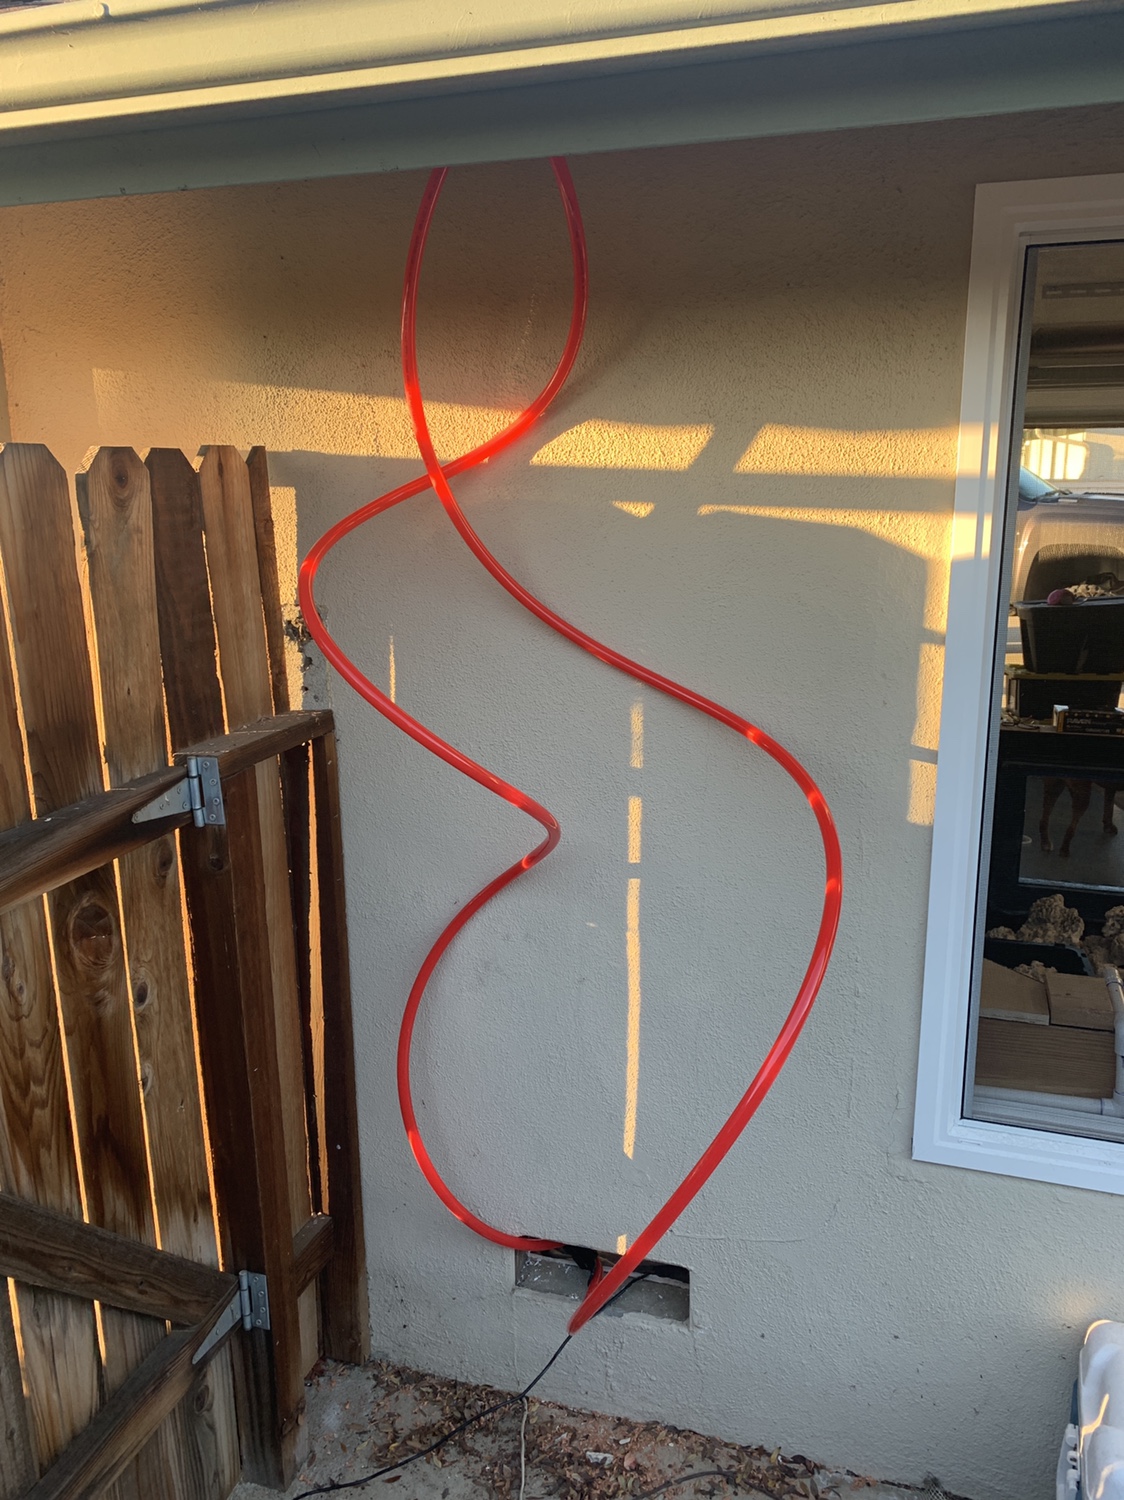
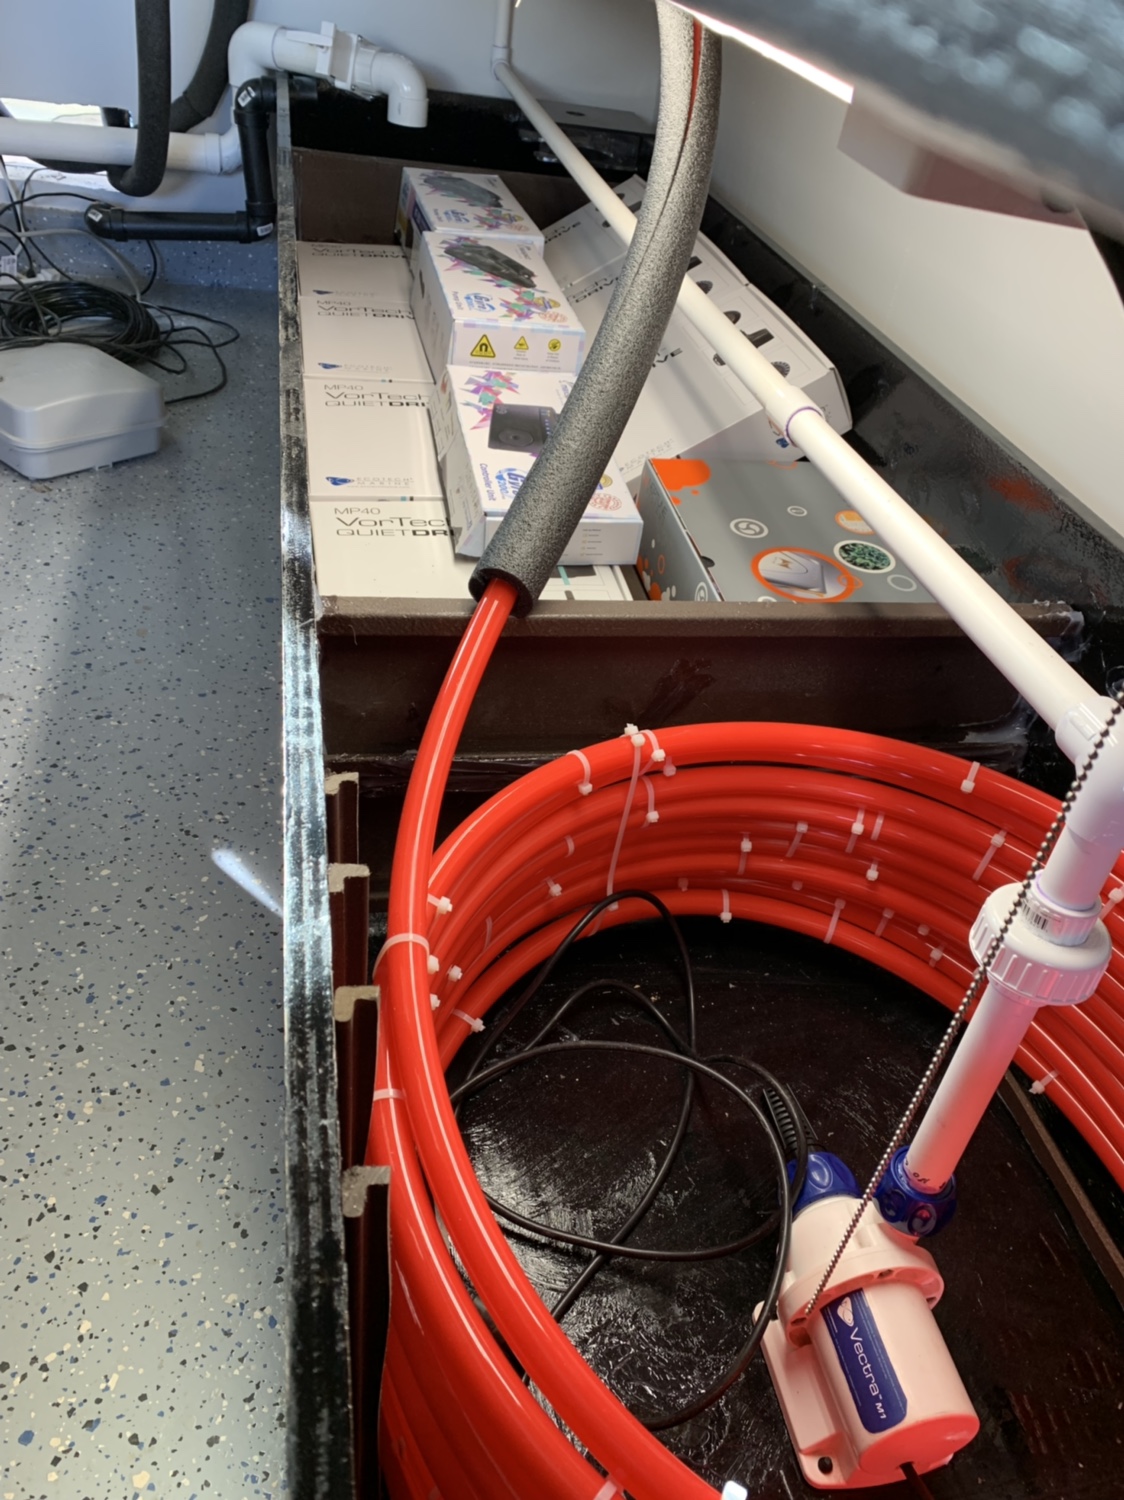
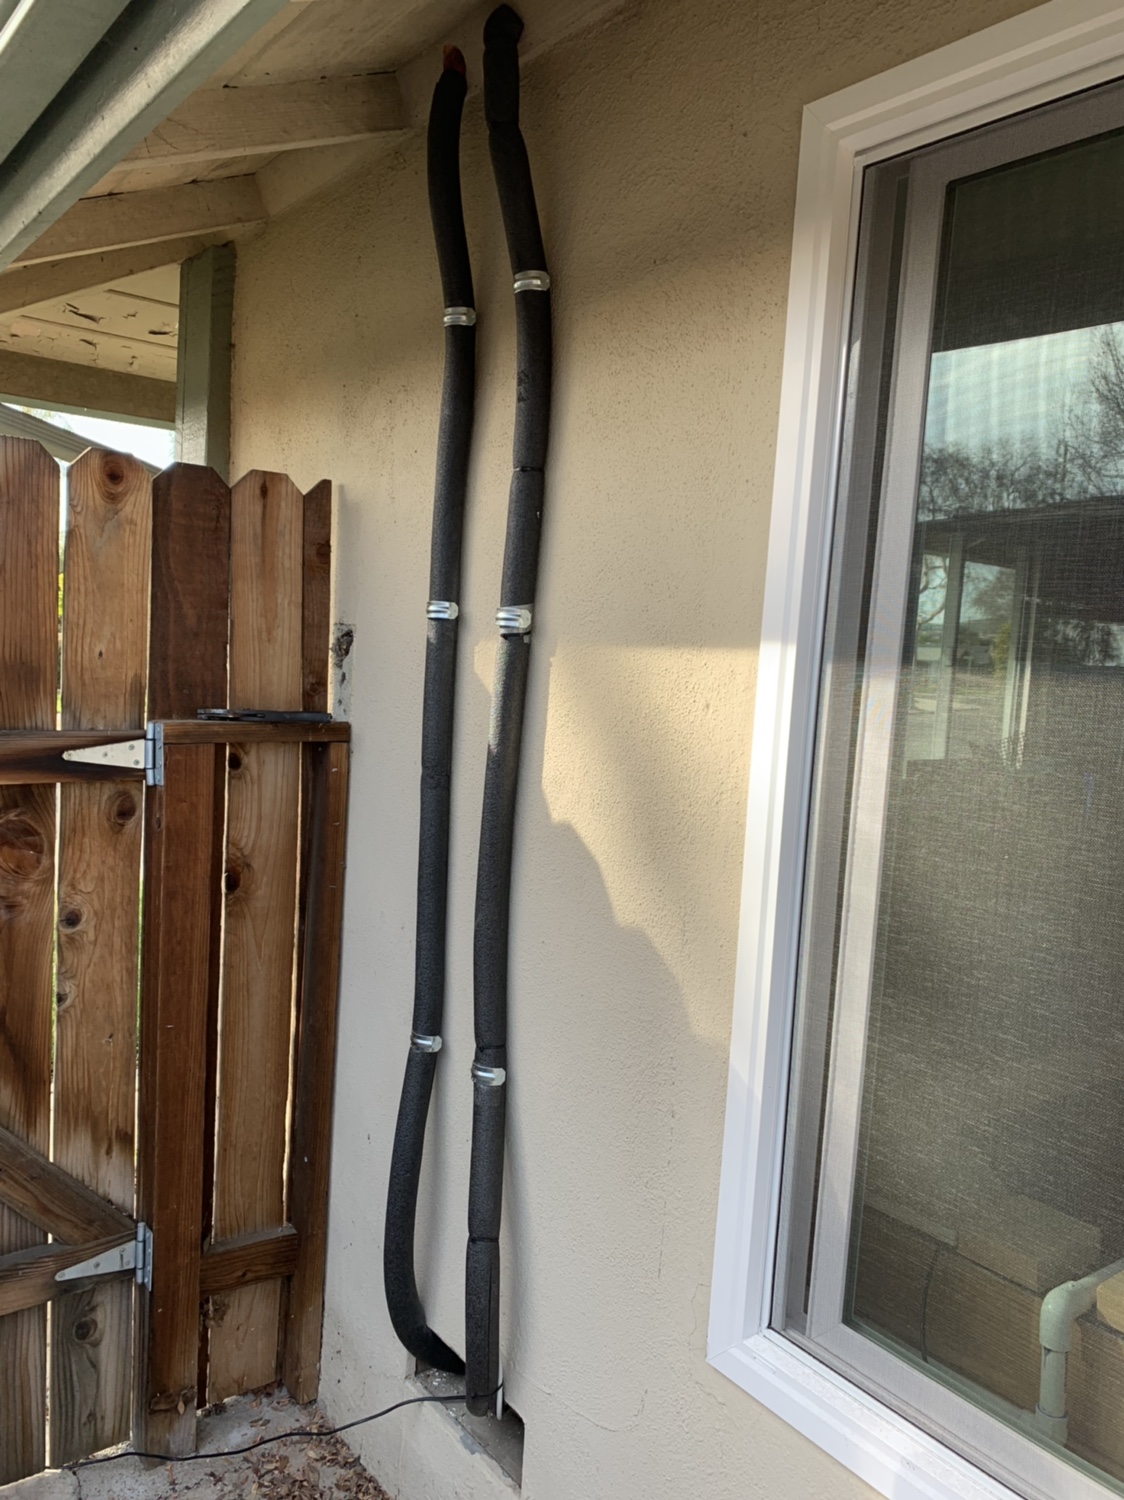
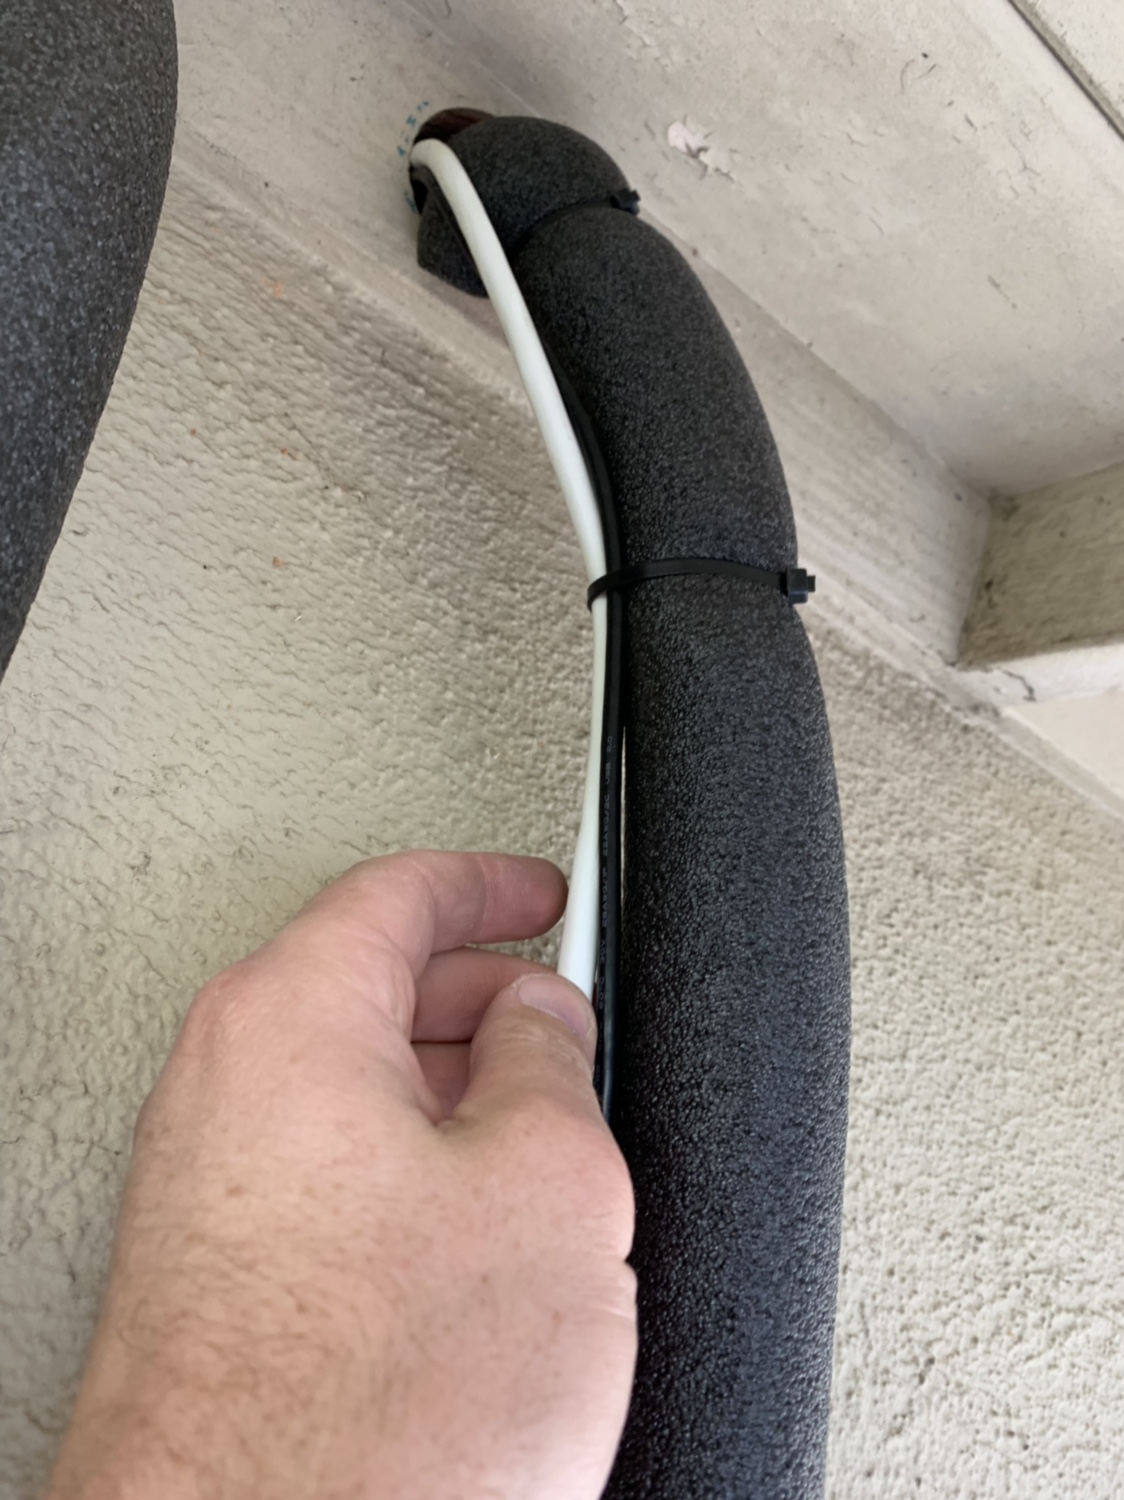
Running 3/4” oxygen barrier pex for my heating system. It comes off my water heater through circulation pump to my sump and back to the water heater. This stuff was incredibly hard to run. I ran it to outside then up through my attic.
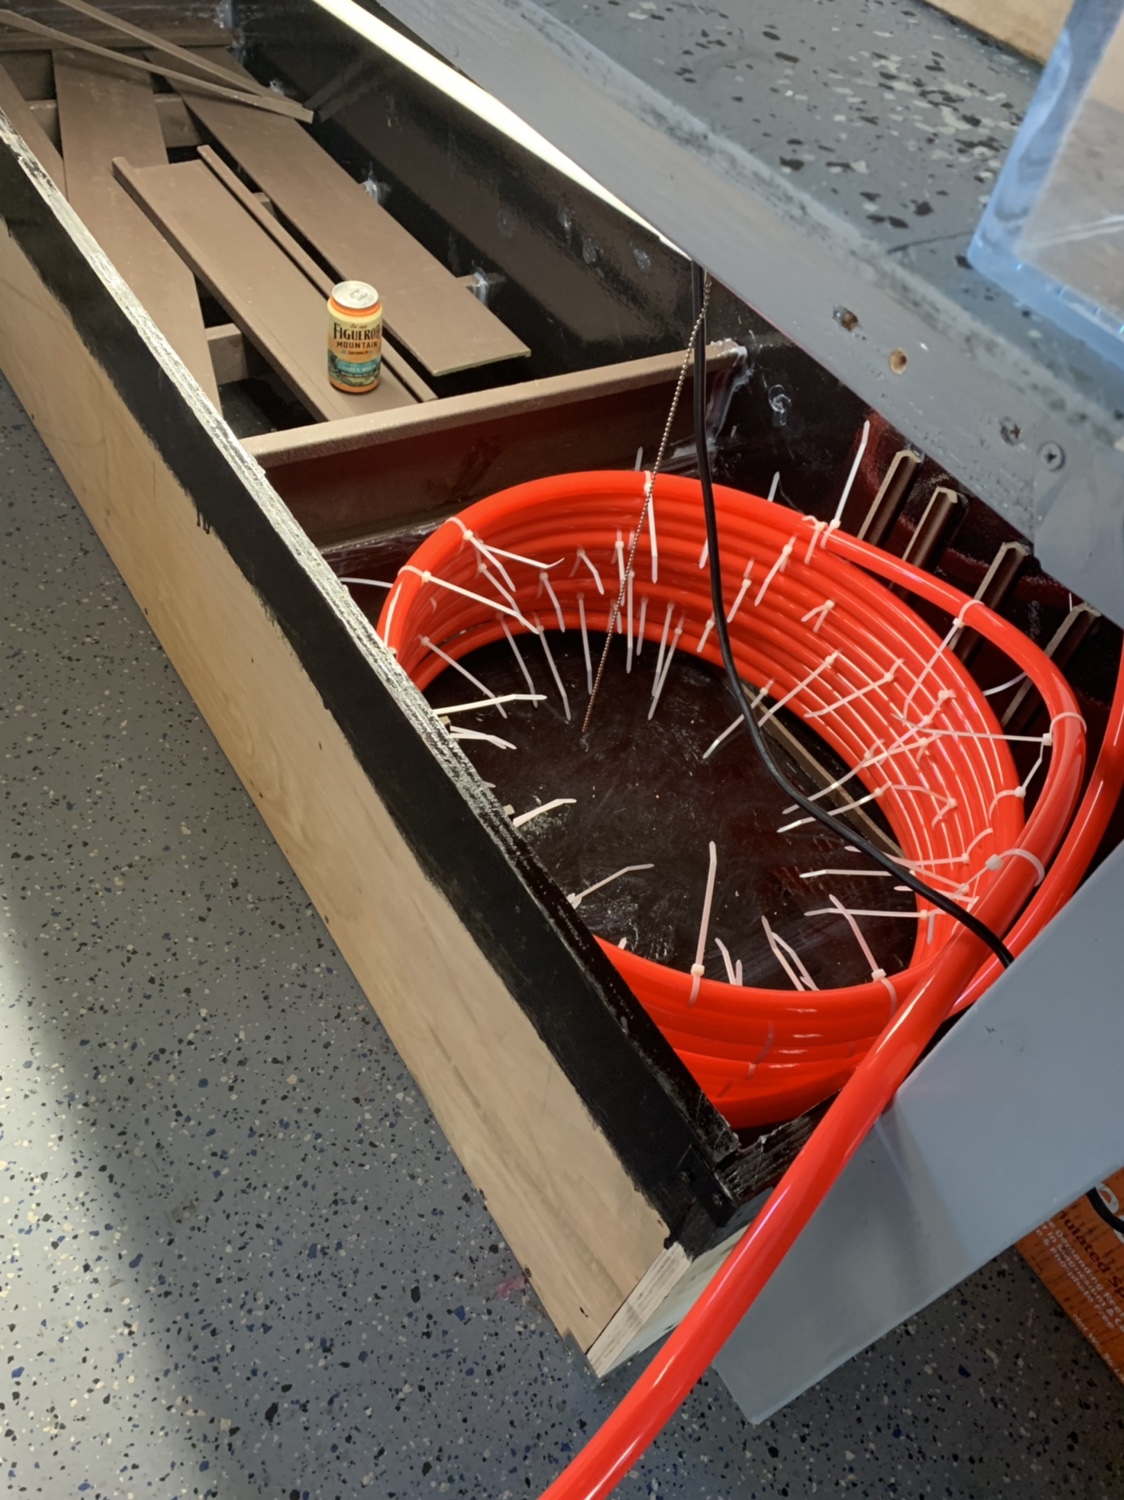
10 coils in my sump. This section of the sump is closed off except for 1.5” gap at the bottom of the baffle. The return pump sits in the middle of the coils. The zip ties help gap each coil for maximum surface area.
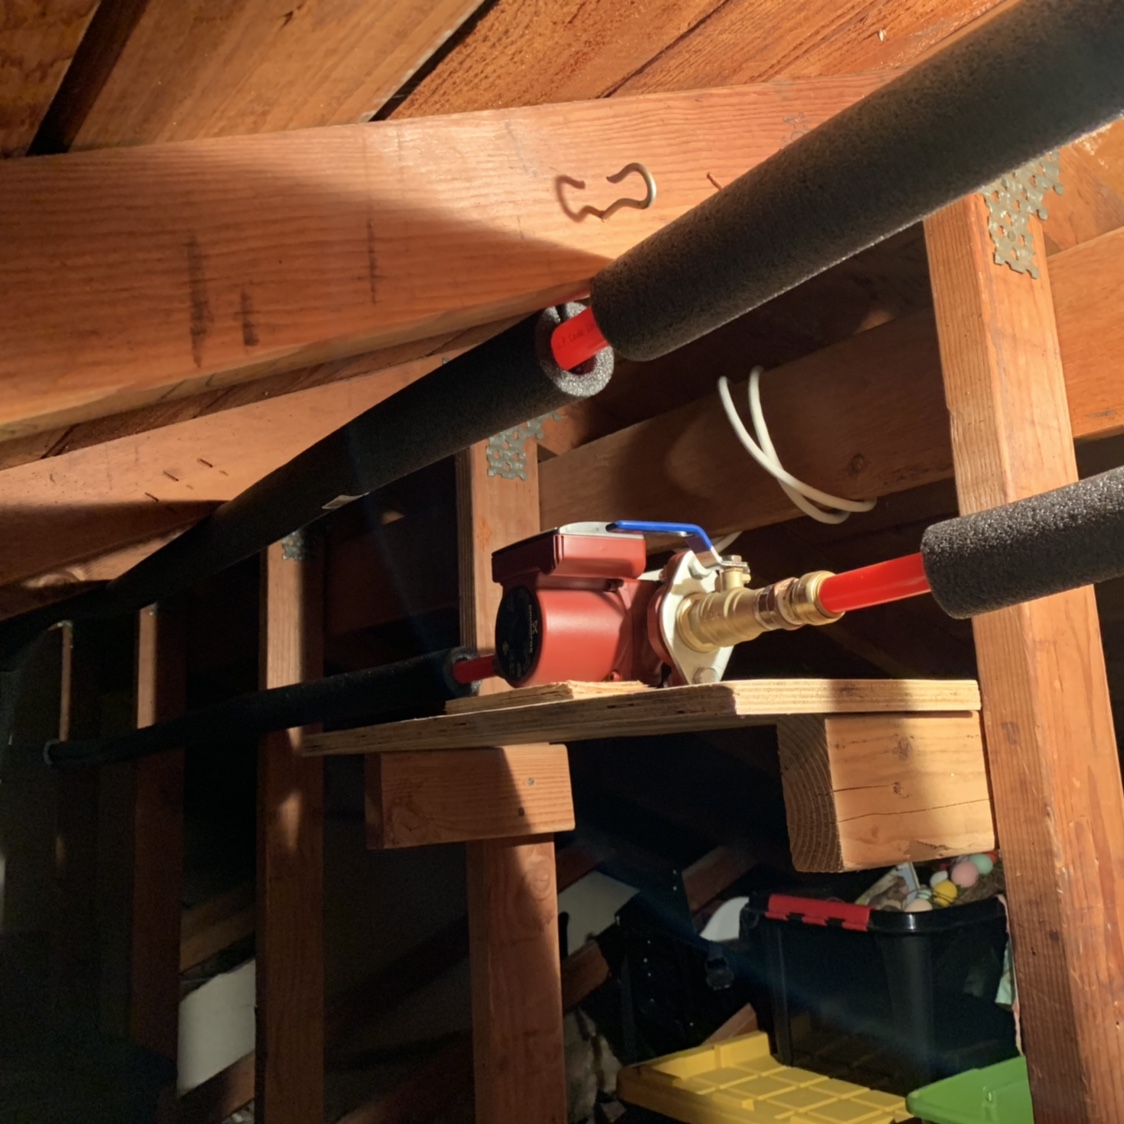
Mounted the pump in the attic because it was they only good spot for it.
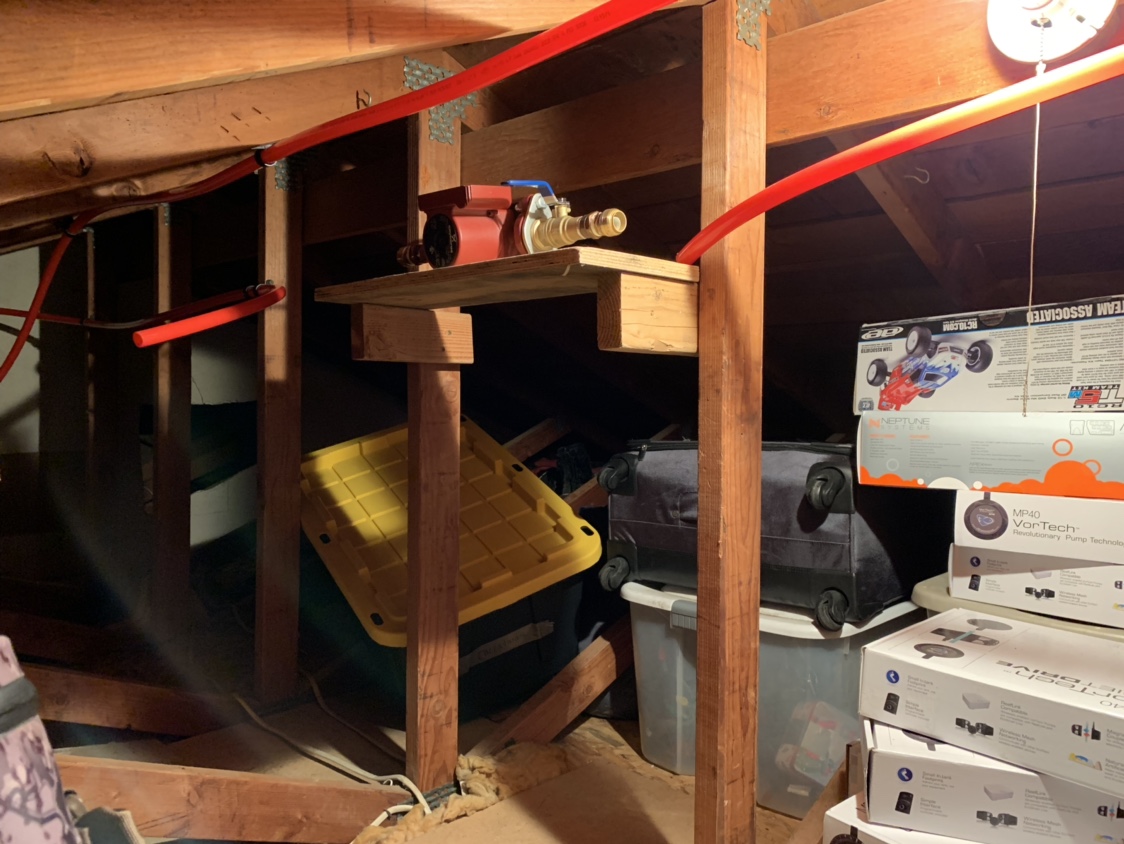
Insulated all of the pex to help the efficiency.

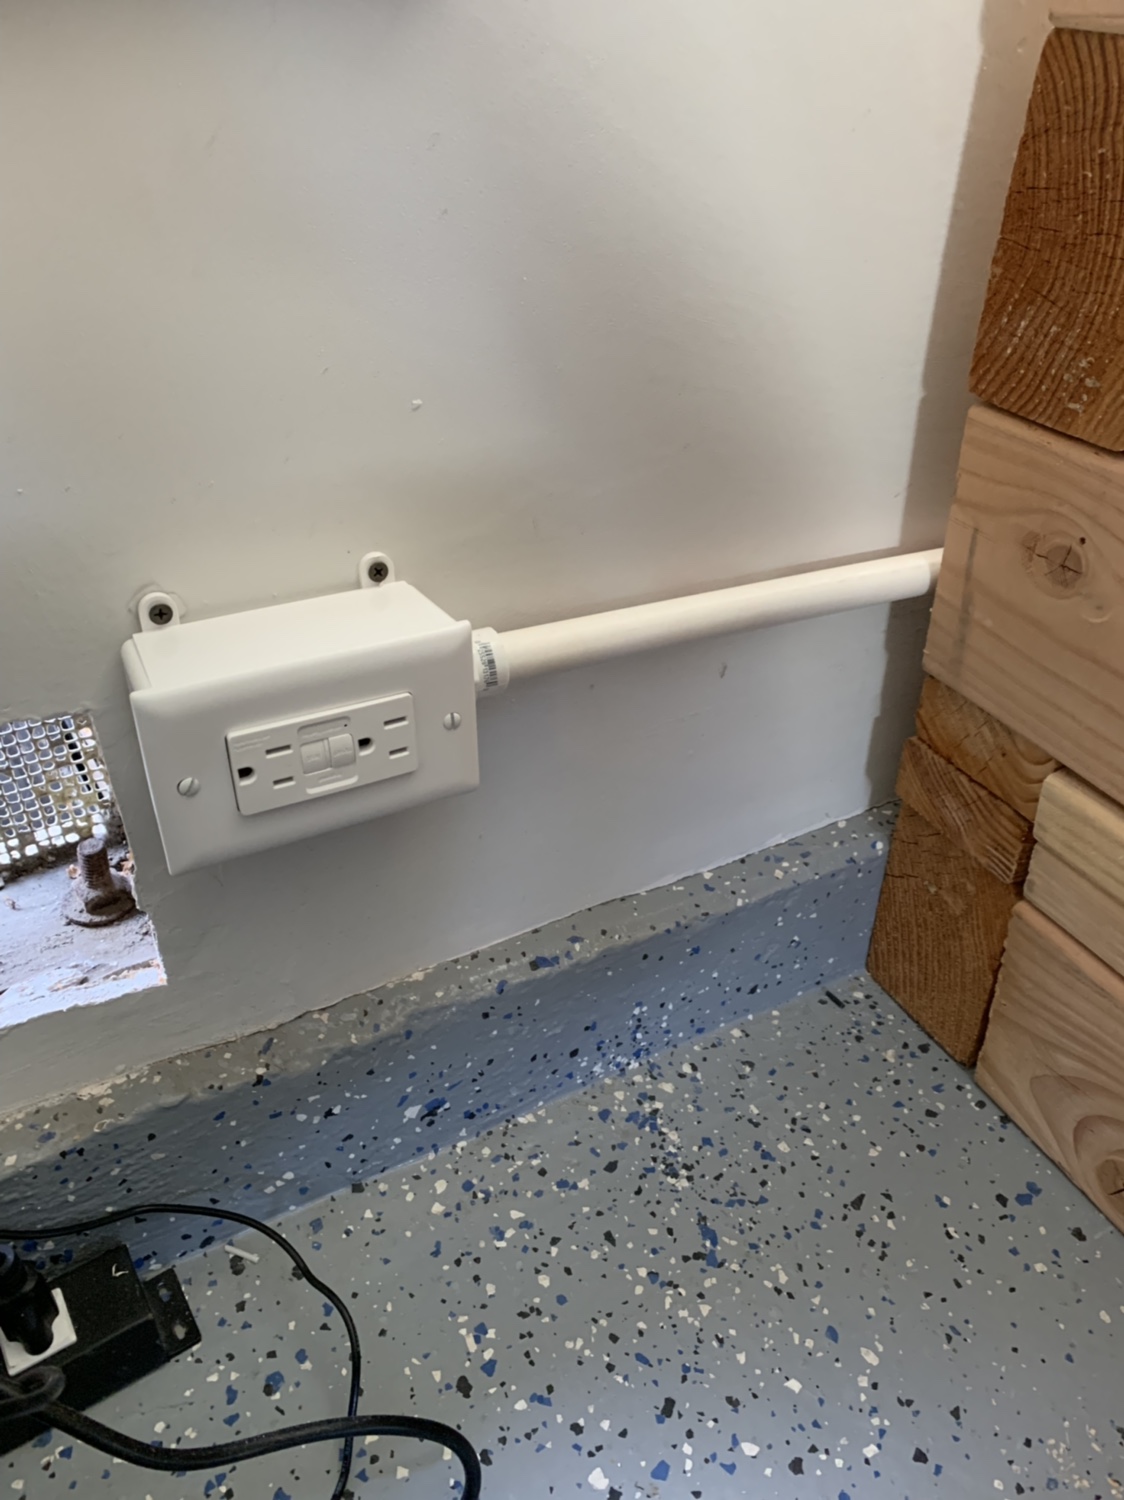
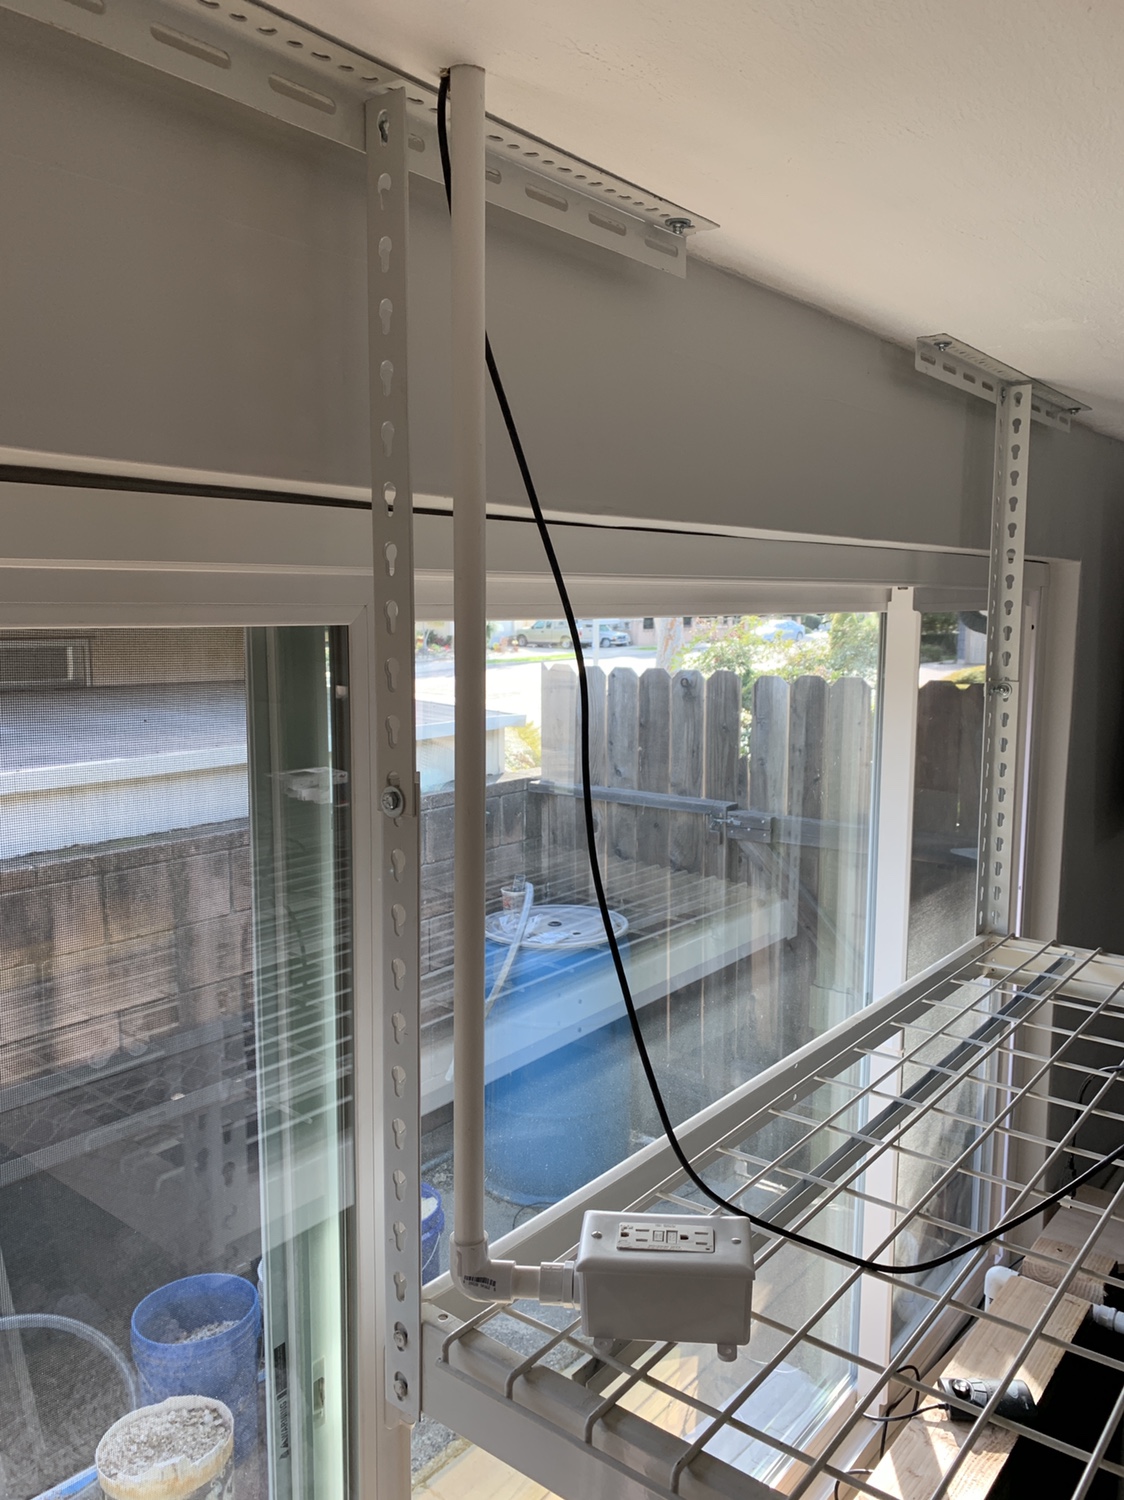
Ran a dedicated 15amp breaker for all the powerheads.
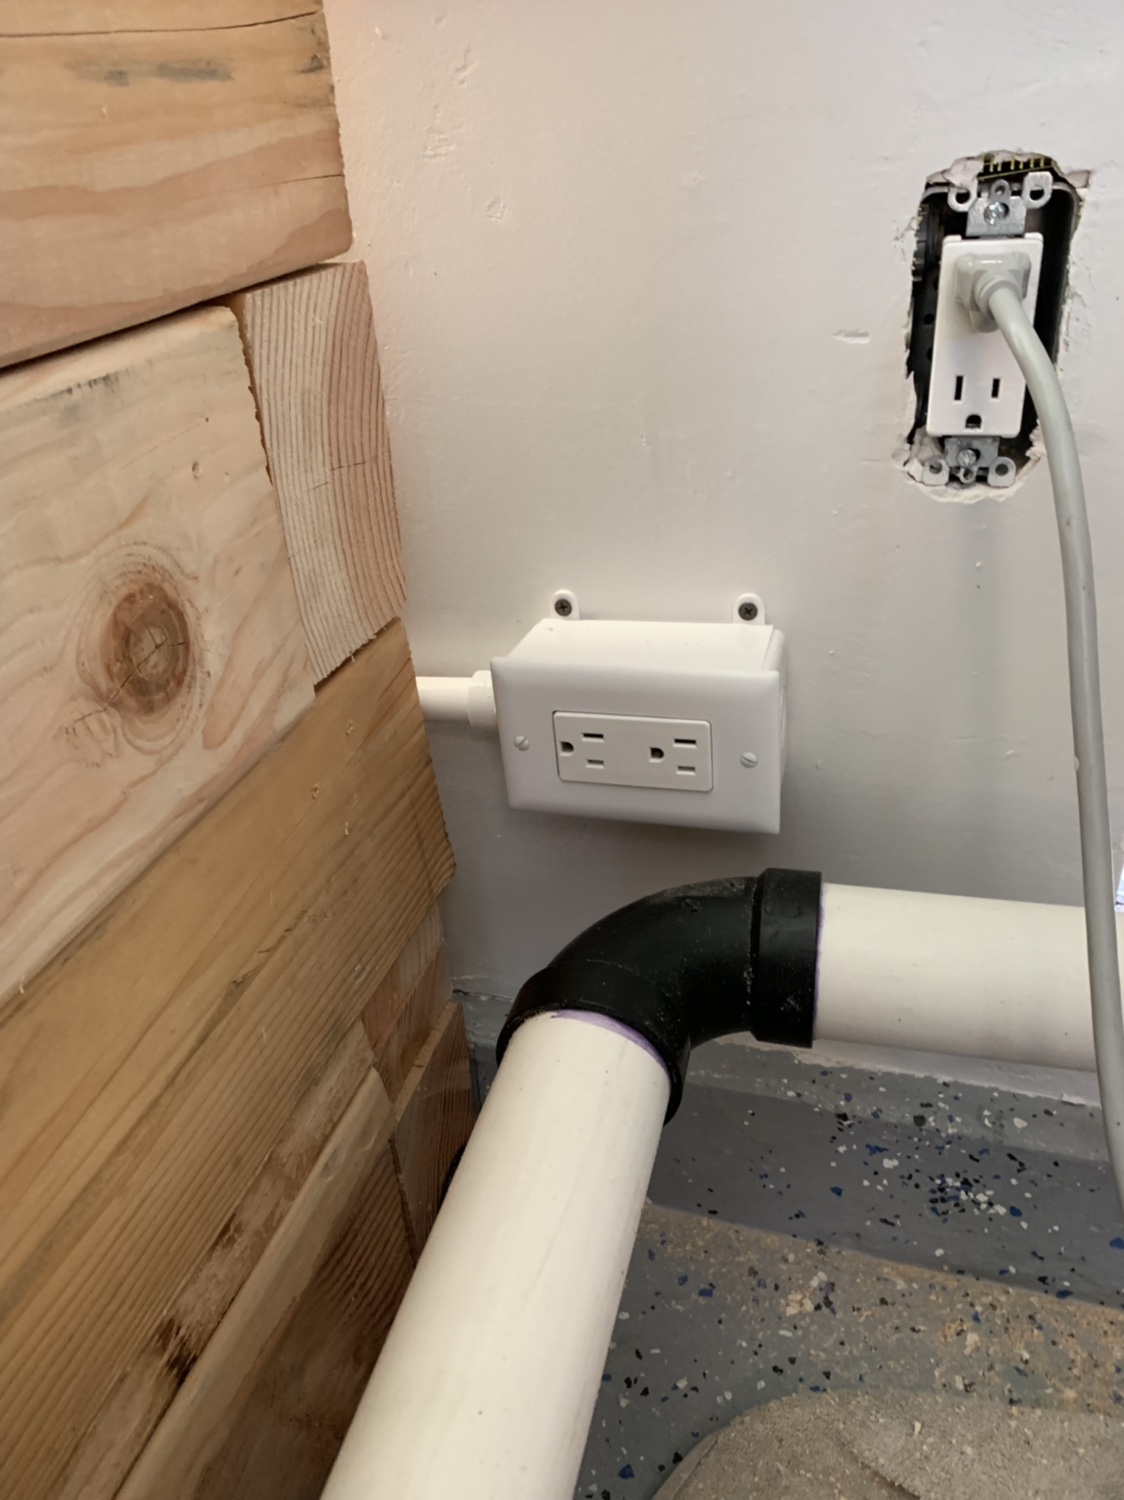
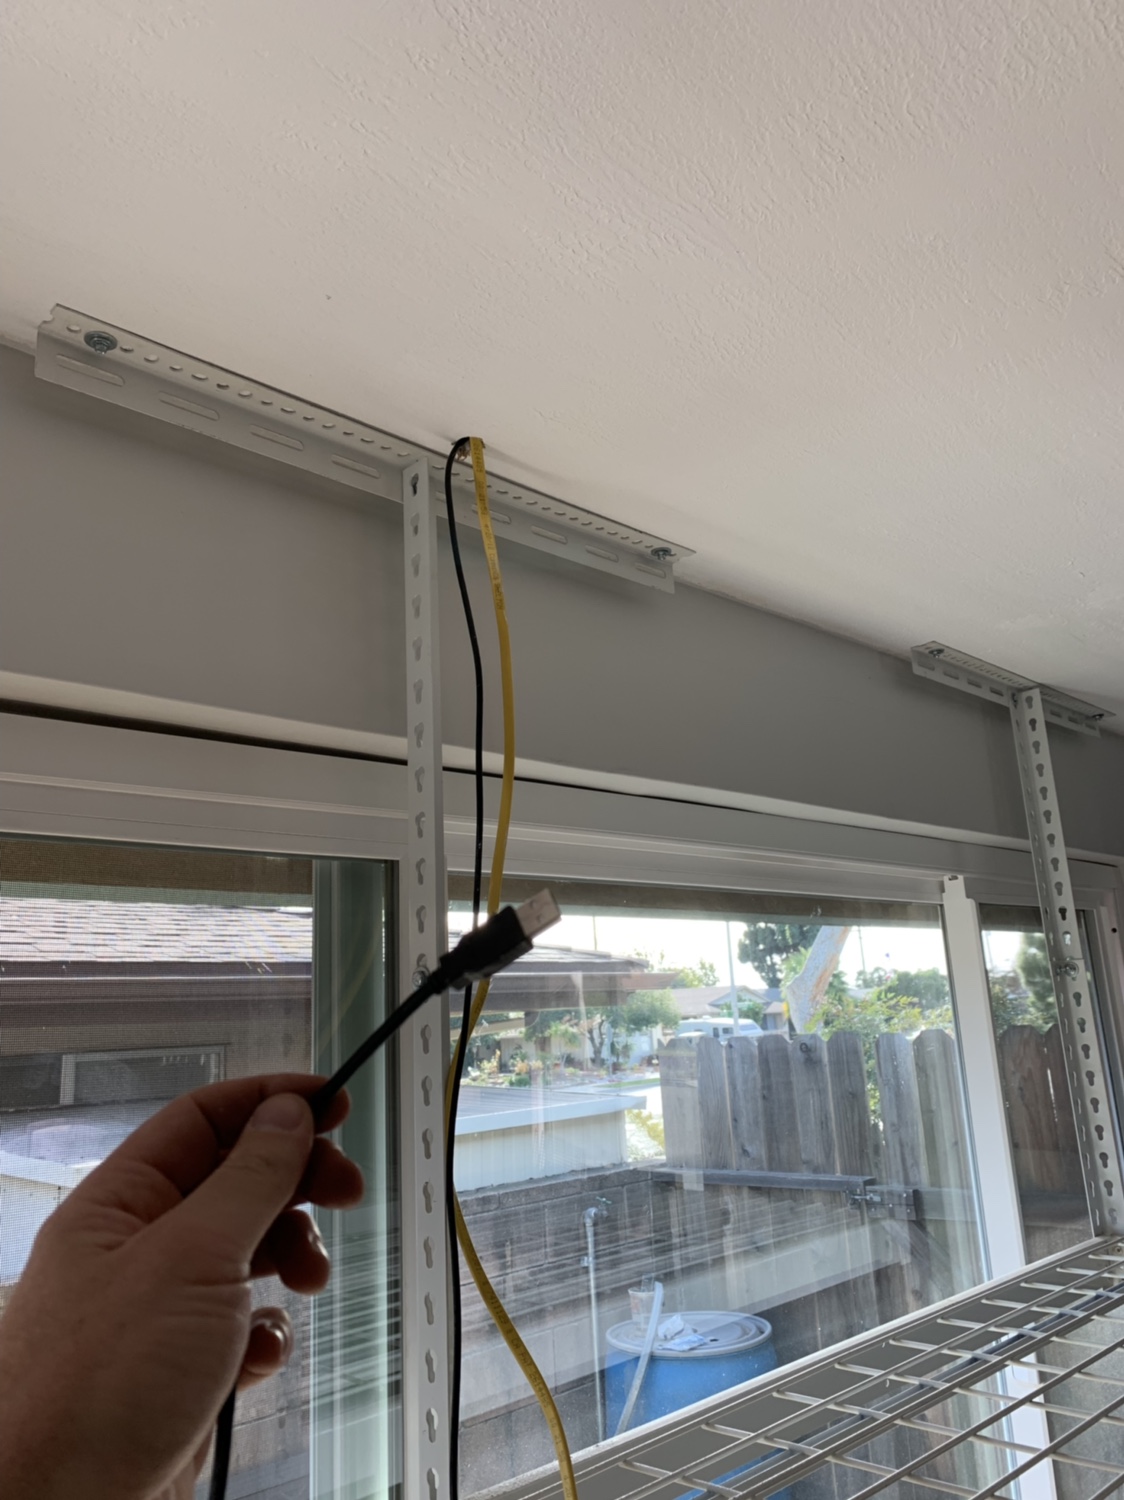
Black cable is an aquabus cable from the EB8 at the sump area to the attic and through the ceiling to the EB8 for the lights.
The white cable is from the heating circulation pump to the EB8 by the sump/tank area.
Aquabus cable and a dedicated 15amp line for the lights.
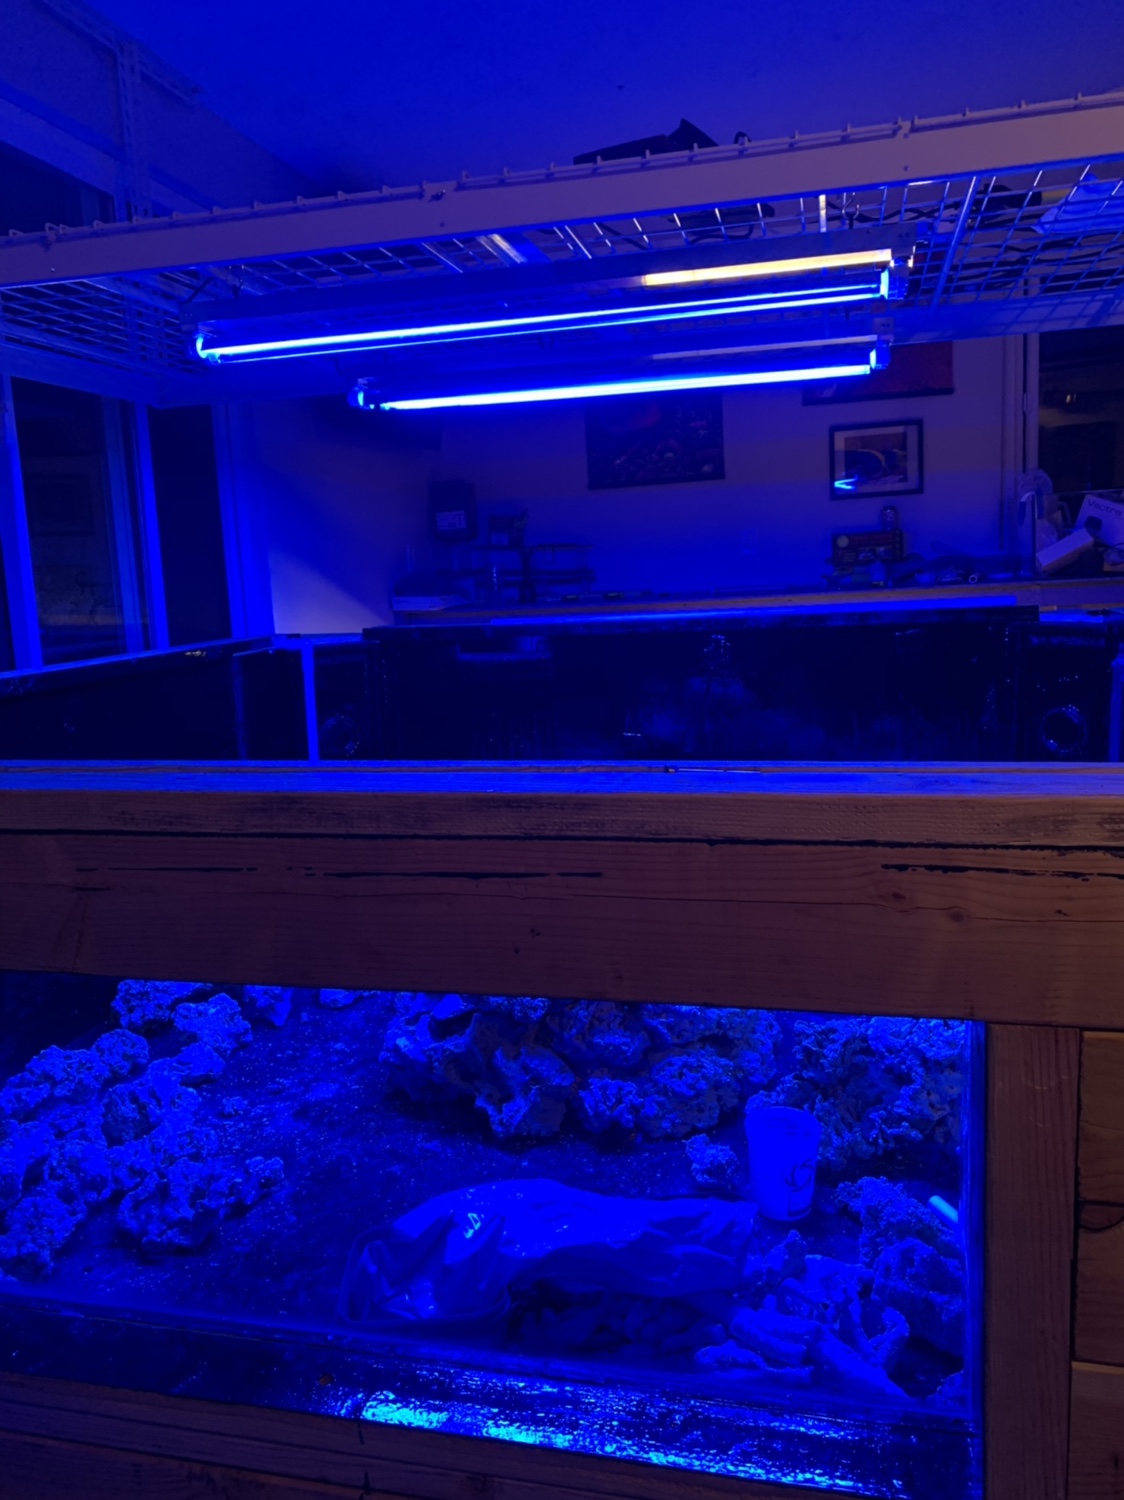
Hung the two reefbrite 48” slim lights.
Made these ribs on the return pump side of the sump. They’ll protect the epoxy from my heating system.
Building up my rockscape again.
Plumbing my return to the center of the “Volcano”
Cemented in three shelves to hold the main and top rock structure.
I’ll be painting the pvc black. I am also keeping it off the floor to allow water movement under it. This is not the final rockscape. Much more to do.
Using a CPR eductor for the center of the mountain
Running 3/4” oxygen barrier pex for my heating system. It comes off my water heater through circulation pump to my sump and back to the water heater. This stuff was incredibly hard to run. I ran it to outside then up through my attic.
10 coils in my sump. This section of the sump is closed off except for 1.5” gap at the bottom of the baffle. The return pump sits in the middle of the coils. The zip ties help gap each coil for maximum surface area.
Mounted the pump in the attic because it was they only good spot for it.
Insulated all of the pex to help the efficiency.
Ran a dedicated 15amp breaker for all the powerheads.
Black cable is an aquabus cable from the EB8 at the sump area to the attic and through the ceiling to the EB8 for the lights.
The white cable is from the heating circulation pump to the EB8 by the sump/tank area.
Aquabus cable and a dedicated 15amp line for the lights.
Hung the two reefbrite 48” slim lights.
Hung the two reefbrite 48” slim lights.
The whole thing is lit by 2 48" slim fixtures huh? Bold move


The whole thing is lit by 2 48" slim fixtures huh? Bold move
I would think at least 4 more of those would be needed.
Similar threads
- Replies
- 5
- Views
- 204
- Replies
- 3
- Views
- 113
- Replies
- 1
- Views
- 114


