Bryan's 180g CustomAquariums Build

bean2986

Active Member
View Badges
Joined
Apr 10, 2016
Messages
299
Reaction score
166
Location
Connecticut
Rating - 0%
0   0   0
Although my time in this hobby has been relatively short (1.5 years) it was already time for me to upgrade! I had a serious case of cabin fever this winter so I began researching and planning a new build. I've come pretty far, but I will start with the beginning and post over the next few days to catch up to real time.

My story:

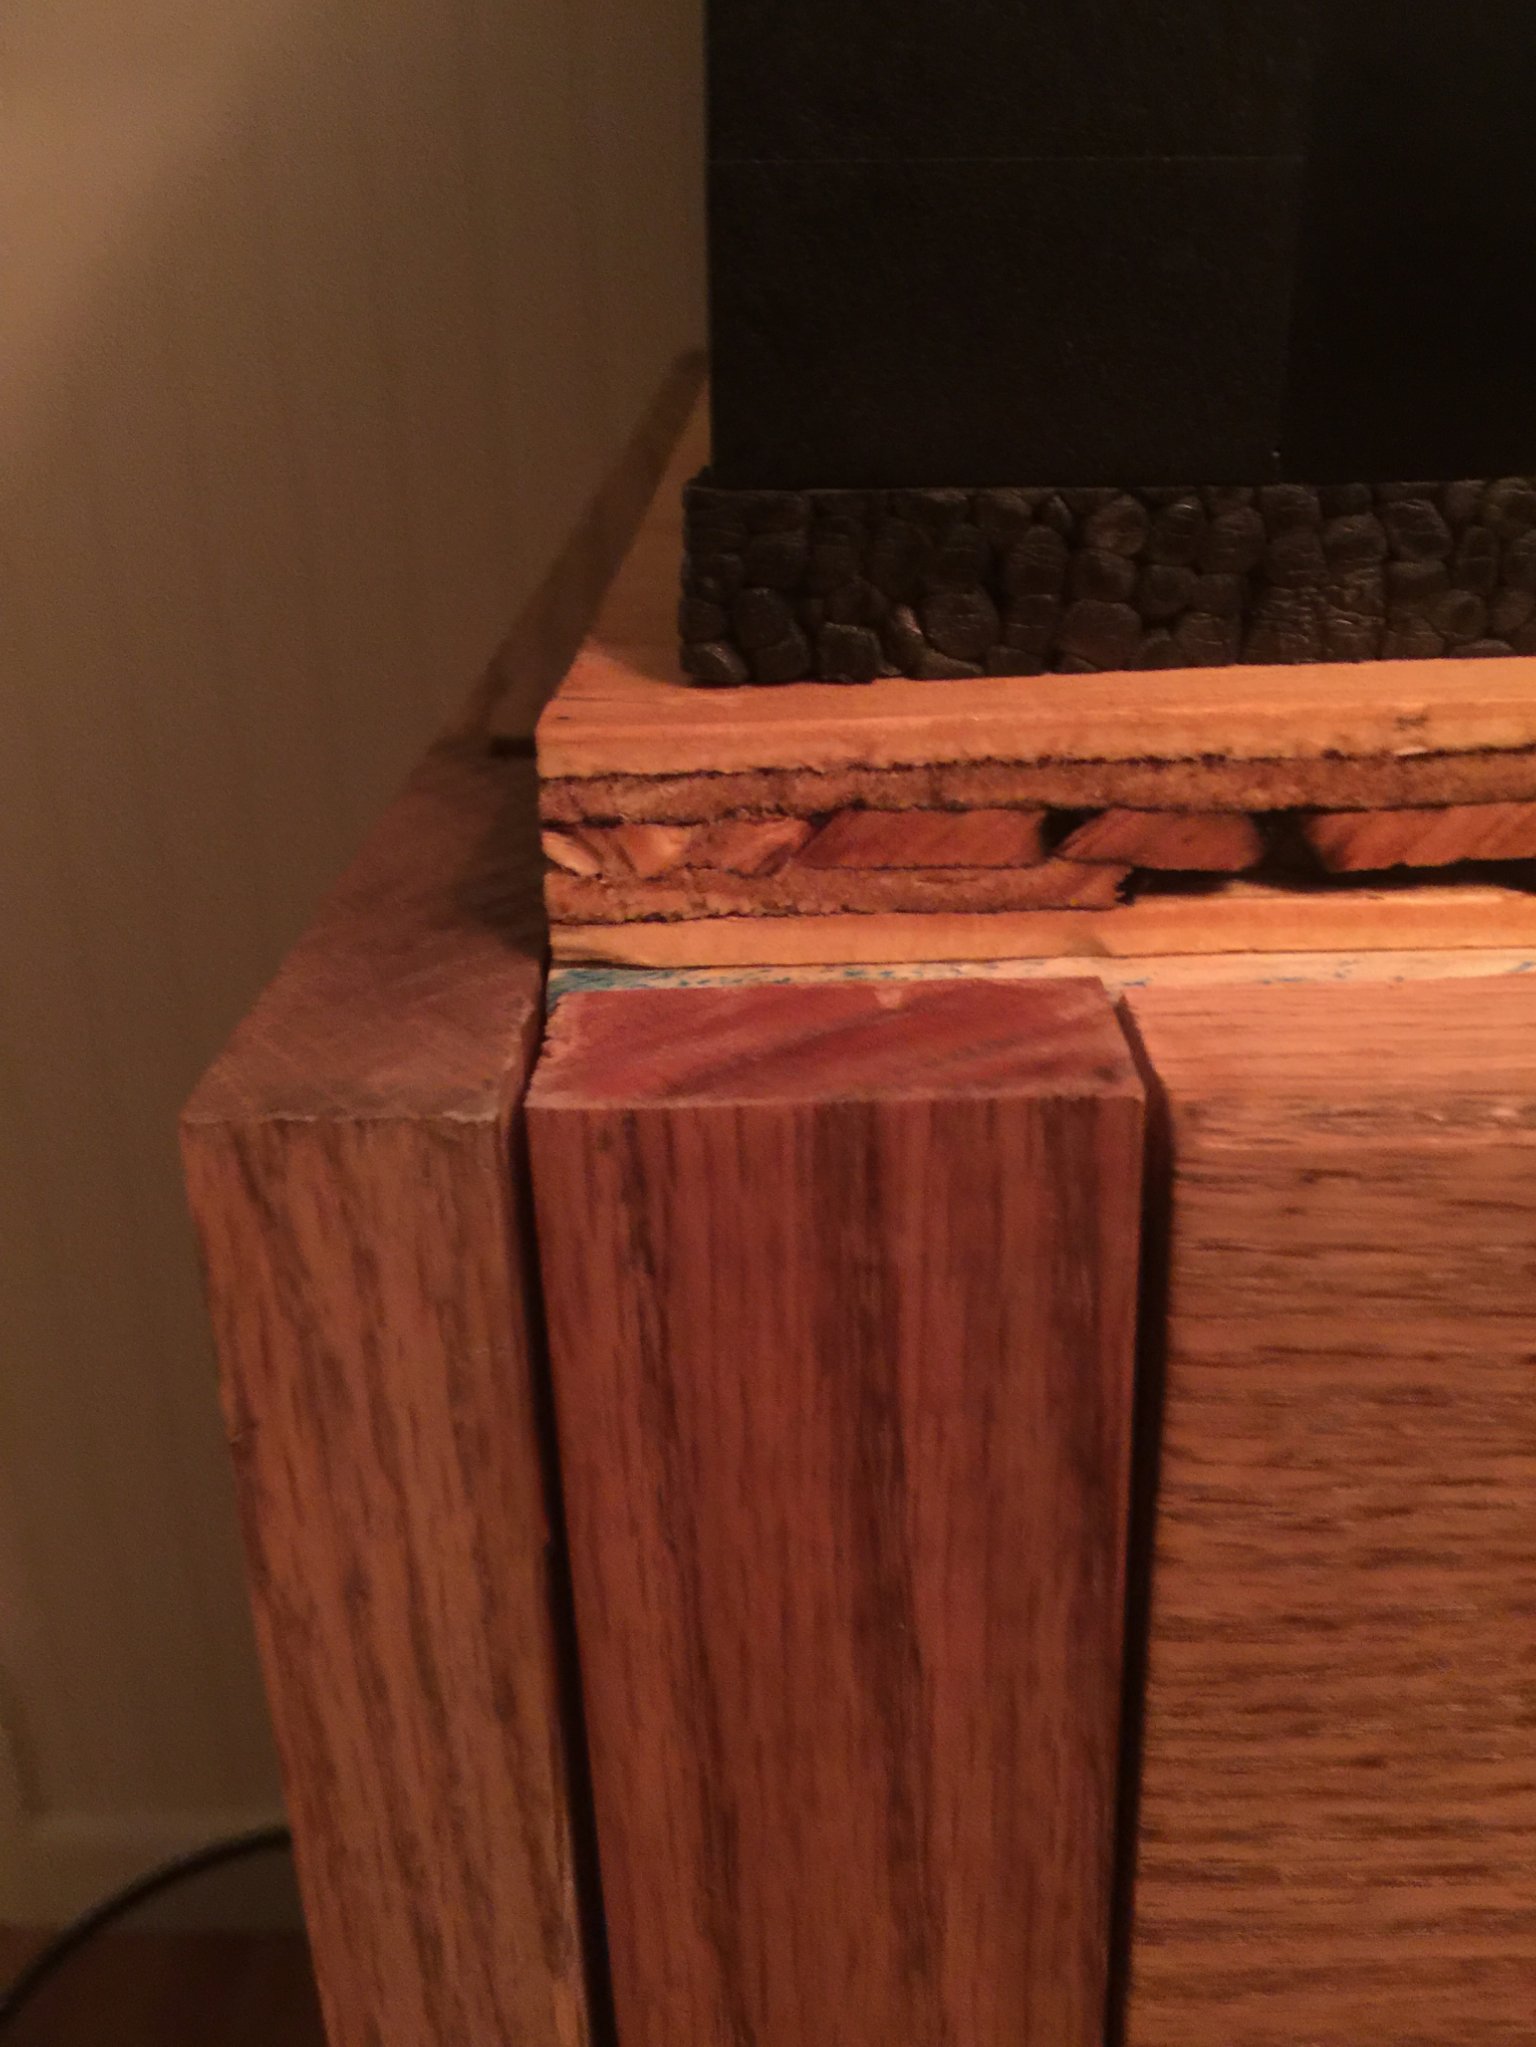
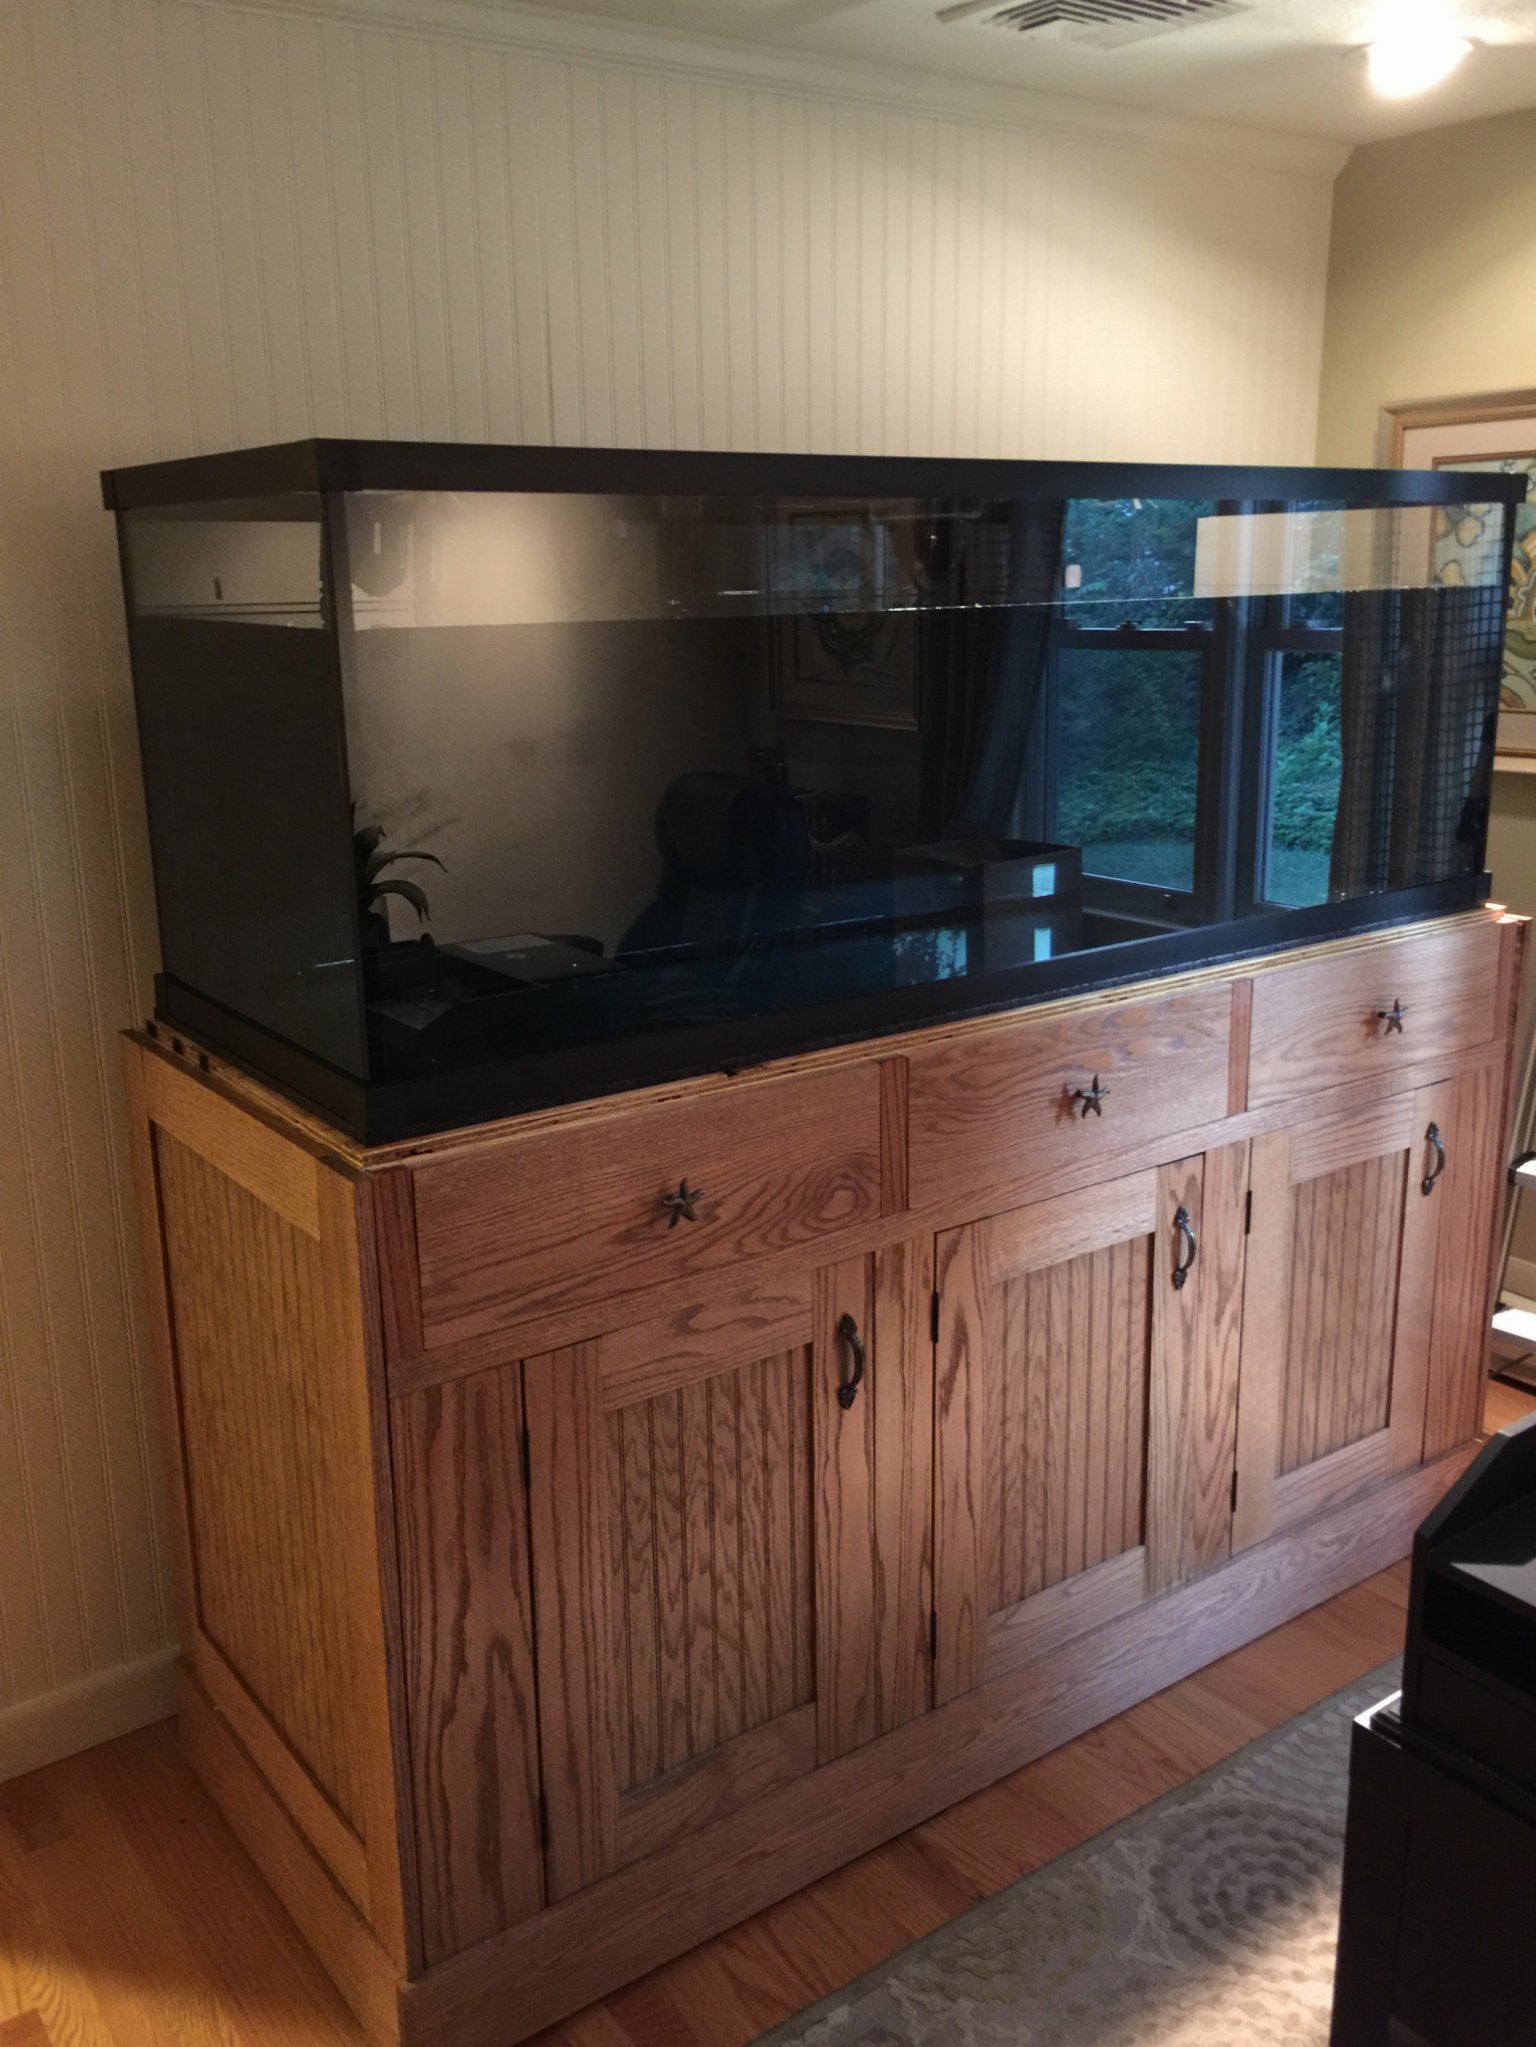
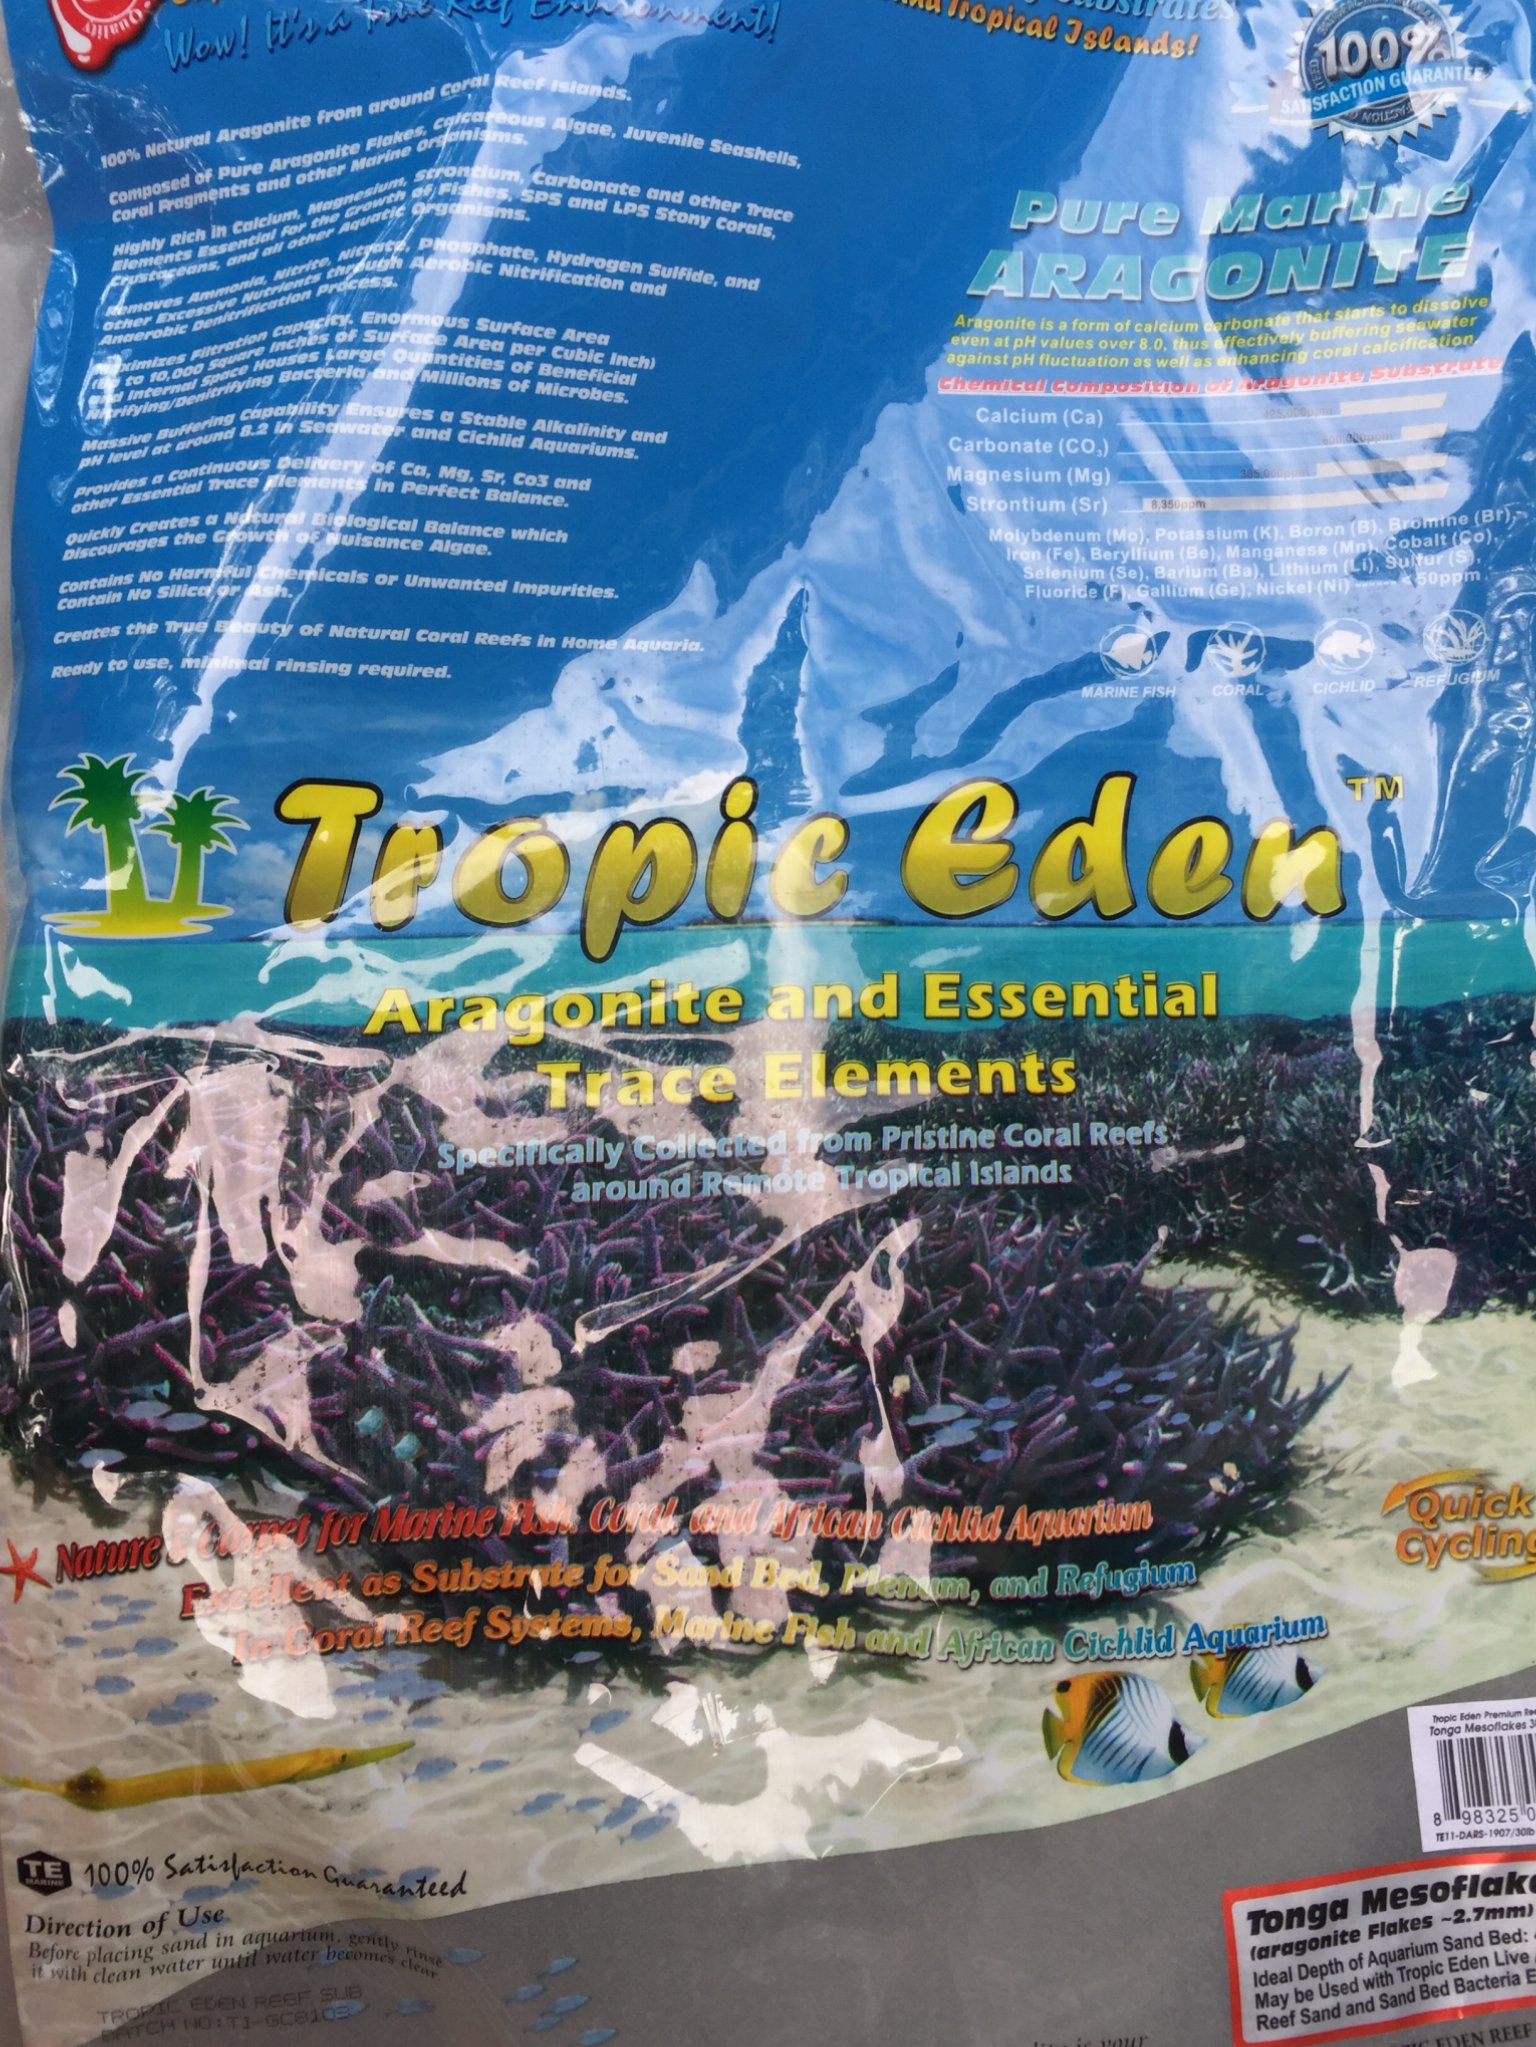
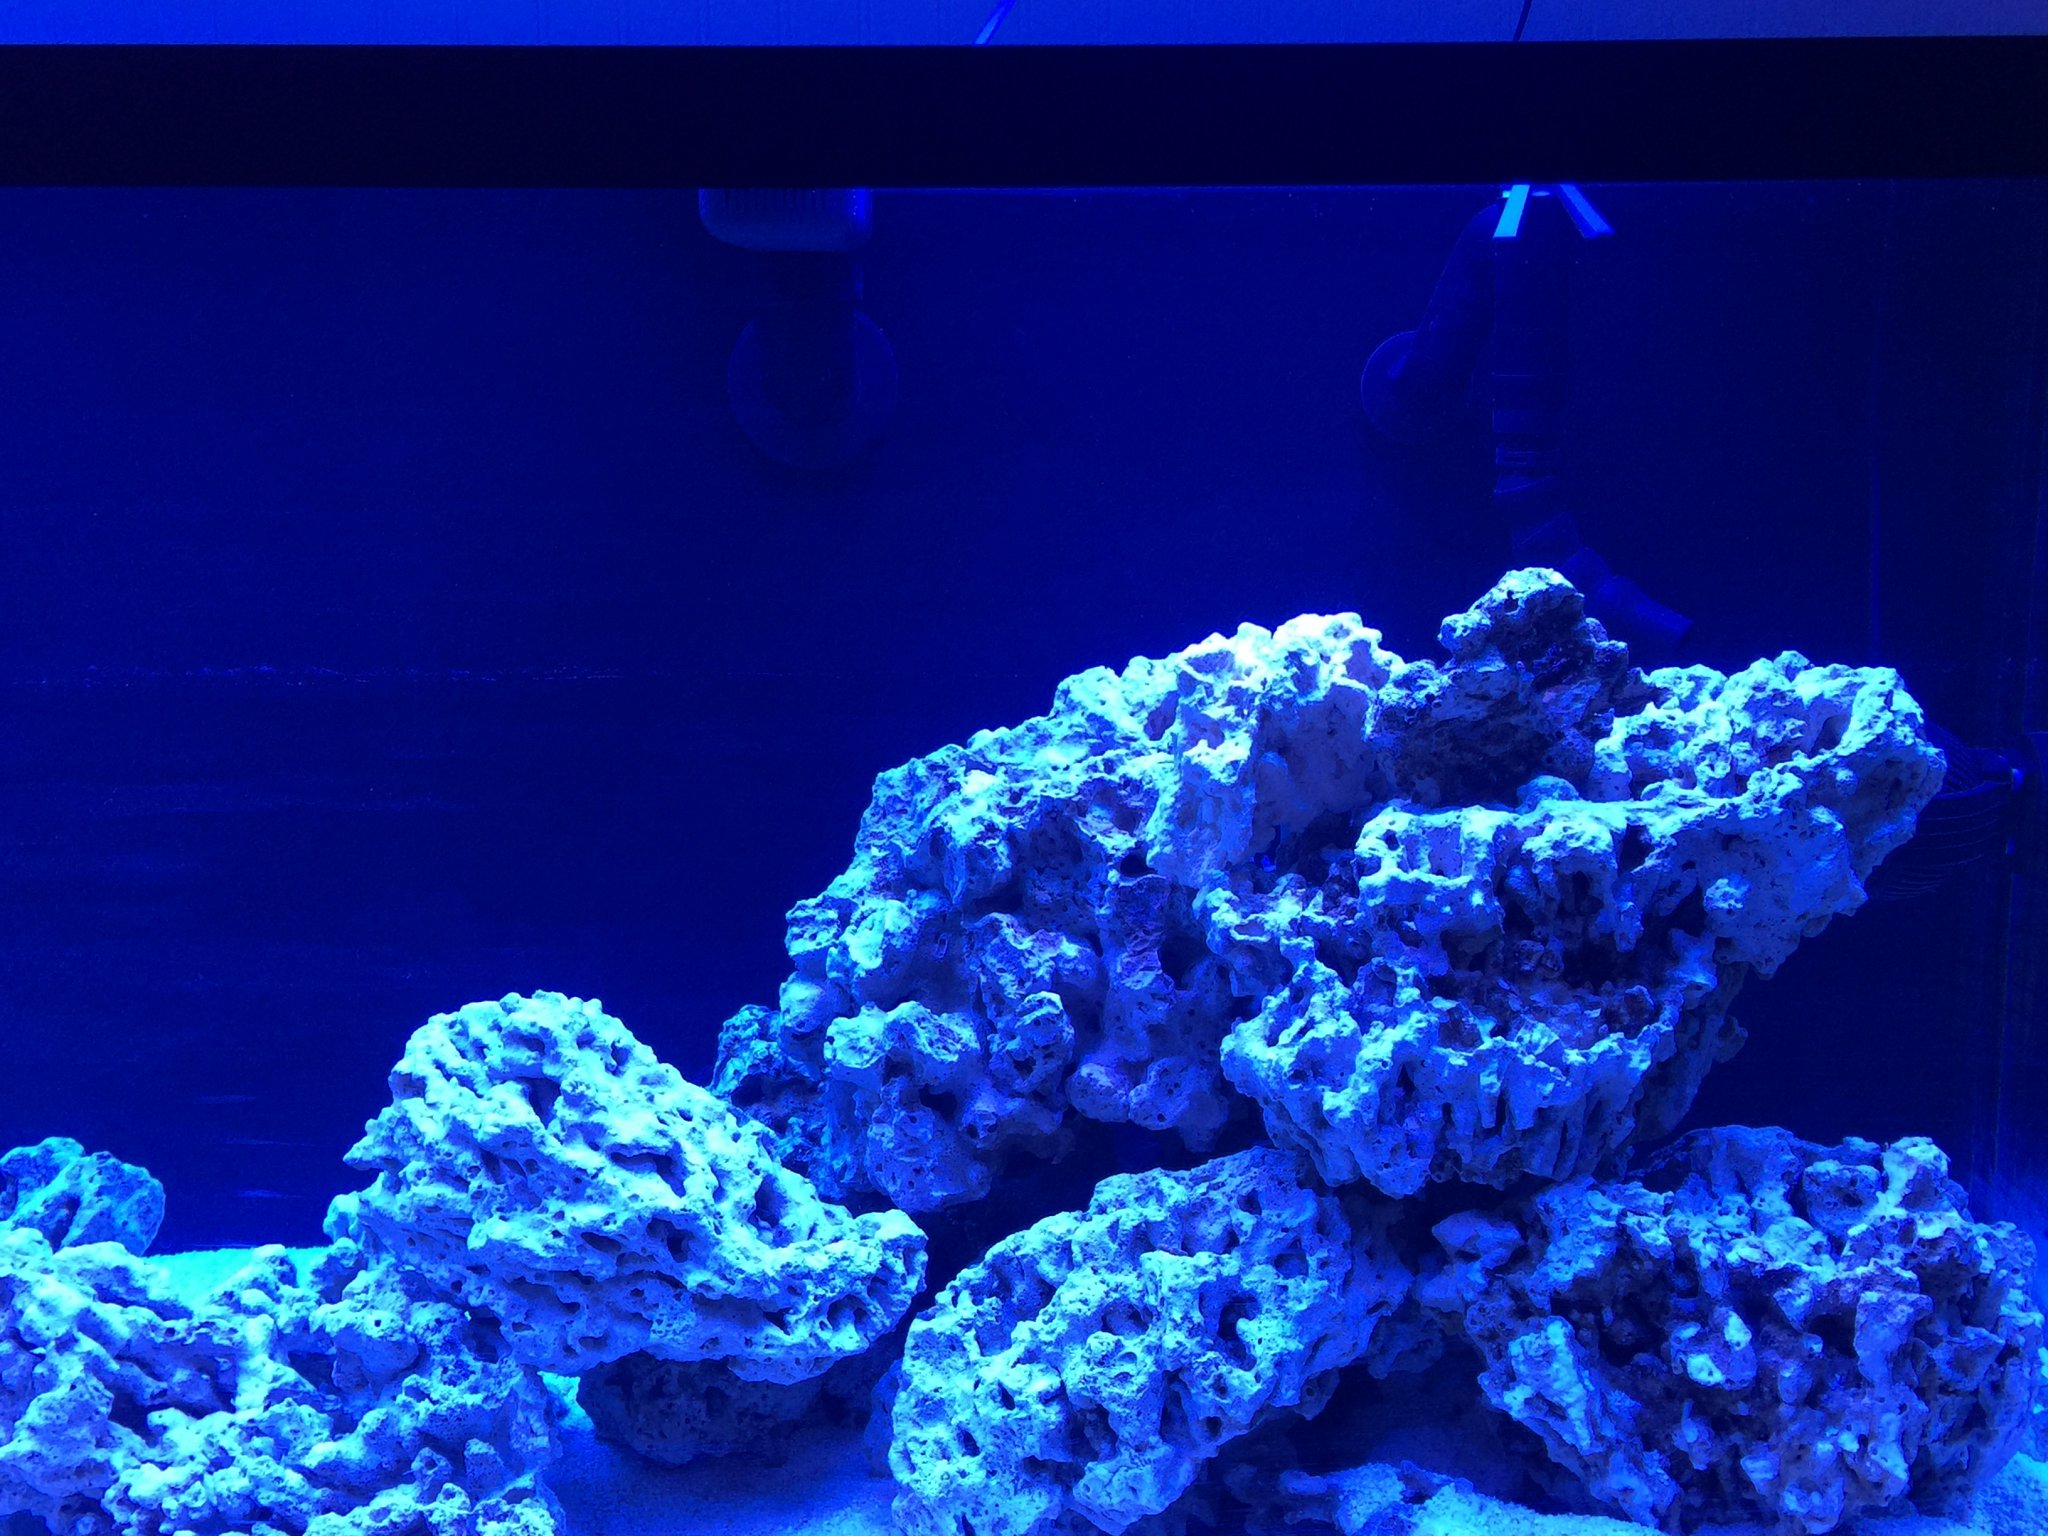
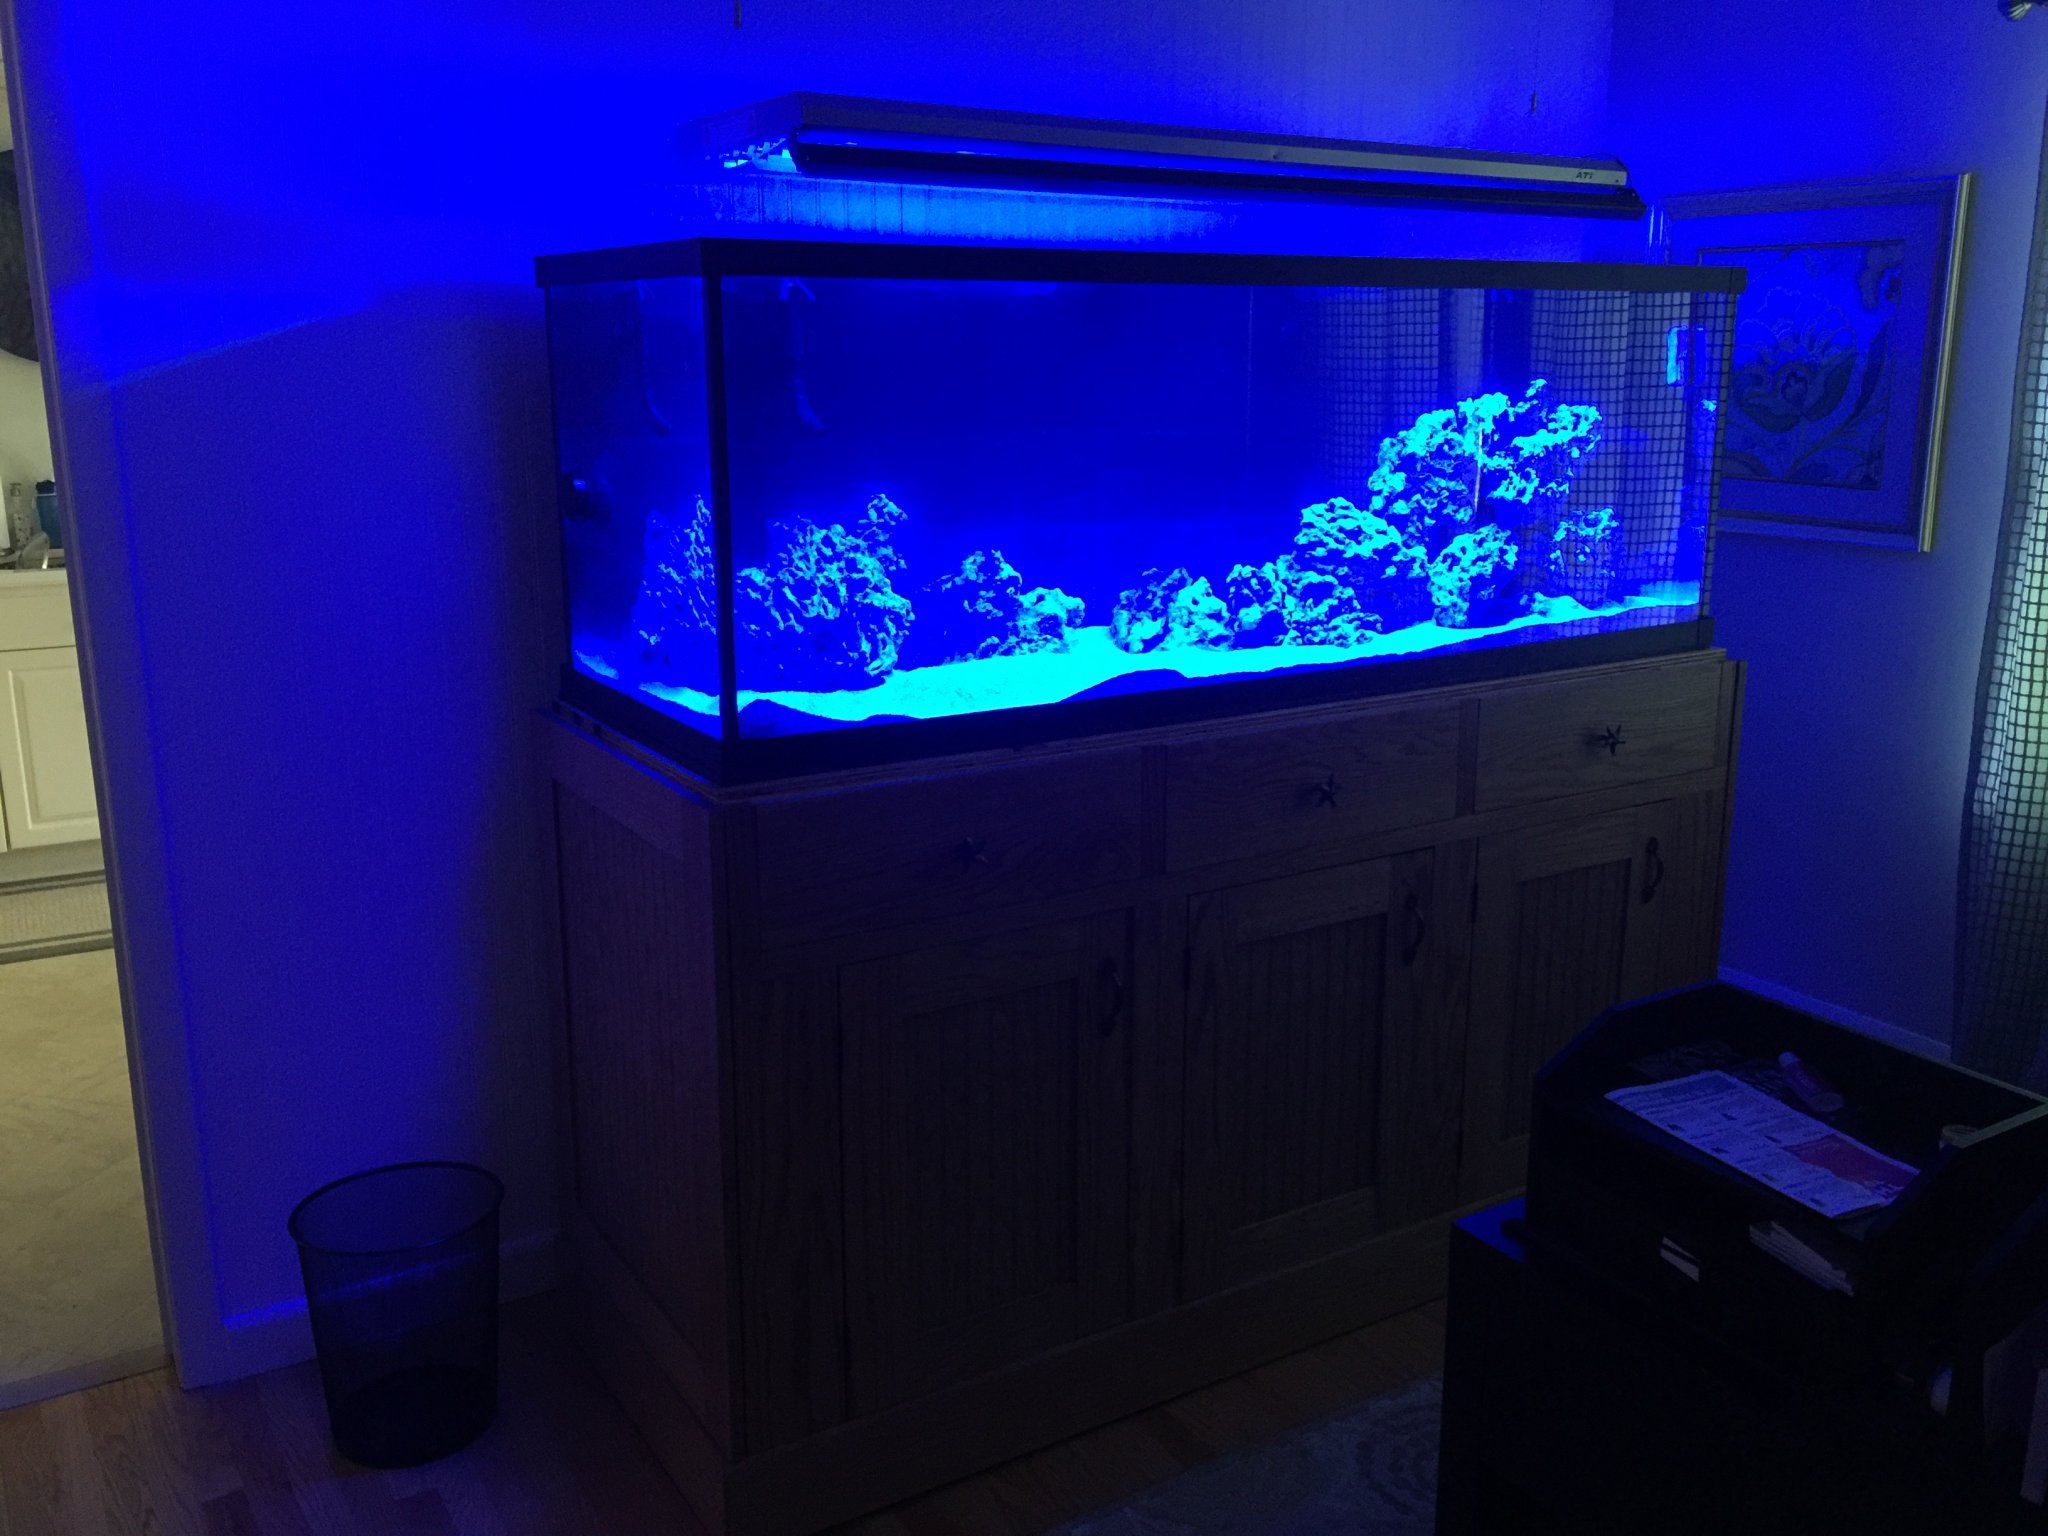
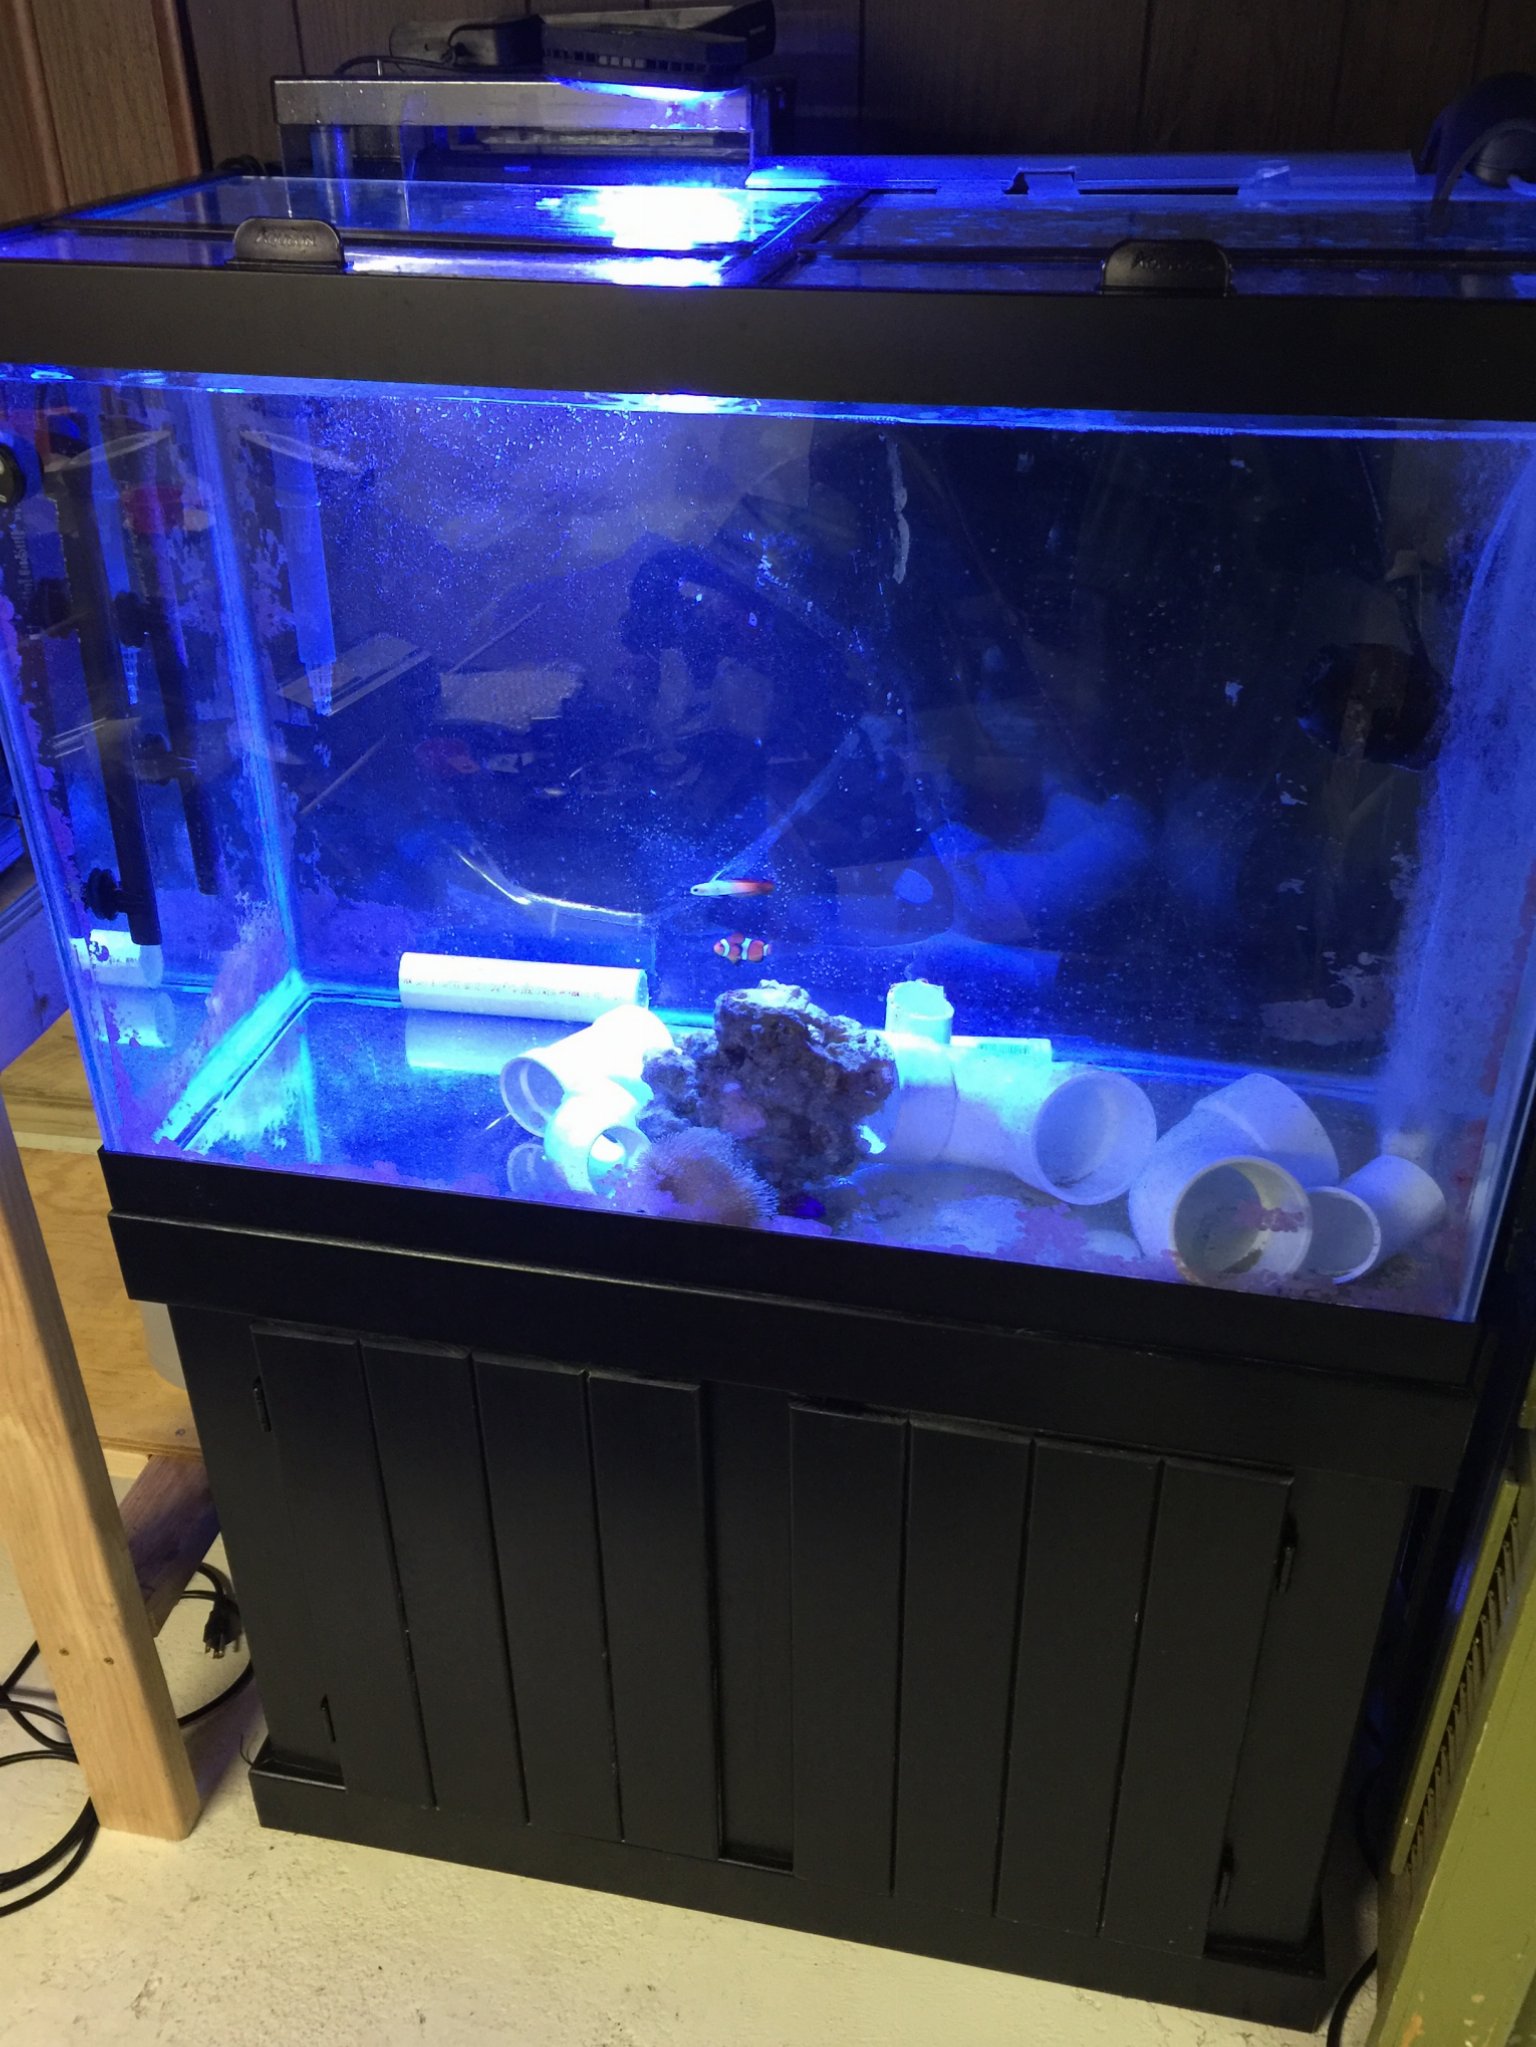
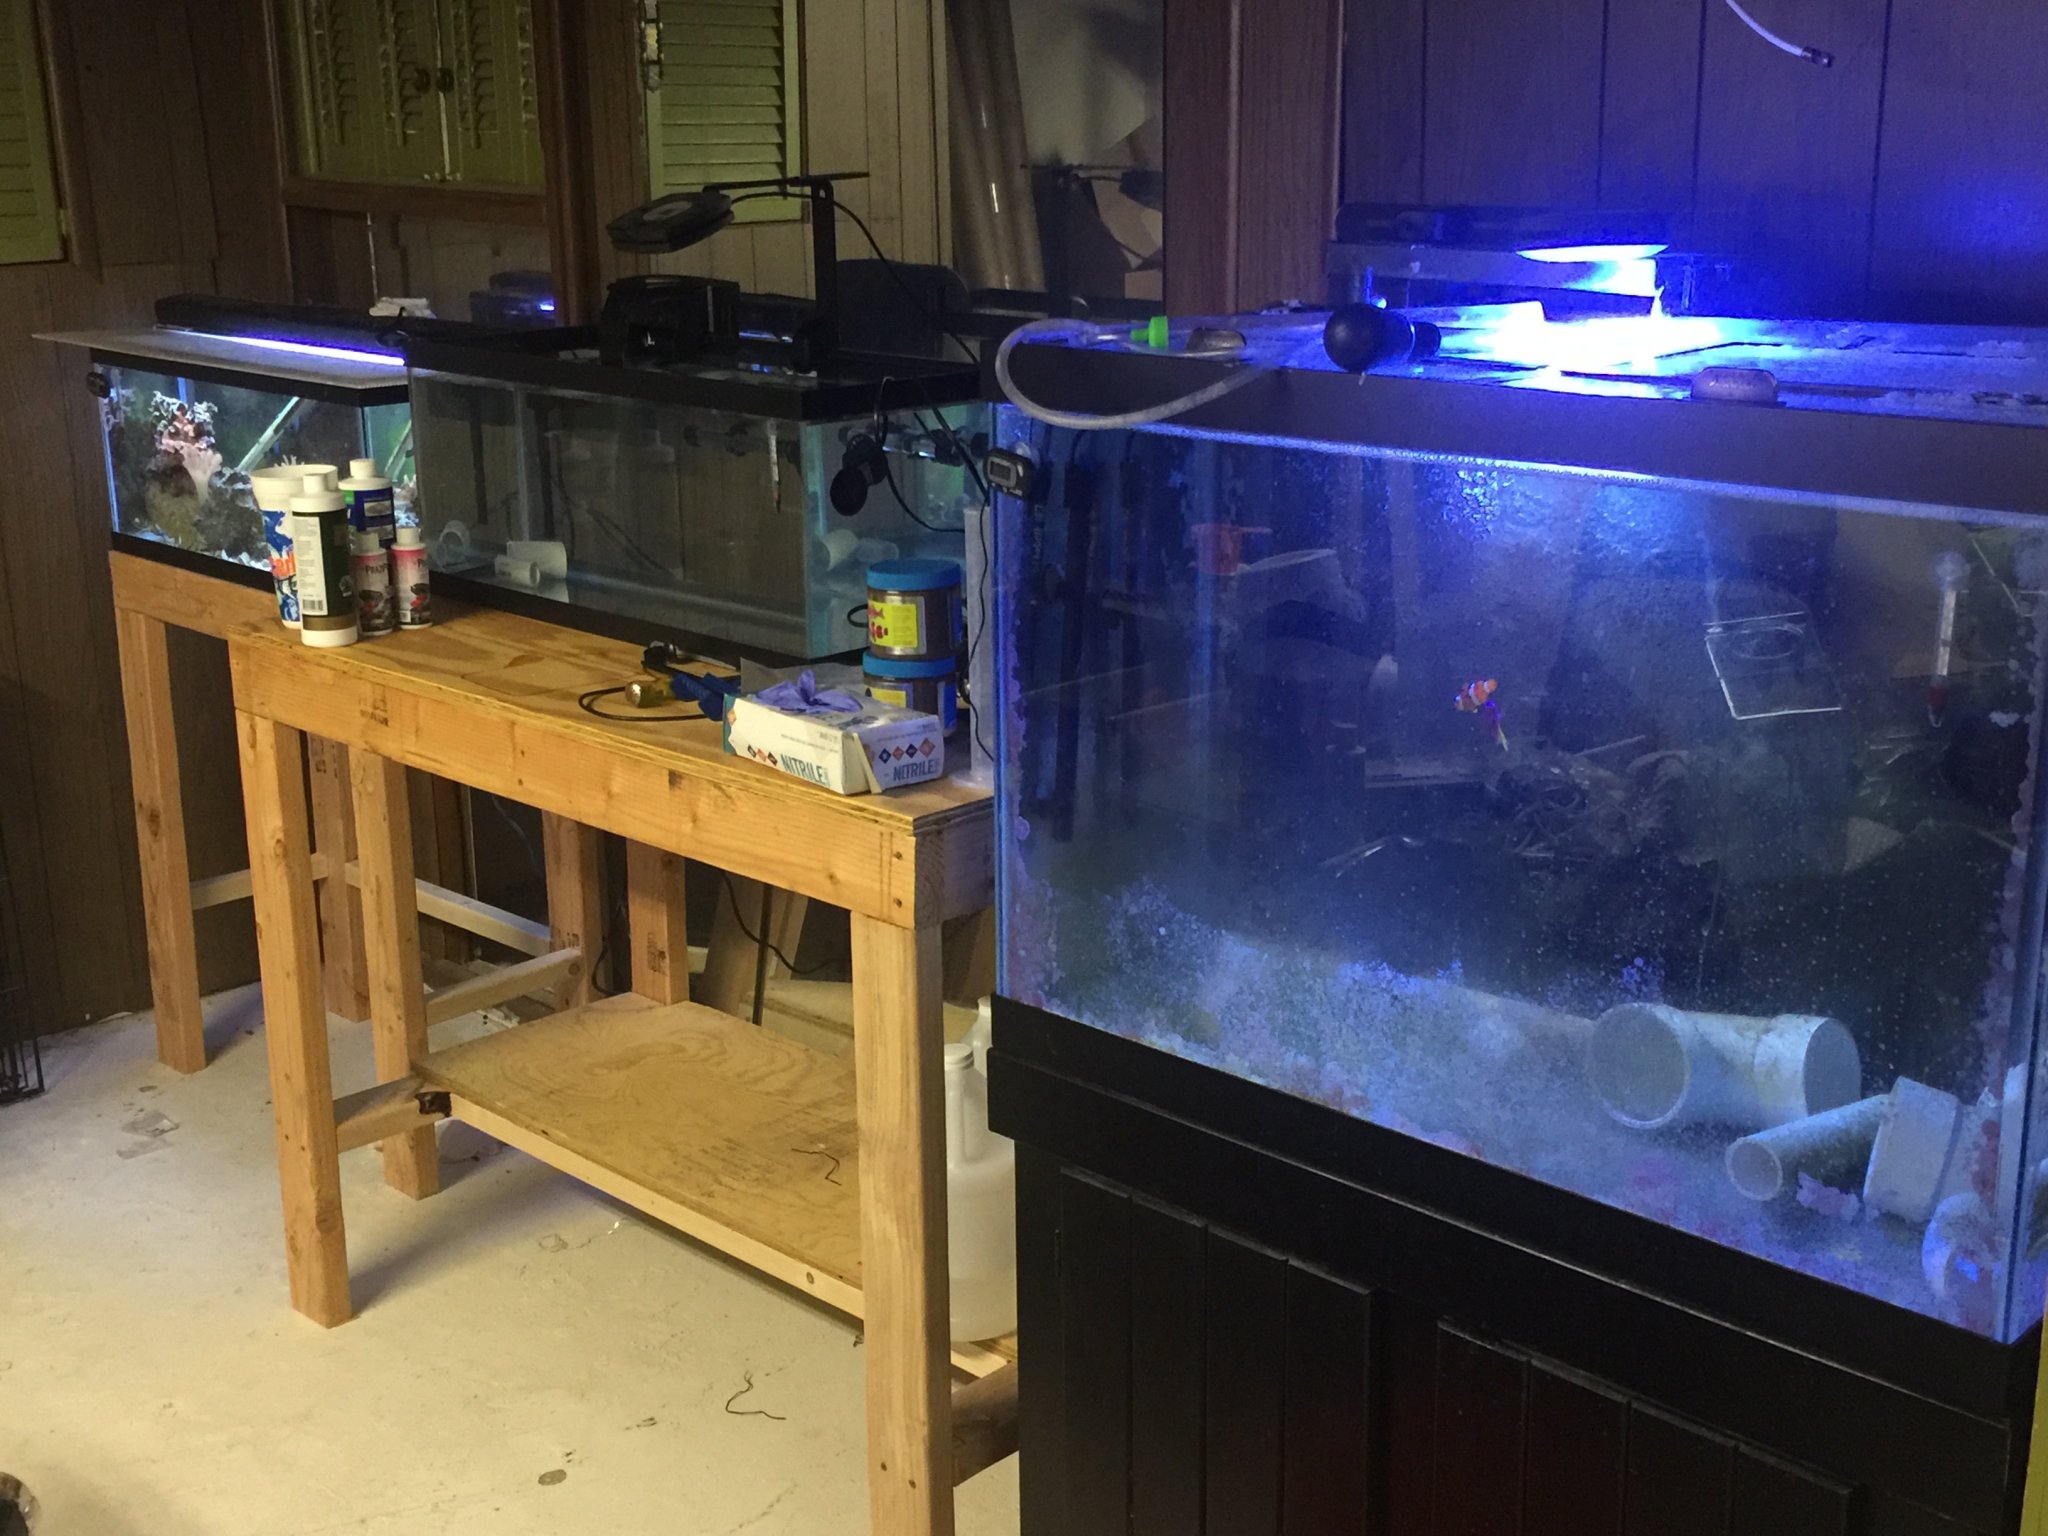
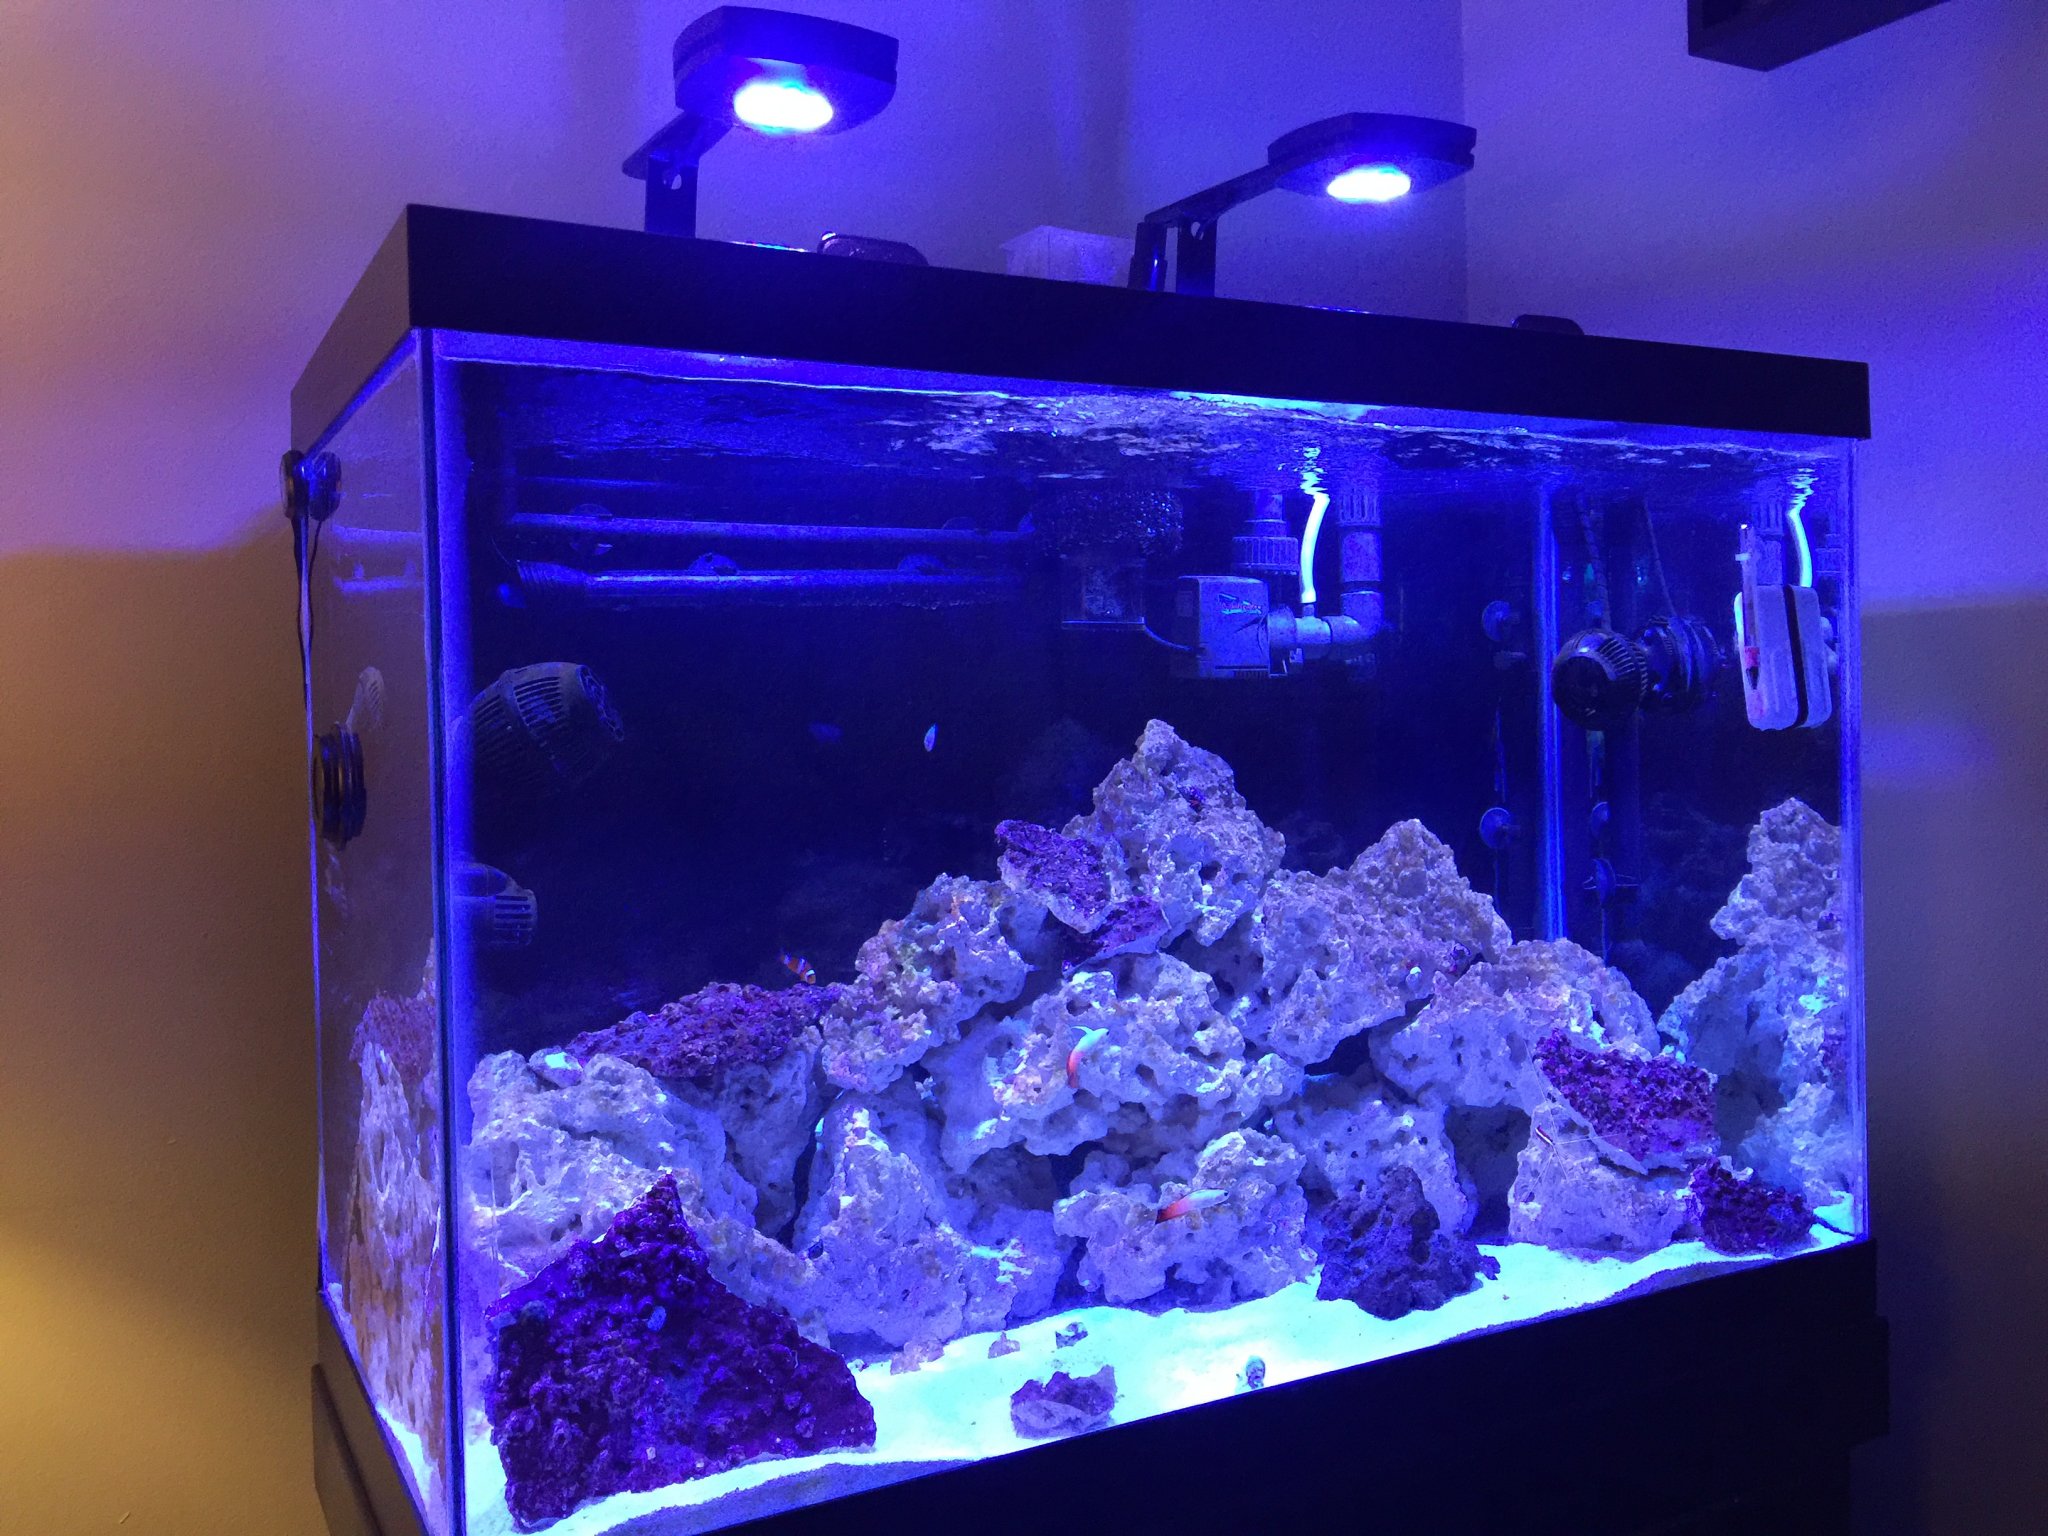
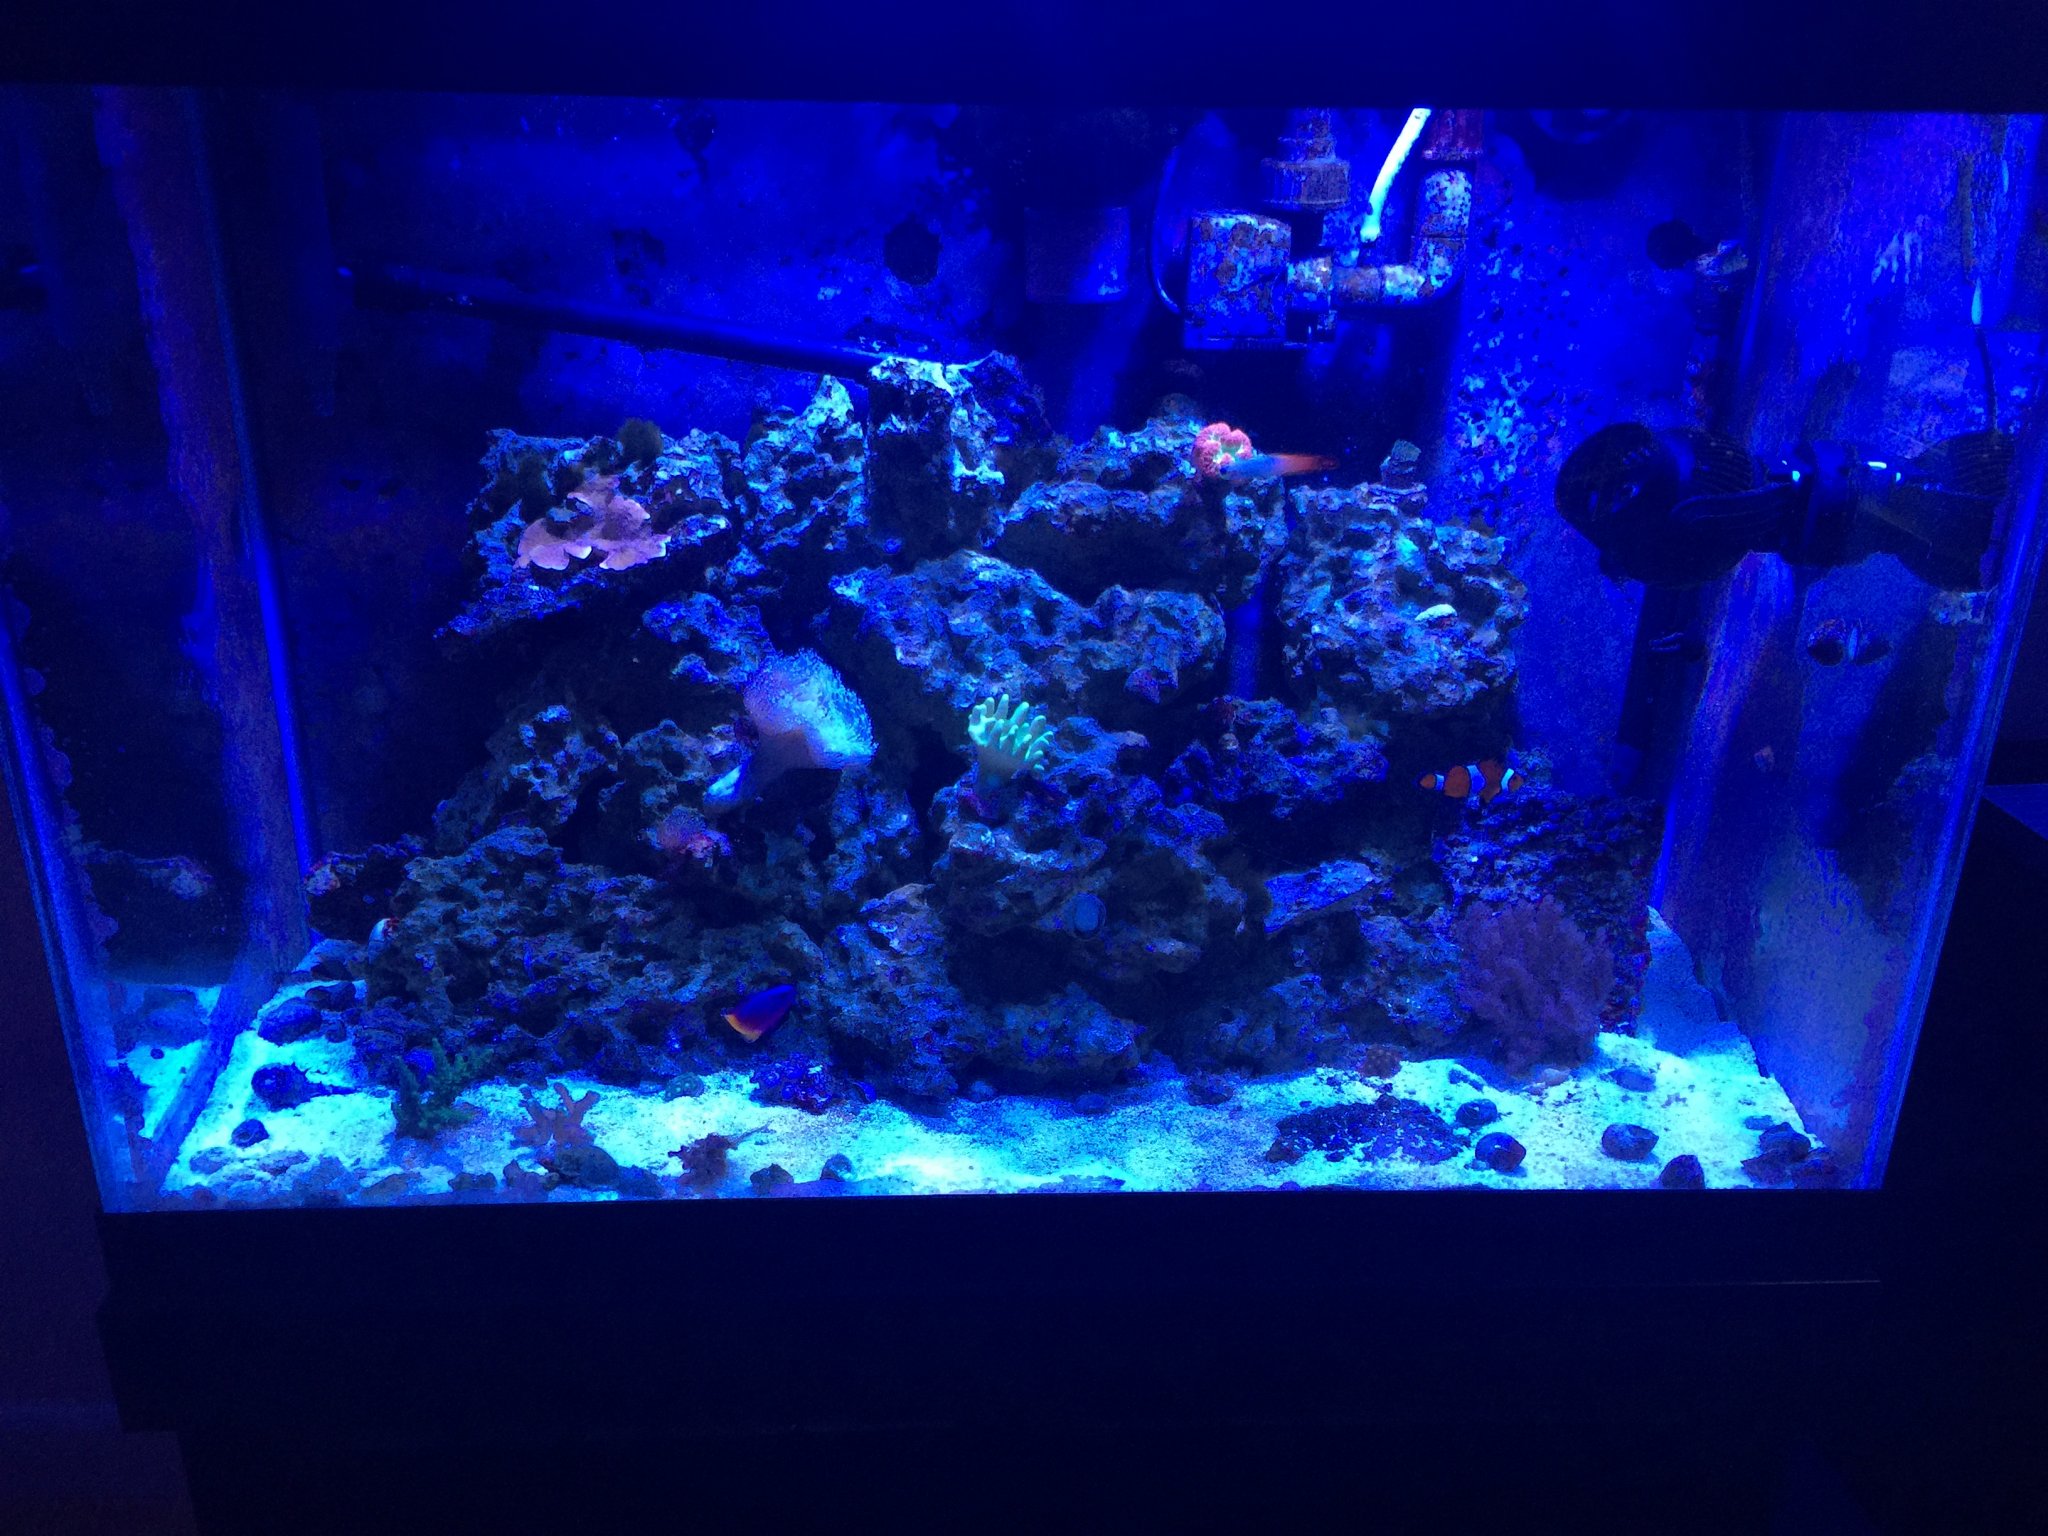
My current tank is a 65 gallon Deep Blue. I went into a LFS and basically told him I wanted to try Reefkeeping and he sold me all the wrong equipment. Bad lights, no skimmer, no sump, weak powerheads and overpriced fake live rock. After some research, I ended up having to spend about $1000 getting better equipment so that I could keep corals. As it stands, my underlit, sumpless reef is doing well, but the potential isn't there for what I really want. Rather than spend another $1000 for what I need, I'd rather use the money to upgrade.


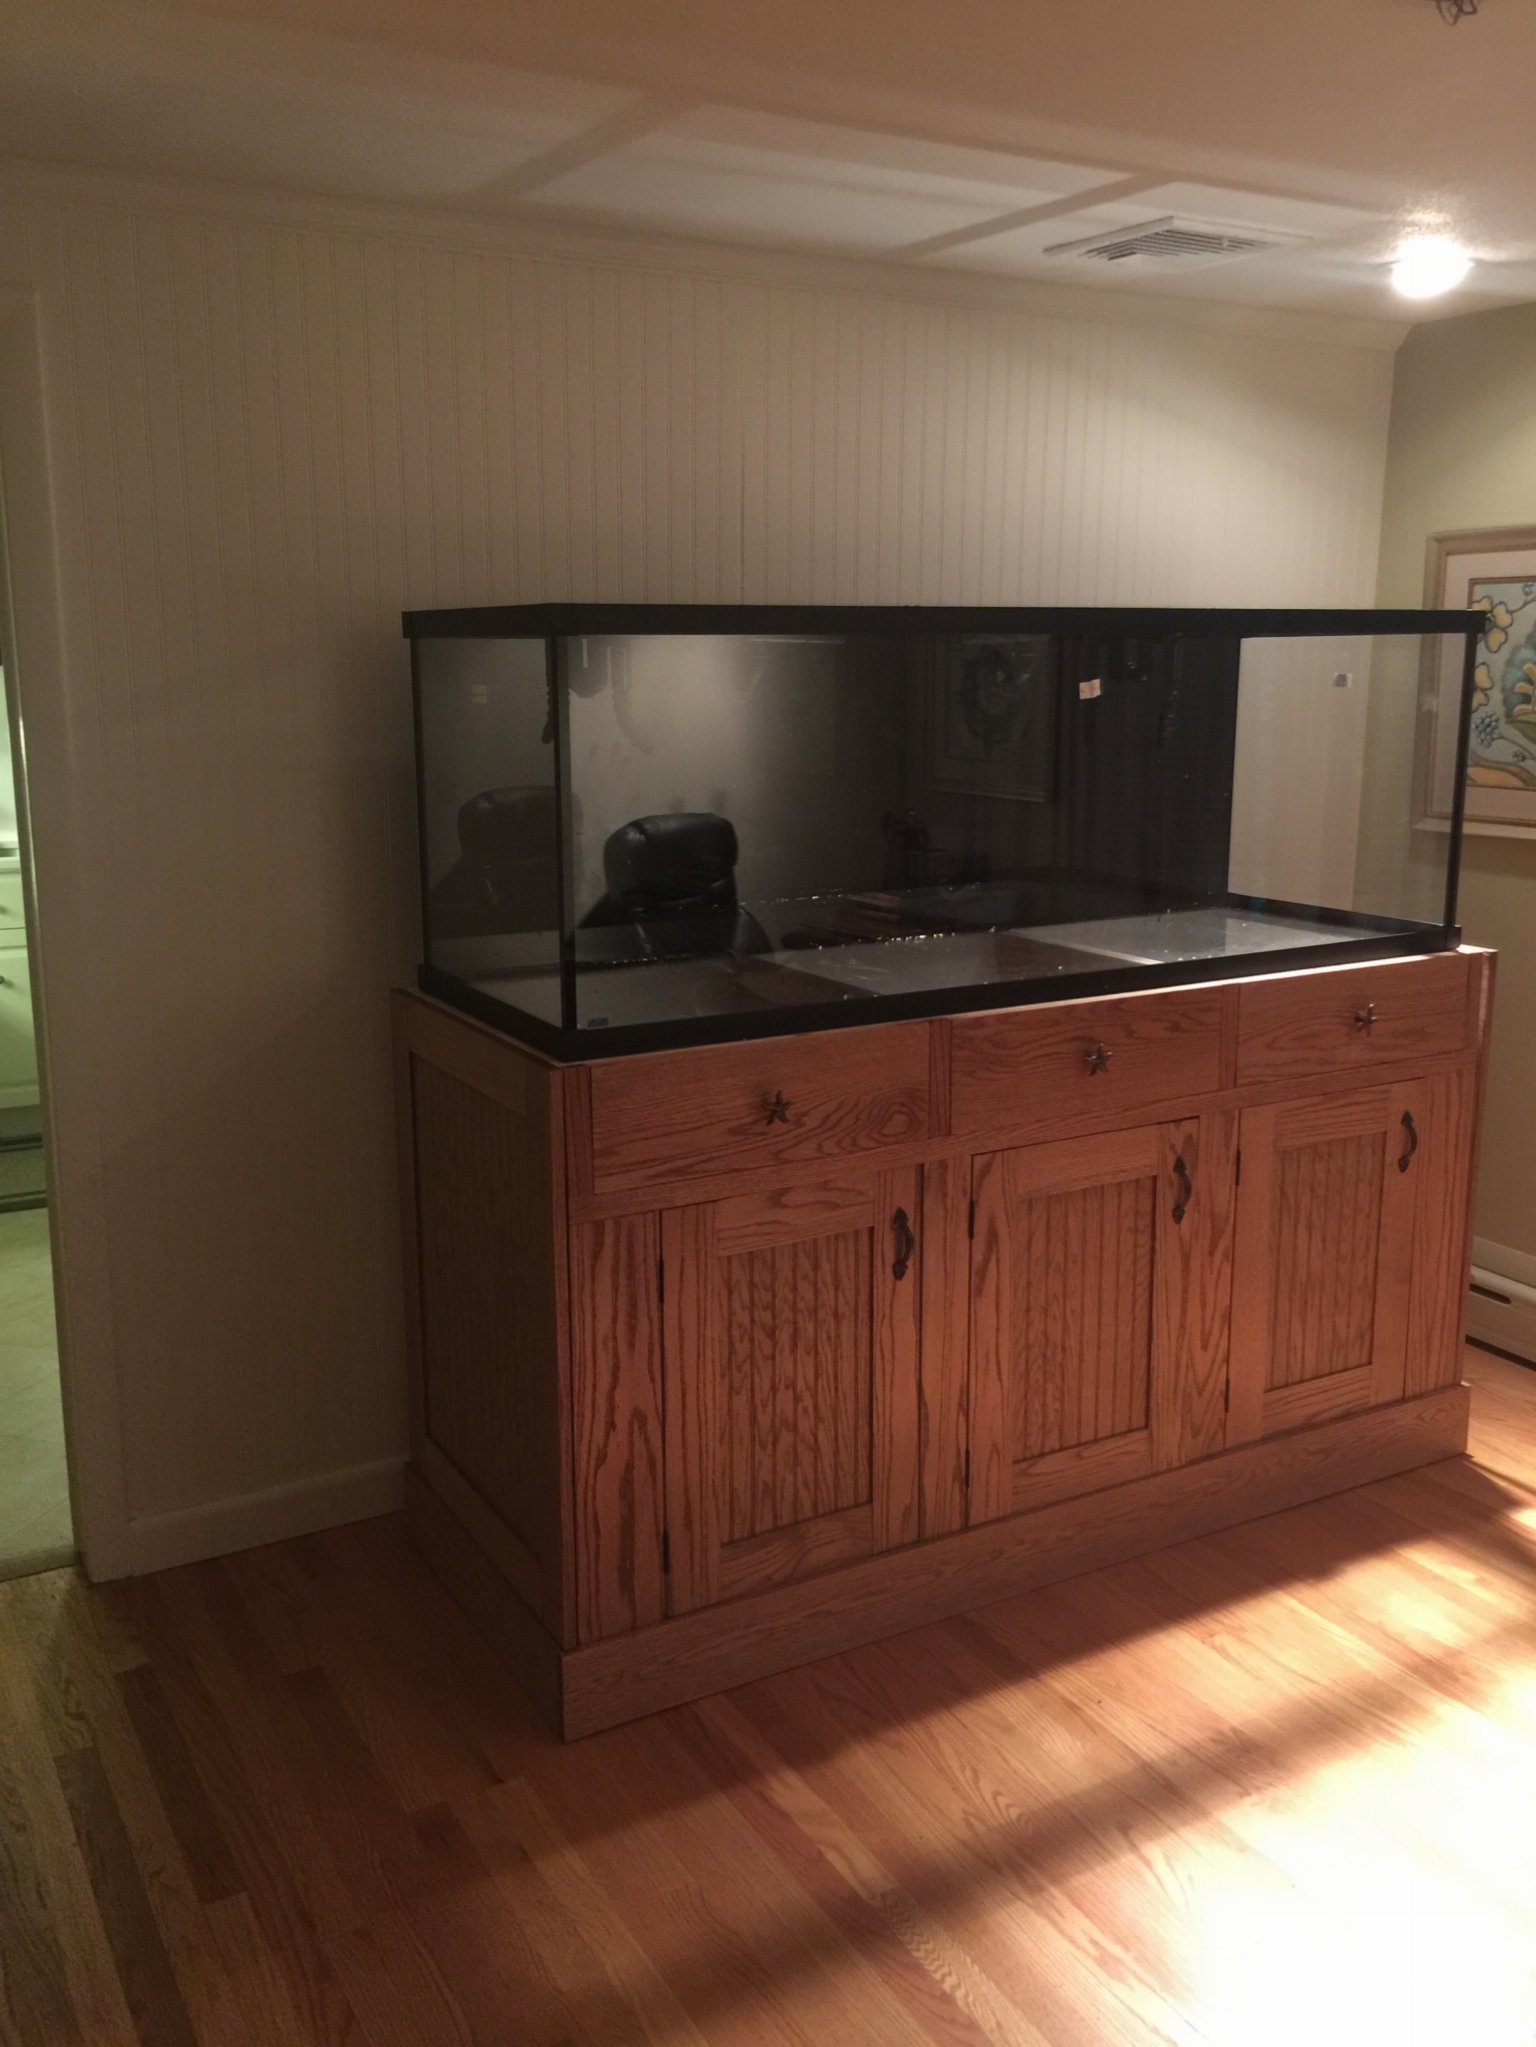
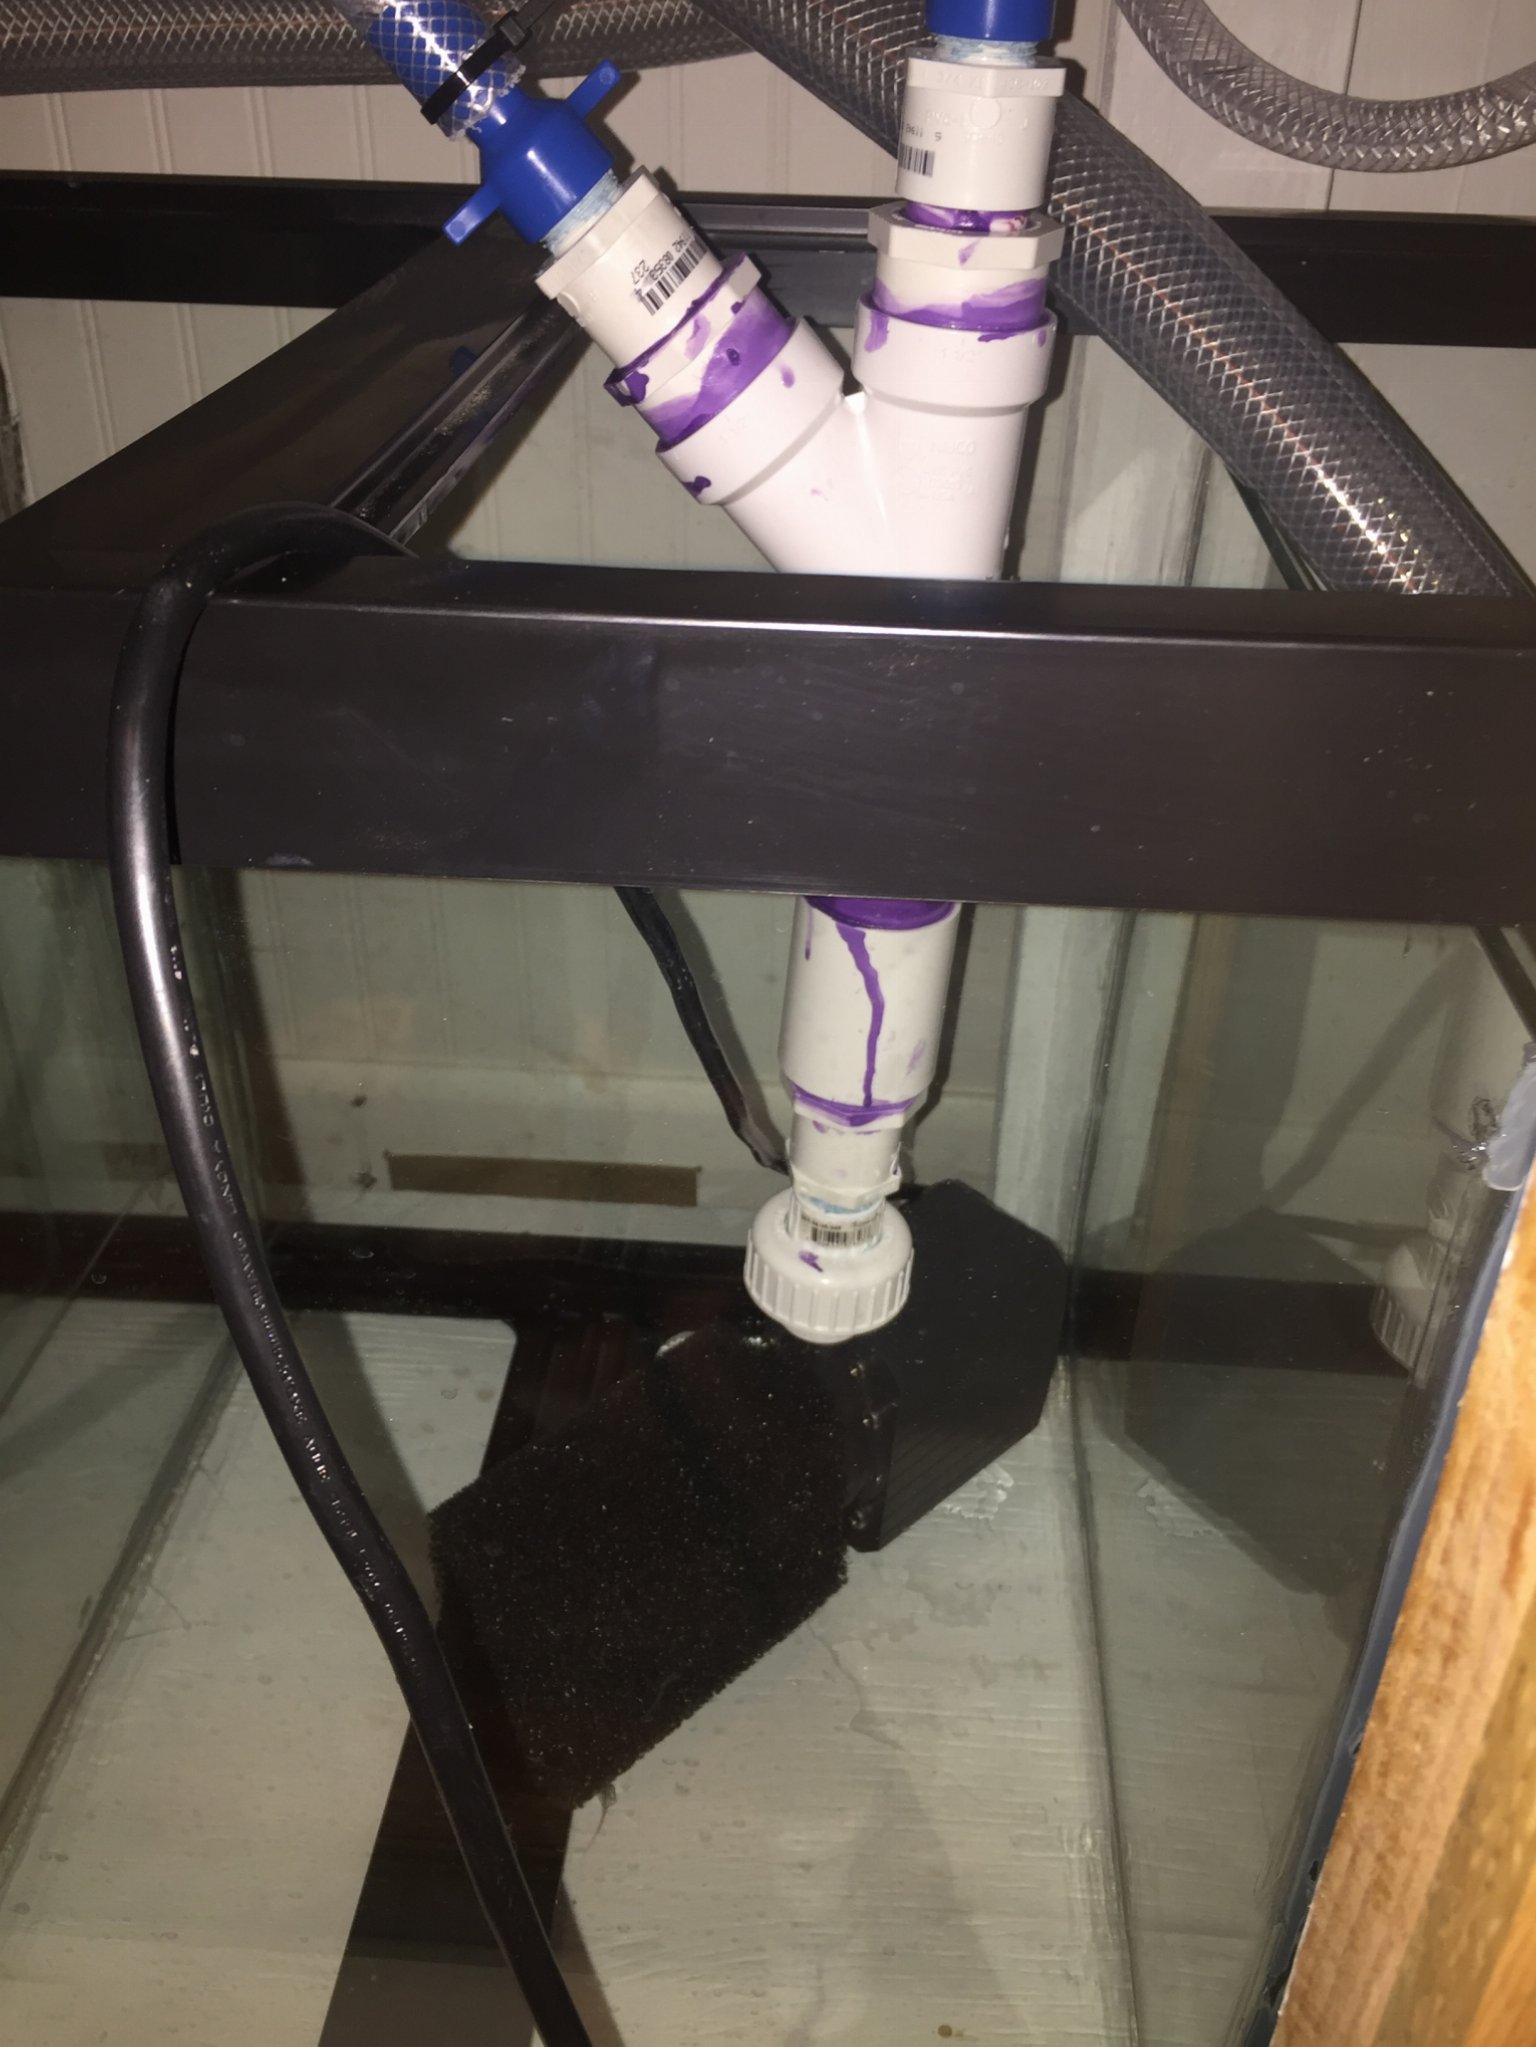
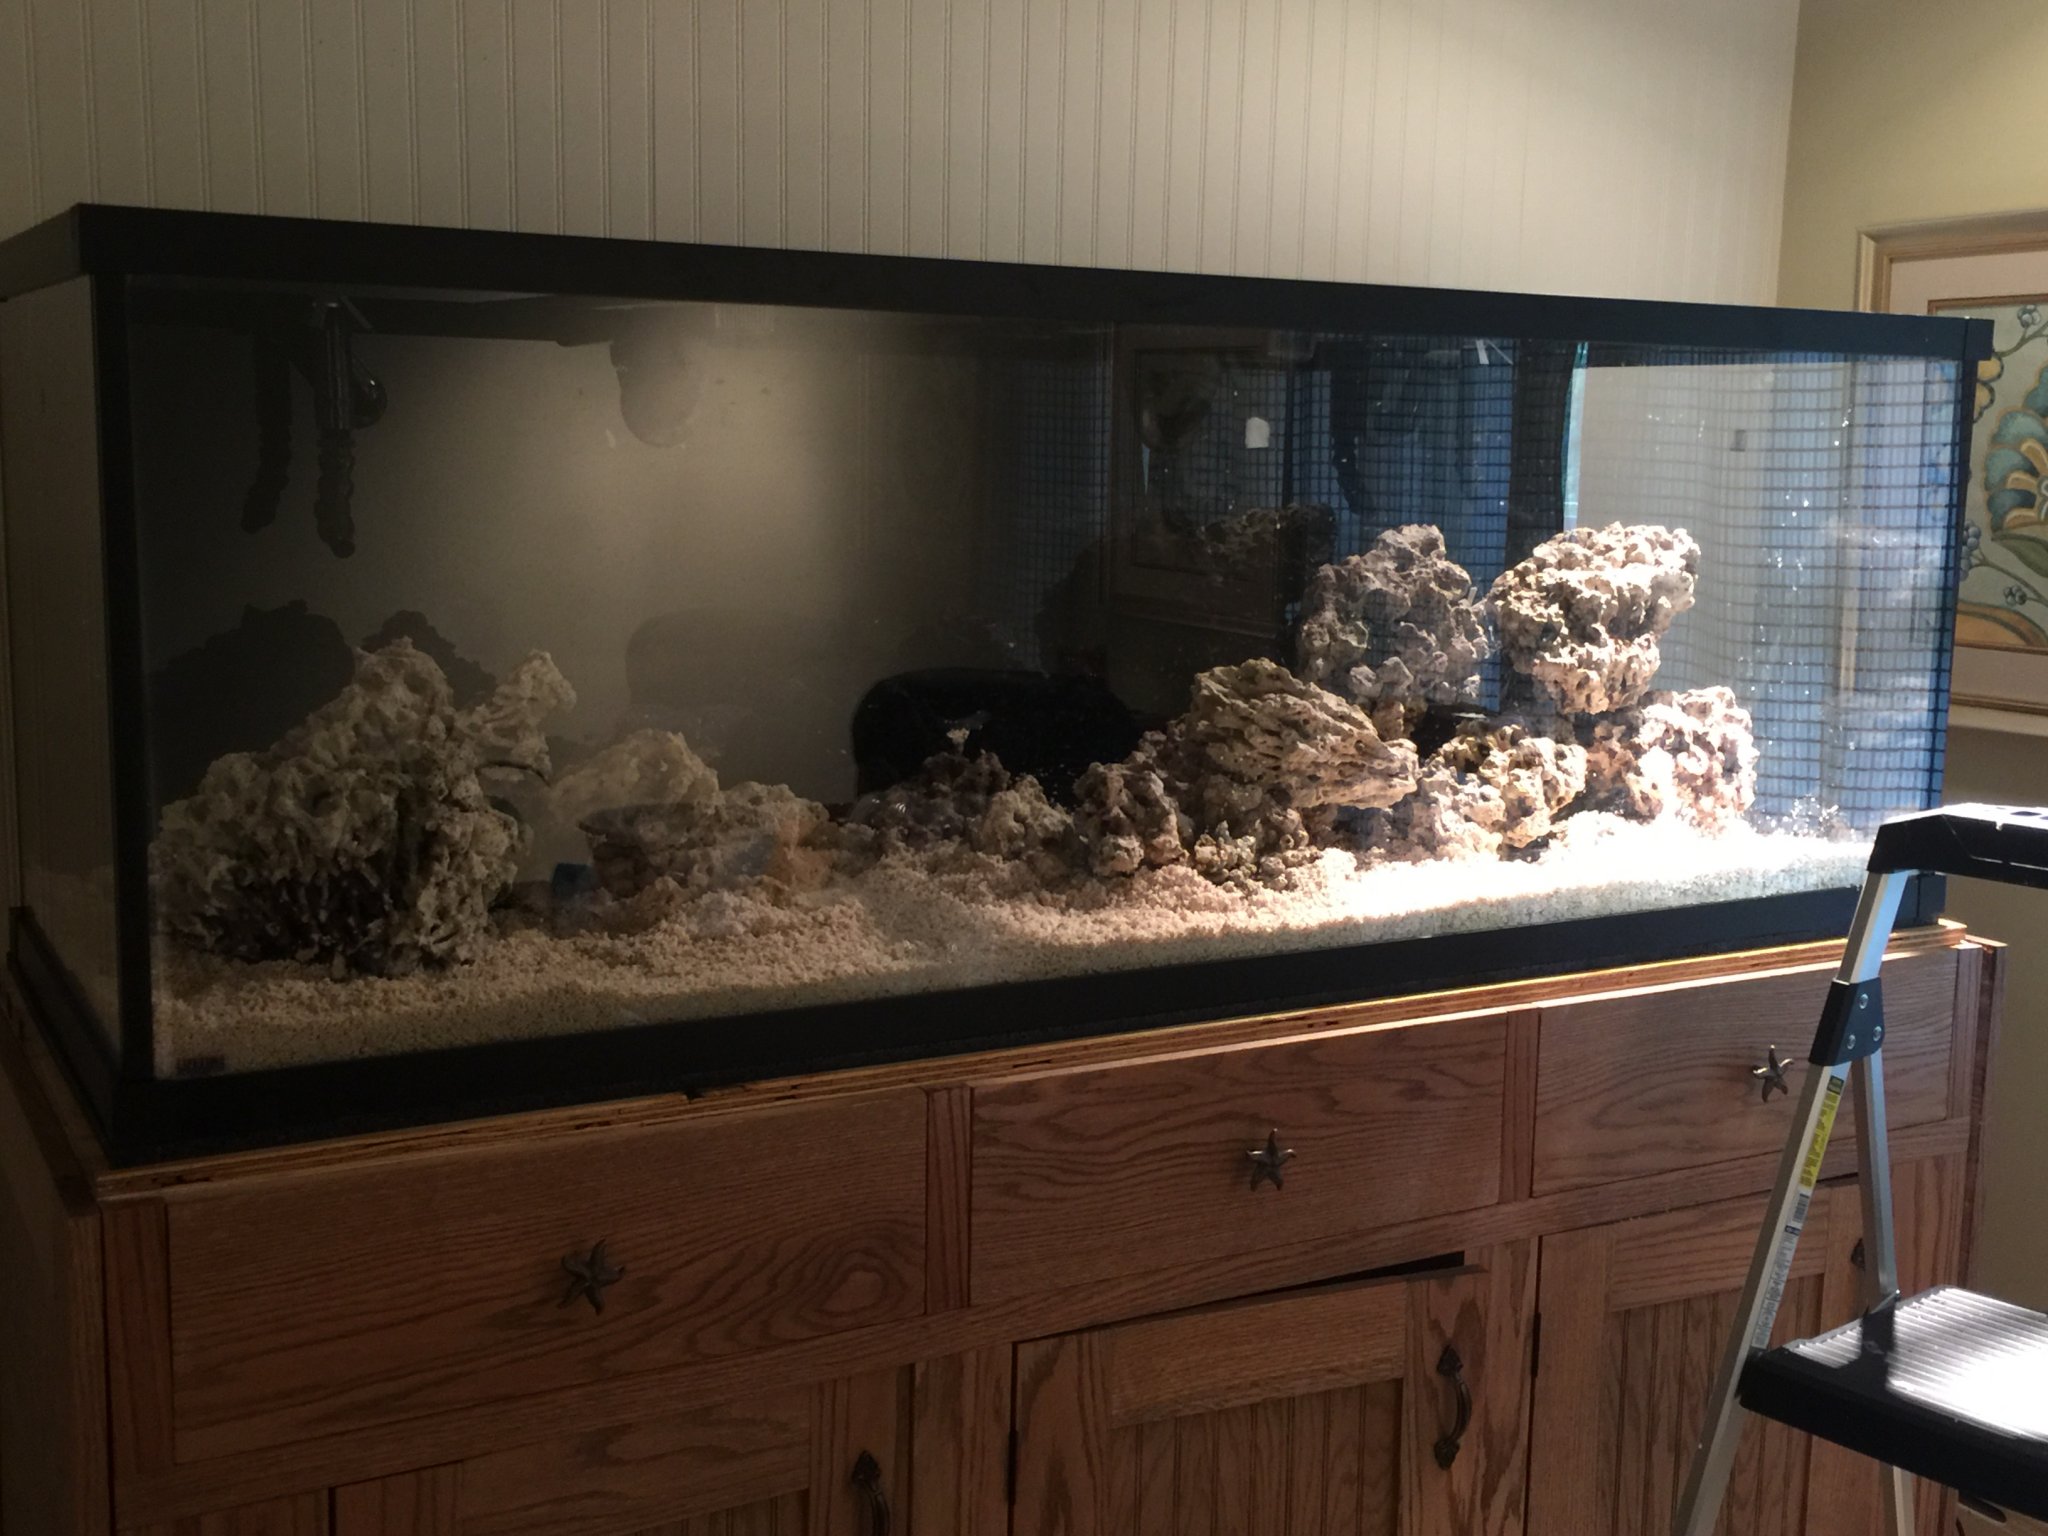
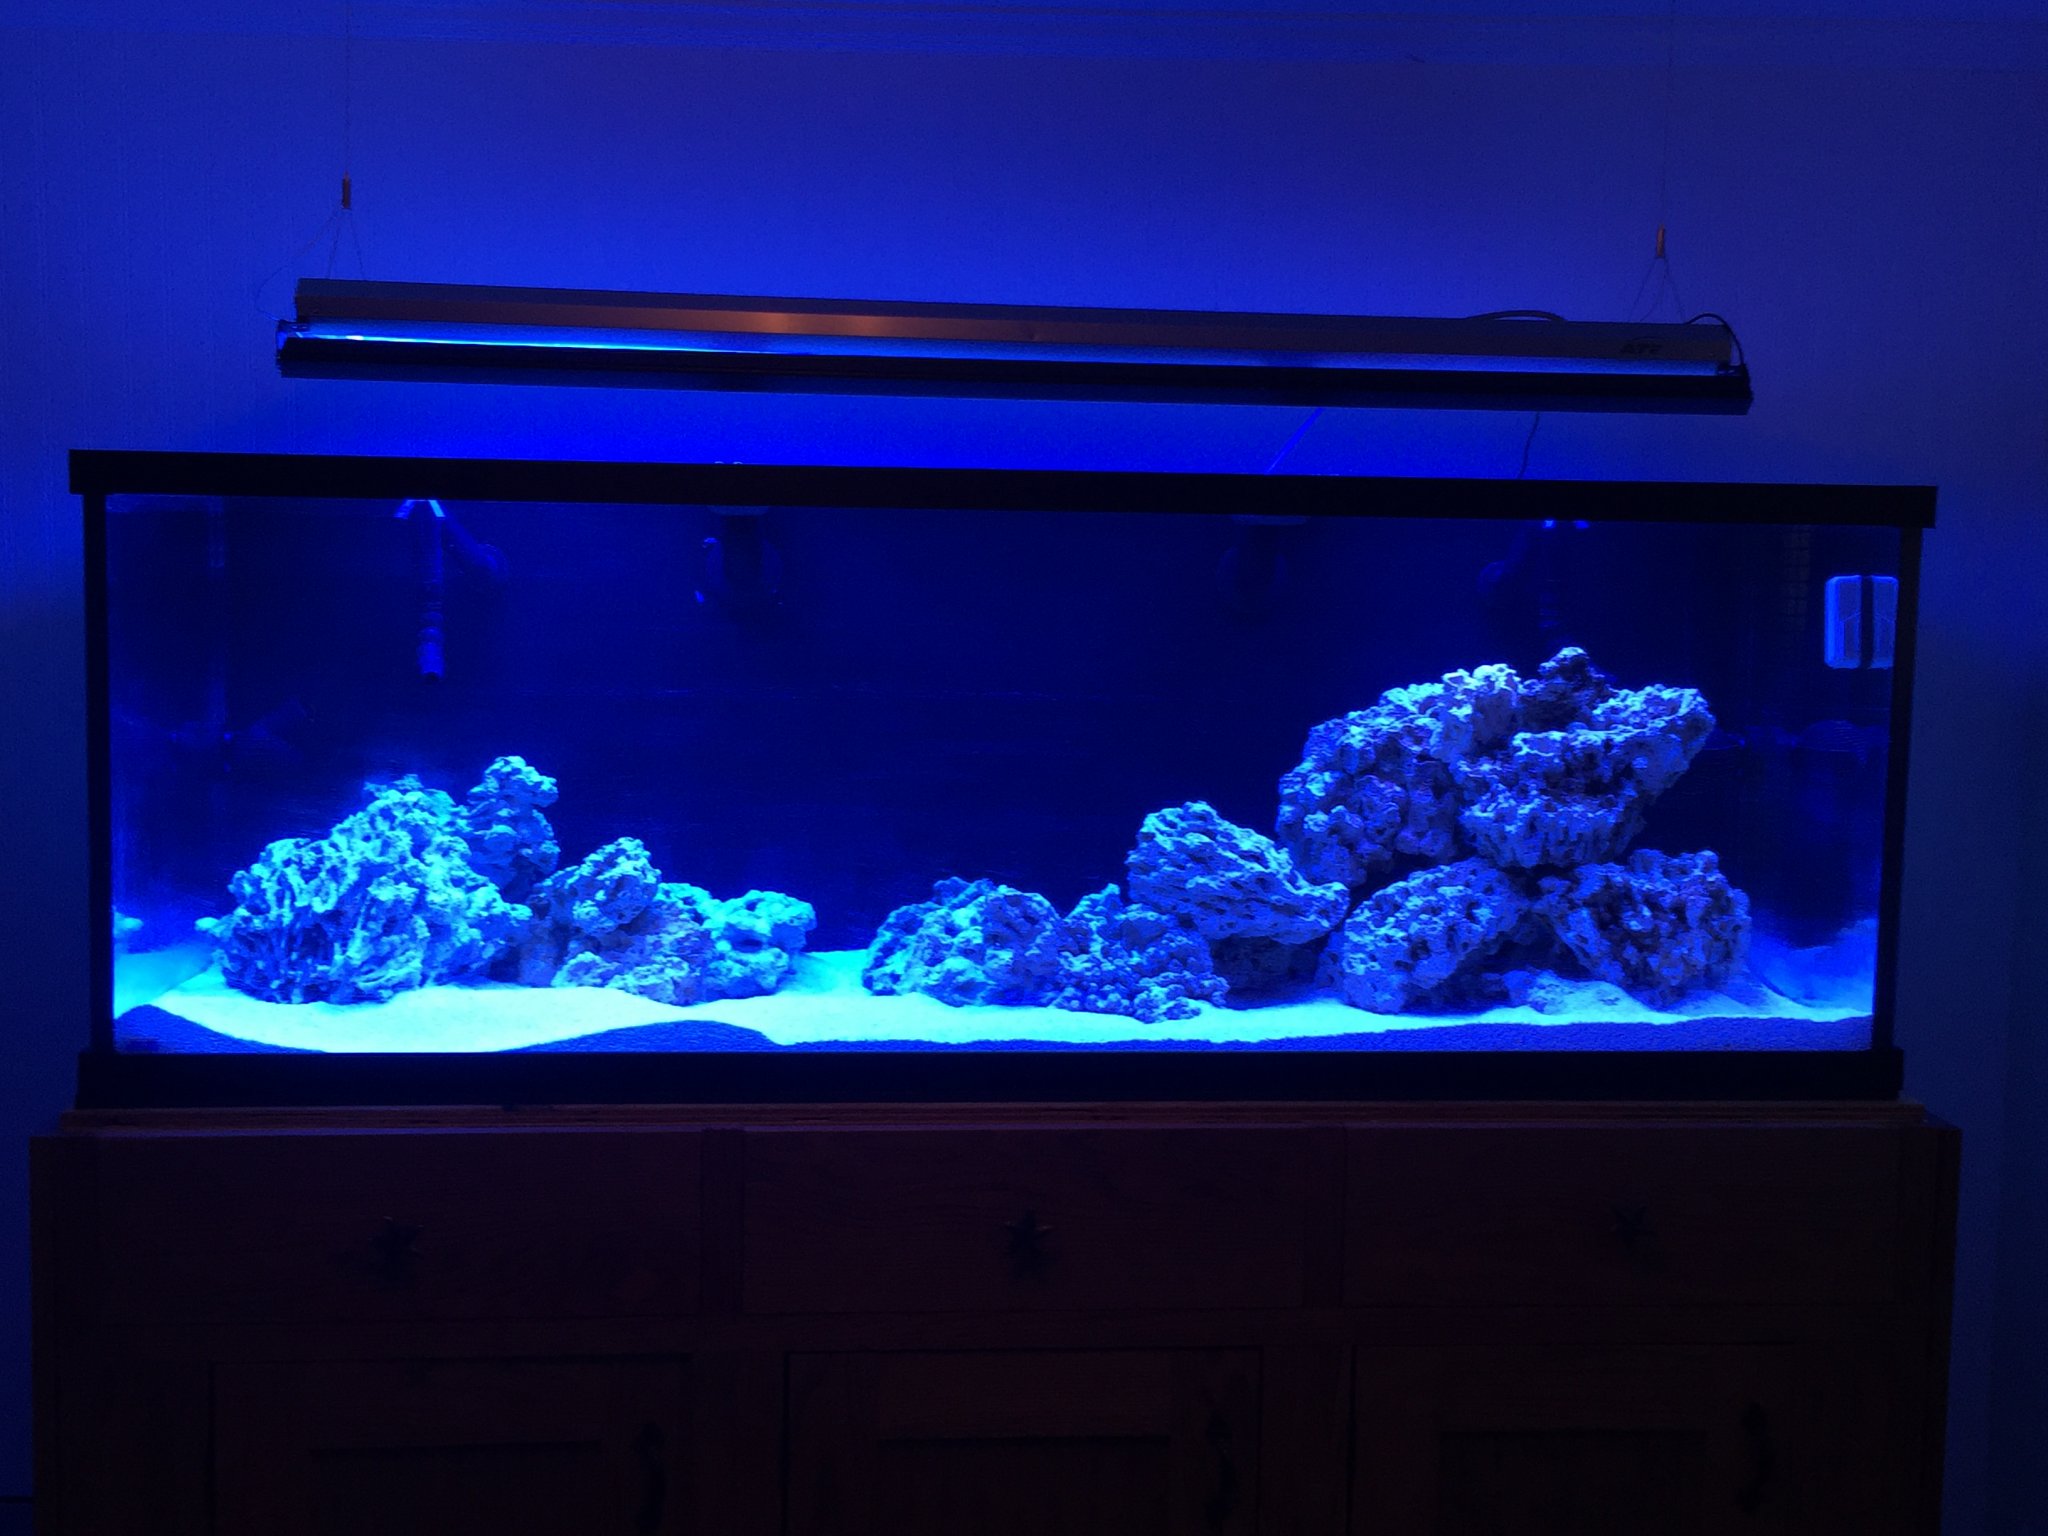
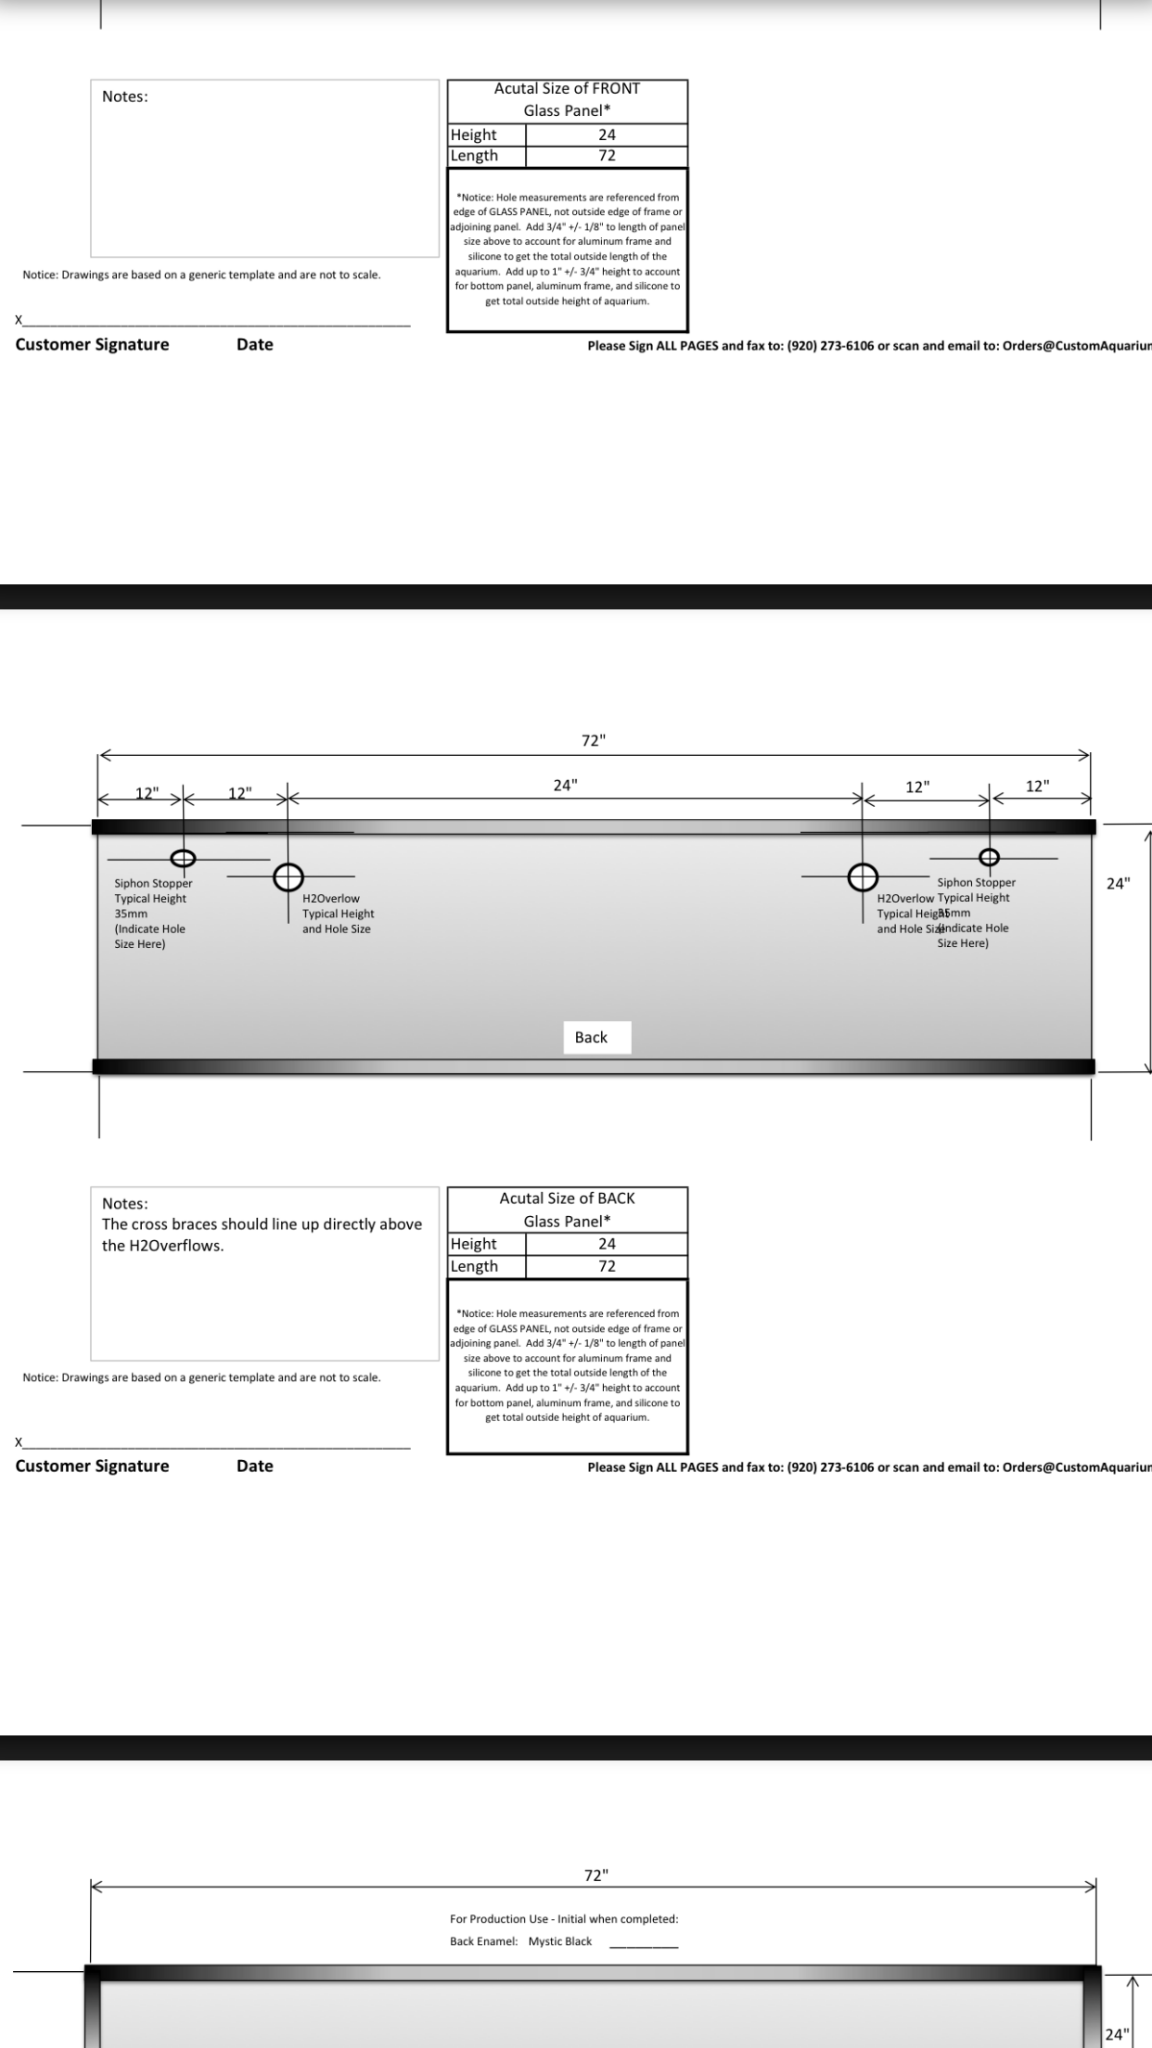
After calling around for quotes for 180-265 gallon reef ready tanks, I ended up deciding I wanted to go custom, and I decided a 180 was the ideal size for my available tank space. Conveniently my LFS in CT just started using www.customaquariums.com. Despite lack of reviews and people sharing their experiences, I decided to roll with it. I liked the look of their tanks and I liked their H2O Overflow and Siphon Stopper concepts. Their setup provided me with more aquascape space and less equipment, which was my goal.

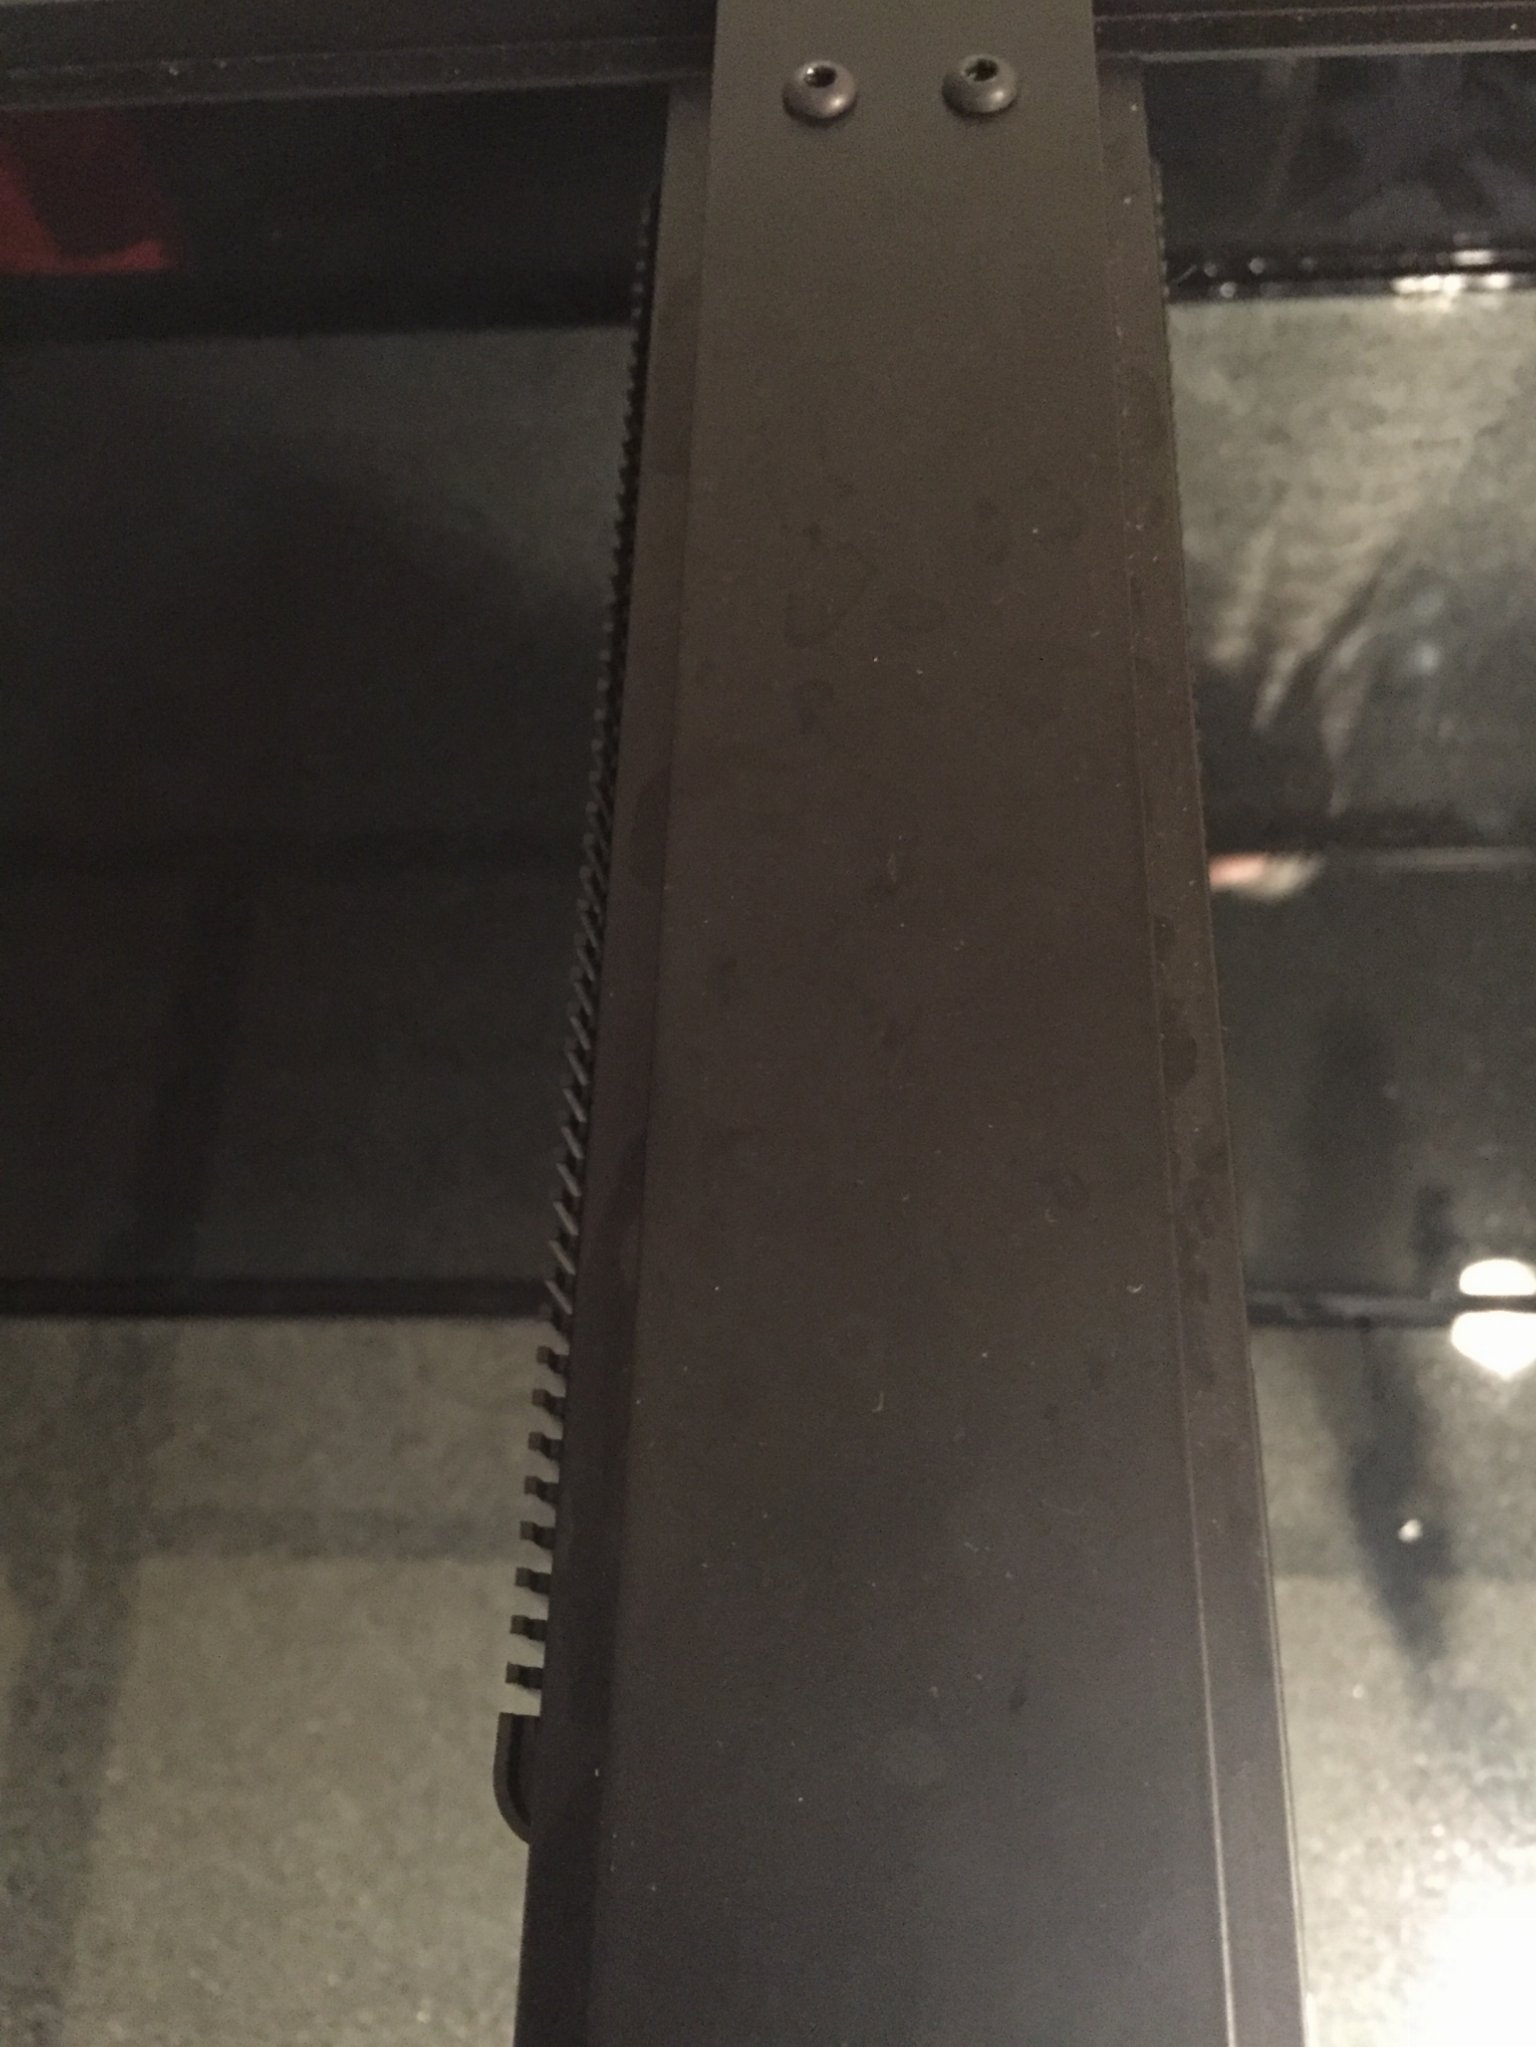
The ordering process was great. I told my LFS what I wanted, and the builder sent back a quote with a complete build design for me to sign off on. I was able to double check where all the holes would be, as well as dimensions and materials. The first draft had the overflows placed in their "standard spot" and I wanted them under the cross braces to avoid blocking light. Within a few hours I had the revised quote and I signed off.


The final order was:
180G 72x24x24
1/2" glass
Starphire front and sides
Acrylic black coating on back panel exterior
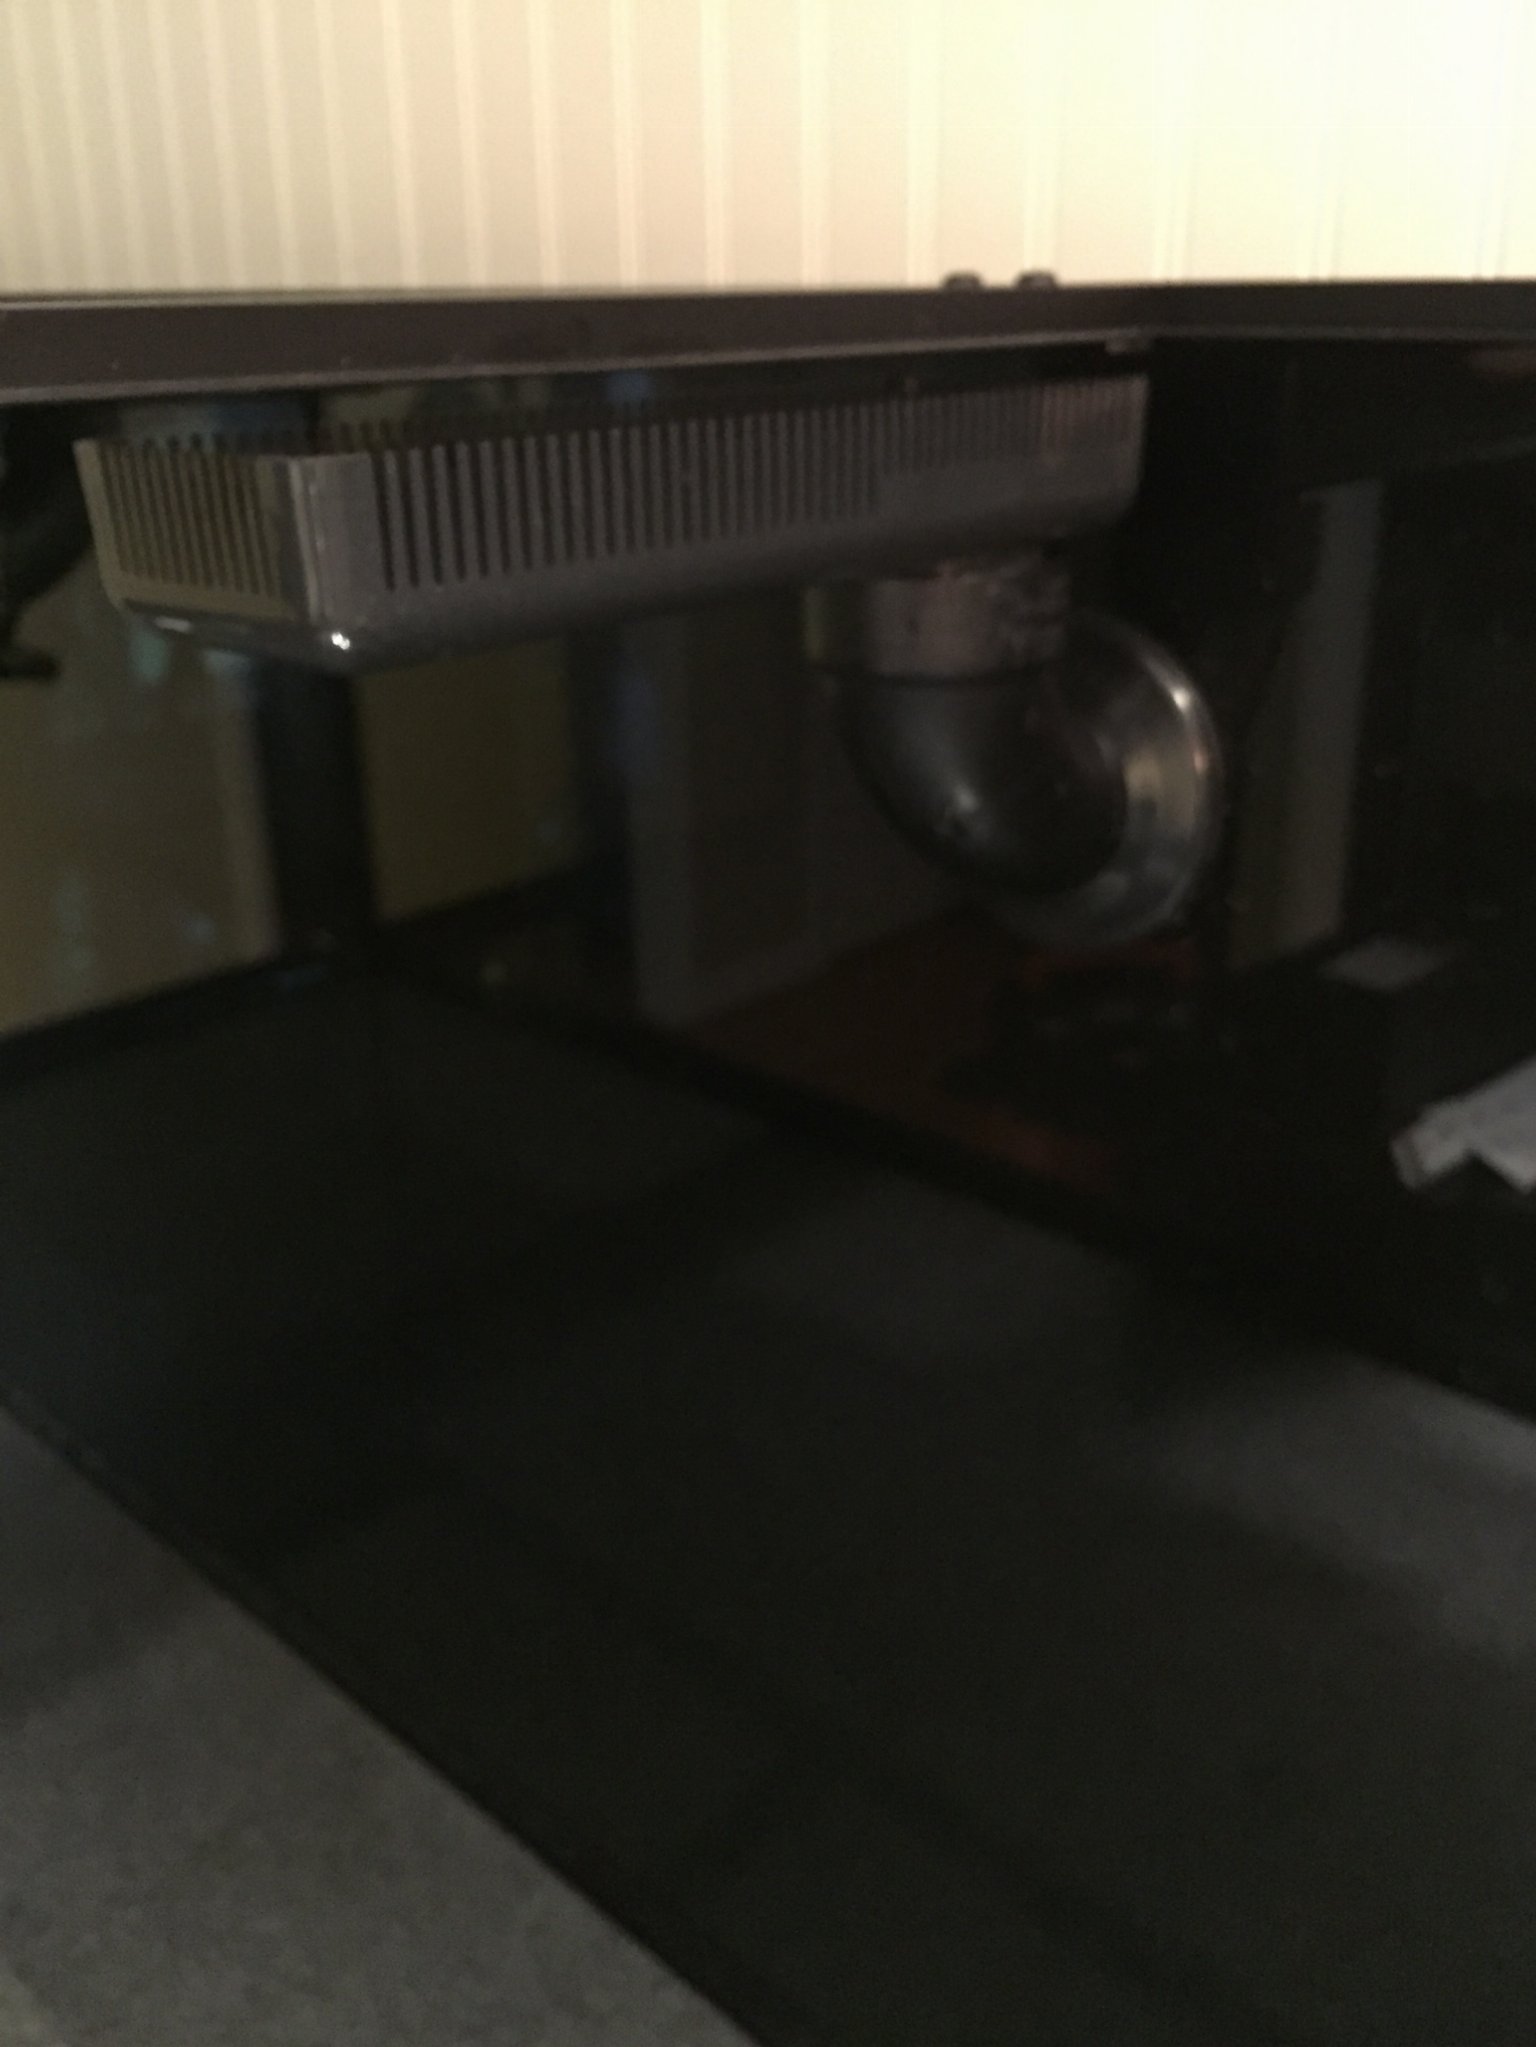
2x H20 Overflows hidden under cross braces
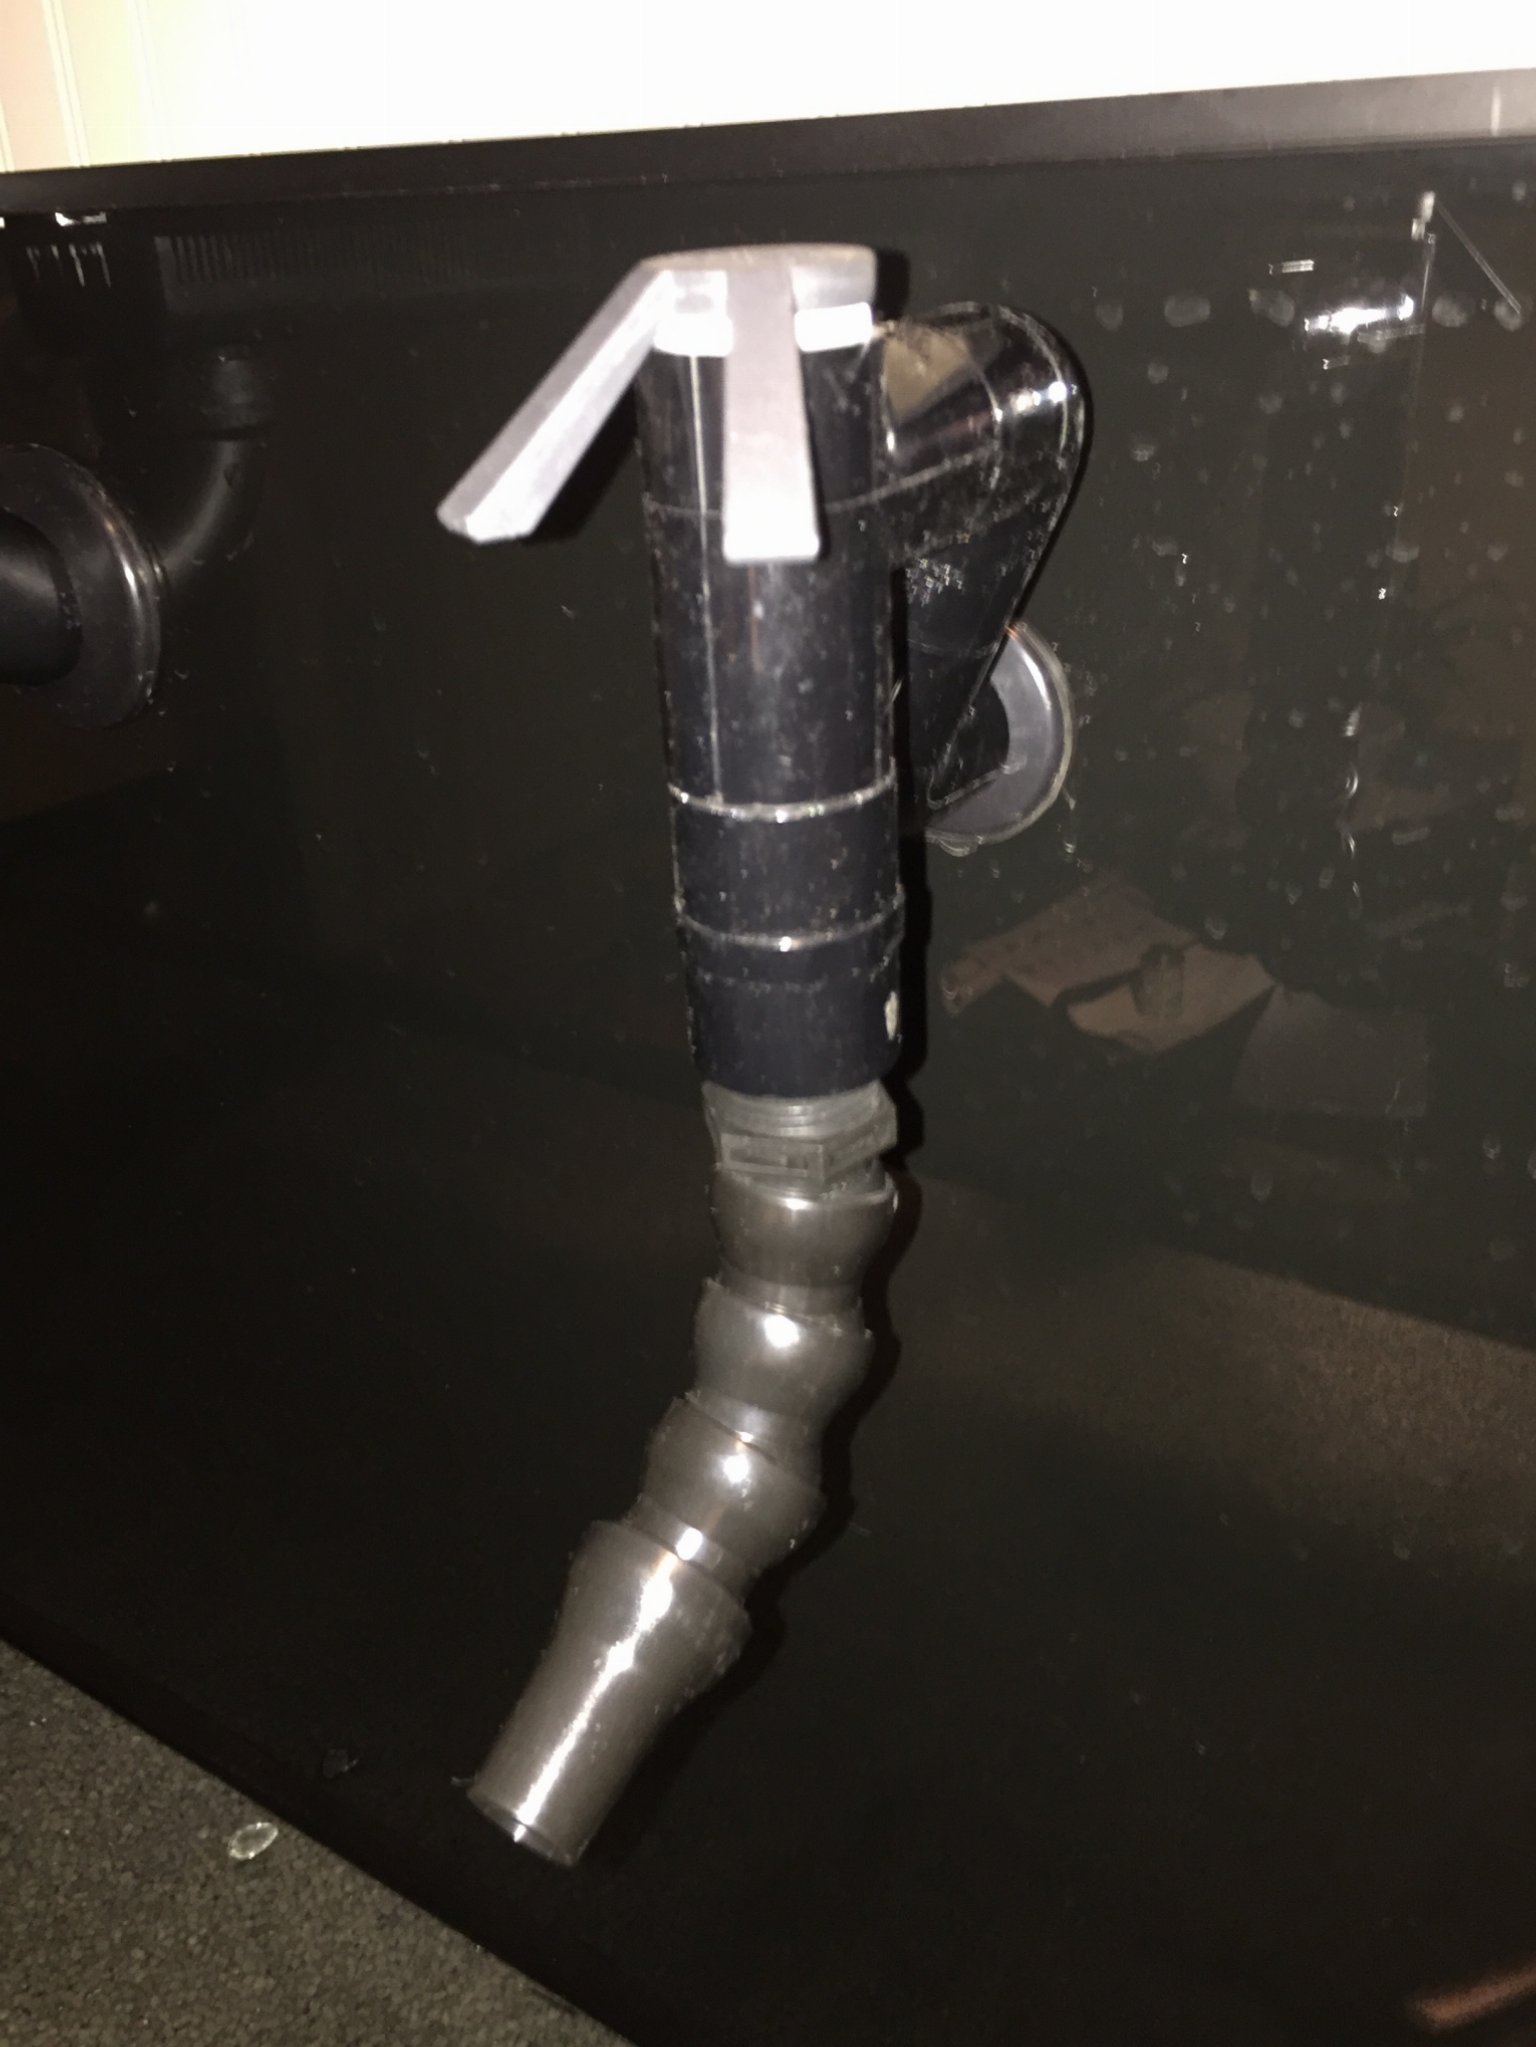
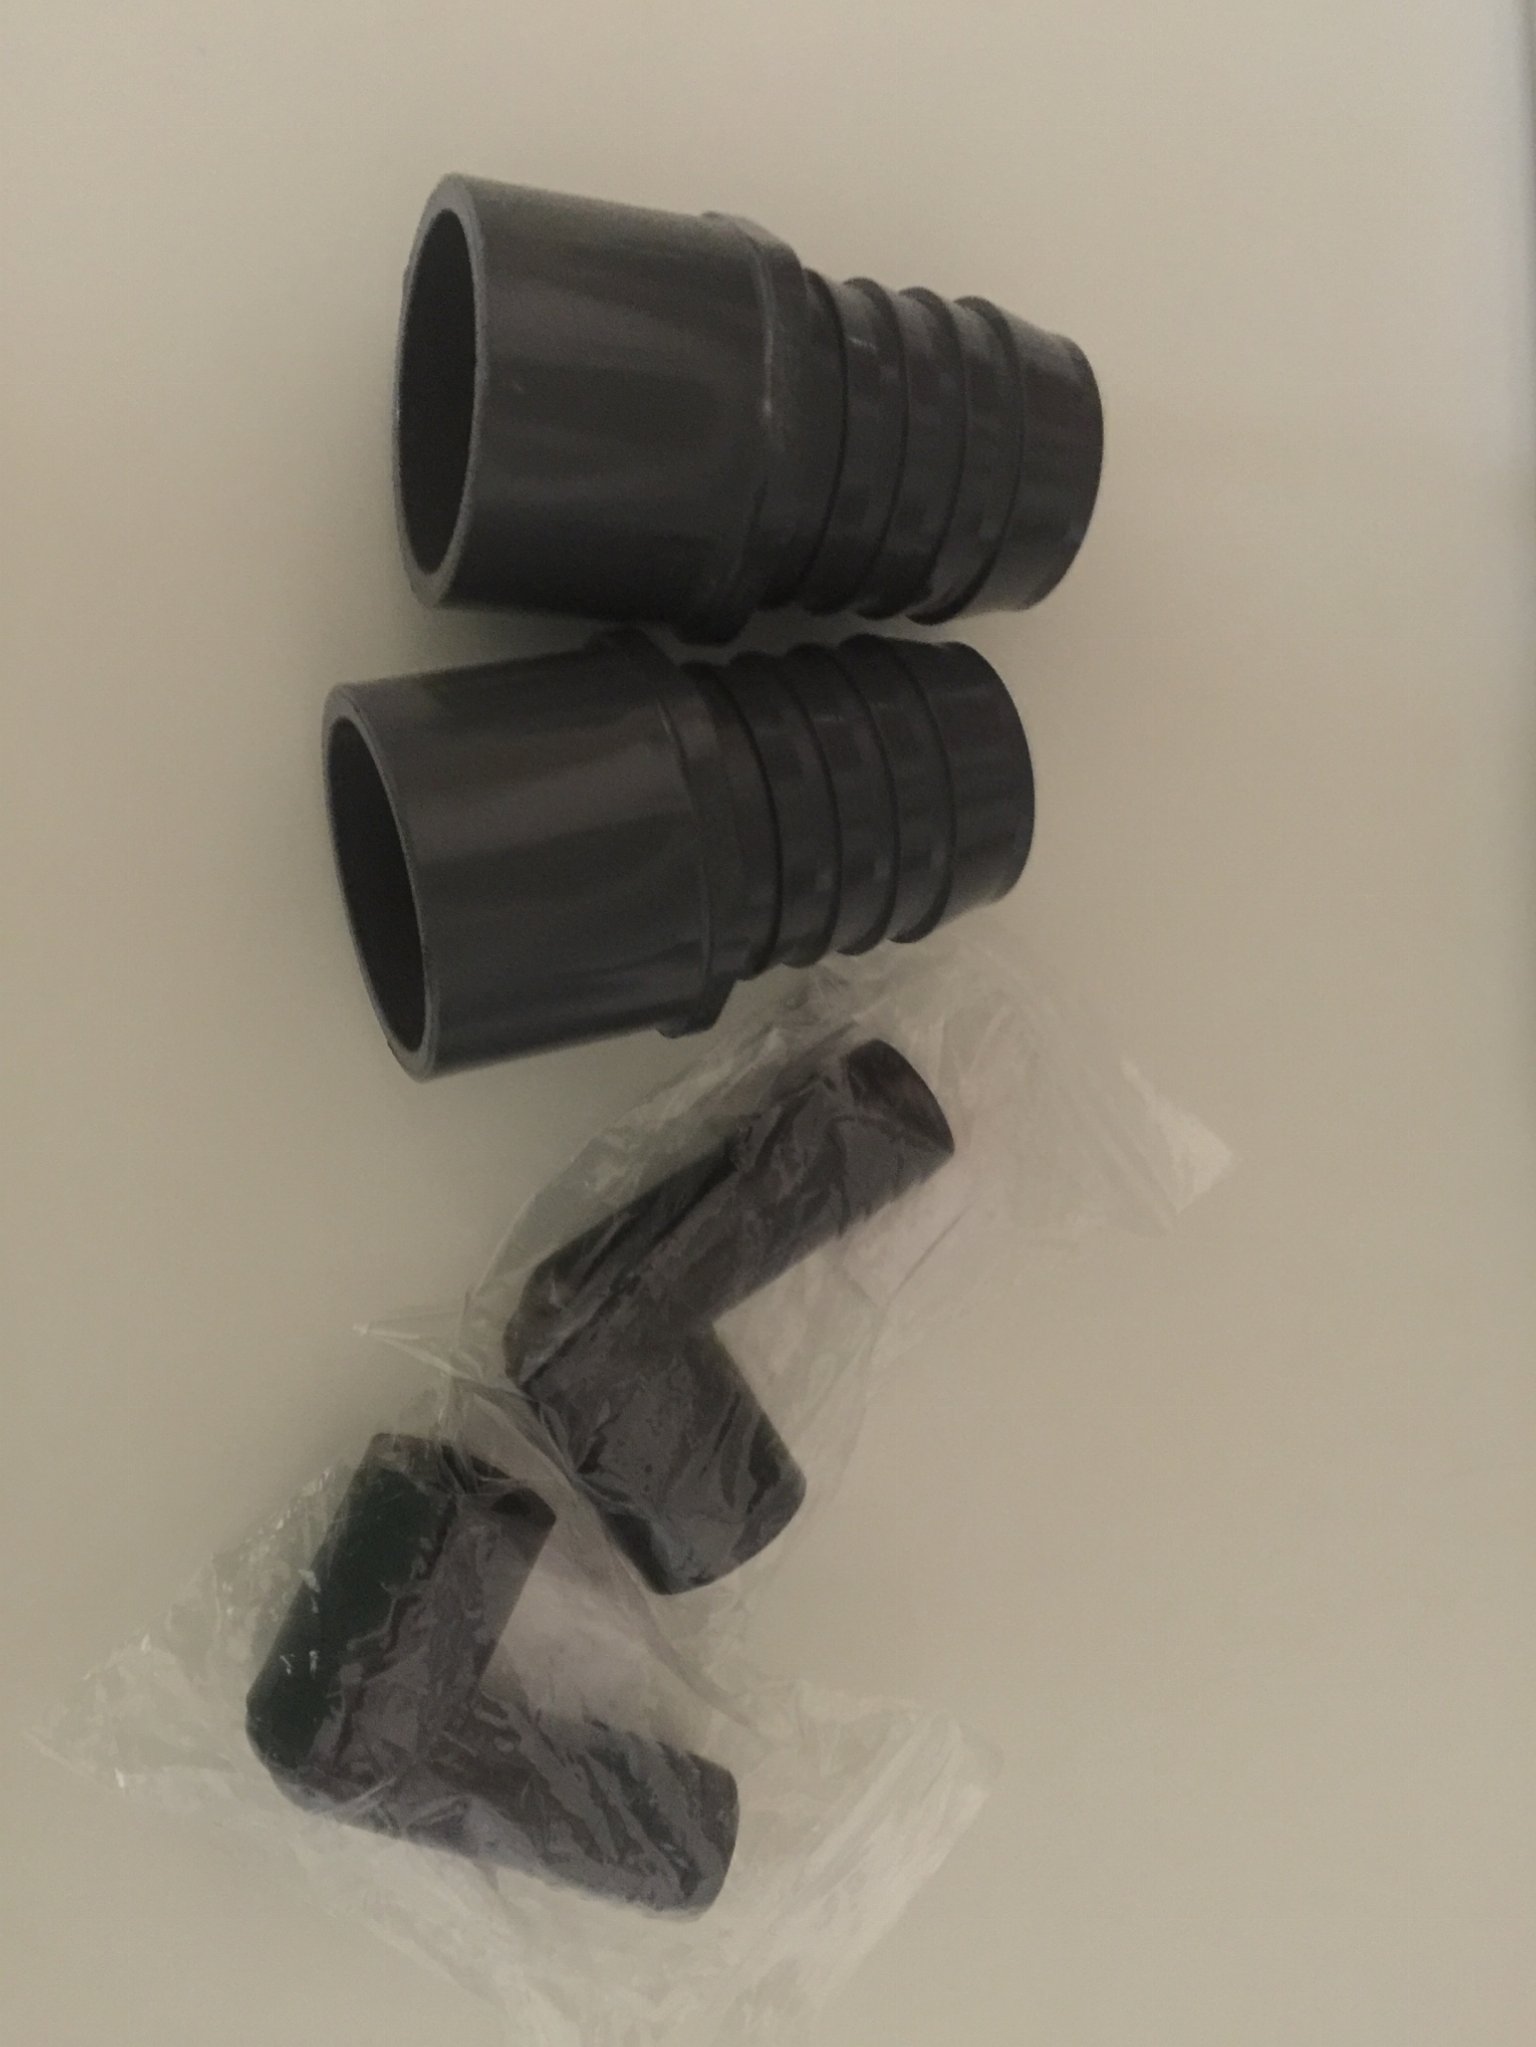
2x 3/4 Siphon Stopper returns 12" from ends

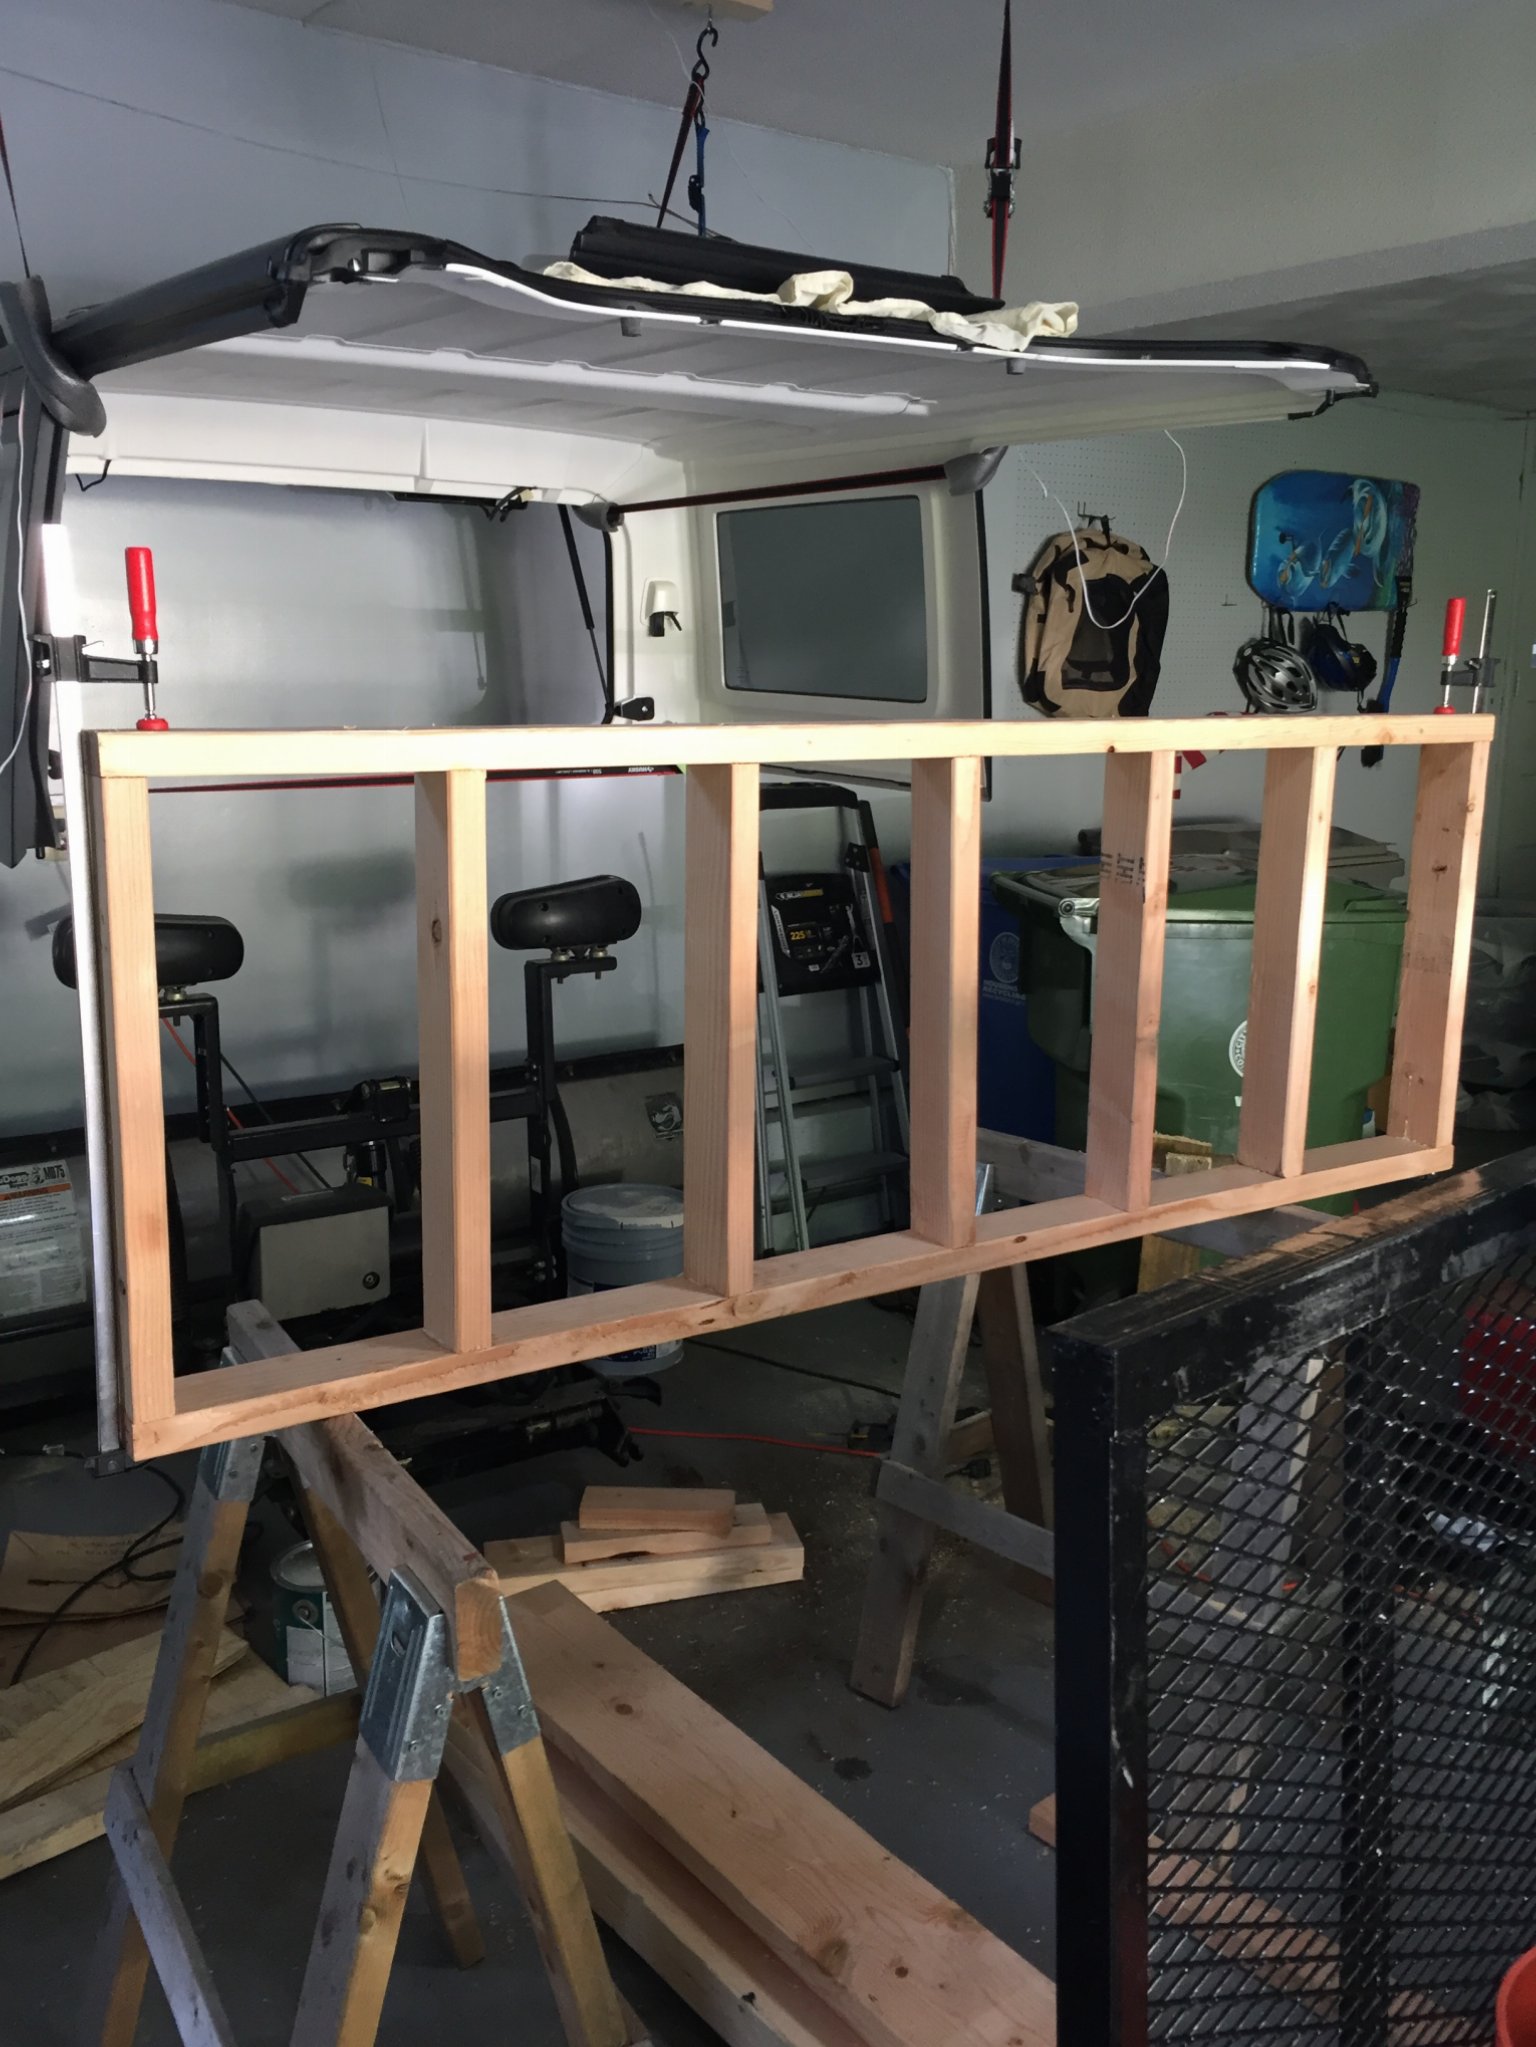
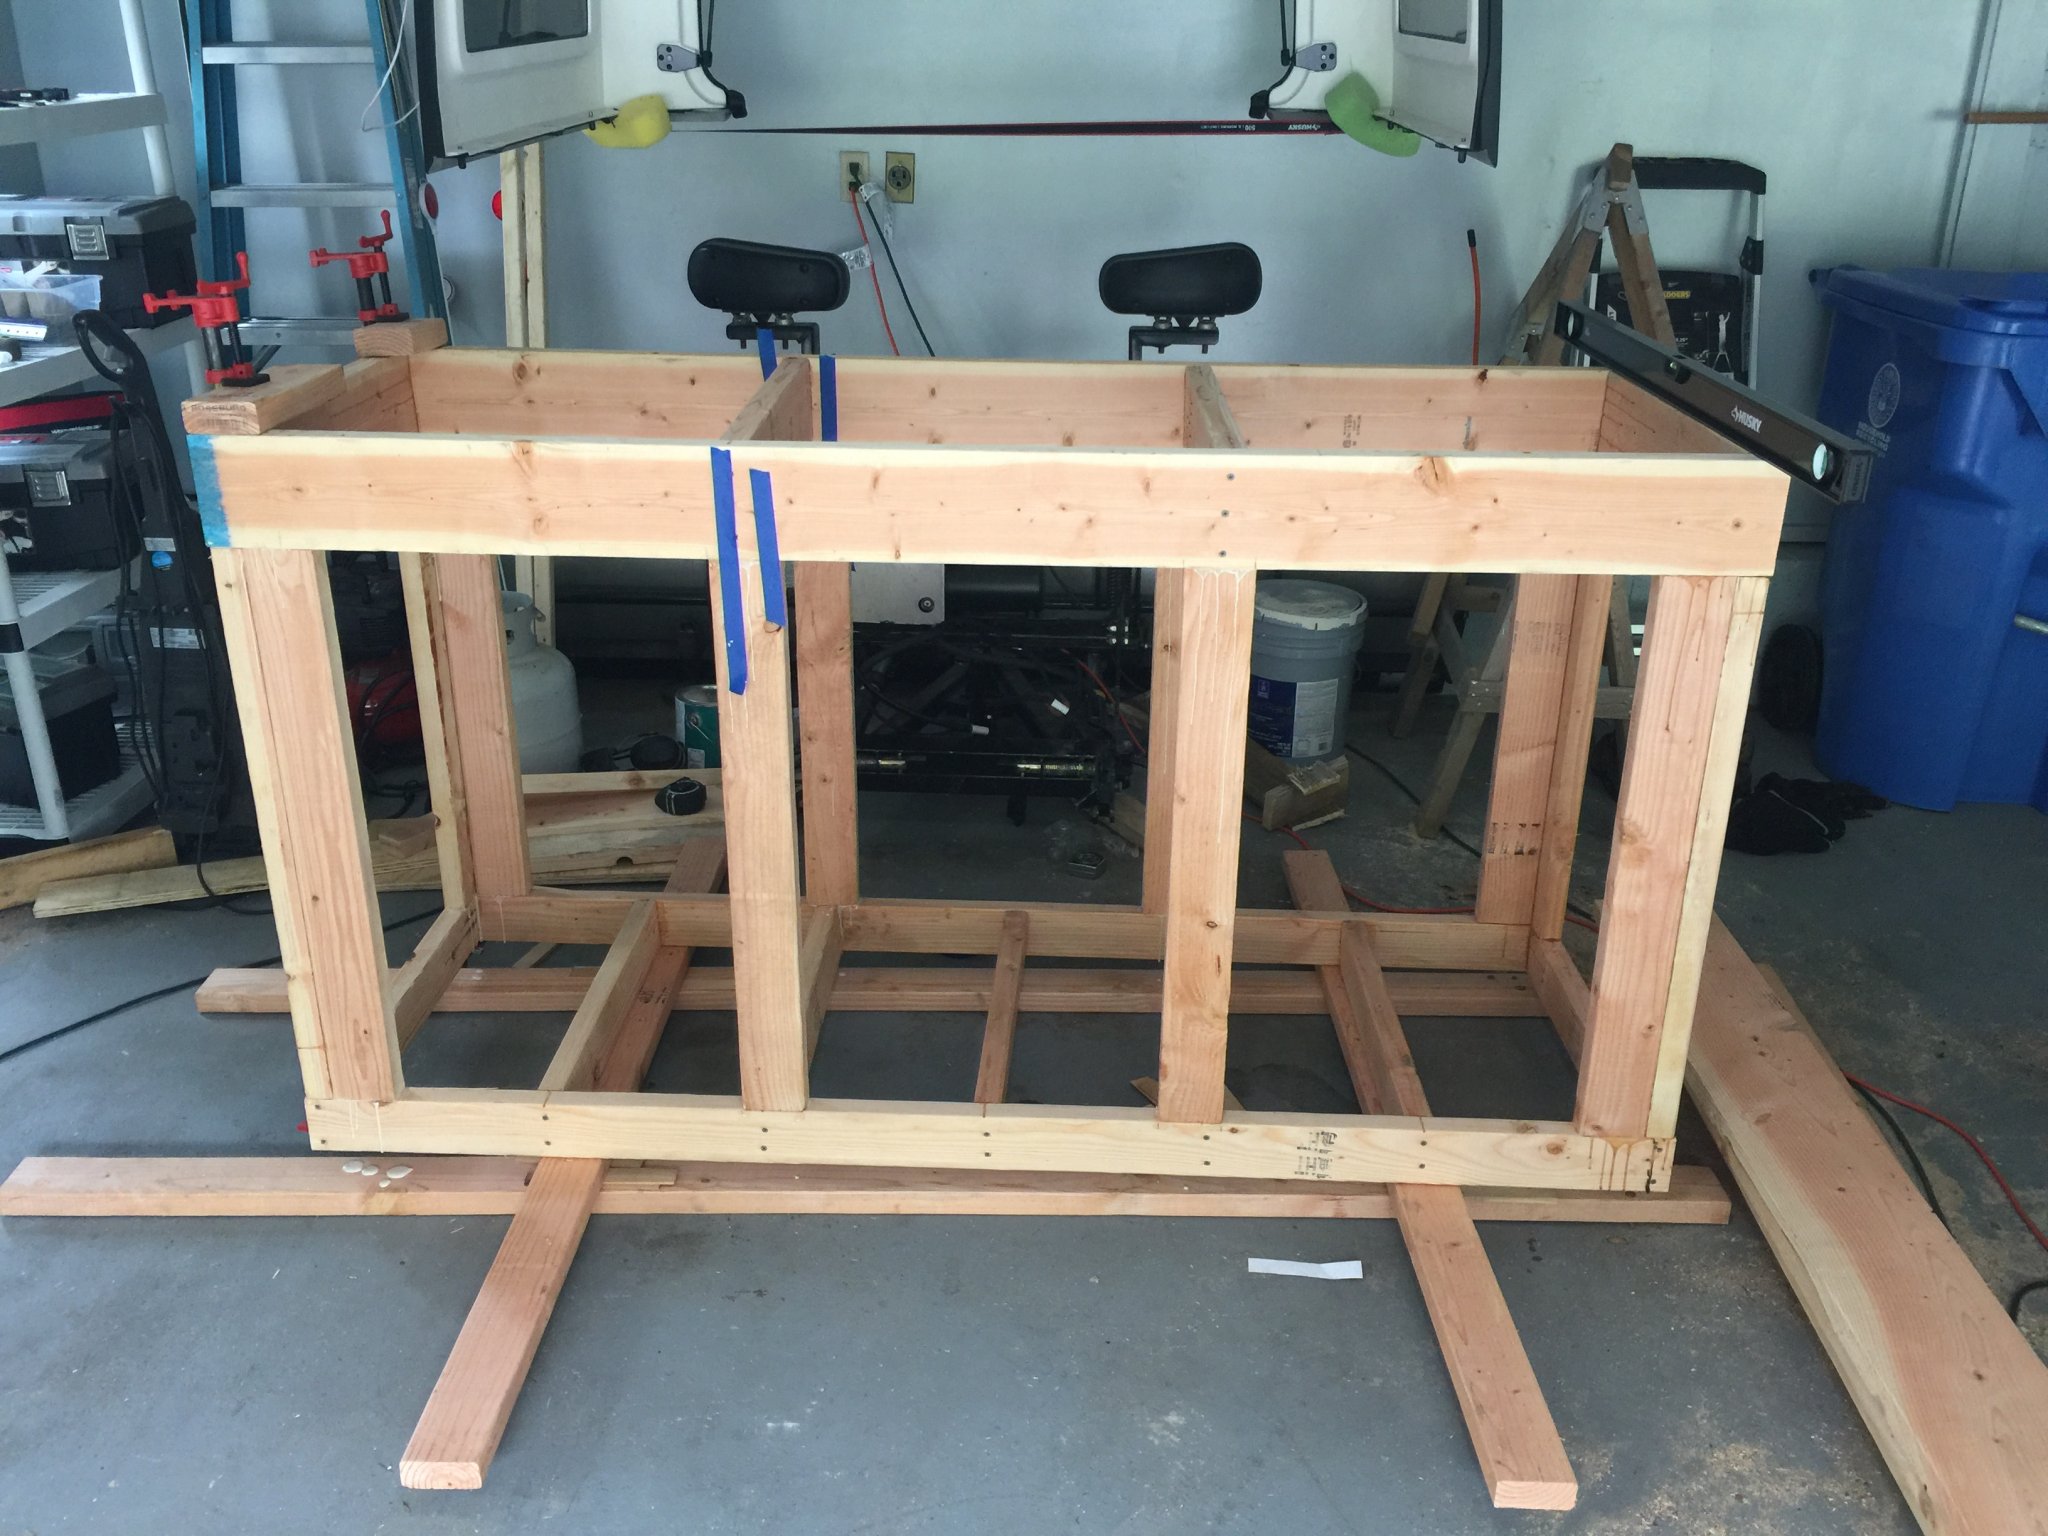
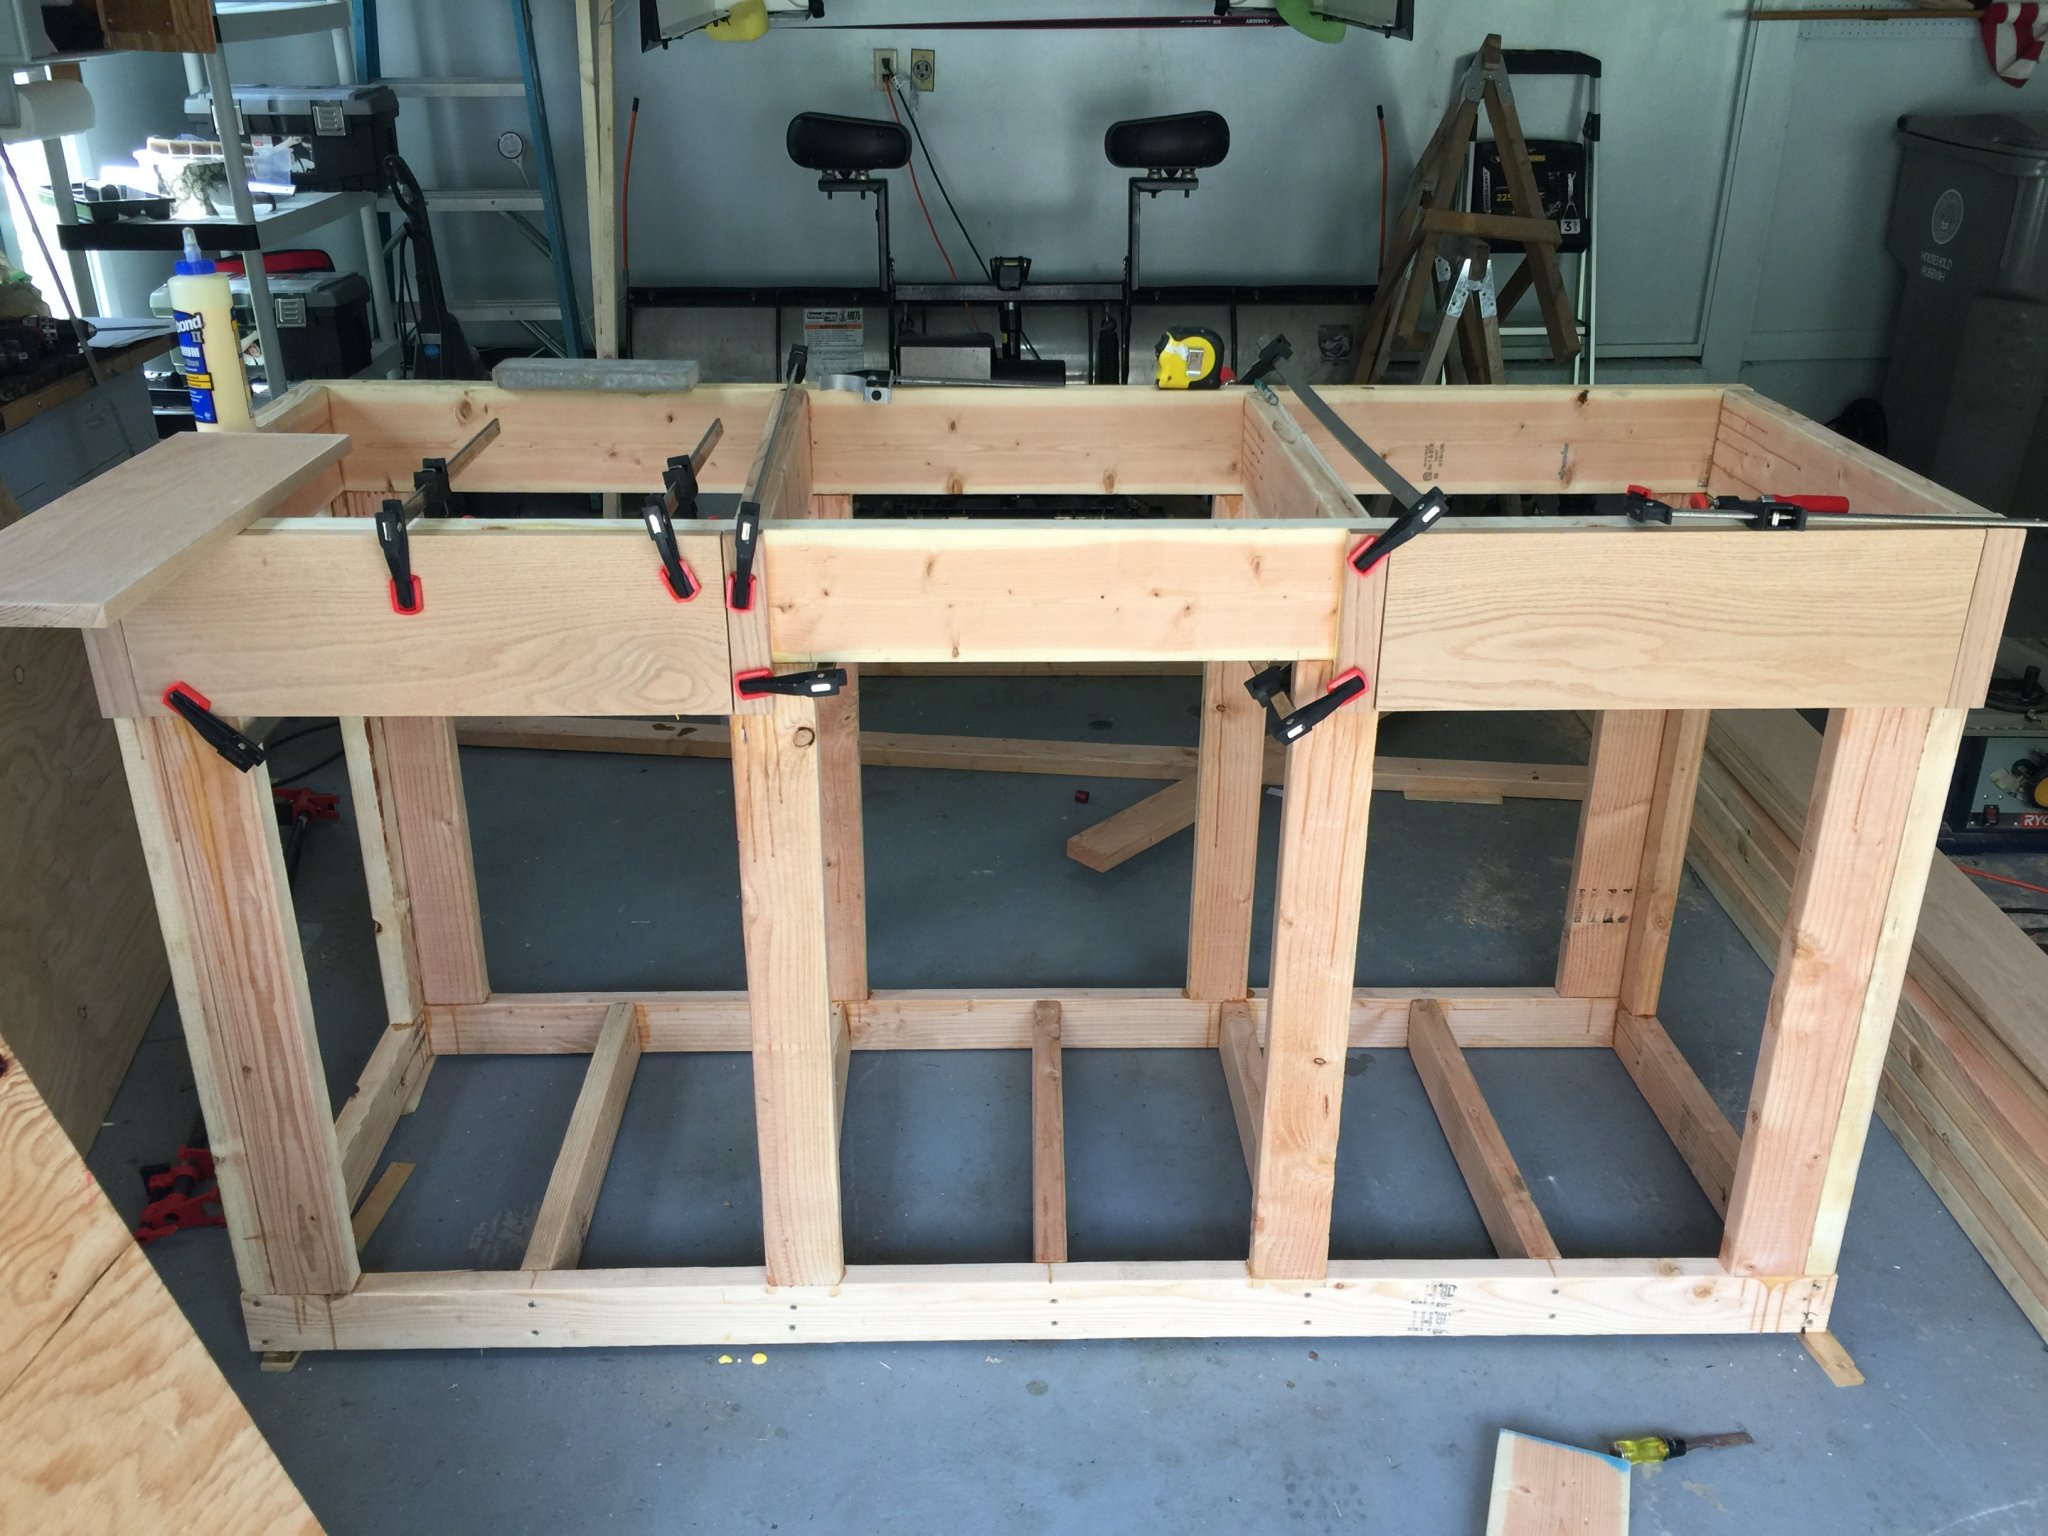
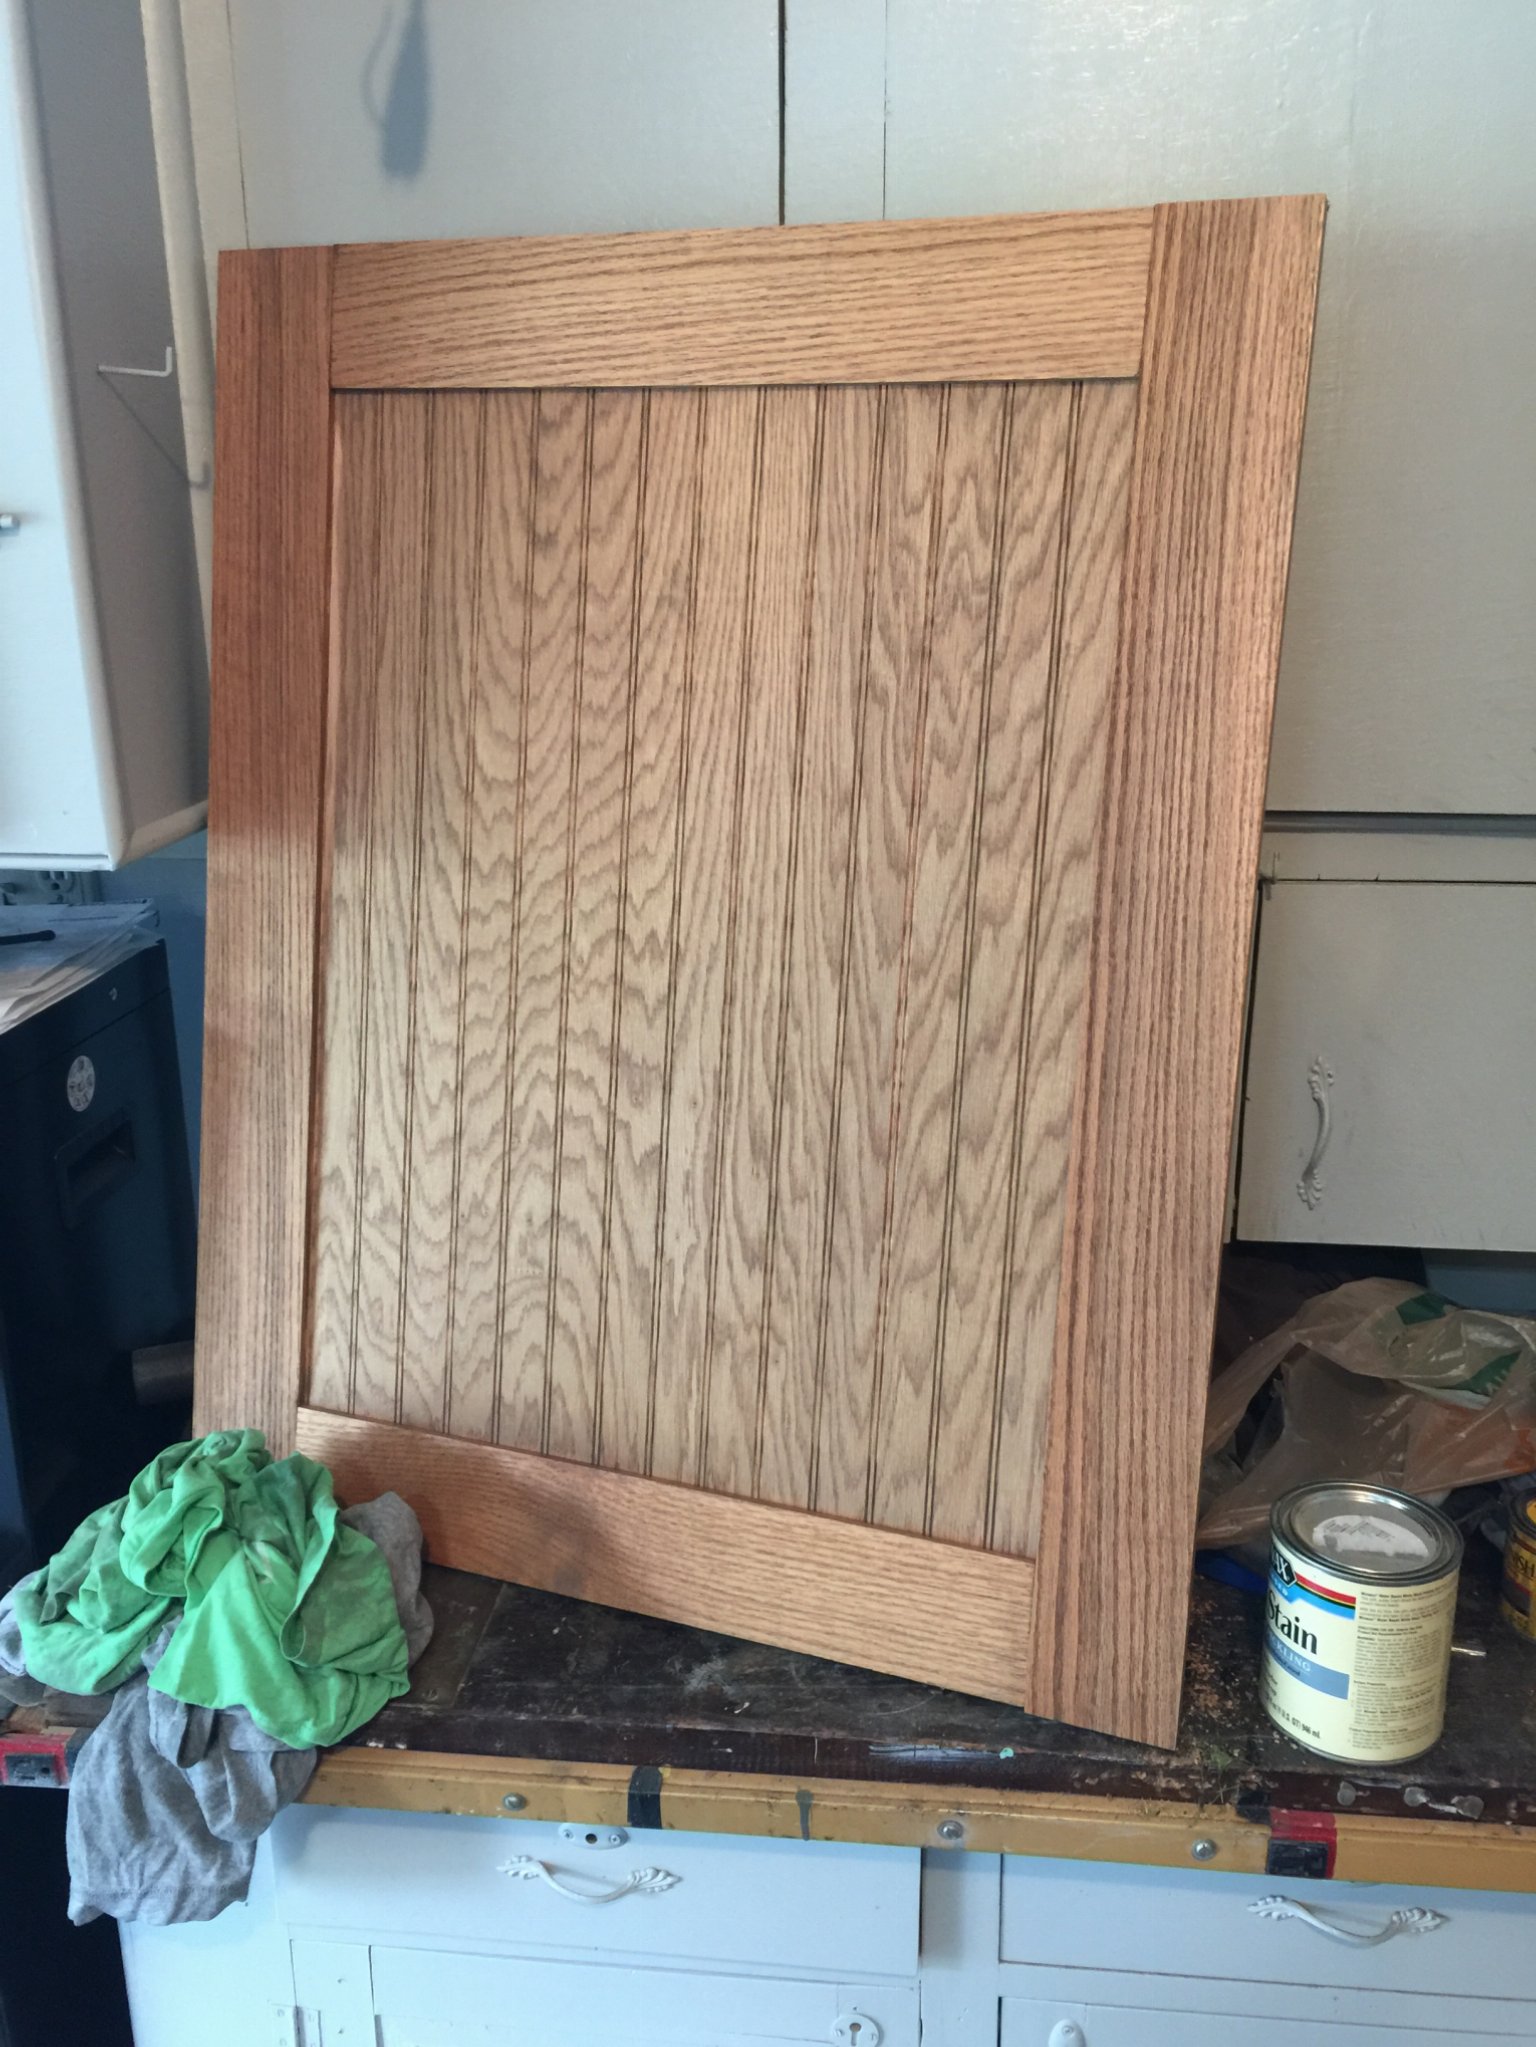
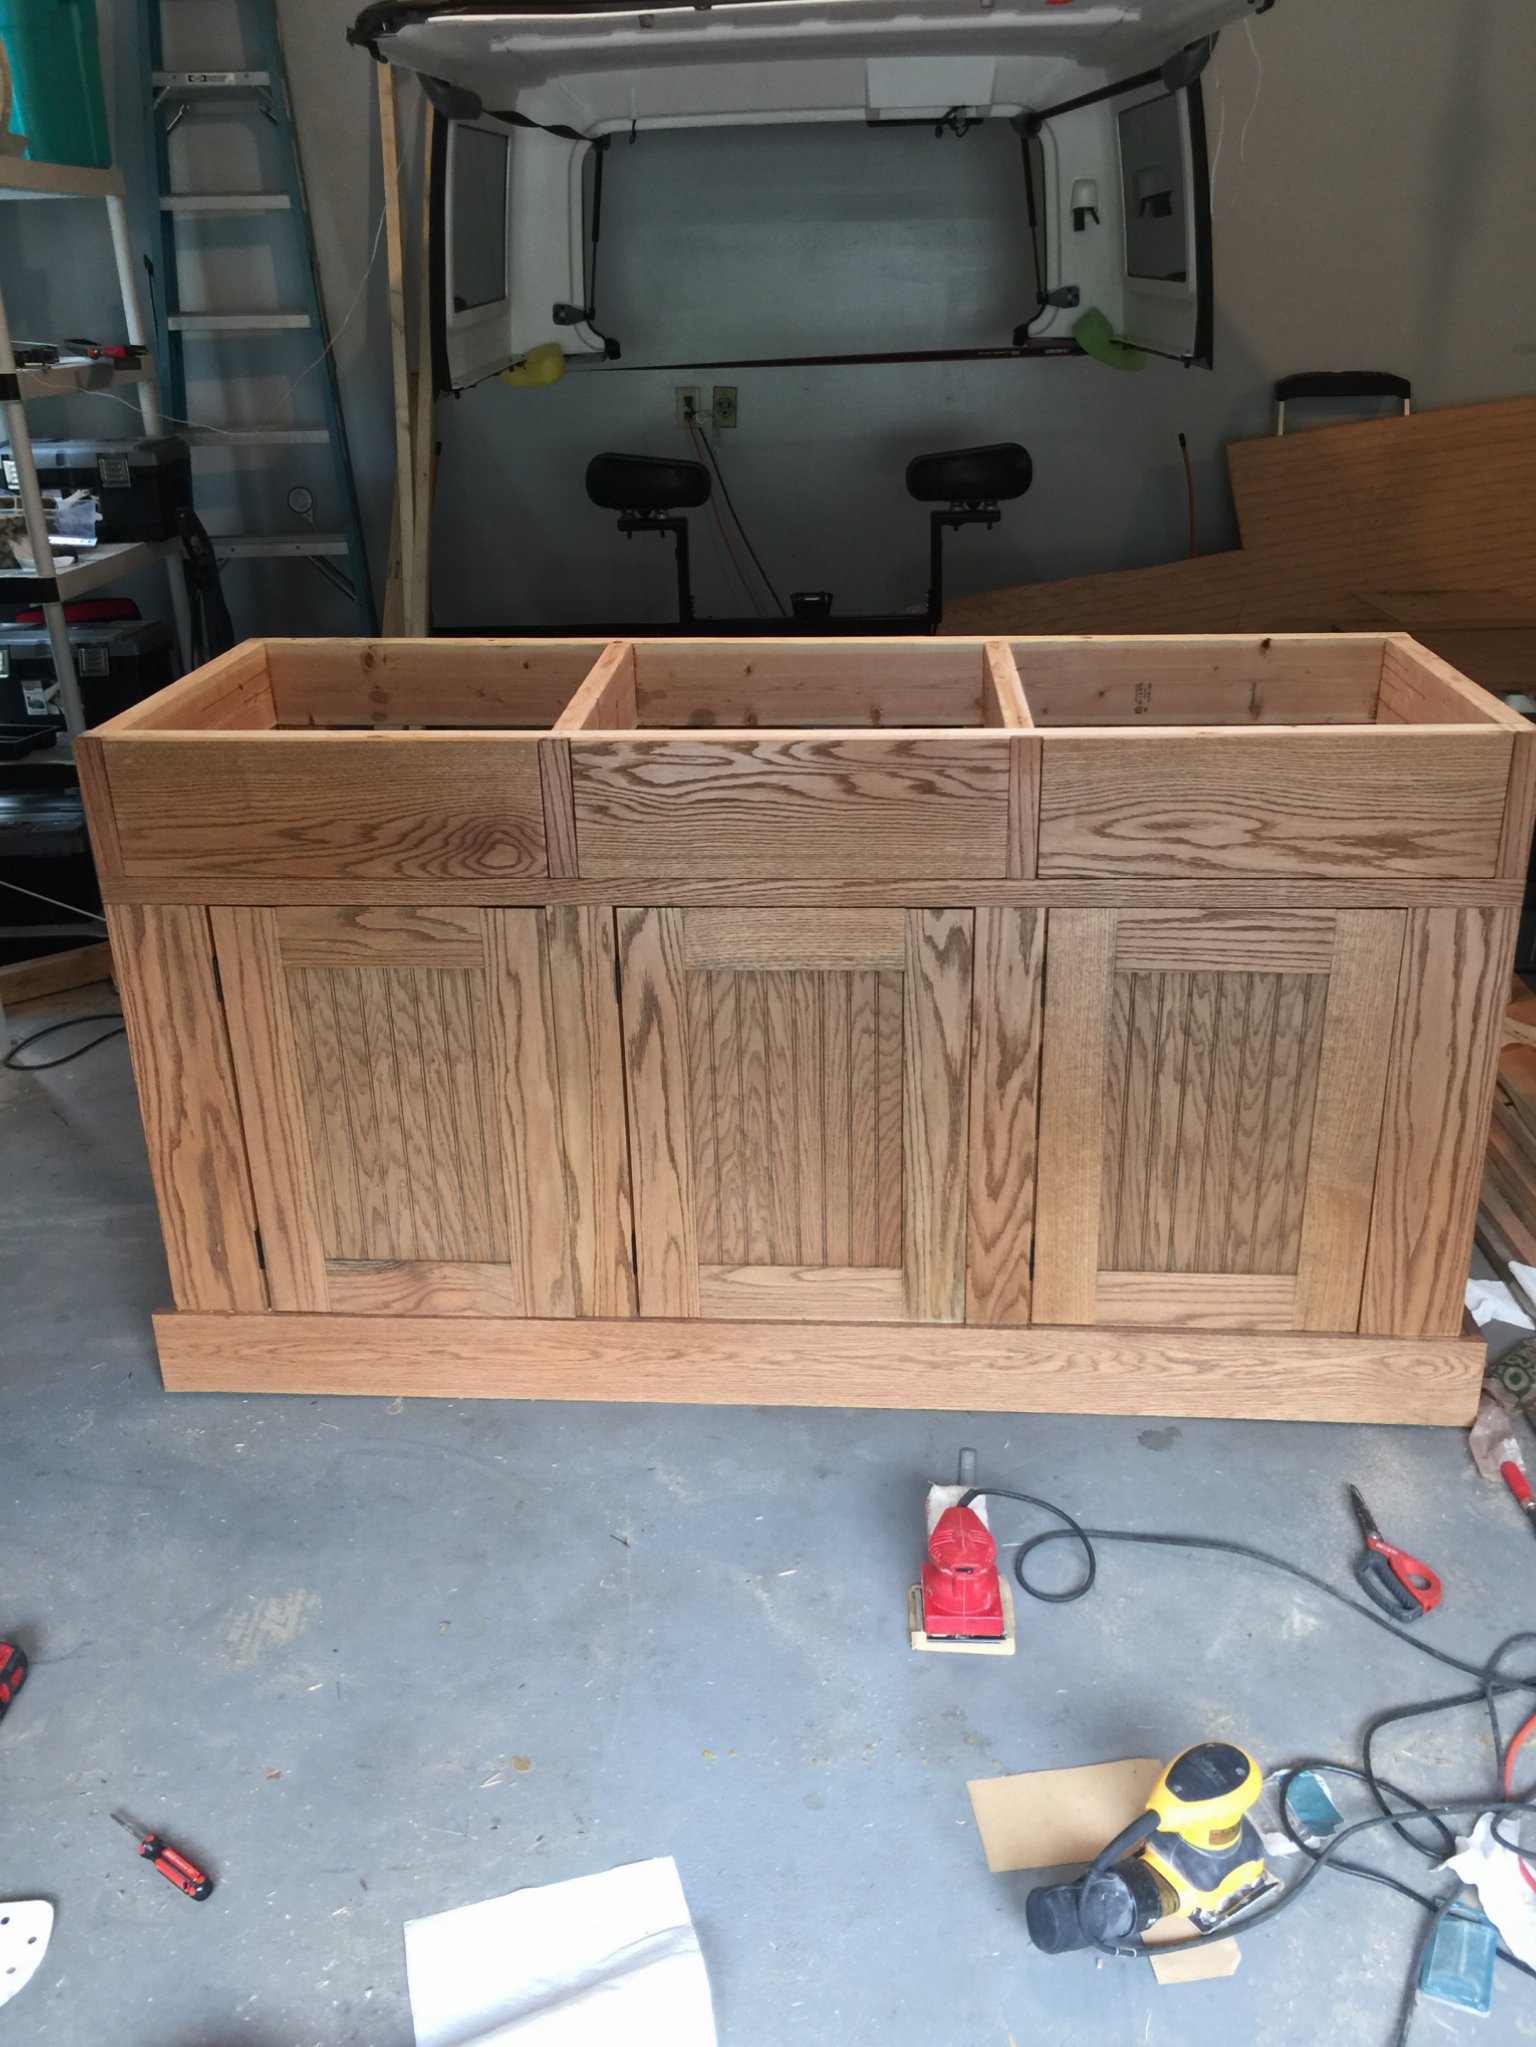
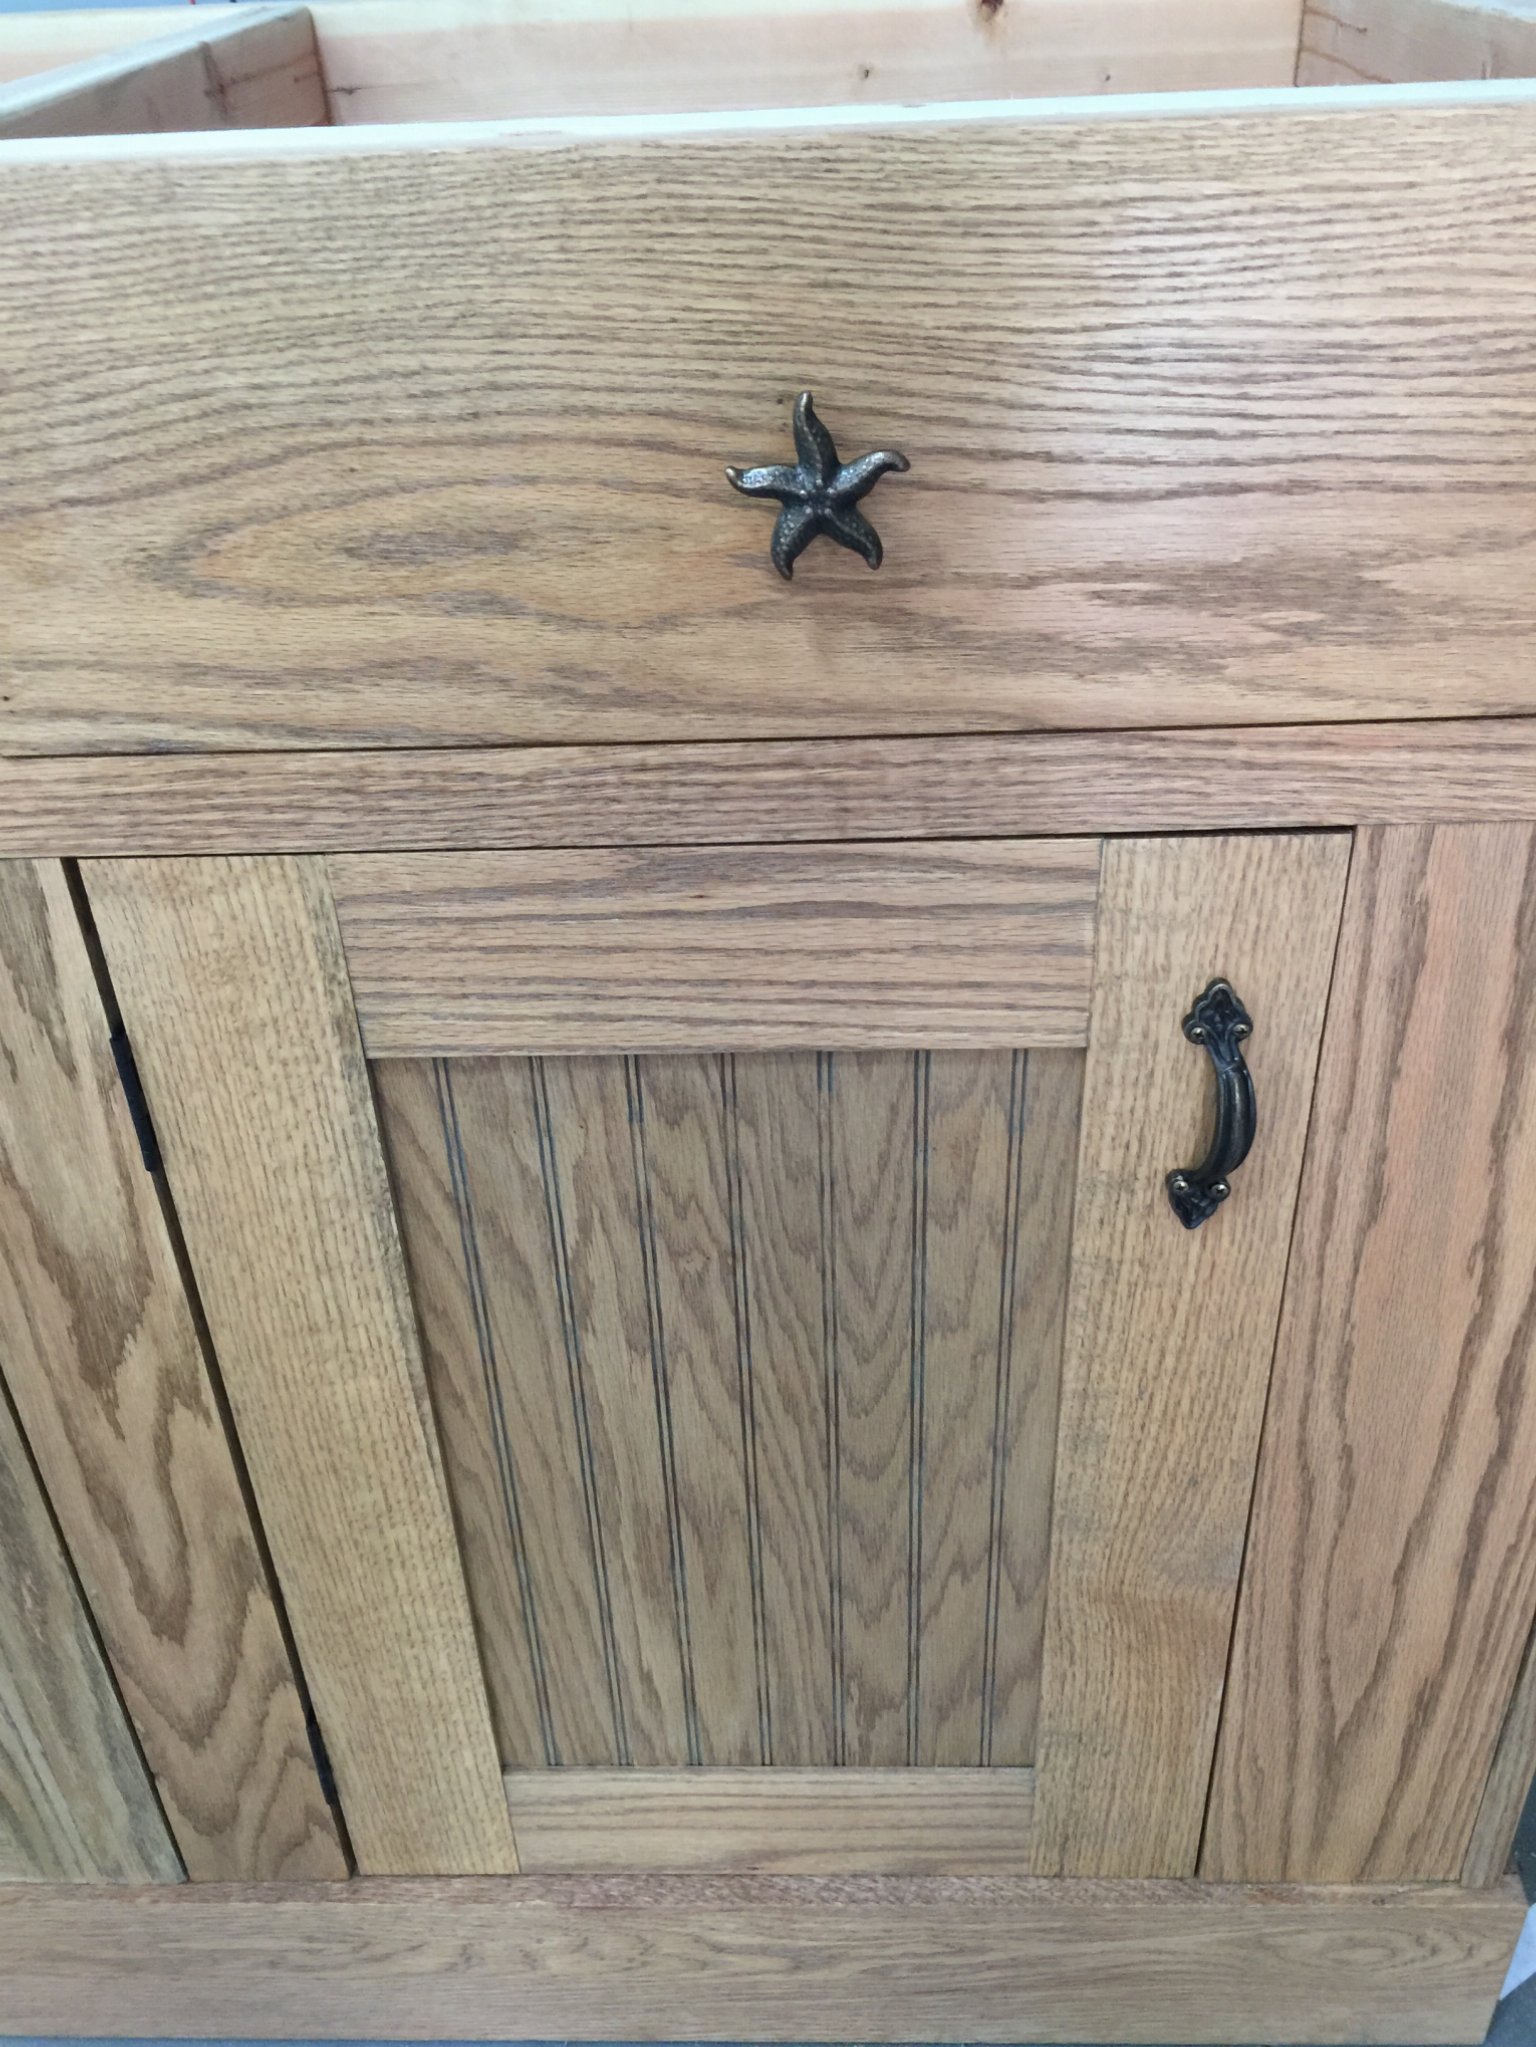
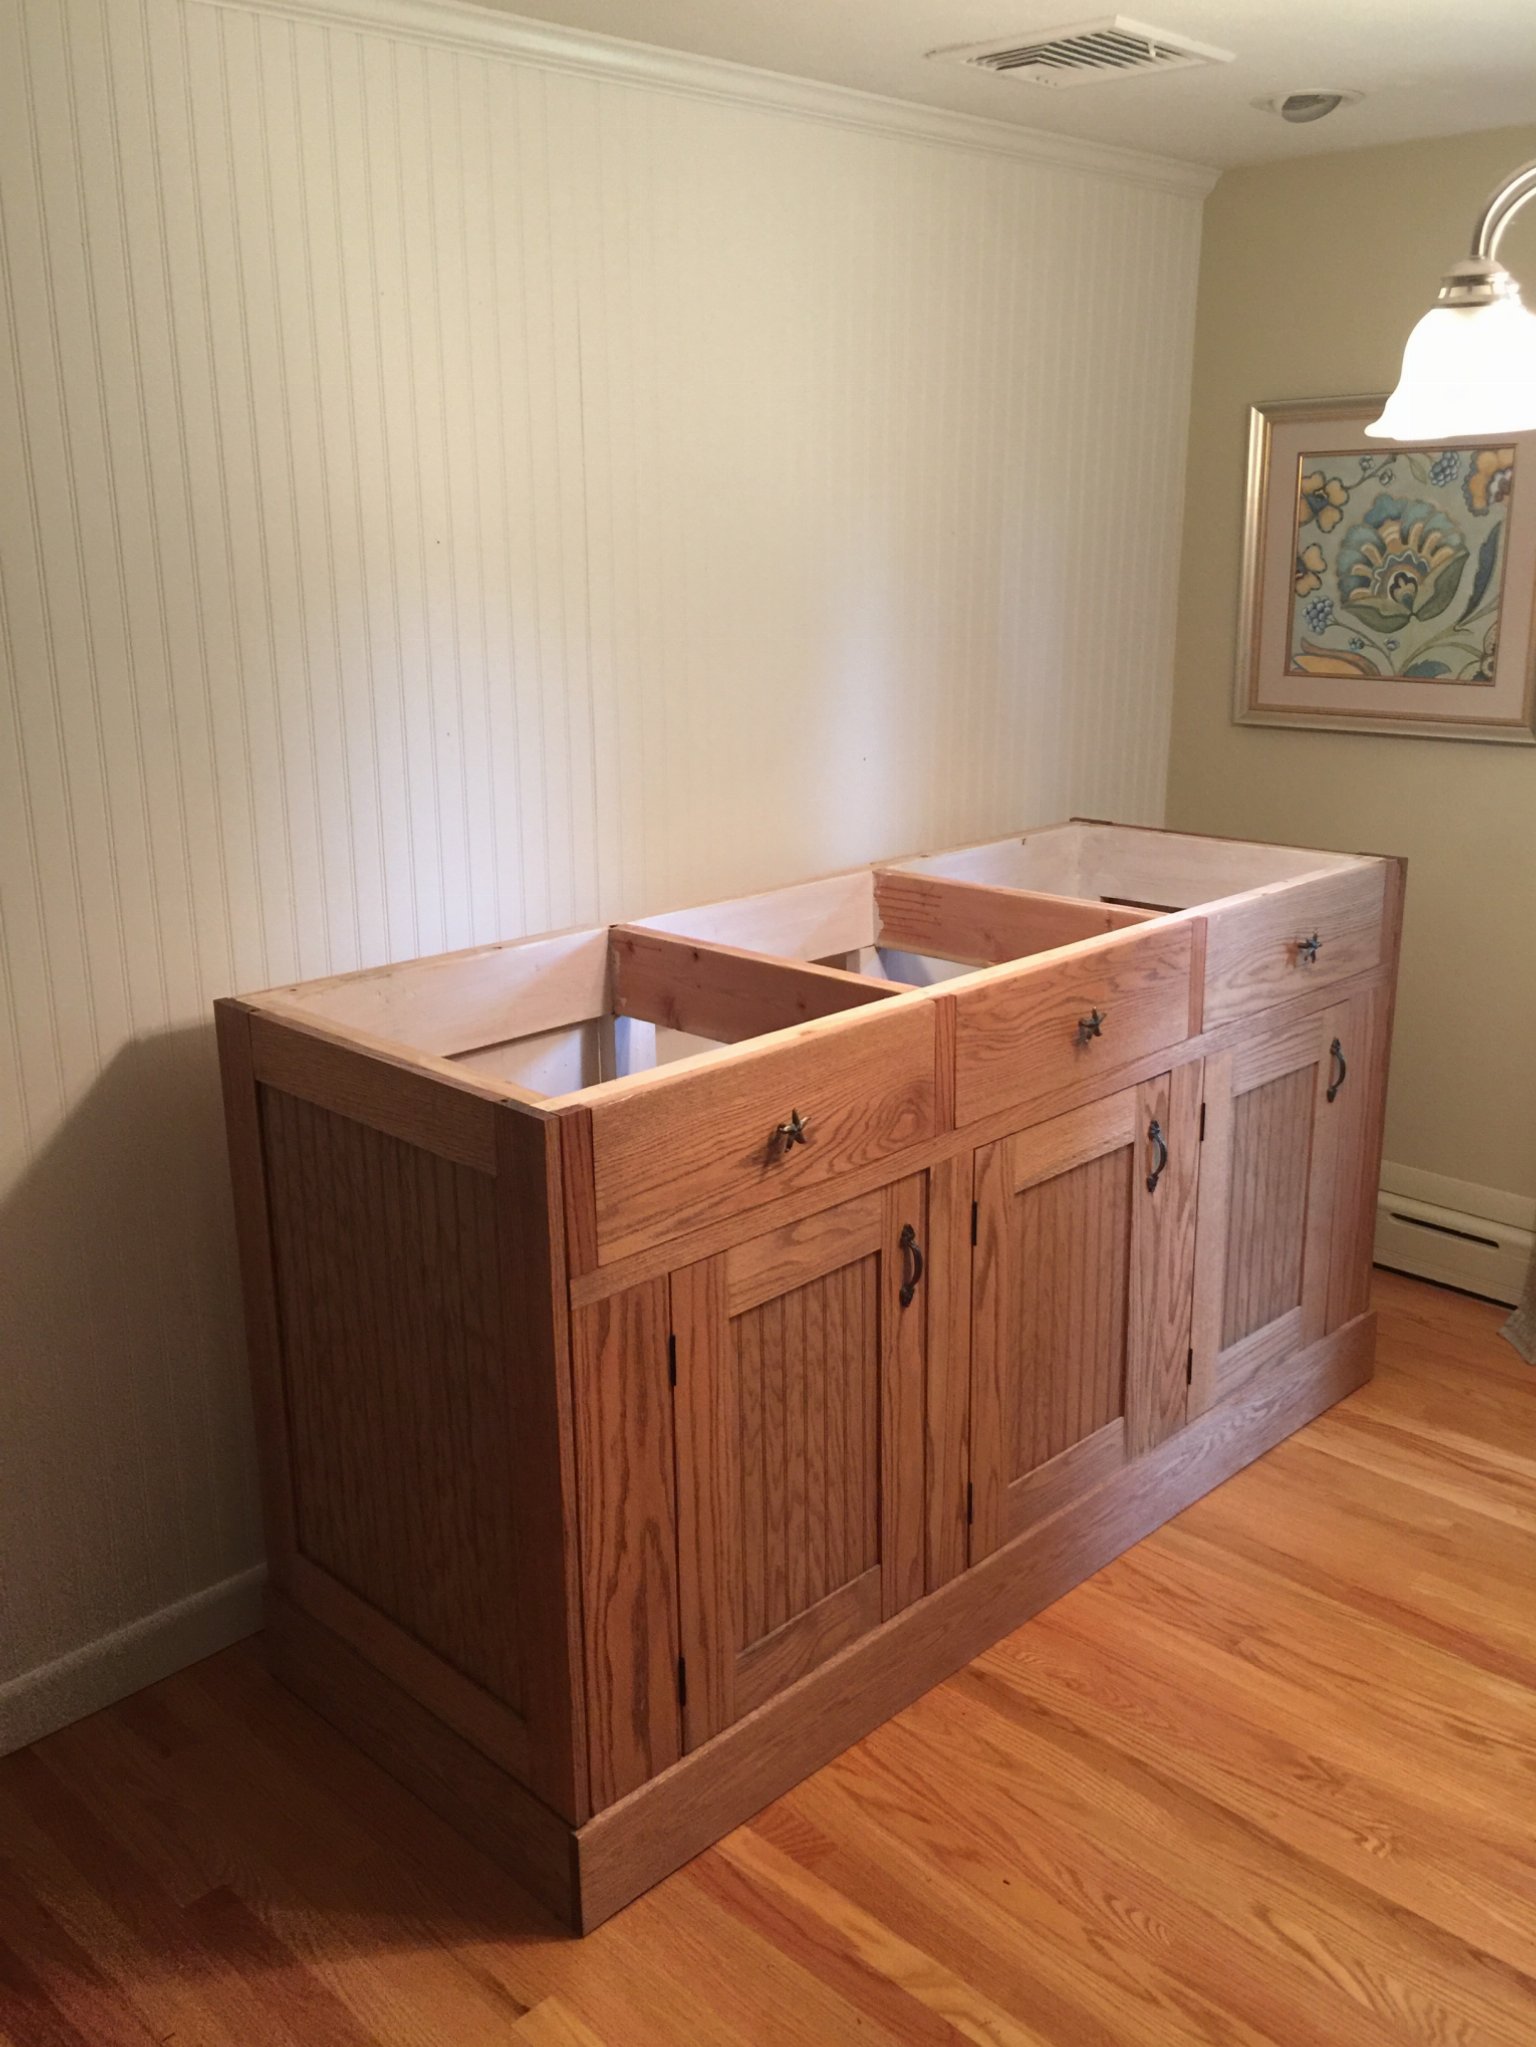
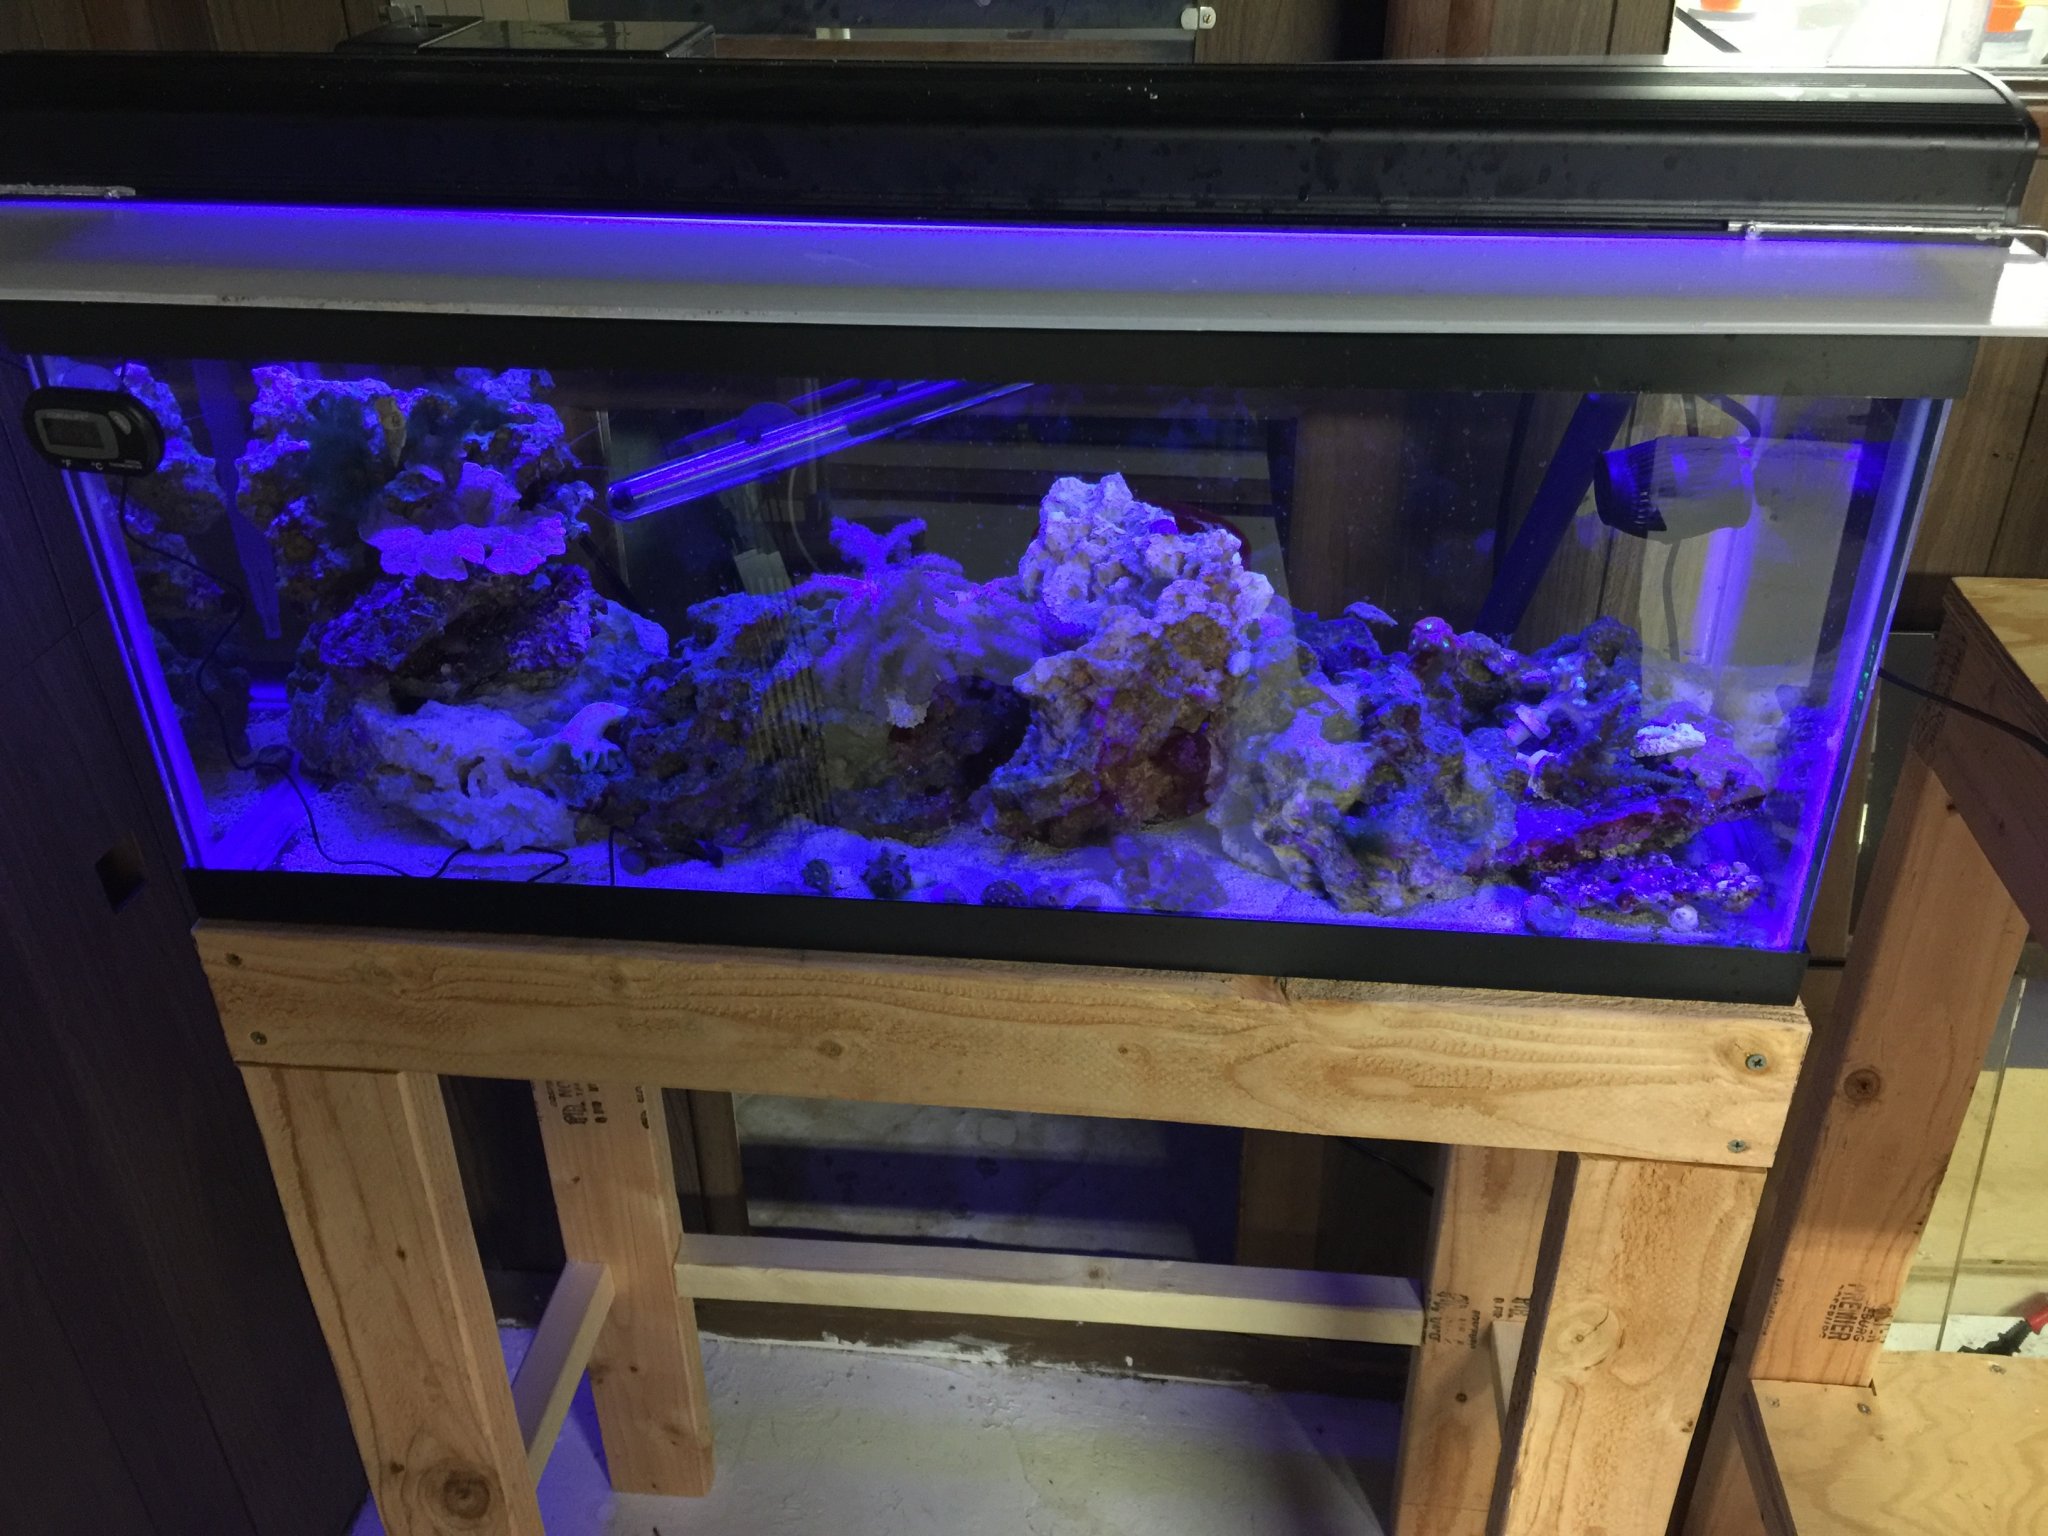
The lead time was 10 weeks. All their tanks are custom, and unlike some other builders they won't ship the tank until its cured. Since I had so long to wait, I began researching equipment and designing my stand.
 

kciNFL

New Member
View Badges
Joined
Nov 5, 2016
Messages
15
Reaction score
5
Rating - 0%
0   0   0
I am excited for this build. Just curious how much was the tank from custom aquariums? I am wanting to go with a larger tank sometime in the future and they would be the first people to contact on my list.
 
OP
OP
bean2986

bean2986

Active Member
View Badges
Joined
Apr 10, 2016
Messages
299
Reaction score
166
Location
Connecticut
Rating - 0%
0   0   0
Everything total was $1650

I think the overflows were $80 each, returns were $40 each and the black coating was $100. Drilling was about $100. Rest was tank with 3 sides Starphire glass ($1200ish) which is amazing considering an RR 180 Aqueon runs 800-1000 around here
 

kciNFL

New Member
View Badges
Joined
Nov 5, 2016
Messages
15
Reaction score
5
Rating - 0%
0   0   0
I appreciate the response, overall that sounds pretty reasonable and excited to see the tank when it arrives.
 
OP
OP
bean2986

bean2986

Active Member
View Badges
Joined
Apr 10, 2016
Messages
299
Reaction score
166
Location
Connecticut
Rating - 0%
0   0   0
I decided I wanted a more furniture-like stand than what I could buy pre-made. I wanted oak for the grain and durability, and I wanted the stand to look similiar to a buffet/ server instead of a fish tank.

I started by using templates for the 2x4 frame and decided to go with a 2x6 upper rim with 2x4 vertical posts every 2' on center.


I bought Bessey clamps (best thing ever) for pretty cheap at Woodcraft/ Home Depot and went to town. At no point did I need another person to get this built. Actually, the plan was to use screws and glue, but the clamps made it so easy I skipped screws altogether.

The bottom frame was made of 2x4 with 1' on center spacing to support the weight of the 75g sump going under the tank.


For overall height, I wanted 40". I wanted to be looking into my tank when standing. I'm 6ft tall, so the top rim being at 64" was good enough, and about as tall as I was comfortable going. I'll need a step ladder to get to the bottom, but that's fine.

Vertical legs were all 2x4. The ends were two 2x4 in an L Shape for extra support. I needed a minimum opening of 18.5" for the sump to get in and out through the ends so the short end of the L is facing the sides. Both ends will be large doors. One side primarily for sump access and the other for my Apex and other electronics.


Skinning of the stand was done in sections. Do get my faux buffet look I created fake doors by cutting a 2x8 into sections and flying them to the 2x6 rim and the 2x4 legs.


To create the doors, I cut 1x4 red oak into the correct length, and used a table saw to crest groves for oak paneling I purchased at the lumber yard. The completed product gave me the look I wanted.


I messed around with 4 different stains trying to get the "driftwood" I wanted, with no luck. I decided to go with Minwax Weathered Oak and then whitewash. After putting down my first coat of stain, I loved the way it looked and decided not to mess with the whitewash.


I purchased hardware at Hobby Lobby and installed magnets on the doors.


Last minute I added some plywood to the back for additional support. Once done, into the house it went while I waited a few more weeks for the tank to arrive.

 
OP
OP
bean2986

bean2986

Active Member
View Badges
Joined
Apr 10, 2016
Messages
299
Reaction score
166
Location
Connecticut
Rating - 0%
0   0   0
The tank finally arrived. My LFS delivered it since I didn't qualify for free shipping. Having a few issues with the tank though so let's start with that.


I guess when being shipped, the ends of the metal frame turned up about 1/8 of an inch. According to the manufacturer it's fine. They said the foam they sell is designed to solve problems like this- the problem is they don't send it with their tanks and it's sold separately.


It's definitely not the stand, and I got out a square as proof.


They also forgot to send all of the exterior plumbing that is supposed to be included with the H2Overflow and Siphon Stoppers which they are overnighting.

Also not happy with the "enamel" back. It's basically just paint, not a hard plastic like I was expecting. The website says "enamel"... not enamel paint. If I could go back and not purchase this I definitely would. I'd paint it myself for 1/5th the price.


Everything else was done as requested. Overall the tank looks really good. The silicone is great and the aluminum frame looks really nice. The Siphon stoppers are a bit large, so I will have to build my aquascape to hide them. But they aren't ugly either so maybe I won't. The small profile of the overflows is as I expected, so that made me happy.

I'll update as I get the parts they owe me and I can move forward with plumbing.
 
OP
OP
bean2986

bean2986

Active Member
View Badges
Joined
Apr 10, 2016
Messages
299
Reaction score
166
Location
Connecticut
Rating - 0%
0   0   0
Things are starting to come together very quickly. True to their word, customaquariums.com sent me the missing fittings overnight. They are also sending me some paint to touch up the "enamel" that I was unhappy with.


I also got the plywood and the foam under the tank and started moving forward with getting everything together.


Once the tank passed the leak test I started hooking up the plumbing so I could check out everything. I got the sump under the stand through the side door that I created specifically for this purpose. The sump is a 75G that I ordered baffles for through a local glass shop. Total cost for tank, glass and silicone was about $210, which is still better than paying for a custom sump elsewhere. The sump is designed for dual overflows with one emptying into each end. On one end will be a Lifereef 30" skimmer and on the other will be the refugium. Both will empty out into the middle return chamber where the return, heaters, probes etc will be.


I made a PVC fitting to attach to the Mag 18 I will be using for a return pump. Originally I was going with a DC pump but got a Mag 18 new for $100 on Black Friday. If it doesn't work out, it will become my back up.


Since I am using braided tubing this was really all the plumbing I needed to do. I was able to get everything I needed from Home Depot.
 
OP
OP
bean2986

bean2986

Active Member
View Badges
Joined
Apr 10, 2016
Messages
299
Reaction score
166
Location
Connecticut
Rating - 0%
0   0   0
The rock I bought for this tank is Pukani Dry Rock from BRS. It's been curing in my garage for about 3 months. From what I've read it's probably still loaded with phosphates etc but I have no interest in waiting a few more months. My curing schedule was:

RODI for a month with 2 100% water changes.
Salt water at 80 degrees for 2 months with 2 100% water changes.


Inbetween the RODI and Salt water I decided to try and see if I could figure out my aquascape. This is what I came up with:


For sand I chose Tropic Eden due to the large amount of positive reviews on R2R. I didn't get the Reef Flakes though, because Mesoflakes at 2.7mm are practically the same size and were 25% less price wise.


Just like everyone says, the sand was extremely clean. This was the first wash.


I spent the majority of today getting my aquascape done and getting the sand in. I ended up adding a large amount of my old rock to bulk up the islands since they looked too small with just the 90lbs of Pukani. Total amount is now closer to 130lbs of rock. I will be putting about another 30lbs into the refugium eventually. Here is the final result of all of today's work:


Now I will spend the rest of the week making enough water to get everything up and running.
 
OP
OP
bean2986

bean2986

Active Member
View Badges
Joined
Apr 10, 2016
Messages
299
Reaction score
166
Location
Connecticut
Rating - 0%
0   0   0
Few updates for this week. The tank is up and running and going through it's cycle. Took me approximately 4 days to make all of the salterwater I needed and the total water volume ended up being somewhere around 200 gallons. Here is my first full tank shot of my new tank:


The light is an ATI Sunpower 60" 8 Bulb that I bought used from another local reefer. I also bought the 60" Reefbrite XHO hanging off it from him as well as part of the deal. I love how it lights up the tank, but it definitely lights up the entire room. I'lll give it a few weeks to see if I get used to it, otherwise I will need to build a canopy. As far as bulb combo, I'm just running it with what he had, and when I am ready for corals I will replace all 8 with new bulbs. I will be using 5x Blue Plus, 2 Coral Plus, 1x Purple.

Now that I have lighting, here is another picture of the H2Overflow and Siphonstopper showing their tank footprint. The overflows are a bit noisy right now, definitely more than I'd like. I'm going to give it a few weeks to slime up and see if that quiets it down some.


My Lifereef 30" Skimmer is also in and running. I didn't want the flanged version so Jeff at Lifereef made me a custom one to save me some money. Just as everyone says, his customer service is on point and he will take as much time as you need, and then some. Here are some pictures of that:


The skimmer was pulling skimmate about 3 hours after being turned on for the first time, which I thought was pretty impressive.

Over the next few days I will be hooking up my Apex and figuring out the rest of my equipment.
 
OP
OP
bean2986

bean2986

Active Member
View Badges
Joined
Apr 10, 2016
Messages
299
Reaction score
166
Location
Connecticut
Rating - 0%
0   0   0
Not much to really update at this point. One big thing is that the tank has really quieted down since the overflows started to slime up. I also noticed that if powerheads are pointed at the surface, it causes the H2Overflows to make a horrendous gurgling sound that the fittings they sent couldn't fix. Pointing the powerheads lower fixed this, but I would like more surface agitation than I'm getting right now.


My livestock has been moved to a Coral/ Invert QT and another fish QT. My fallow period will be done at the end of September, so I dosed Prazi on the fish yesterday and will do so again in 4 days. After that I will start coppersafe.


Meanwhile the tank hasn't really gone through a noticeable cycle and I even loaded the tank with shrimp and food. No Nh3, Nitrate or Nitrite. Waiting for some diatoms then I will toss the inverts in.

Also have had a few losses so far in QT. Lost my Firefish to a jump out of a dime size wire hole. Also lost an acropora and a cauliflower colt coral in QT. Could always be worse I guess...
 

Daniel@R2R

Living the Reef Life
View Badges
Joined
Nov 18, 2012
Messages
37,507
Reaction score
63,952
Location
Fontana, California
Rating - 100%
1   0   0
Looking great! Following along!
 

hatfielj

Valuable Member
View Badges
Joined
Apr 8, 2007
Messages
2,321
Reaction score
1,938
Rating - 0%
0   0   0
How is the tank holding up so far? I have a customaquariums built tank right now too and I've noticed the same problem with the corners not touching the stand as you. Did you do any shimming under the plywood? Does the foam seem to be holding? Just curious how it's going, thx!
 
OP
OP
bean2986

bean2986

Active Member
View Badges
Joined
Apr 10, 2016
Messages
299
Reaction score
166
Location
Connecticut
Rating - 0%
0   0   0
It's holding up great so far. The metal has not dropped yet though, but who knows how long that could take. I did not do any shimming. My LFS contacted the builder and they informed me it would settle over time. Just need a table top stand, the foam, and that should be enough. They actually "require" their foam be used under their tanks, but never mention it when you buy the tank. I went back to the site to find information, and the only place I found it was as an "add-on" to a stand purchase.

Honestly, if you don't have the foam, I wouldn't fill the tank.
 
OP
OP
bean2986

bean2986

Active Member
View Badges
Joined
Apr 10, 2016
Messages
299
Reaction score
166
Location
Connecticut
Rating - 0%
0   0   0
Diatoms finally showed up so I decided to get my CUC snails into the DT. I noticed that my Trochus snails are spawning in the QT but they were not spawning in my old tank... so that's interesting.

Before I threw them in I wanted to get the screen top made. I decided to go the DIY route and ordered the clear mesh from BRS and then went to Home Depot and got everything else.


I've made screens before for some of my windows so I was familiar with the process. Took me about half an hour to do all 3. I'm pretty happy with the finished product.


Once I had them up I threw in my snails. Now I don't need to worry about finding random Nerites crawling on my walls and floor.
 
OP
OP
bean2986

bean2986

Active Member
View Badges
Joined
Apr 10, 2016
Messages
299
Reaction score
166
Location
Connecticut
Rating - 0%
0   0   0
I had a ton of scrap wood left over from the stand and various other projects so I decided to build a water making station yesterday and further reinforce the floors. In the last 24 hours I made the water changing station from the two 32G Brutes I had, and the scrap wood I mentioned. I used leftover nails from a kitchen project I did a few years ago. It cost me $0 beyond what I had already purchased months ago so that was exciting. :)


As you can see, my garage is a disaster so I need to use as much as I can of it.

Here is the stand I build last night with the two brutes on it:

Finished product:

After 3 trips to home depot today, it's fully plumbed and hooked up to the RODI. The RODI unit is a 90GPD Spectrapure I got this winter to replace the crappy RO Buddy I had. Going to let the PVC cure for a few days before I leak test it. I have enough water to hold me over until then anyway. This clears up a bit of floor space and hopefully will keep things more organized in my basement.

I'll post the reinforcement to the floor tonight/ tomorrow when I complete them.
 
OP
OP
bean2986

bean2986

Active Member
View Badges
Joined
Apr 10, 2016
Messages
299
Reaction score
166
Location
Connecticut
Rating - 0%
0   0   0
QT for my previous inhabitants is over this coming Monday, and I'm very excited to get them out of the basement. As you can see, my basement is in full QT mode:


I finally finalized my stock list, so here's that:

Ocellaris clown x1
Royal Gramma x1
Pink Streaked Wrasse x1
Yellow Banded Possum Wrasse x1
Firefish x1
Midas Blenny x1
H. Claudia x1
Melanarus Wrasse x1
Chevron tang x1
Scopas tang x1
Hippo tang x1
Blue green chromis x1-3
Lyretail anthias females x5
White banded Possum Wrasse x1
Scissor tail Dartfish x3

The plan is for mostly SPS with some LPS so I needed reef safe. This lineup theoretically would be a great community tank, so hopefully I don't get unlucky as far as personalities.
 

Creating a strong bulwark: Did you consider floor support for your reef tank?

  • I put a major focus on floor support.

    Votes: 53 40.5%
  • I put minimal focus on floor support.

    Votes: 27 20.6%
  • I put no focus on floor support.

    Votes: 47 35.9%
  • Other.

    Votes: 4 3.1%
Back
Top