
Navigation
Install the app
How to install the app on iOS
Follow along with the video below to see how to install our site as a web app on your home screen.
Note: This feature may not be available in some browsers.
More options
You are using an out of date browser. It may not display this or other websites correctly.
You should upgrade or use an alternative browser.
You should upgrade or use an alternative browser.
Dinosaur to Phoenix, a new 22G Long mini build
- Nano Build
- Thread starter theatrus
- Start date
- Tagged users None


The stand is really sharp. For $100 all in all you made out pretty good, I'd say.
OP
OP
The stand is really sharp. For $100 all in all you made out pretty good, I'd say.
Very much not $100 all in. There is about $600 of (aluminum + machining + connectors) + $100 of Plywood on top of that
")

Very much not $100 all in. There is about $600 of (aluminum + machining + connectors) + $100 of Plywood on top of that
HA! Well, I imagine you're going to have more than that in livestock, so might as well make sure the foundation is fantastic.
Have you designed your overflow box yet, or made it up? I don't understand what difference it makes with the external box being higher than your tank?
OP
OP
HA! Well, I imagine you're going to have more than that in livestock, so might as well make sure the foundation is fantastic.
Have you designed your overflow box yet, or made it up? I don't understand what difference it makes with the external box being higher than your tank?
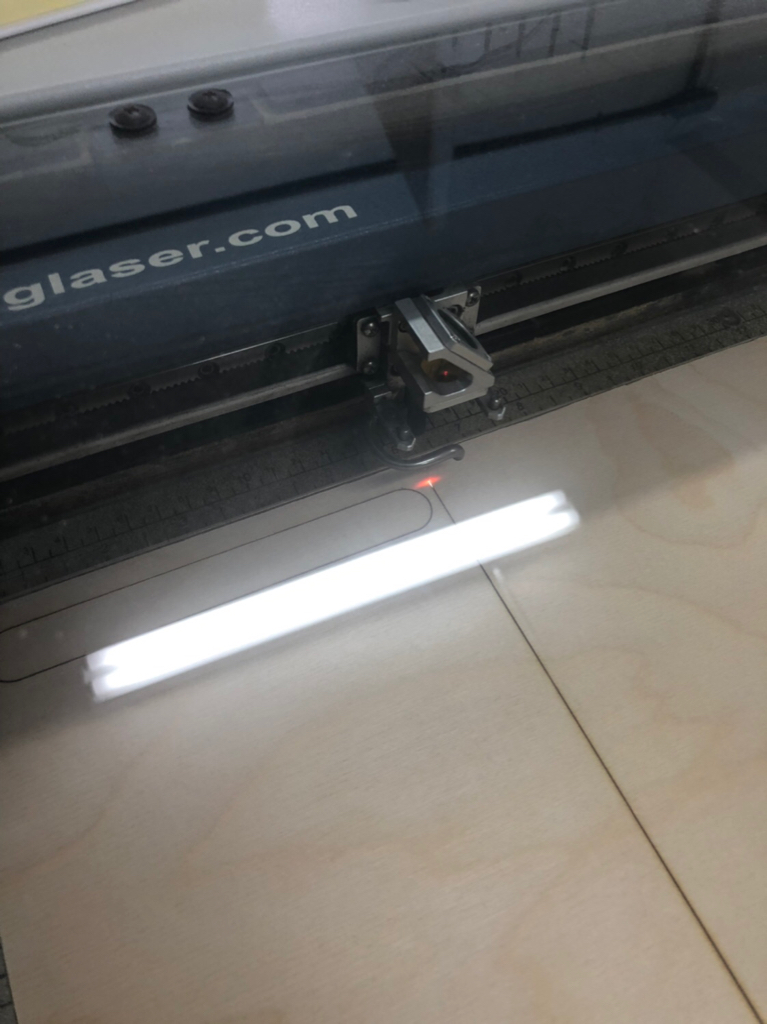
Its designed and I have acrylic sheet on hand, but haven't gotten around to loading it on the laser yet. The external box is now flush with the top of the tank, and shorted in height.
The post below has the best view of the most recent iteration of the box. I'm adding a gasket to fully seal the lid in place - I didn't make a post on it but some of the flexible 3d printing material seems to work really nicely here.
https://www.reef2reef.com/threads/d...2g-long-mini-build.534114/page-2#post-5613096
Looking forward to seeing this come to fruition. Always more satisfying with the DIY. FWIW, I've found the Eshopps overflow kits to be bang for their buck, they come with a hole saw and a template. I used it on my 22, and I have another local club member that used it on their 12 gallon Mr. Aqua, I was worried reading about them, thinking the water level would be too low. It's just right.
OP
OP
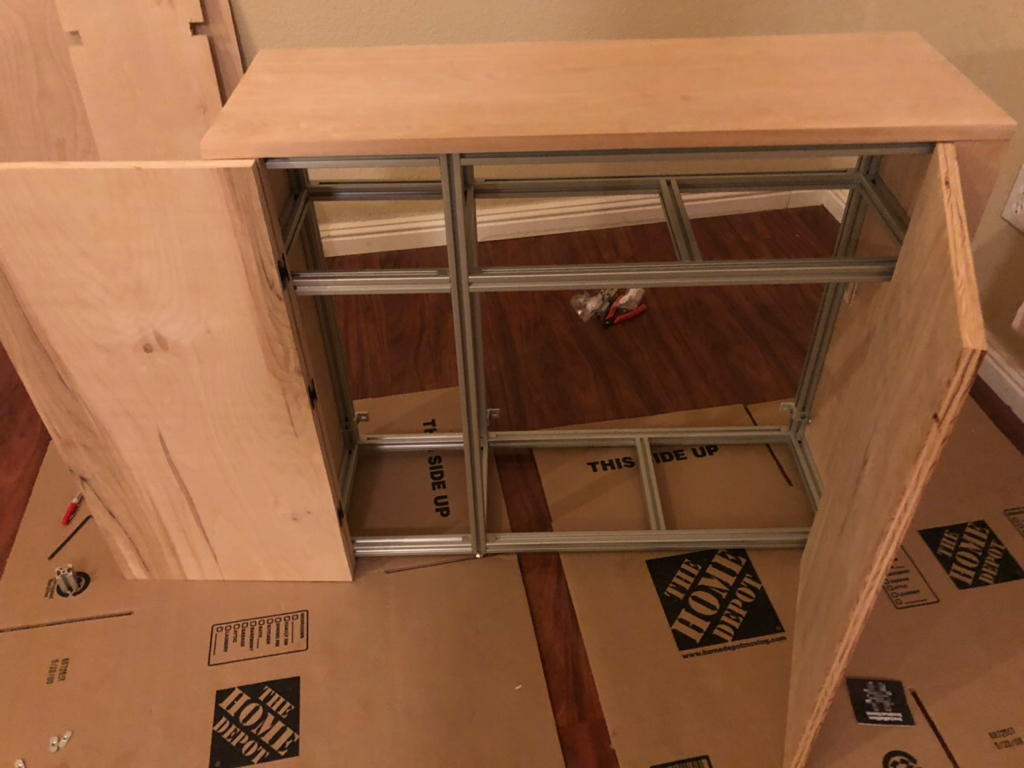
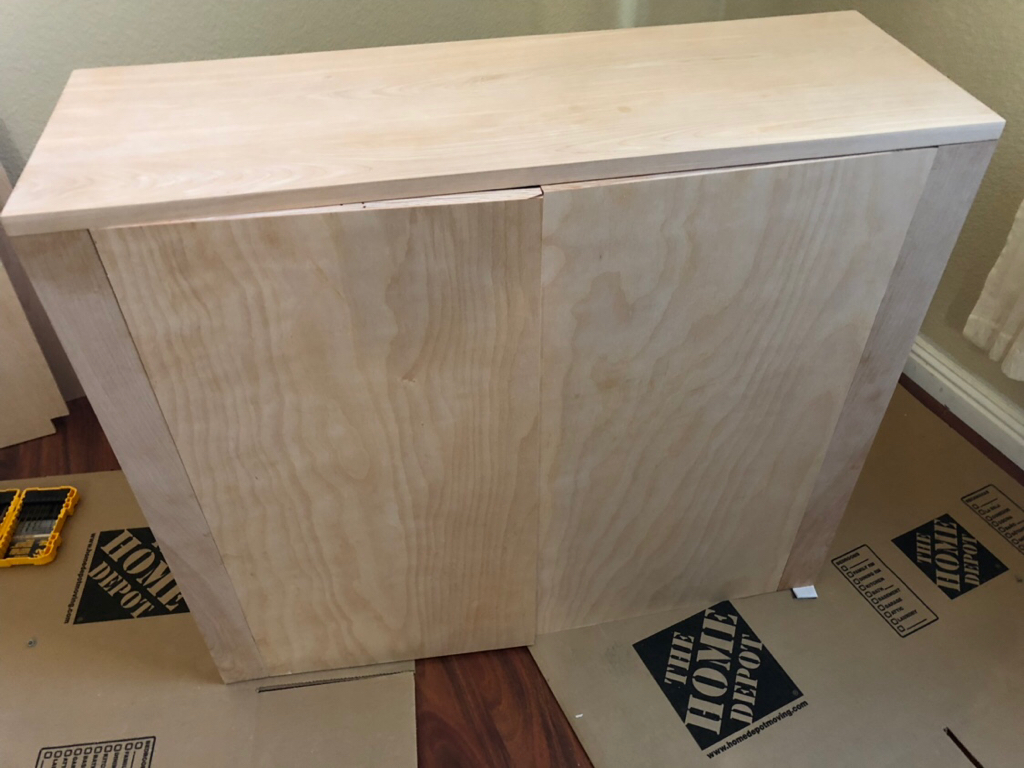
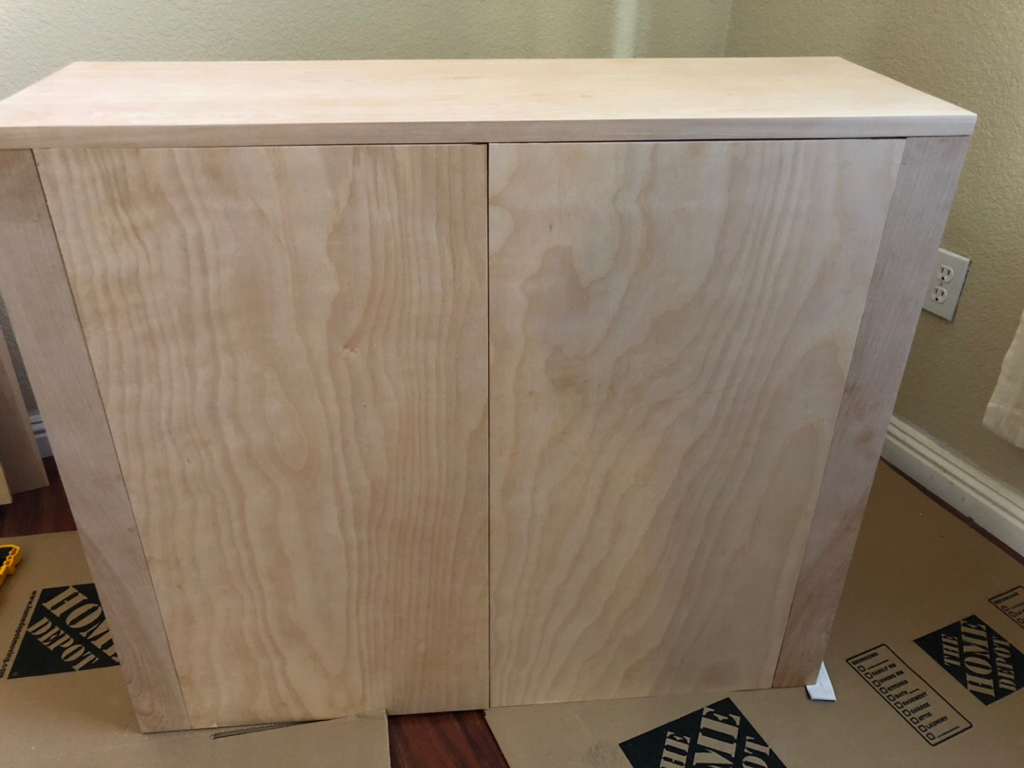
Remade the left door. Note to self buy a belt sander if you’re going to use sanding as a thickness adjuster. In this case I used my table saw and the 90 tooth blade, combined with a sacrificial piece of wood to to the 1/16” adjustment. I need to build a magnet closure bracket now to pull the doors in fully as the hinges don’t have any “close” pull at the right point. The first picture is the floating closed position and second is when everything is held closed. It’s not much force to hold it.

- Joined
- Feb 20, 2019
- Messages
- 309
- Reaction score
- 335
Well, rethinking the magnetic catch and...
Why not use push open magnetic catches? No knobs!
good idea..
But go with a good quality one....
i bought one of AMZ and it was crap
OP
OP
good idea..
But go with a good quality one....
i bought one of AMZ and it was crap
Any recommendations?
I'm ordering a few to kick the tires. I may not actually have enough travel to push-open the door with the tight tolerances :-D

- Joined
- Feb 20, 2019
- Messages
- 309
- Reaction score
- 335
Any recommendations?
I'm ordering a few to kick the tires. I may not actually have enough travel to push-open the door with the tight tolerances :-D
sorry cannot help ..
i still have the old crap one from AMZ, it takes 10 tries for the drawer to close
i am looking at it right now, maybe i will stop being lazy and get a new one
kamla
I am sorry I am not any help in finding a good one, but this is the best idea. Knobs always take away from the look IMO.Well, rethinking the magnetic catch and...

Why not use push open magnetic catches? No knobs!

U
User1
Guest
View BadgesIf you do go with random flows be it purchase from VCA or DIY make sure you get a pump strong enough to push water through. I have a pair I just installed this week on my Cor 15 with 1" Sea Swirls. The output isn't there. I have a spare Cor 20 that I'll be installing this weekend to drive the Sea Swirl with the longest plumbing and the Cor 15 for the least. That should provide plenty one on one while giving me a spare outside my skimmers pump in case something happens with electricity or failure.
U
User1
Guest
View BadgesAlso not that it matters but you couldn't have used thinner wood or MDF instead of the plywood depending on the finish I guess. It looks like the 80/20 is doing most of the heavy lifting so the skin is just for looks. Similar situation here on my stand which is made out of 2" steel. I'm just going to use my left over panel lumber and have it look similar to my wainscot. Some heavy duty magnets, felt, and I can add/remove at will. I suck at making doors so figured that was the easier route.
Nice build btw. I already know what lighting you are using
Nice build btw. I already know what lighting you are using

OP
OP
If you do go with random flows be it purchase from VCA or DIY make sure you get a pump strong enough to push water through. I have a pair I just installed this week on my Cor 15 with 1" Sea Swirls. The output isn't there. I have a spare Cor 20 that I'll be installing this weekend to drive the Sea Swirl with the longest plumbing and the Cor 15 for the least. That should provide plenty one on one while giving me a spare outside my skimmers pump in case something happens with electricity or failure.
Yeah, I've been thinking through this a bit and currently targeting two very small return pumps (or one bigger one in just a split).
I haven't upgraded the diagrams (and will need to invert the sump), but I've made a last minute call (thankfully before any drilling or sump construction!) to put the overflow dead in the center of the tank. I made a mockup of the box from plywood and did some careful aesthetic examination and felt it was the most natural.
OP
OP
Also not that it matters but you couldn't have used thinner wood or MDF instead of the plywood depending on the finish I guess. It looks like the 80/20 is doing most of the heavy lifting so the skin is just for looks. Similar situation here on my stand which is made out of 2" steel. I'm just going to use my left over panel lumber and have it look similar to my wainscot. Some heavy duty magnets, felt, and I can add/remove at will. I suck at making doors so figured that was the easier route.
Nice build btw. I already know what lighting you are using
The only "structural" wood is the board the aquarium rests on, and the same for the sump. The rest can be completely removed (and currently is for staining) with some #6 screws and no structural loss
The main driver for the front was finding solid wood trim pieces (which start at 0.75in, and I don't have saws to quartersaw that even smaller) and hinge (which requires a minimum thickness). The sides are thinner at 0.22, and the back is .178"
Similar threads
- Replies
- 8
- Views
- 160


