I watched a Youtube vid from a guy called The DIY King about how to make a DIY auto topoff. Seemed simple enough so I tried it but its not working.
Expose live wire of the extension cord. He said its the non ribbed side of a cheap extension cord. Check
Attach each wire to exact opposite side on the bottom of the 12 volt relay. Check
Connect one wire of the float switch (which looks identical to the one he has) to one wire of the AC adapter. Check
Connect the other wires of each to the same side on the top of the relay. Check
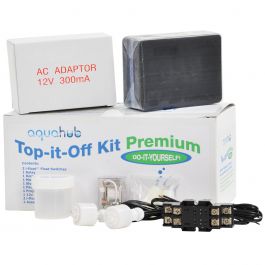
I did all of that and plugged everything in and used a lamp to test it but it doesn't work. What did I do wrong? The float switch came with a rubber gasket ring and a plastic nut but I didn't know what to do with those so I didn't do anything with them. they are shown in the pic. Do I need to do anything with them? Please someone help me.

Expose live wire of the extension cord. He said its the non ribbed side of a cheap extension cord. Check
Attach each wire to exact opposite side on the bottom of the 12 volt relay. Check
Connect one wire of the float switch (which looks identical to the one he has) to one wire of the AC adapter. Check
Connect the other wires of each to the same side on the top of the relay. Check
I did all of that and plugged everything in and used a lamp to test it but it doesn't work. What did I do wrong? The float switch came with a rubber gasket ring and a plastic nut but I didn't know what to do with those so I didn't do anything with them. they are shown in the pic. Do I need to do anything with them? Please someone help me.